Tuesday, April 23, 2019
Making a Muslin
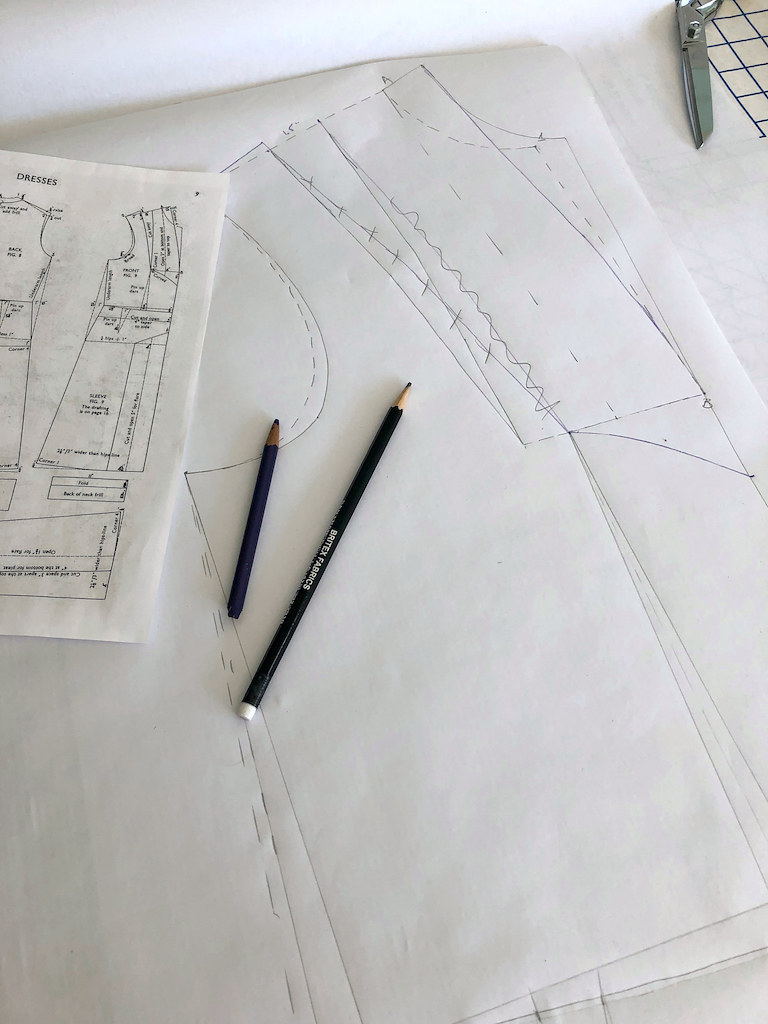
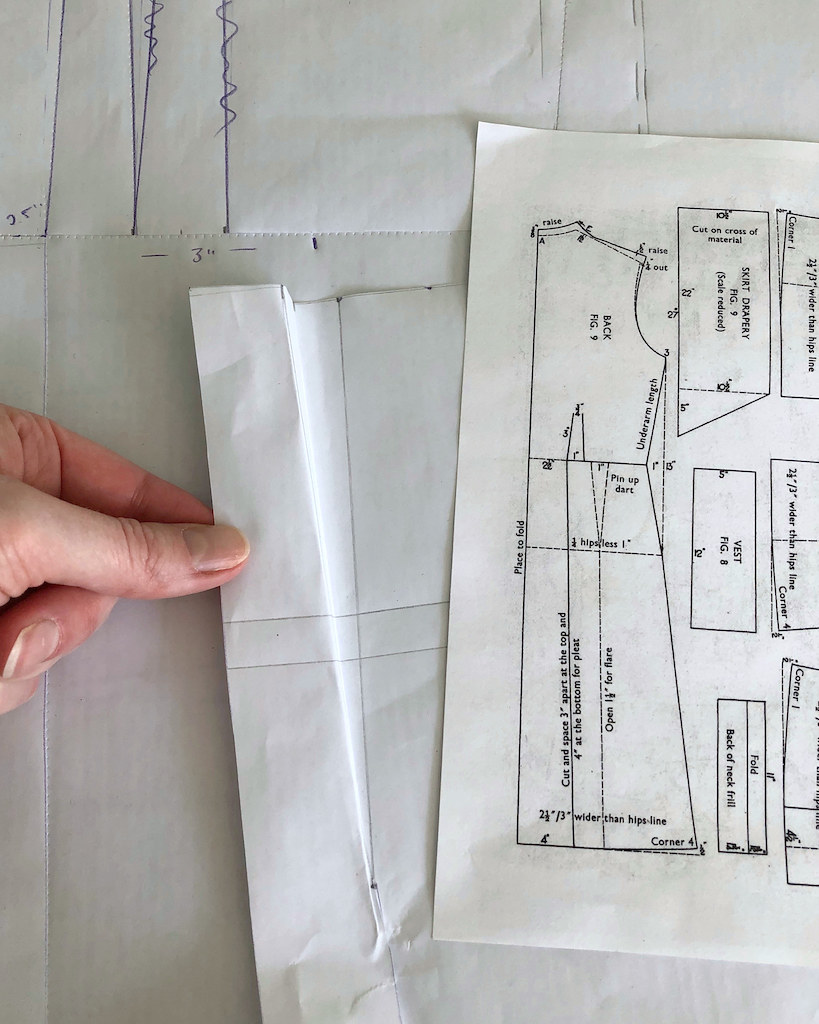
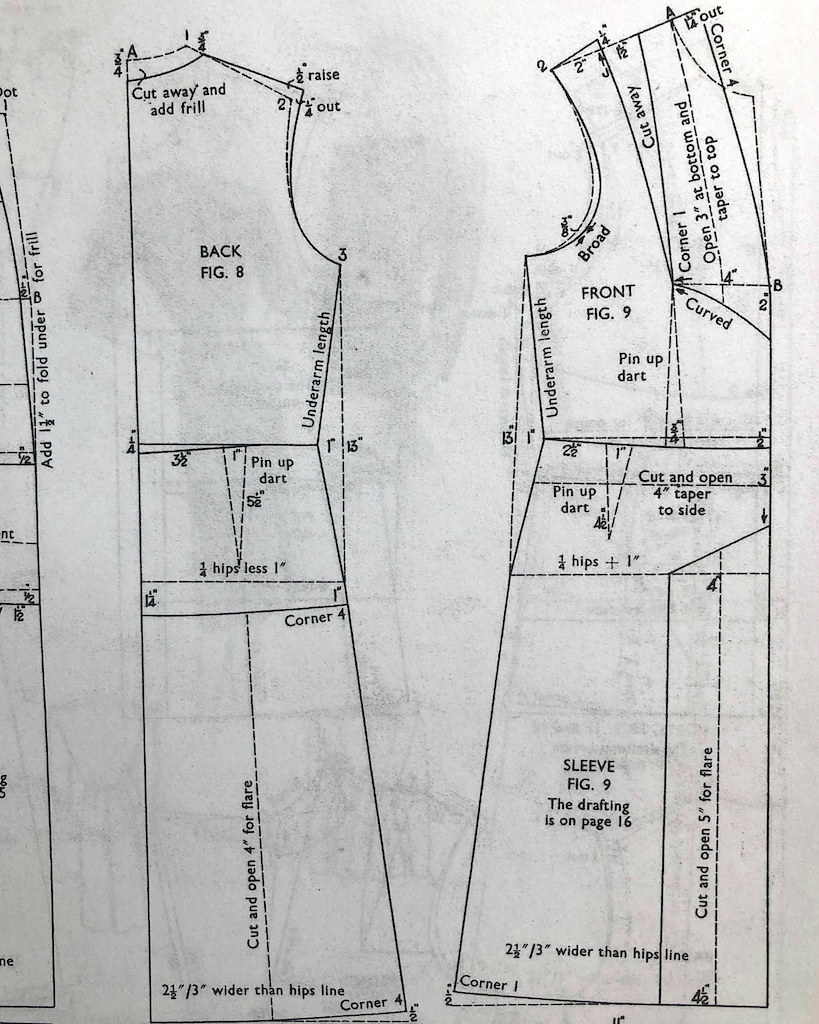
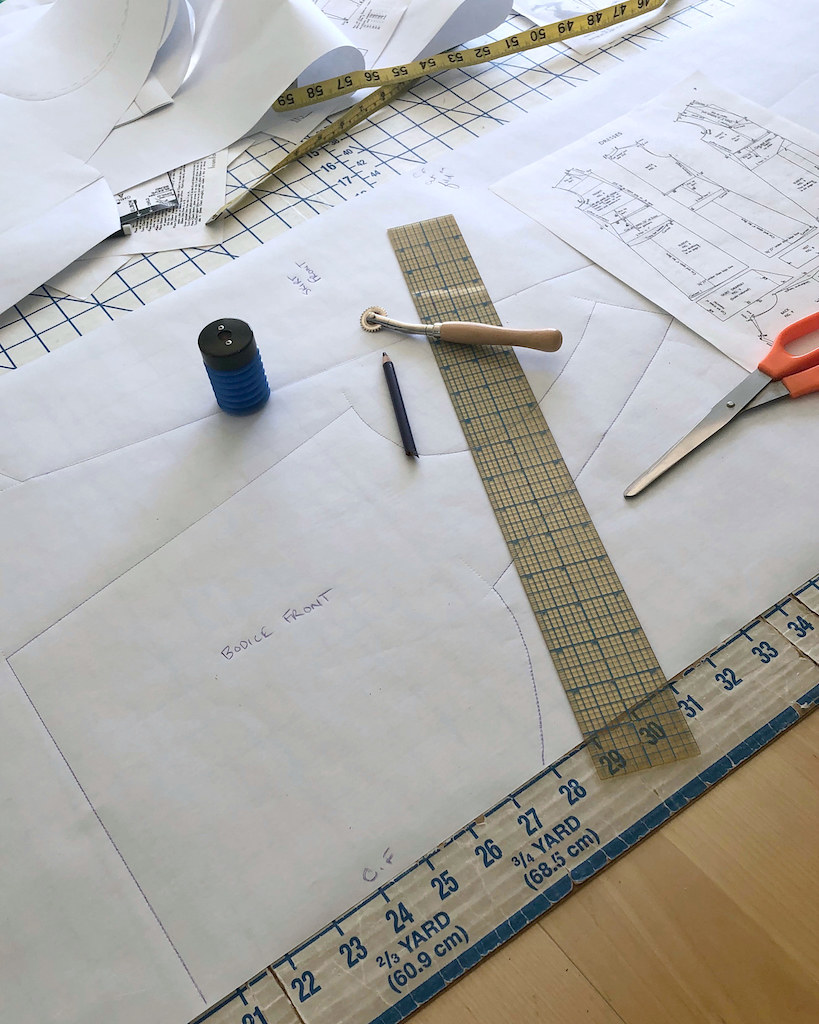
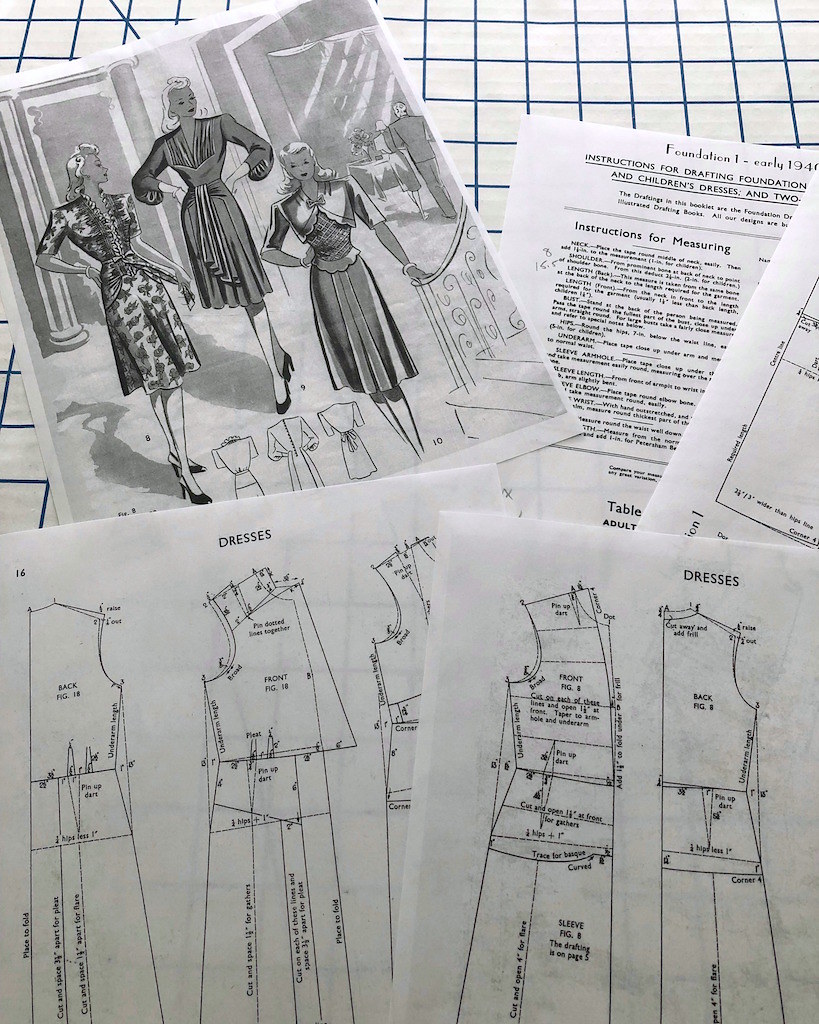
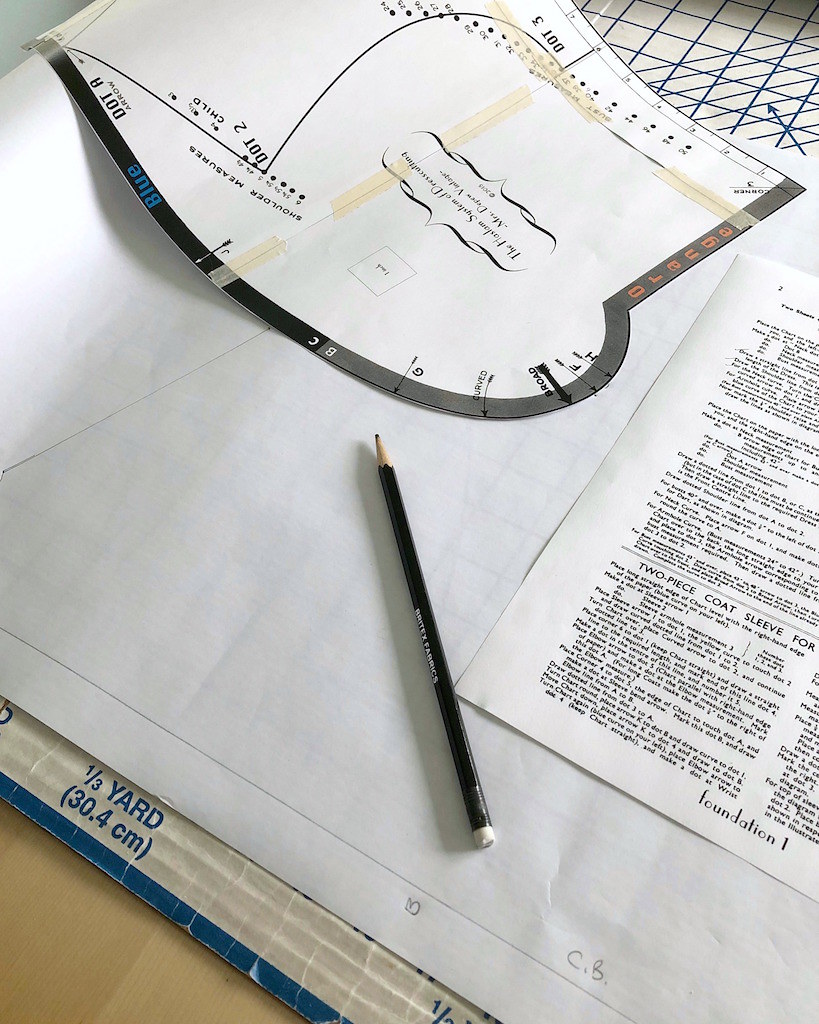
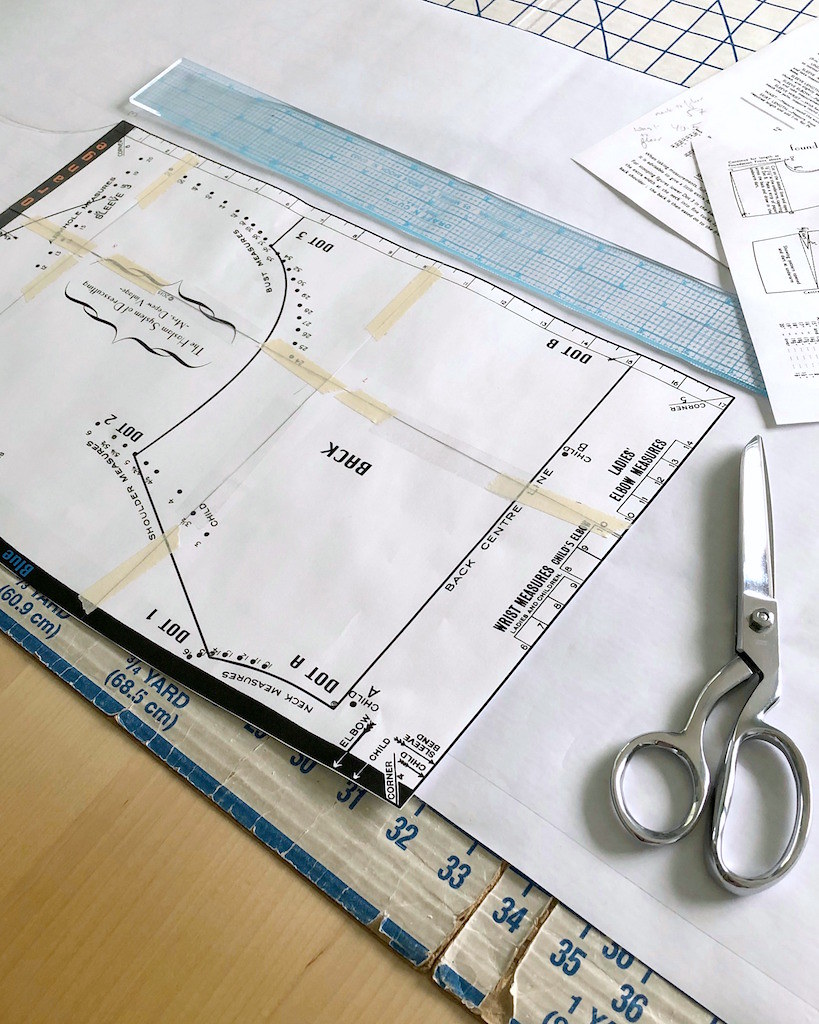
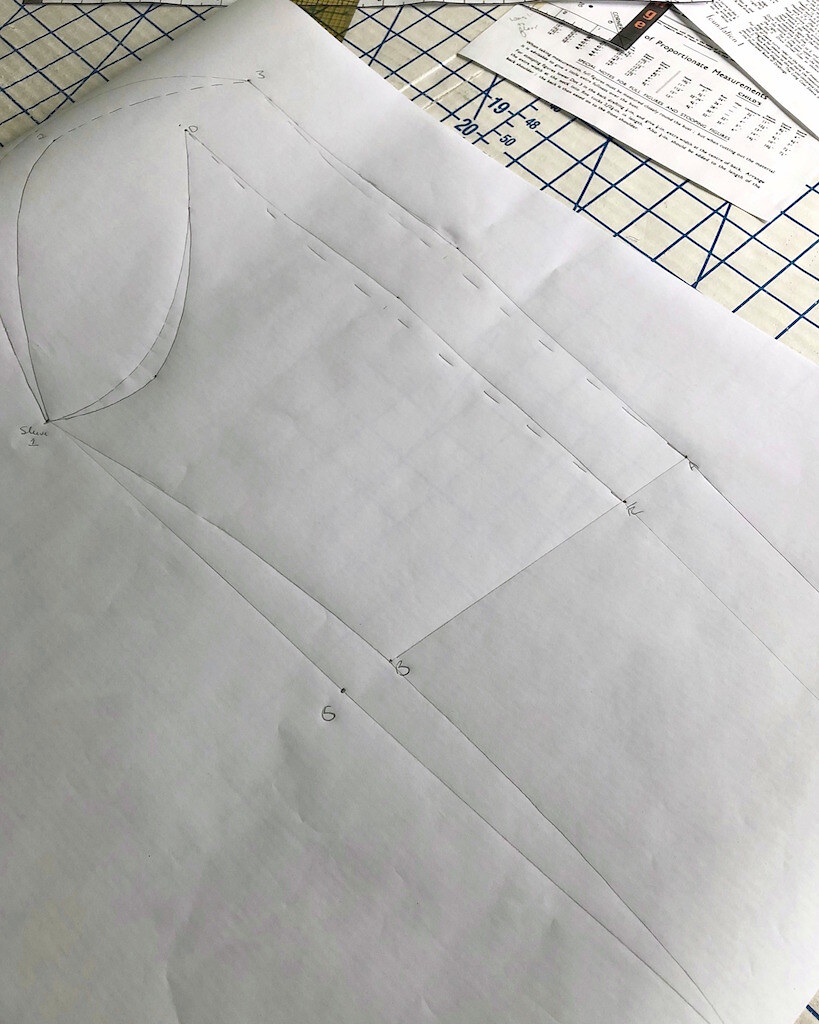
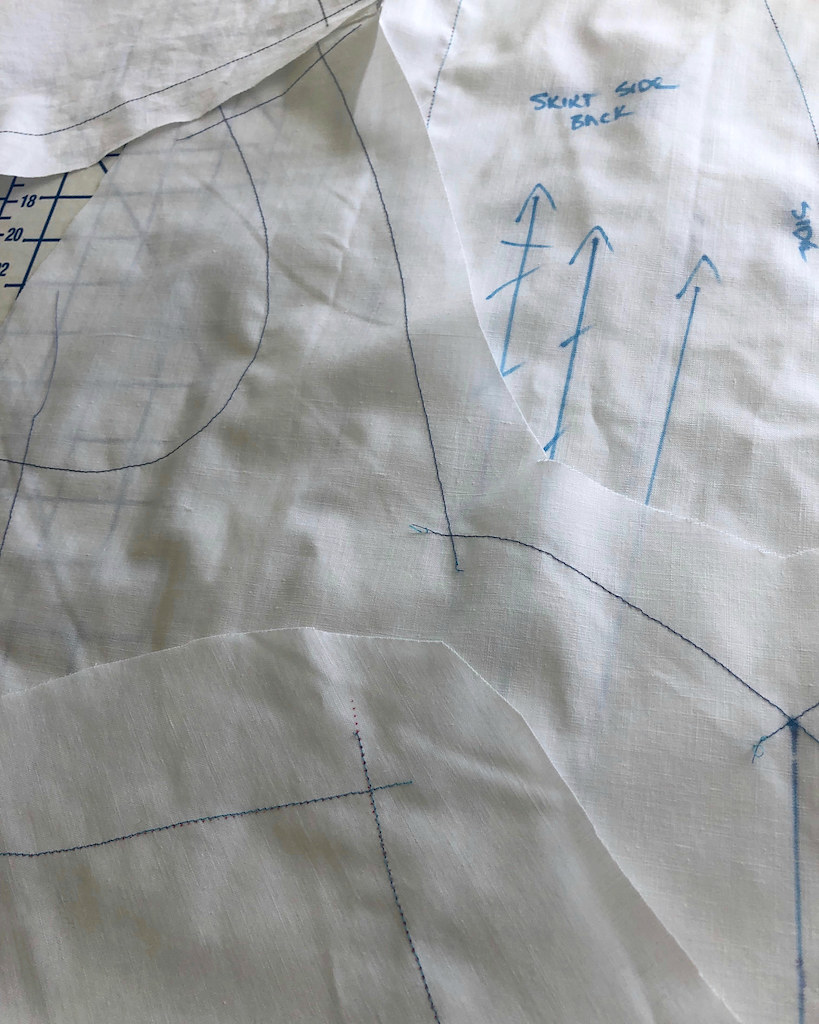
When we last left off with my Haslam System of Dresscutting project, I had drafted the pattern pieces in paper. I cleaned up those shapes and recut a new version of the pieces out of paper. Of course, these pieces have no seam allowances, which is the proper way to draft a garment. And since I was unsure what kind of ease was allowed with the Haslam draft, I wanted give myself a fair amount of seam allowance to play with.
What I came up with was marking the stitching line (the outside of the paper pieces) with a tracing wheel and wax transfer paper on muslin. I then gave myself about one inch of seam allowance to play with around all of the edges, figuring that should be enough.
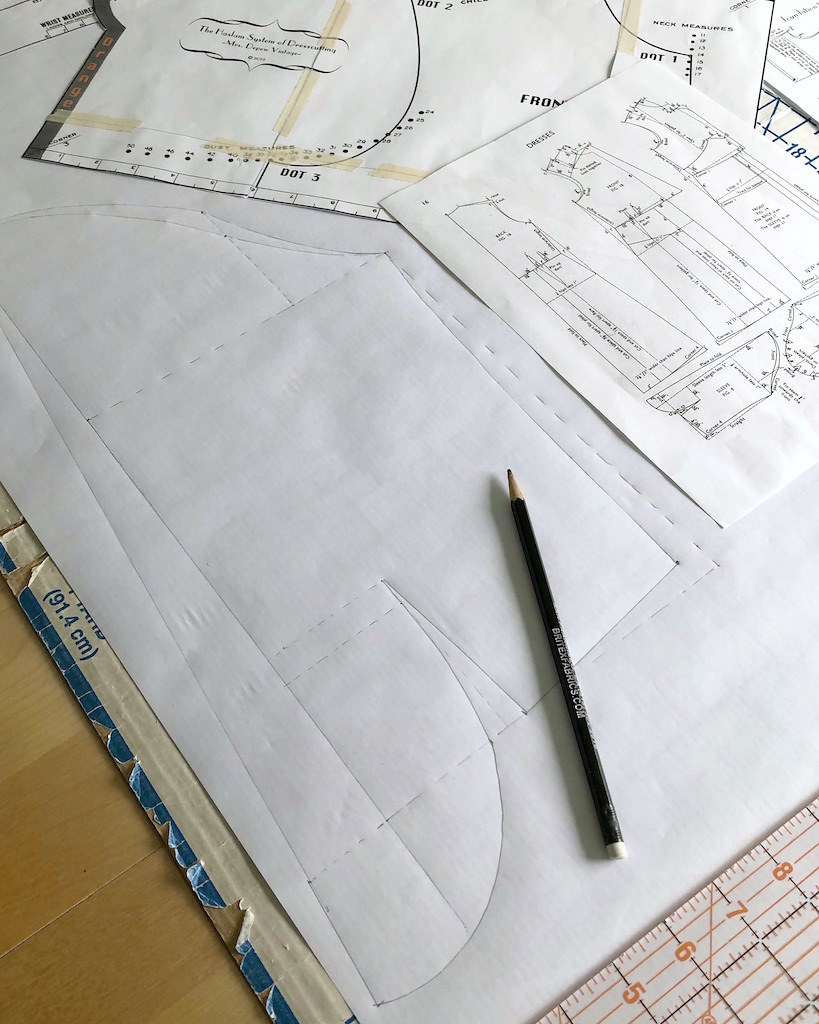
That was done with all of the pattern pieces.
And then it was time to put everything together.
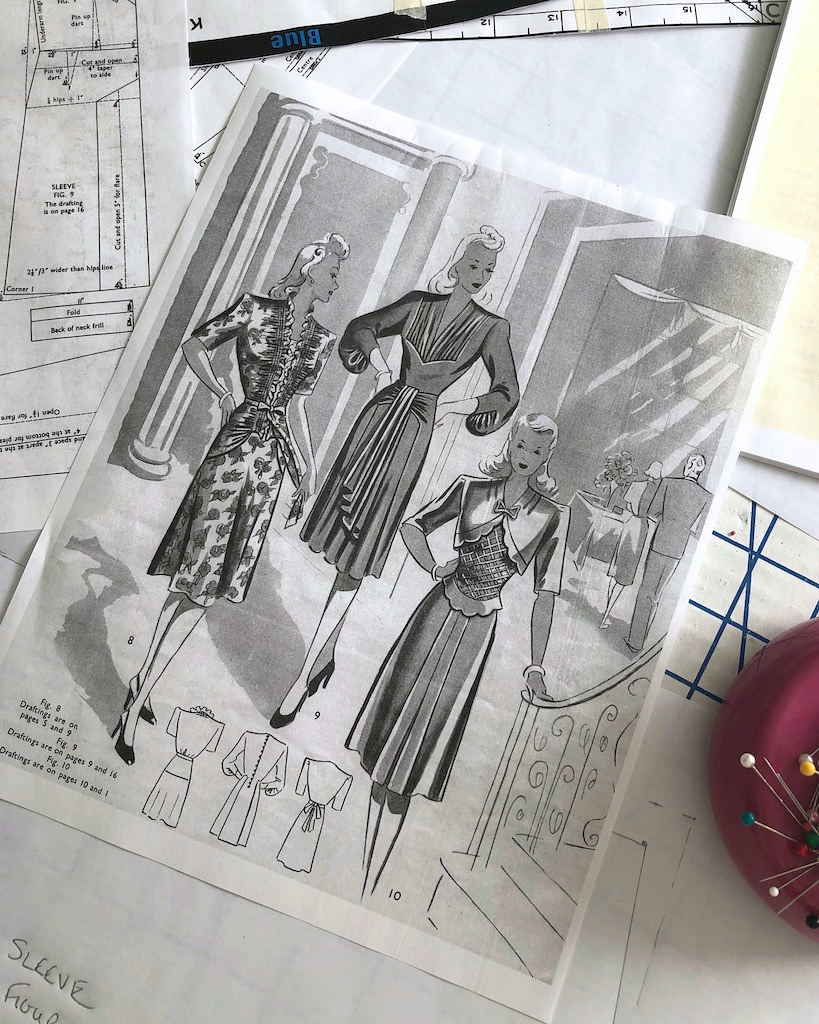
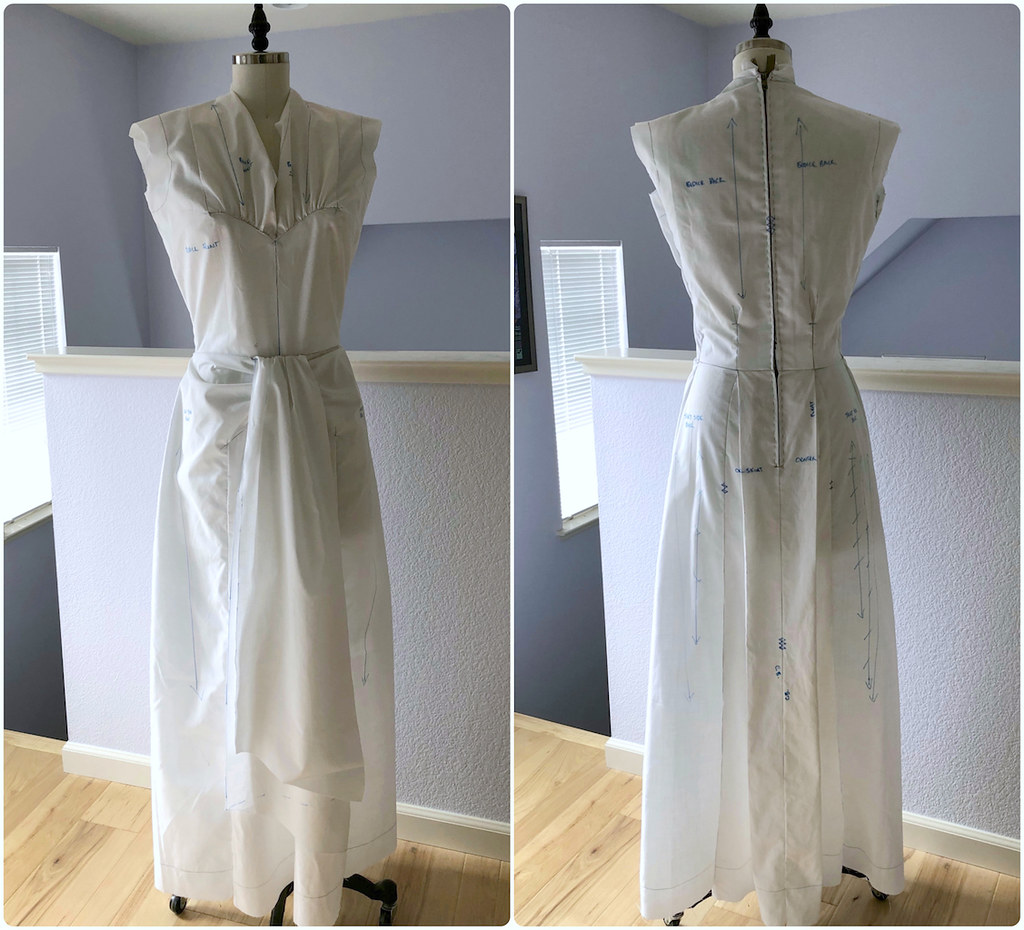
Since the instructions given with all Haslam patterns are extremely limited, I was pretty much on my own as far as construction goes. I ended up completing both the front and back as separate pieces, before stitching the shoulder and side seams together. I was inspired by this 1940s reproduction pattern, as a similar construction order is used.
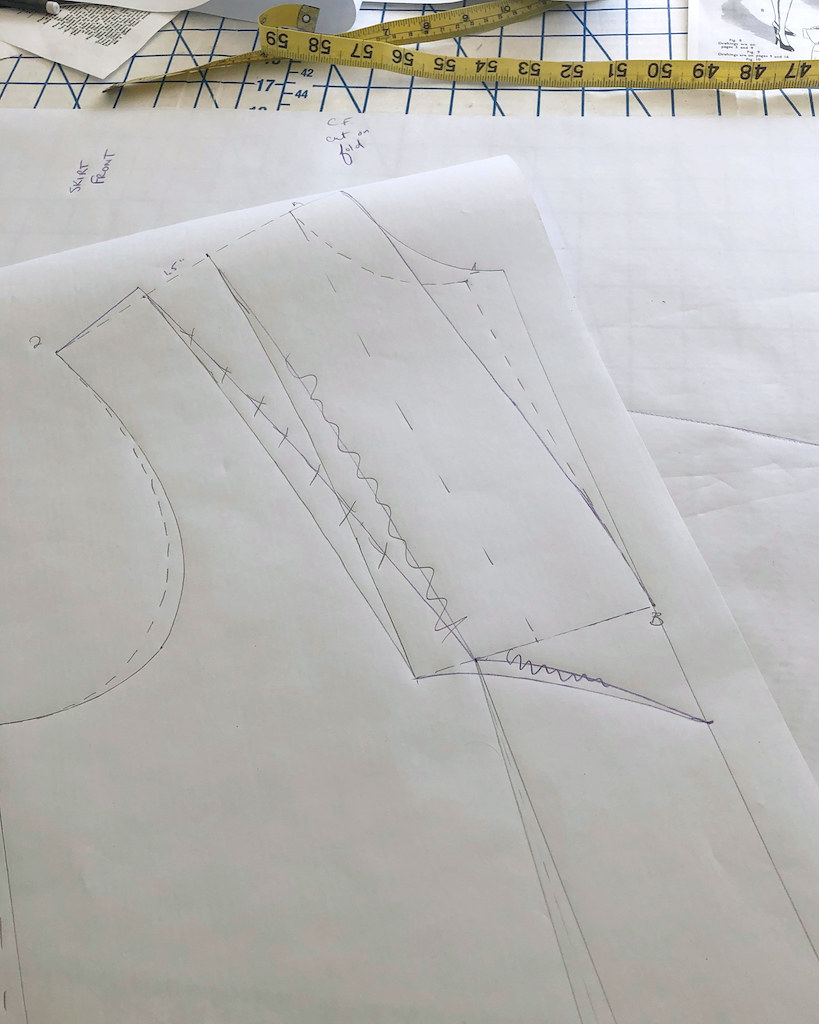
My first time through I forgot about adding the front drape - which is another excellent reason to make a muslin, especially when there are no directions included!
I did cut the drape without any seam allowance so that I could see how I liked the proportions.
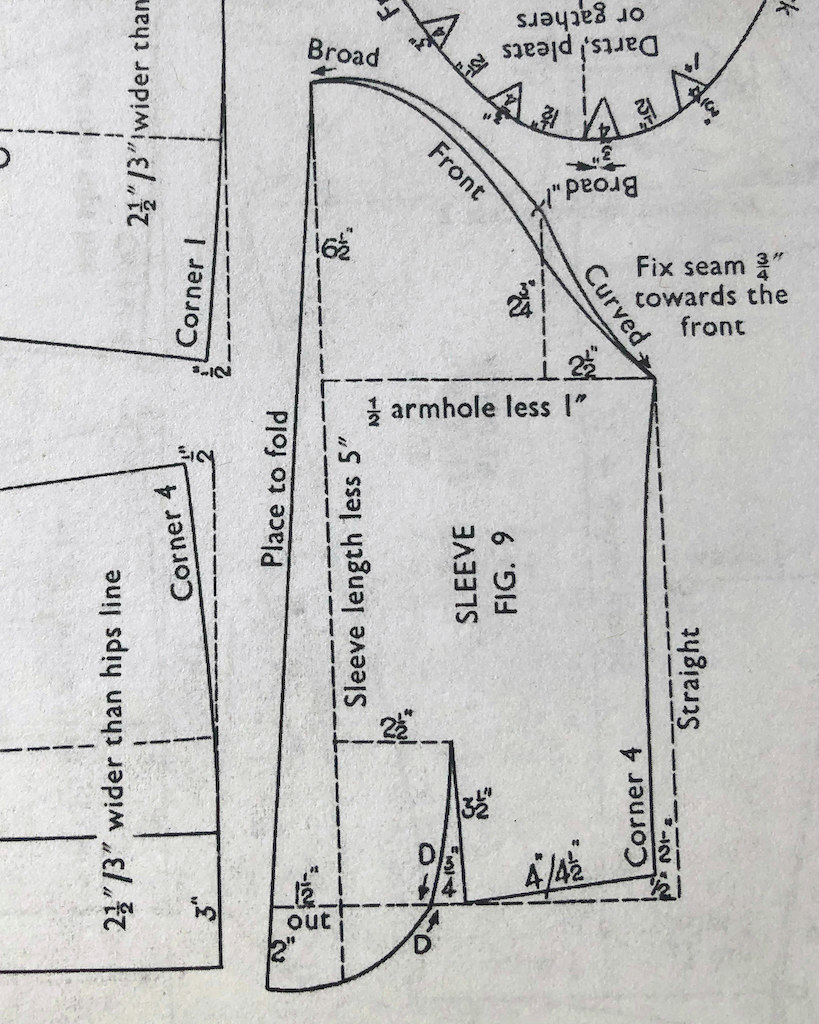
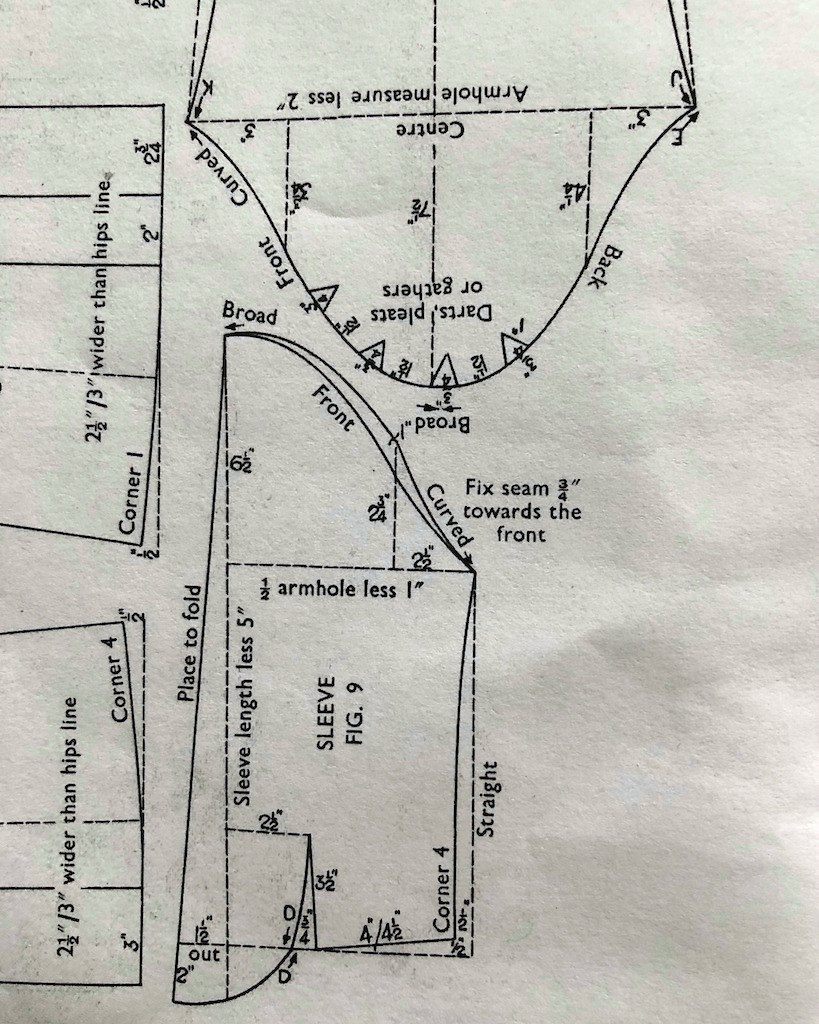
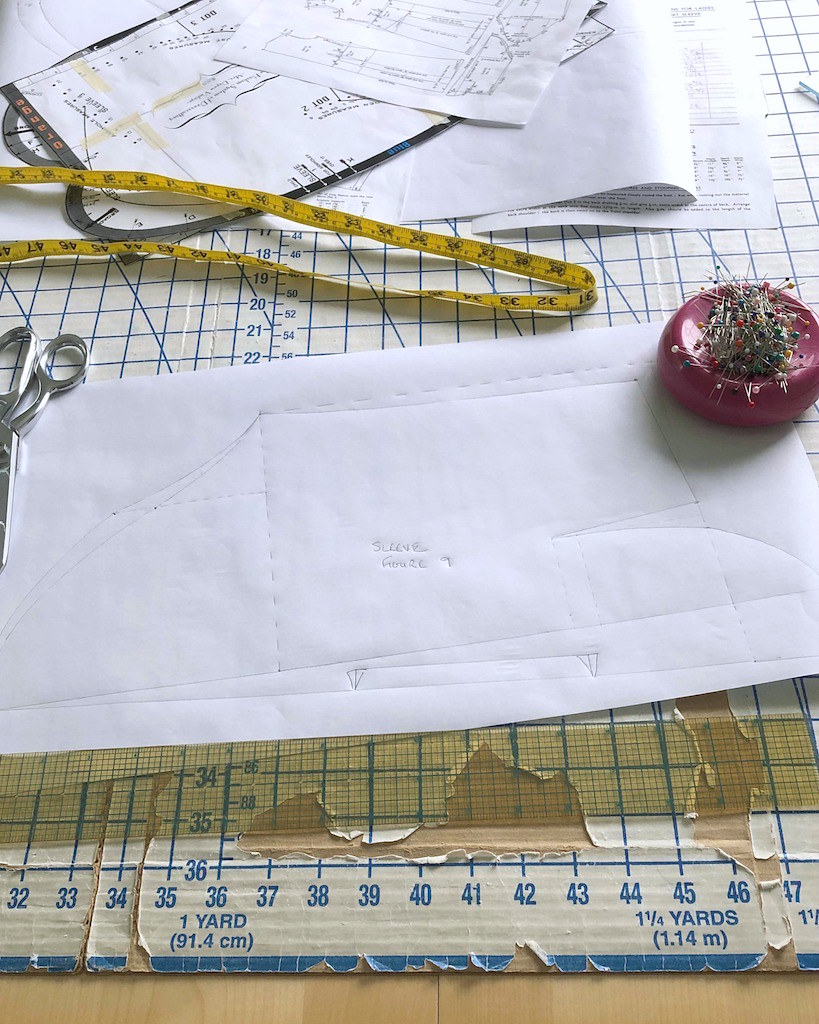
Next up, the sleeves!
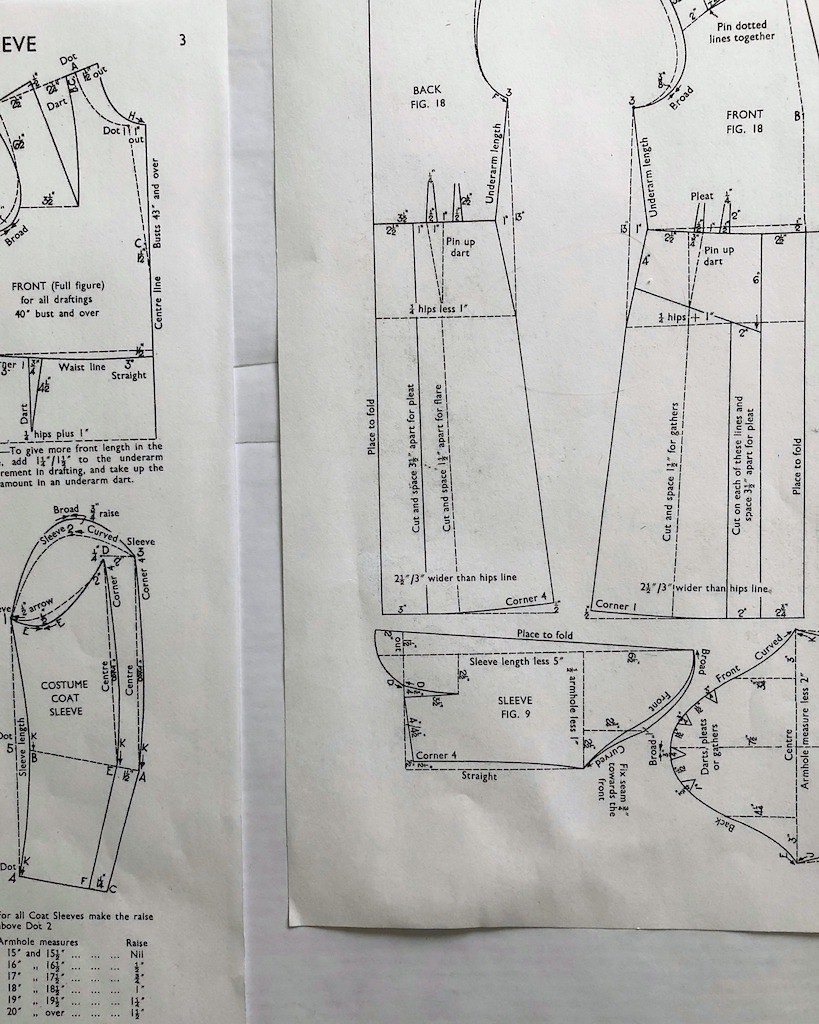
I ended shortening the curve of the sleeve head in order get it to fit into the armscye properly. I made a second version of the sleeve to make sure I was happy with the result.
Surprisingly, the dress ended up rather large through the waist and hip area, but not the bust. I believe I removed almost two inches of ease in the waist, and probably a little more through the hips. This seems rather extreme, and while I cannot be certain it was not user error, I really think I did follow the diagrams correctly. I will have to remember this next time I draft one of these designs and see if I have a similar result.
Once I was happy with the fit, I trimmed my pieces so they had a 5/8" seam allowance. I will not be using an underlining, so I want a standard seam allowance to work with.
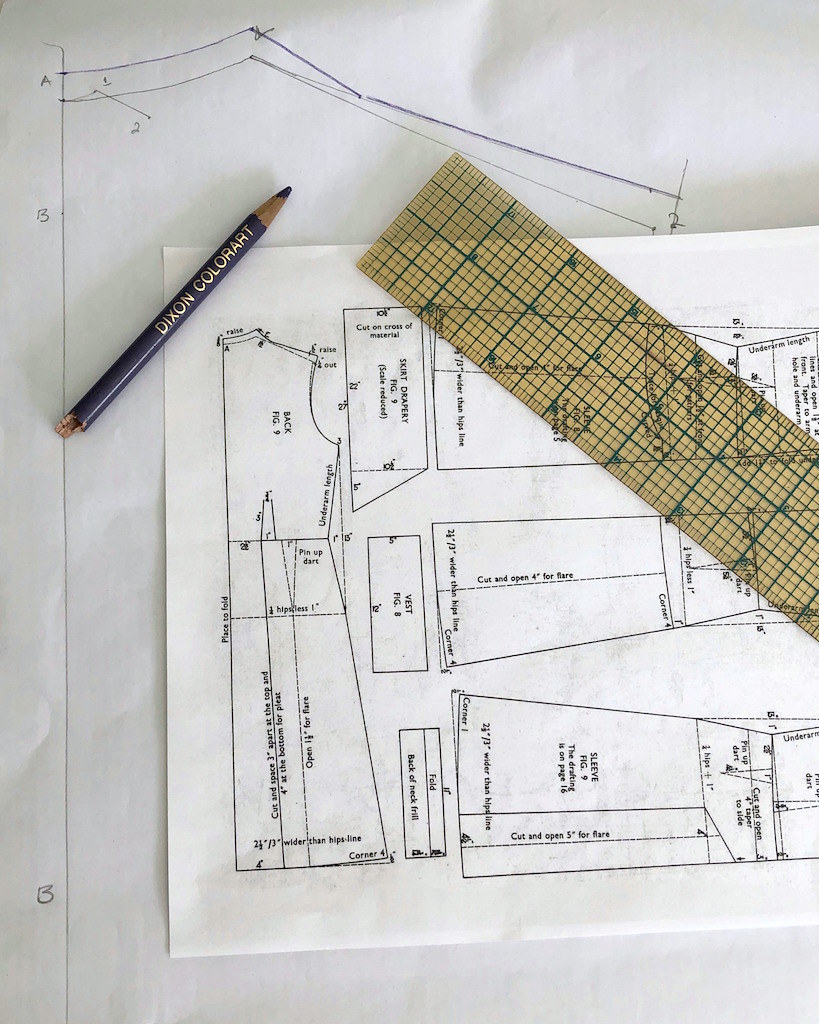
The only major alteration I needed to make (besides trimming excess ease through the waist and hip) was an erect back alteration, which is standard for me. Even using my actual measurements did not save me from this one! But I didn't have to add length to the torso, which is a first for me . . . except for that weird Cynthia Rowley pattern for Simplicity that was way too long, even for me. But I digress.
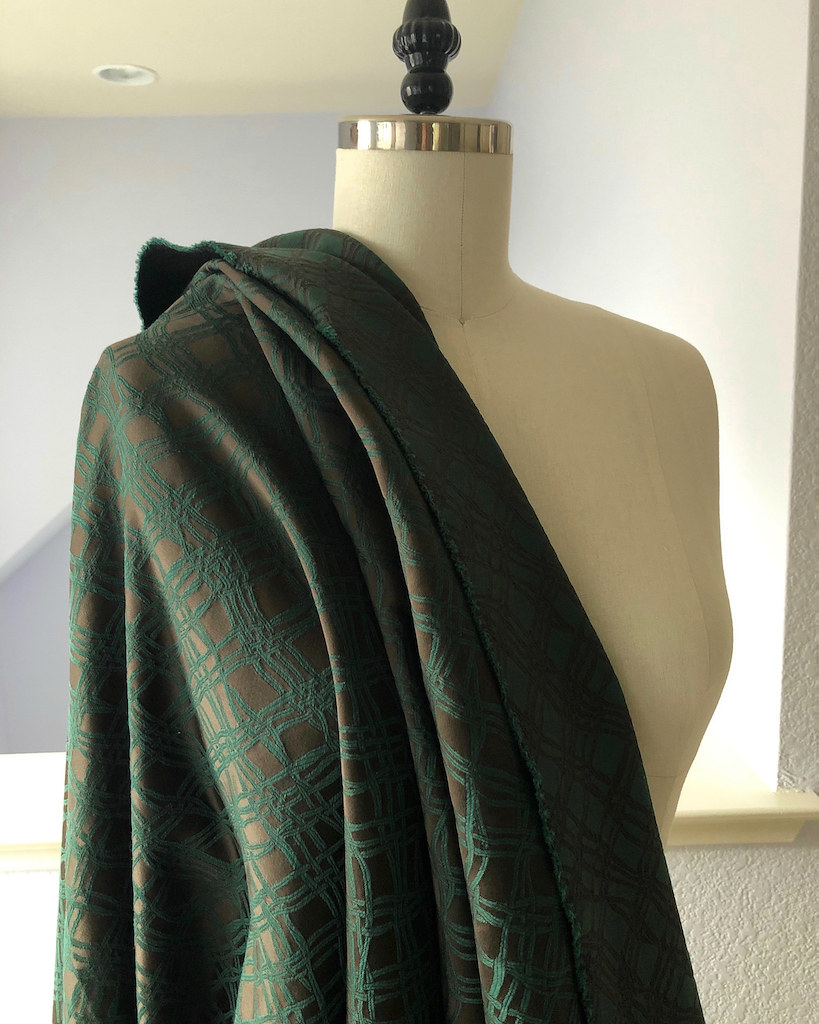
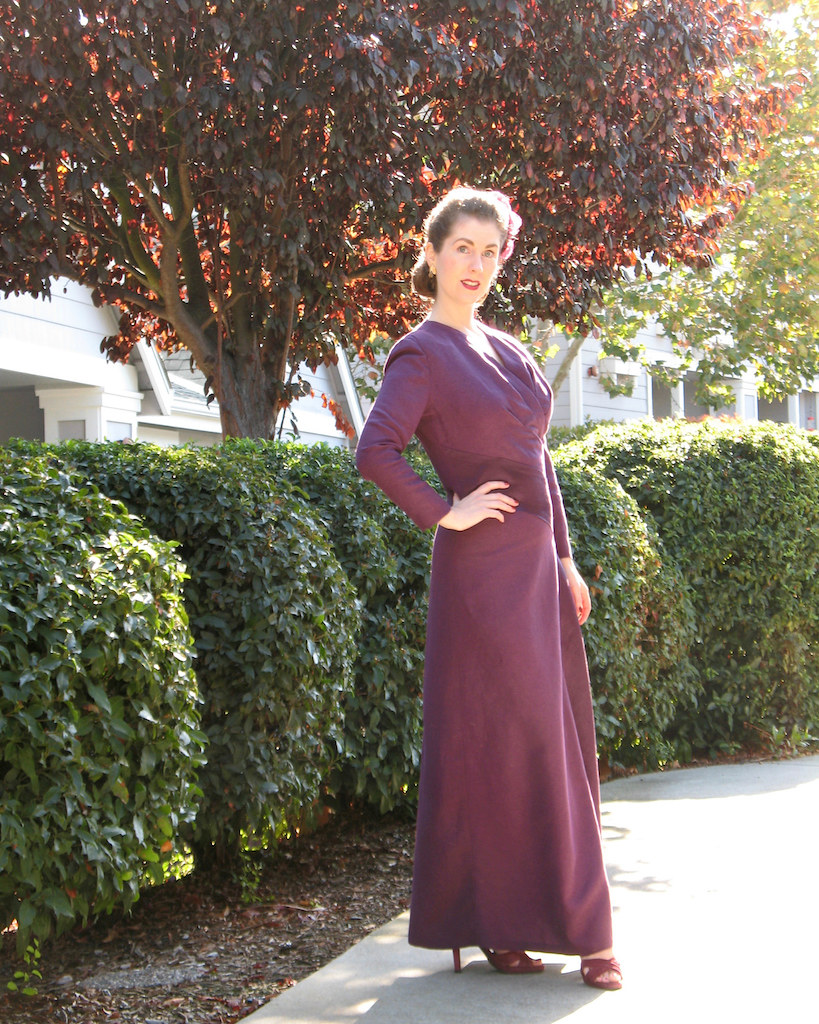
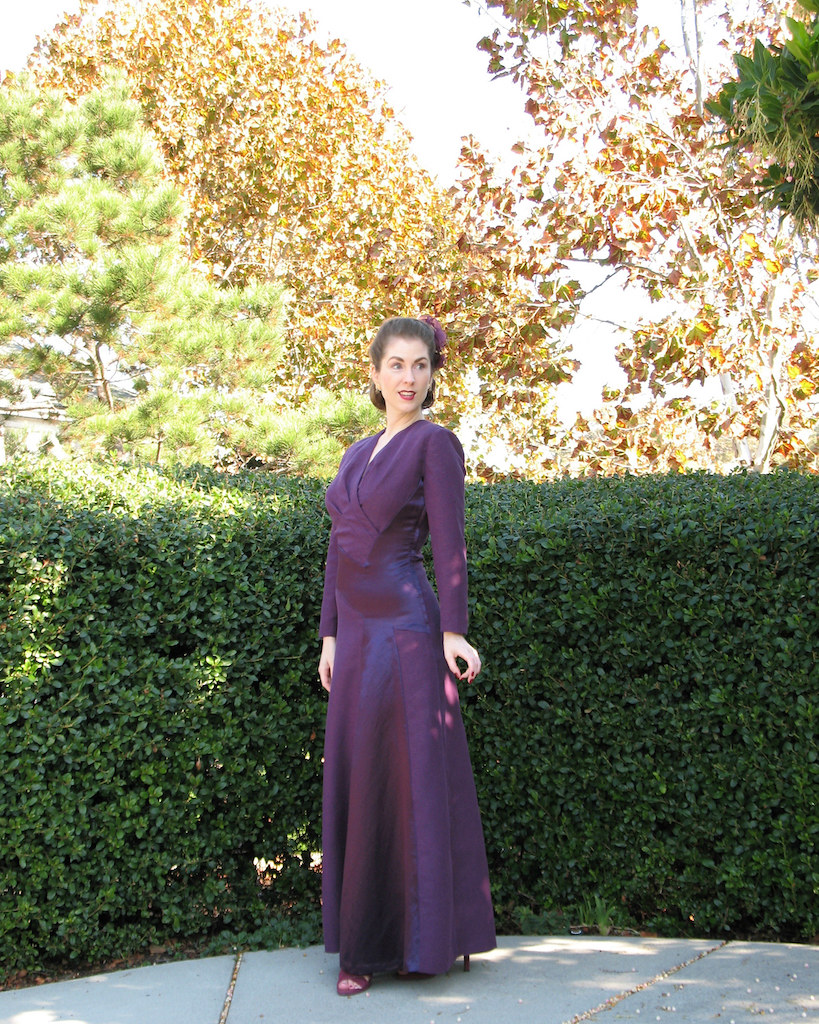
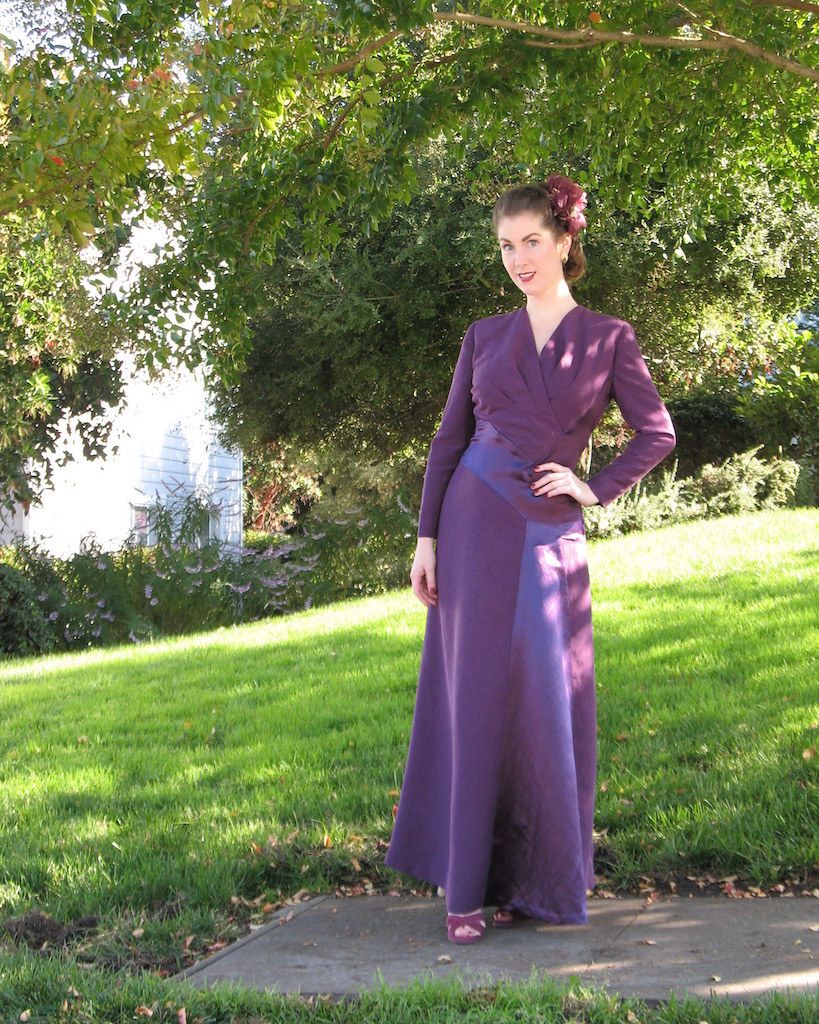
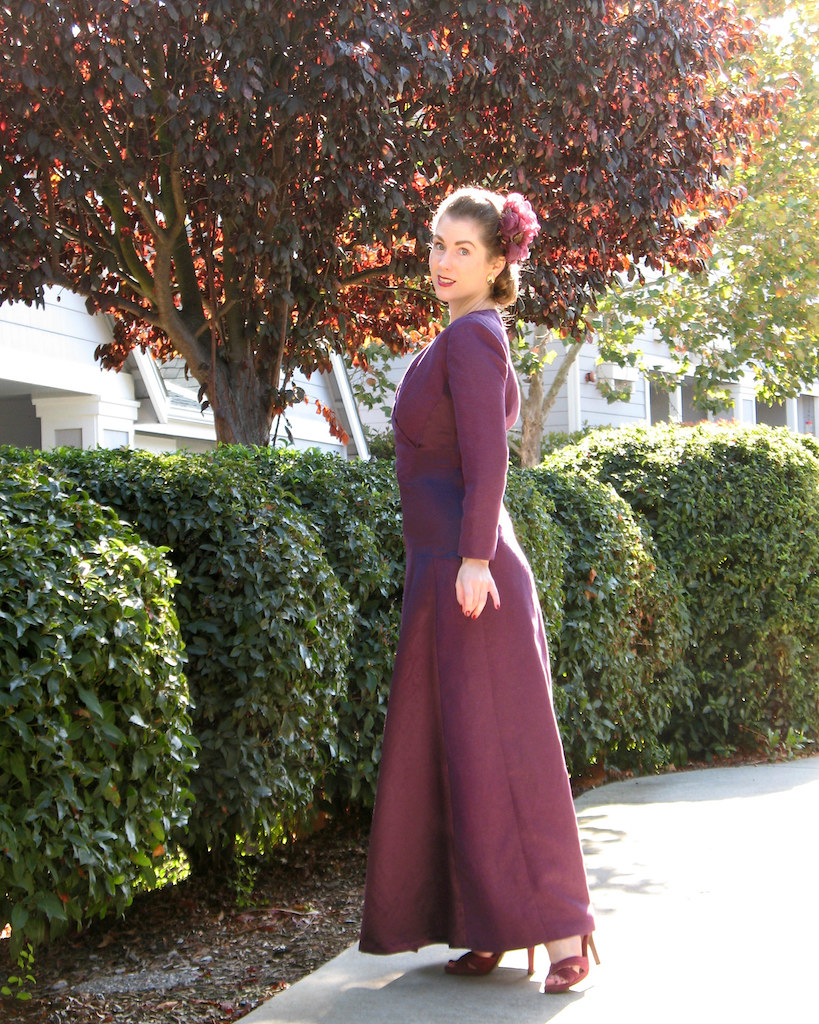
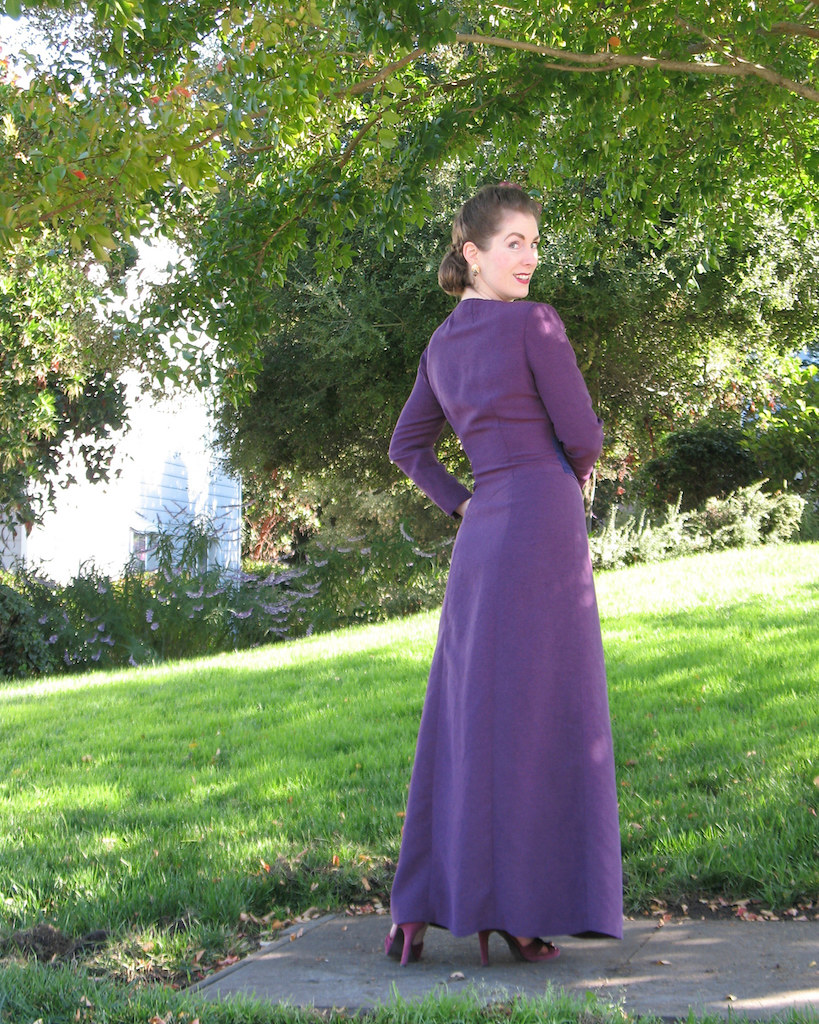
Up next is cutting into my fabric! And here she is, an Ellen Tracey brocade from Elliott Berman Textiles.
Monday, April 1, 2019
Drafting a Pattern from a Made to Measure Pattern Block
So the trick is now to turn these diagrams into . . .
pattern pieces that will make a dress that looks like the illustration. The Book of Draftings tells me that I am working with Figure 9, and that my draftings are to be found on pages 9 and 16. Great! The only other "Helpful hints for the making of garments given in this book" regarding Figure 9 is this:
The vest portion of this dress is gauged along the bottom and inserted. The front panel of the skirt is fixed in position and machined. Gauge the centre part above the panel into 3-in. space and draw to the figure. The drapery is slotted through and attached.
What I previously created is a basic block sketched in pencil on paper that should fit my body fairly well since is has been made using my specific measurements. What I now have to do is slice, dice, and manipulate the block into my Figure 9 diagrams to create a paper pattern for the dress.
I start with the back since there seems to be less to do there.
"Pin up dart" seems fairly straightforward, and to counteract that fold, I "open for flare" by slicing from the hem up to the point of the dart. That newly sliced and folded shape is then traced onto another piece of paper to give me my pattern piece. (In theory, at least!)
I decided to make a waist seam at front and back, although the illustration suggests that the back bodice and center portion of the skirt is one piece. But hey, I'm the one putting this thing together, so I am going to simplify where I can since this is my first attempt to make something using this new-to-me system.
Now that I am a little more comfortable with the process, I decide to tackle the front. The first thing I do is cut out the center front inset for the skirt. The paper gets sliced from the hem to the angled section, and as suggested, is flared 5" at the hem, tapering to nothing at the top of the piece.
The skirt front is similarly sliced and flared to correspond to the diagram. This portion of the skirt is expanded, which will then be "gauged" at center front to created the gathered look of the illustration.
Moving on to the bodice front, you can see I made a few drafting errors. Thankfully, I caught my mistakes before moving on.
Remember, I am working without seam allowances of any kind. Those will be added in after all of the slicing and dicing is finished. This makes everything so much easier - especially when is comes to making sure corresponding pieces will fit together properly.

And eventually, I have my pattern pieces sketched out on paper.
Since the sleeve is a one-piece sleeve and bears no resemblance to the two piece drafted sleeve in the foundation draftings, I really think that you are expected to draft this from scratch.
I am slightly confused how the measurements on such a diagram can be used for a system that allows for such a huge size variation. One assumes that a 24" busted individual's arm is going to be a whole lot different than an arm belonging to someone with a 50" bust. This also applies to the flared portions of the skirt and bodice pieces. If you want something to look gathered across a front portion of a chest that measures 12", adding 3" is significant, where that same 3" is going to do very little to gather fabric across 25".
I would be curious to know what size the original drafted illustrations were made for. There are specific designs made for children and some of the illustrations seem to suggest a more mature figure as they are drawn, so perhaps those issues are taken into account in some cases. But I think gathering and pleating suggestions might have to be tweaked if you want your garment to look exactly proportionate to the illustrated figures. But we will have to see how that goes . . .
Monday, March 25, 2019
An Evening in 1947
A couple of years back, I was sent a lovely hemp/silk blend fabric from Organic Cotton Plus. I posted about the muslin and the making of this dress, but I never managed to post final pictures of the piece. Bad, bad blogger.
Well, I finally winnowed down the hundreds of photos taken on a day in late October 2017 (for a Marin Symphony performance), and here they are.
I usually have some idea of how I will style a garment while it is in the process of being put together on the sewing table, or perhaps the inspiration comes from handling the piece for hours at a time.
Sometimes outfits require new accessories (or at least, I think they do), but in this case, I had the perfect options on hand. First, I was given these vintage earrings years ago, but the beaded bobbles were coming apart. I was never motivated to fix them until I NEEDED to wear them with this dress. A needle, piece of thread, and a quick pinch with the pliers was all they required!
The beaded hair flower was carefully tucked away in a box. I sometimes lament the fact that I can't get away from my preferred color palette, but in these instances, it comes in handy. Back in 2010, I made another 1940s gown from a purple toned fabric and, of course, required a bit of flair for my hair. Some poly organza, a lighter, a hair clip, and an antique beaded motif with some issues was all I needed.
I do love that 1940s dress design is full of sleeved evening garments which I find so much more interesting than yet another strapless gown.
I picked this particular Vintage Vogue design because of the fact that I wanted to use both sides of my hemp and silk fabric. The front skirt inset felt like the perfect way to accomplish this.
And I am sure that I had something more insightful to say about this project back when it was fresh in my mind, but I am just going to leave this post here with the note to myself that I am quite pleased with how this dress turned out!
[Disclosure: Organic Cotton Plus provided me with this fabric, but the opinions posted here are my own.]
Labels:
1940s,
Finished Projects,
Organic Cotton Plus,
Sewing,
Vintage Vogue,
Vogue 2354
Wednesday, March 20, 2019
The Haslam System of Dresscutting
A few months back, a new pair of shoes and a special cut of fabric from New York had me searching for a suitable 1940s dress pattern.
Of course, I couldn't make things easy for myself, because when I came across the middle image sourced from The Haslam System of Dresscutting over at Mrs. Depew Vintage, I couldn't get it out of my mind. Which meant that I would have to learn how to use these printed rulers and the accompanying diagrams, and hope for the best.
There is not a whole lot of online information about how to use this particular system of drafting clothing to your specific size; just the minimal directions that come with the "book of drafting." I have previously used the Eclair-Coupe Paris system for this project, but the Haslam system had me stumped for a brief moment. I was so intrigued by the diagrams and unfamiliar instructions that I completely forgot about the ruler! After a very frustrating hour, I stepped away, and the solution quickly presented itself. I was missing an entire piece of the puzzle!
After that ridiculous and rather embarrassing attempt was out of the way, things went a whole lot smoother.
The basic idea is that you take a bunch of measurements including the basics like bust, waist, and hips, but also neck, torso length, shoulder width, arm length, armhole circumference, etc. Using your own personal measurements, the theory is that your drafted dress foundation will be perfectly fitted to your particular shape. In reality, things like an erect upper back adjustment cannot be accounted for, so there will probably be minimal alterations to the final drafted pattern to perfectly fit each unique body shape. I was also completely unsure how much ease might be included, and I couldn't find any mention of it anywhere in the directions.
It certainly was fun to see a basic dress block emerge from making a series of dots on a piece of paper with the help of the special ruler. Numbered dots correspond to the body measurements that have been taken of the individual to be fit. It's pretty genius, actually. The ruler is inclusive of children and adults, from a 24" to a 50" bust.
My main confusion (after the missing ruler incident) was the sleeve. The only foundation drafting is a two piece sleeve for coats which was not what my chosen dress needed. I pushed ahead anyway, figuring a little more practice with the ruler was not going to hurt.
Here is my two piece sleeve . . .
which wasn't looking very helpful when compared to my Figure 9 sleeve. But it's a process, right?!
In the end, I just started with that long dotted line for Sleeve, Fig. 9 which looked like the best way to attempt to recreate the sleeve.
I cannot be sure if this was the intended means of drafting, but it worked out in the end.
But back to my basic dress block . . . from there, the fun begins. Using the diagrams specific to the dress figure you wish to recreate, there are quite a few changes to be made by measuring, slashing, spreading, and marking all sorts of things. But that will be for another day.
Clear as mud, right?!?
Subscribe to:
Posts (Atom)


