Monday, June 16, 2014

Geranium Red


Life has been really busy, and a few projects had to be put on hold.  


But all that red linen was hard to ignore, so I decided to get to it.


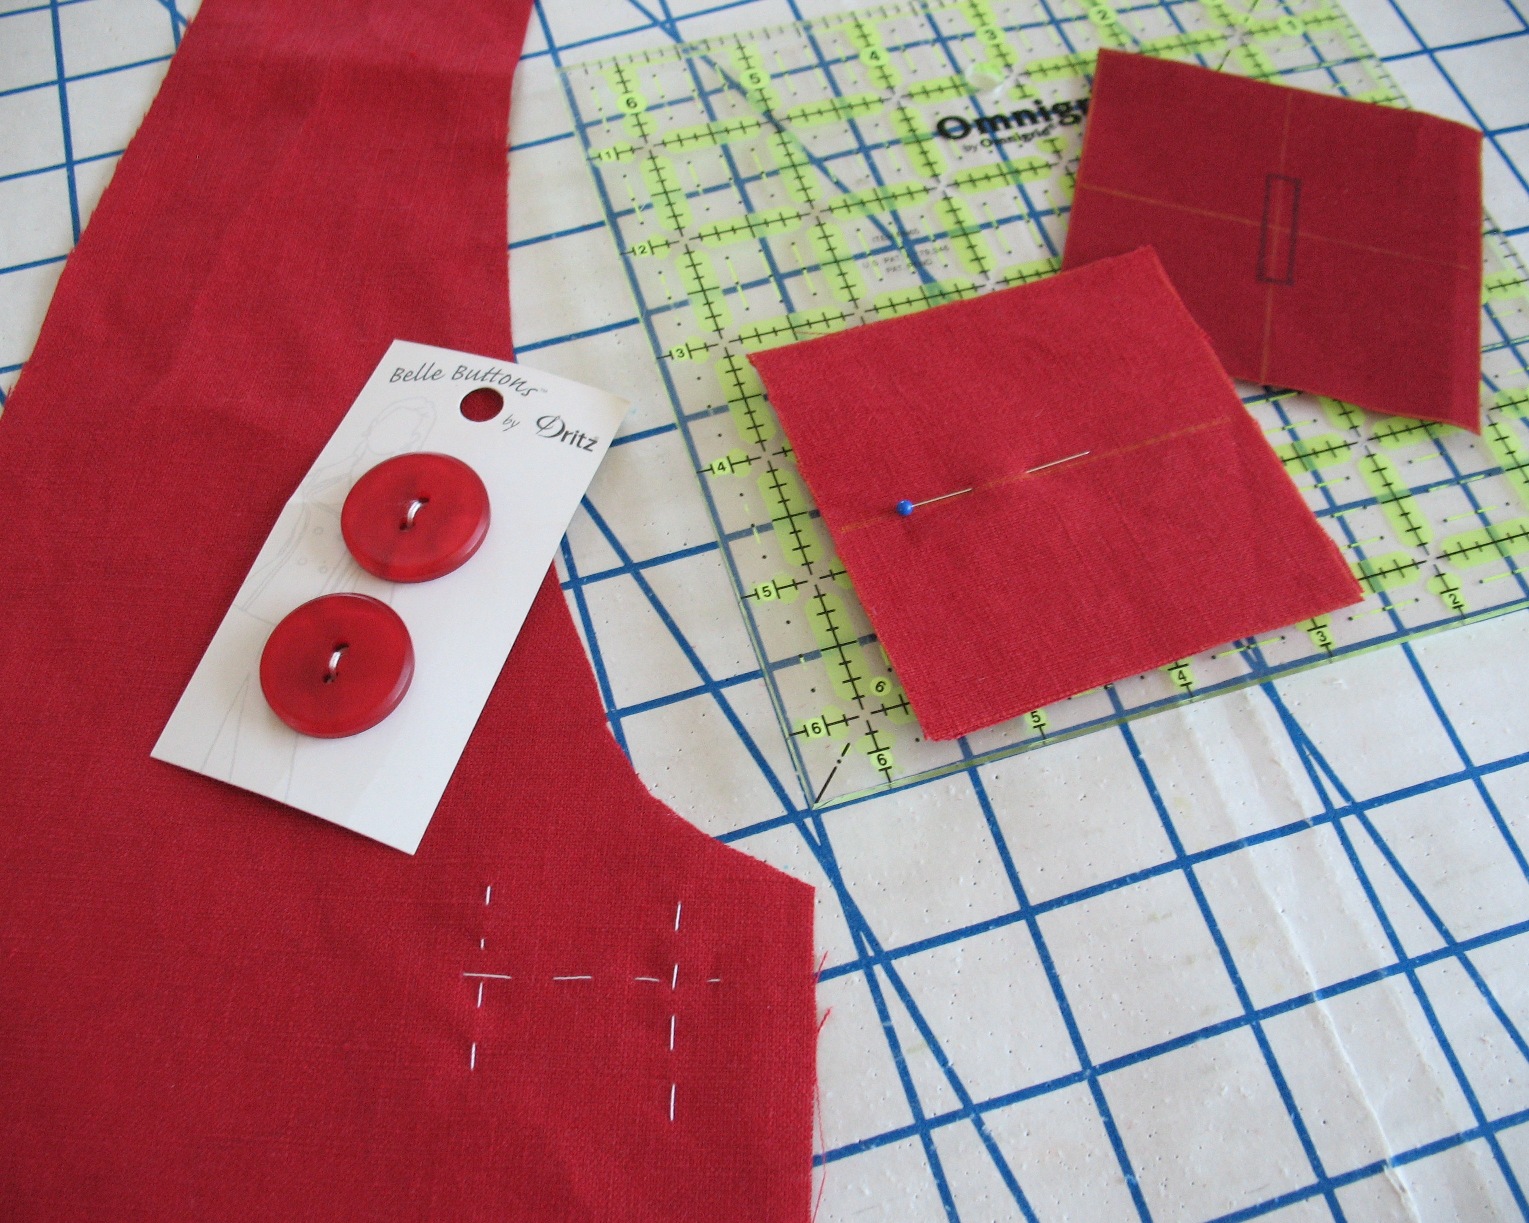
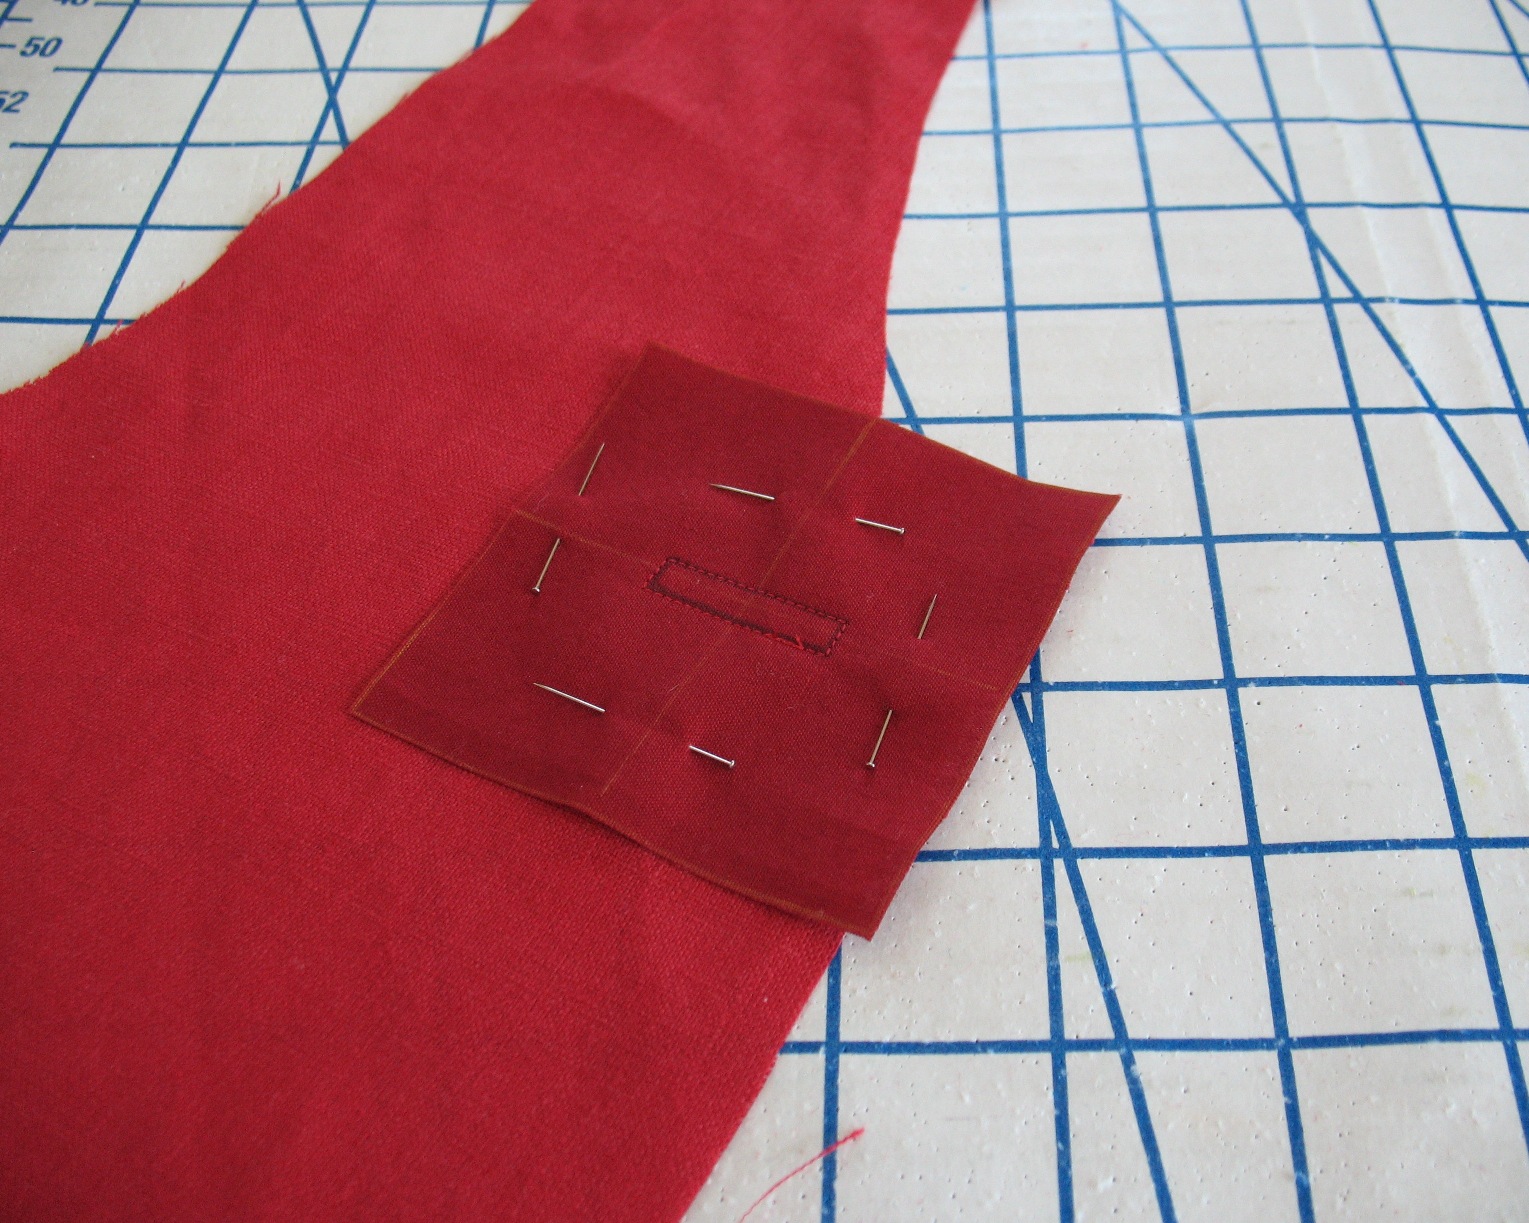
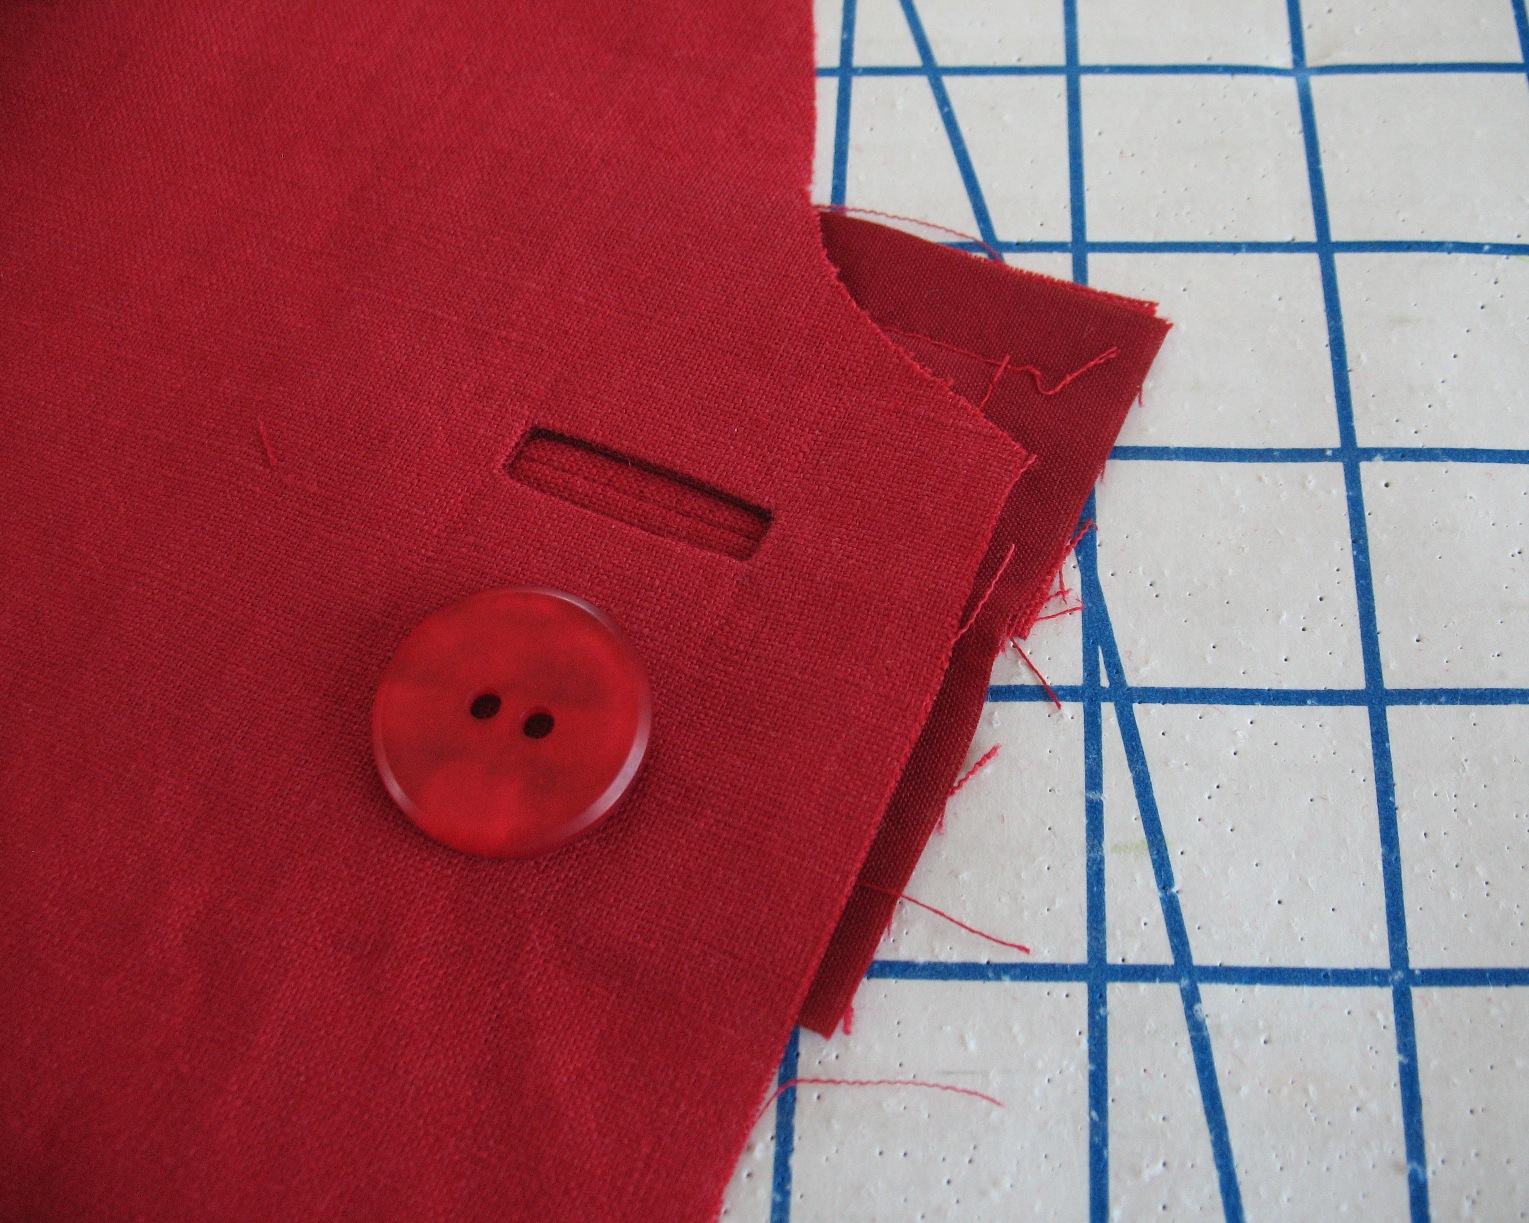
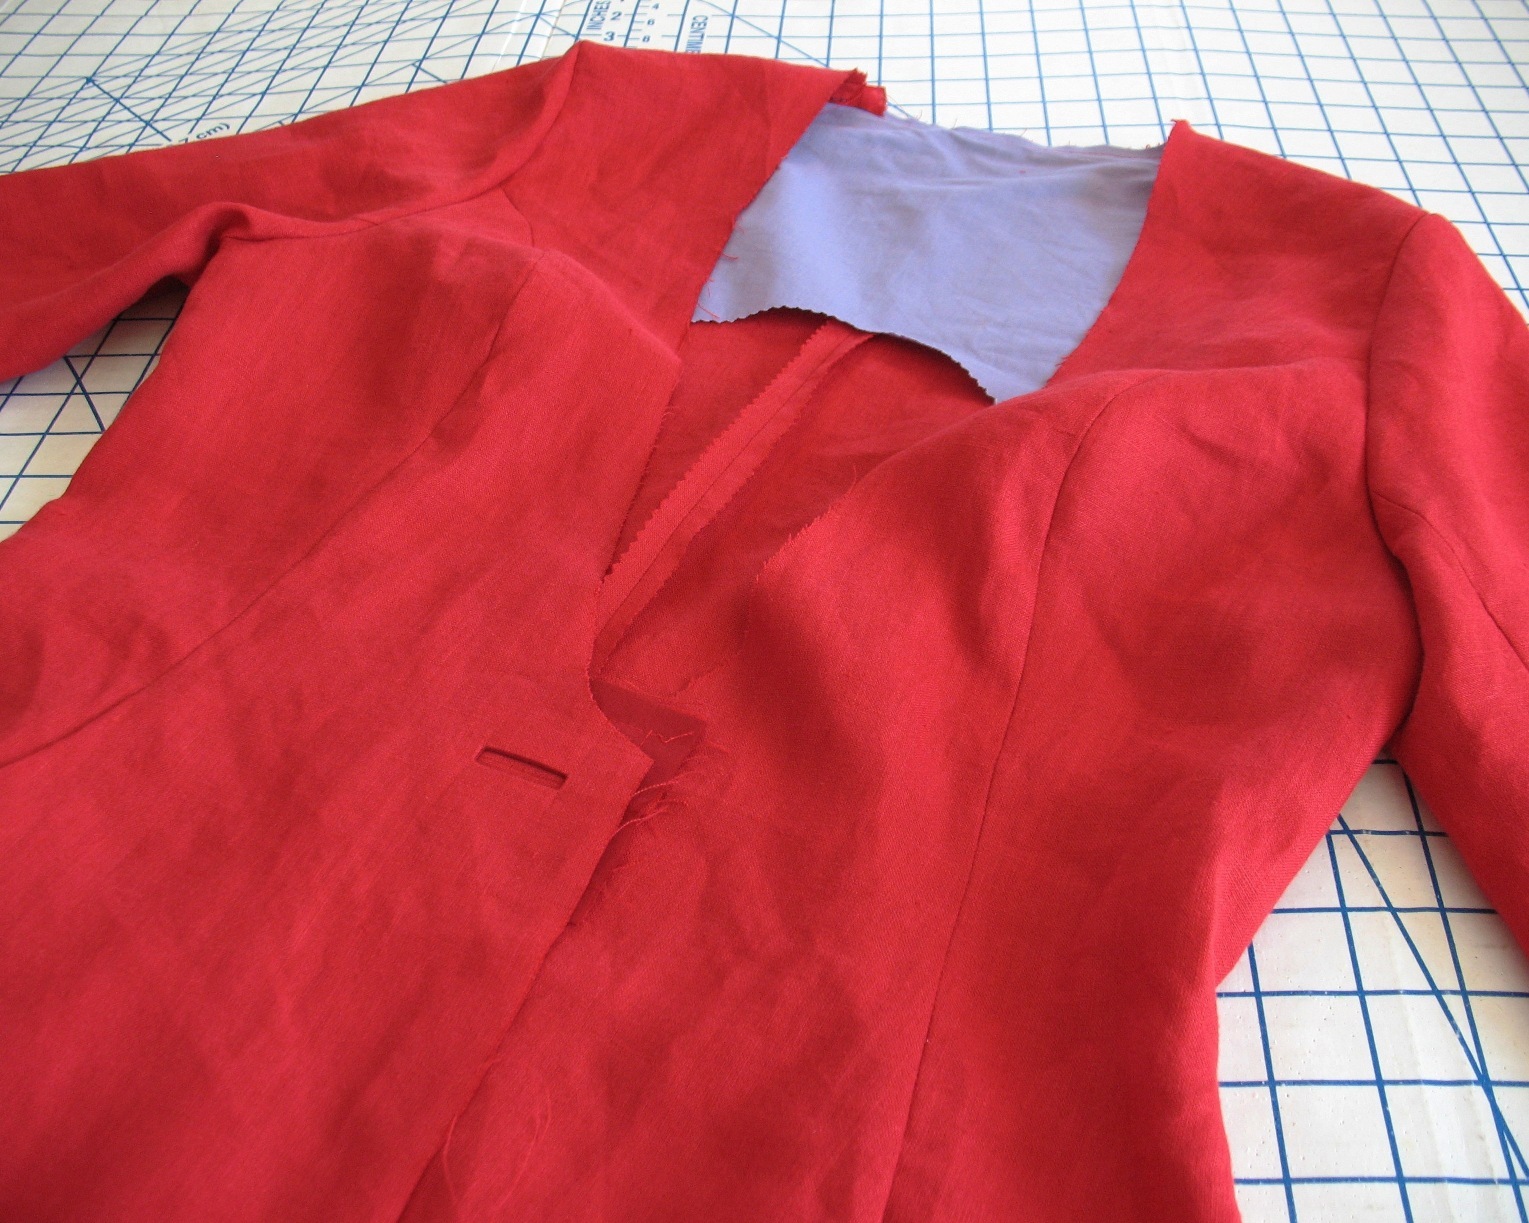
Time for one lonely little bound buttonhole.


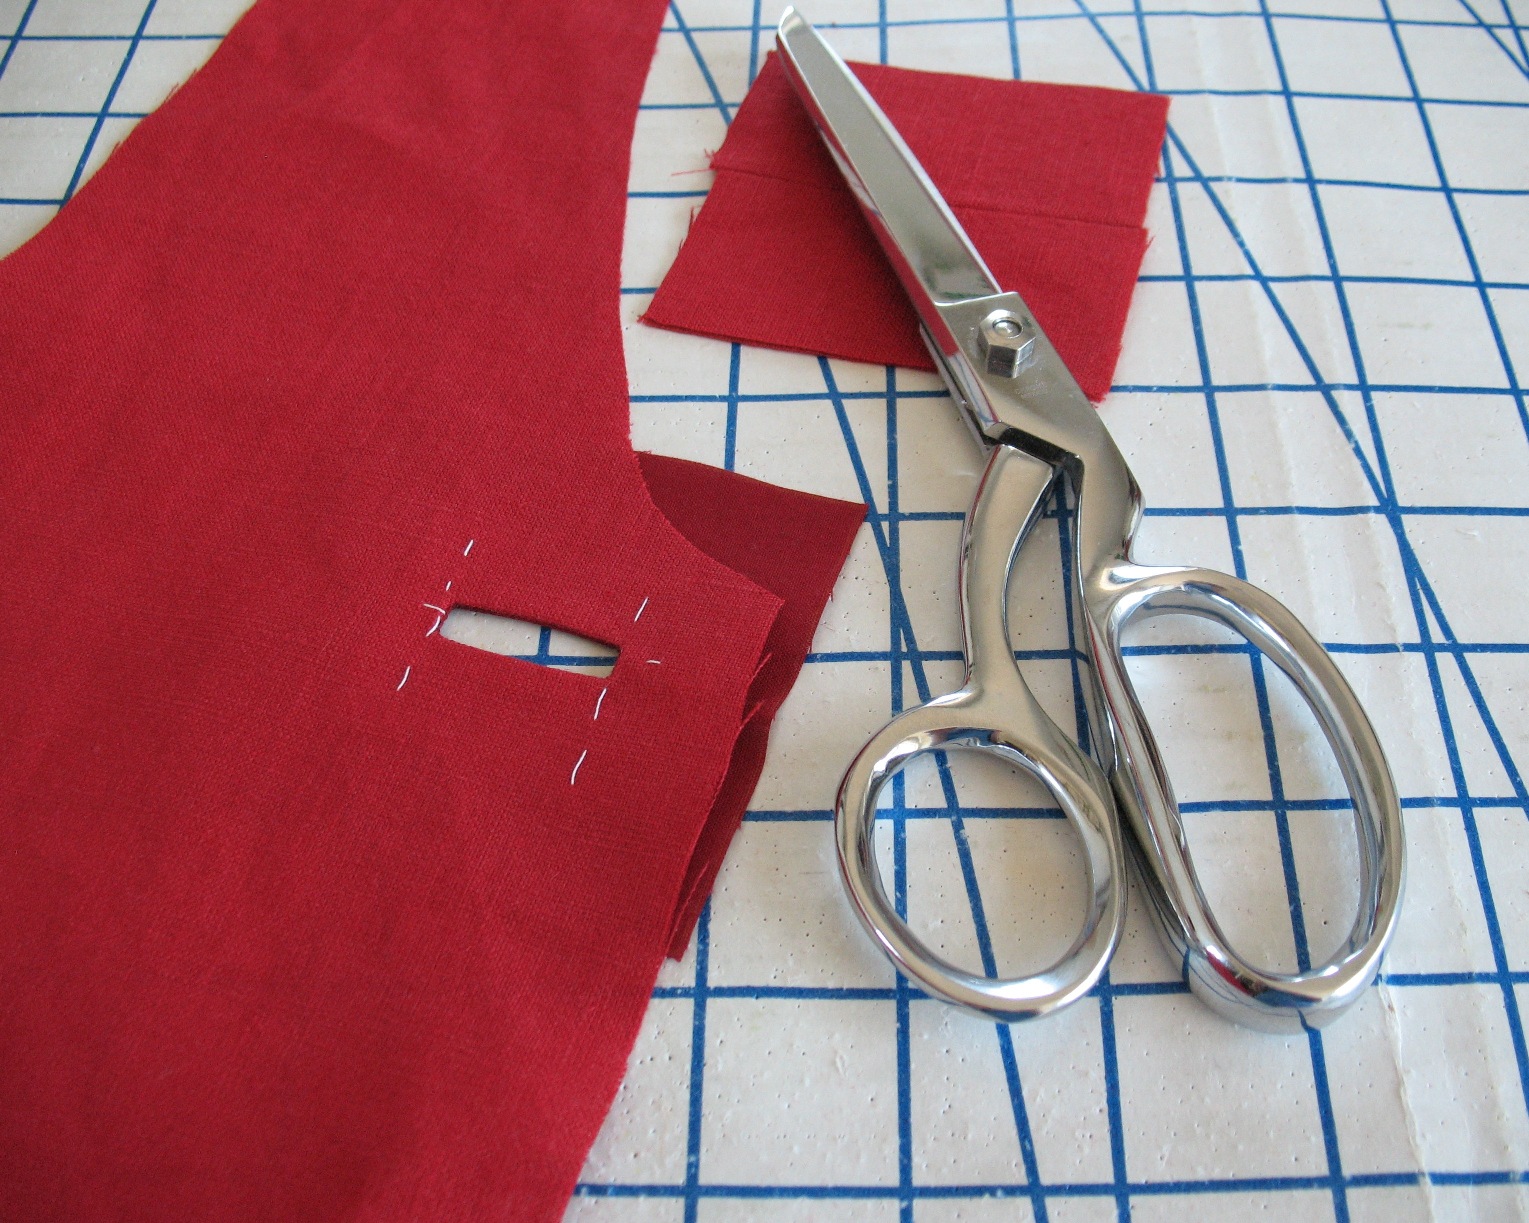
I generally prefer to do buttonholes before constructing the garment, so if I do not feel like cutting out little squares of fabric one day, the whole project gets sidelined.  Silly, but that seems to be the reality.


After that, the linen portion of the coat came together rather quickly and easily.  That being said, this pattern would probably be a little overwhelming for a beginner.


What I love about the instructions is the reminder to add stay tape to pocket openings and shoulder seams.  A gentle reminder to incorporate some tailoring techniques is a lovely addition to the directions, although they do assume that you know basic garment construction.


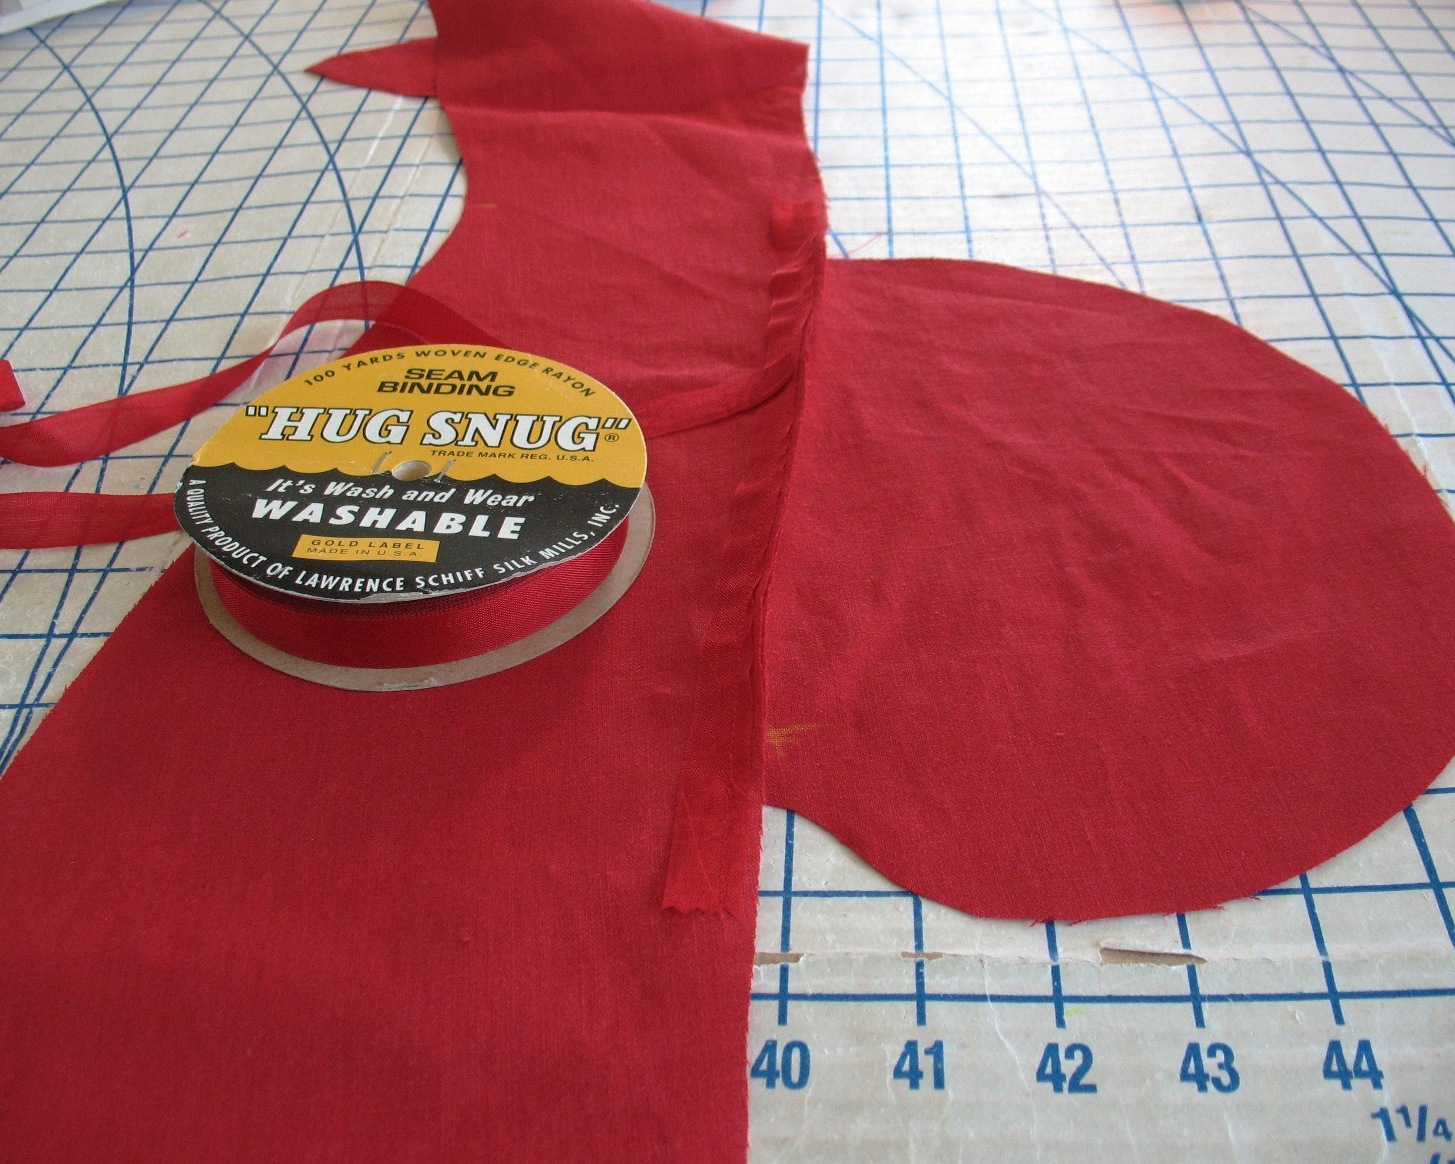
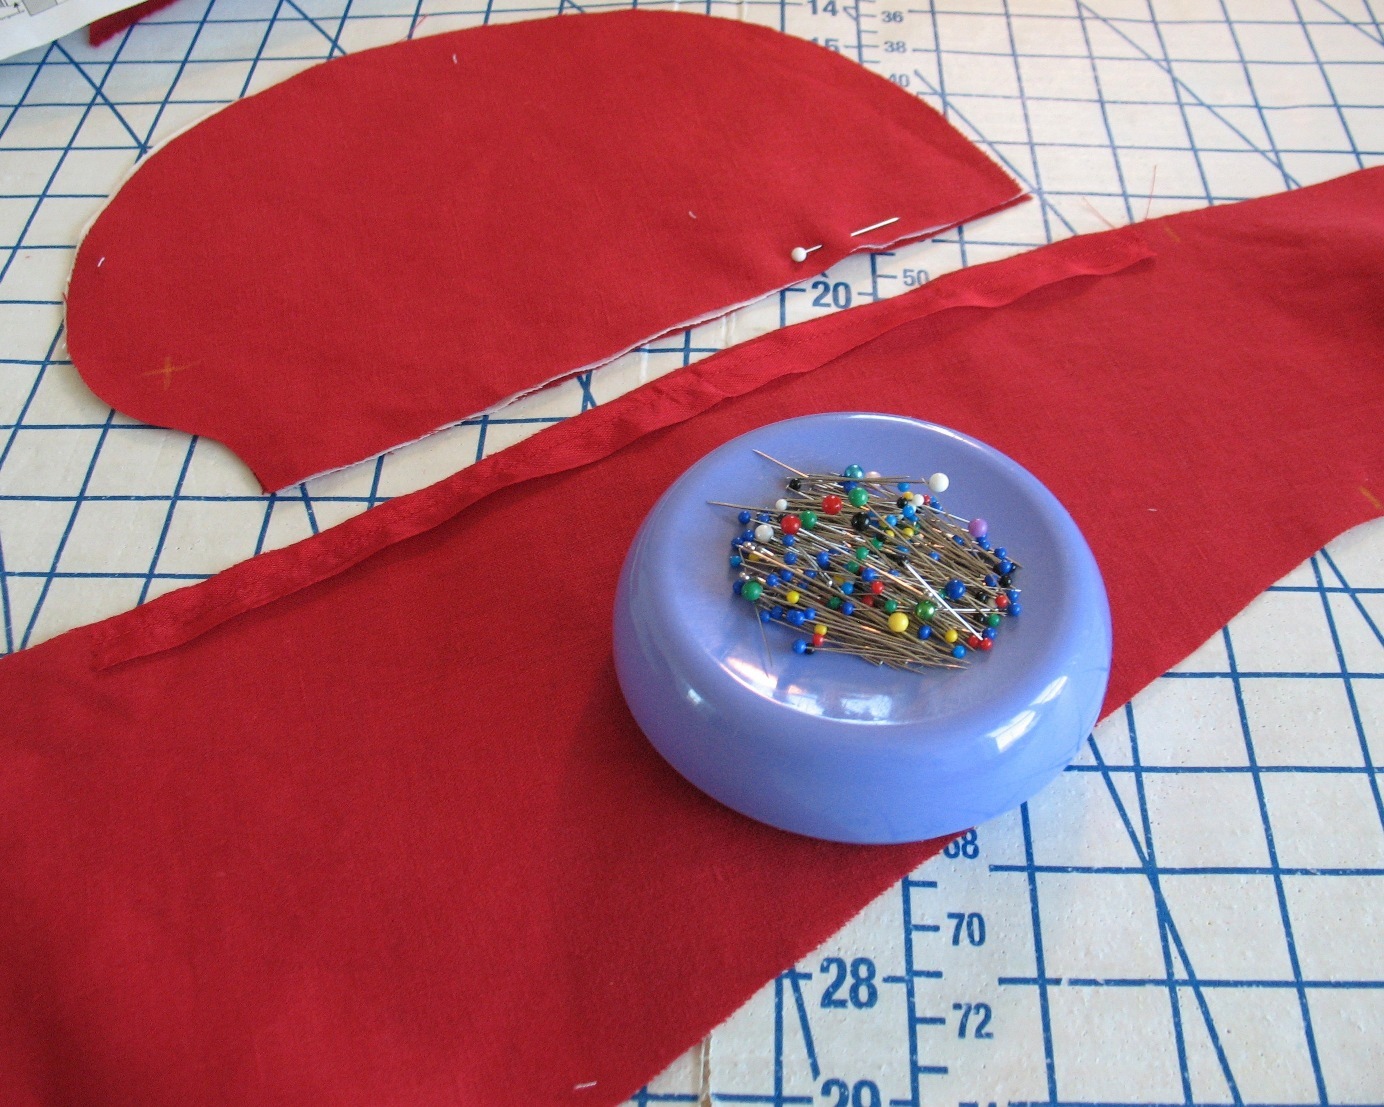
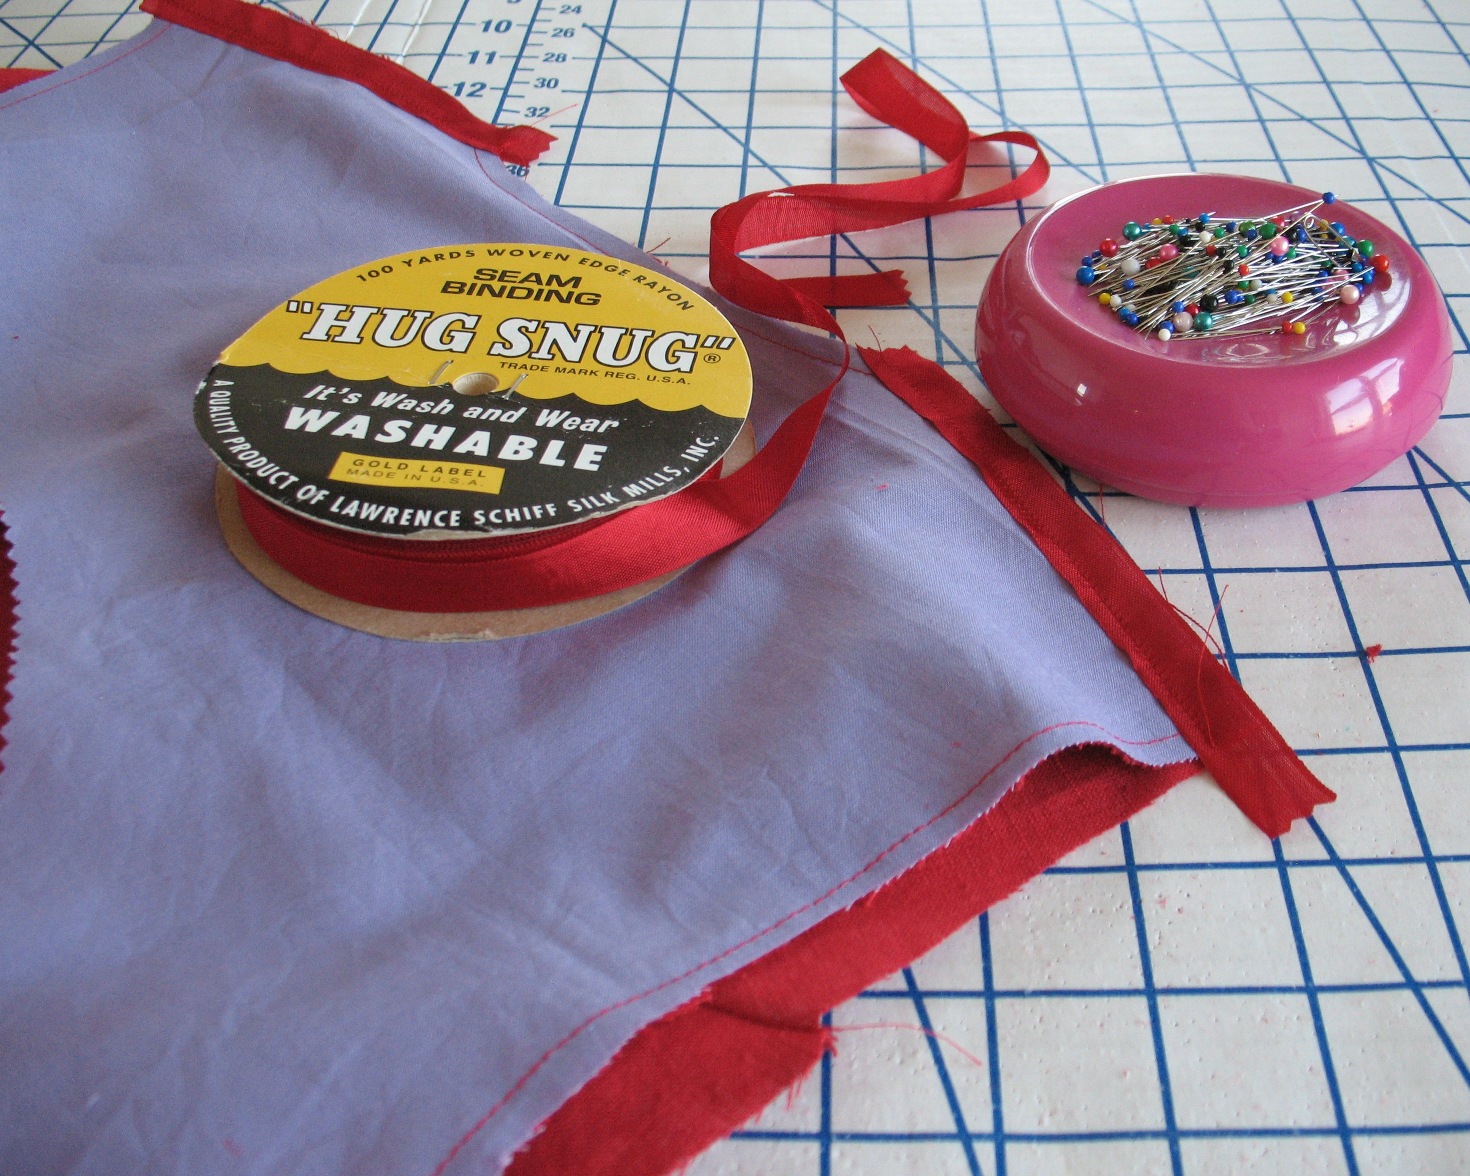
I went ahead and used my standby: rayon seam binding.  It may not be as sturdy as twill tape, but it absolutely does the job.


Because this coat is made of linen, I decided it really needed a back stay, so I whipped one up.


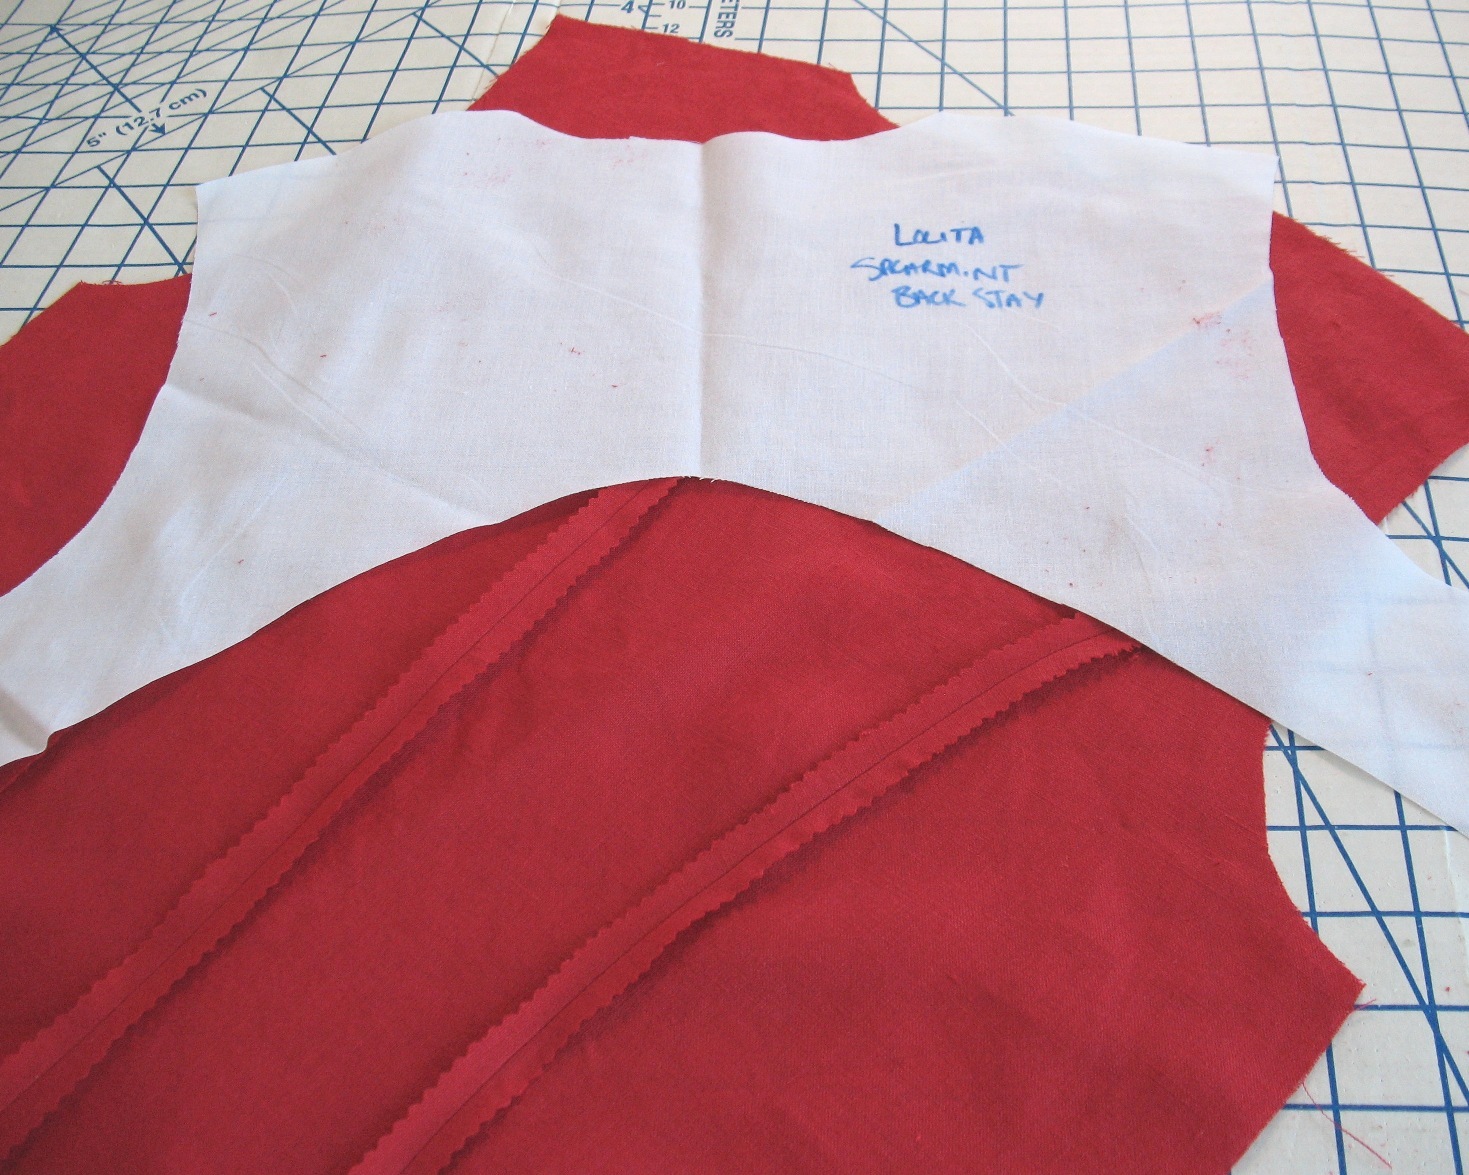
And then lo and behold, while exploring the Lolita Patterns blog, I came across a tutorial for the Spearmint sew-along.  


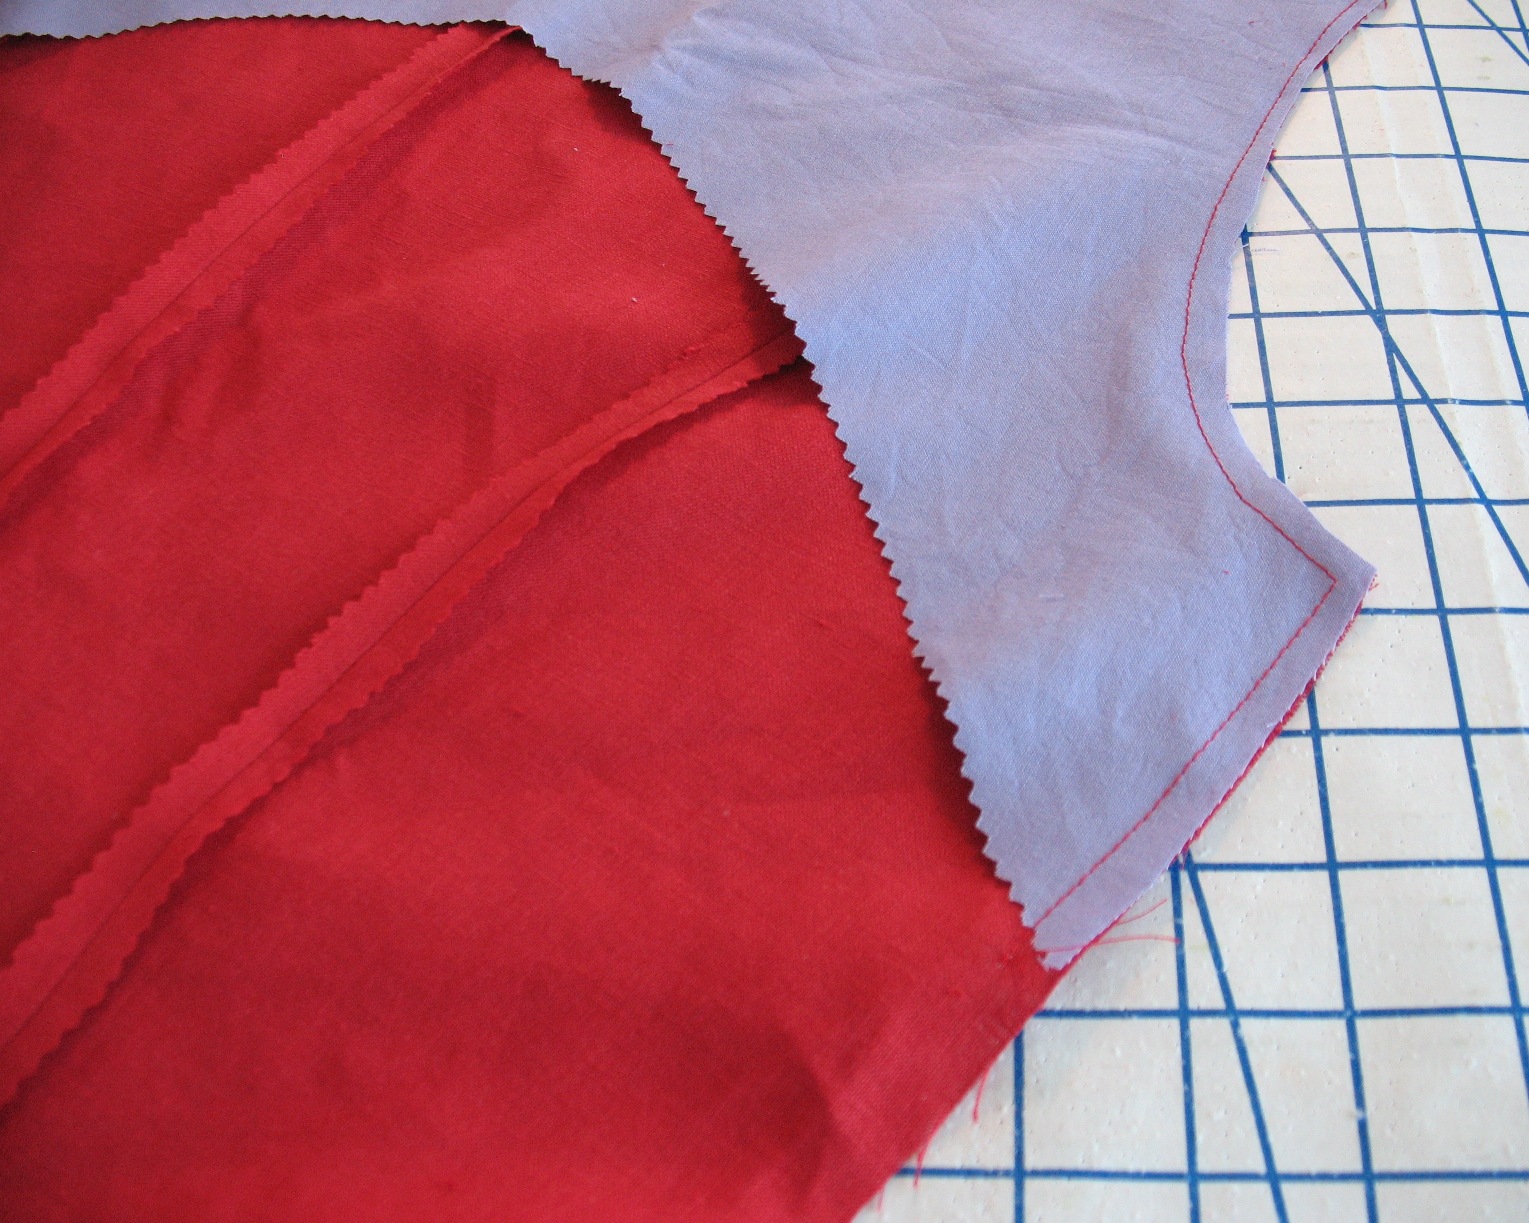
I like to use pinking shears on the edge because it is less likely to create a ridge on the outside of the coat.  And obviously, I also pinked the linen . . . it was starting to fray, and with the narrow 3/8" seam allowance given, that was making me nervous.


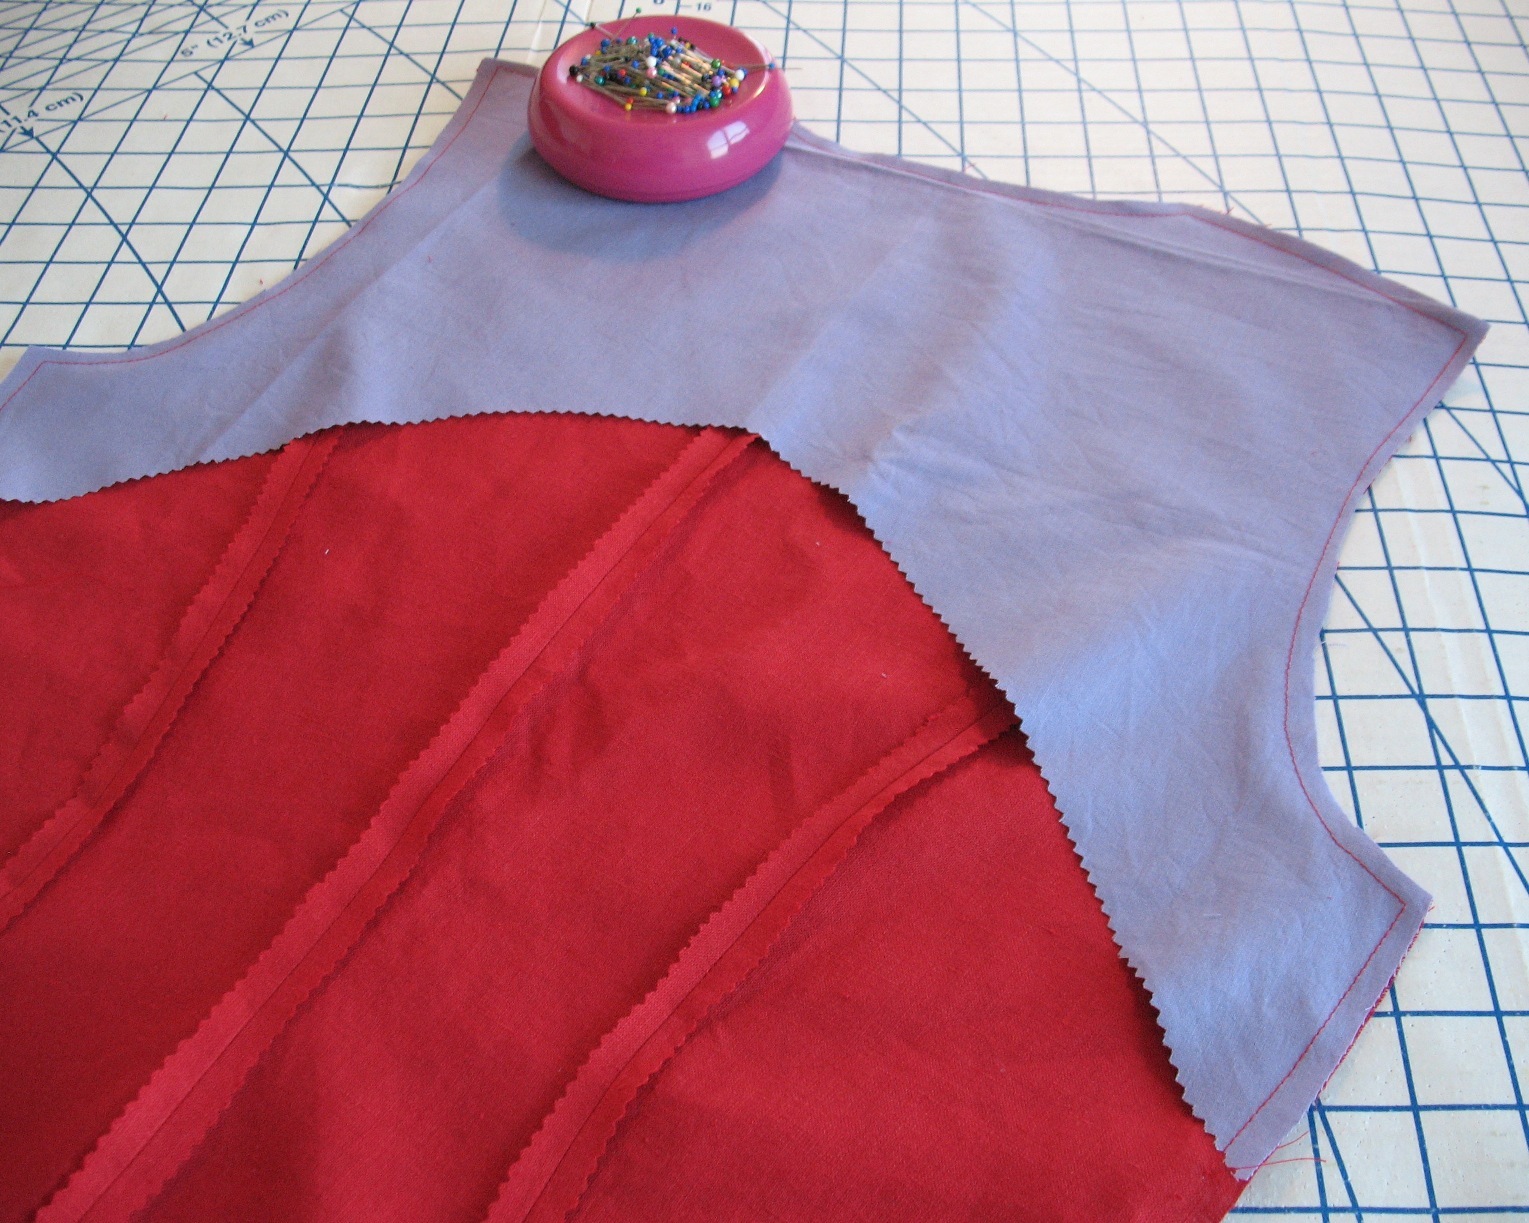
This project is turning out to be much more colorful than I was anticipating . . .


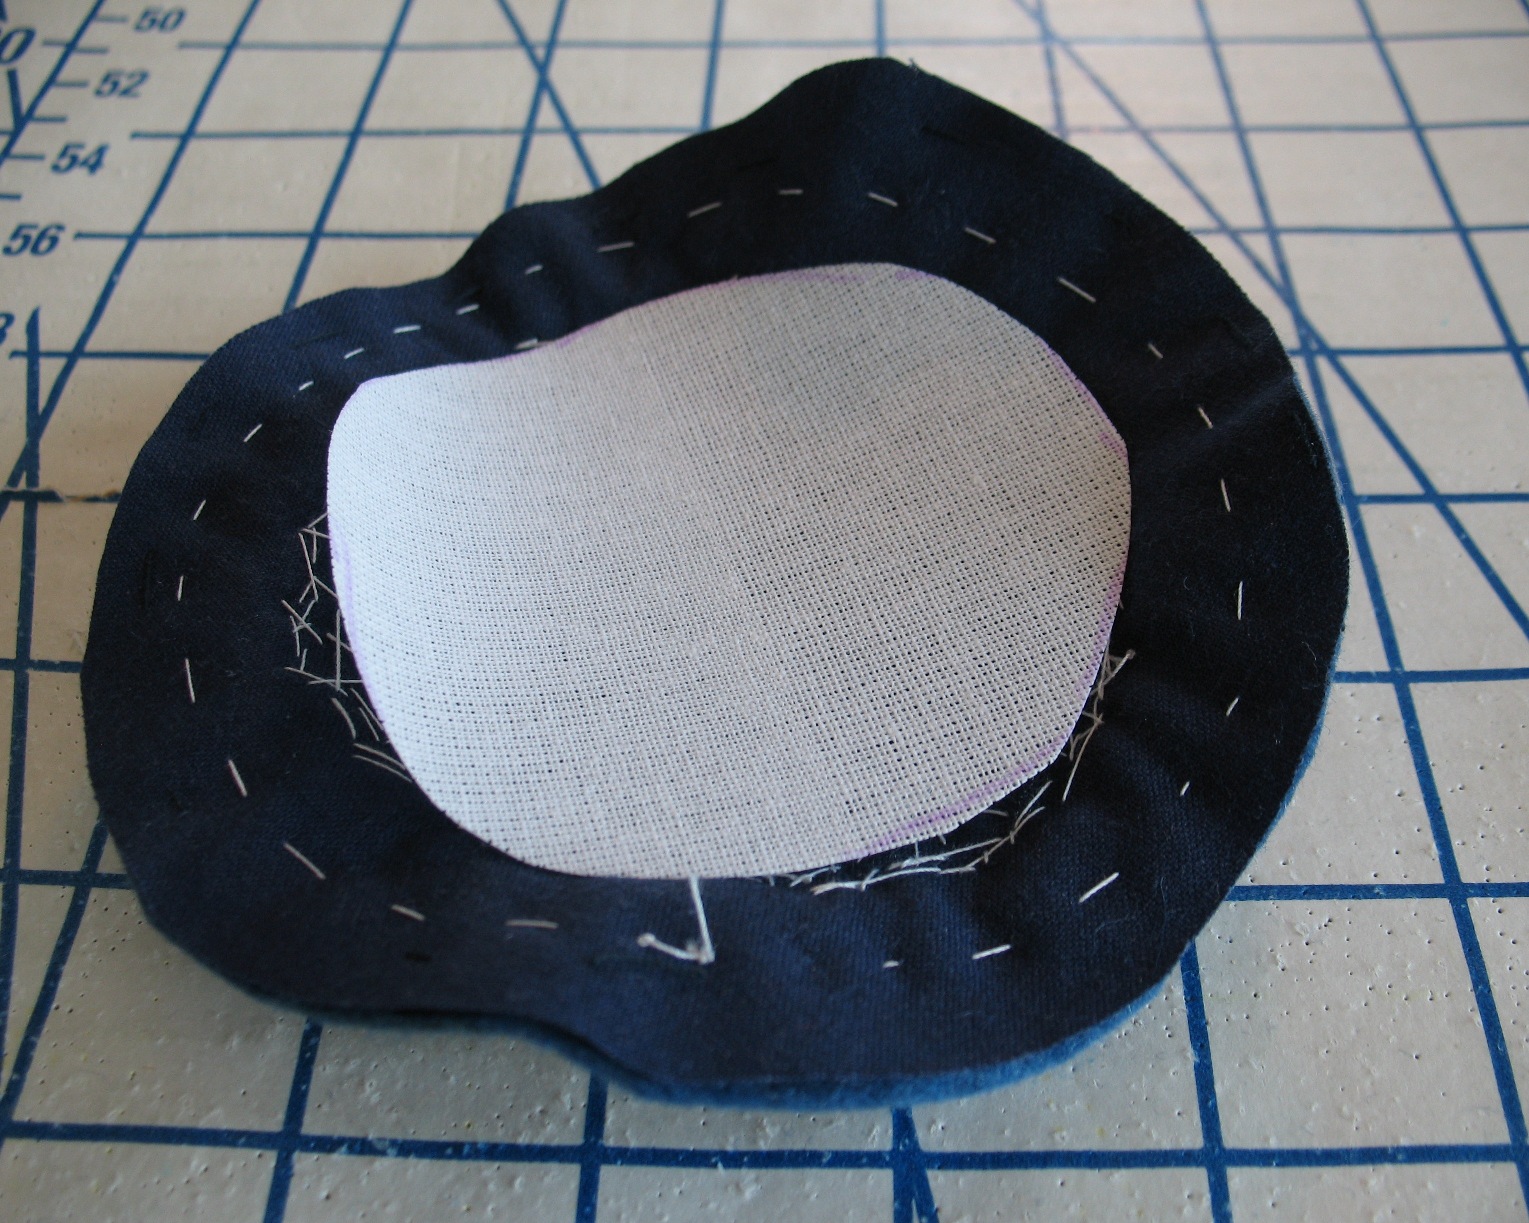
I ran out of red cotton remnants for interfacing, but thankfully, the lavender seems to work just as well.


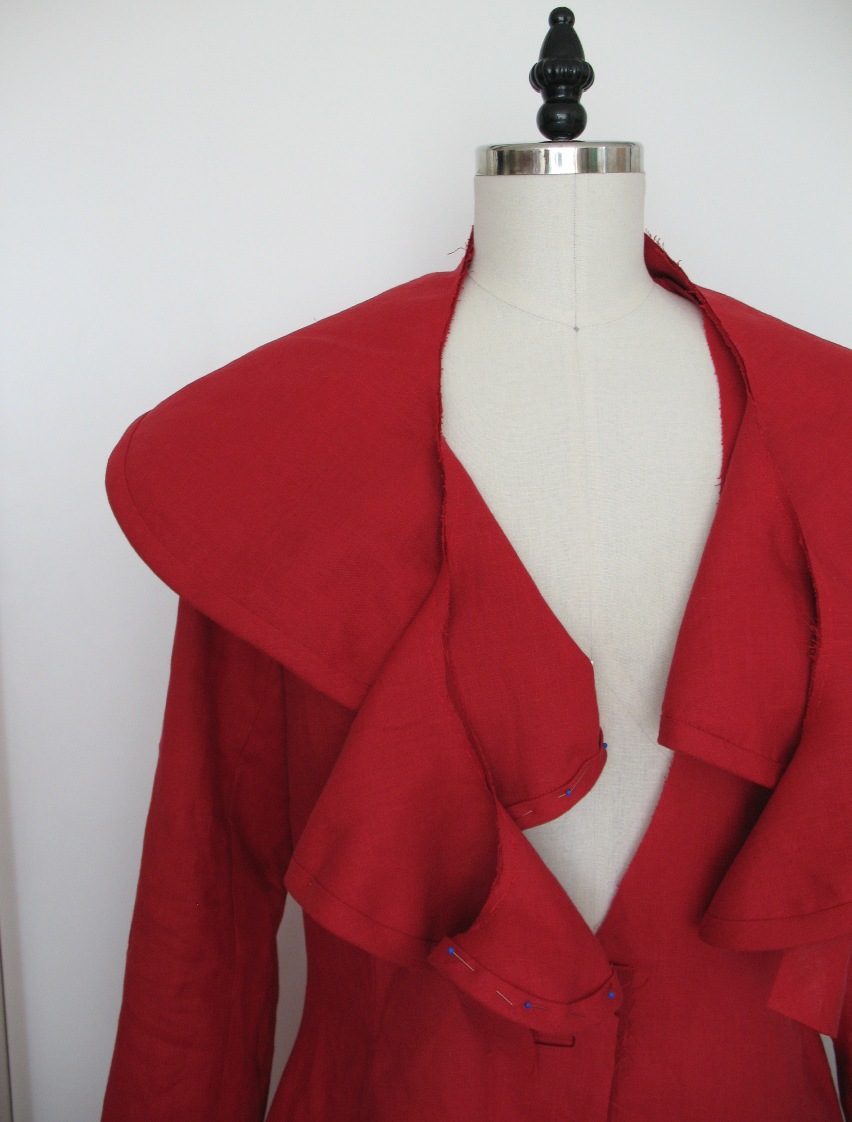
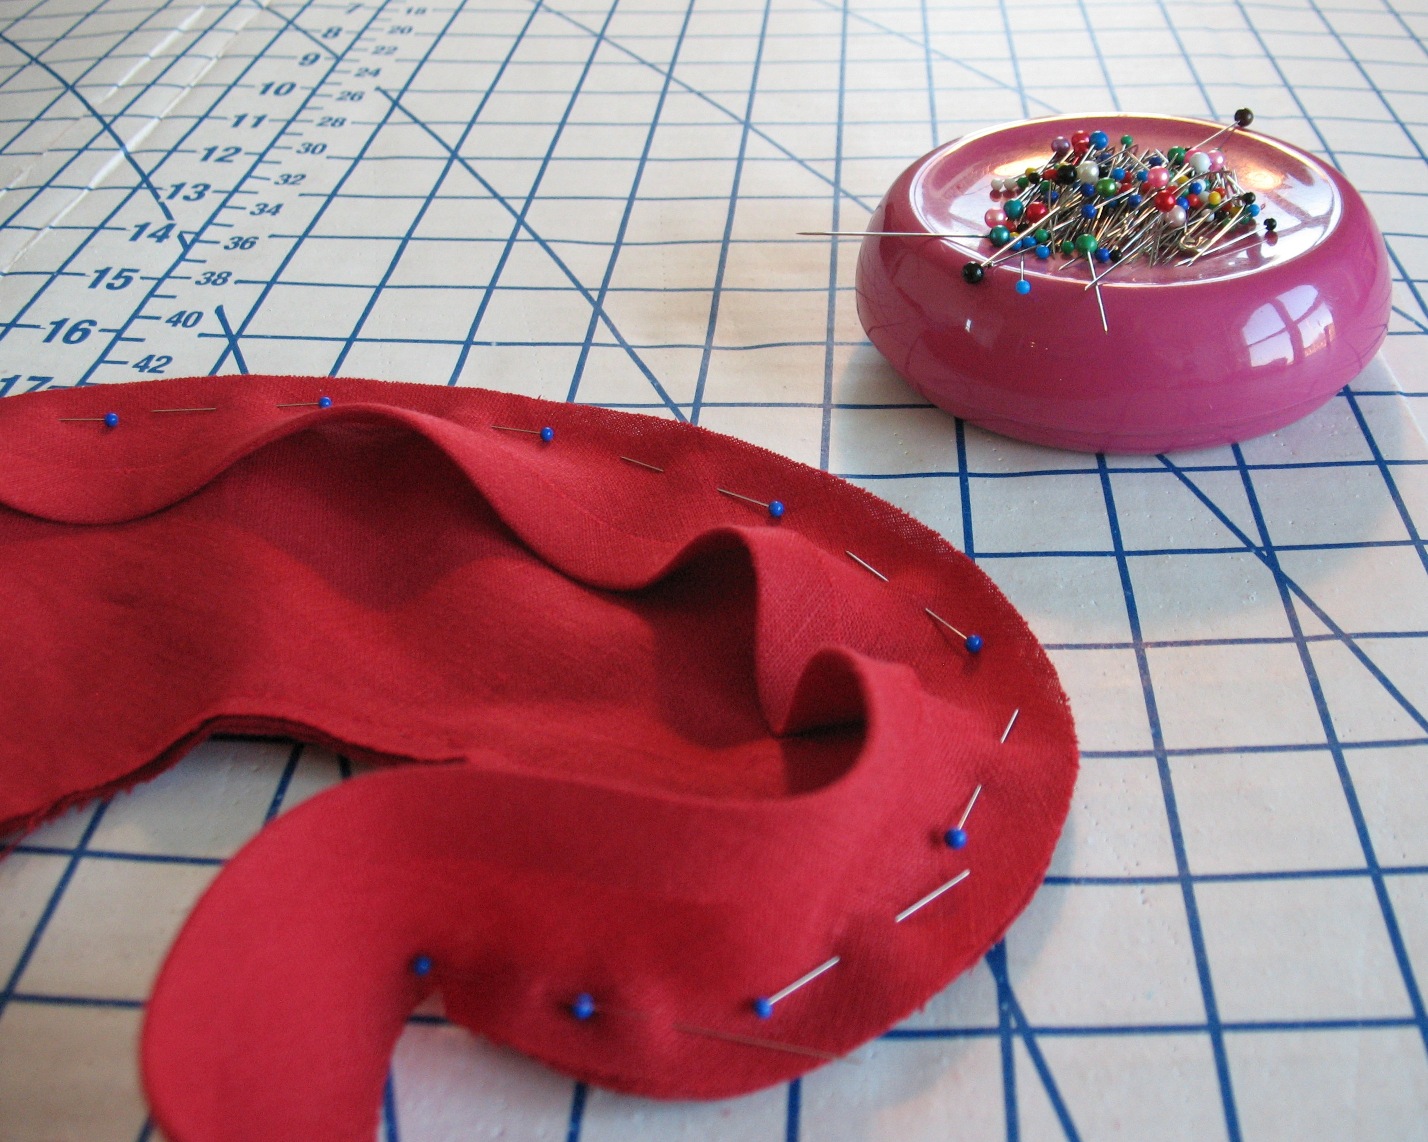
The collar layers were hand basted together.


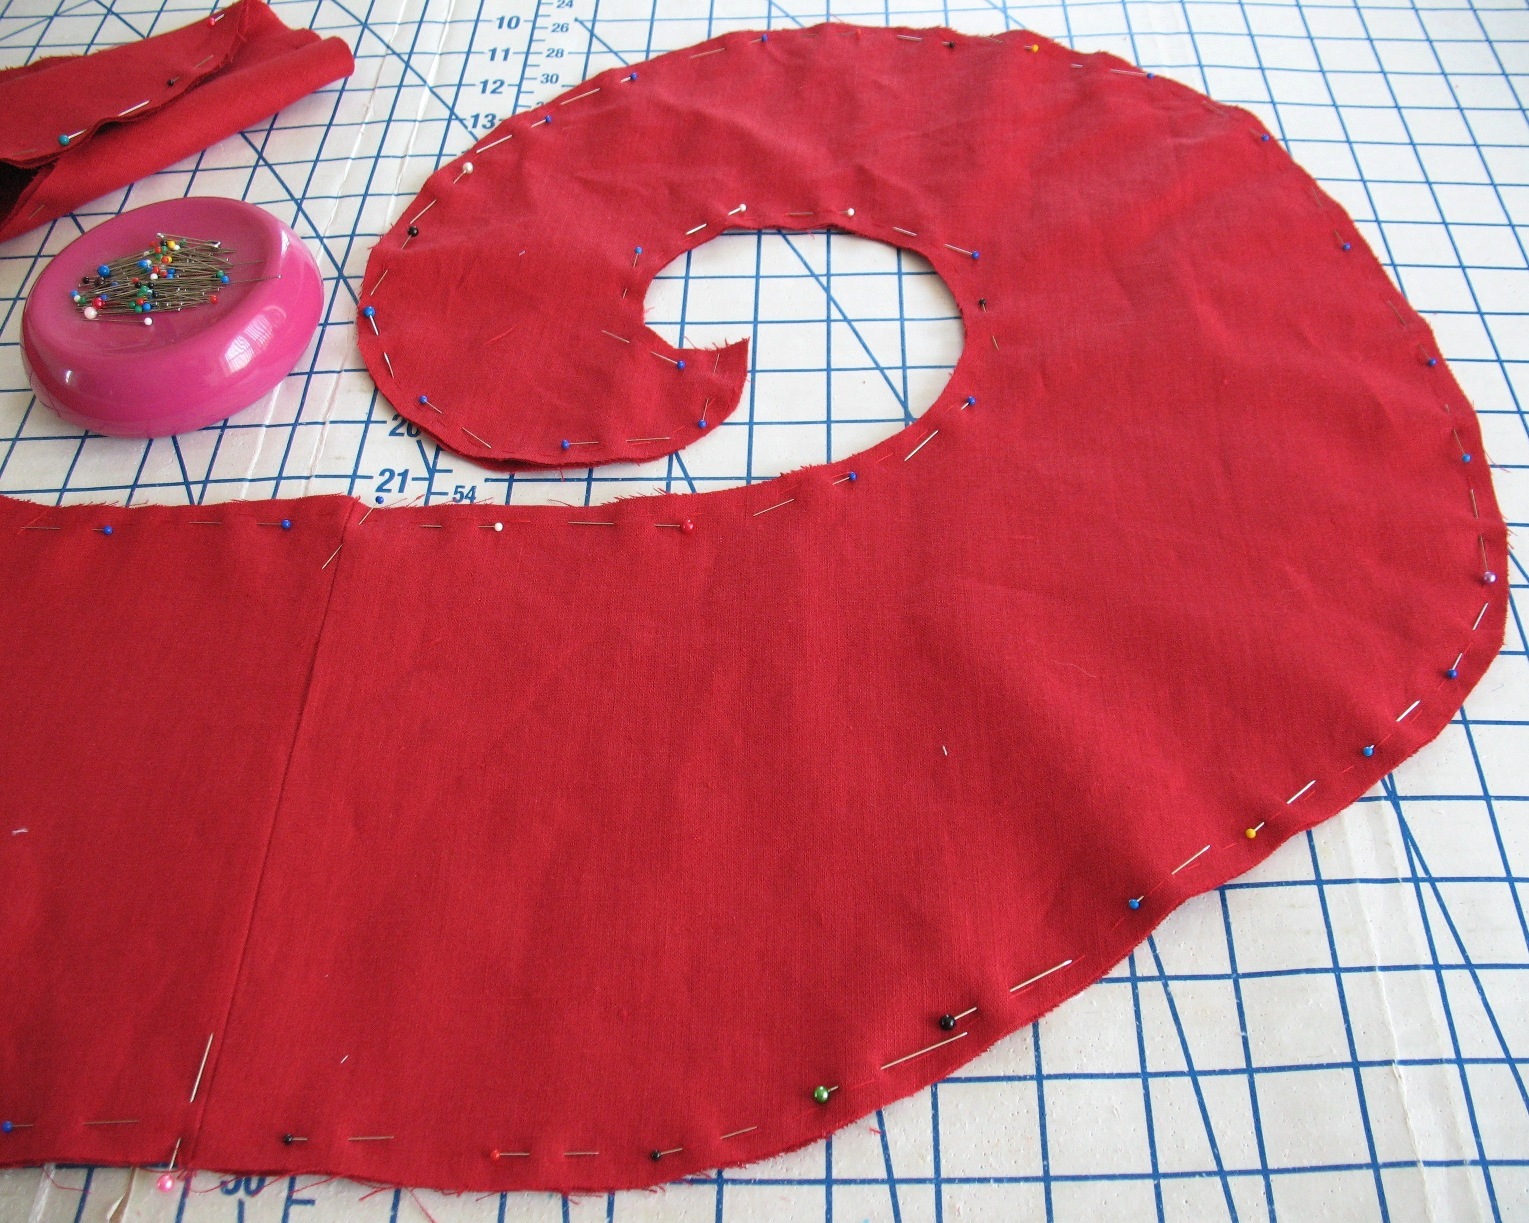
Next the edges were trimmed down to get rid of the seam allowance (remember, I am binding the edges).


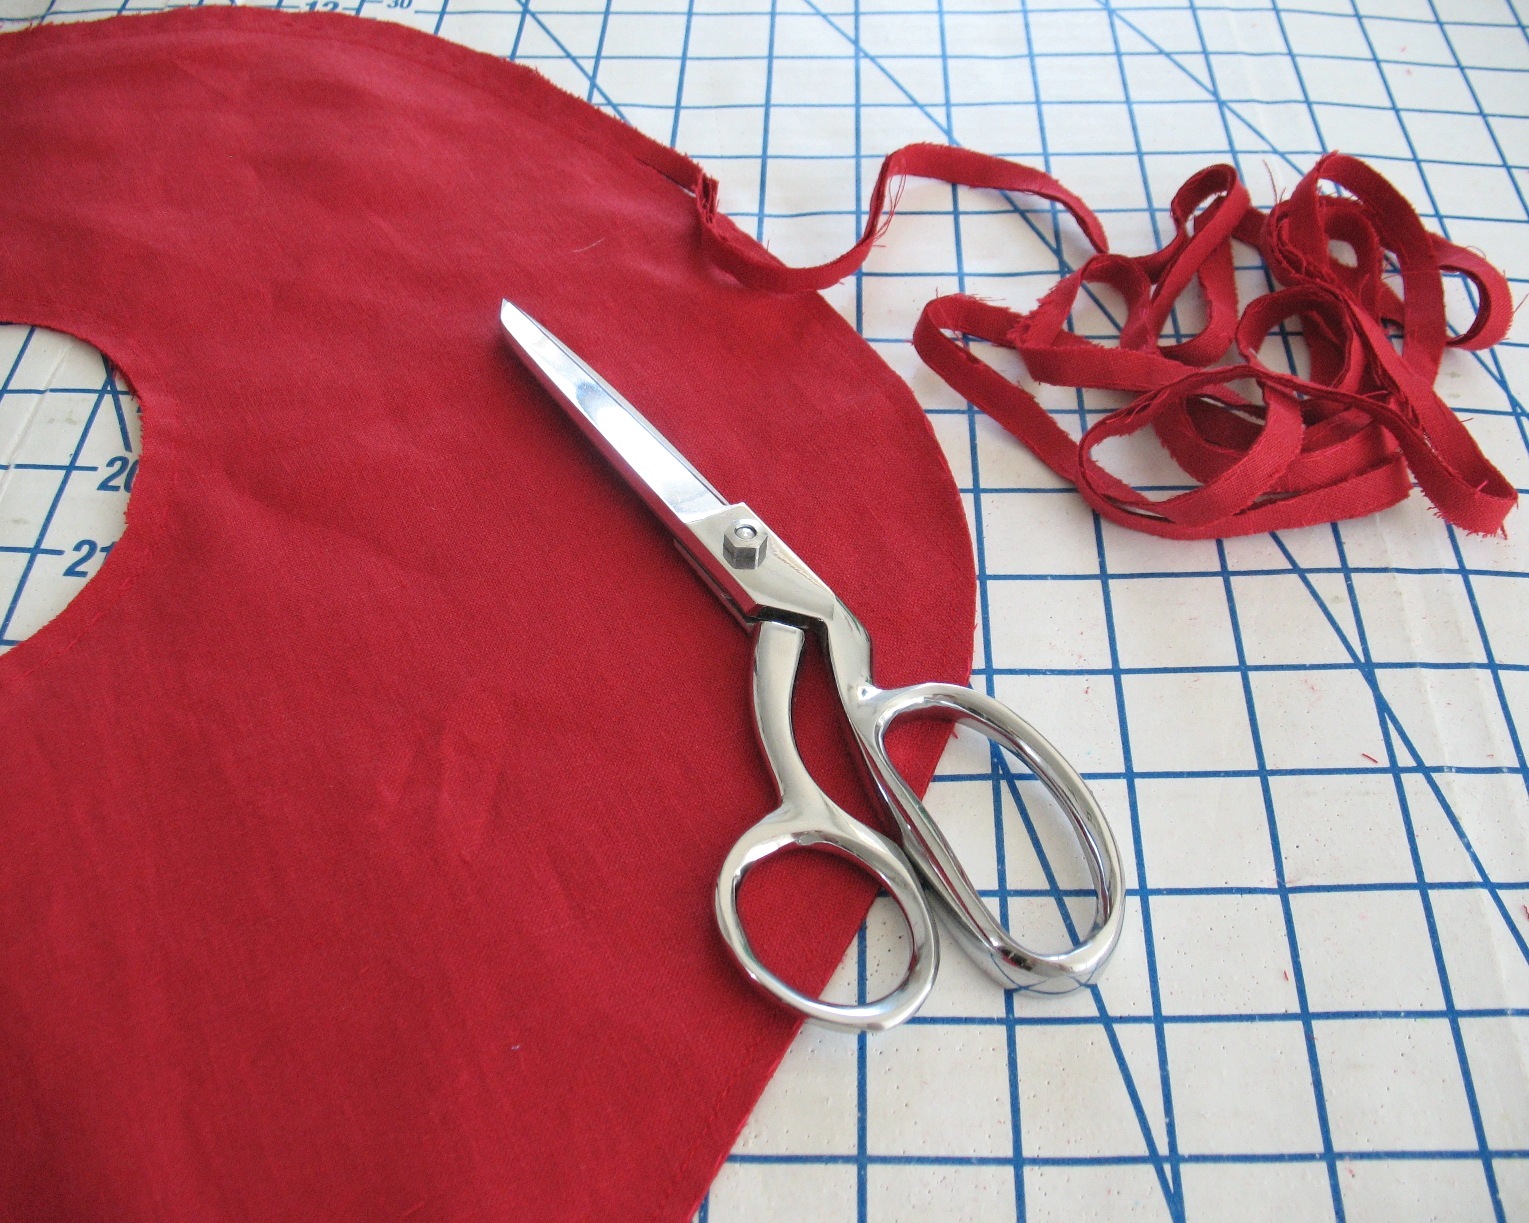
Then there was a lot of bias binding to cut, and some very curved edges to cover!


I still have to decide on my lining fabric.  There are two possibilities that I keep staring at, and one of these days I am going to choose! 


[The fabric for this project was received in exchange for my contributions as a Britex Guest Blogger.]

Saturday, June 14, 2014

Re-Vote


I thought I should check in regarding Sewing Indie Month. 

Today I had planned on announcing the winner of the Dressed to the Nines category.  Instead, I received an email from Mari on Friday afternoon that one of the entries believed that someone was fraudulently inflating votes.

The voting for this category is therefore going to get a do-over.  It would seem, although we cannot prove, that there has been some tampering with the polldaddy results, and Mari has posted the re-vote on her blog along with some very thoughtful words on this issue

For me, this feels like a violation of trust.  Perhaps that is an overreaction, but I have had so many lovely and truly wonderful experiences with the sewing community (both online and in person) that this situation is extremely hurtful to me.

I am going to choose to believe that some random person is responsible.

I would personally like to apologize to every one of you who put all of that time and love into your beautiful garments - I am so very sorry that this amazing community event has been sullied by one mean-spirited individual.  I am also angry on behalf of Mari who spent goodness know how many hours and put a massive amount of energy into this project.

This morning, I am determined not to let one troll spoil my lovely experience with an incredible group of people that I feel privileged to know.  So I am going to cuddle with Tino, cut into some cheery oversized polka dotted fabric, and read some of my favorite blogs to reaffirm my love for the sewing community.  Because I simply cannot and will not believe that this was one of us.


Thursday, June 12, 2014

Britex Fabrics Workshop Launch Party

If you have never managed to get to Britex Fabrics in San Francisco, here is the perfect excuse:  their new workshop space is opening, and to celebrate, they are throwing a party on June 28th!


Along with five other fabulous local bloggers, I will be speaking about some of my sewing/blogging adventures.

For all of the specifics, click here.  Because there has been such a wonderful response, make sure to register for the event - it sounds like it is going to be a full house.

Hope to see you there!!

Wednesday, June 11, 2014

Polka Dotted Fancy


Last week I welcomed another polka dotted dress into my wardrobe!  I even managed to finish the outfit a whole twenty-four hours before the Marin Symphony fundraiser at which it made its debut.


Which is a welcome change from the usual last minute rush!


My Sewing Indie Month projects were put aside to accomplish this, but I have not forgotten about them.  I am busy beading and my Spearmint coat is currently on the sewing table.


Since there were leftover pearl beads from making my double stranded necklace, I went ahead and used them for a matching bracelet.  Because pearls are the perfect accessory for polka dots!


I intended to wear a pair of gloves with the ensemble, however, the morning of the event, I managed to get a nasty tear in one of my nails which made getting them on and off a rather painful procedure.


They would not have stayed on for long anyway, since I was signing people in for the evening.


With or without the gloves, I am very pleased with the dress.  Dropped-waist garments are supposedly unflattering on long-waisted individuals such as myself, but I think they actually camouflage the problem.  Yet another reason to ignore fashion "rules."


Best of all, the dress was the perfect excuse to wear a crinoline (which has been neglected as of late)!  I am going to need to move the hook & eye on this one because it keeps slipping below my waist.


I may even make another version of the dress in wool (with sleeves & without the capelet) once the weather turns. 


This dress has only furthered my obsession with capelets, and I will definitely be keeping my eyes open for another pattern that includes this design element!  


Dress:  Made by me, McCalls 9245
Belt:  Made by me
Necklace & Bracelet:  Made by me
Fascinator:  Made by me
Shoes:  Halogen

[The fabric for this project was received in exchange for my contributions as a Britex Guest Blogger.]

Monday, June 9, 2014

Vote for the Winner of the Dressed to the Nines Sew-Along

Sewing Indie Month has come to a close (it has been wonderful sewing along with all of you!) and it is time to vote for your favorite entry in the Dressed to the Nines sew-along contest.


Because of the large number of entries, the sew-a-long leaders and participating companies made a short list of entries for people to vote on in each category.  The Dressed to the Nines entries that have made it to the next round are as follows: 


Voting will close June 13th, so be sure to check out all of the gorgeous makes before clicking through to cast your vote for your favorite!

Thank you to each and every entry for all of your hard work, and for sharing your beautiful creations!

Friday, June 6, 2014

The Perfect Pearl


An ivory and navy polka dotted dress definitely needs a strand of pearls!  I have come across quite a few vintage images, but have never been able to find a double strands of pearls of my own.


The simple solution was to make one!


I rescued a clasp from an old strand of costume jewelry in terrible condition, added a bit of silk thread, and this is the result.


I also knew that I wanted to make a hat or some sort of hair ornament for this dress.  I purchased some Russian veiling with the thought that I would need a suitable navy for my hat.  And while stringing the pearls, I realized that I should continue the theme.


Out came my stash of glass pearls.  They do not match the necklace, but I had plenty of them in varying sizes.  And it went so much more quickly than beading with tiny seed beads!


I started with a piece of felt, but decided the weight of the pearls needed more oomph, and added a scrap of cotton before I started stitching everything down.  The 6mm beads were stitched first, followed by some 4mm beads to fill in the spaces, and then I added a few seed beads for more coverage.


A circle of buckram was added to the back, along with another layer of felt to keep the thread nest contained!


The edges were trimmed, tucked under, and that last layer of felt stitched in place.


I really wanted to use the veiling as an actual veil . . . but I just could not make it look the way I wanted for this project.


Instead, I added it as an embellishment to the pearl base. 


The final step was to add a couple of clips to the back for obvious reasons.


It is a bit heavy (anything encrusted with beads is going to be), but the two clips kept it in place for the entire evening, so I would call this one a success!


Tuesday, June 3, 2014

Buckled Belts


This dress design does not include a belt, but the View B illustration is styled with one, and I really like the look.


I love the idea of a belt added to a dropped waist silhouette.  Since there was enough fabric leftovers, I decided to make myself one.


The neckline has a center front point which I decided was a good reason to use a centered point on the end of the belt (not my standard belt construction, but worth the extra time).  


For this particular belt, I interfaced the fabric with a fusible, added a layer of thick interfacing (it was described as belting when I purchased it years ago, but is rather pliable), and wrapped the raw edges around one more layer of stabilization (it is called crinoline hovotex and says it is suitable for supporting skirts and why I purchased it, but in reality it is rather papery, and I think it would get bent out of shape rather easily in a skirt hem).


The two belt layers were then sandwiched together and stitched along the edges.


My original intention was to use the center front bodice piece as a guide for the belt width.  But since I wanted to use a covered buckle, I was limited in my options. 

This is one of three Prims Buckle Kits I picked up at Exclusive Buttons.  This dress is absolutely worth the sacrifice of using one of these precious kits, but I always feel a tinge when I do.  They are far superior to the kits currently made with an adhesive covering, and are rather difficult to find.  Why, oh why, did they stop making these kits?!  I would love to find some of the oval versions someday.  Dritz/Prym Inc. still makes button kits with the teeth and back plate that snaps into place, so I am not sure why they stopped manufacturing these.   


Turns out, the width of this particular belt buckle matches back perfectly with the center front bodice band.  Which is fabulous!  Now I just need to find a contact at Prym Inc. so I can harass them until they promise to start making these useful notions again!