Showing posts with label Vogue 8433. Show all posts

Saturday, November 2, 2013

A Happy Belated Halloween to You!


There was no time to make something new for Halloween this year.  Well, I suppose there was, but my Gala Project exhausted any sewing energy I may have had in the last few days!  And besides, there are plenty of costumes in my closet that could use the attention.


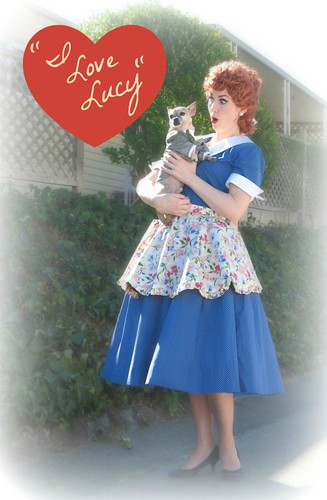
I Love Lucy is one of my favorite television shows, and who doesn’t love Lucille Ball?!  Supremely talented, hysterically funny, and incredibly gorgeous. 


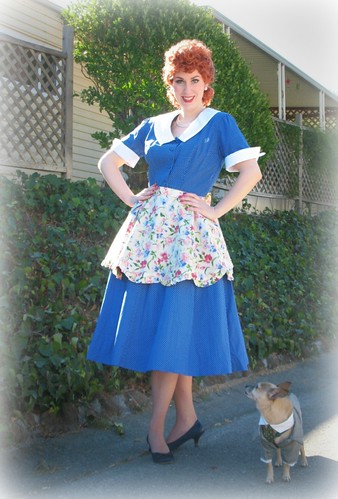
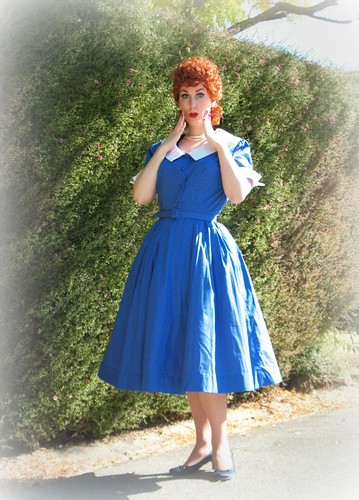
A few years ago, I decided I needed an I Love Lucy costume.  But which dress to choose?!  Blue polka dots seemed the most iconic (there are a few different versions that were worn on the show) so that was where I started.    I stopped by Britex during their annual in-store sale, which happens in October, and is the perfect excuse to go Halloween fabric shopping; I came home with some polka-dot yardage along with some white eyelet.


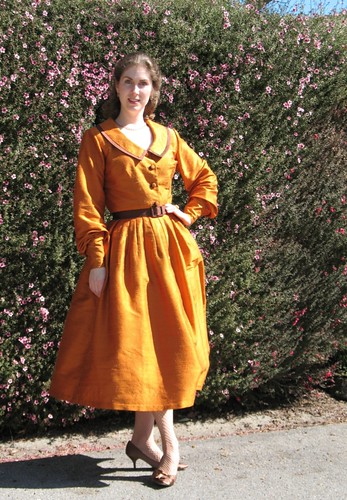
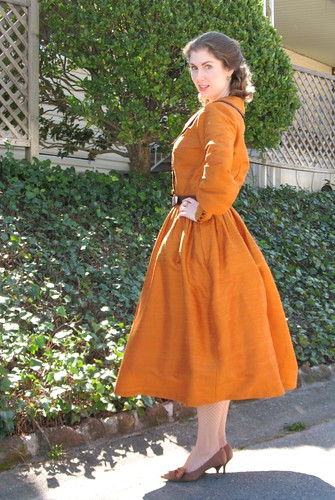
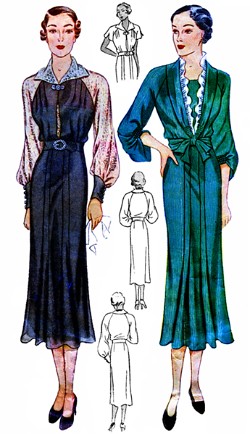
Vogue 8433 is a vintage pattern from the 1950s, which seemed incredibly appropriate.  There was not quite enough fabric to cut the pattern out, so I improvised the skirt and pleated in the excess until it fit the bodice waist.  And, of course, it needed a matching belt and buckle!


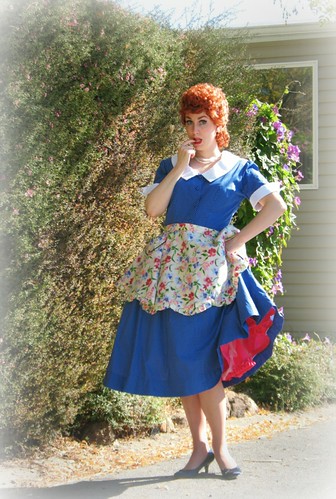
But something was still missing.


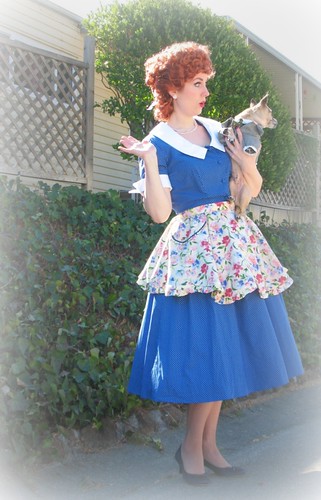
An apron seemed like the perfect addition.  I started with Butterick 6567, added a ruffle to the bottom edge, and messed about with some rick-rack trim.  


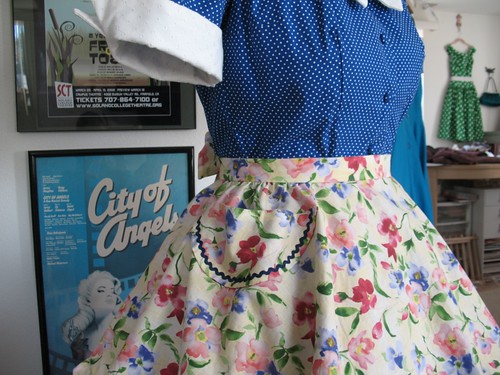
The pattern is fabulous!  I have made quite a few versions – they make fabulous gifts and are the perfect excuse to use adorable quilting cottons.


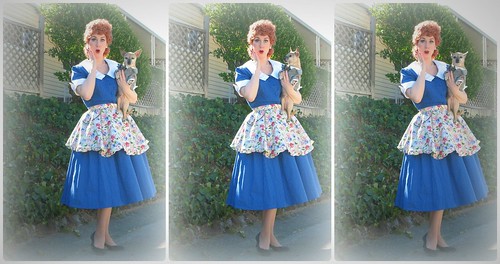
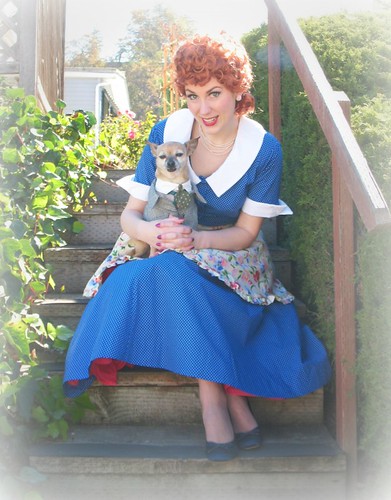
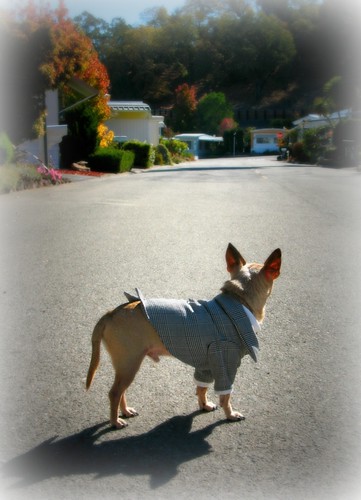
And Mr. Valentino had to be included.  He loves all the attention/treats he receives when he is dressed up!  For his jacket, I started with Simplicity 3939 for a bit of help with armhole placement, etc.  It might look familiar because I also used it for his Mad Hatter costume last year.  The tie and collar were easy enough – just a quick neck measurement was needed along with some cotton scraps.


Another Halloween, another excuse to wear a silly costume! 

Lucy
Dress:  Made by me, Vogue 8433
Apron:  Made by me, Butterick 6567
Petticoat:  Made by me
Earrings:  Thrifted
Necklace:  Banana Republic
Shoes:  Franco Sarto

Ricky
Jacket:  Made by me, Simplicity 3939 (with significant alterations)
Collar and Tie:  Made by me

Friday, March 8, 2013

Bi-Colored Buttons!


There were a few questions about the bodice buttons on my pumpkin frock - I just love that you notice the details!

I knew I was going to have to add brown accents throughout the dress so the color pairing looked purposeful.  The contrasting buttonholes were a given, and I thought adding bi-colored buttons was the next logical step.


Basically, a plastic ring (found in the notions or upholstery section of your fabric store) is covered with a circle of fabric, the covered button is applied to that covered ring, and one more little circle of fabric finishes off the back of your brand new button.

Casey has a fabulous tutorial that explains things brilliantly, so I will send you over there if you are looking for a step by step run-down.


And make sure to check out my tips and tricks for making your covered buttons look fantastic!

Something to keep in mind is that a purchased button can be substituted in place of the fabric covered button (if it was good enough for Chanel, it is certainly good enough for me!).  This can be very helpful if finding a perfectly matched button is an impossibility – wrapping some matching color around a contrasting button can help to pull everything together.


The most important thing is to have fun playing with different button combinations!

Saturday, March 2, 2013

Color Association


Ever since a high school friend showed up to class one day in her cheerful pumpkin colored sweater, the hue makes me happy.  If perhaps it does not make my complexion quite as happy, so be it.


This is, in fact, the second version of this lovely vintage pattern I have made.  The first was for my Lucy Halloween costume


For my second, I decided that a few alterations would be fun.  Also, the first time around, I just gathered the skirt pieces because of time constraints, so I wanted to try the darted skirt look.


I ditched the pattern sleeves (well, except for the sleeve head portion) and added the bottom half of this reproduction.


As I have mentioned, I did not quite have enough of my pumpkin silk dupioni, so my original idea had to be amended.  The oversized collar was out.  I also knew I would not have enough for a self-fabric belt, which I had set my heart on.  And a bit of width was taken from bottom edges of the skirt pieces to squeeze everything in.


I may have abandoned this project altogether if it were not for the fact that I had finished covering all of those buttons!  Silly, I know, but at least the dress is no longer in pieces.


And I think I actually like this color combo more than I would have liked a solid pumpkin frock!


Dress:  Made by me, Vogue 8433
Coat:  Made by me, McCalls 5480
Necklace:  Made by me
Earrings:  Kate Spade
Shoes:  Nina

Wednesday, February 27, 2013

Are We There Yet?


Have you ever started a project that never seems to end, no matter how much time is put in?


This was intended to be a Sew Weekly challenge project early last year.  I missed the deadline and packed the pieces away.  


The initial problem was that my yardage was extremely limited.  I just love getting great deals on beautiful fabric.  However, without a specific project in mind, knowing the correct amount of yardage to purchase is rather difficult.  There was no way for me to squeeze all of the pattern pieces out of my pumpkin silk when I finally decided on a pattern, so I had to find a suitable contrast, which took longer than expected.


I recall pulling the pieces out again in early Fall for another challenge, and once again, time got away from me, or I just lost interest.


The colors are very autumnal, but I am determined to finish this dress before Spring arrives.  I have been lacking in sewing motivation lately, but the time has come to put this project to bed.  So I have been working on the finishing bits and pieces for the last couple of weeks in fits and starts.  And I am almost there!