

First off, I will say that button kits with the mold and pusher have never worked for me. Someone must be having a level of success with the kits because they keep selling them, but my fabric always shifts and getting the back piece on with the pusher sends the whole thing flying across the table.

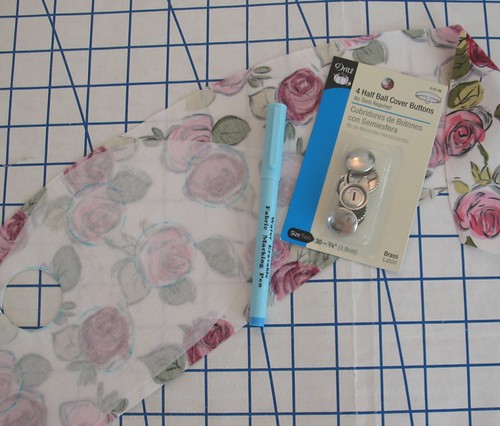
Instead, I use the button forms that have serrated edges or teeth that catch the fabric until the back piece is snapped into place. These kits have the added appeal of not needing any tools, so you will never buy the refill kit only to find that you do not have the proper sized mold, or can’t find the darn thing.
[Just be aware that some some thick fabrics are unsuitable for these kits. Using a plastic ring and a bit of batting, you can rig up your own base - just remember to create a shank with your thread when sewing the button to your garment!]

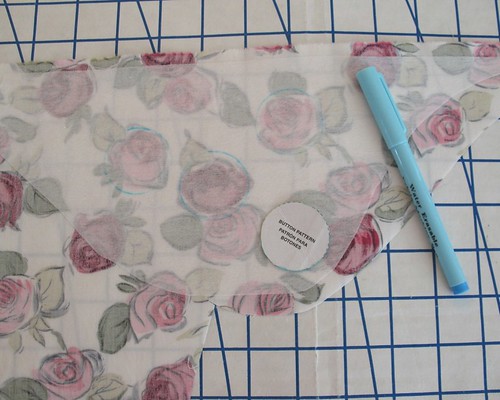
Super thin or sheer fabrics can also cause problems – the
metal of the form shows through the weave and creates a shiny/cheap look. But there is a solution!
After glaring repeatedly at the shine-through of my covered buttons
on this jacket, I decided to do something about the problem – because there was
no way I was going to give up on them completely.

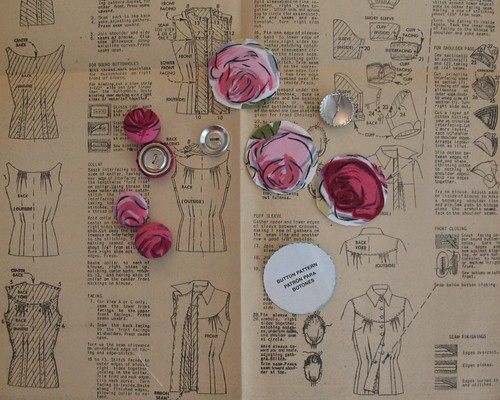
A quick application of a lightweight fusible interfacing covers
and blocks the metal from shining through the weave of your fabric. Yes, it is that simple! Not to mention an excellent way to use up all those scraps of fabric and interfacing.

The idea came to me after struggling with two layers of fabric shifting as I tried to catch those two layers in the teeth of the button form.
For super lightweight or light colored fabrics, two layers
of fabric stuck together with a double sided fusible also works (I use Steam-a-Seam2). I
believe this is usually found in the quilting section and generally used for appliqué
work.
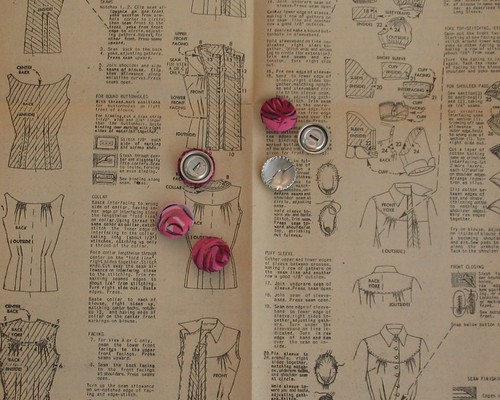
An added benefit is that the extra body you have added to
the fabric scraps makes it easier to tuck all of those edges in and keep the edges from fraying.
And that trick with the pencil eraser mentioned in the
instructions . . . it really does work.
Instead of my fingernails being chewed up by the metal prongs, the
eraser takes all of the abuse!
Speaking of reading directions . . . if your backs do not want to click into place, use the suggested spool of thread - but make sure you pad the area you are pushing down on or your button will lose its dome shape and flatten out in the center!
What are your thoughts on covered buttons? Do you think they are worth the extra trouble or do you avoid them like the plague?
I always run a gathering thread around the edge of the circle then pull it snug around the form before pushing the fabric onto the prongs. For me it helps keep the fabric centered and the form from escaping across the room.
ReplyDeleteMel
I couldn't agree more.I love a covered button. Although I've never had any trouble working with them you offer some good advice. Great tutorial as always.
ReplyDeleteThe half ball covered buttons used to be sold here but not anymore. I thought they stopped making them. I am glad to see you are able to get them - that means I only have to keep my eyes out for them.
ReplyDeleteI use covered buttons extensively. In my part of the world, fabrics and buttons are very slim pickings. I usually purchase fabric when I travel - that's easy - but later, when I'm actually producng a garment, I cannot find decent buttons! I've had limited success using EBay - I'm not that great at issues concerning color match and scale when purchasing this way. So, by default, I end up with covered buttons. It's great that they match so well, and the end product looks good. The downside is when I would have preferred the buttons give a contrasting "pop" to the garment, but couldn't get something I liked here.
ReplyDeleteThanks for this- I've never used them but would like to try!
ReplyDeleteOverheard Gripe #3:
ReplyDelete"I can't stand it anymore!"
"Ya, we're in minky under mullets, and she's all ribbons and roses, looks and luck, a Bernina AND a Rowenta!"
"Oh, shush, you're starting to sound like a Katy Perry song."
"There isn't a man for miles, or even upwind of us. Meanwhile she's got a guy clear across the country falling all over himself to fawn upon her every doing."
"And what doings they are. Her tips belong in a book. As for her trick of winning every contest she enters, well, doubtful she'll divulge that any time soon."
"Why hasn't she written, "All the best - sewing the Laura Mae way"?
"Why, I thought she'd get a television deal first."
"At this point, she has more than enough 'material' for modern and lost methods of constructing vintage-looking clothes."
"And don't get me started on THAT wardrobe of hers!"
"'Timelessly stylish', seems to be her stock and trade."
"Mmmm hmmm. What an undiscovered niche, and one with ample interest. [slight pause] Hmmmmm??"
"Ya know her tutorials are easily understood and clearly illustrated."
"How'z about we start writing a book, one inspired by our interest in vintage fashions?"
"Ya, one chock full of our tips, our tricks, and our tutorials."
"Plus we can show off all of our sewing."
"Ehhh, maybe line drawings will be our thing."
"Now keep this under your hat, I'd be Laura disMae'd if she caught wind of this and got the jump on us."
"Mums the word."
I'm delighted to know there are other covered button enthusiasts in the blogosphere! I have been ordering the kind of covered buttons that have button shapes beyond those provided by notions companies like Dritz. I'd like to share this option with you and encourage everyone to explore adding these options to your next project, too.
ReplyDeleteThere are many businesses that provide this service: international and state-side providers are able to cover their buttons molds with your fabric, as well as make a perfect covered belt at a custom length for you, too. Take a peek at the links I provided to view the different button molds you have to select from for your buttons. I've often paid more for the buttons to an outfit than the fashion fabric used for the garment!
I'd love for you to join this club with me ...lol
P.S.: Laura....LOVE your blog..
Thanks for this post Laura-Mae! I've bought a few 'button-blanks' but have never gotten around to covering them... mainly because I was a bit unsure about the whole process... Now I can't wait to have a project where I can't find the perfect buttons!!! How odd is that :)
ReplyDeleteAbsolutely love them Laura-Mae and I have "chewed up" a finger nail or two putting the back on because I didn't read the directions first. Thanks for the helpful tips!
ReplyDeleteWhat an absolutely wonderful tutorial, thank you very, very much for sharing this (bookmarked for future ref for sure!). You're so sweet to share your excellent knowledge with us.
ReplyDelete♥ Jessica
What thoughtful directions, thank you! And your buttons are *beautiful*!!!
ReplyDeleteThank you for the directions, Never would of thought of making my own using the plastic rings
ReplyDeleteLouisa
http://knottednelly.blogspot.co.uk/