Sunday, November 26, 2023

Dark Florals

About a month ago, I found this vintage pattern at an estate sale.  I don't often find myself drawn to 1970s designs, but for whatever reason, I liked this one, and it followed me home.

When I opened up the envelope, I discovered that something had attacked the sleeve tissue.  I did my best to carefully iron things flat, and traced the destroyed piece onto a piece of Pellon.

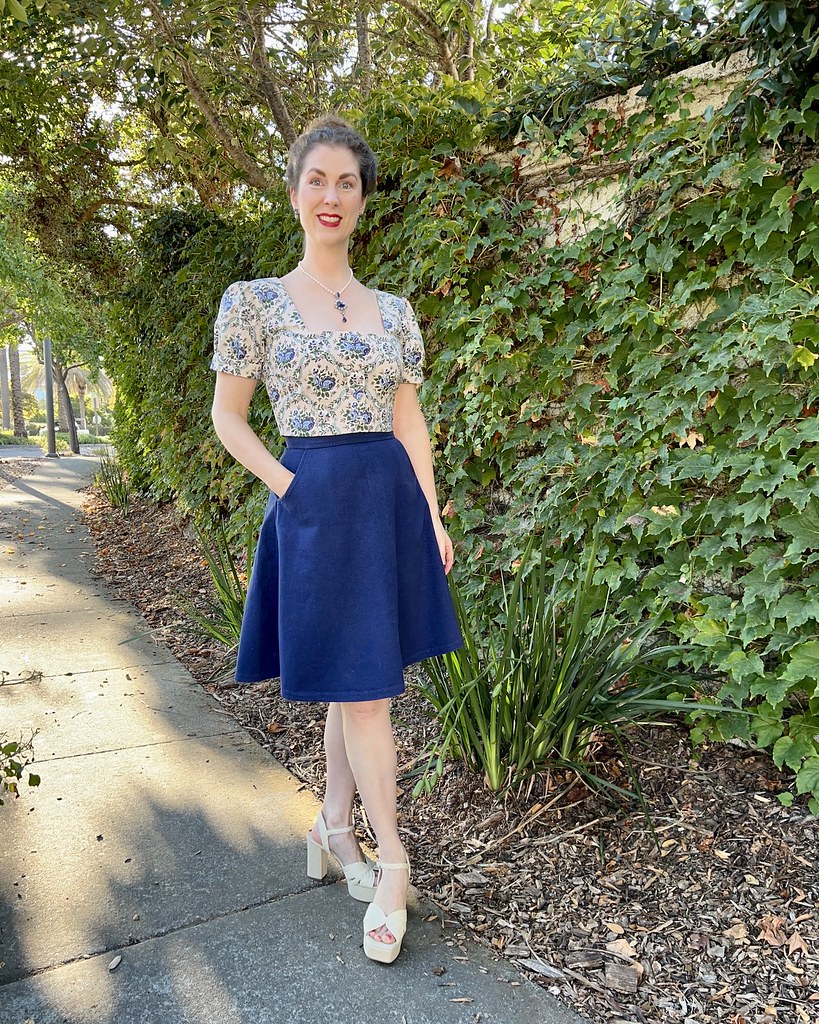
But it wasn't the sleeve that I was most excited about.  What made me take a second look at this pattern was the yoke.  Generally, I prefer v-necks and angular lines so I don't look any more rounded, but I thought this might look really nice tucked into a full skirt.

Of course, the pattern also comes with a belt.  This may not be the way I choose to wear the blouse, but since I had enough of this cotton fabric, I decided that having more options is always nice, and cut out the belt.

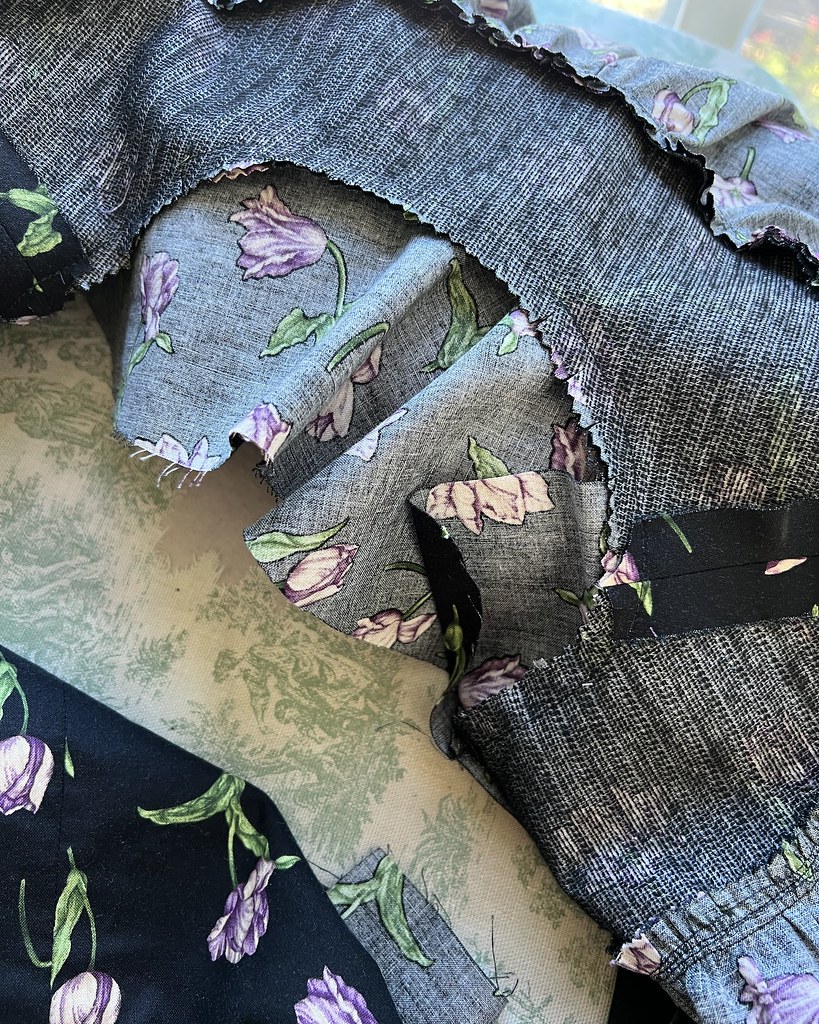
Gathers are definitely not my favorite part of the sewing process, but I was hoping that the added aggravation would be worth it in the end.

And I wanted to see how that yoke was going to work for me.

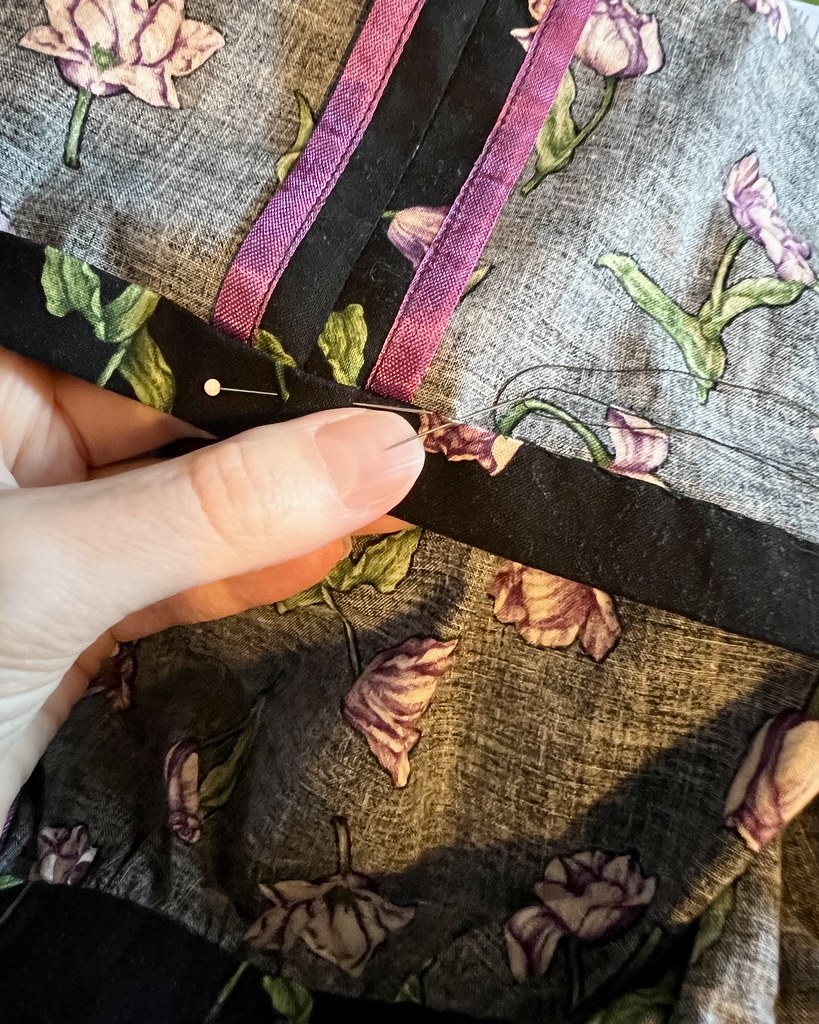
Because the neckline is fairly fitted, this blouse has a zipper at center back.

I contemplated using a pick stitch for the zipper, however, as there was going to be a bit of topstitching along the yoke if I followed the pattern instructions, so I decided that it might look slightly odd not to use a machine stitch for the zipper insertion.

And with some hand basting to keep everything in place, it went well.

After a bit of trimming and clipping, the neckline facing was ready to stitch into place.

I did hand stitch that facing into place, even with the top-stitching - it just works better - and the instructions agree!

Along with gathering, I often avoid projects that require elastic.  But these sudo-bishop sleeves seemed worth a small amount of elastic.

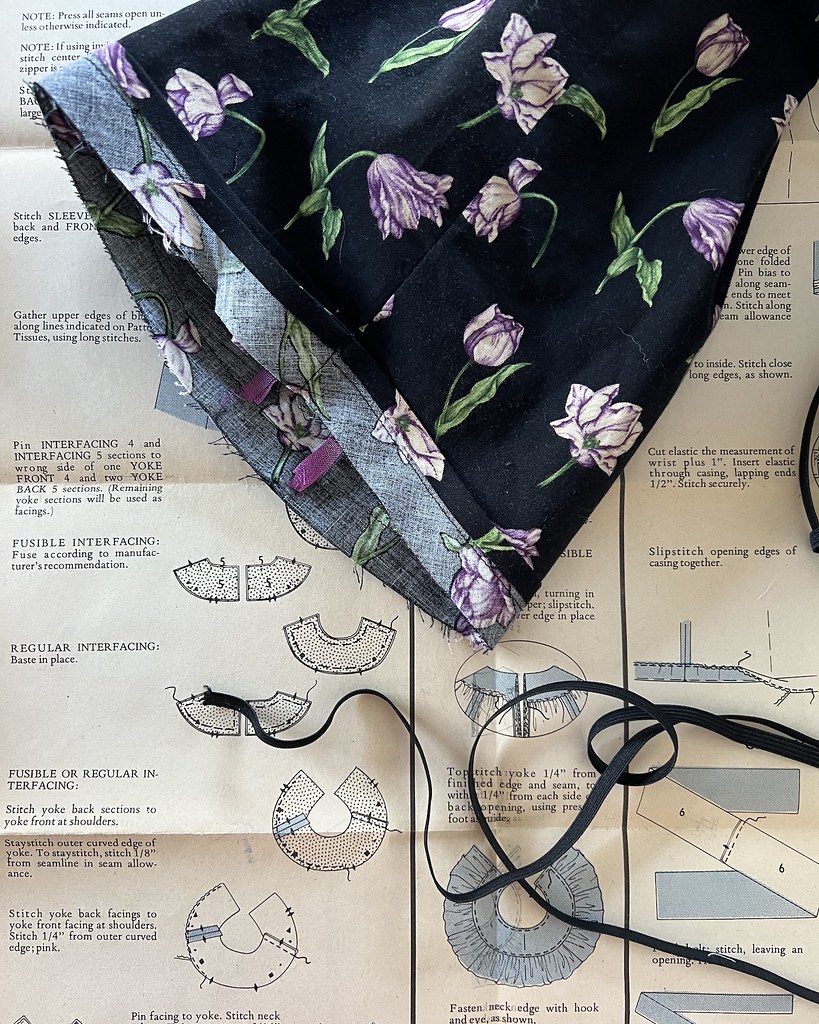
The directions call for use of a purchased bias tape, but I prefer to make my own.  And it will always be a perfect match!

Stitching the two ends of elastic together in such a small circumference was a real pain, but in the end, I wrangled those silly stretchy bits.

And raw edges were finished with seam binding, of course.

I also decided to hand stitch the hem in place, even with the top-stitched details; I just prefer the soft finish that it gives.

The finished blouse is a bit shapeless through the body, but the tie cinches things in nicely, as will a skirt waistband.

I rather like the way this blouse turned out.

So exploring this particular 1970s pattern was well worth it (shredded pattern tissue, and all!).


Saturday, November 18, 2023

Florals in Shades of Blue


I had a fairly good idea that a puffed sleeve was going to work quite nicely with the Picnic Top pattern - what I didn't realize was that it would make me rediscover this skirt.

I have been wearing my new denim skirt to death lately (because it really does go with just about everything), and while it would work perfectly with the blue floral design of this top, I was hoping that I could find another option in my closet.

The Sewaholic "Hollyburn" skirt was the belle of the ball around the internet sewing world when it was first released back in 2012, but I don't see it all that much anymore.

It's a great design, so much so that I made myself two versions.  And they saw quite a bit of wear until more recent projects took over the prime sections of closet and I forgot about them after a while.

But as I was rummaging around the depths of the closet looking for the color blue, I spotted this skirt.

Which was exactly what I was looking for!

It's always fun to rediscover garments.  Maybe not quite a fun as a brand new shiny finished sewing project waiting to be worn for the first time, but after years of not being worn, they almost feel like new.

And since I have been on a bit of a denim kick, I am surprised that I didn't think of this skirt right away.  That has to be a sign that I have too many clothing choices, right?!

Which is not to say that a wardrobe could ever have too many blue toned skirts.

As a matter of fact, I keep meaning to add more blue and purple shades to my fabric choices.  Both colors are high up on my list of favorites, but somewhere along the way reds and pinks became my go to.

But the cool tones are gaining traction, and I absolutely feel that a tea length navy wool skirt would be a very welcome addition to my collection.  And there I go adding another project to the sewing queue . . .


Blouse:  Made by me, "Picnic Blouse" from Charm Patterns
Skirt:  Made by me, "Hollyburn" Skirt from Sewaholic Patterns
Necklace:  Nicky Butler
Earrings:  Gift
Shoes:  Marc Fisher "Chela"

Friday, November 10, 2023

Lavender Blue

After being quite pleased with my initial attempt at making a Picnic Blouse, I decided that I wanted to make another, this time with a different sleeve treatment.

I had remnants of this upholstery fabric leftover from a dress that I made back in 2016 out of my Grandmother's old drapes and bedspread, and it didn't really require a full lining, so I decided to use the interfacing pattern pieces as a facing.

That would take care of the neckline and opening edges, but not the bottom hemline, so I drafted that facing piece.

Seamlines were finished with seam binding, as usual.

And I decided that a covered button would look rather nice with this fabric.

And, as with the previous version, I used bound buttonholes.

Because, why not!

At this point, I find the process rather relaxing, especially when working with a stable fabric like this cotton.

I highly recommend trying the technique.  It's not complicated; it just takes a little bit more time compared to using a machine to make your buttonhole.  And I get a much more consistent result with my bound buttonholes than a contemporary buttonhole attachment!

But any extra effort is absolutely worth it, in my opinion.

I have made a few handworked buttonholes, and I would like to do more of those at some point, but I thought that the bound version would look better for this particular project.

I do interface the section of fabric where the buttonholes will be worked for extra stability.

And I always work with a larger square of fabric than is necessary.  I find it much easier to play with; you can always trim away, but having a tiny bit of fabric start to fray where you are cutting a hole into your garment is not fun.

I bound the outside edges of the facing instead of folding over and stitching because it creates less bulk (and I think it looks pretty).

I know that some people avoid facings, but I really like the finish that they give.  

In some cases, a length of bias binding works great, but I think I will always prefer a facing.

And I even remembered to grade my seams.

The lower facing was hand stitched into place along the seamlines and dart legs.

Because I had enough fabric to work with, I was able to get a nice pattern match at center front, which I alway prefer.

For the sleeves, I decided to see if the puffed sleeve from the Scout Dress from Charm Patterns would swap in for the pattern's cap sleeves.

I figured that there was a good chance that the block for both bodices would be similar since they are from the same company.  And also, I would be dealing with a puffed sleeve, which is rather forgiving.

I ended up shortening the sleeve for the look I was going for, but overall, the pairing worked out great.

This top is a very quick project, even with the substituted sleeve, and I am very pleased with how it turned out.

I probably don't need a third version for the time being, but I wouldn't be opposed to making another should the right fabric show up and/or one of my skirts needs another top to pair with it!