Tuesday, April 24, 2018

Simplicity Patterns for Spring


Just when I thought I was over being distracted by new patterns, Simplicity goes and does this to me with their Spring collection.  What an adorable little 1940s outfit; loving the oversized polka dots!  No, I don't wear shorts, but these are making me wish that I did.  I could definitely go for the skirt and tie top, though.


Oh, and look, here is another fabulous vintage reproduction.  I have had issues with the vintage repro halter necklines in the past, so I would probably need to do a muslin first, but that peter pan collar is calling my name.


I get a bit bored with the massive amount of vintage apron patterns that get released, but that rick-rack version looks pretty cute and it might even manage to protect clothing while in the kitchen.


Evidently this is the year of the halter.  I love the two tone look of this one, although I suspect this might not be the easiest garment to wear.  I would have liked to see this on an actual person to help evaluate the fit.  But I do appreciate that Simplicity is continuing to release a few of the "authentic" designs with no contemporary fitting changes made to the pattern.


The second of the authentic vintage patterns is this caftan.  I can't say I am a big fan of this style, but that white version with black trim looks super smart.


And I had to include this one just for giggles.  The model casting was spot on for this photo shoot - wherever did they find a living Ken doll?!  I thought the vintage illustration was hilarious (hey man, have you ever heard of sunscreen?!), and then I saw the live version!  Too bad they didn't match the white sunnies . . . I do love that blue and green fabric, though.  But to be fair, I think this design has possibilities.  There are so few patterns for men these days, so I am curious to see if this ends up selling well.  Peter, are you planning on making this one? 


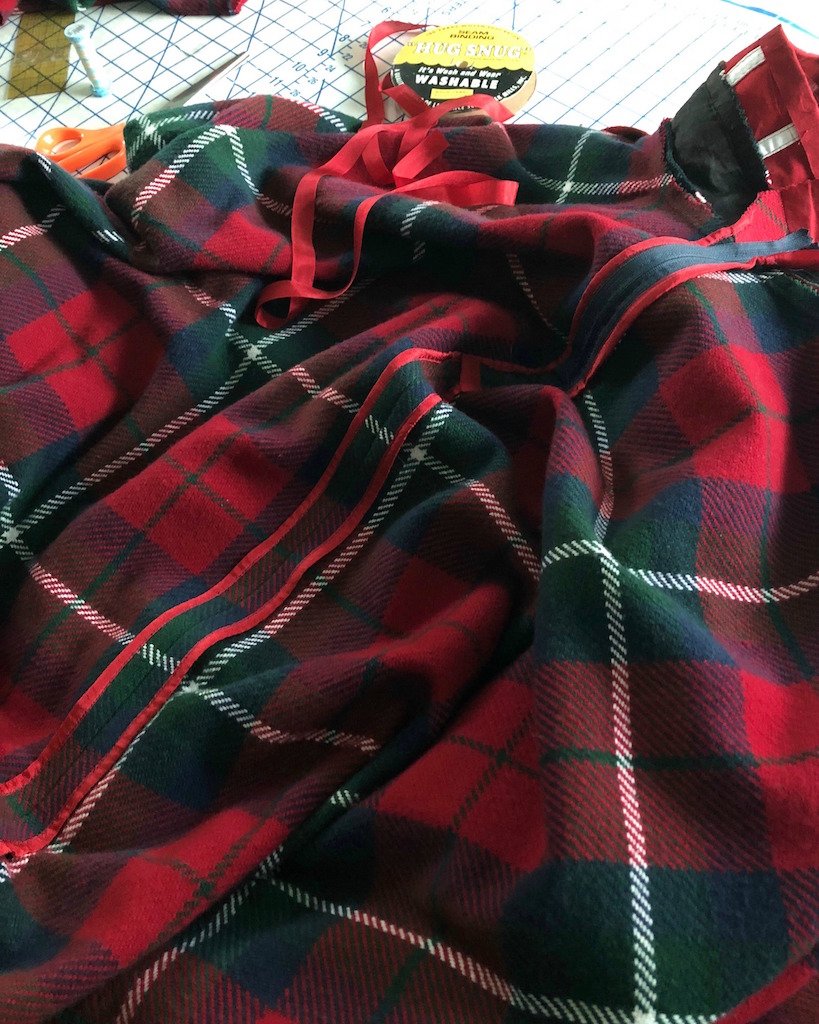
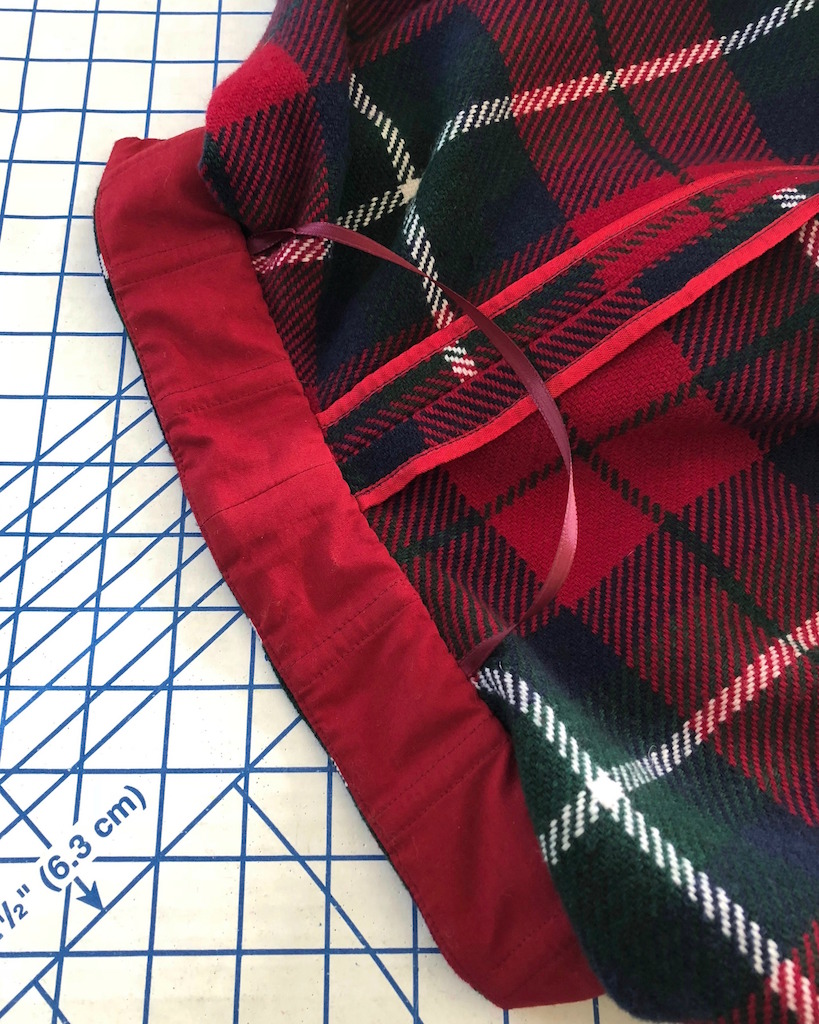
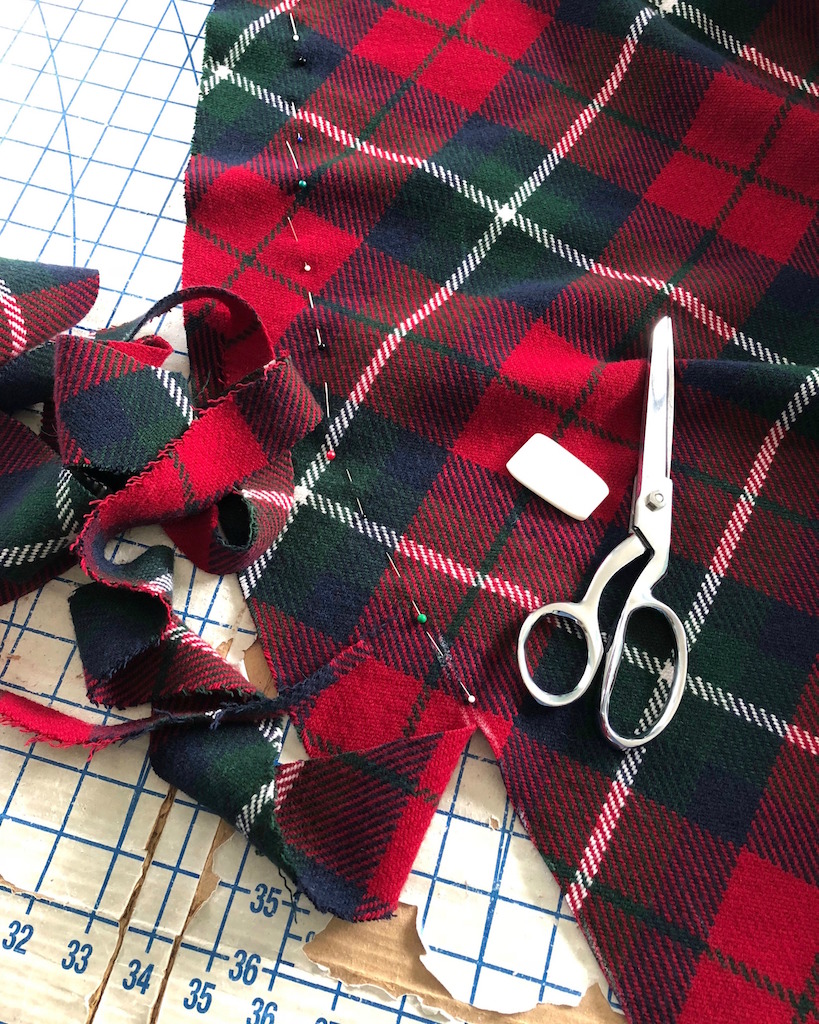
The fabric choices for Simplicity 8652 are strange.  What, at first glance, seemed like a boring pencil skirt actually has some interesting details - they are just impossible to see buried in the busy print. The green linen allows the button detail to show, but that brown print completely hides a very cute pocket and back vent embellishment that I almost missed.


I love those vintage dresses in the background of this photo.  The two toned dress with a yoke collar is gorgeous!!  And I need that hat.  I am somewhat intrigued by the clutch, although I am not sold on the trompe l'oeil bow.  I wish they would release vintage bag and hat patterns more often.  Or maybe another of those multi-sleeve patterns?


Simplicity 8641 is reminding me of the late 1990s.  I still have a denim apron dress that I wore the heck out of.  The fit on the back of this looks problematic, but with the right blouse underneath, this could be cute - not really my style anymore, but it makes me want to pull out that denim dress that must be folded up in a drawer somewhere.


Continuing on the not really my style track . . . if this was made for a woven I think I would take the plunge.  However, I have a feeling there is a lot of negative ease drafted into this thing which scares me.  I like the underbust cutout, but not that center front slit.  When the heck did a center slit become so popular.  It makes no sense to me - how are you supposed to sit down in anything slit up to there.  I can understand how a side slit might work, but I prefer my underthings to remain hidden, and I am not sure this is possible with such a feature.  Has anyone mastered the art of the center front skirt slit?  I would love to hear the secret!


And while I love this Cynthia Rowley design in the way it reminds me of a 1960s YSL trapeze dress, it probably does not belong in my closet.  There is something off with the sleeve, but I keep looking at this and seeing possibilities.  But I think I love the design more than it would love me.  In my next life I will come back with legs up to my ears and then I will get to wear these silhouettes.  Until then, I should probably let this one be.


But I am definitely going to be picking up a few of those vintage reproduction during the next pattern sale.  So many projects, so little time!  Are any of the new designs tempting you?


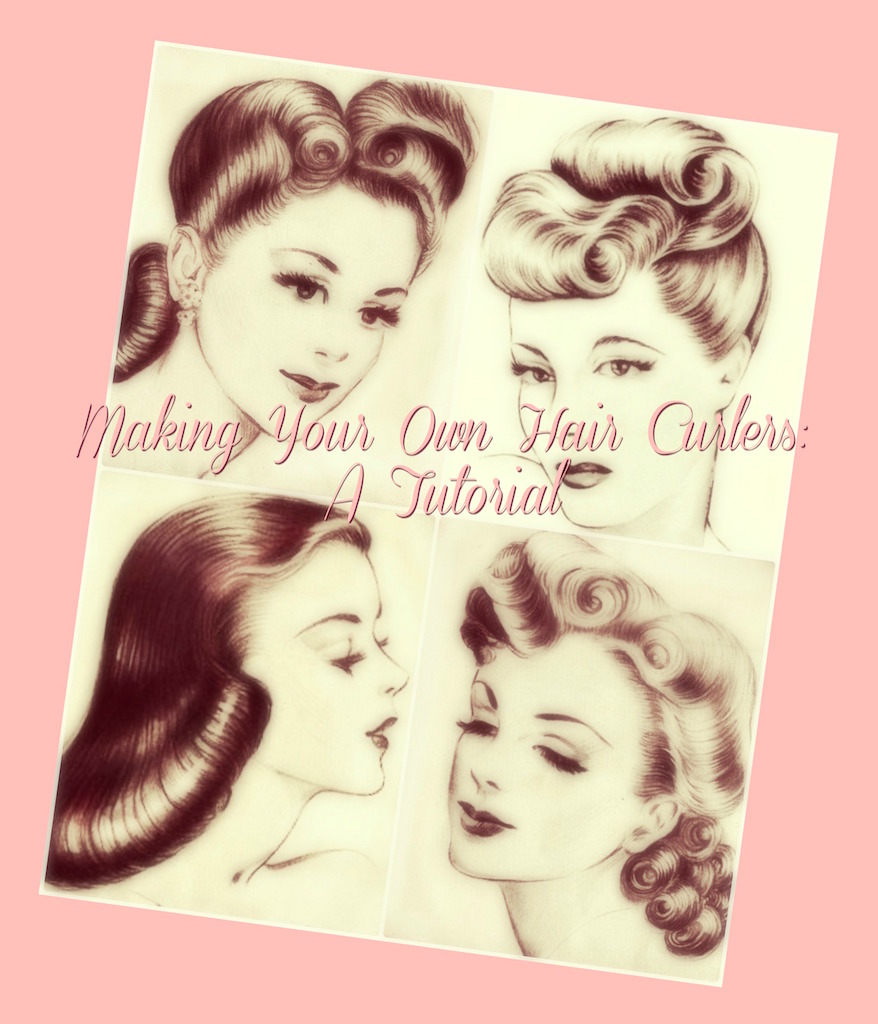
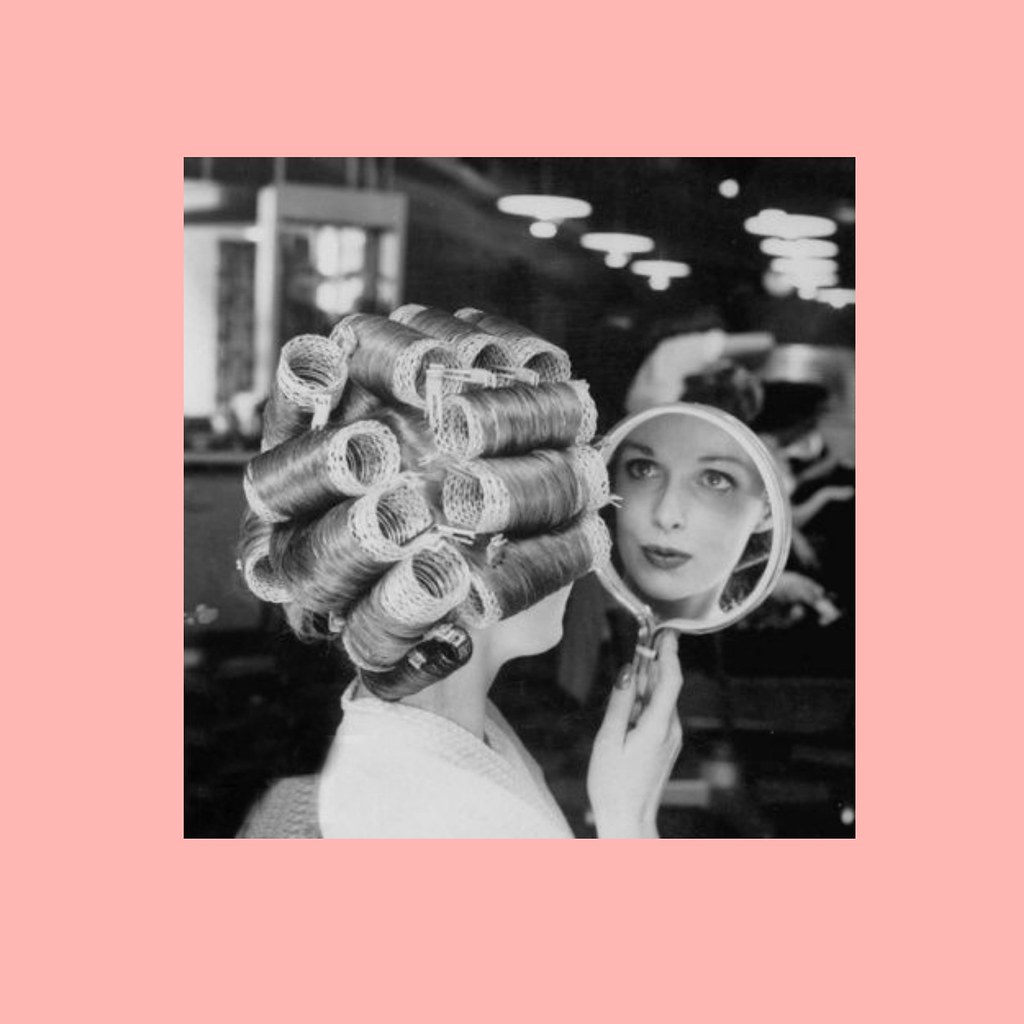
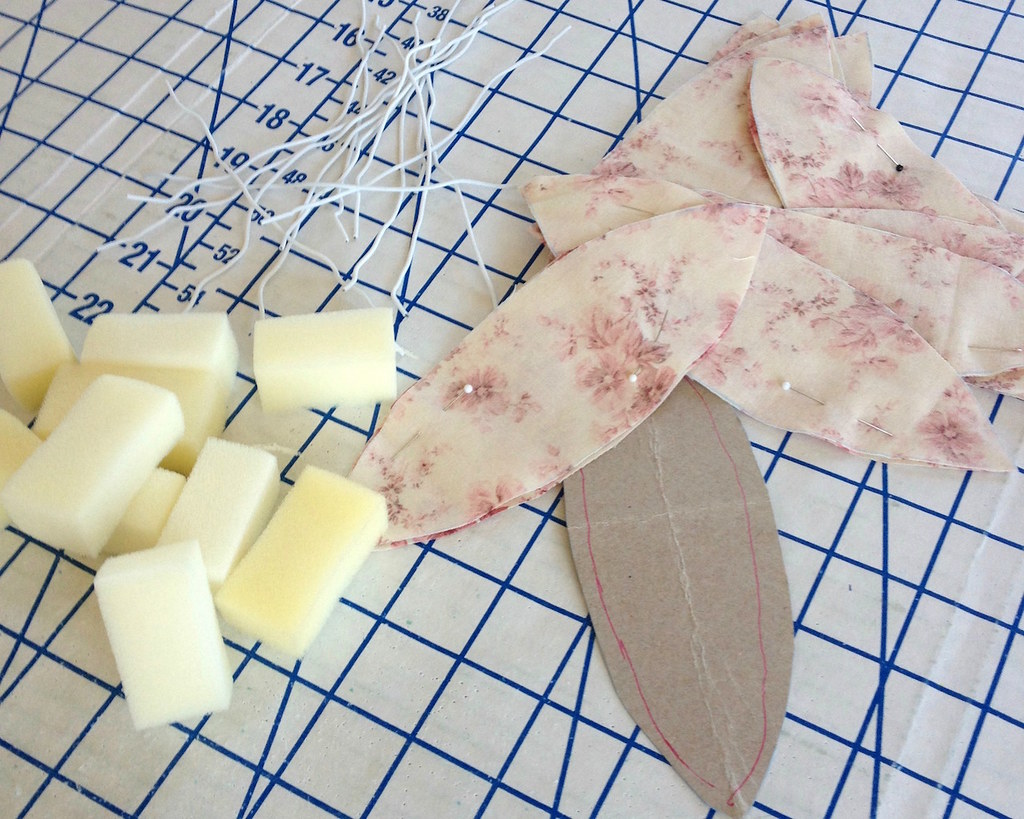
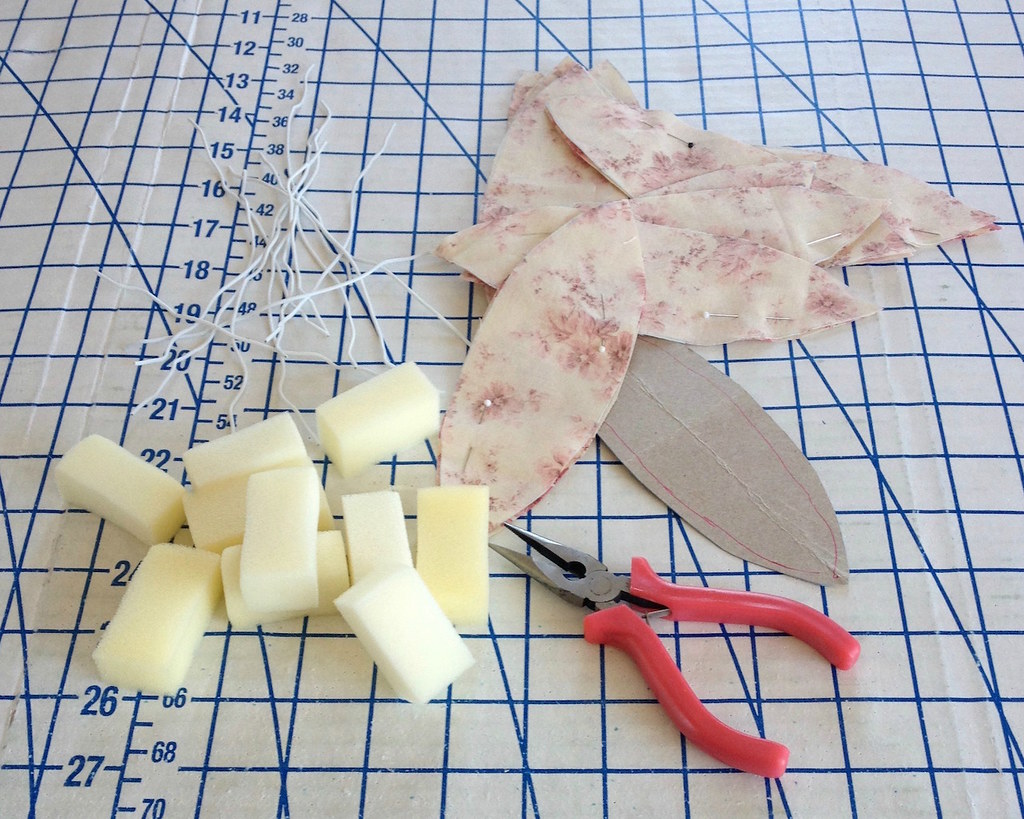
[Click on image for source]

Monday, April 16, 2018

Making Your Own Hair Curlers: A Tutorial


Today I thought I would share a little tutorial about how I make my own hair curlers.  I have been meaning to post this for years, but never seem to get around to it.  My current set of these babies are beginning to show some signs of wear, which means I will be making more . . .  and that reminded me that there was a long forgotten draft of this post sitting around waiting for me to finish.  So here we go . . .

These rollers are a cross between an old fashioned rag curl and a foam roller.  For me, this pairing is the best of both worlds.  My hair is stick straight.  And while I like to think we are born with the type of hair that suits us, I like a bit of curl to my locks.  So in the eternal fight of the straight-haired girl wishing for curls, and the curly-haired girl a slave to her straight iron, I have found my own way of dealing with my particular "problem."  Best of all, no heat is required, so this is a bit more hair friendly than most curling implements.


Rag curlers are a bit of an inconvenience for hair that is naturally straight.  The ends have a tendency to kink when wrapped around a thin piece of fabric.  Foam rollers are wonderful, but the plastic frame leaves a mark on the hair, and that plastic frame is not always the most comfortable thing to sleep in, either!

I found what are commonly referred to as "soft rollers" or "pillow rollers" many years ago at Target and gave them a try.  However, the polyester fabric was not especially pleasant to sleep in (especially in hot weather), and the serged ends started to come apart after a few uses.  Instead of throwing them out, I decided to improve on them.

Supplies:
Foam
Plastic covered wire
Wire cutter
Cotton fabric remnants
Thread & Needle
Pliers
Knitting Needle (optional)
Electric meat cutter (optional - useful when cutting foam, as the ladies at JoAnn Fabrics can attest!)

First, you want to cut out your pieces of foam.  A piece 2x1x1 inches is a nice size.  Craft foam is an option, the denser the better.  I am not sure where you can purchase small pieces of memory foam, but that would be ideal so that the rollers do not compress after multiple uses.  I have also recycled the original foam from those pillow rollers that I purchased way back when - a little bit of soap and water and these things puff right back into shape.

You will need a piece of plastic covered wire approximately 6 inches in length for each curler.


Next, make a template out of cardboard that is wide enough to cover the foam piece and long enough to accommodate the wire, plus a 1/4” seam allowance all around.


Then cut a whole bunch of fabric pieces from that template.  This is where all those cotton remnants I stash come in handy!


To create a channel for the wire, I use a small metal knitting needle.  With the needle in place, insert the wire into the center of the foam piece and then remove the needle.  Without the needle, the wire has a tendency to bend halfway through the foam.


Using a pair of pliers, twist the ends of the wire into a coil.  This will keep the sharp ends from poking out of the fabric cover and into you!


Using a 1/4" seam allowance, stitch two of your fabric pieces together, right sides facing, leaving a small opening along one edge.  


Trim the corners, and turn the cover right side out.


Insert the foam/wire roller into the fabric cover.


Stitch the opening closed.  


I did this by hand, but you can certainly edge stitch that small opening with a machine.  [If you want to use the machine for this step, make sure to leave an opening close to one end of the fabric so you can avoid the bulk from the foam.]


To use, wrap the ends of you hair around the foam piece and roll, securing the roller in place by twisting the two wire ends together.


With repeated use, the foam will compress.  But a quick soak in a basin of soapy water will not only clean your rollers, but also expand the foam back to its original shape.


PLEASE NOTE:  A true wet set is not a good idea with these rollers.  Because the roller is not hollow, the foam + fabric + rolled length of hair is not going to dry properly (as in, 8 hours later they are still really damp!).  I do wet the ends of my hair to make rolling the ends under easier, and I have not had a problem with damp hair in the morning.


The curl will not be as tight as a traditional pin curl, but I find this method to be very convenient and much faster!  It may work well to set the front sections of hair with pin curls and “cheat” in the back with these foam rollers.

Happy hair setting!

Tuesday, April 10, 2018

2018 Summer Vogues

Summer Vogue Patterns means no Vintage Vogue reproductions, boo, but the first of the new releases that caught my eye definitely has a vintage flavor.


This is a Claire Shaeffer couture pattern, which means that the directions alone are probably worth the cost of the pattern.  If only it wasn't such a fabric hog.  But who am I kidding . . . I will be adding this one to my collection next time there is a sale.
I am also drawn to Vogue 9312, although I suspect it has a lot to do with this fabric.  It is a nice classic dress, though, and the tie front is a nice touch.  I also have a few pieces of knit fabric stashed away, so I may have to try out this design for myself.


And I love Vogue 9315.  This wrap top is gorgeous!!  It also includes a caplet version which I definitely have to add to my closet.  Now if only I had some fabulous striped shirting in my fabric stash.


There are also a bunch of new and rather interesting designer looks.  I am intrigued by this Tracy Reese, but do I really need another wrap dress?  No, Laura, the answer is no - step away from the pattern drawers.  I do love that color, though.
And I have absolutely no need for a backless jumpsuit (how exactly do you use the restroom in this?)
But I really appreciate the split yoke style lines on the pants.  Could I somehow turn this into a dress?  That would certainly fix the going to the bathroom issue!


And continuing the backless trend, here we have a color that usually sends me running in the opposite direction.


But if we take a look at the back . . . I love it!  And I guess getting rid of that strange drippy flounce on the front would be easy enough.  And look, wrist zippers.  I have been handling a lot of vintage clothing lately, and this was a very common feature before stretch fabrics took over and it was the only way to achieve a very fitted sleeve.

While I am really weirded out by the sample fabrics, there are some intriguing style lines on Vogue 1577.  I think I prefer McCall 7187, which is a similar idea, without muddling the idea with a classic shirtdress into the mix.  But the Guy Laroche design has reminded me of the McCall pattern, so I thank it!  Which officially means there is no way I am going to make it through my long list of ideas for summer sewing plans.  But that always happens, so I can't blame Guy.
I do applaud Vogue for continuing the trend of including more complicated designs.  This Rebecca Vallance falls into that category for me, although the dress is not my style.
What bothers me most about Vogue 1588 is the similarity to Vogue 1545 that was in the catalog a couple of seasons back.  I want variety in pattern choices, and while there are differences between the two, the overall effect is that these two pieces are very closely related, so do we really need both?


And not to overlook the "Very Easy" patterns . . . Vogue 9311 is pretty darn cute.  Again, do I need a simple dress design to clutter my sewing pattern collection?  Probably not.  But I definitely enjoy this look.  There is also a sleeved view that is rather tempting, as well.


And finally, this Easy Options design has me digging around in my button drawer.  The asymmetrical line on that fitted skirt is just too cha-cha for words.  I would make sure the buttons contrasted with my fabric choice to make sure to emphasize that particular design element.


So overall, there are a lot of interesting options in the Summer catalog, including many new designer patterns, which is wonderful.  Some of them are even tempting me to try out baggy pants with crop tops and jumpsuits, but I know that I will never actually get around to making those particular garments.  In most cases, I think I am going to pass.  But that just means I have no reason to keep ignoring all those other patterns patiently waiting their turn in my sewing room.

Wednesday, April 4, 2018

Playing with Plaid


This is my Christmas skirt.  I finally found a use for this heavy duty wool coating that has been taking up a ton of space in my fabric bureau, and I figured that the red and green color combo was suitably festive.


Once I knew that I wanted to make a circle skirt, I pulled out Vogue 2902.  I know it seems silly, but having a pattern to work off of is so much easier for me than taking measurements and trying to figure out if I have enough fabric.  The dress pattern uses a circle skirt, so I just borrow that pattern piece.


After figuring out the best way to deal with the very large pattern repeat (I didn't have quite enough to match side seams), I cut out a shaped waistband.


I added pieces of boning to the waistband lining to keep the wide waistband from collapsing during wear.


After the plaid matching attempt, the waistband was probably the most time consuming part of the project.


Once that was complete, I inserted a zipper by hand at the center back.


And I absolutely bound those raw edges with rayon seam binding!


Before hand stitching the waistband lining in place, I added ribbon hangers to each side of the skirt.  I do this for most of my skirts, but I knew this would be absolutely necessary with this heavy fabric - there is no way one of those flimsy clip skirt hangers could handle this baby!


I often forget to add the ribbons until I am halfway through my hand stitching, but this time I managed to pull out my box of satin ribbon before pinning the waistband into place!


And then on to hemming . . .  The hem dropped significantly along the bias, and I am really surprised at how much it did.  I anticipated that the weight of the fabric would make it stable.  It does drape nicely, however, which I suspect is why it was necessary to even things out.


And then there was a bit more hand sewing.


I just love a good catch-stitch!  And the hem means this lady is finished!