Saturday, May 31, 2014

Finishing a Hem with Bias Tape: A Tutorial


Not only can bias tape be used to encase a raw edge, it can also be used as a hem finish.  This is especially useful in places where a facing might be unwieldy.


I was originally planning to use a rolled hem on the sleeve edges of my Anna Dress.  But I decided to add a lining, and in the end, a bias strip was the better choice.


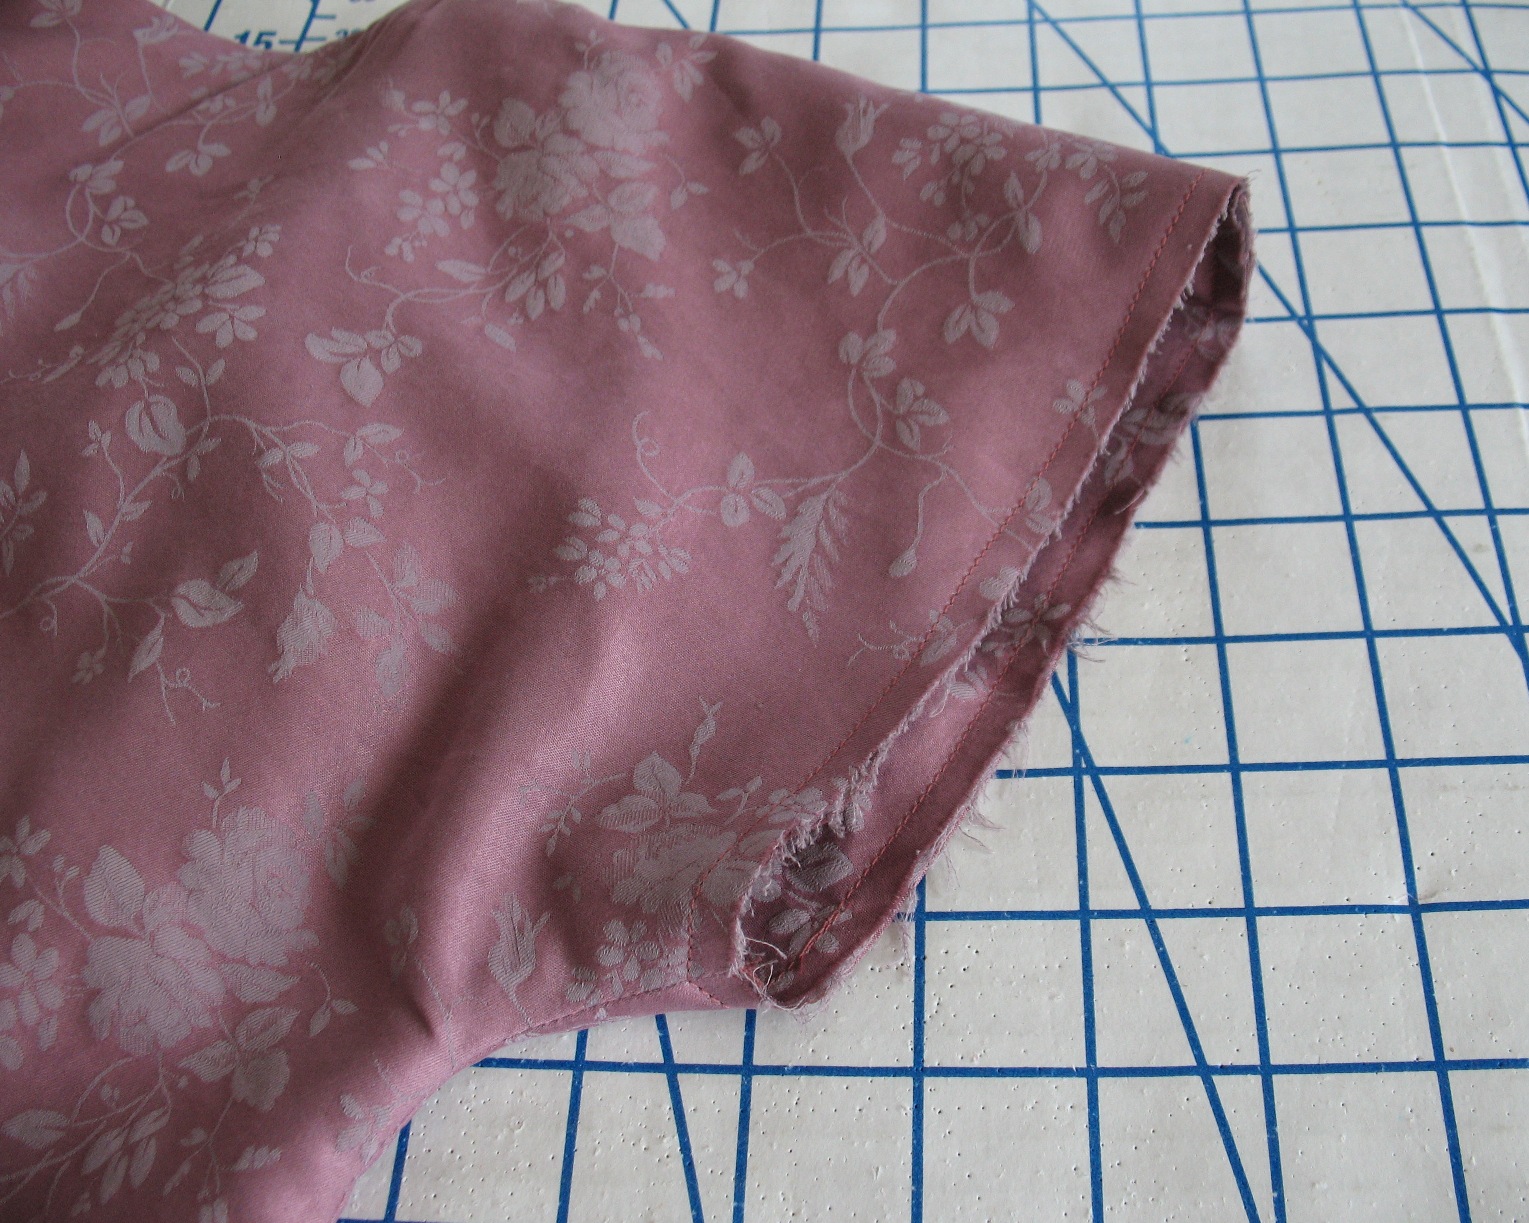
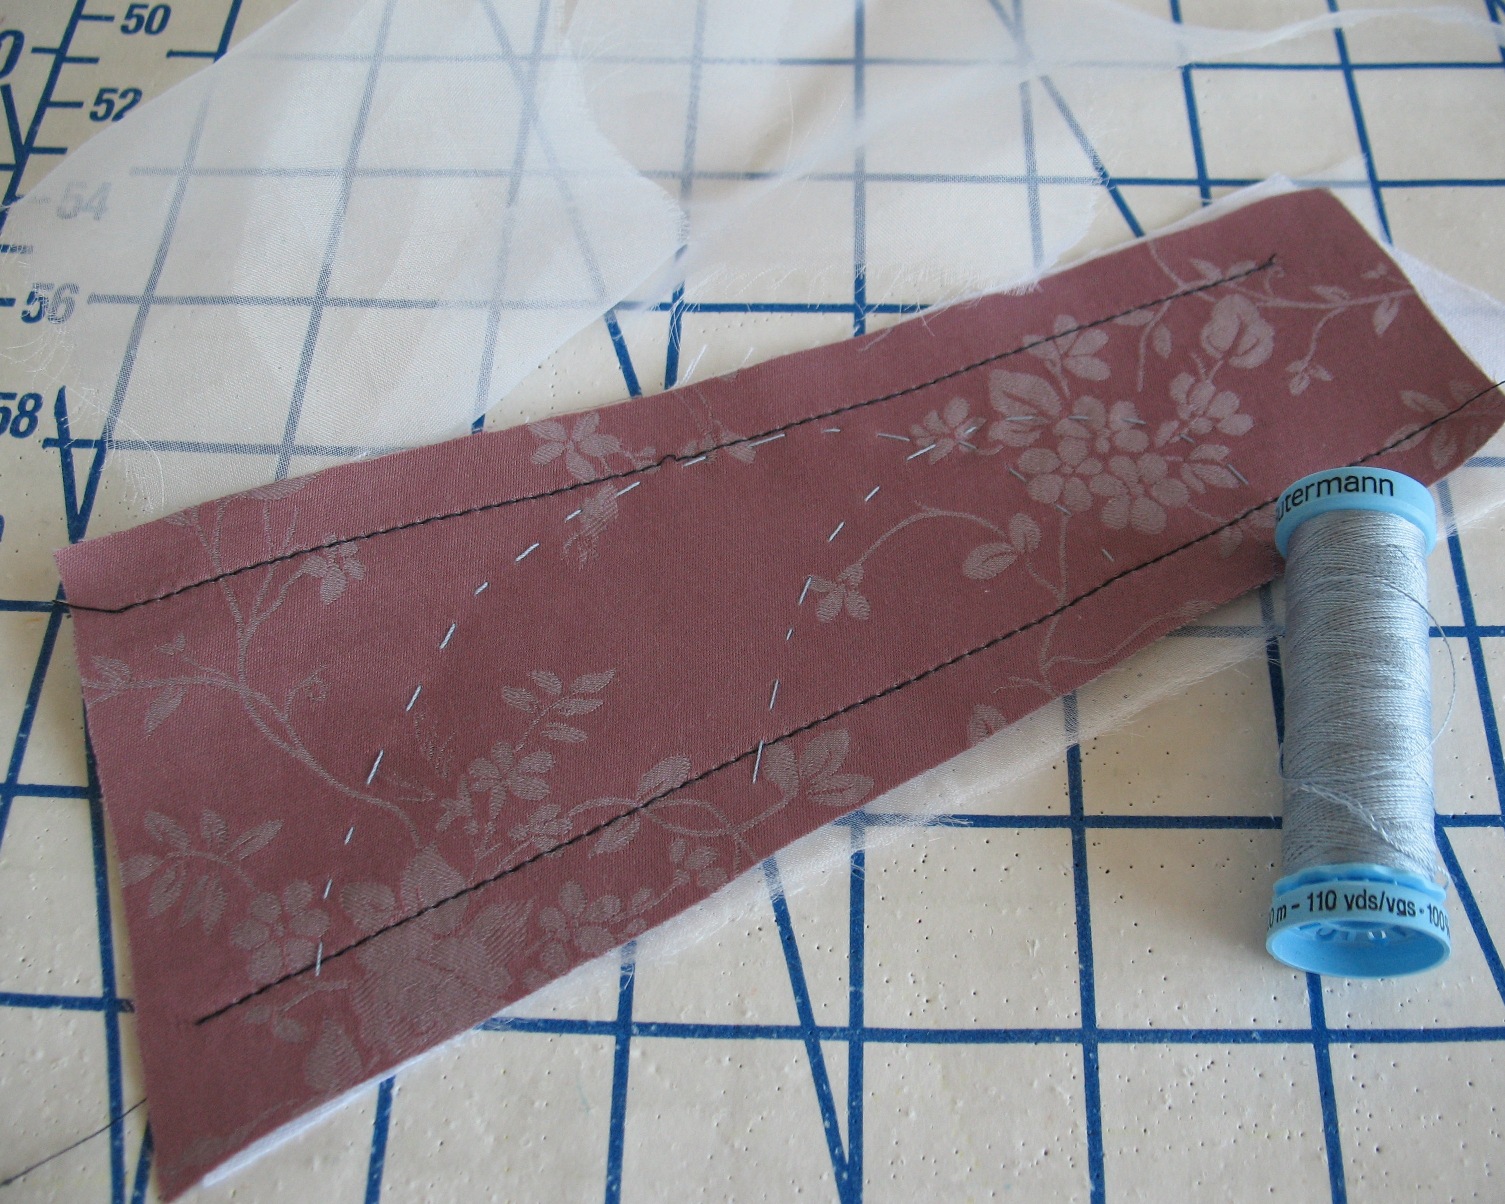
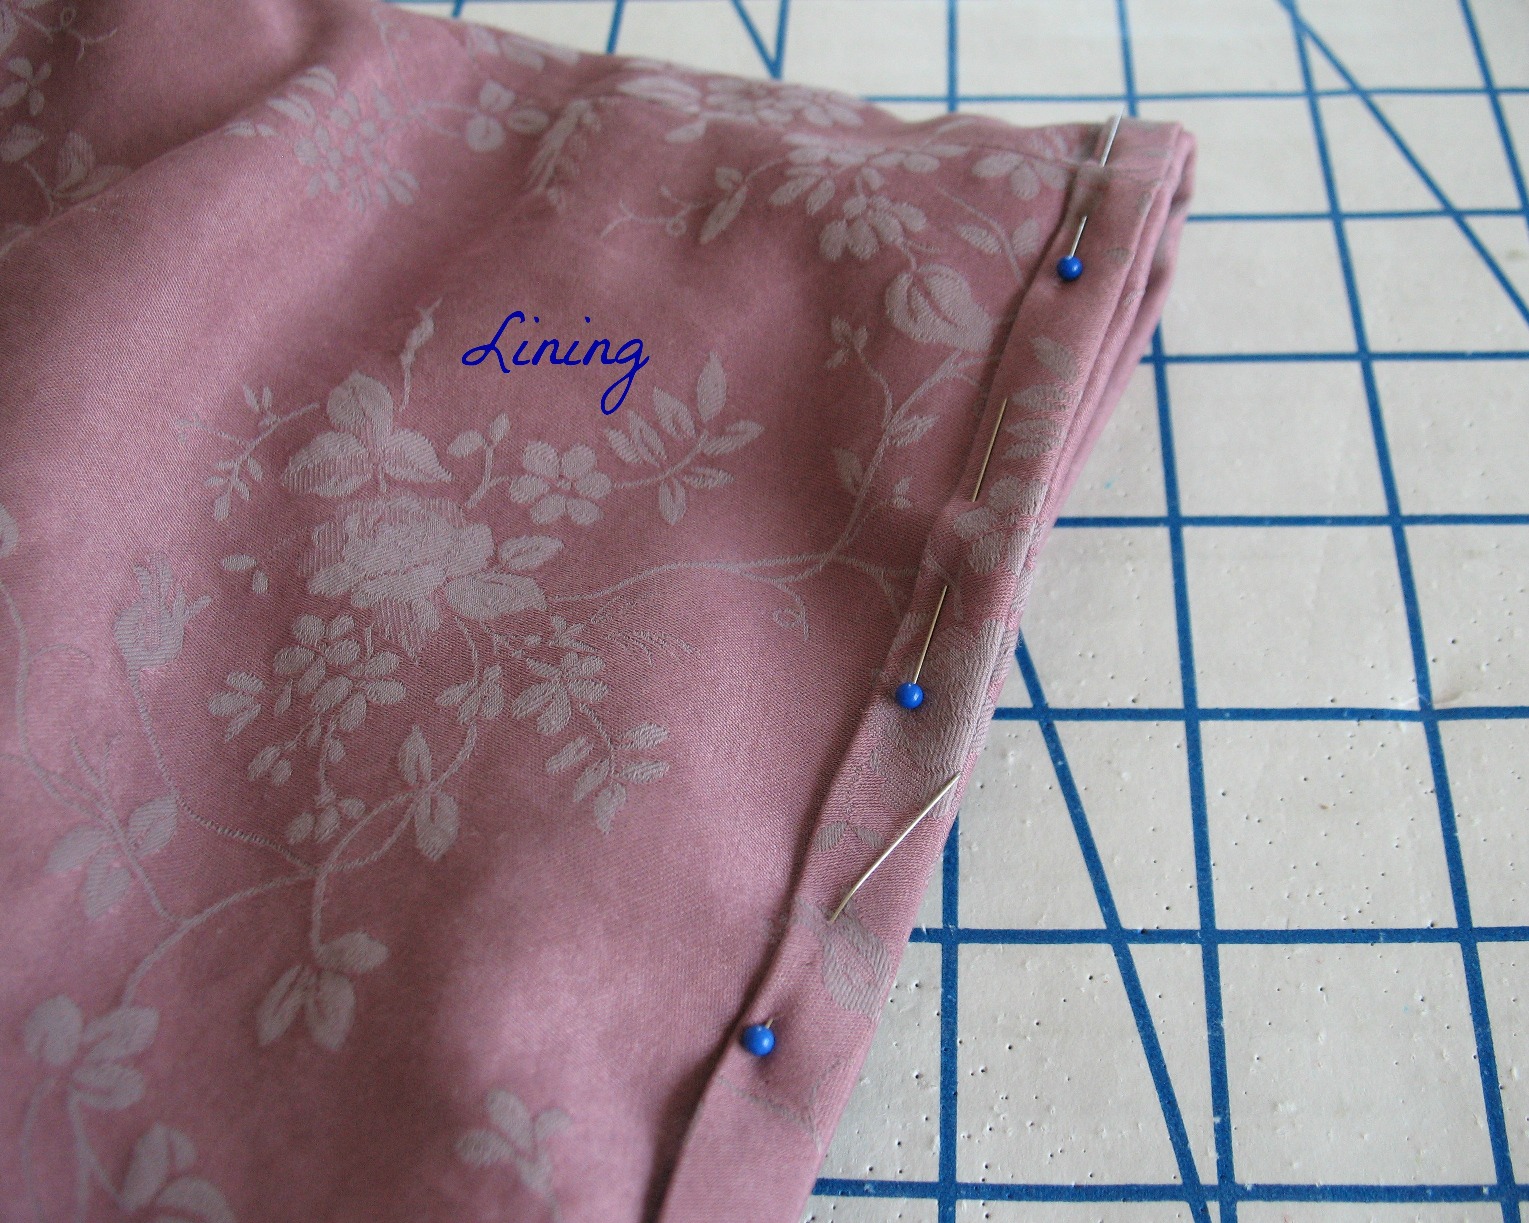
The first step is to baste the two layers together which will be treated as a single layer from this point forward.


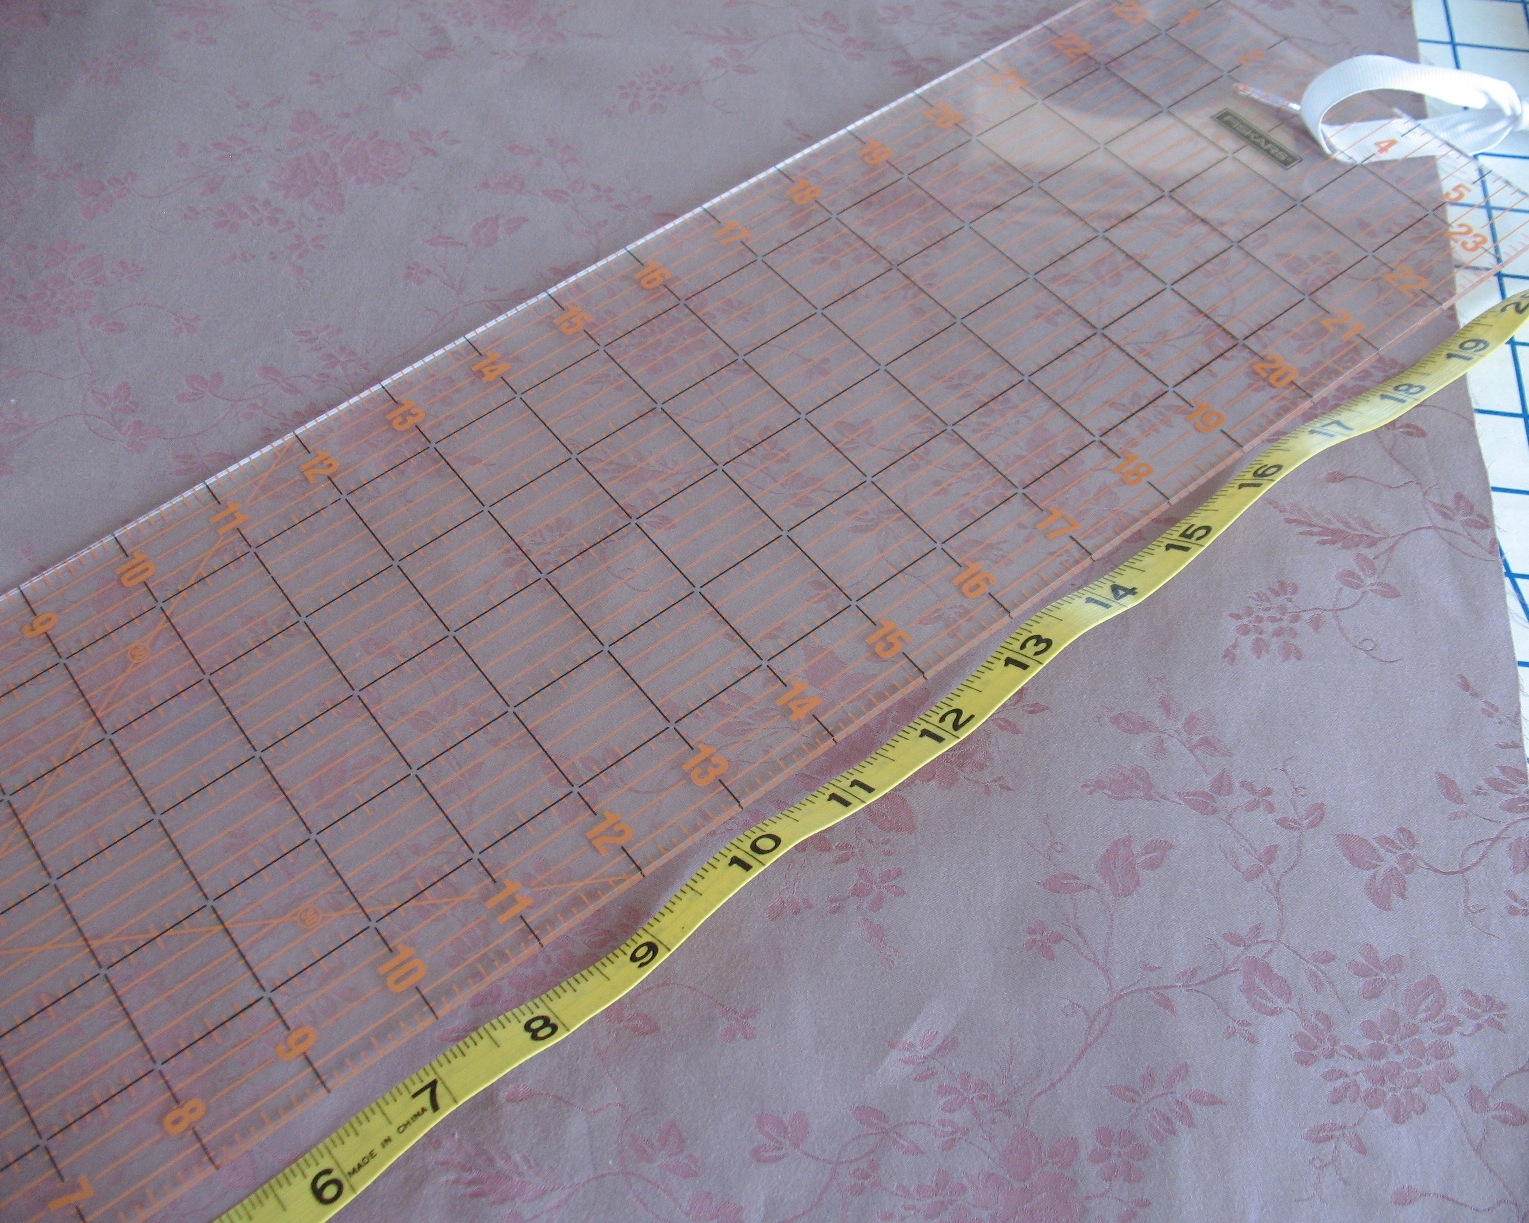
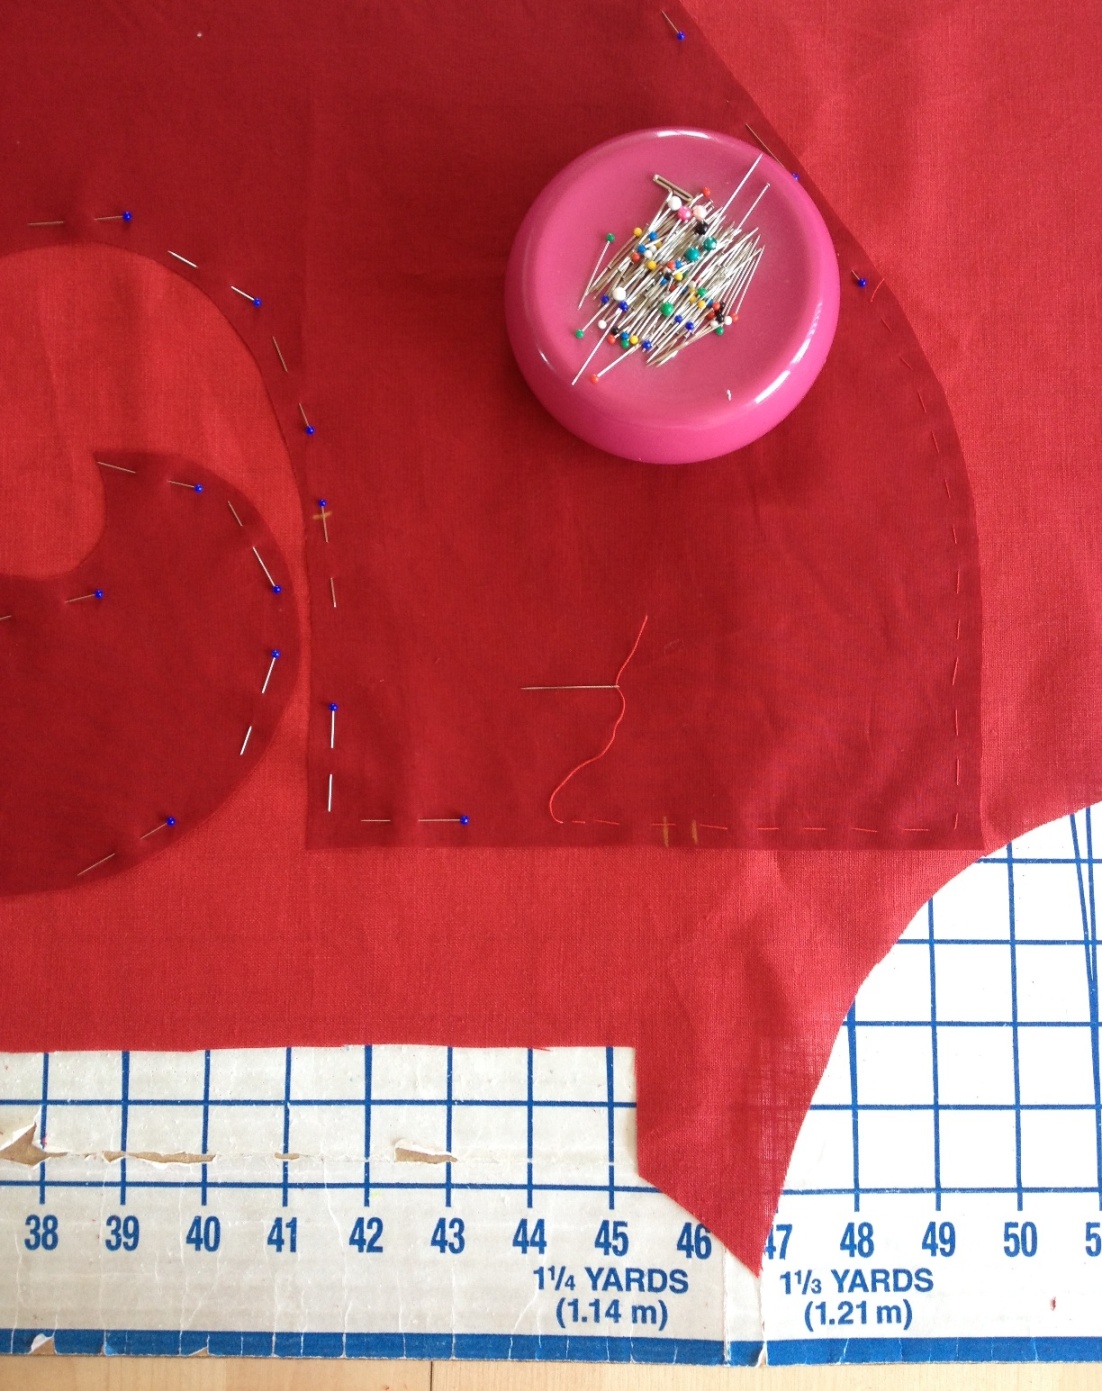
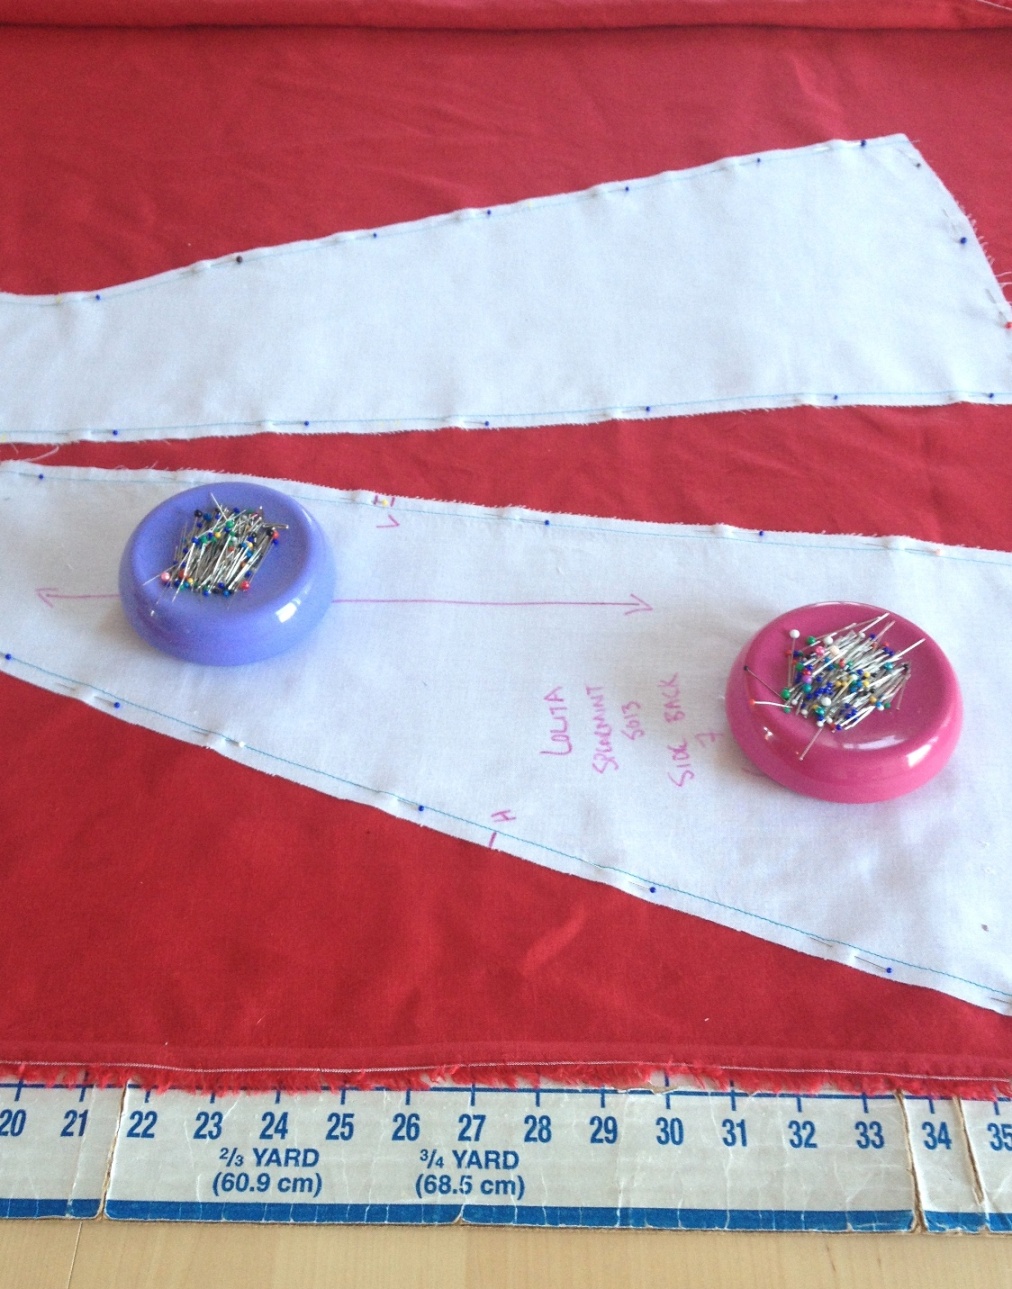
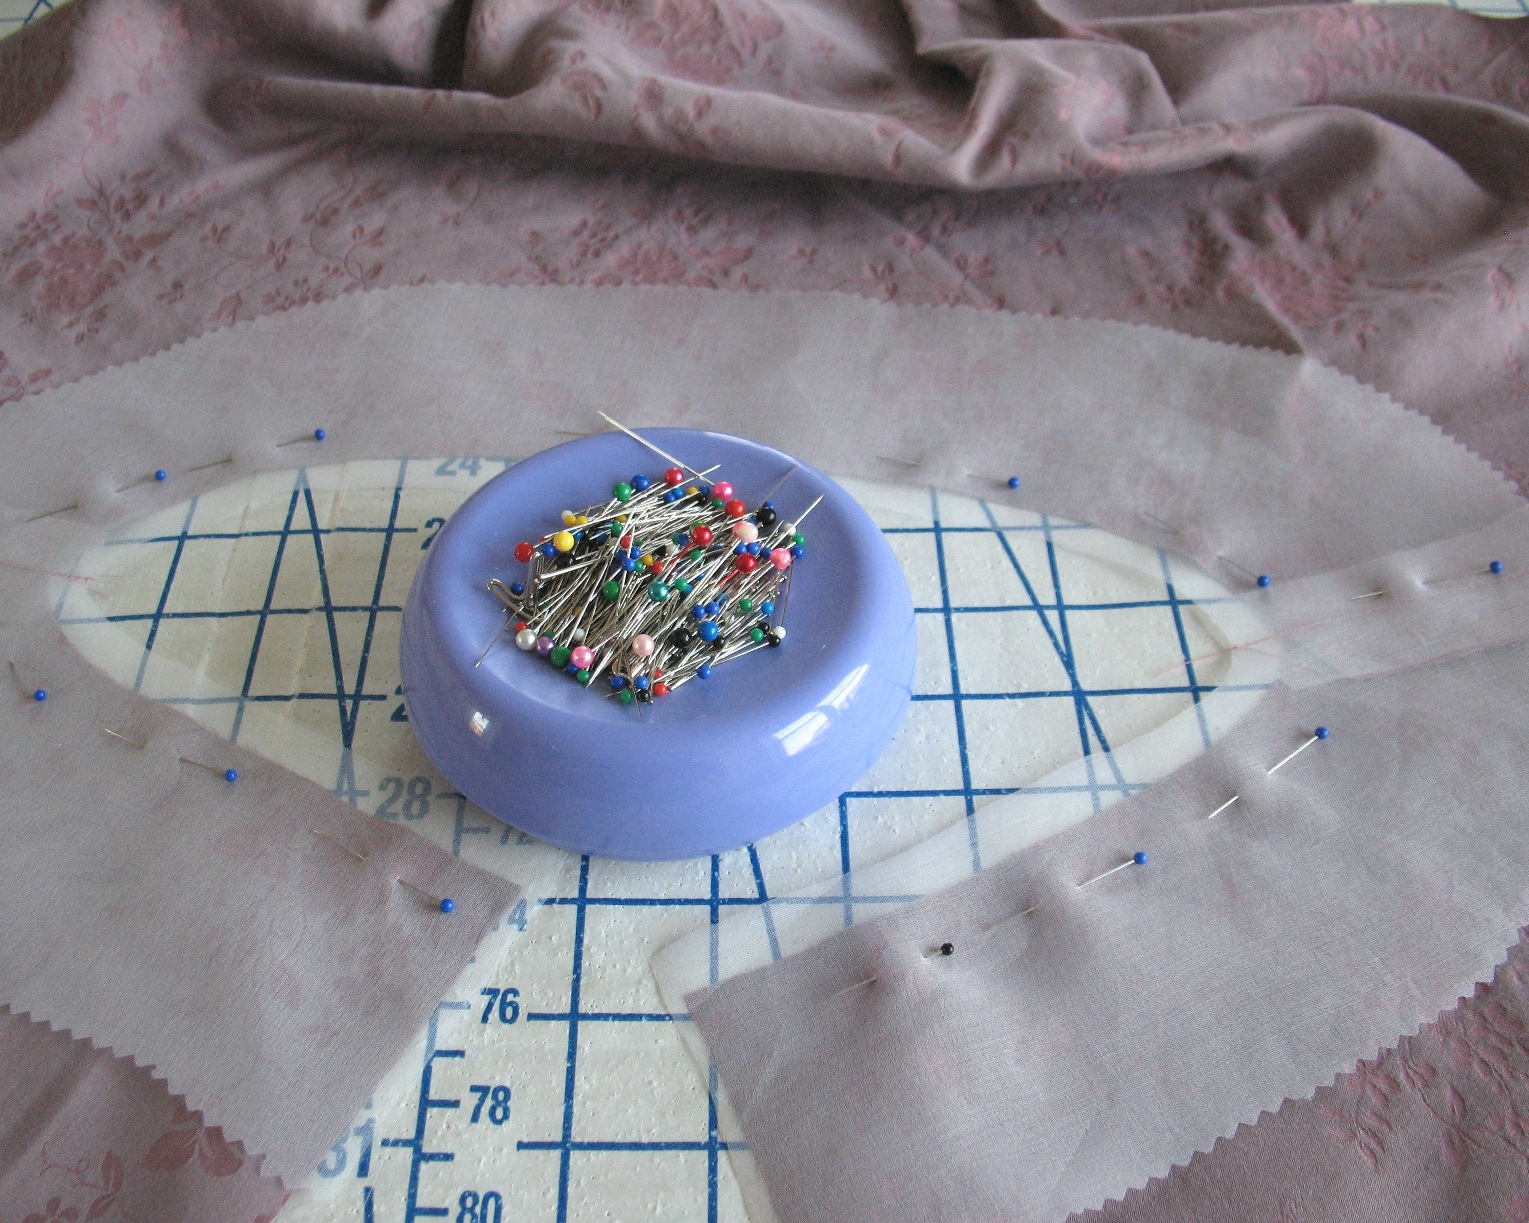
Then, of course, I need to measure and cut my bias tape.  Make sure to cut a bit of extra length so you can stitch the two ends together.


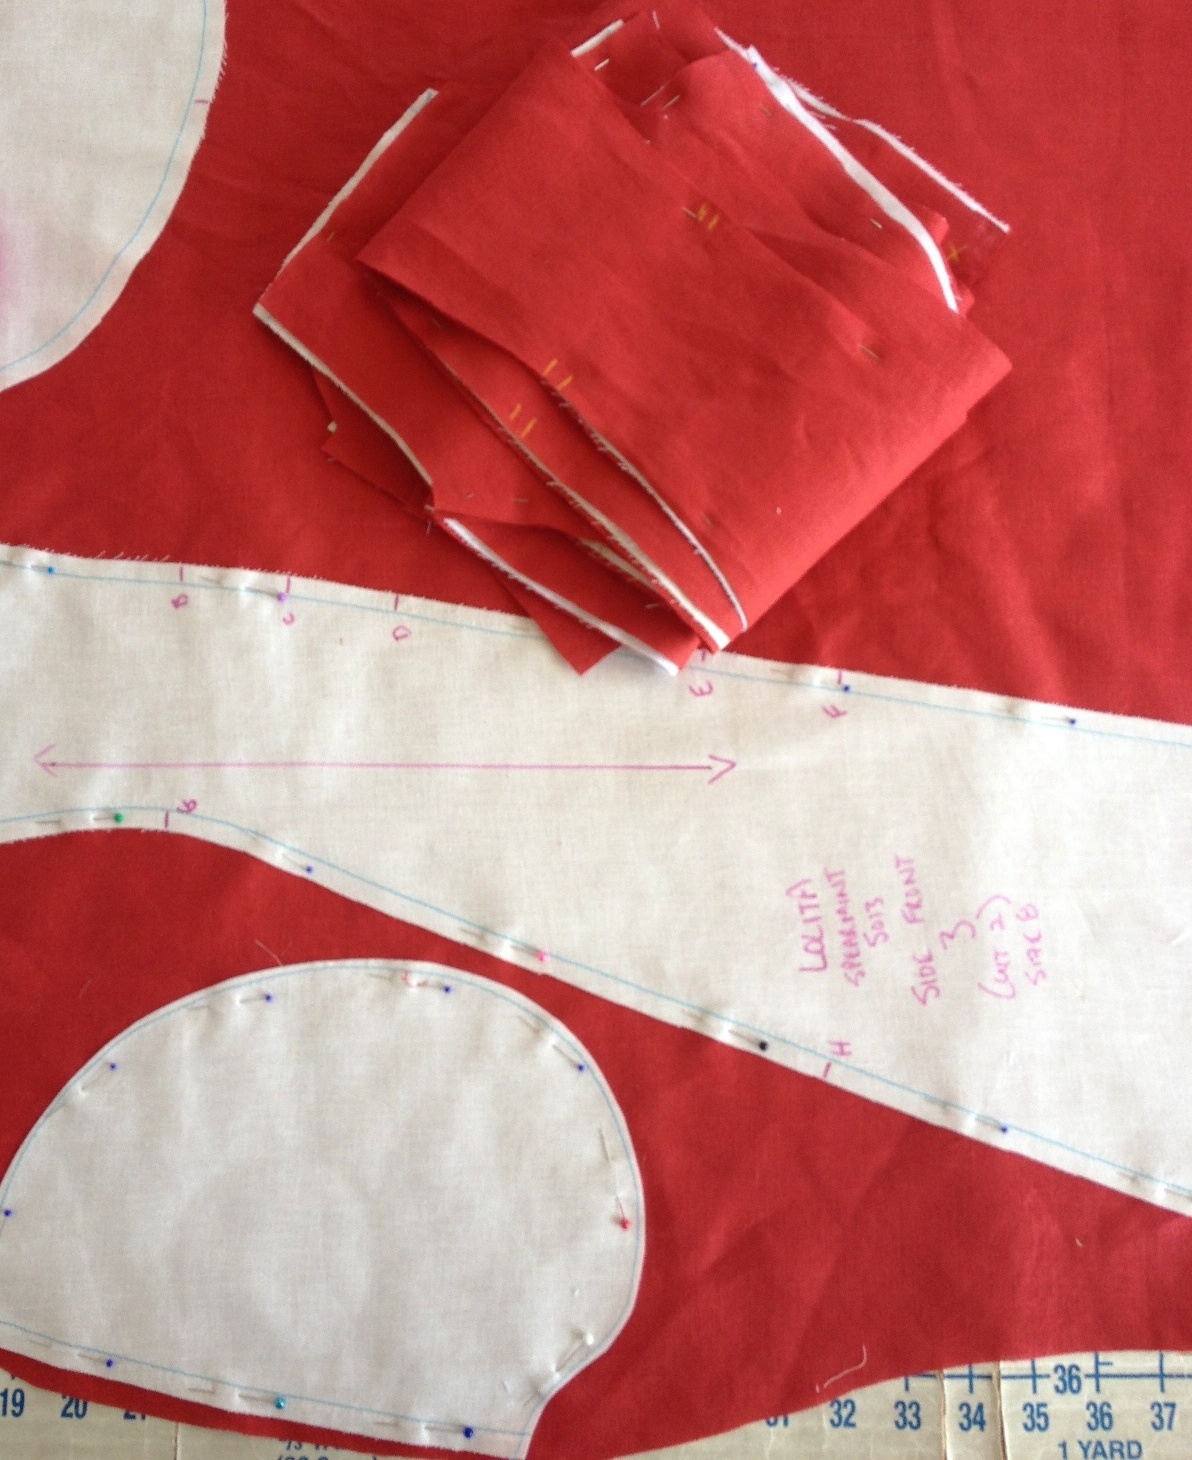
Because the armhole is not extremely large, I was able to find a section of fabric that would provide a bias strip large enough to accommodate the opening without having to piece strips together.  


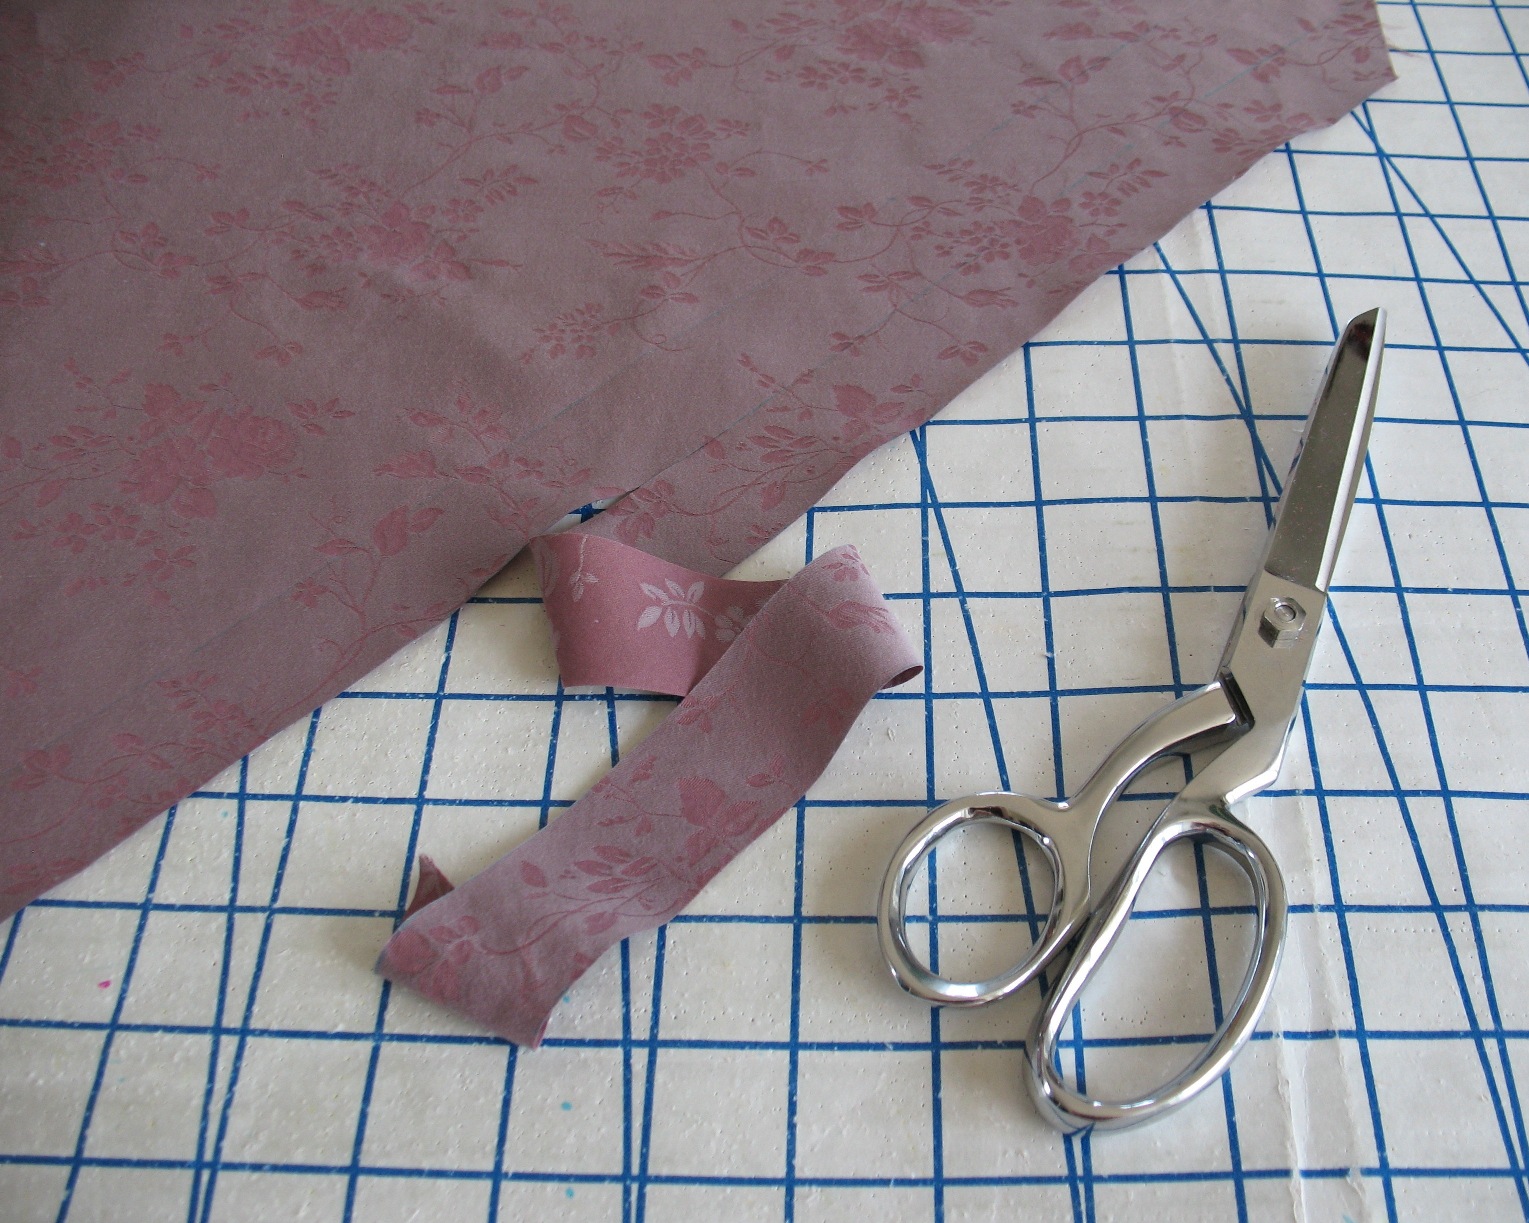
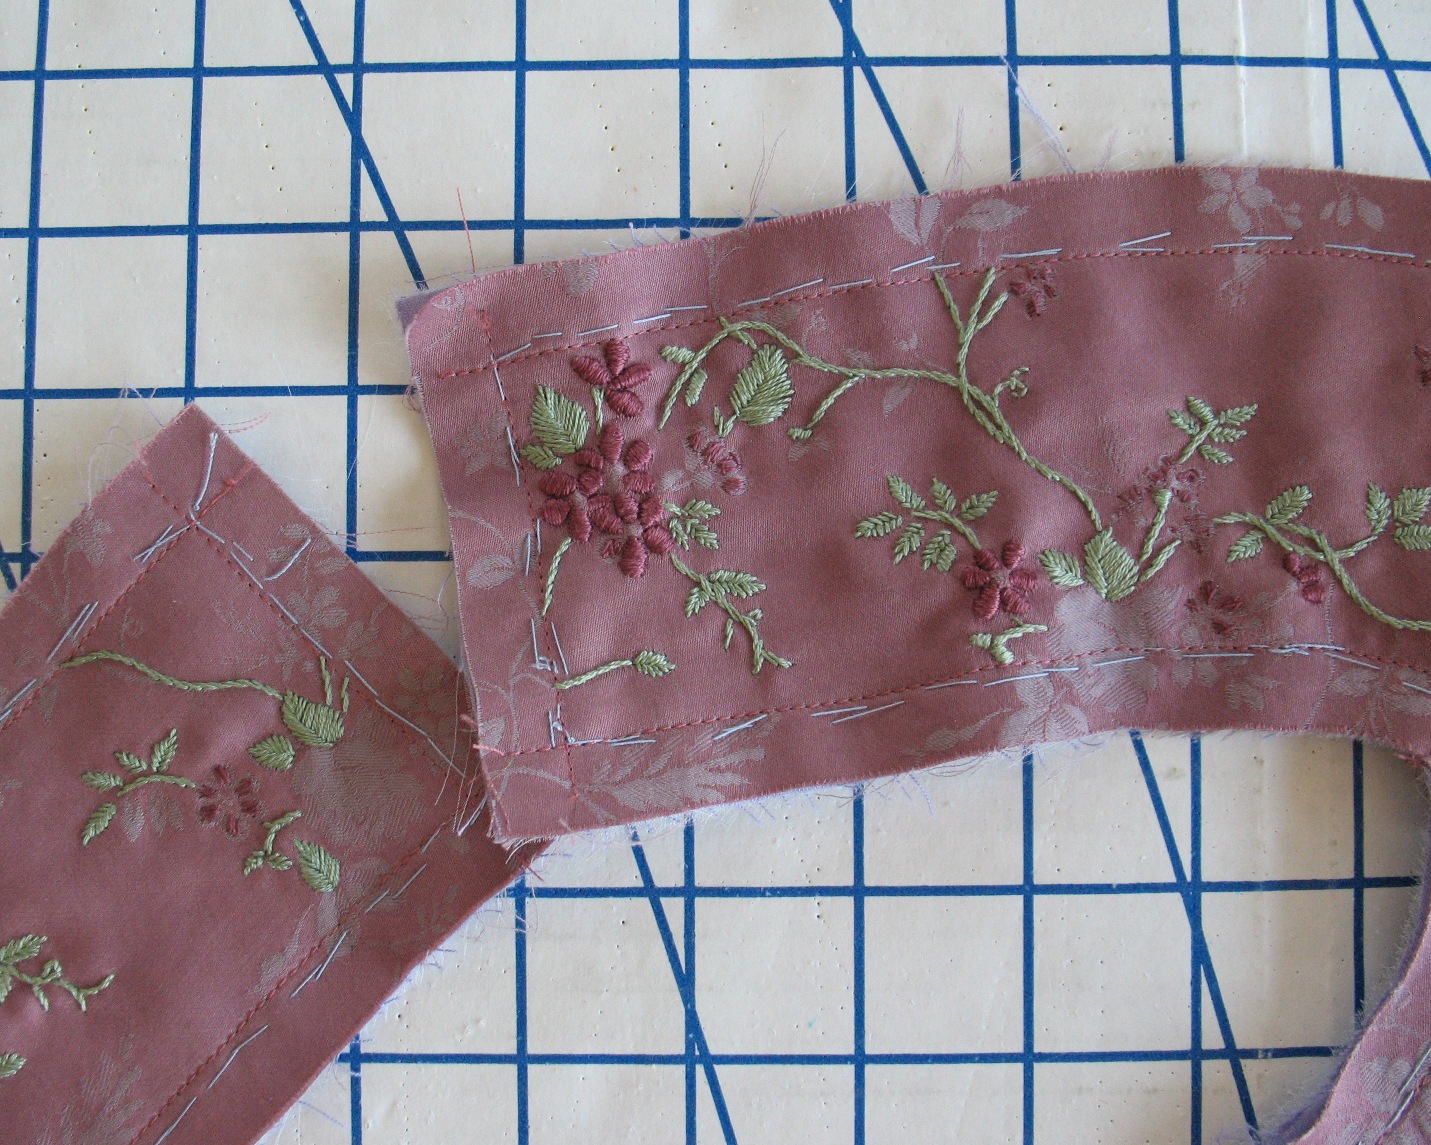
Since I am not encasing the raw edge, I do not need a very wide strip of bias tape – there will only be two fold-overs this time, instead of the three required to encase a raw edge).  One edge of the strip is then ironed.  It is always easier to press your bias strip before applying it to your garment.  These strips will have a tendency to stretch, especially if you have a large garment hanging off the edge of your ironing board and pulling at them while you try to press an even allowance.


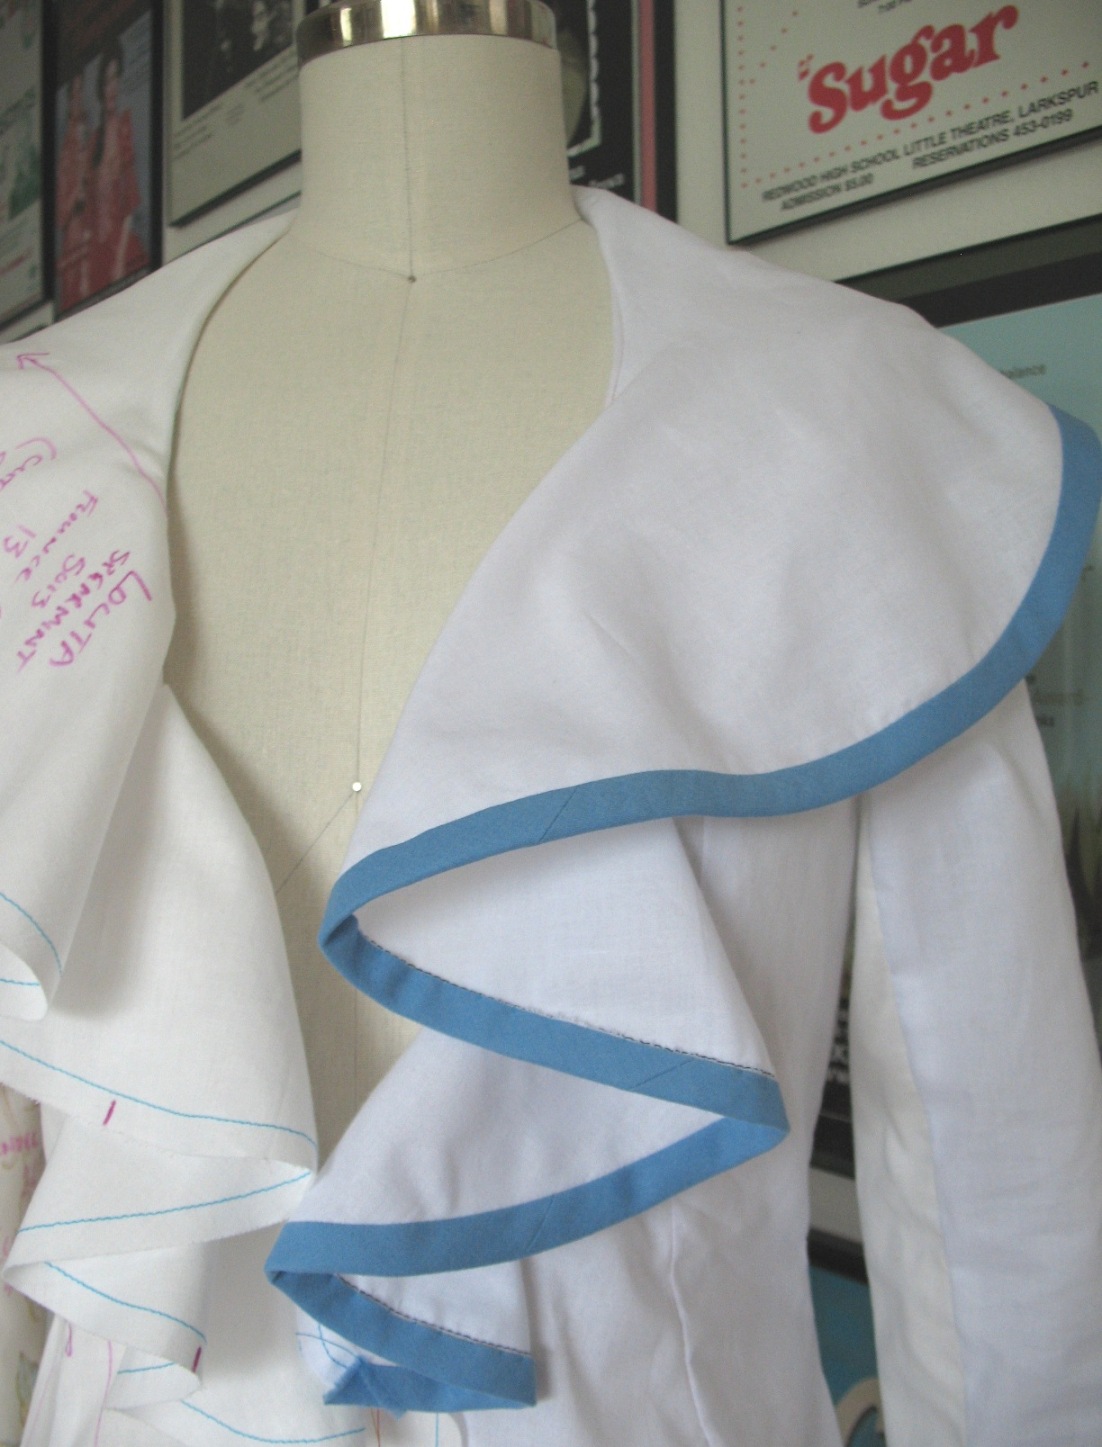
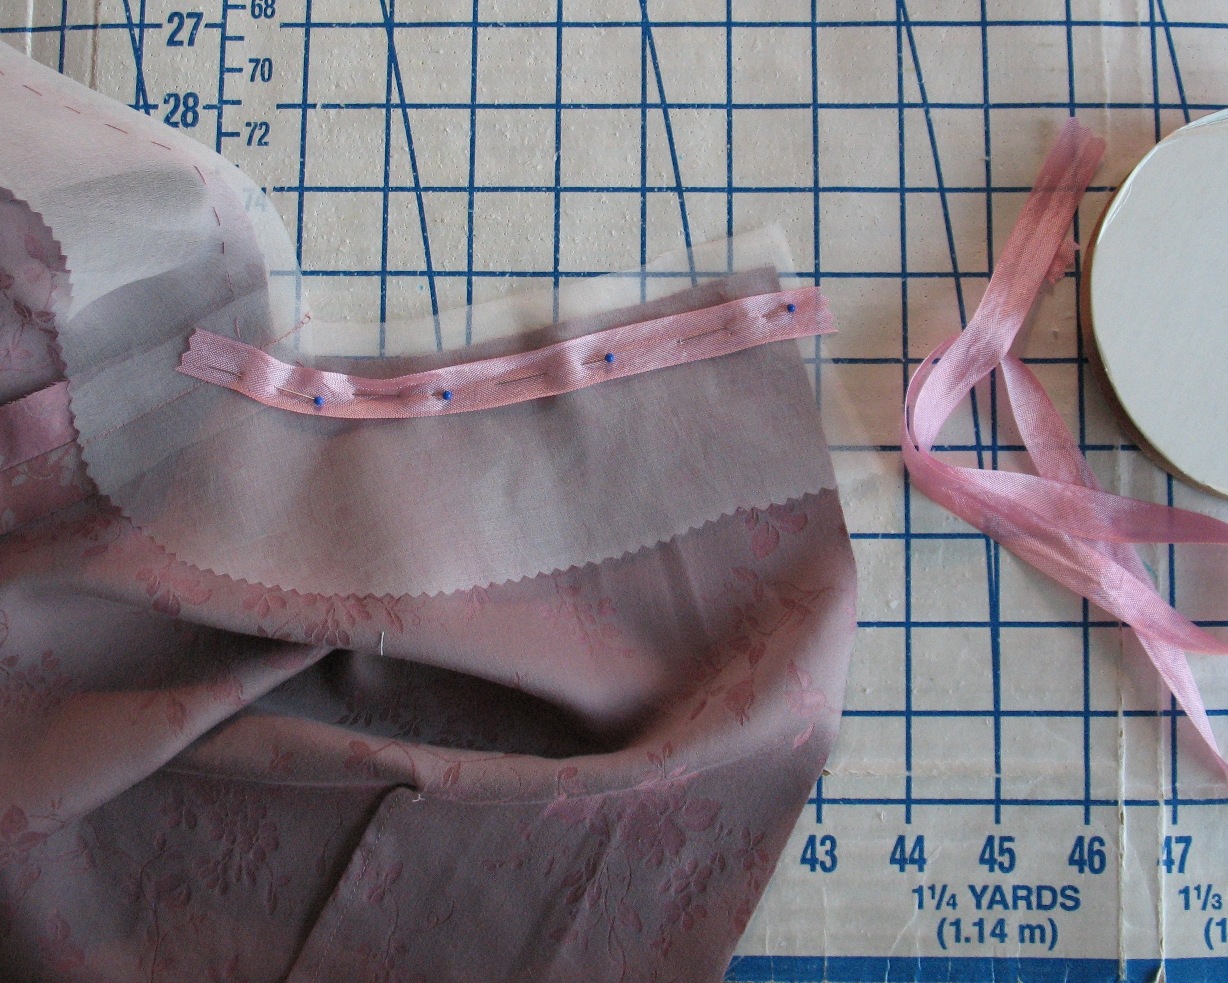
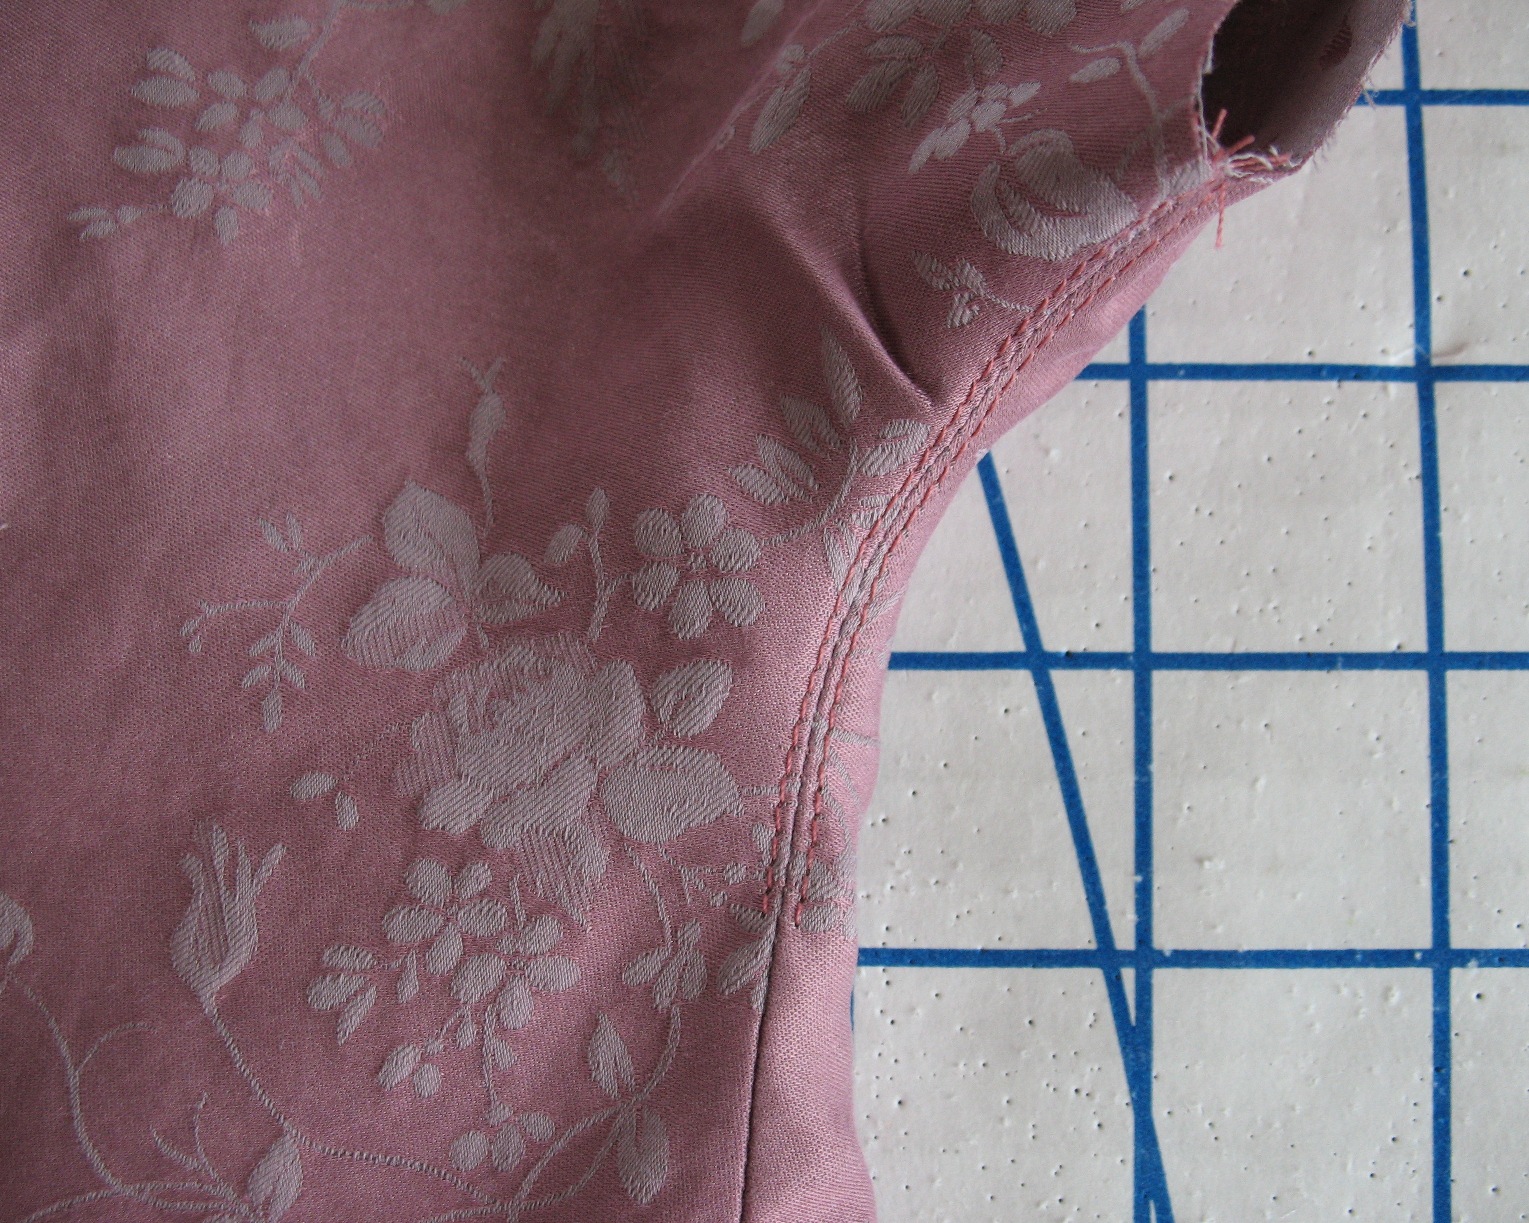
I like to apply the bias piece to the right side of the garment because the first seam will be stitched on a machine and therefore provides a more consistent and sturdy edge for turning.


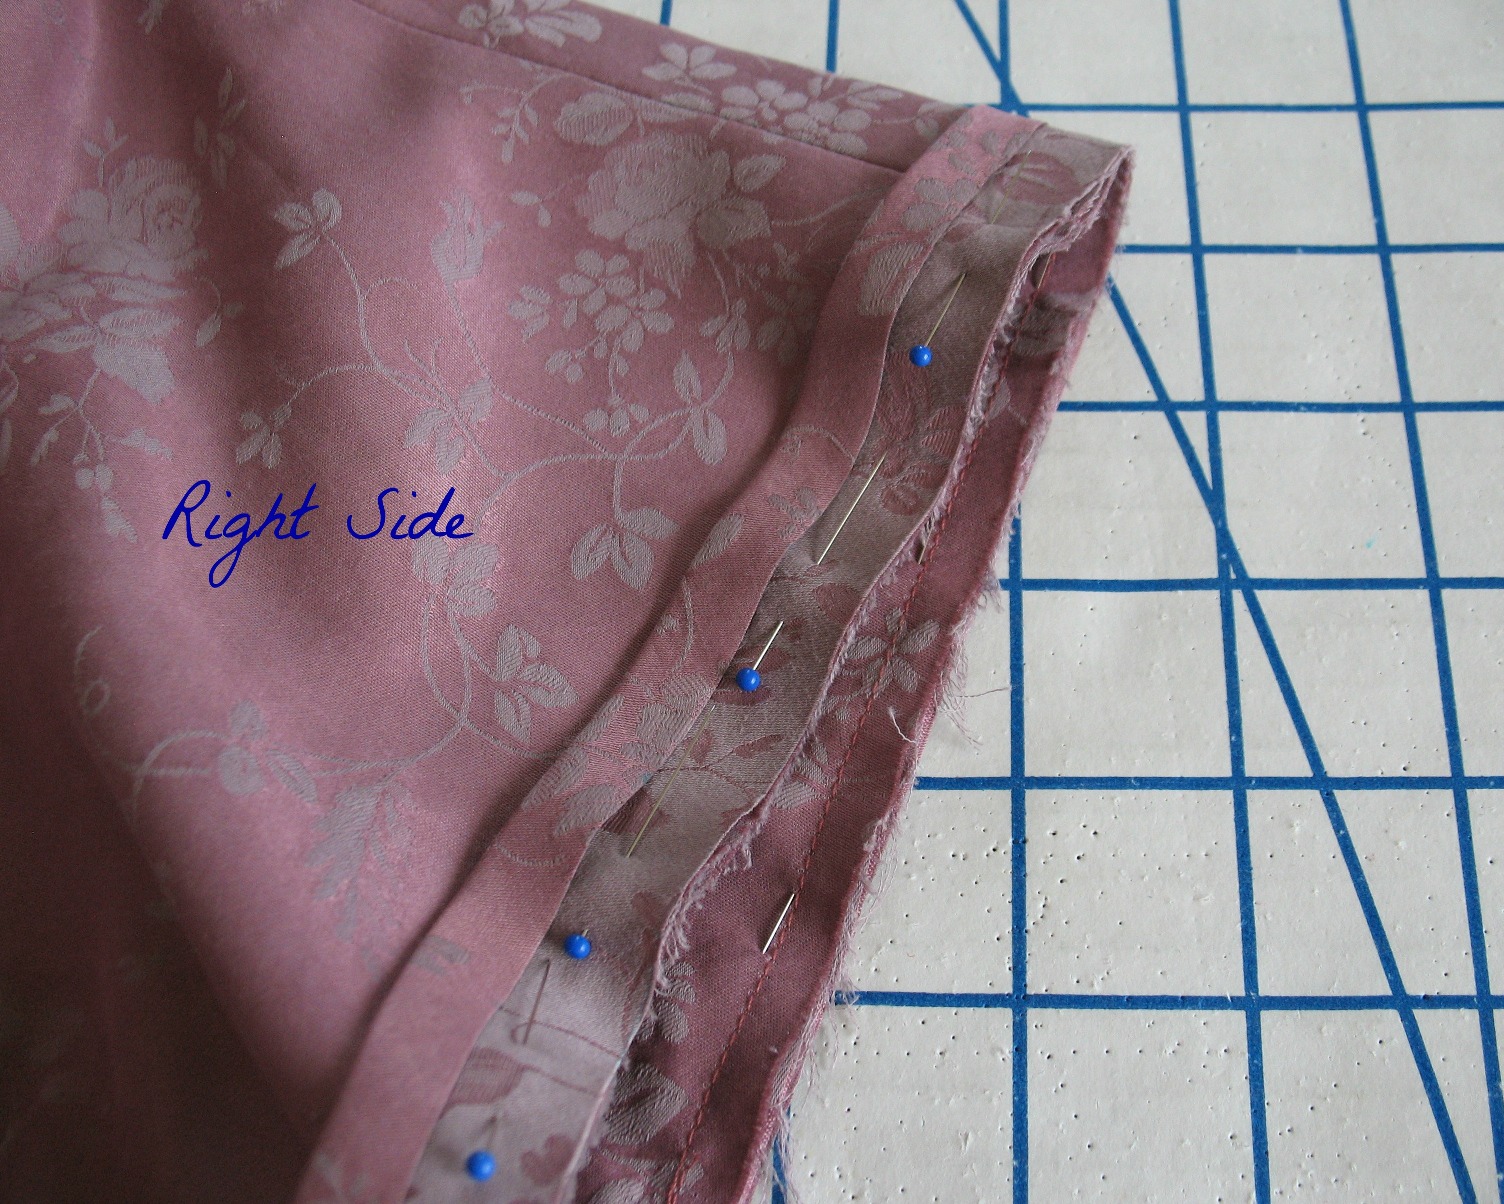
With right sides facing, the bias piece is pinned in place, raw edges matching, and then stitched down.  (The seam allowance is up to you - just make sure to account for that measurement before cutting your bias strips.)


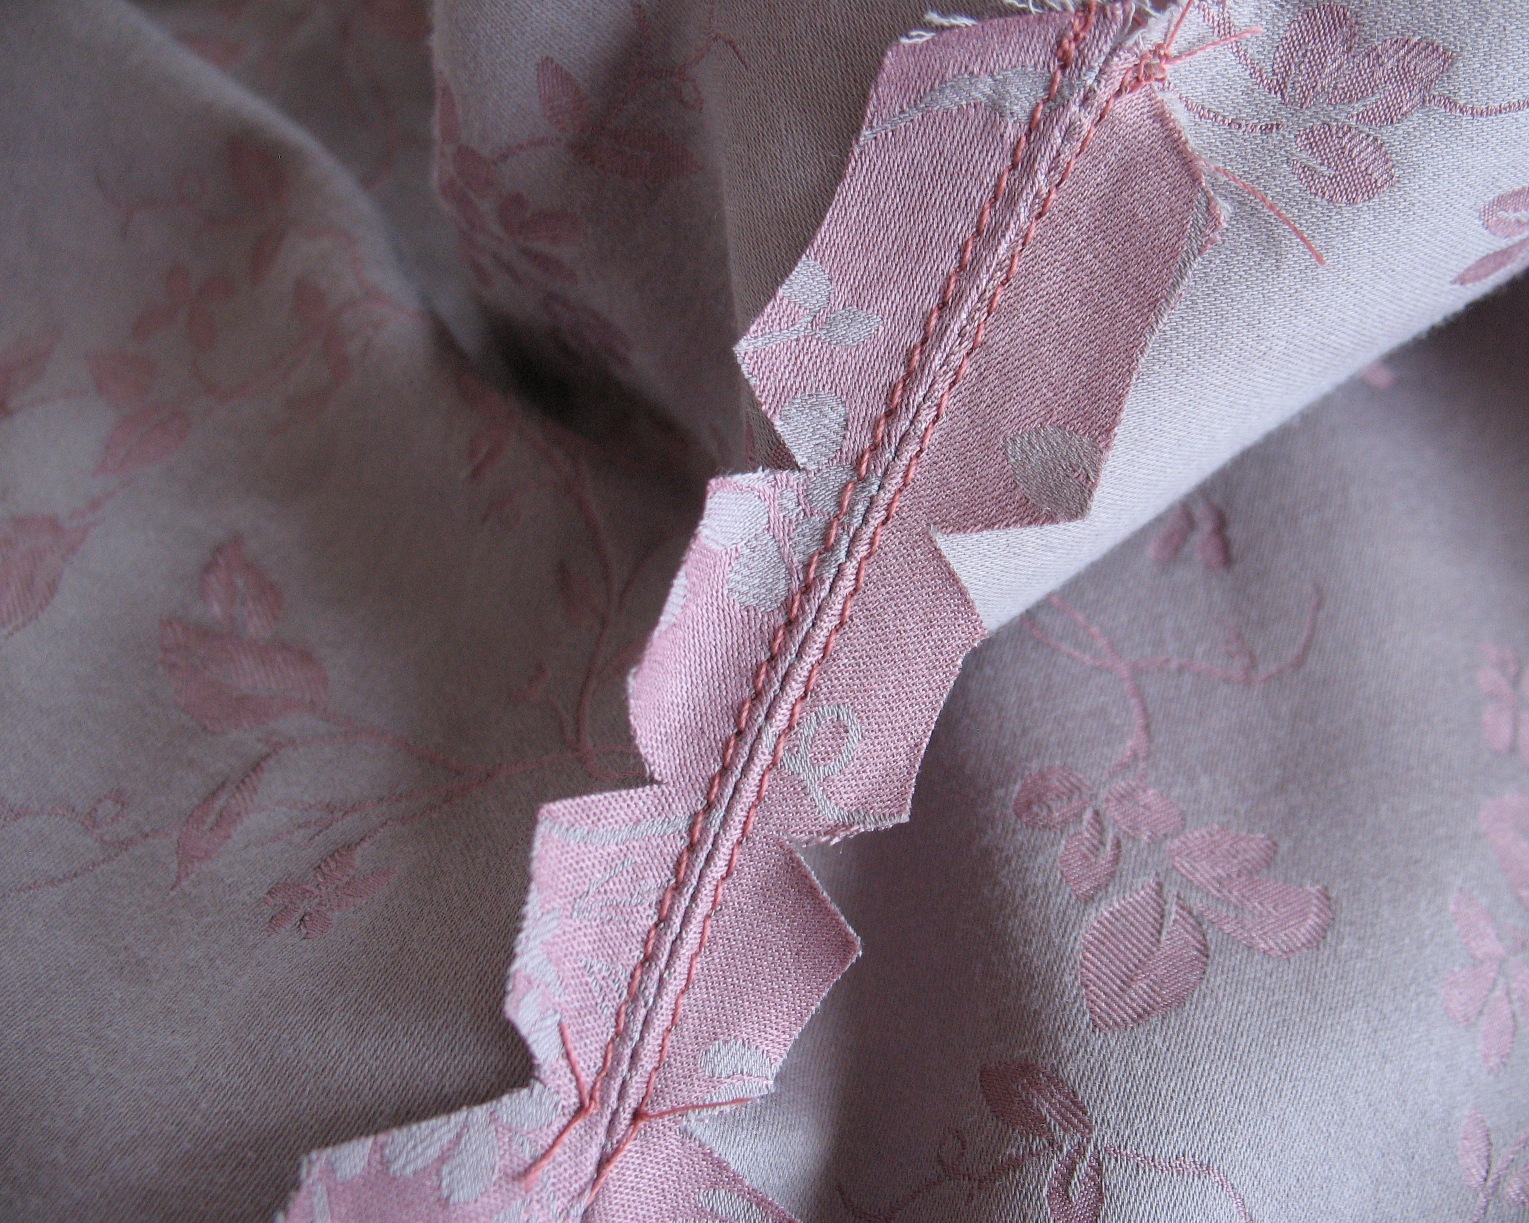
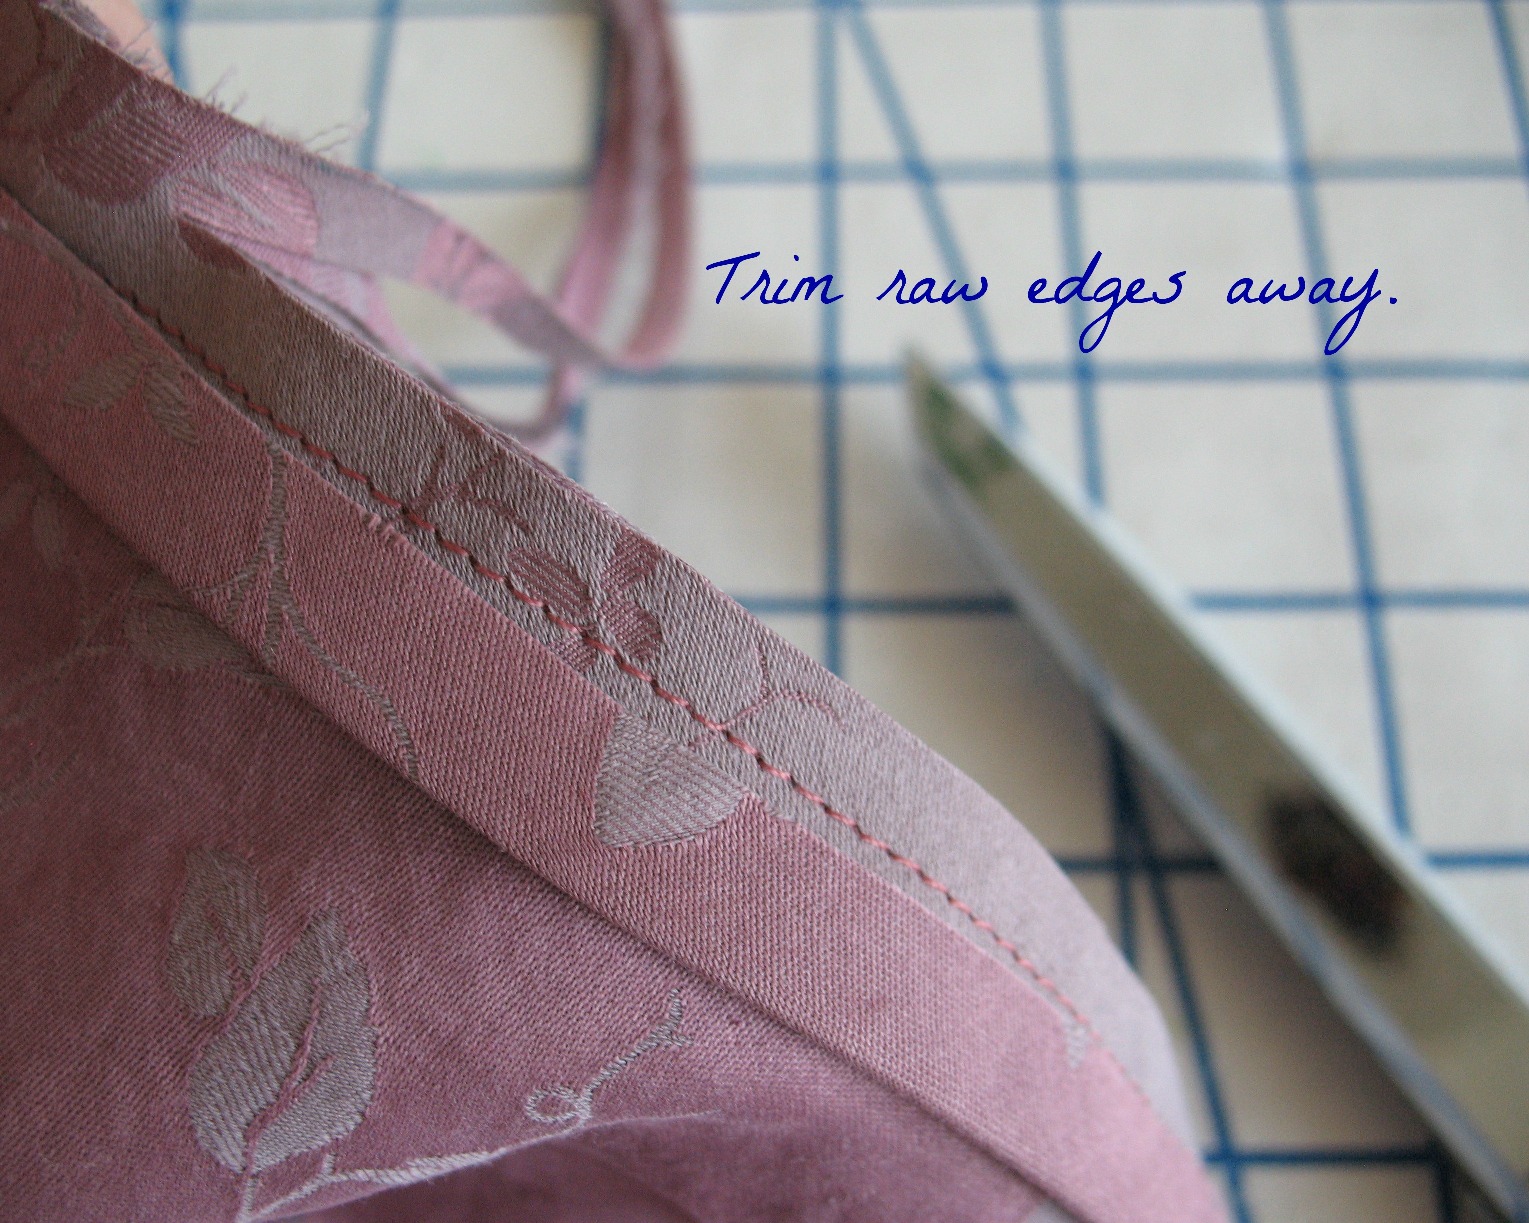
I like to trim the raw edges after stitching the bias tape to the garment.  Inevitably, the raw edges get ratty from handling the garment during construction, and this is a great time to trim those bits away so they cannot escape the confines of the bias tape once it is stitched into place.


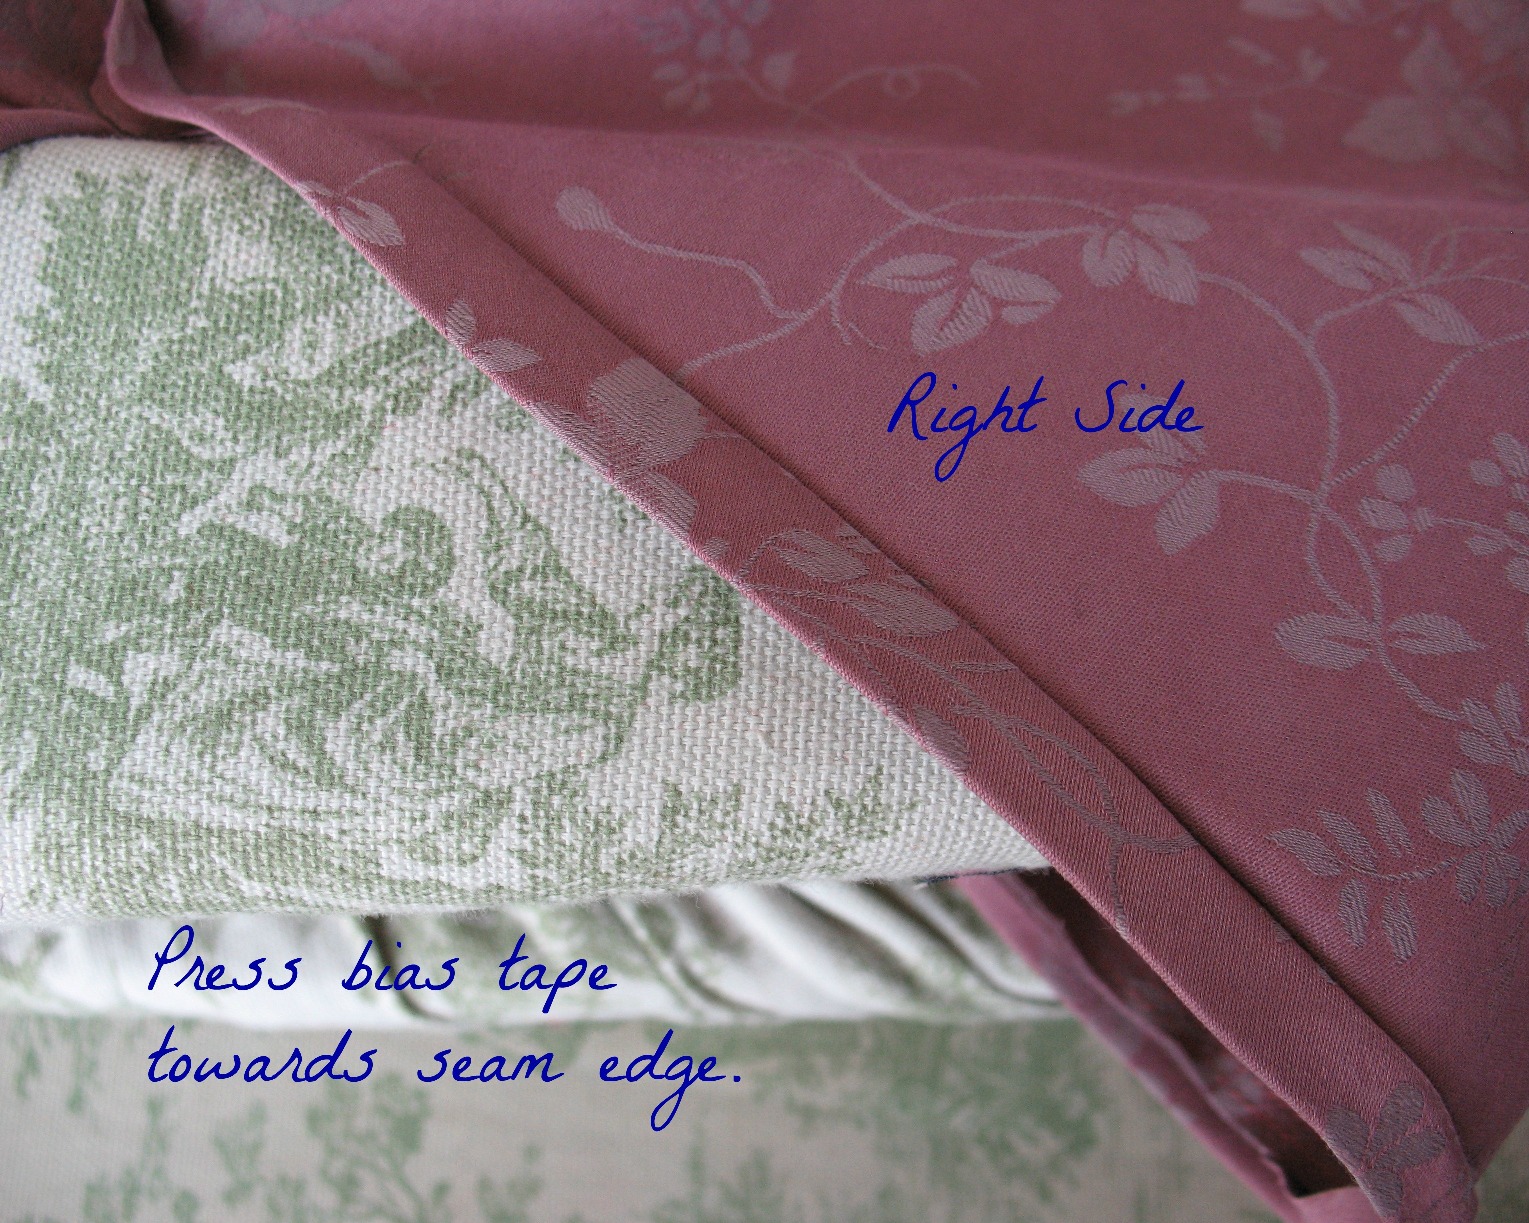
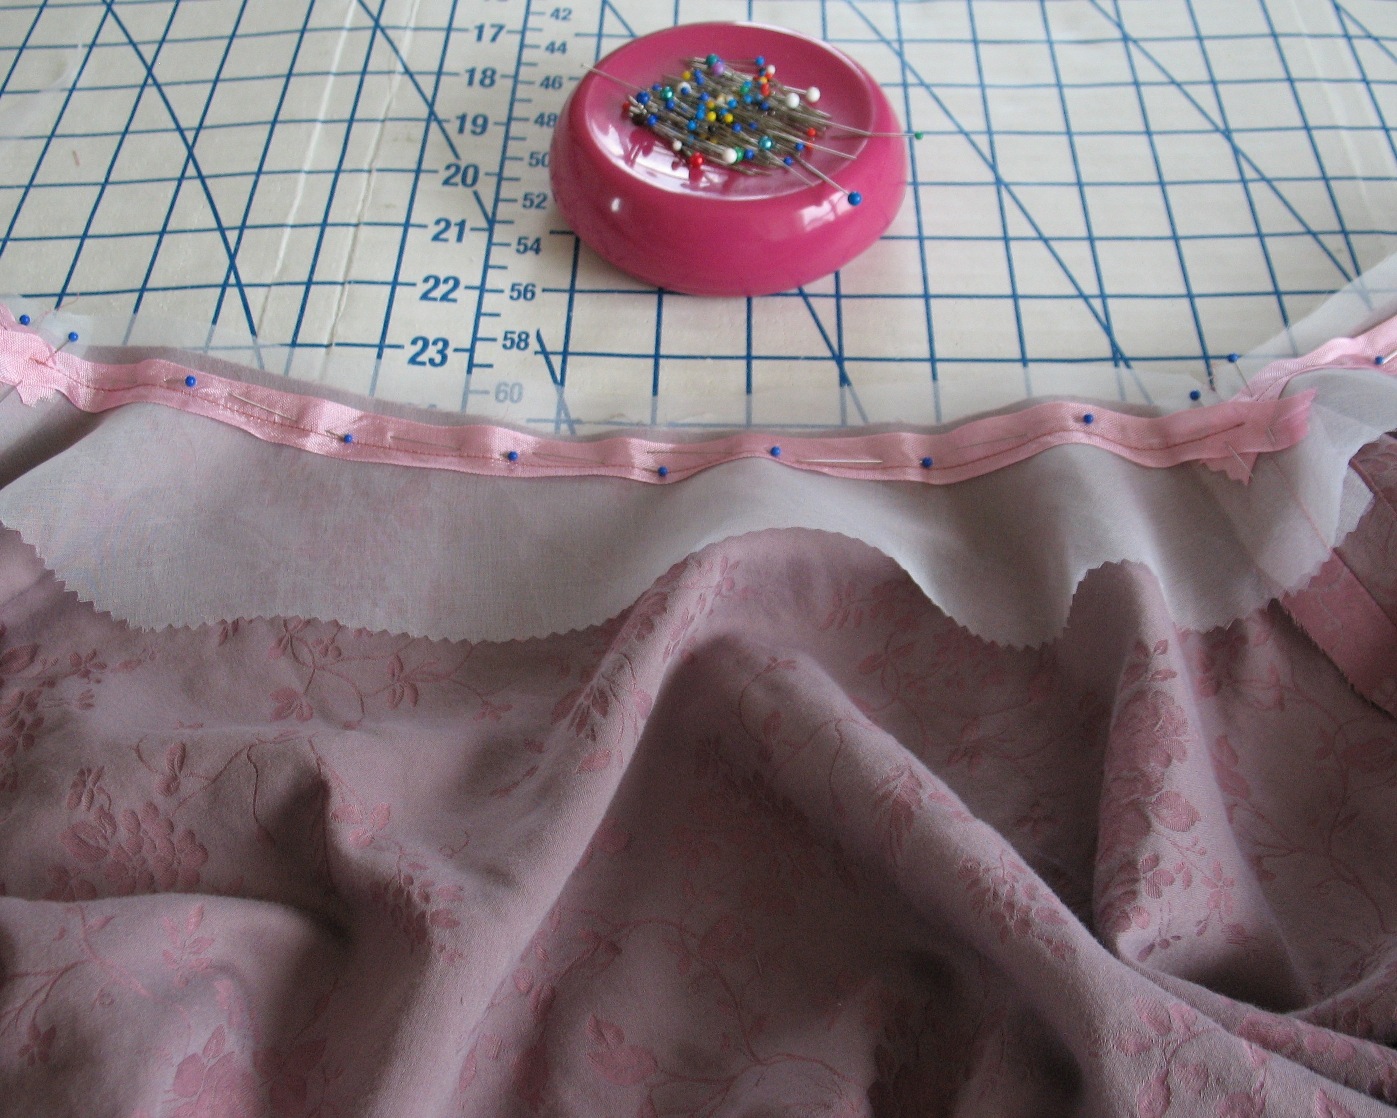
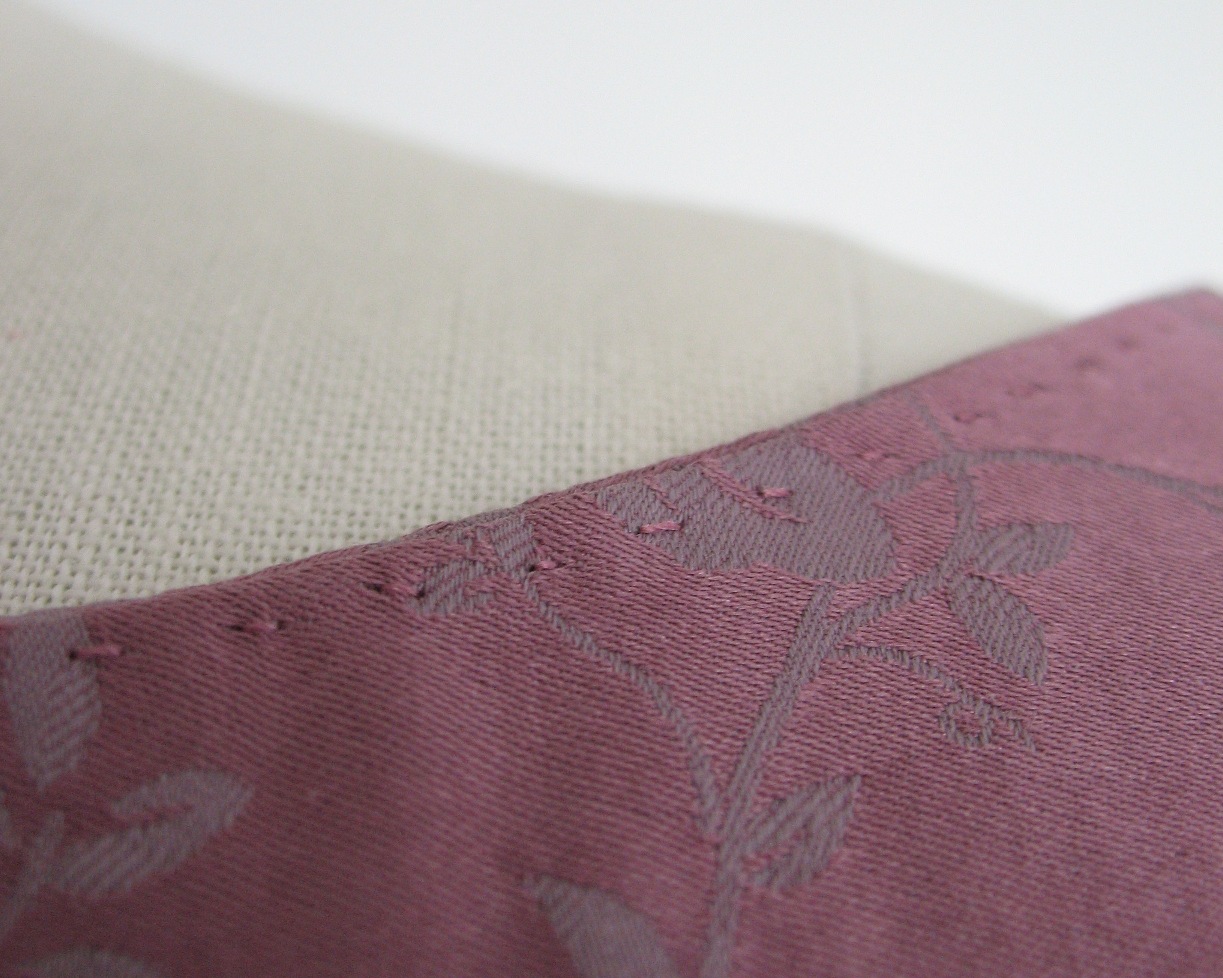
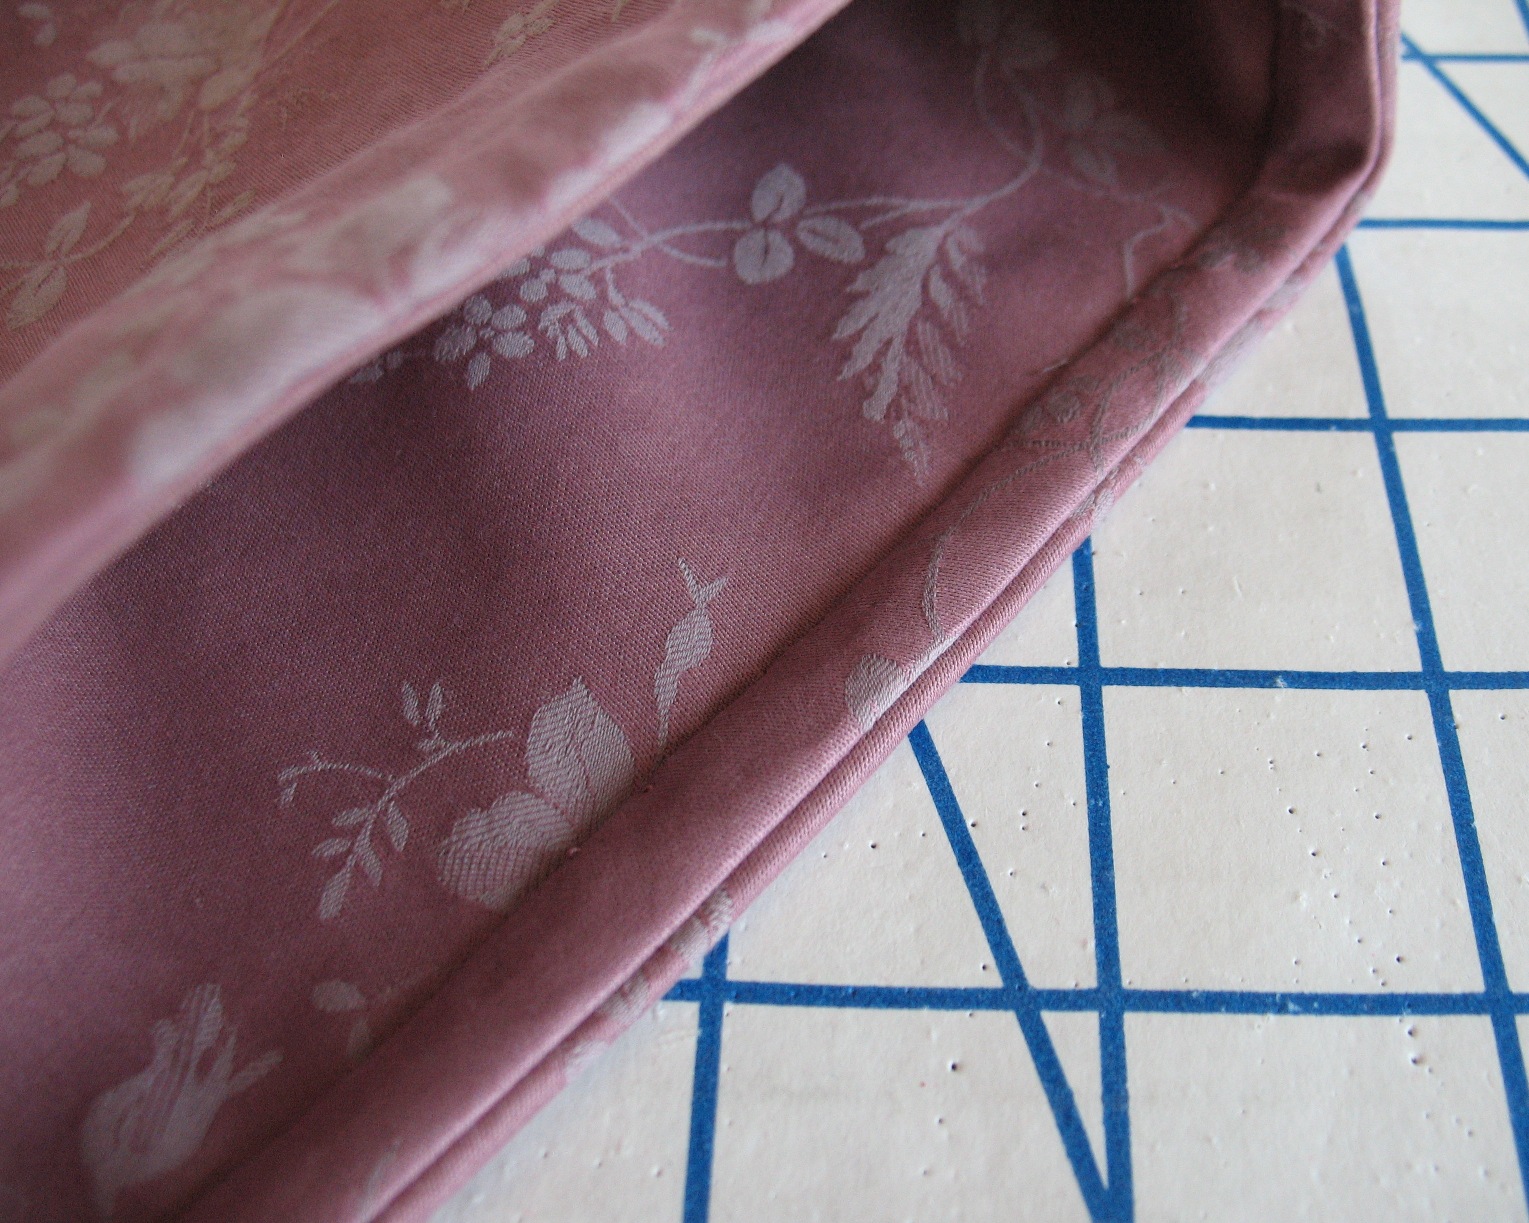
The bias strip is then pressed away from the garment to create a crisp edge.


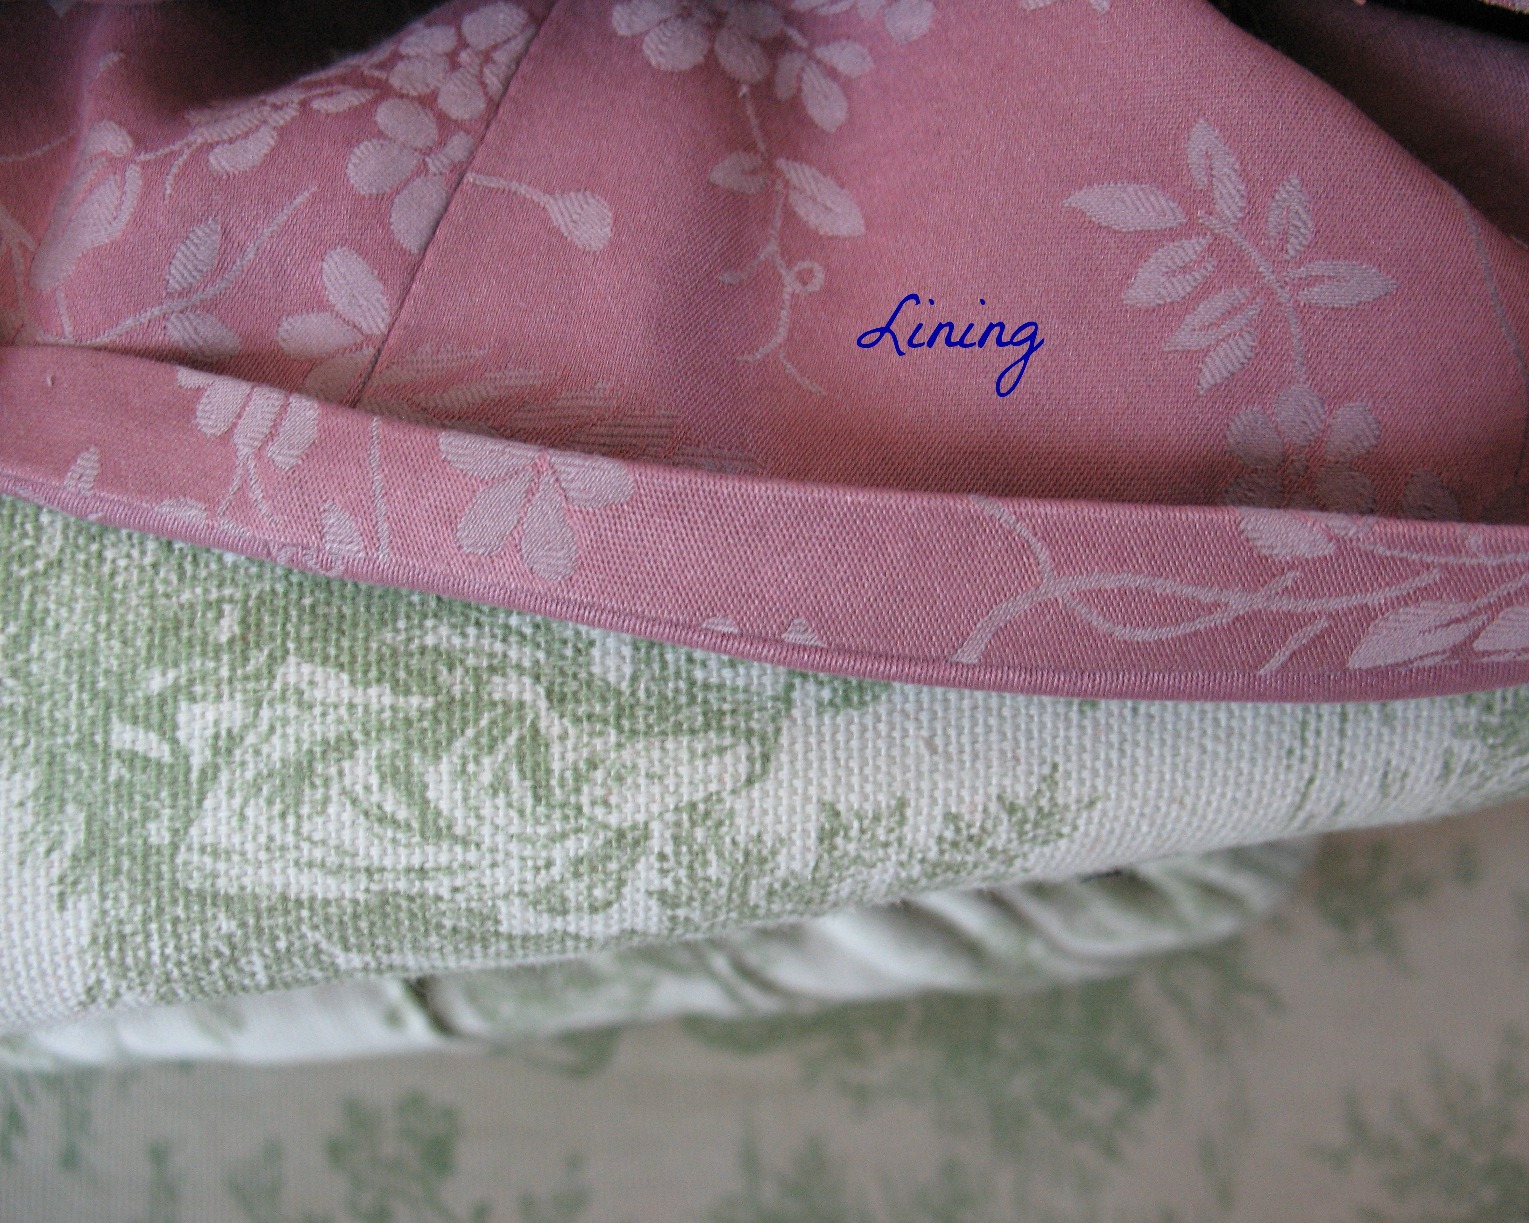
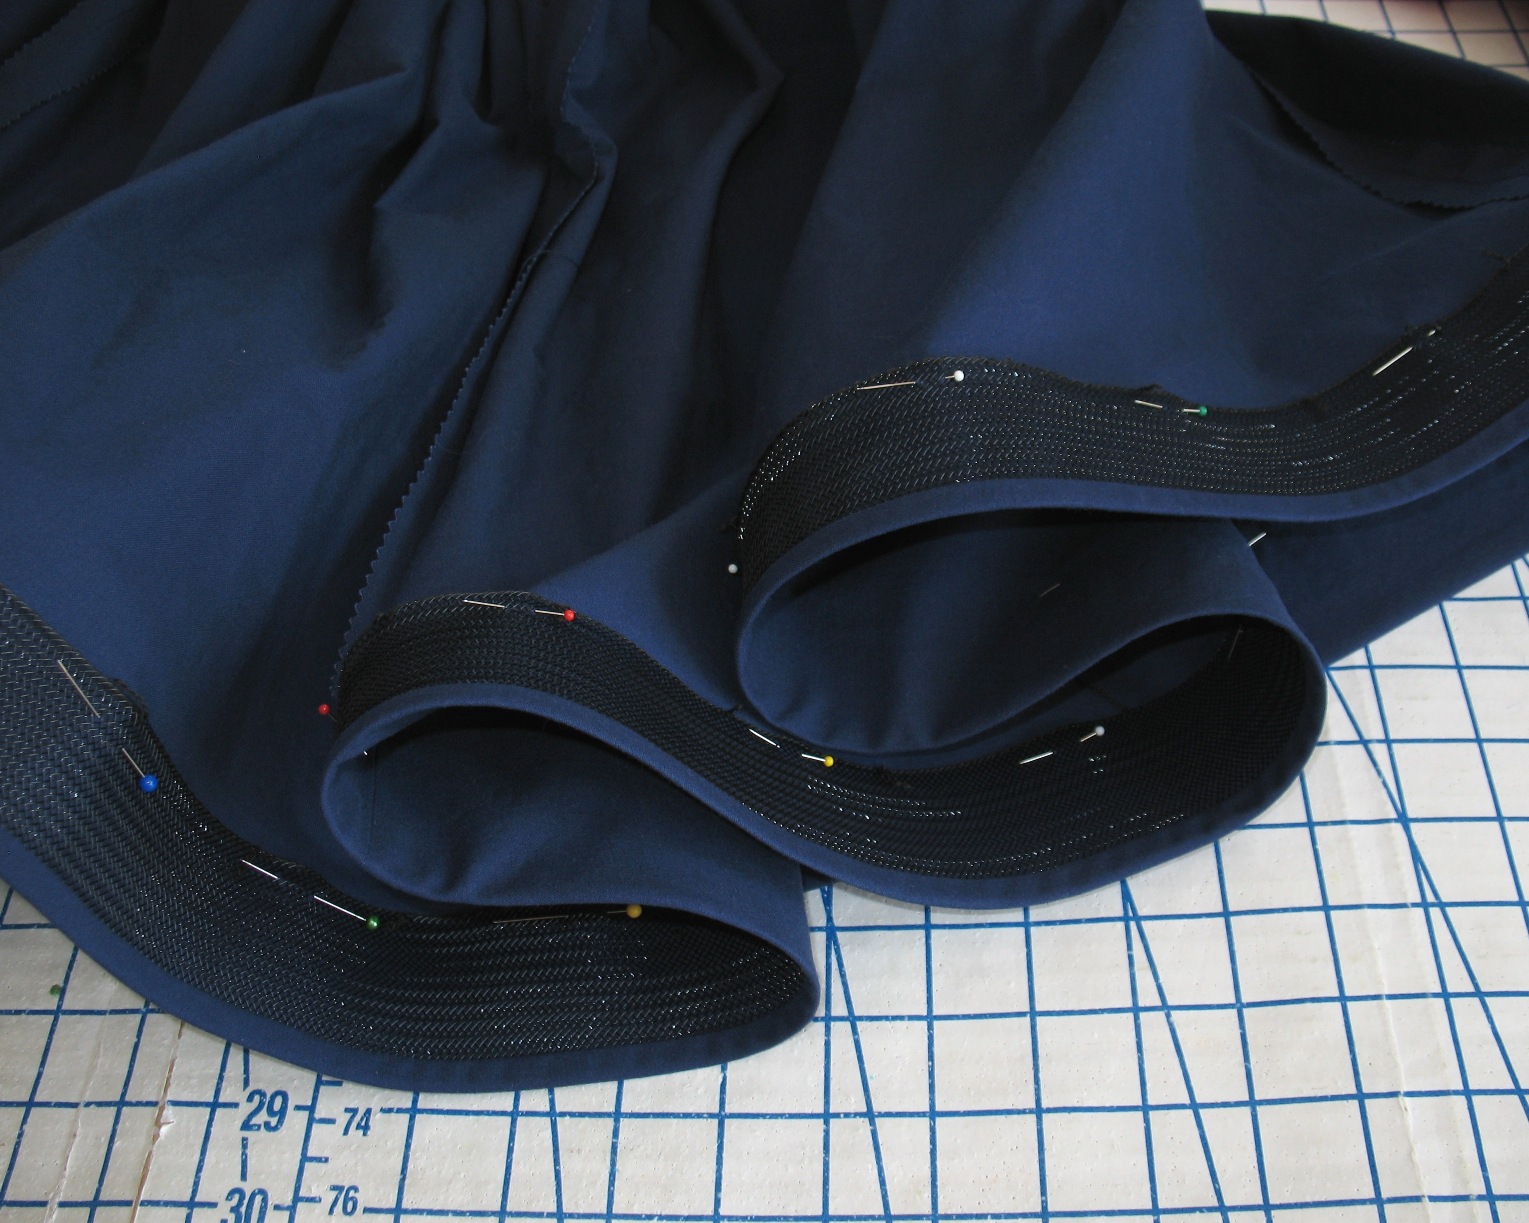
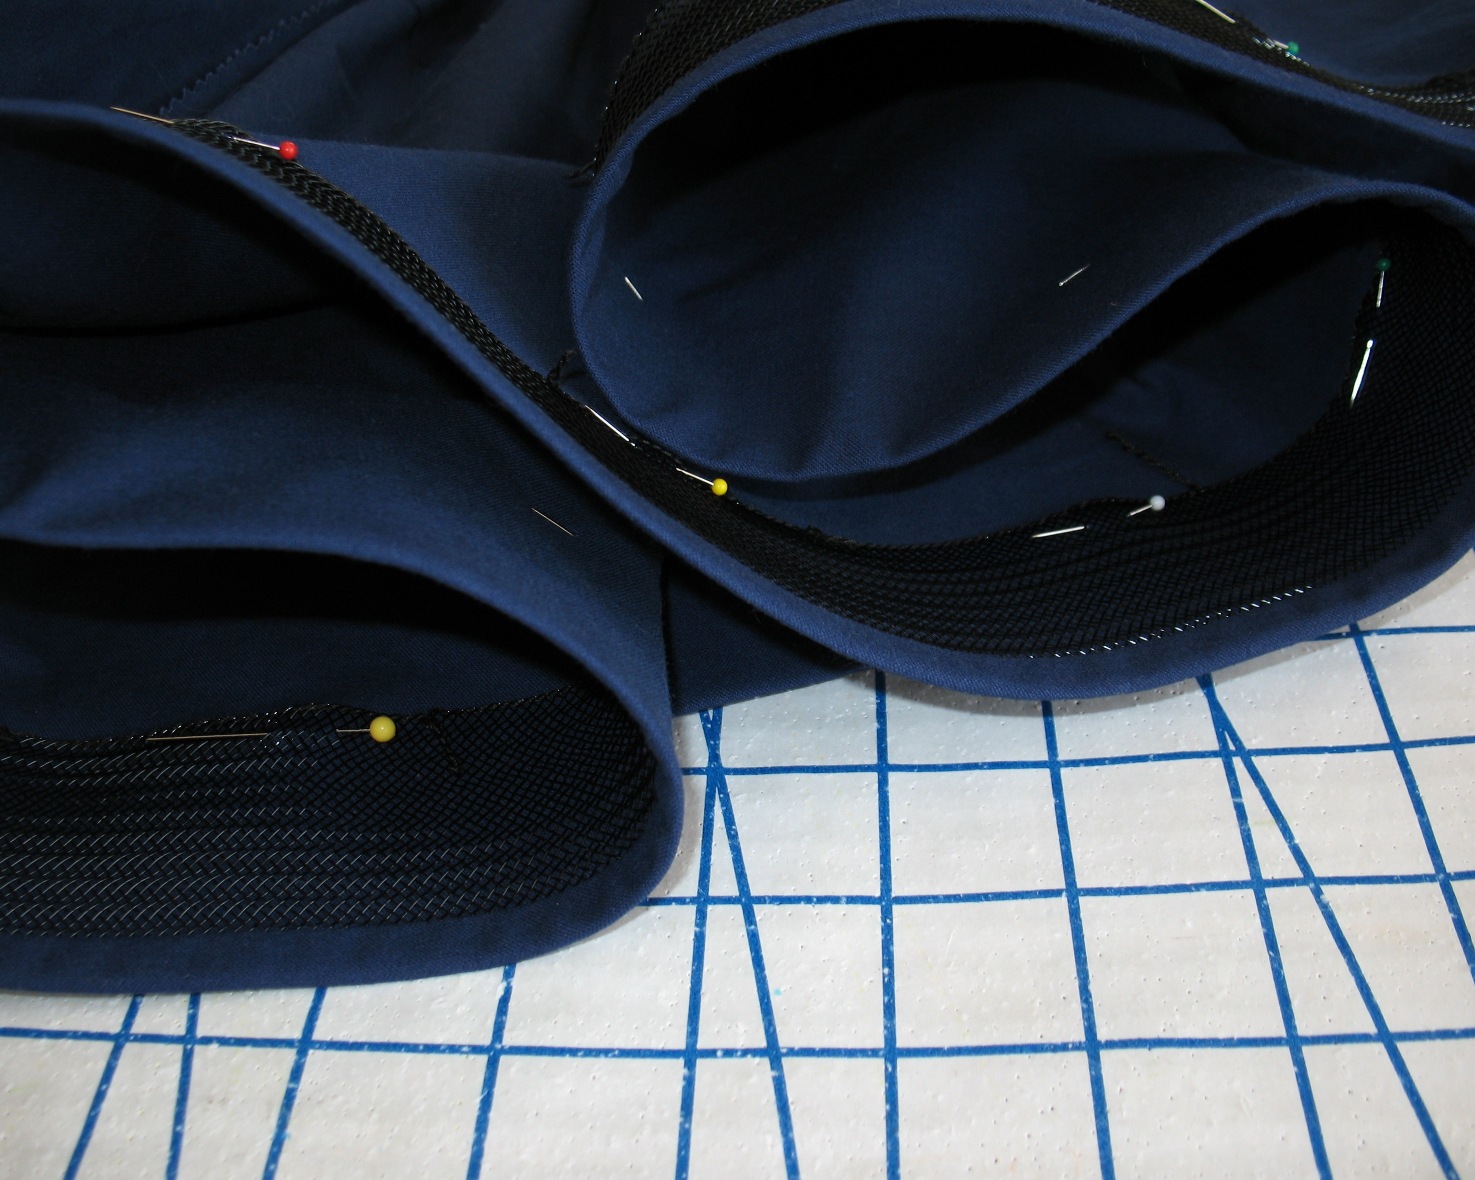
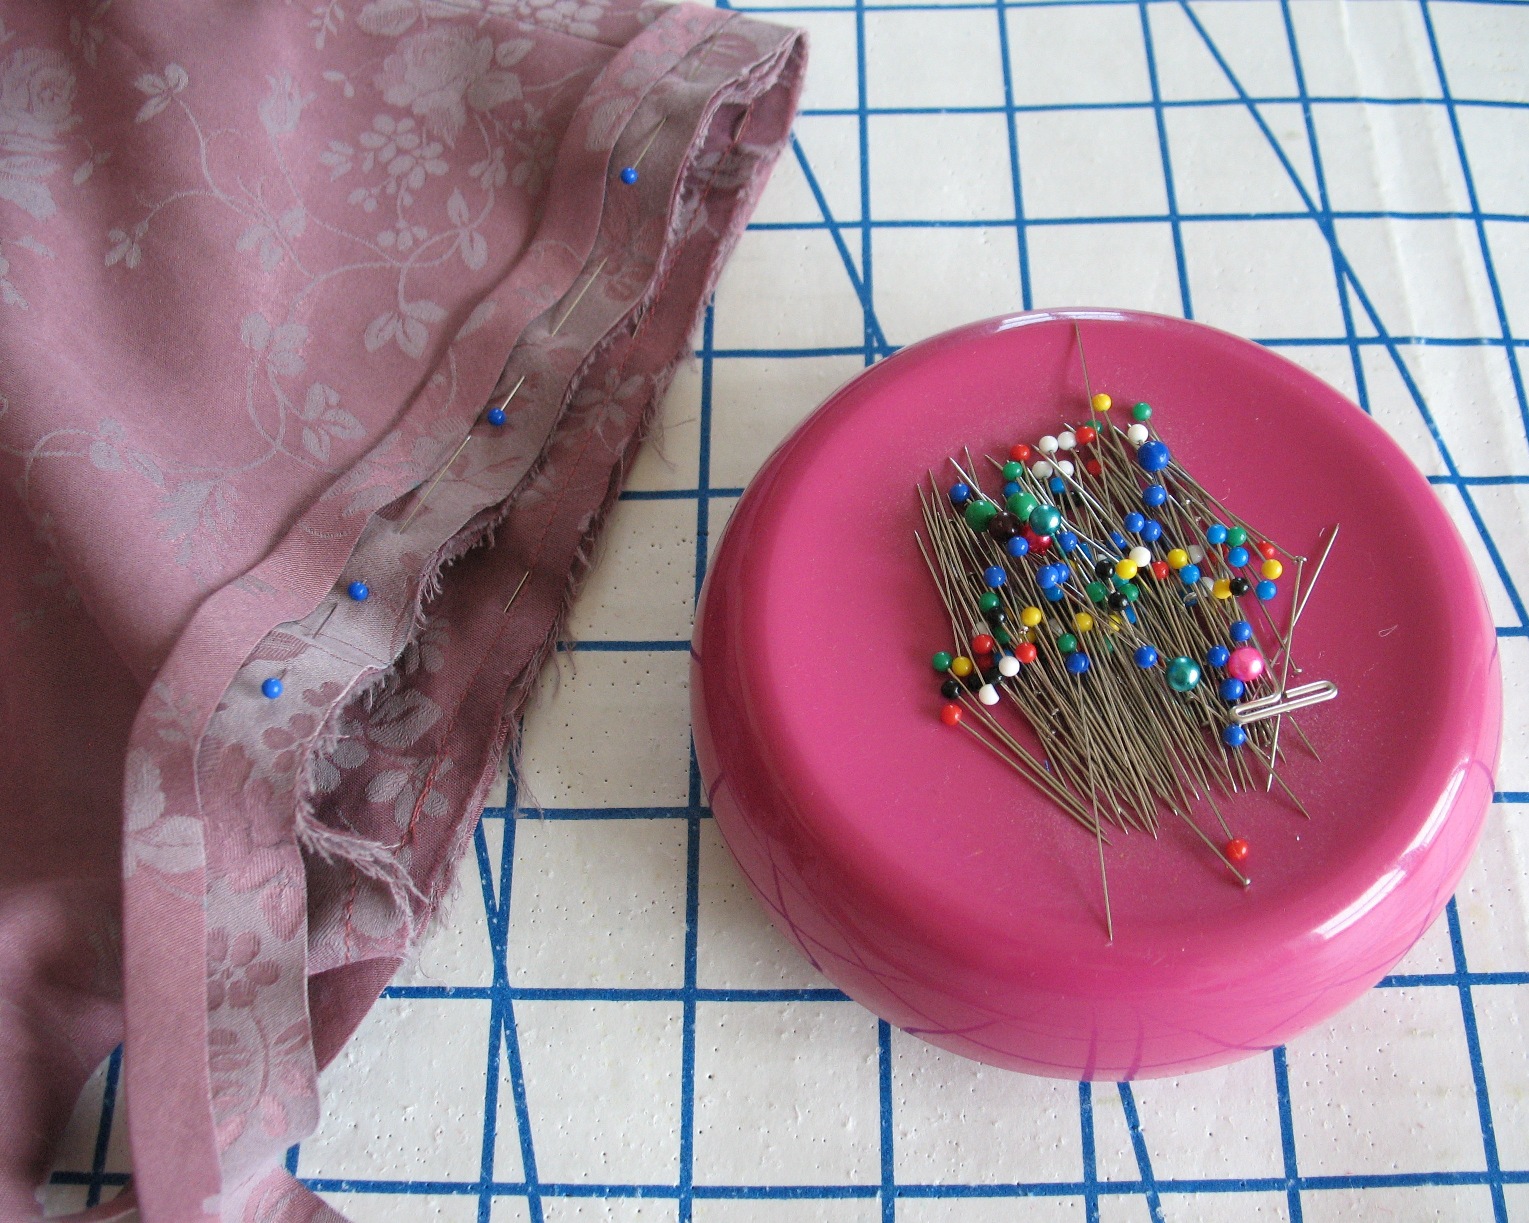
Next, the strip is folded and pressed to the wrong side of the garment.  Make sure to fold beyond the seamline so the bias does not peek out from the right side of the garment.


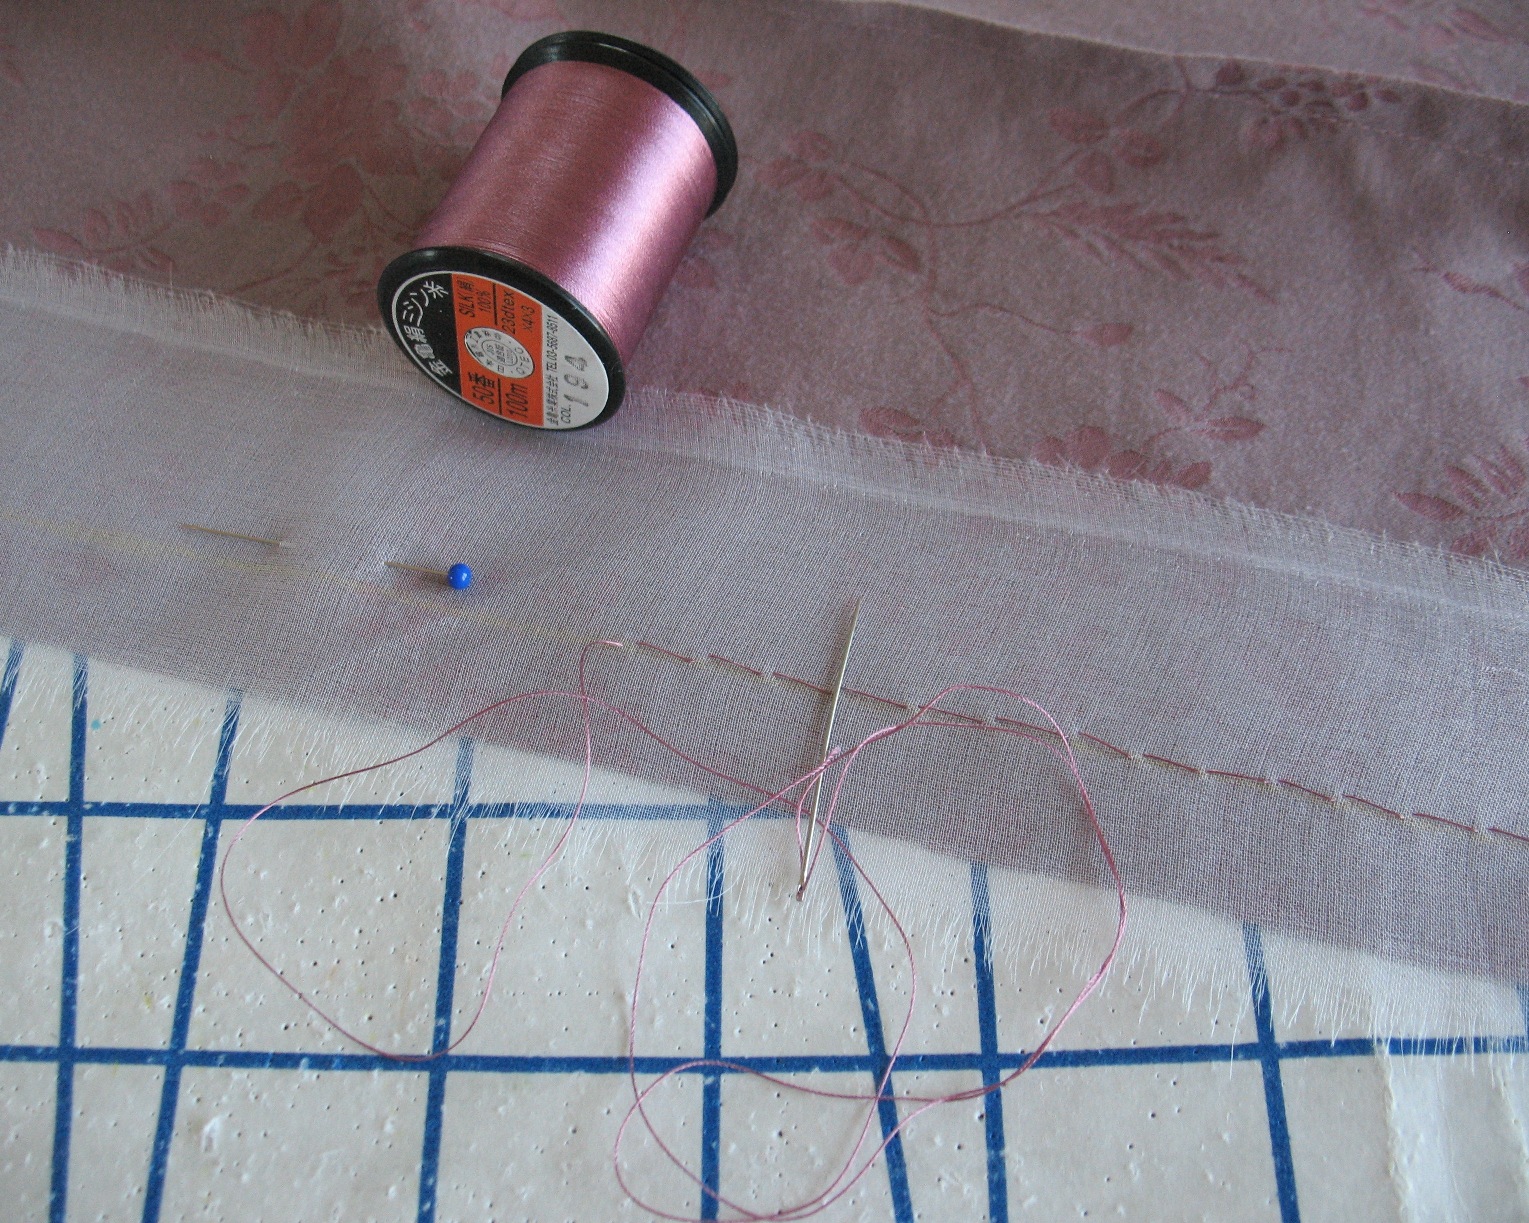
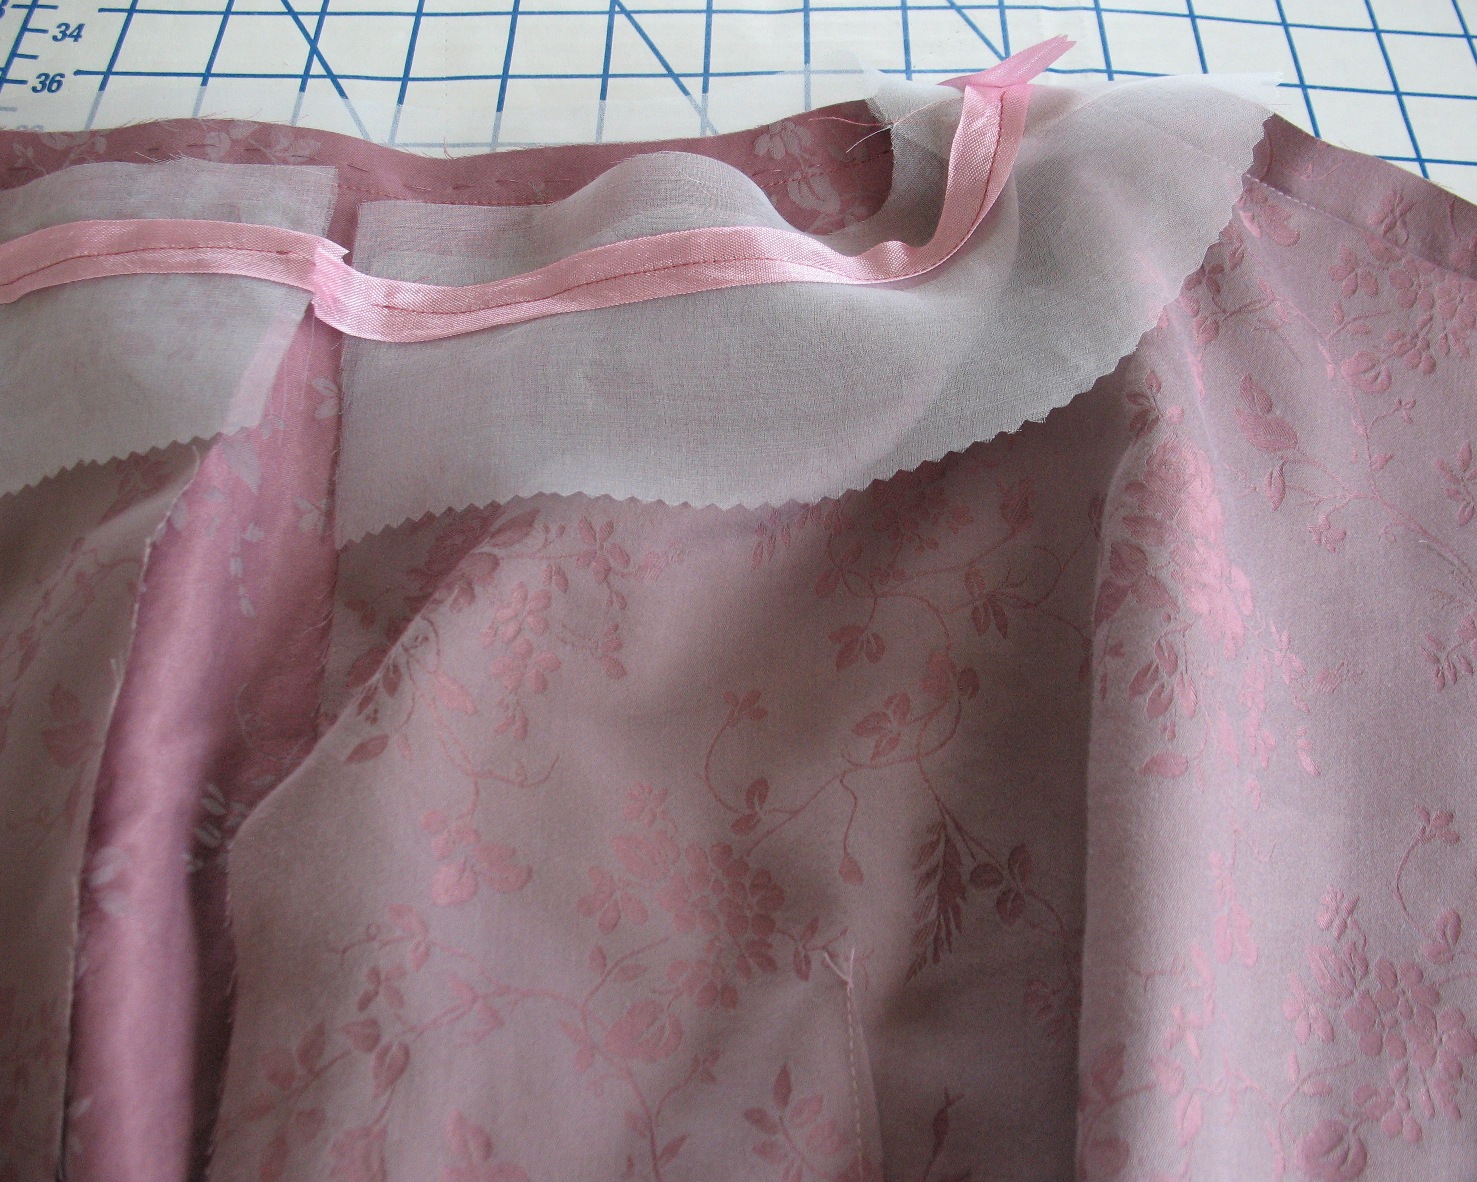
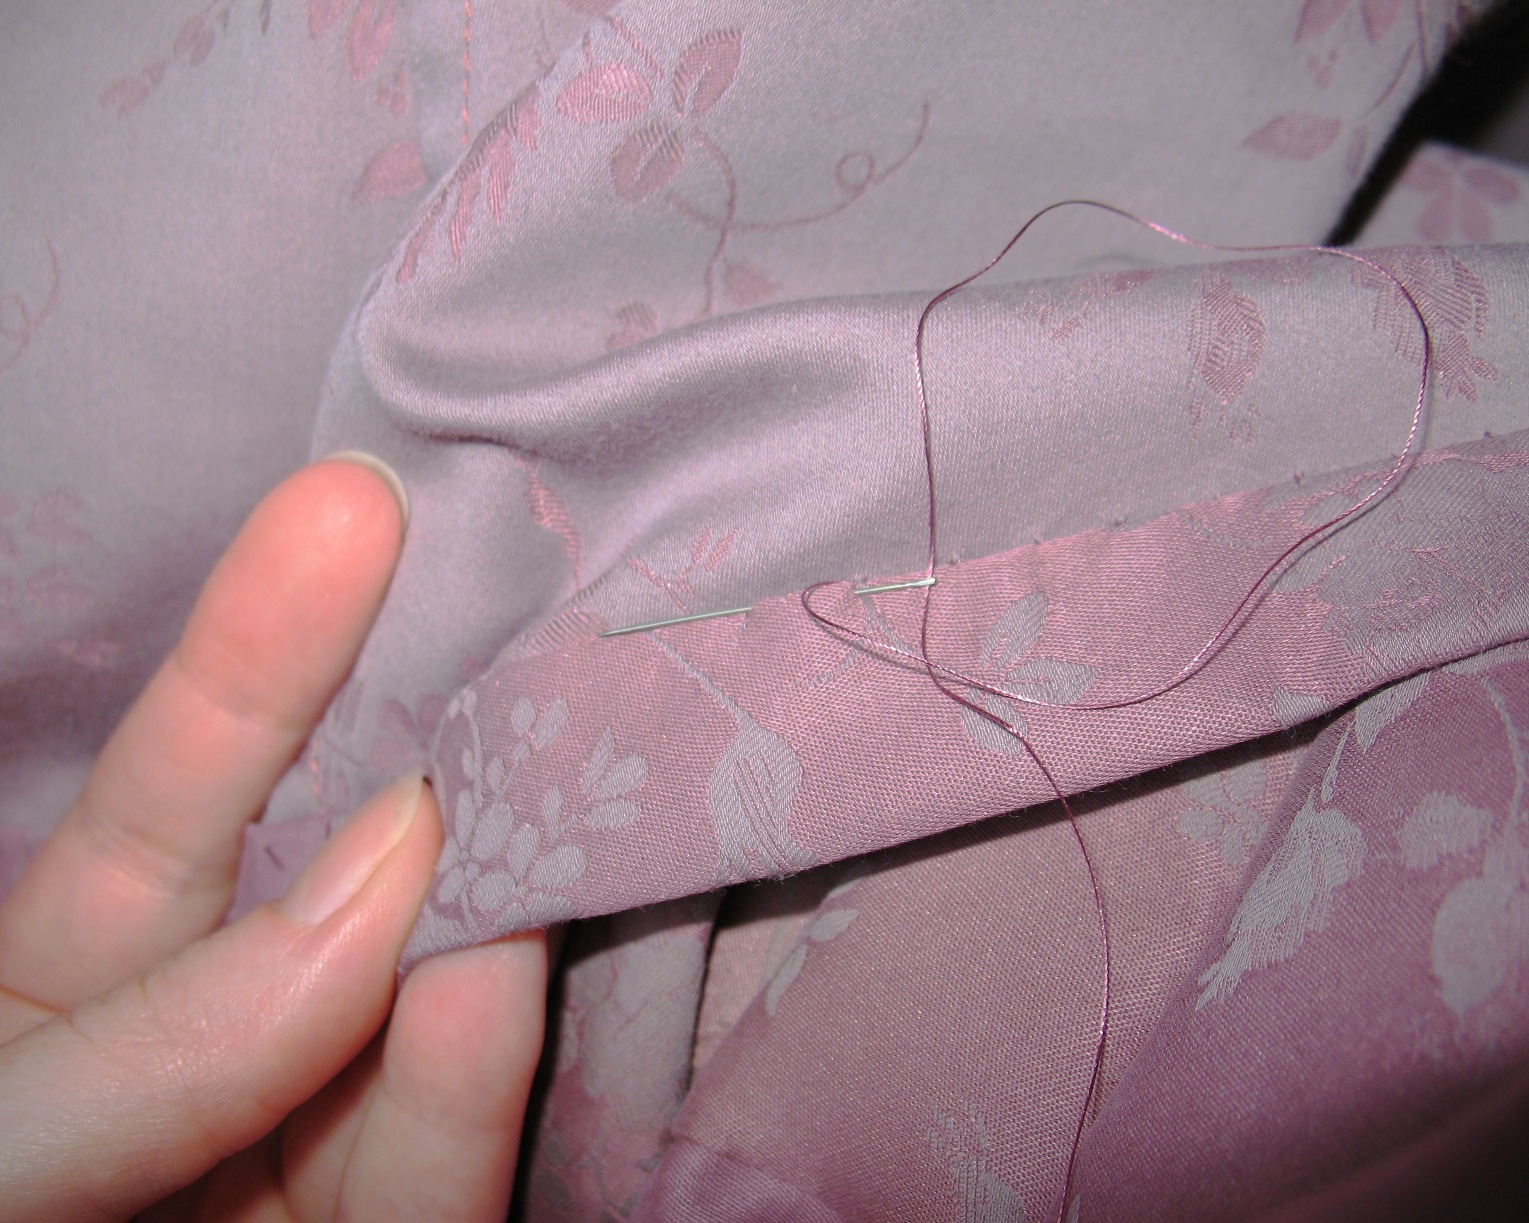
The folded bias is pinned in place so it can be hand stitched (although, you could certainly machine stitch this if you wish).


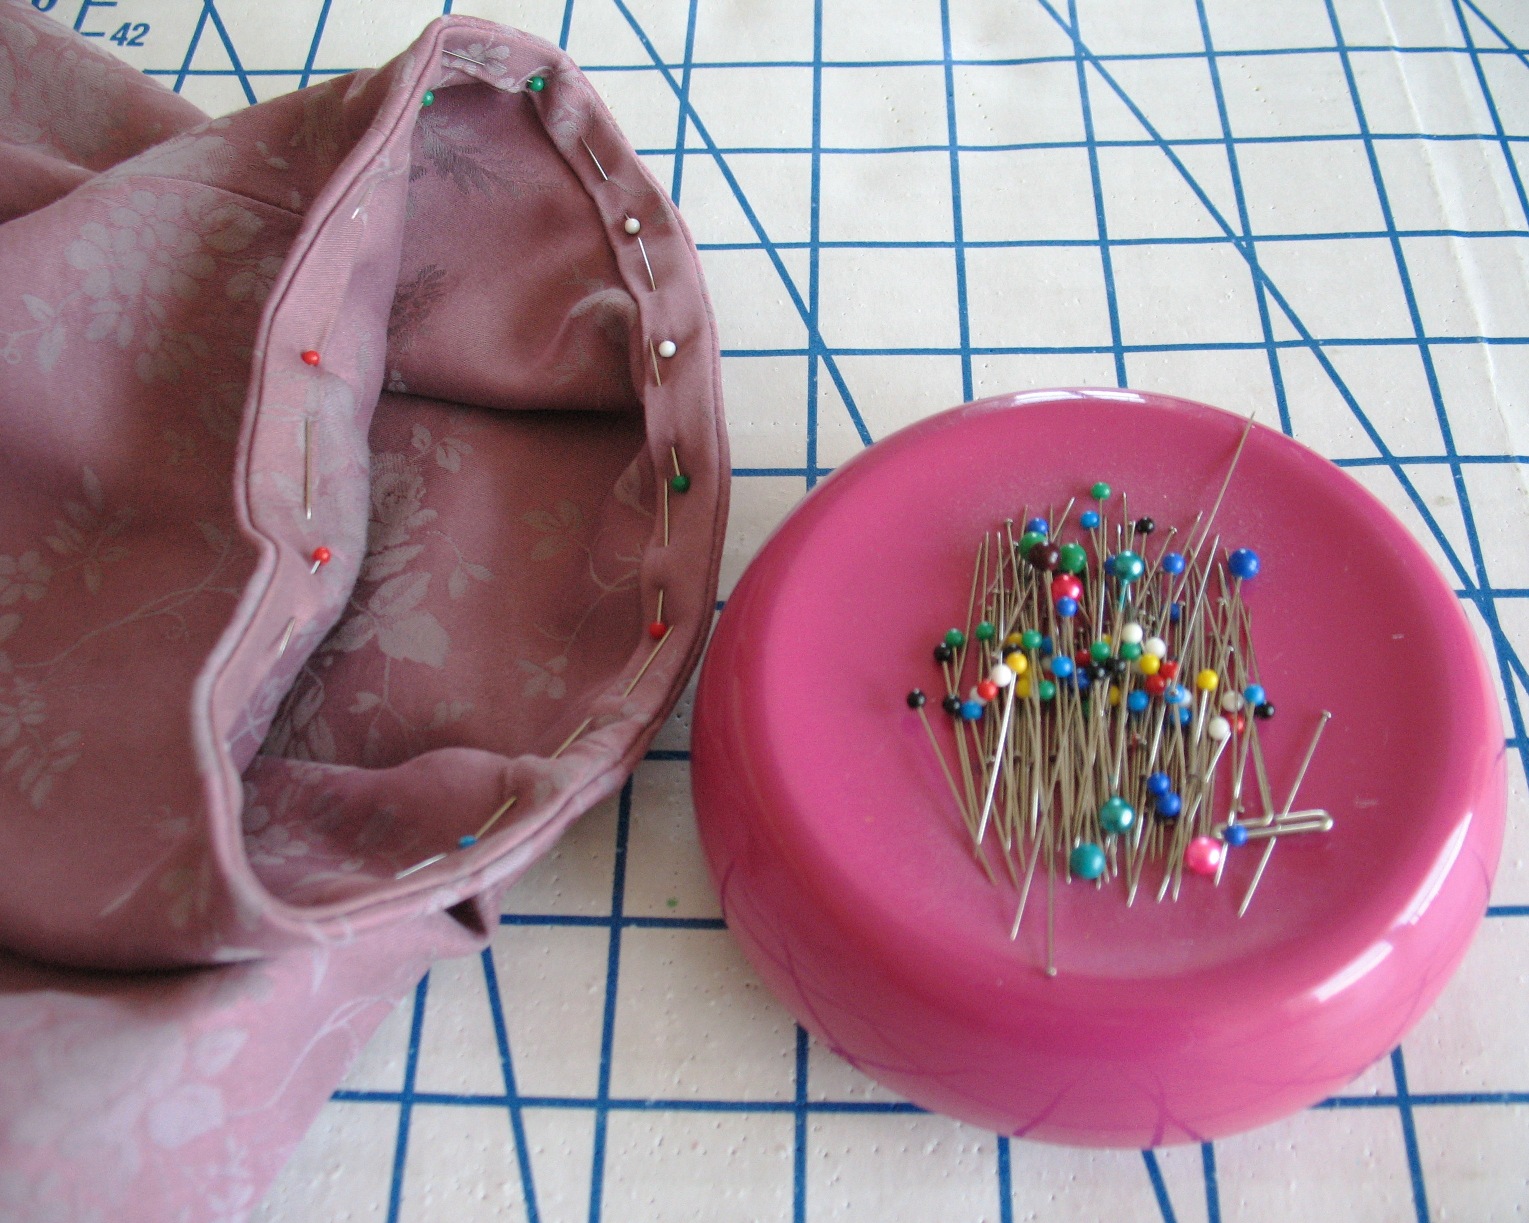
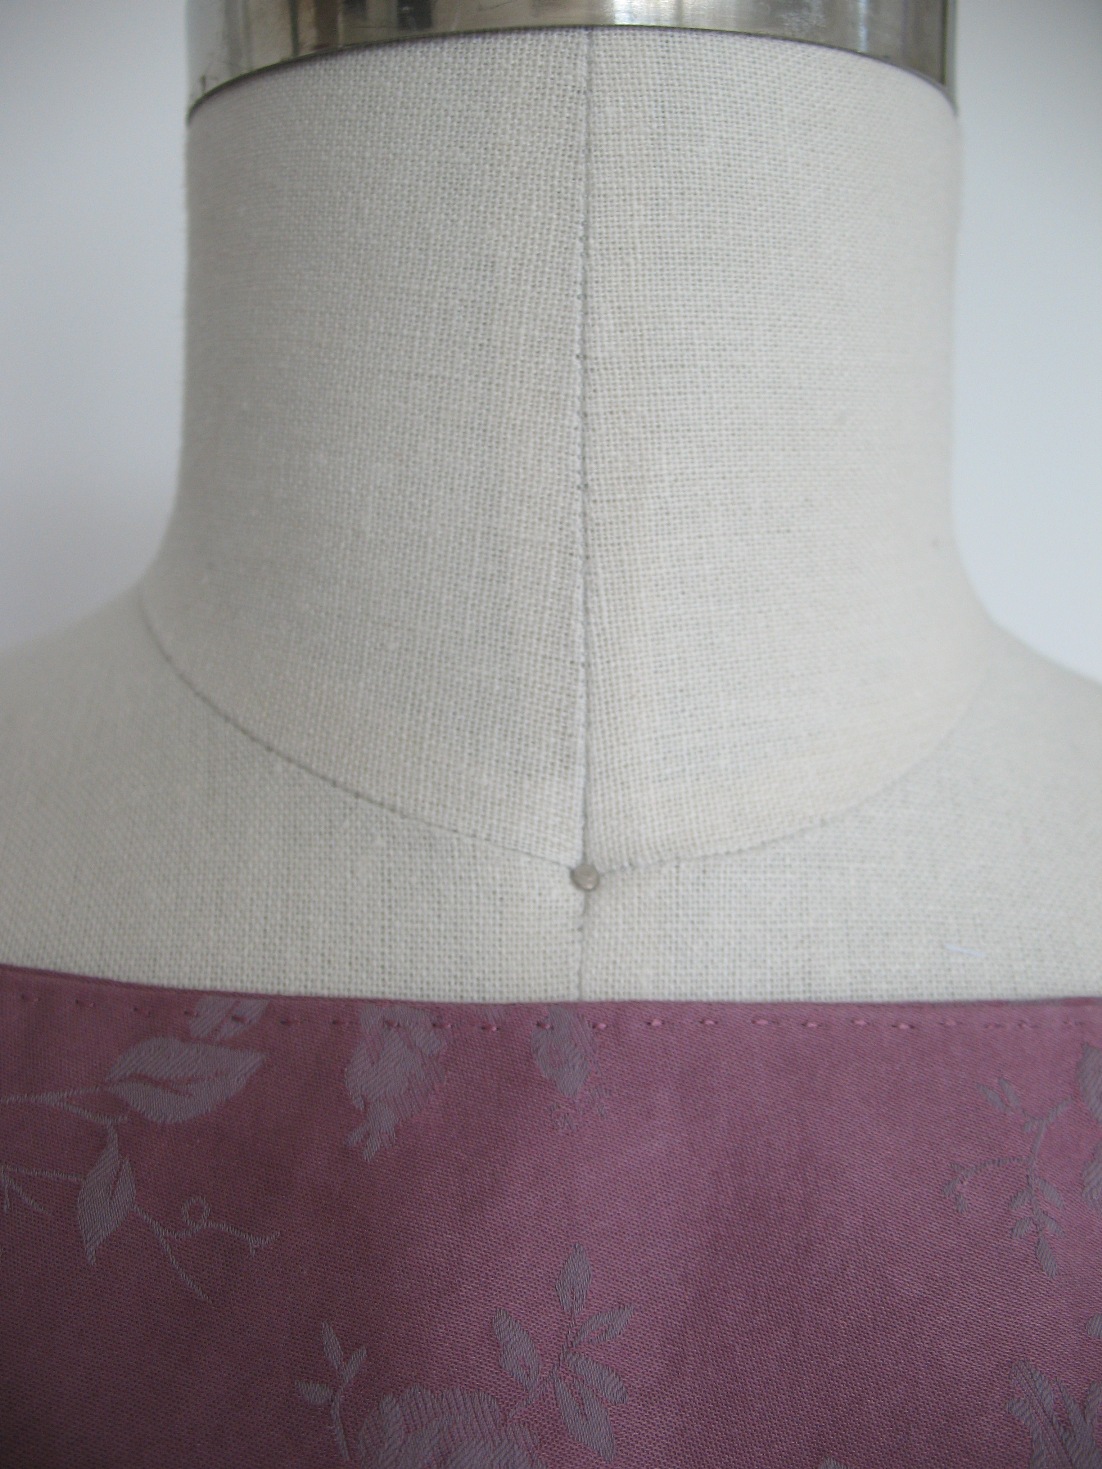
Because there are two layers (the bodice and lining), it it possible to keep the stitches invisible from the outside by only hand-stitching through the lining!


As an added layer of protection, you can understitch the bias tape before turning it to the inside of the garment (just as you would with a facing).  I did not feel that this was necessary for this dress, especially since I am using self-fabric.


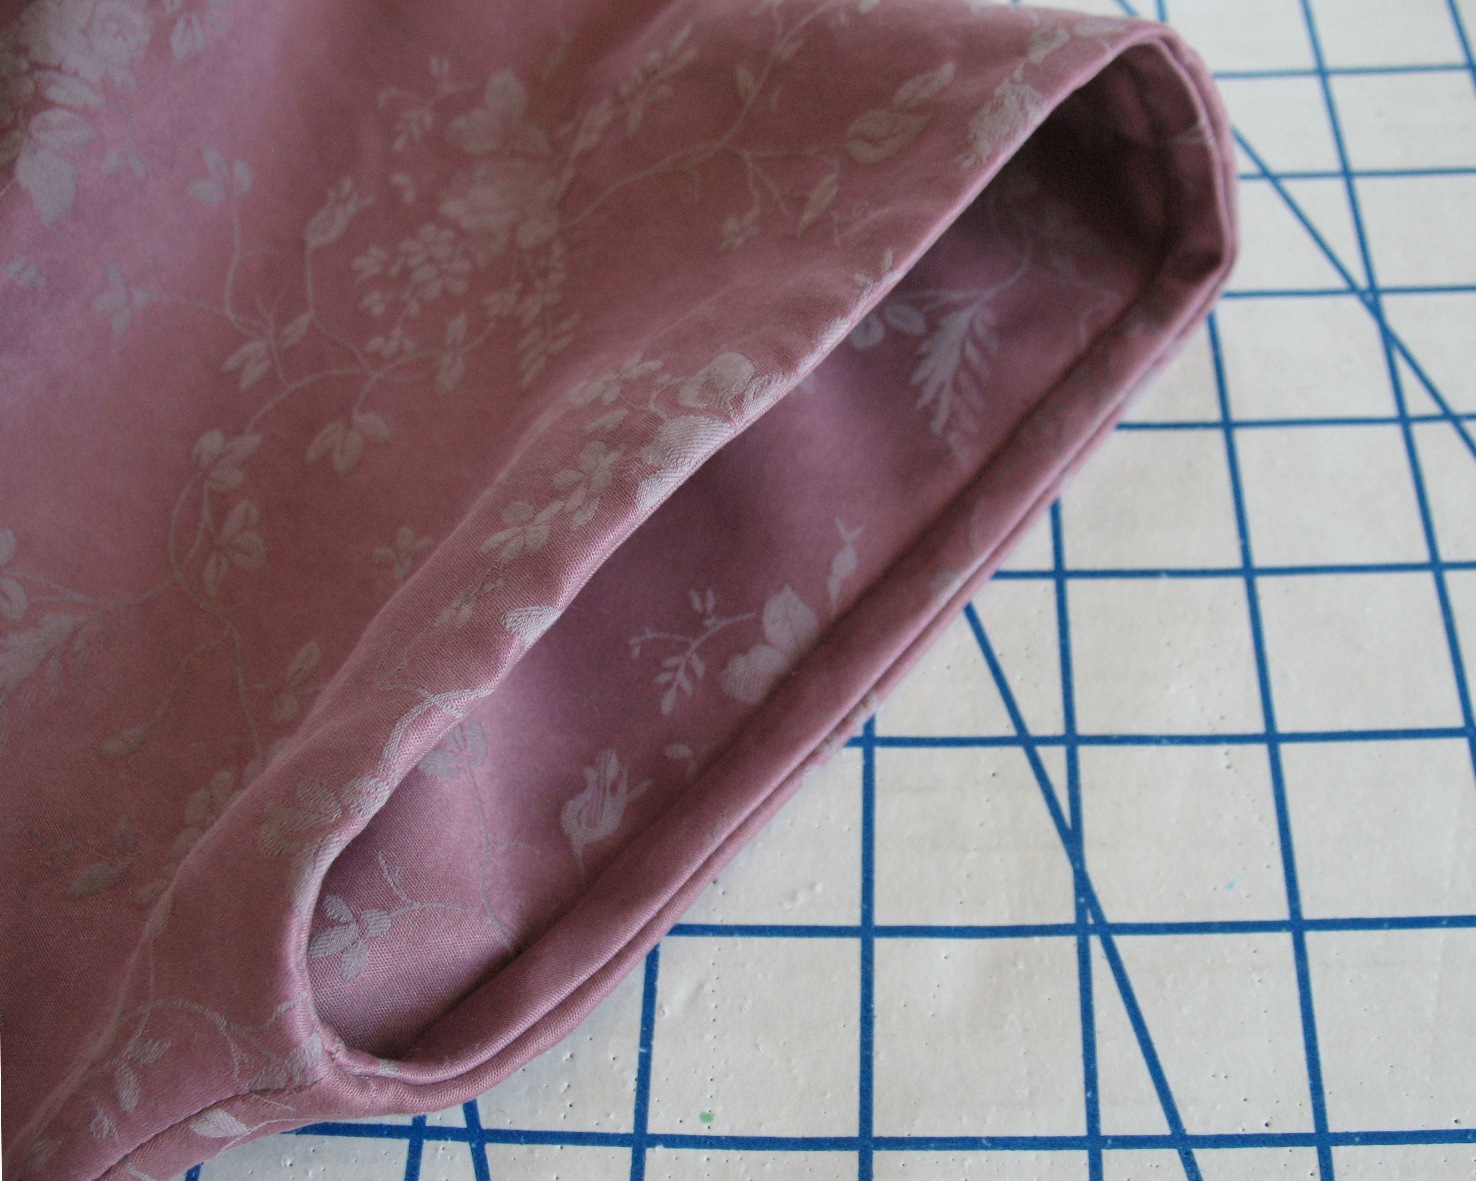
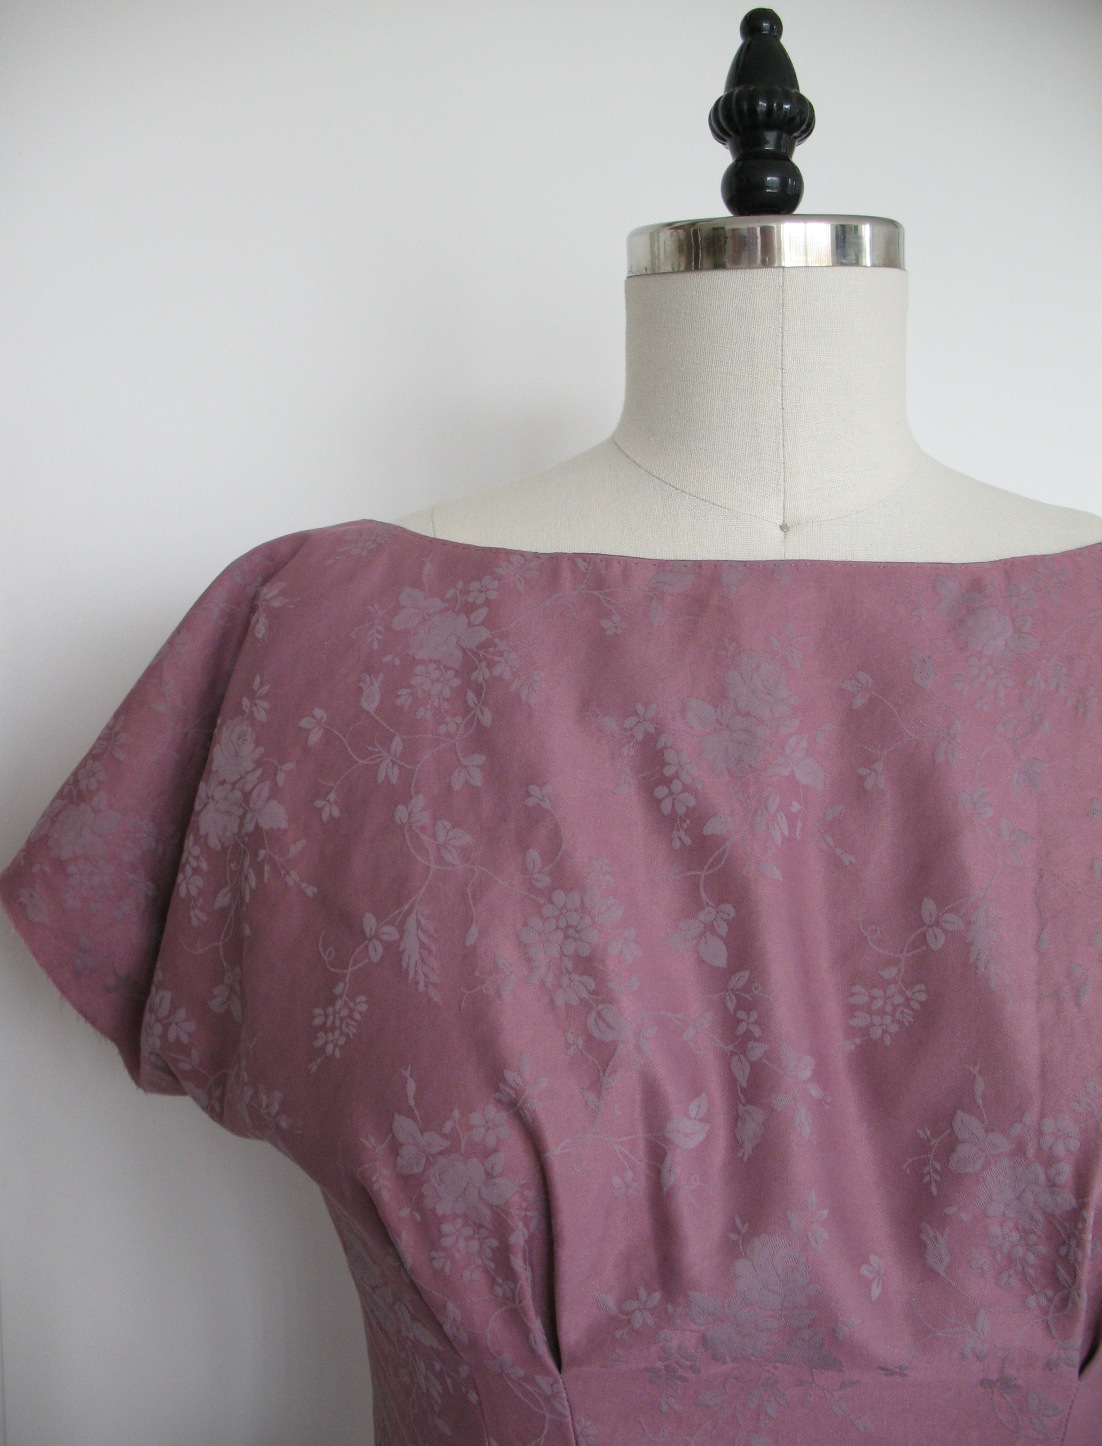
Finished!  And not a stitch in sight!


The hem is now finished as well; the fabric is very lightweight, so I just turned up the edge twice and hand stitched in place.  The only thing left to do is stitch a hook & eye to the neck edge and the dress will be complete!  


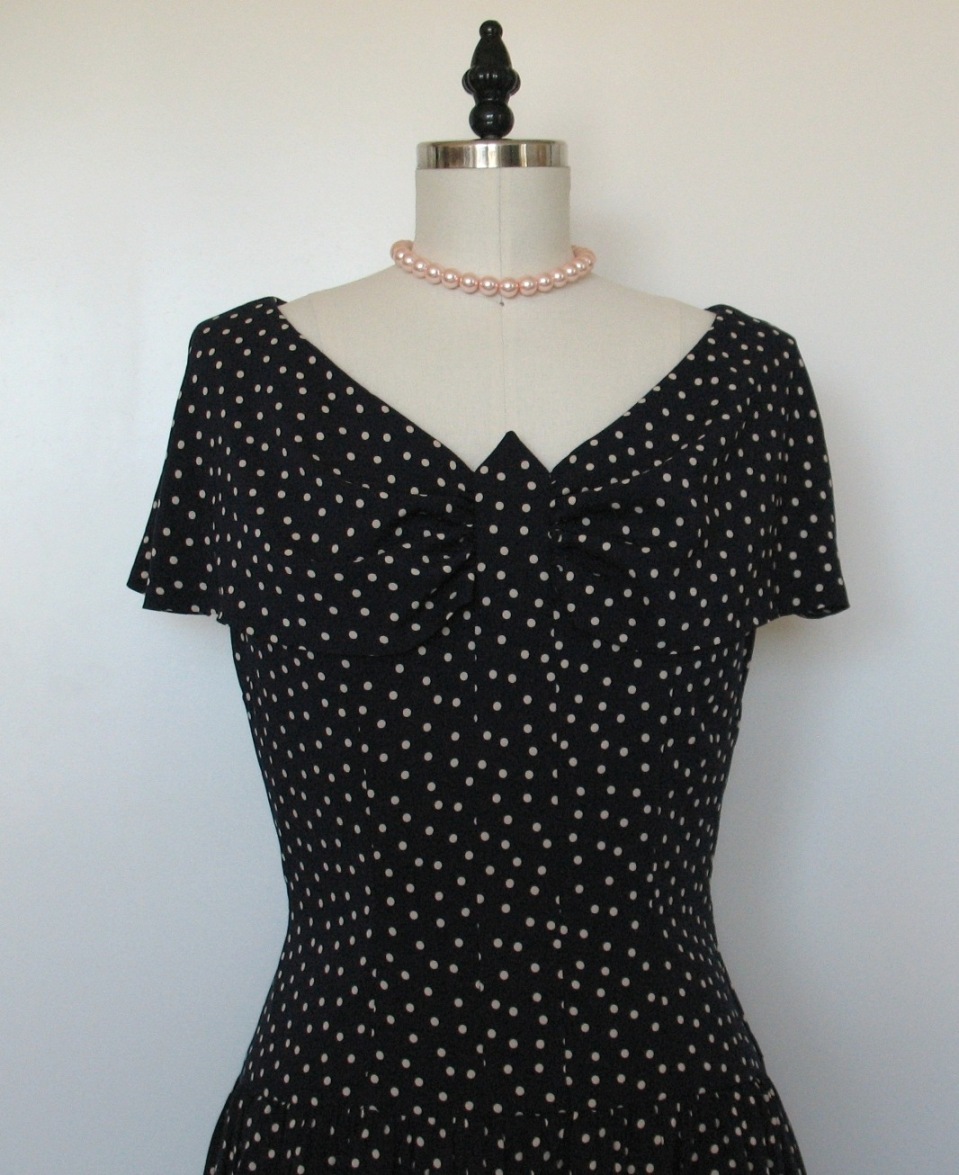
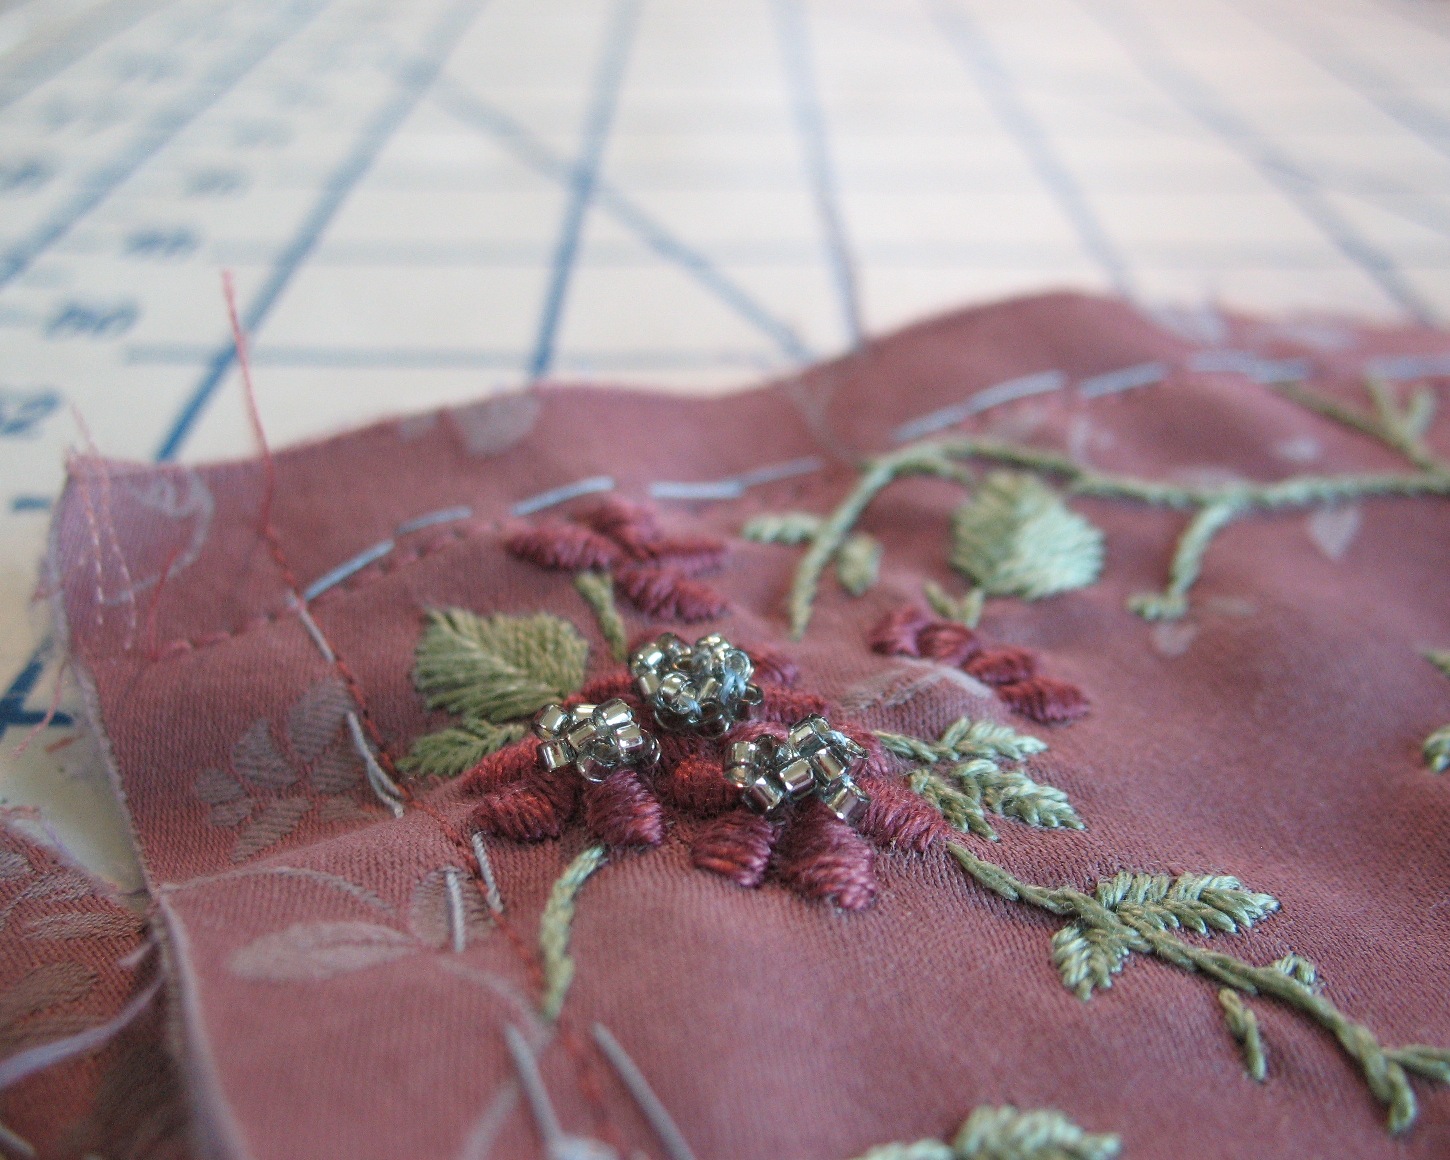
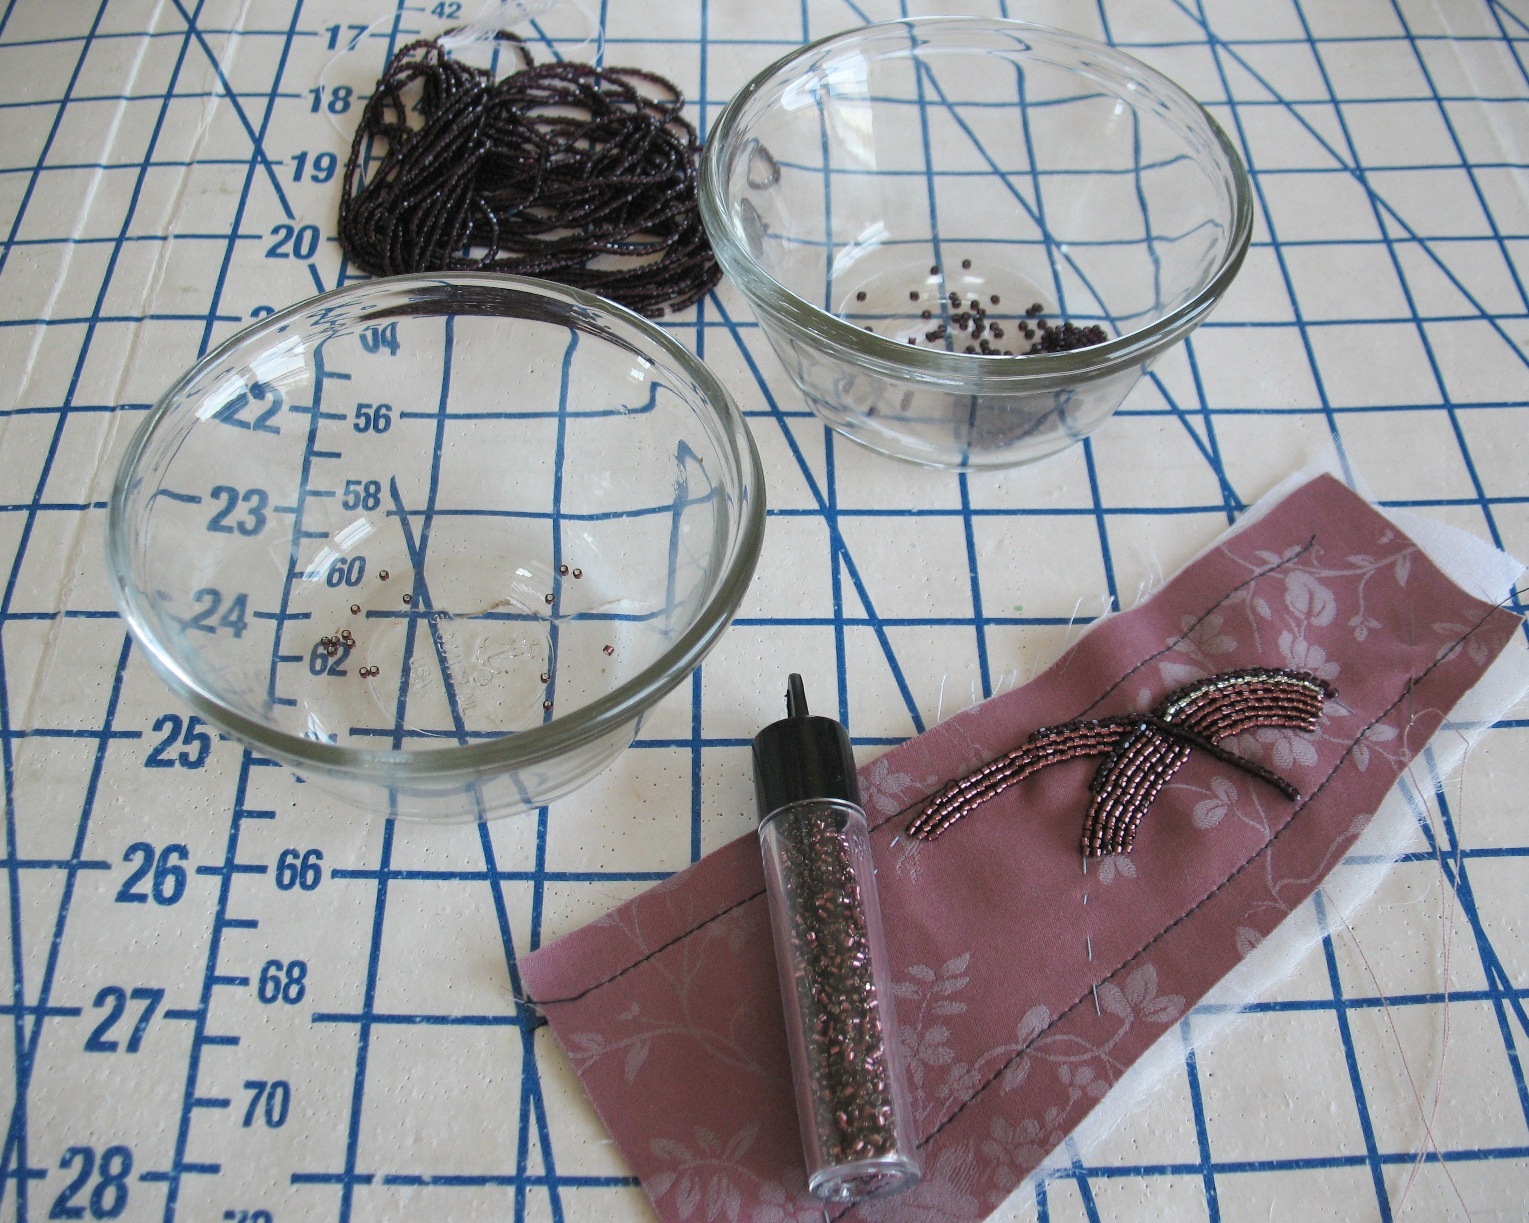
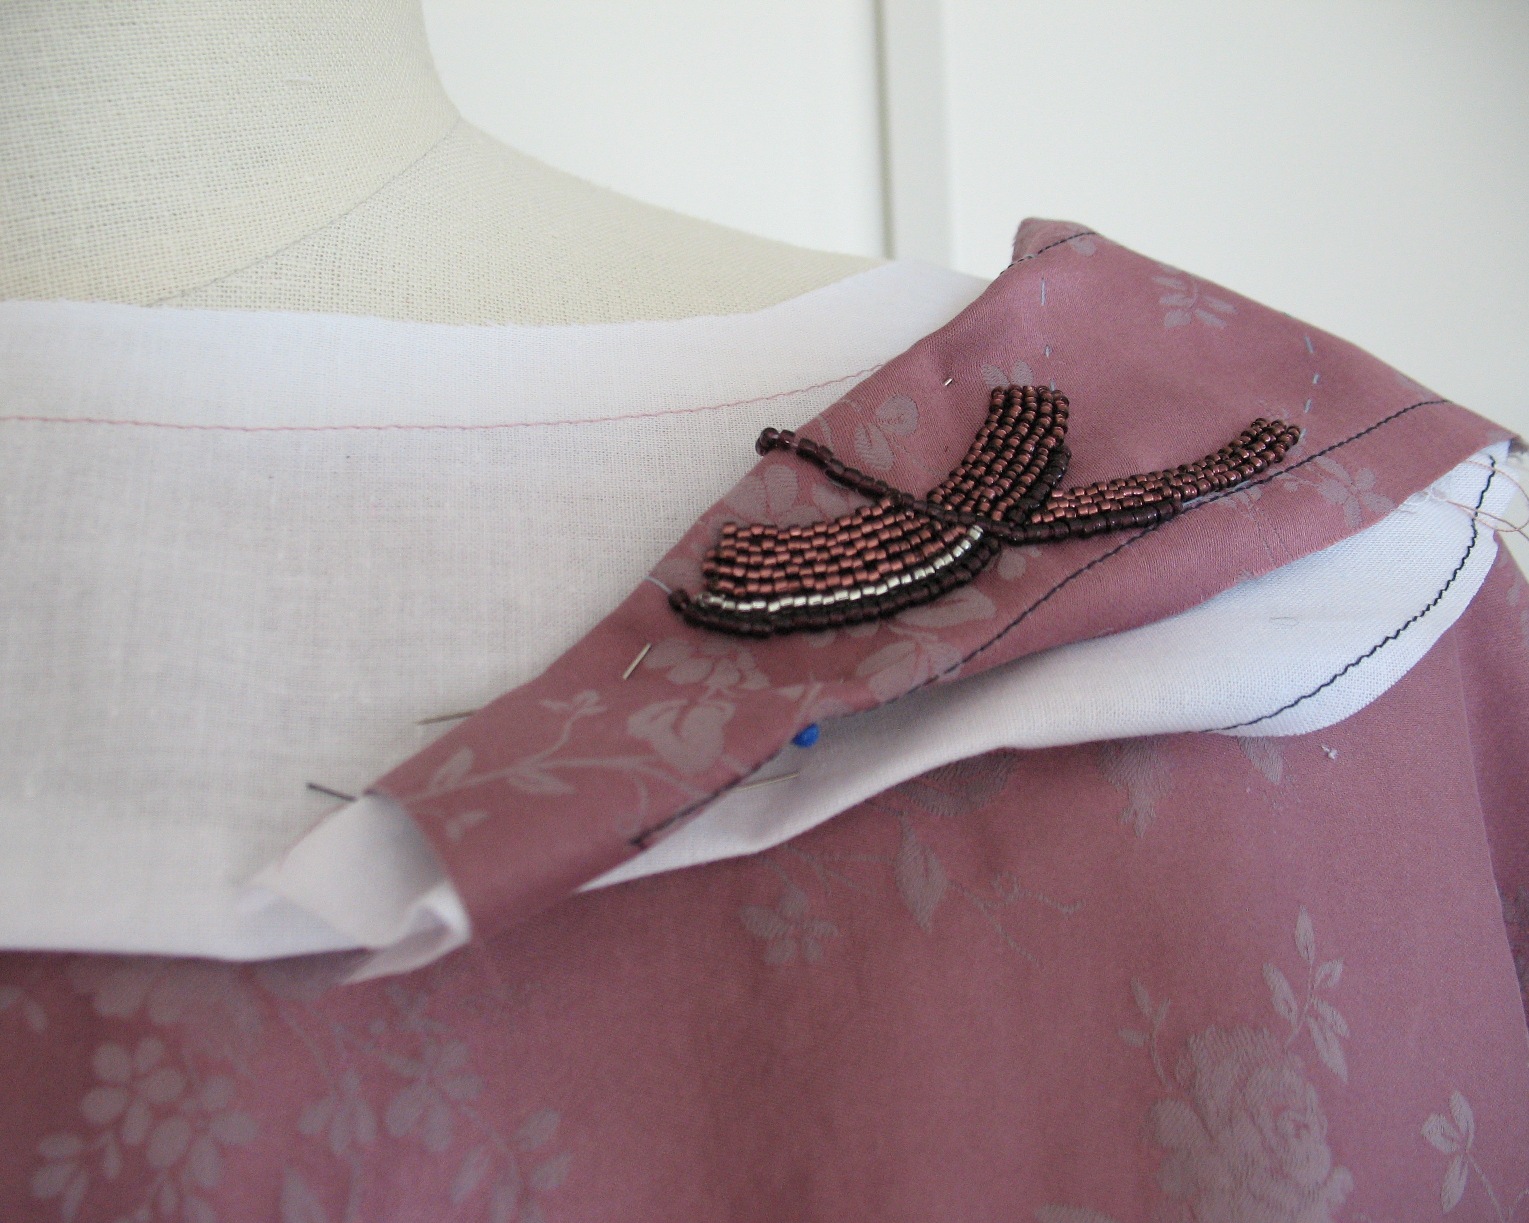
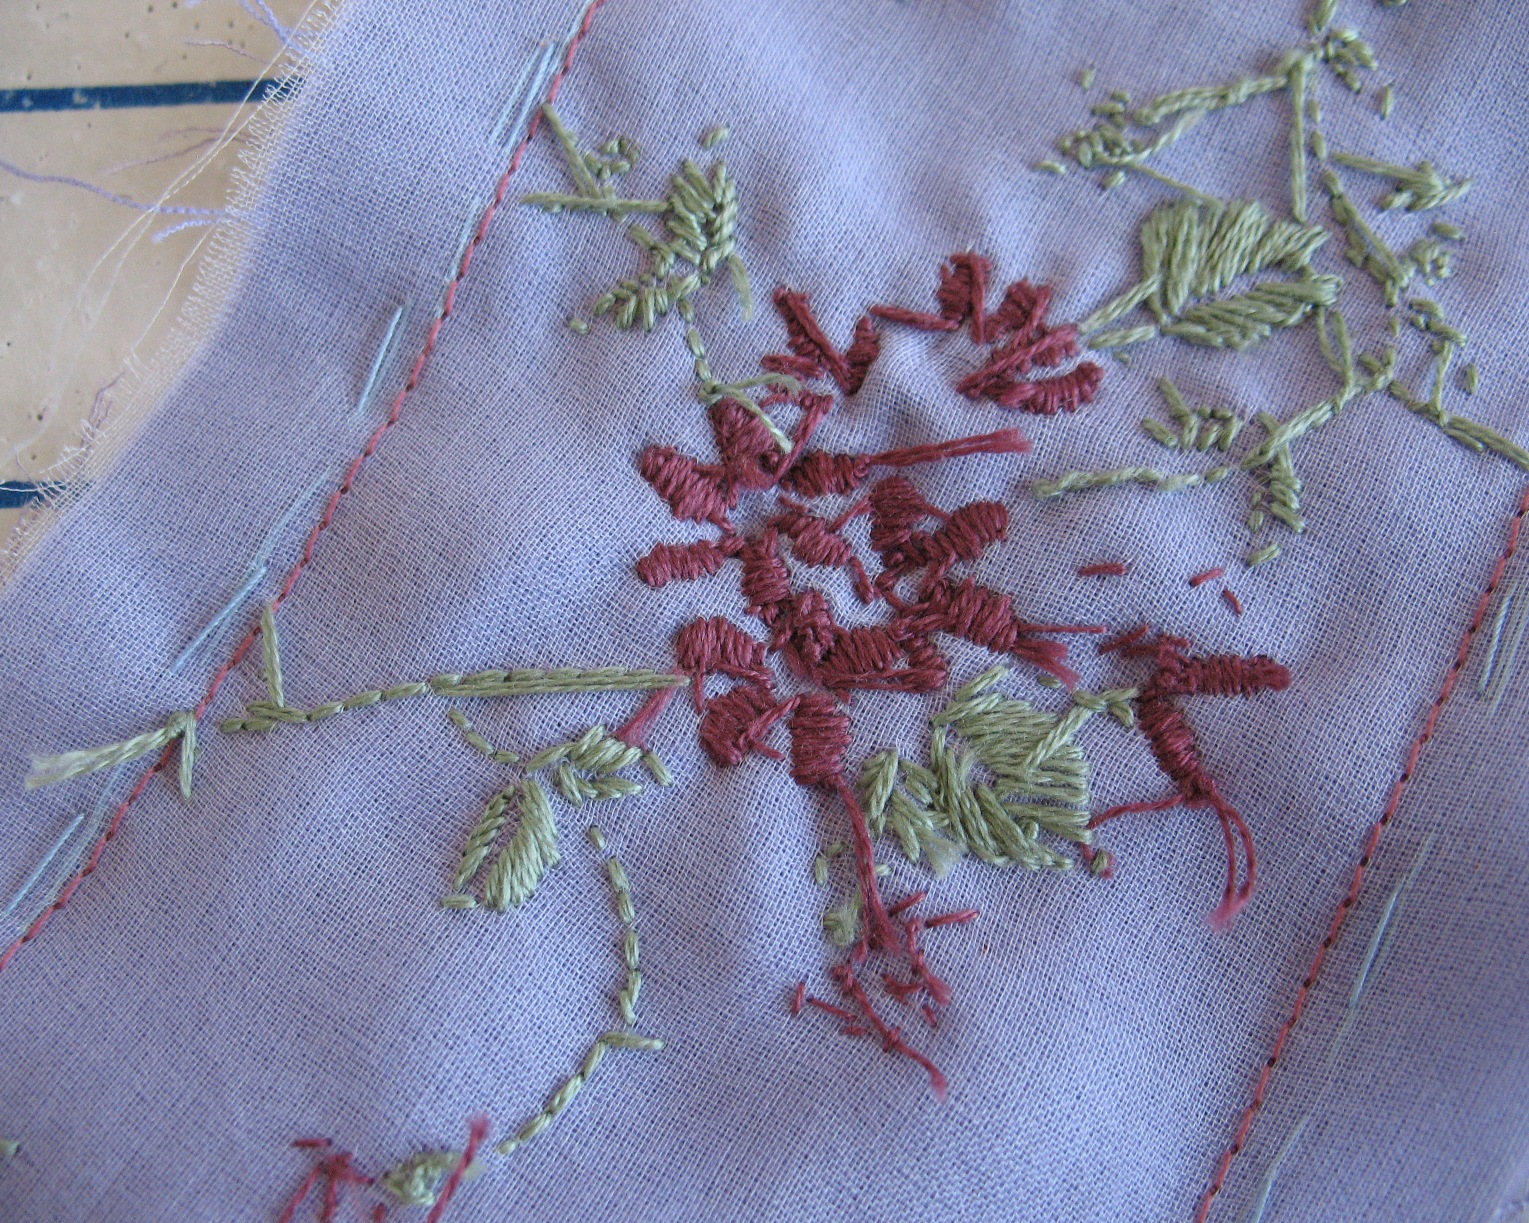
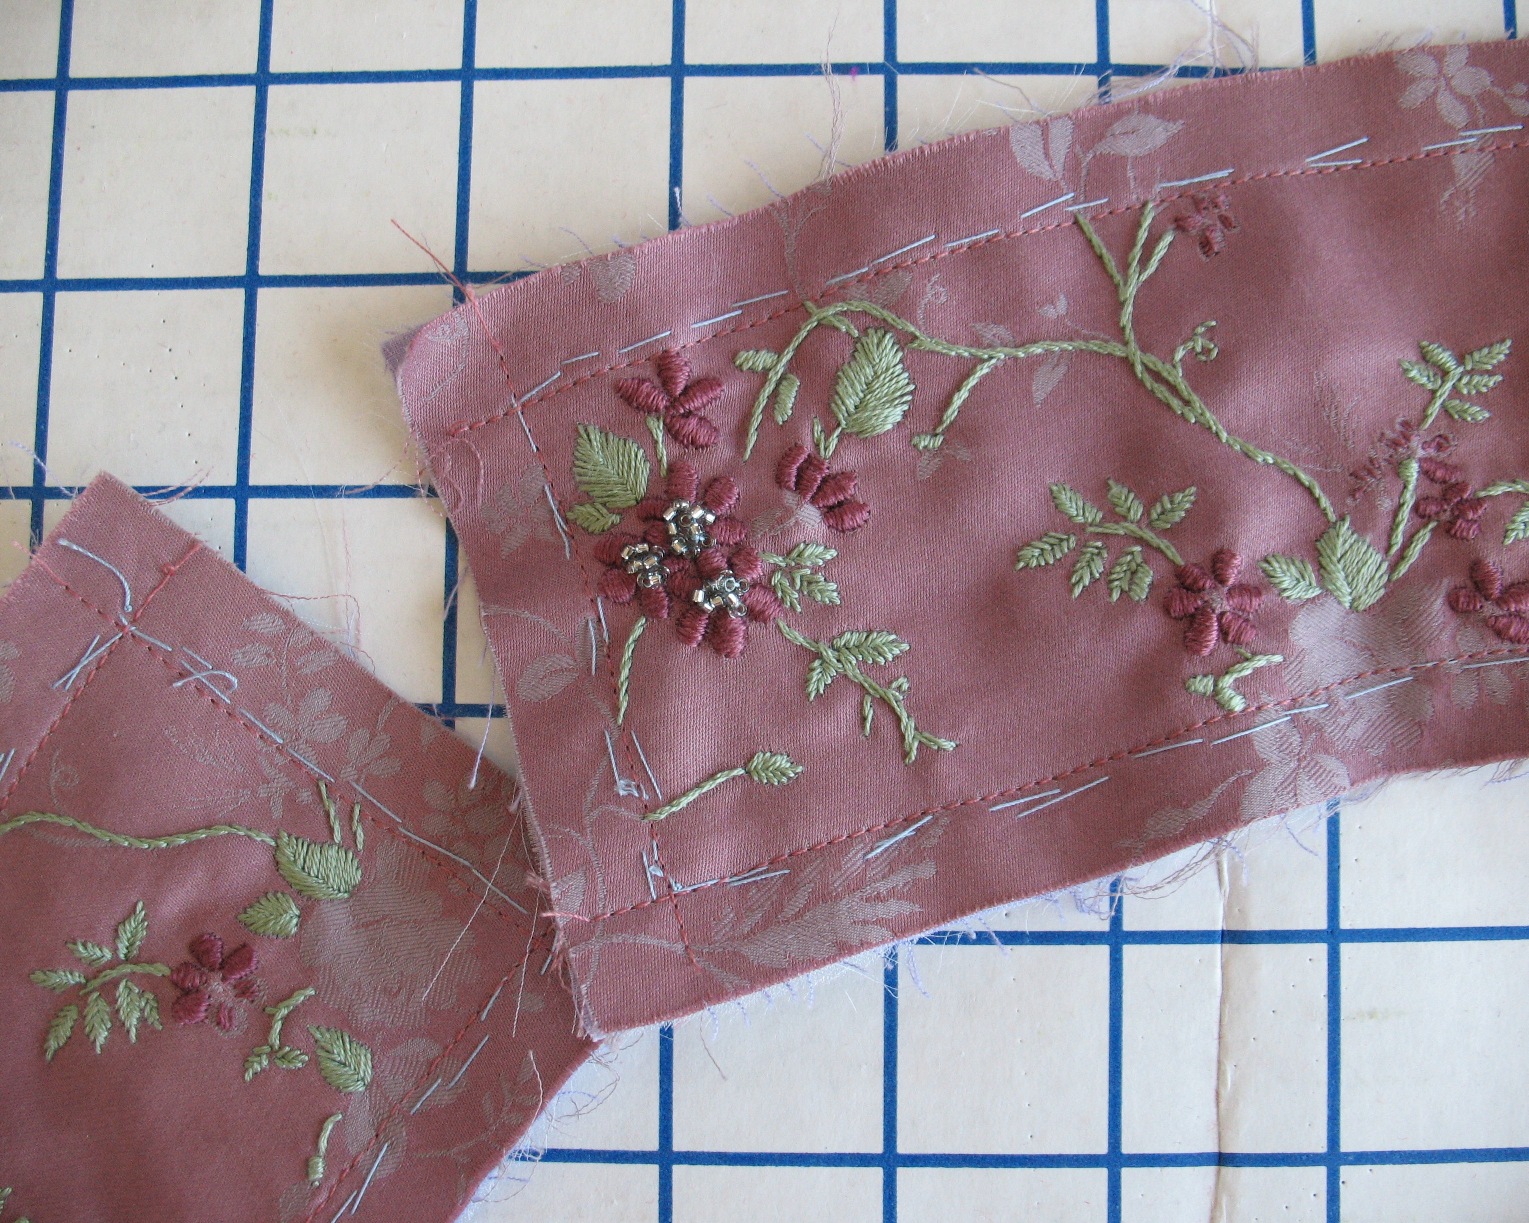
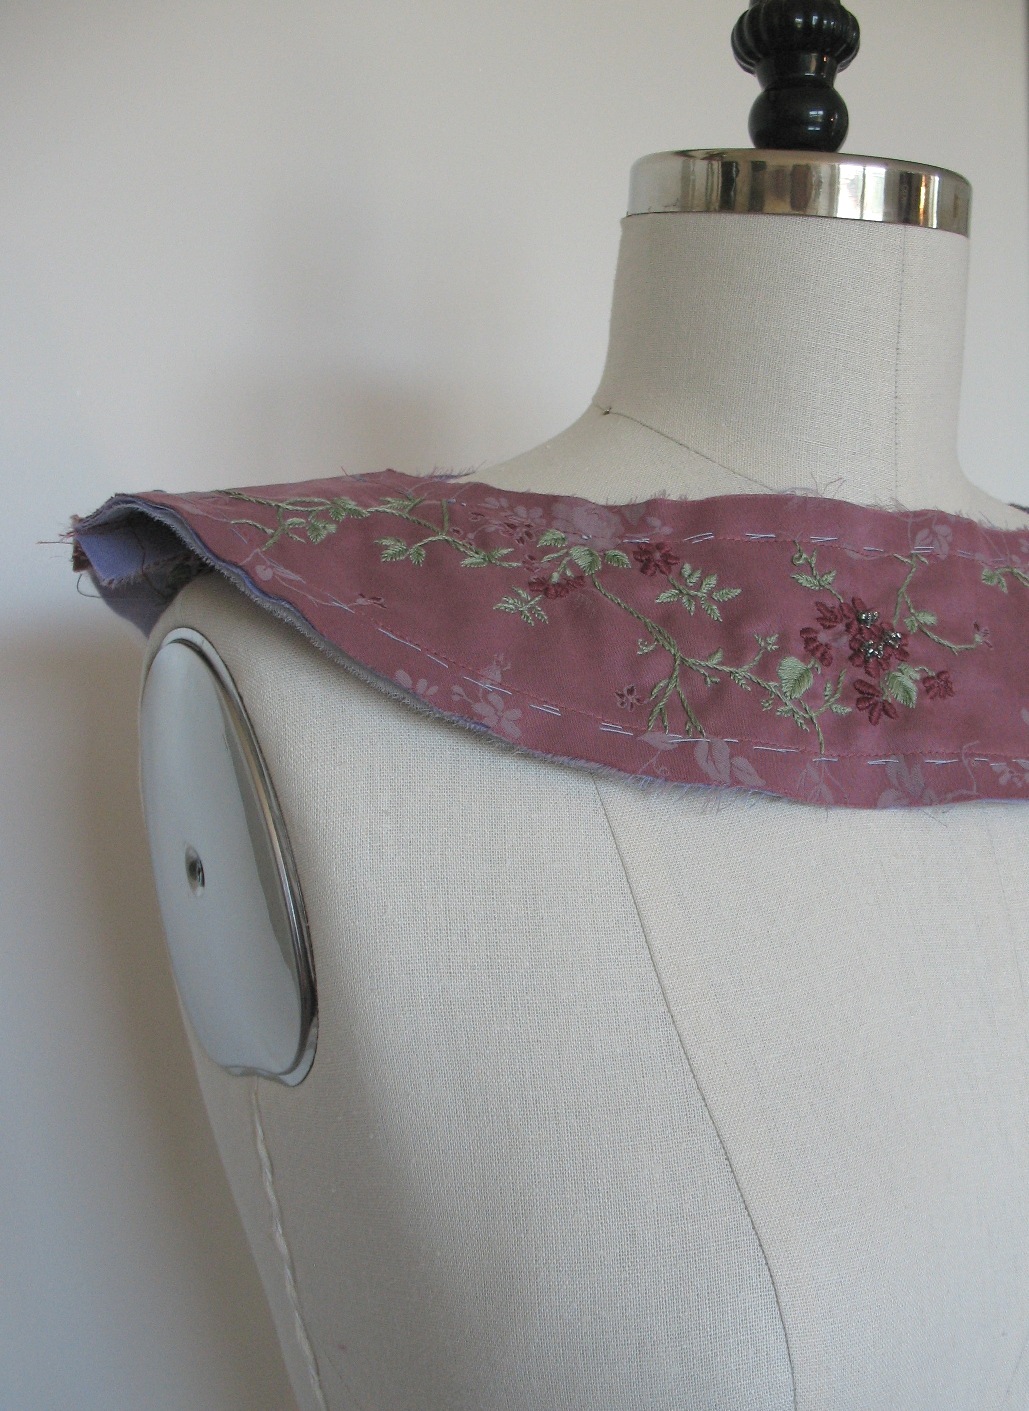
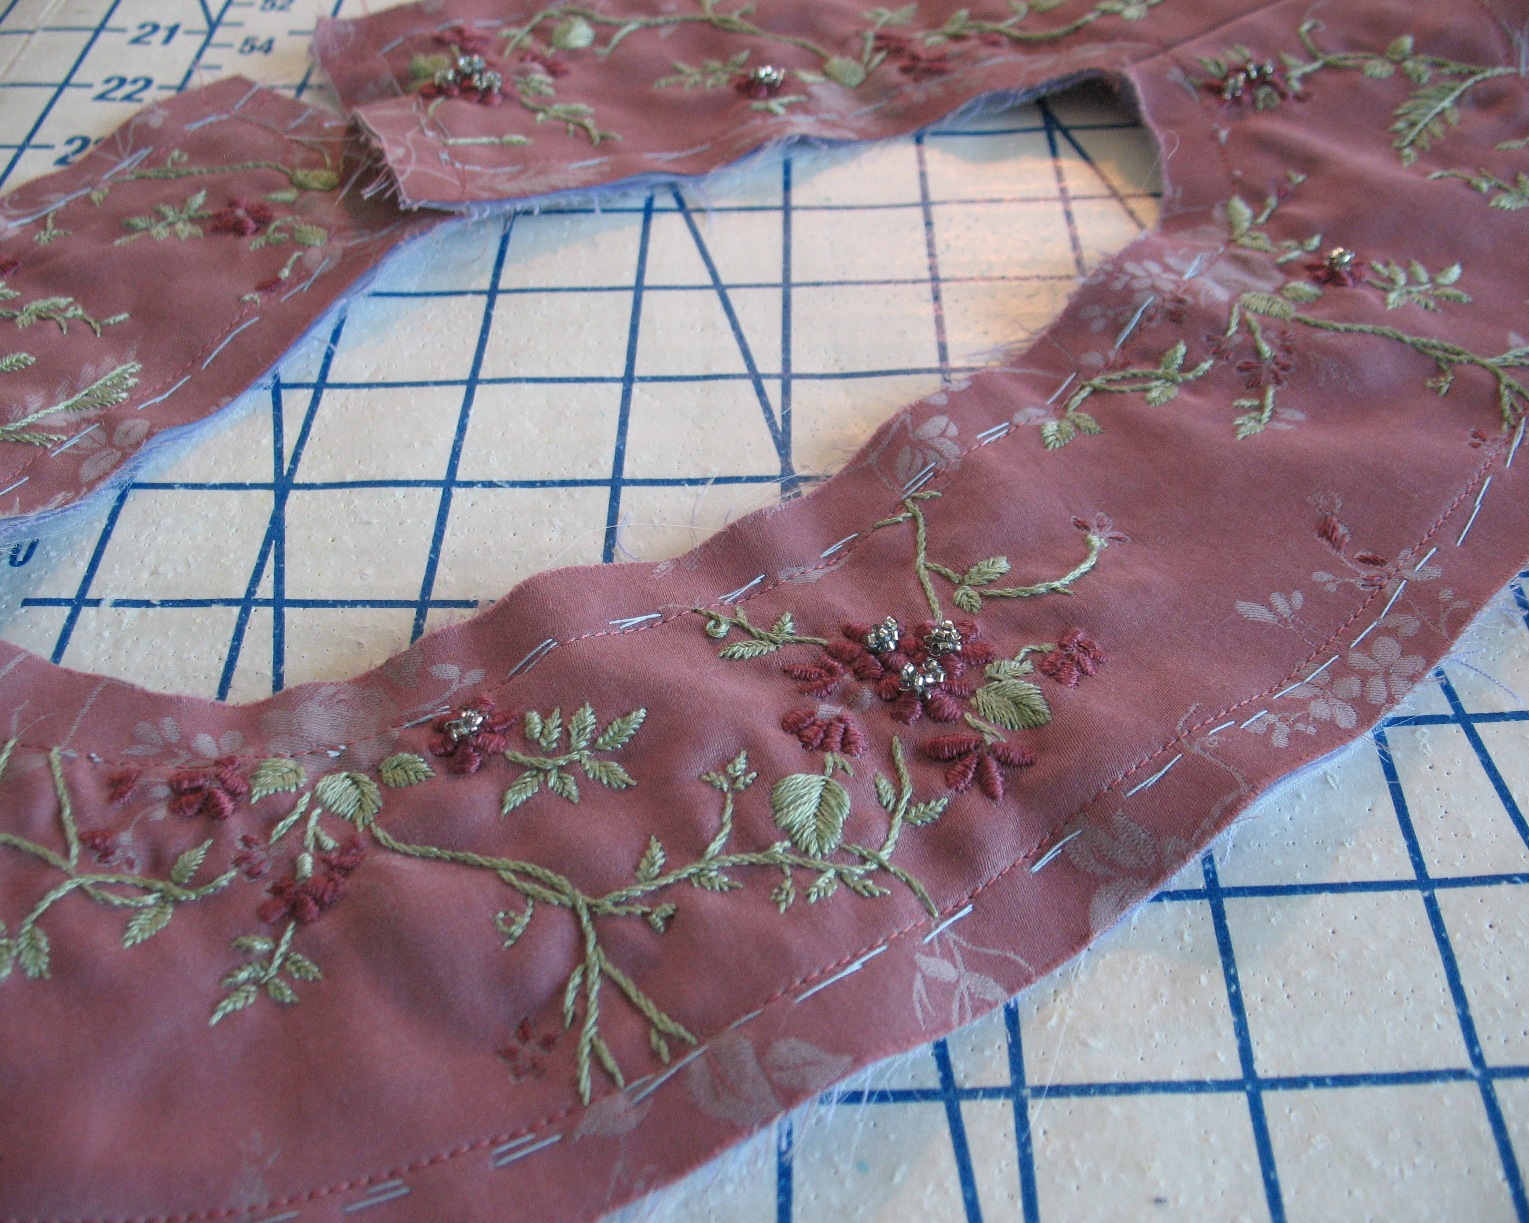
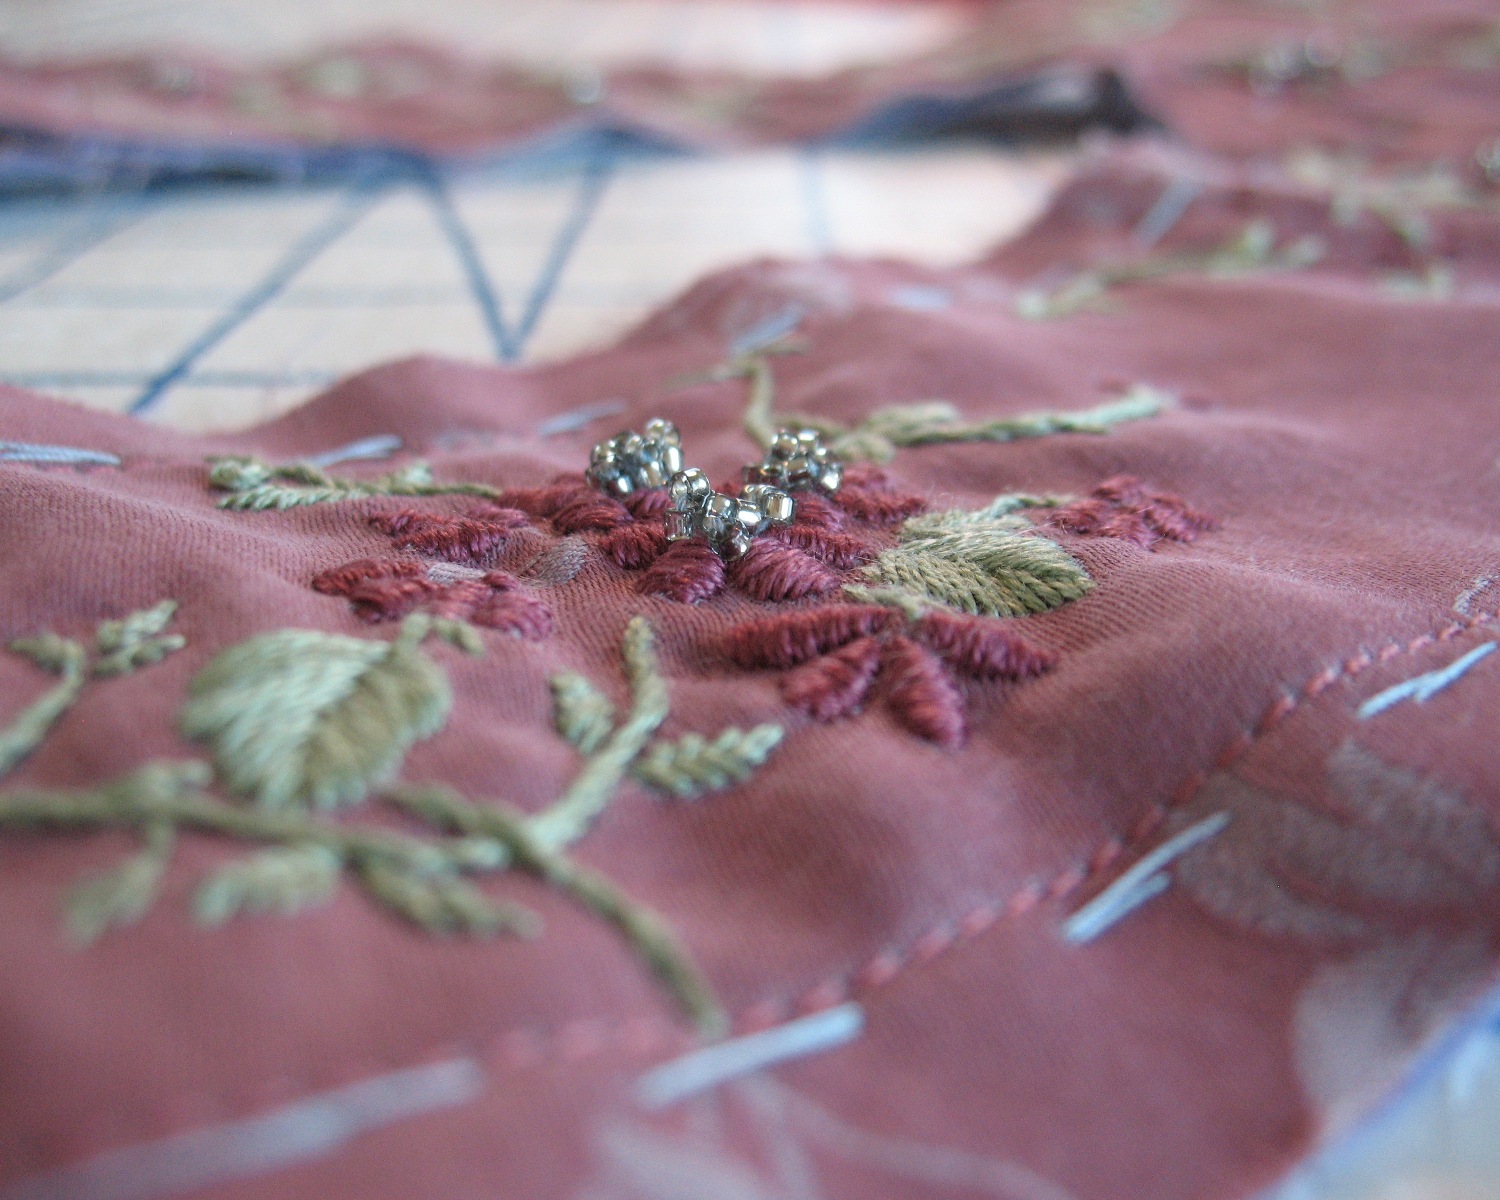
The collar, however, it not finished.  I am happily beading away at the moment, and do not want to rush the process, so there are no finished pictures just yet . . .


Please remember that Sew Indie Month is almost over, so make sure to link your finished project to this post for your Dressed to the Nines outfit!

Thursday, May 29, 2014

Dotted Deadlines


The Marin Symphony is having their annual Wine Auction & Dinner next week, so it is time to finish a new dress!  (There is really nothing like a deadline to motivate the creative process.)


I added a cotton lining to the skirt which helps with the vintage silhouette.  A petticoat will be worn with the finished dress, but I decided to add some extra swing to the hemline.


Horsehair braid was stitched to the cotton lining since the rayon fabric is far too lightweight to handle the braid.


Since I have polka dots on the brain, this fabulous vintage advertisement jumped out at me while I was perusing Pinterest.  The two frocks have a similar flavor, right?!


My dress is almost finished - I just need to make a matching belt . . . and decide on accessories!


And remember that Sew Indie Month is almost over, so make sure to link your finished Dressed to the Nines project to this post by June 4th!  Happy sewing, everyone!

Monday, May 26, 2014

Optional Embellishments


I love embellishments.  They really take a garment to the next level.  The only problem is, they can make caring for your clothing a bit difficult.


Laundering is a major issue.  Add beads to a dress and suddenly it becomes much more delicate.  Some beads are not washable, making even a hand soak in the kitchen sink a dangerous gamble.  Embroidery can be pulled and snagged, or colors can stain the background fabric.


Storage can be problematic as well.  Beaded items, for instance, should be laid flat. 


I decided I wanted to embellish my Anna dress, but I was not quite sure how.  And if I was unhappy with the outcome, the whole dress would be compromised.  Because no matter how careful you are, removing beading or embroidery is going to leave, at best, a bunch of holes, and at worst, snags in the fabric. 


And then I realized that a removable collar was a great solution.  This would solve most of my issues, making the dress washable and easily stored with no chance of catching beads or threads on another garment in the closet.  And, best of all, the dress can be worn without embellishment of any kind for a different look. 


I cut the fabric collar pieces using the bodice front and back as a guide (just like I would with a facing), extending into the neckline so that there is no chance of the dress edge showing above the collar.  The muslin collar turned out a bit wide, so I trimmed away the lower edge until I was happy with the look.

To stabilize the delicate silk/cotton jacquard, I underlined it with two layers of organza, and a layer of cotton.  


My initial thought was to cover the entire collar with beads.  I got as far as tracing my pieces onto butcher paper to draw out the design which would then be transferred to organza – I like to use this technique to transfer a design to fabric.  I came up with a few options, but nothing looked quite right to me.


The pretty jacquard floral pattern woven into the fabric kept jumping out at me.  So out came the embroidery floss.


I have already added a few beads to the center of the flowers, but I plan on adding a lot more!  This process is actually quite relaxing for me, so I am taking my time and enjoying the hand work.


Once the embroidery and beading is complete, I will cut another collar, turn under the seam allowances, and hand stitch the duplicate collar to the back of the embellished one to enclose the raw edges.  I anticipate using a hook & eye to close the collar at the center back.


Hooping the fabric may have been prudent, but I think the project will be okay.  Once the beads are added I believe the puckering will disappear.  Next time, though, I may start with a square of fabric and cut my pieces away after the embroidery is complete.


So the next time you are pondering what kind of embellishment to add to a garment, whether it be collars, cuffs, or belts, think about making them an optional add-on piece.  And who knows, the piece may come in handy for adding some sparkle to other outfits in your wardrobe!


[The pattern for this project was received in exchange for my contributions as a Sewing Indie Month sew-along host]

Saturday, May 24, 2014

And the winner of the Lolita giveaway is . . .

Heather!  Enjoy your new pattern!  And  I absolutely agree that bright colors are a must for a blah day.  
  1. Heather RoachMay 19, 2014 at 2:32 PMI love bias binding. It's one of my go-to techniques. Any jacket I made works have to be BRIGHT to compensate for the grey Northwest weather.
Please send your contact info to lauramae.p.s [at] gmail [dot] com

Friday, May 23, 2014

Flax Fibers


I am finally cutting into my geranium linen (courtesy of Britex Fabrics) for my Spearmint Coat.  Time to have some fun!


I have the linen cut . . .


. . . now I just need to decide on a lining.


I will probably go with bemberg rayon, but will have to dig through the stashed pieces to see if I have enough yardage of something suitable.


I did manage to find some leftover cotton that is a really close color match for the collar underlining.  So perhaps luck will be with me on the lining front!


Just a reminder that if you would like the chance to win a copy of this pattern for your own collection, the giveaway will close on Friday.  Happy sewing!


[The fabric and pattern for this project were received in exchange for my contributions as a Sewing Indie Month sew-along host and Britex Guest Blogger]

Thursday, May 22, 2014

Organza for Anna


I have been working away in the sewing room.


This week it has been a real challenge to get myself out the door to work because I would rather be stitching away.


This fabric definitely requires that the zipper opening is reinforced with silk organza.


Because the fabric is very lightweight, I felt that it needed some reinforcement around the neckline.  Instead of finishing the raw edges with a facing, I applied an organza facing to the lining that will get sandwiched between the bodice and the lining.  


And to avoid any stretching, I used some rayon seam binding as a seam stay.


The more time I spend with seam binding, the more uses I find for it!


The curved edge of the "sleeve" requires clipping and trimming in order to lay flat, which weakens the area.


I like to reinforce the seam with an extra line of stitching.


After it is pressed open, I add two rows of top-stitching to the lining for an added bit of reinforcement.


Lately, I have been hand picking my underlinings.  It works for zippers, so why not a facing?  I like the added control it gives.  As if I need any excuse to hand sewing something!


Thankfully I had some leftover silk thread from last year's Symphony Gala Outfit.  There is something about this color that I clearly find very appealing, but finding matching thread is a real problem!


[The pattern for this project was received in exchange for my contributions as a Sewing Indie Month sew-along host]