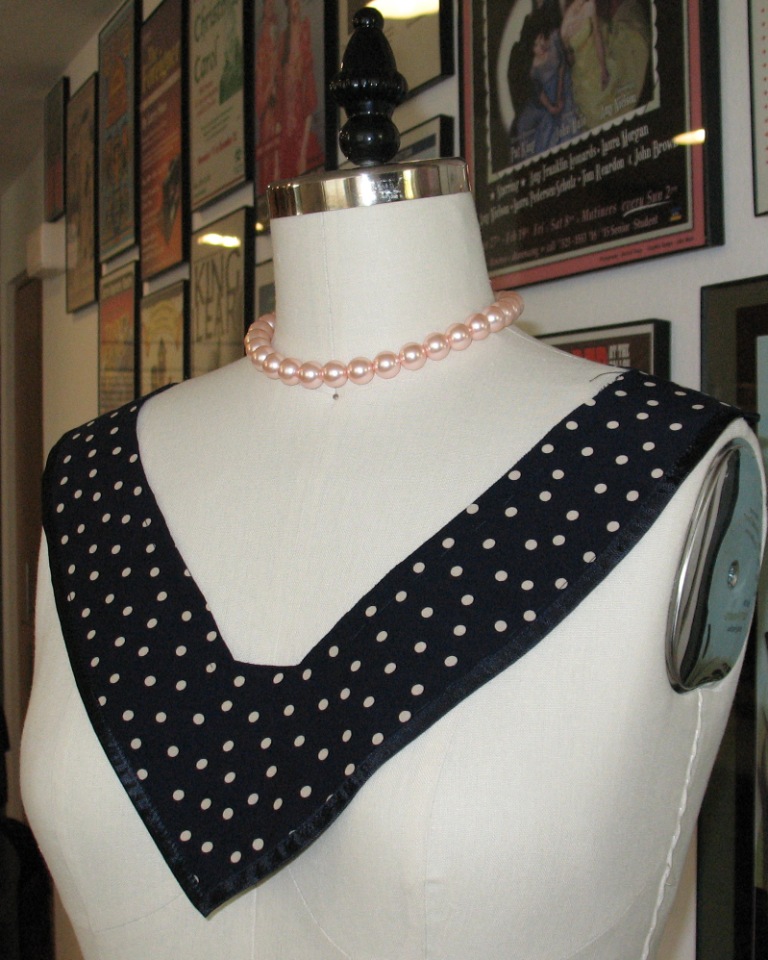
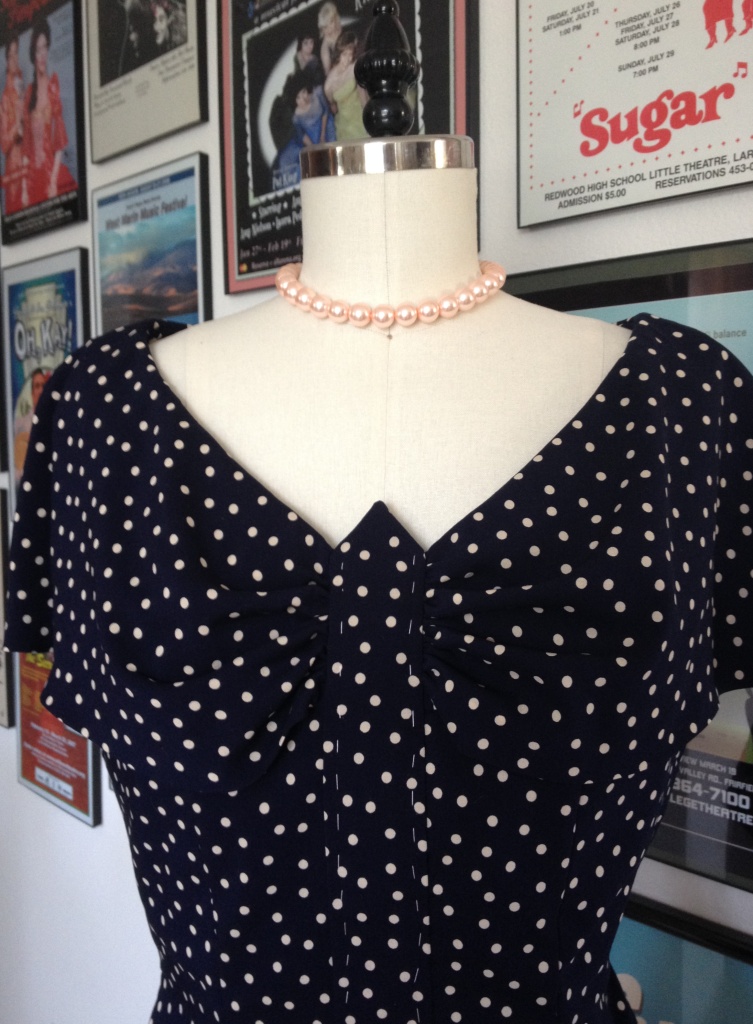
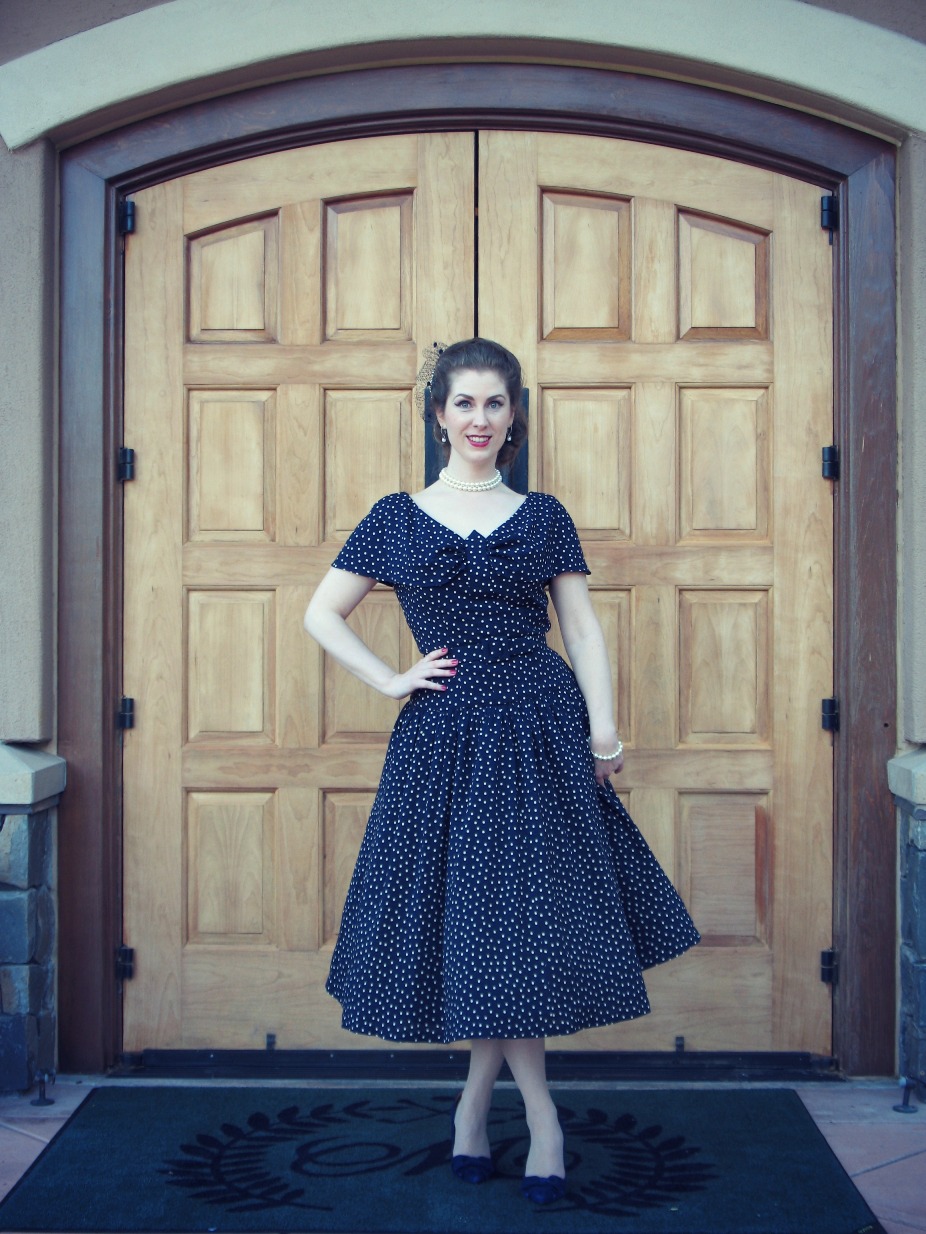
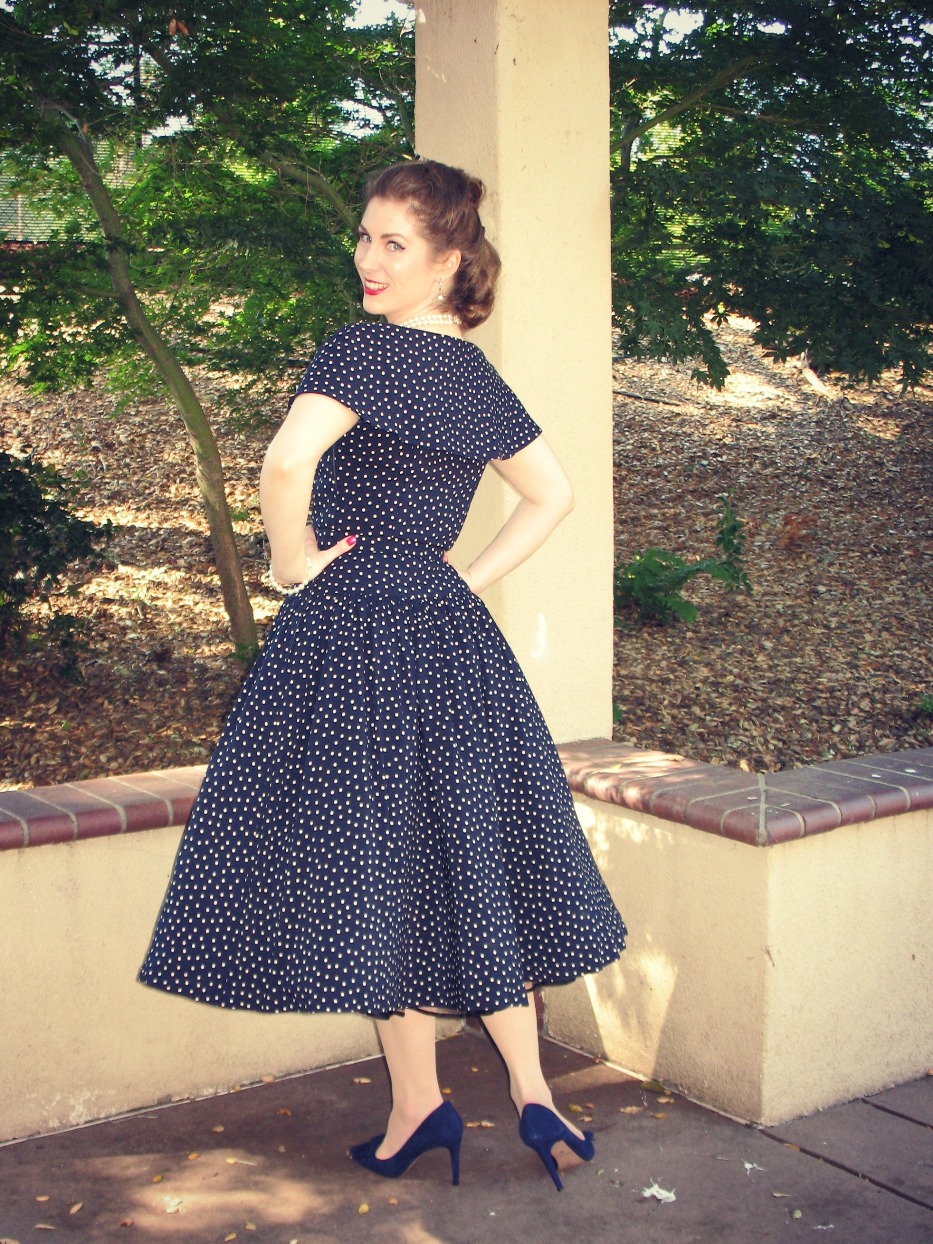
Last week I welcomed another polka dotted dress into my
wardrobe! I even managed to finish the
outfit a whole twenty-four hours before the Marin Symphony fundraiser at which
it made its debut.
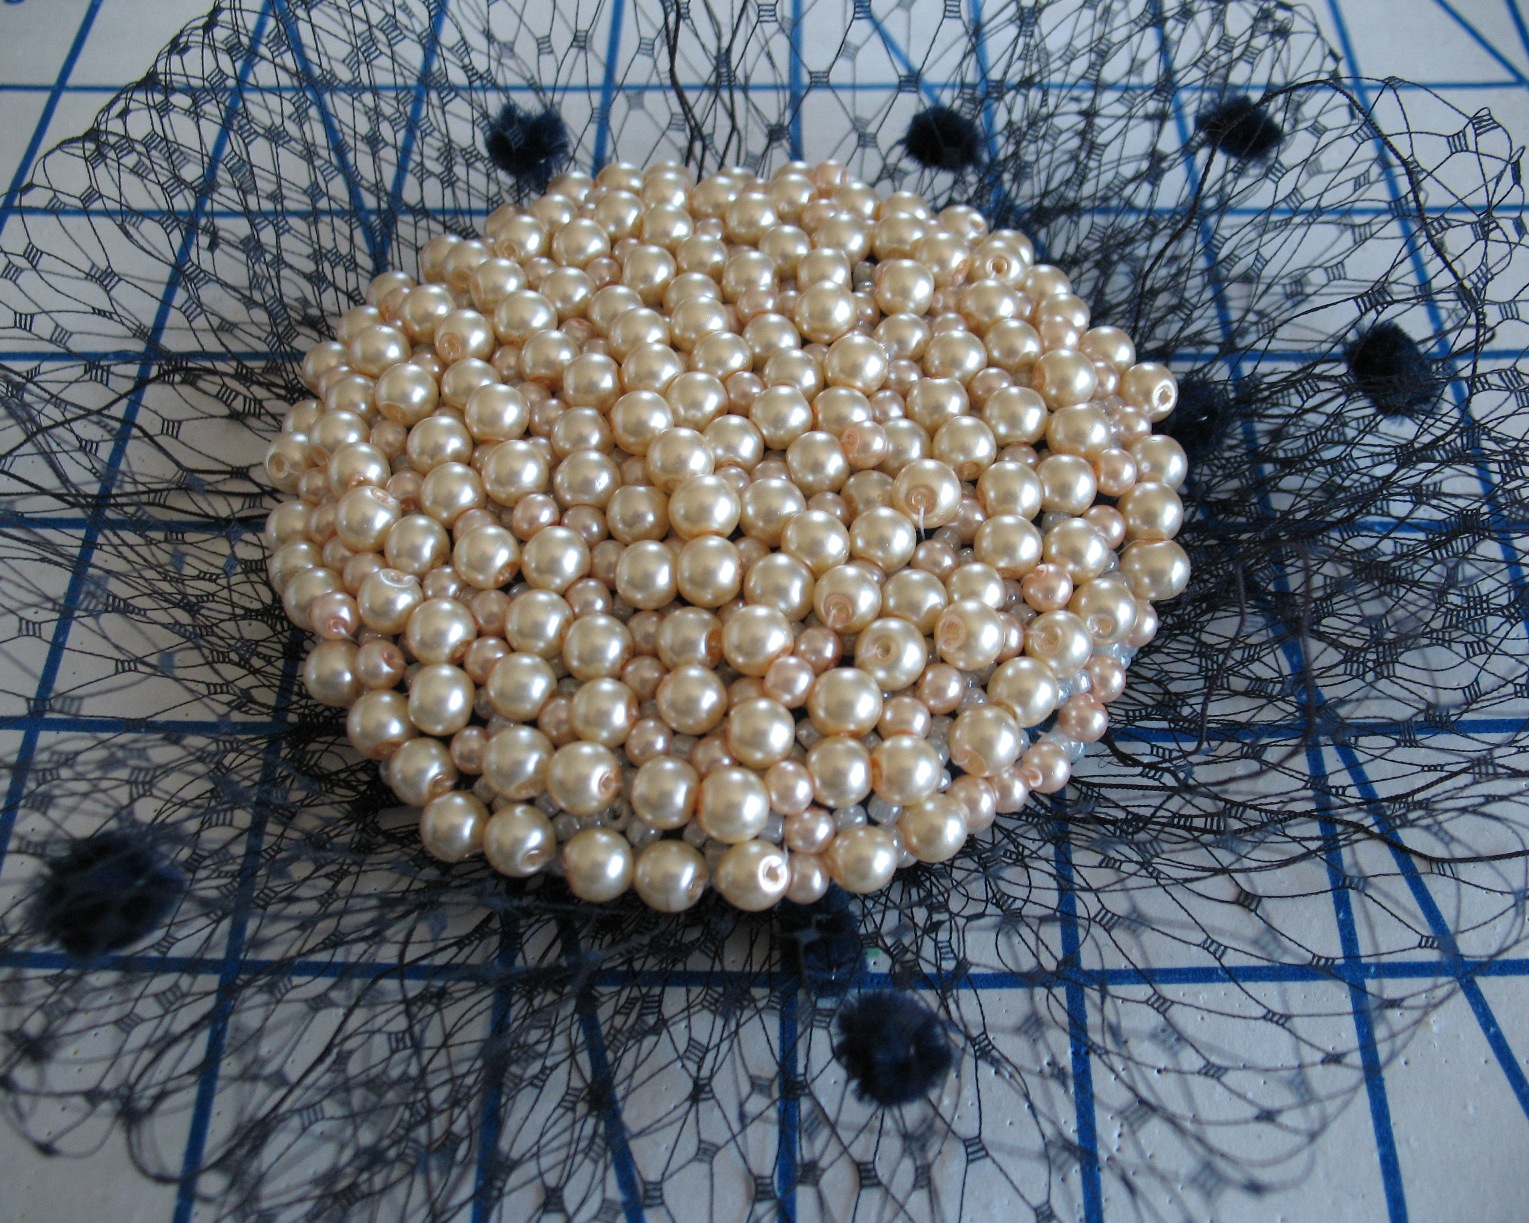
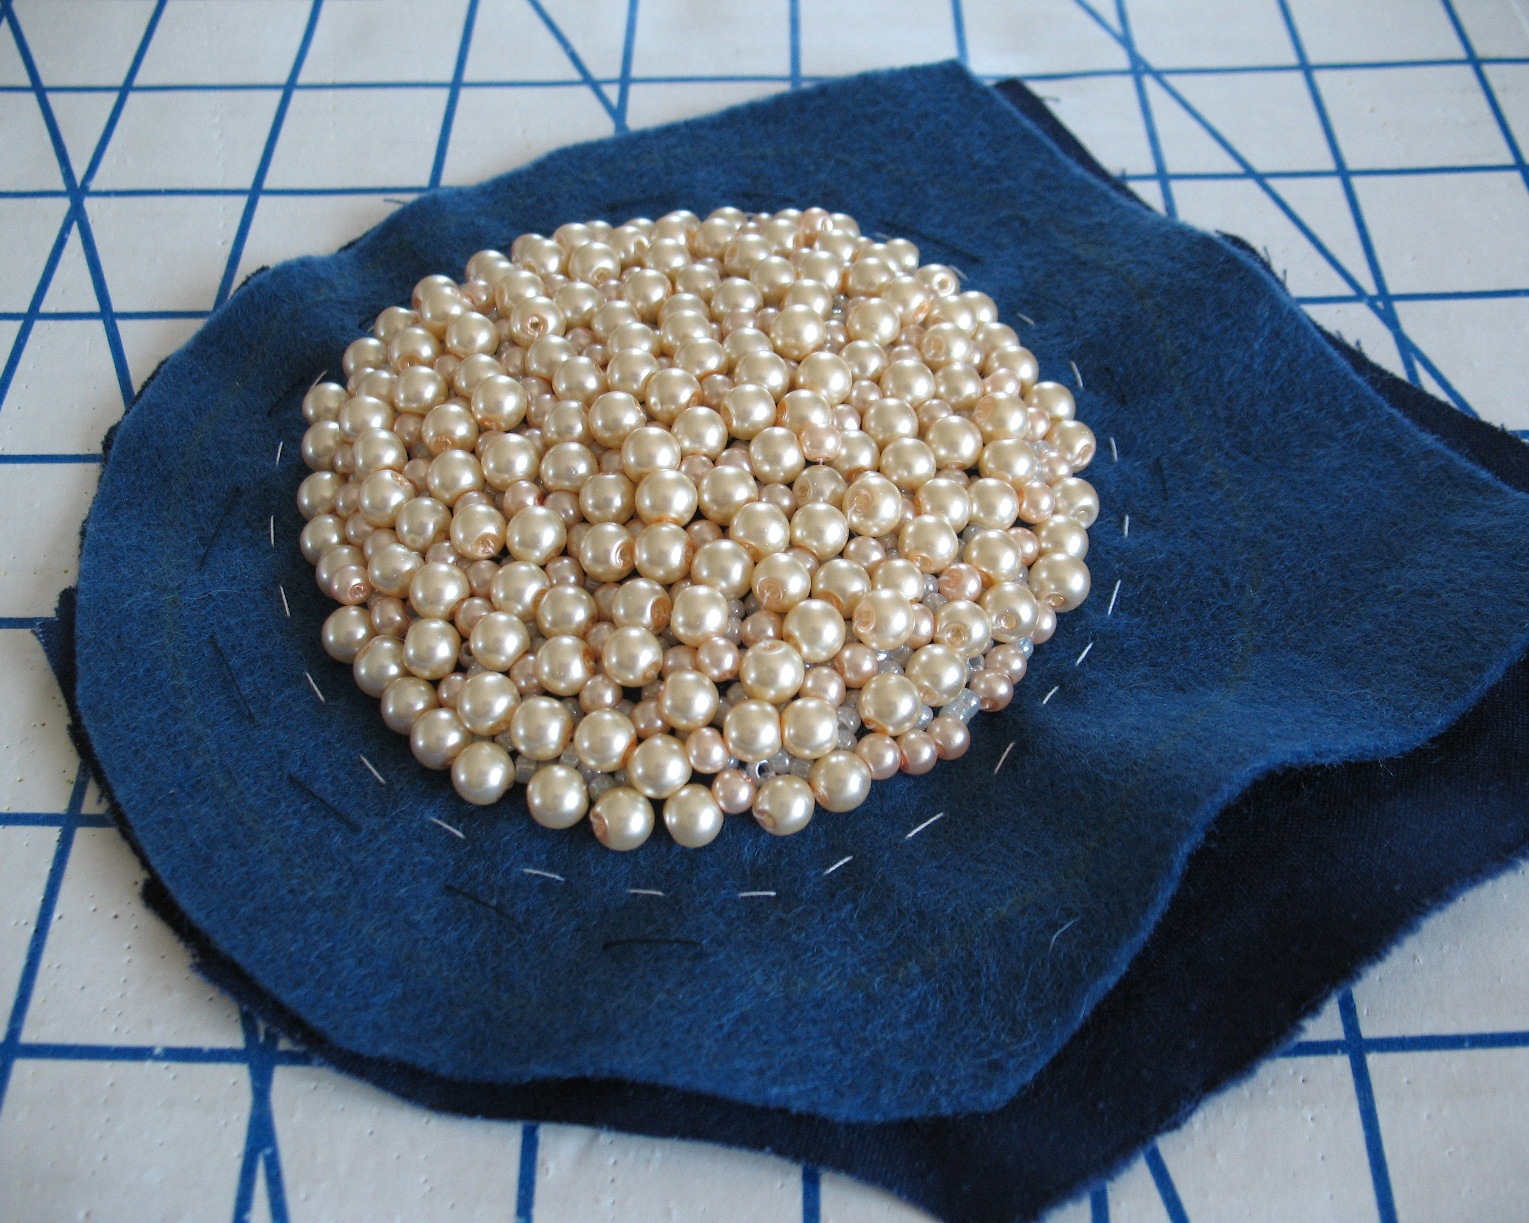
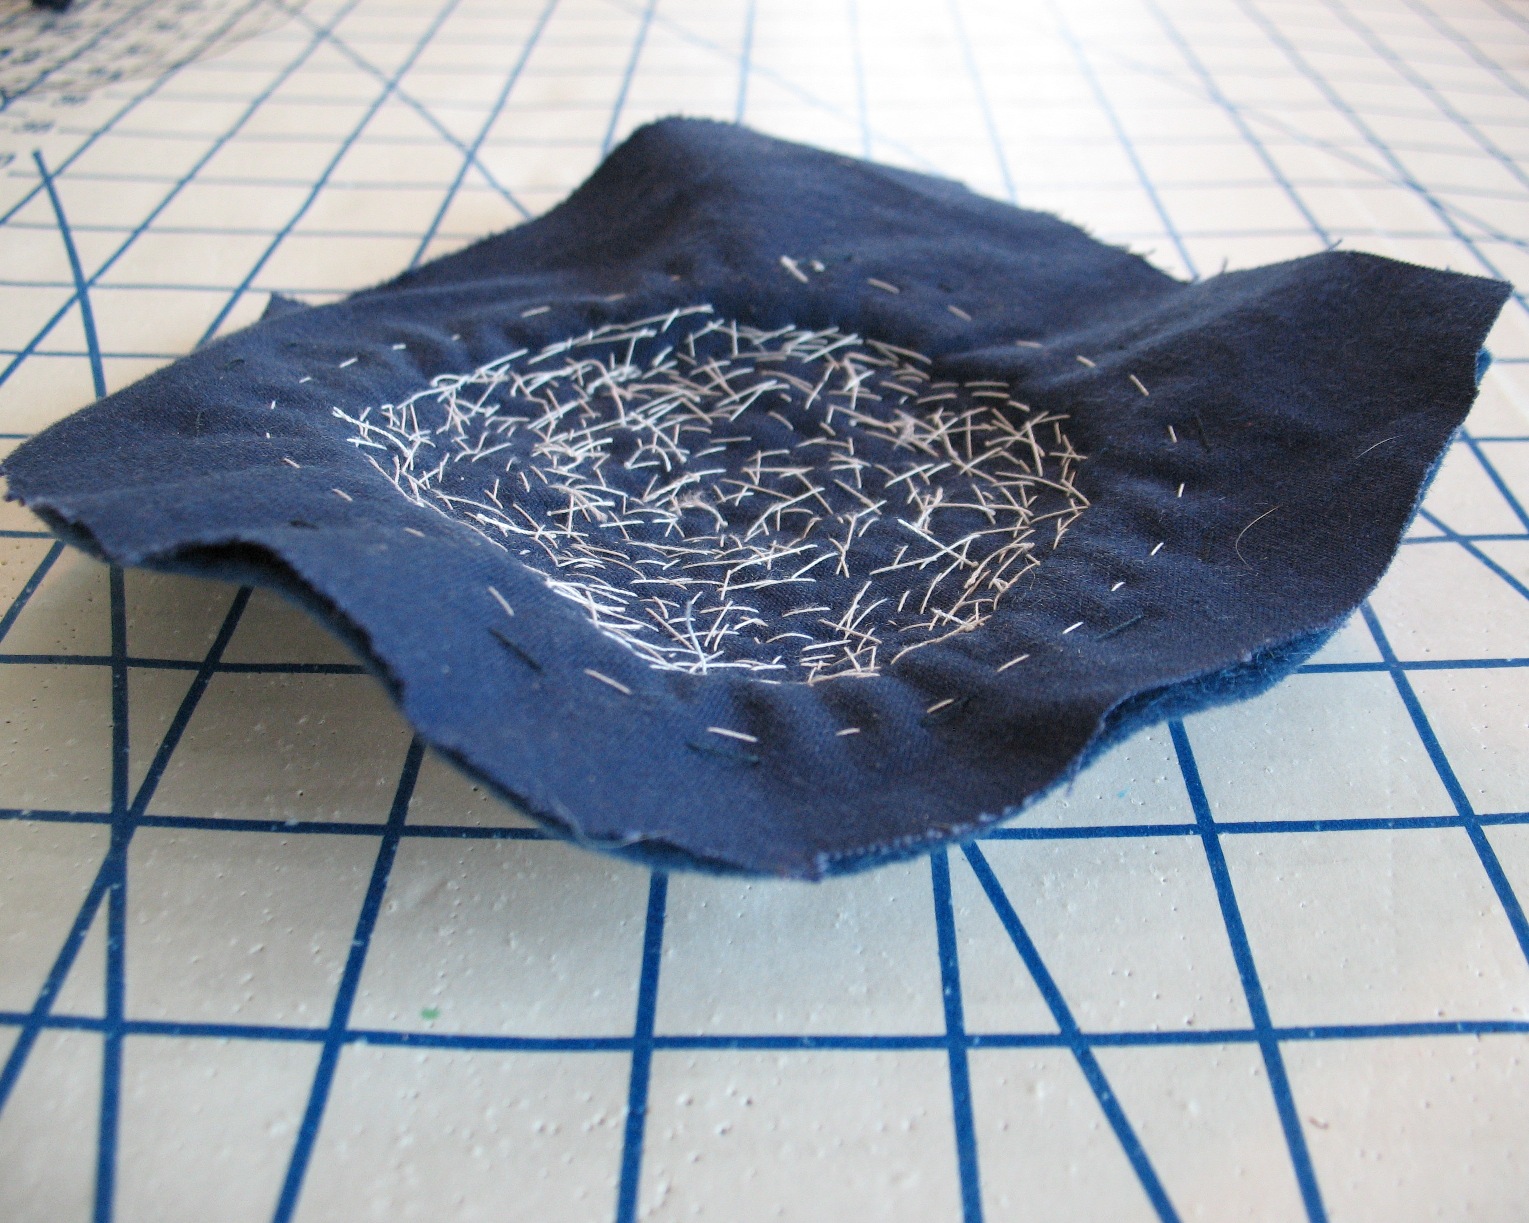
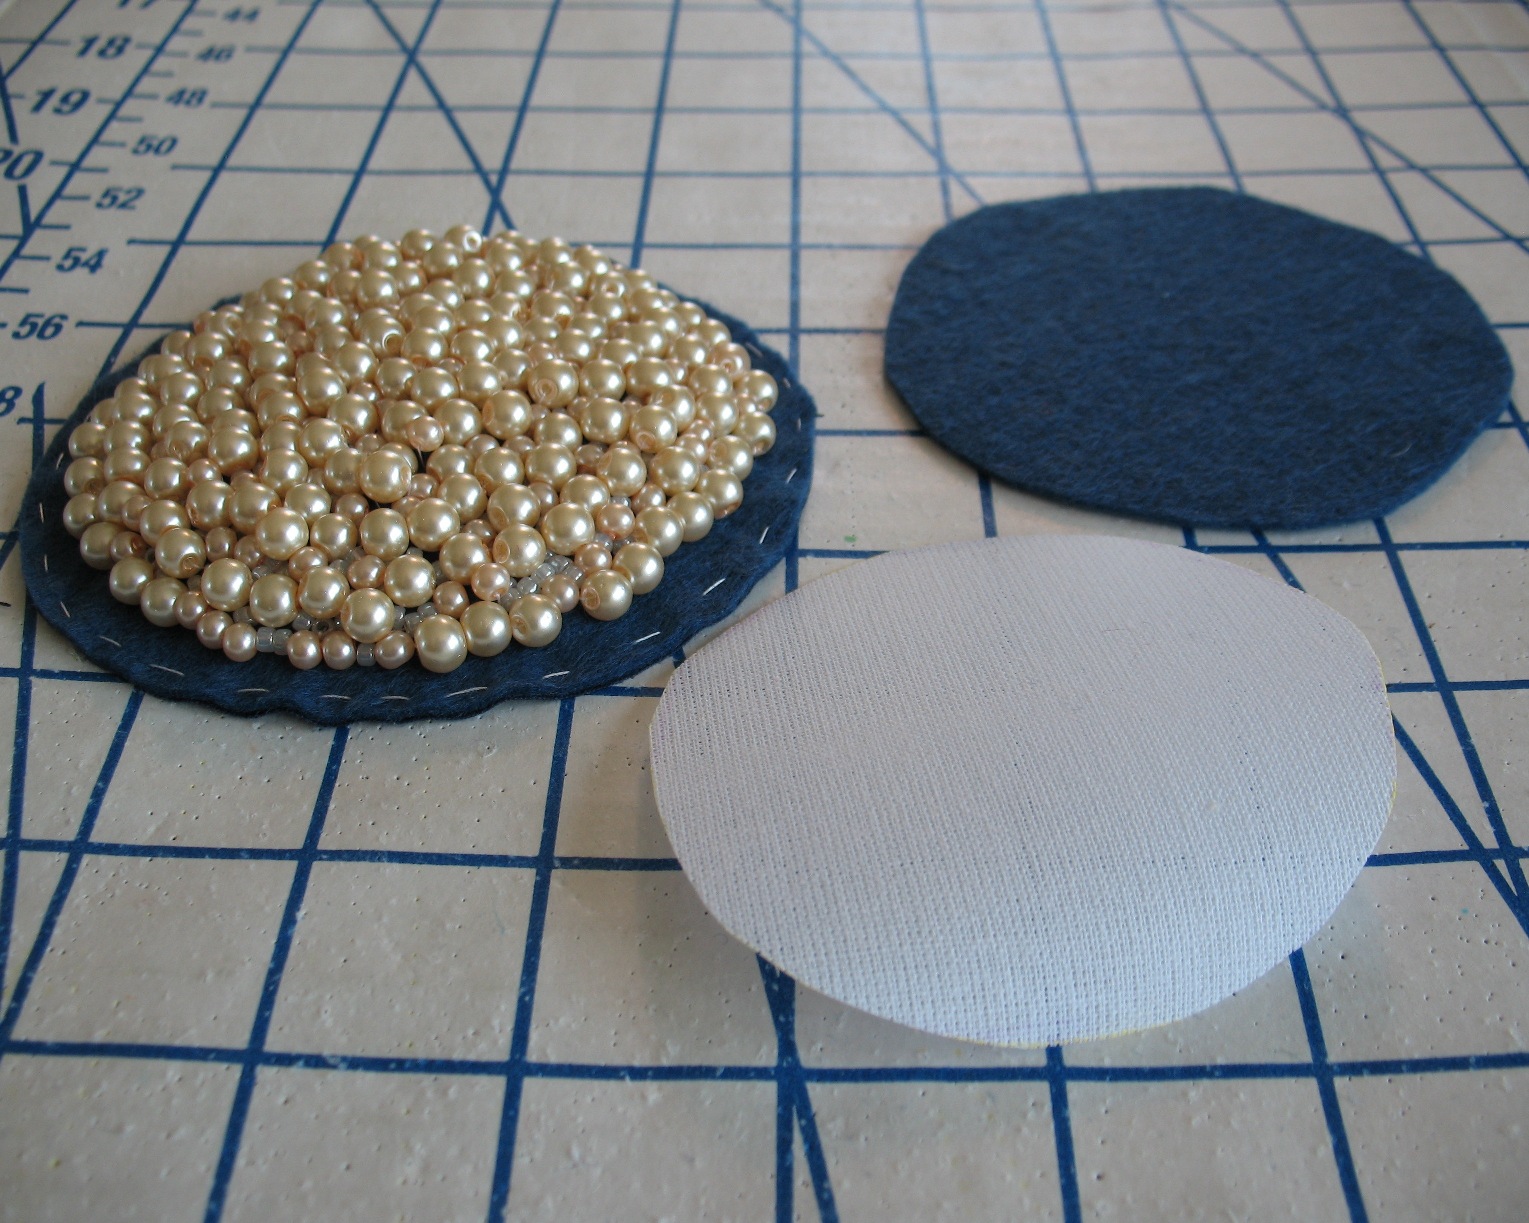
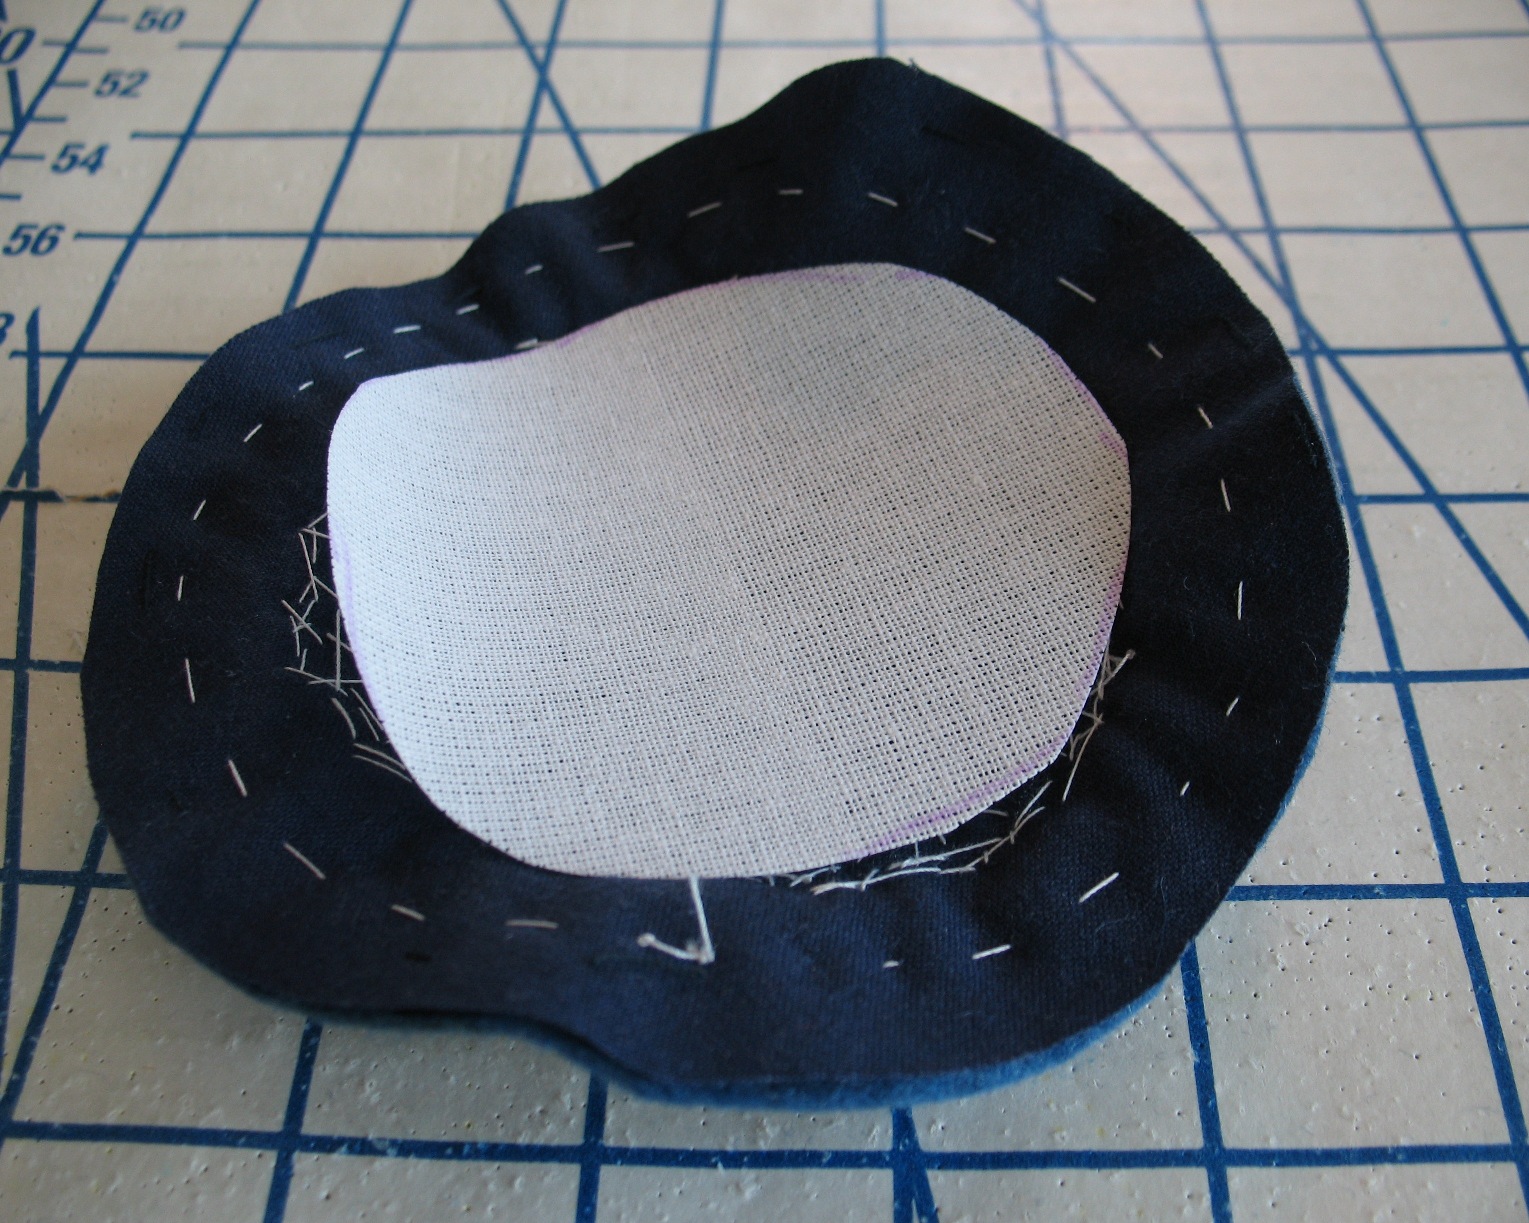
My Sewing Indie Month projects were put aside to accomplish this, but I have not forgotten about them. I am busy beading and my Spearmint coat is currently on the sewing table.

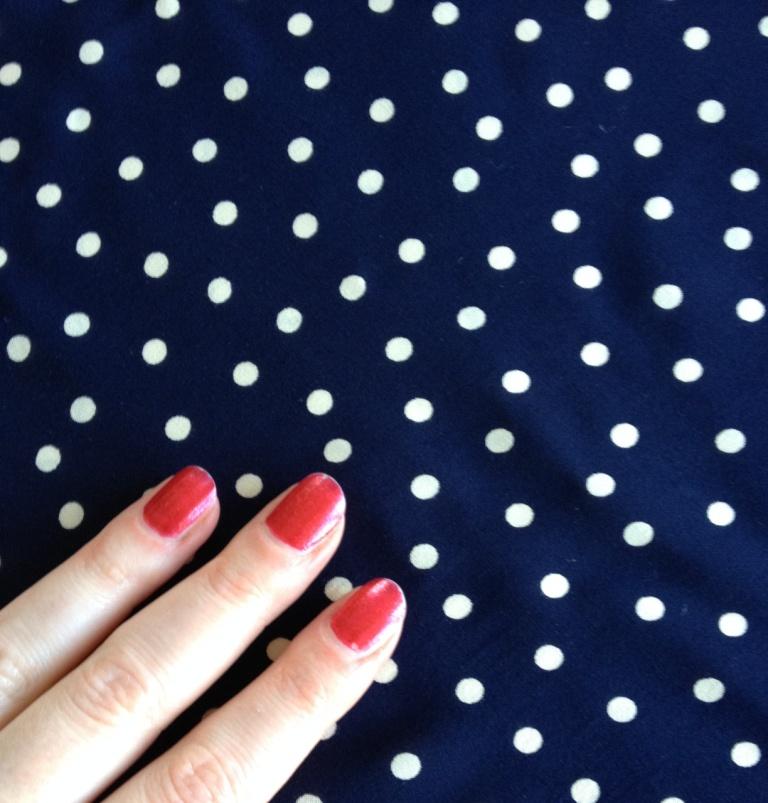
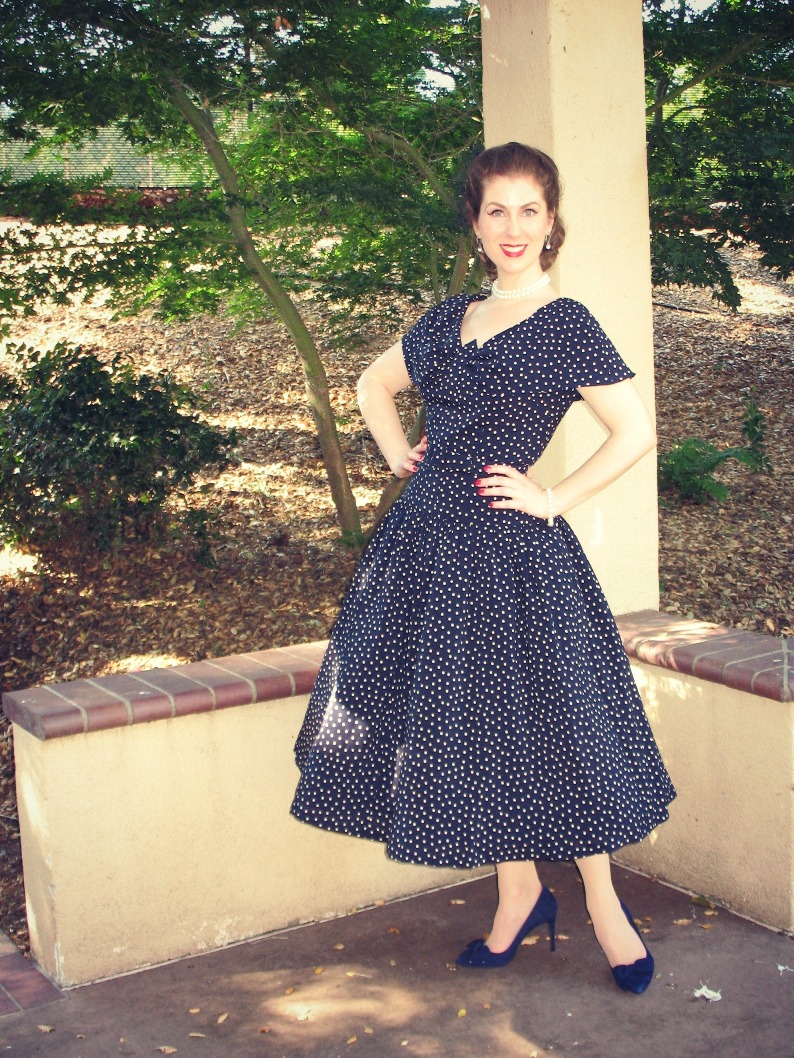
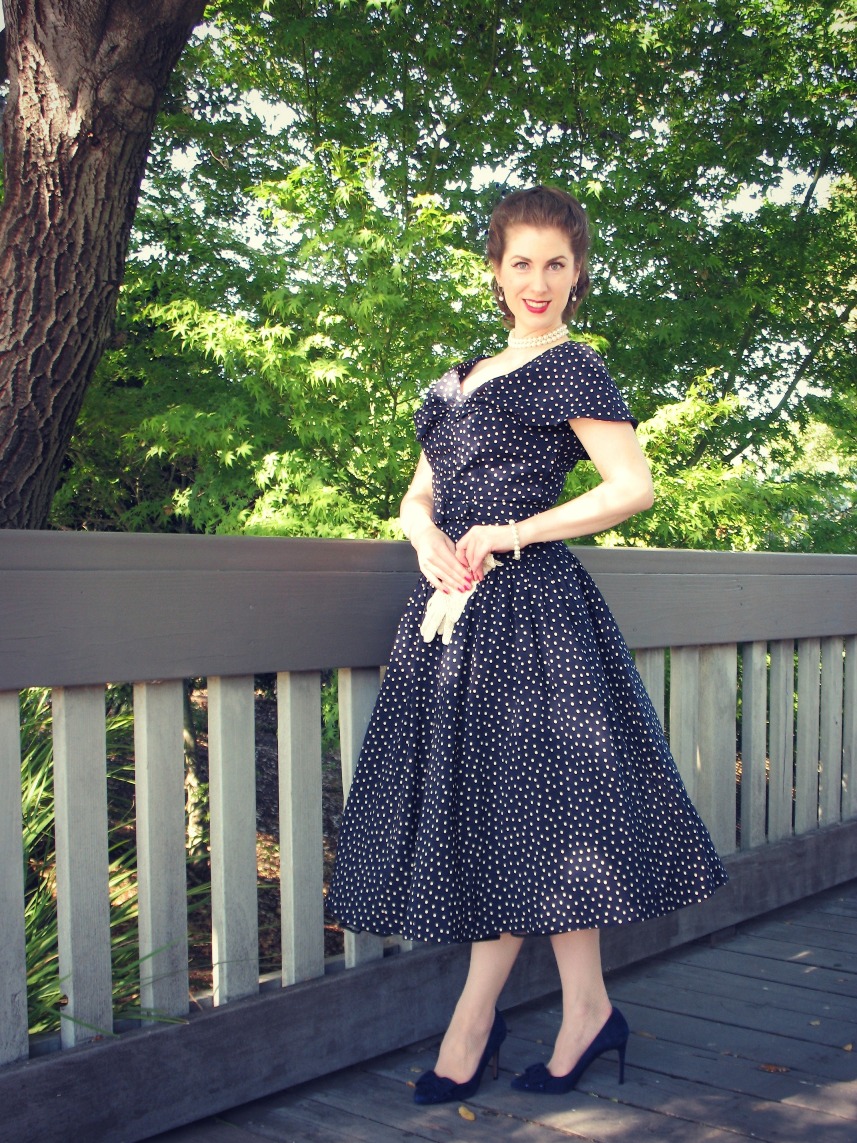
I intended to wear a pair of gloves with the ensemble,
however, the morning of the event, I managed to get a nasty tear in one of my
nails which made getting them on and off a rather painful procedure.
They would not have stayed on for long anyway, since I was signing people in for the evening.
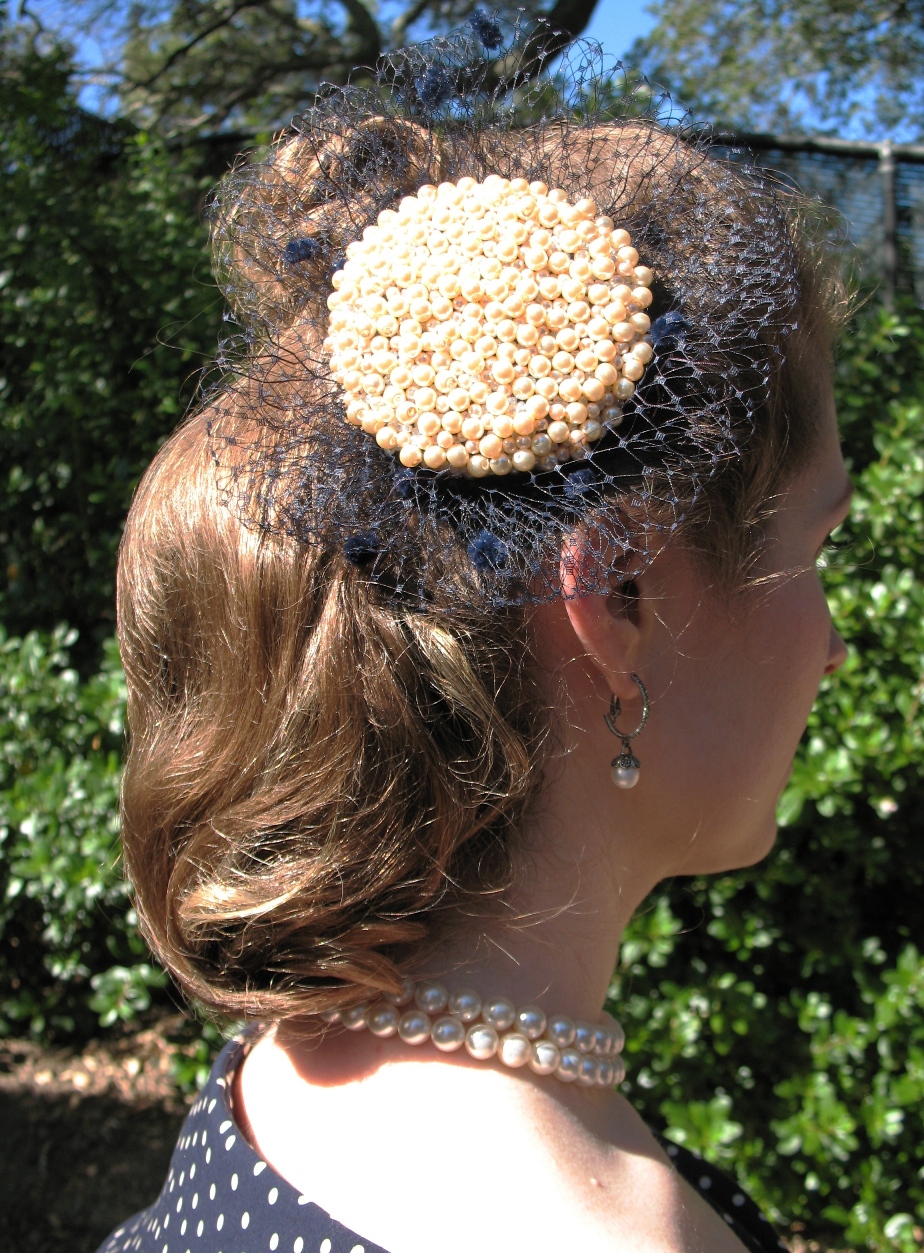
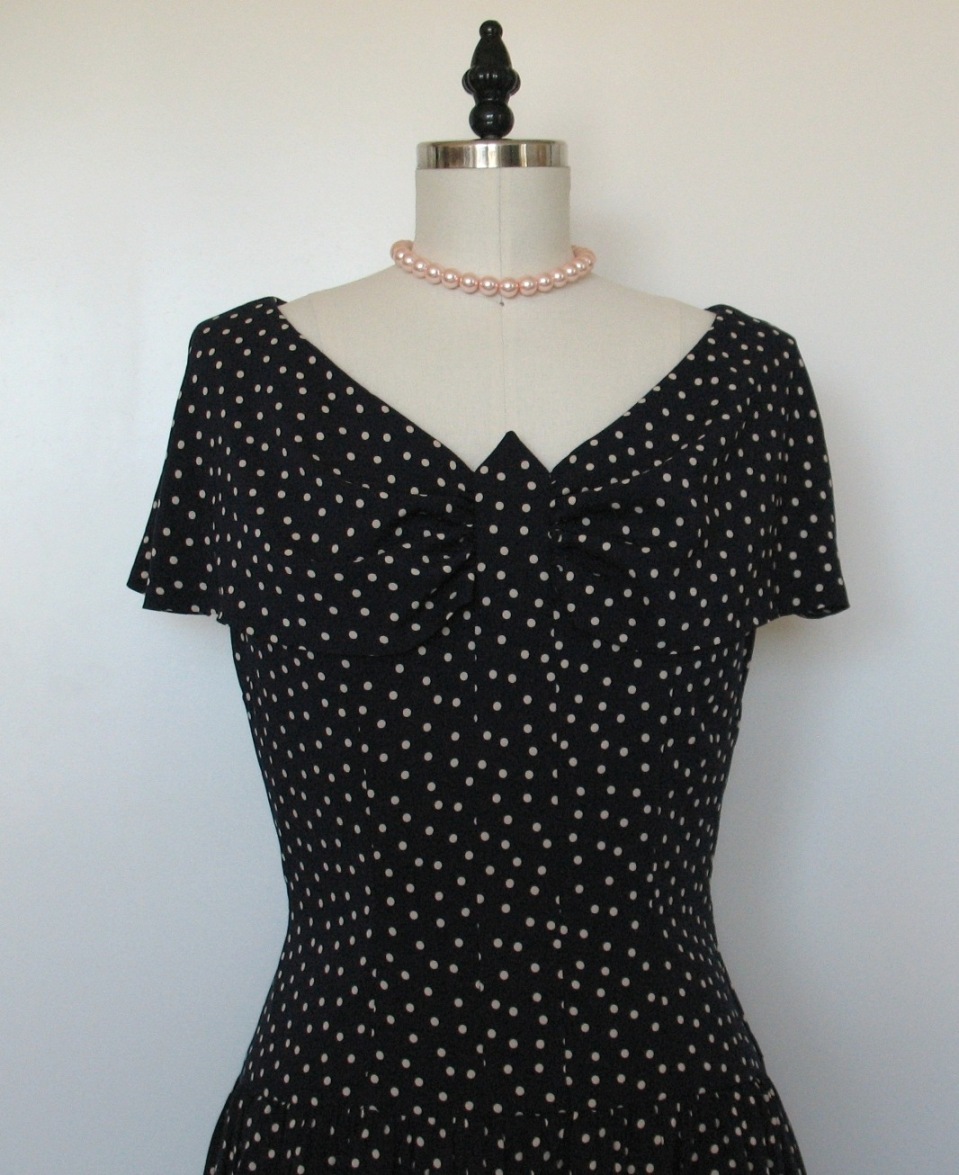
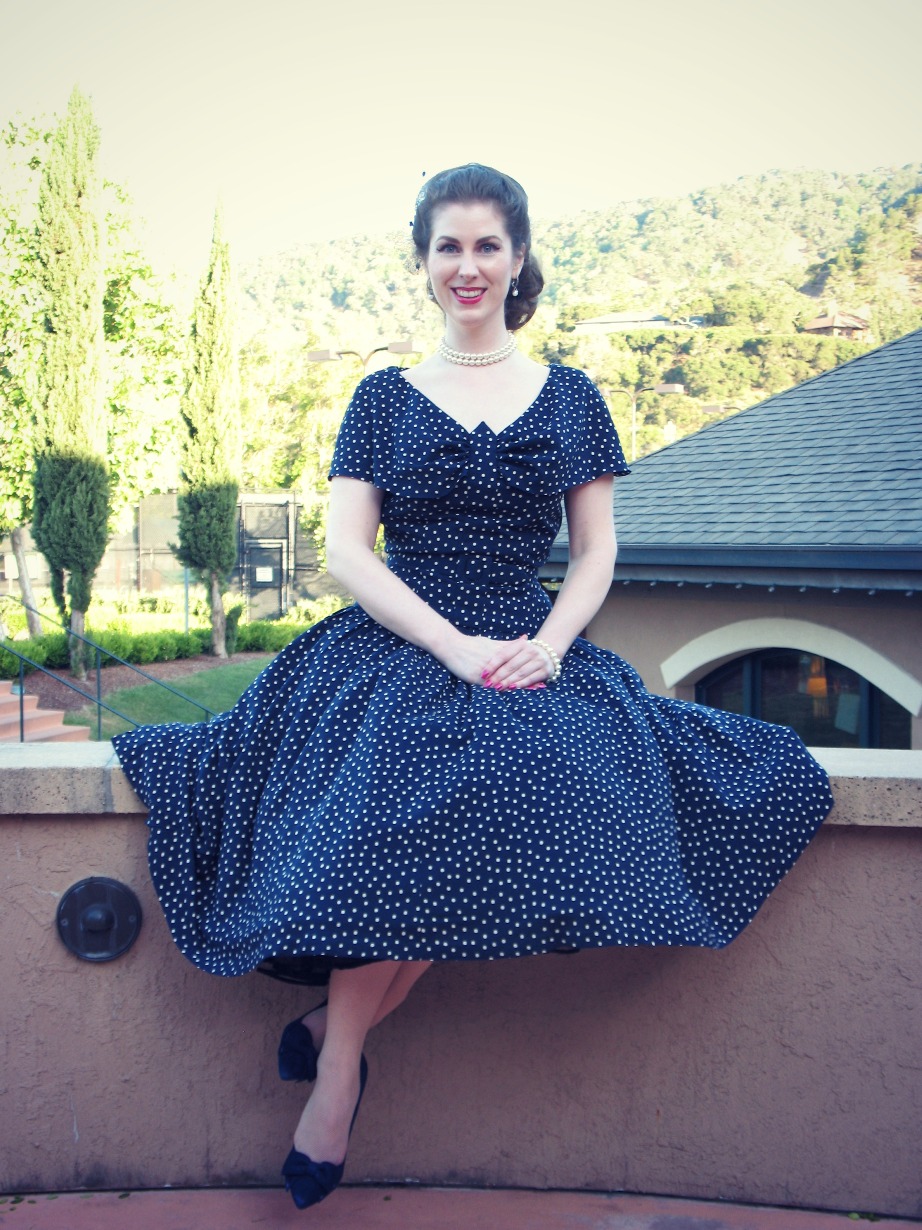
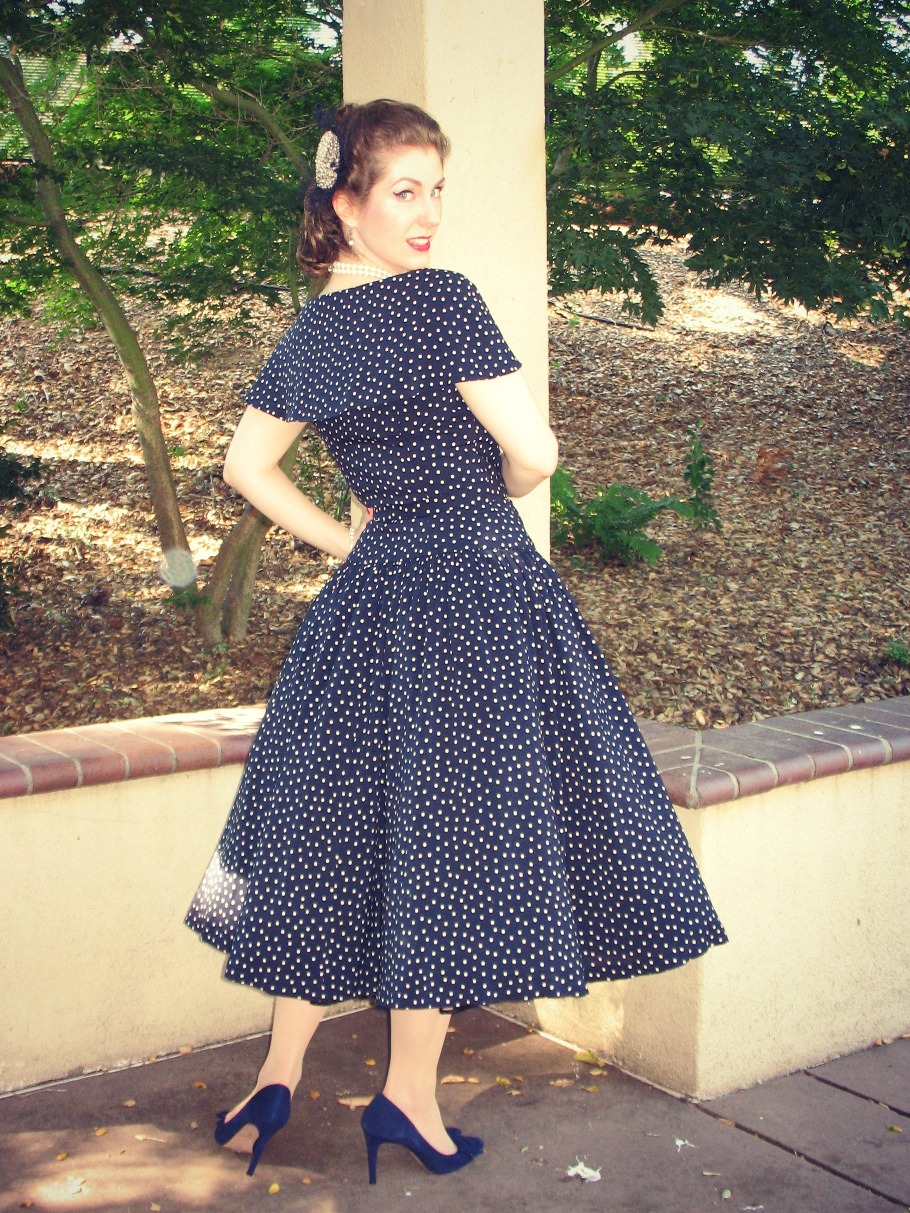
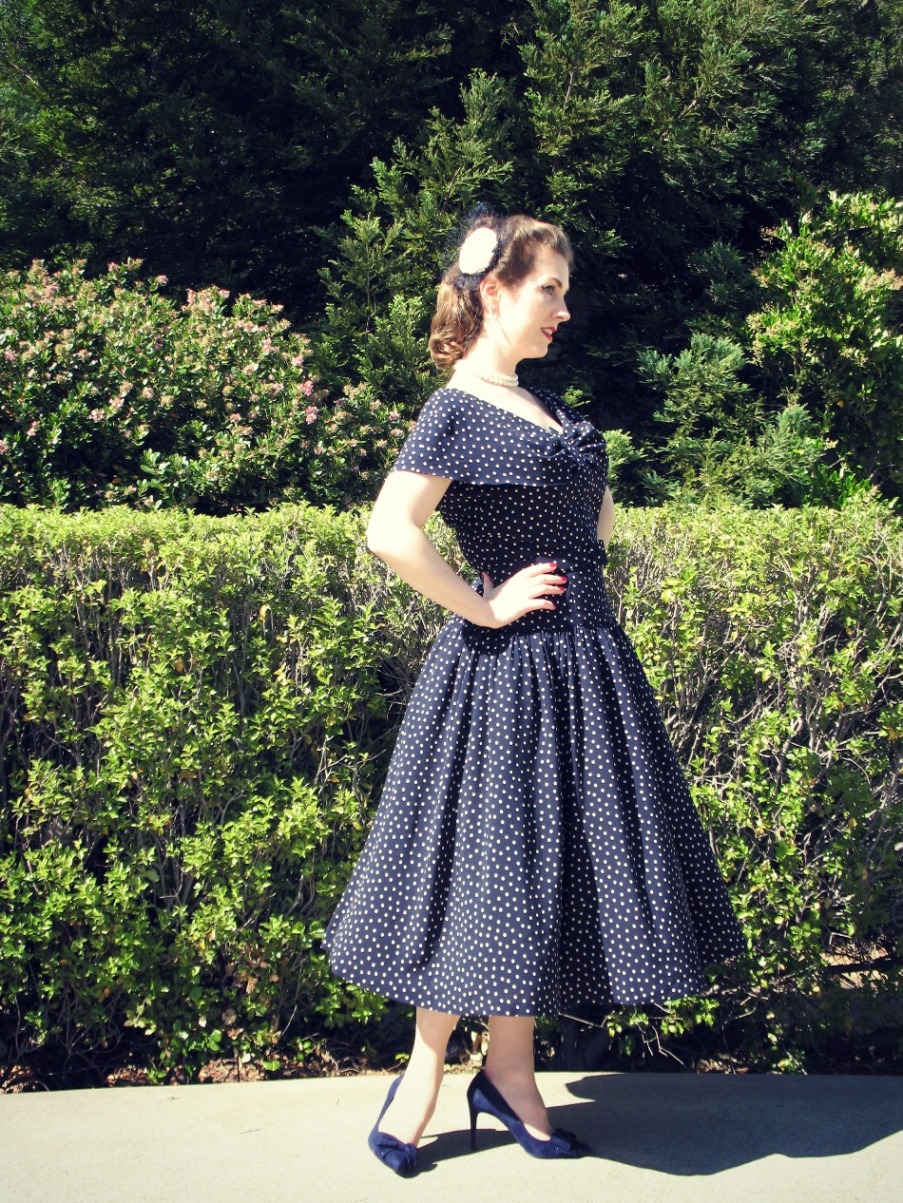
With or without the gloves, I am very pleased with the dress. Dropped-waist garments are supposedly unflattering on long-waisted individuals such as myself, but I think they actually camouflage the problem. Yet another reason to ignore fashion "rules."
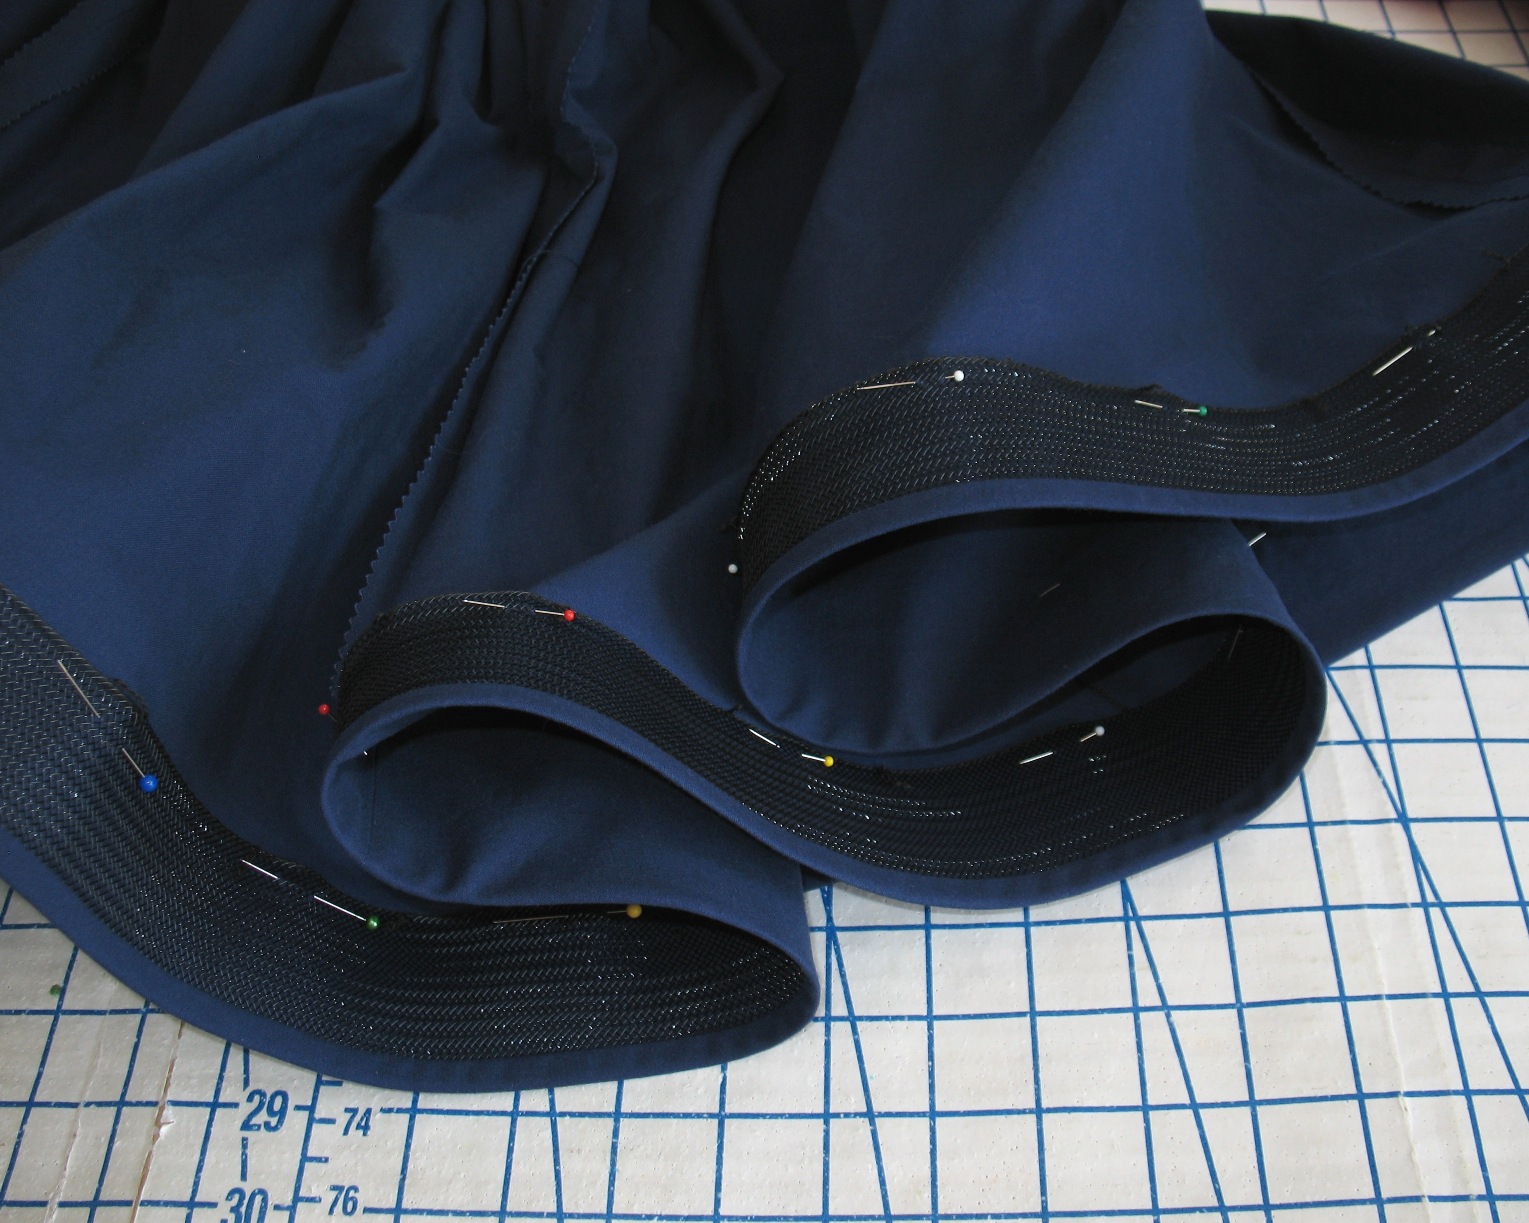
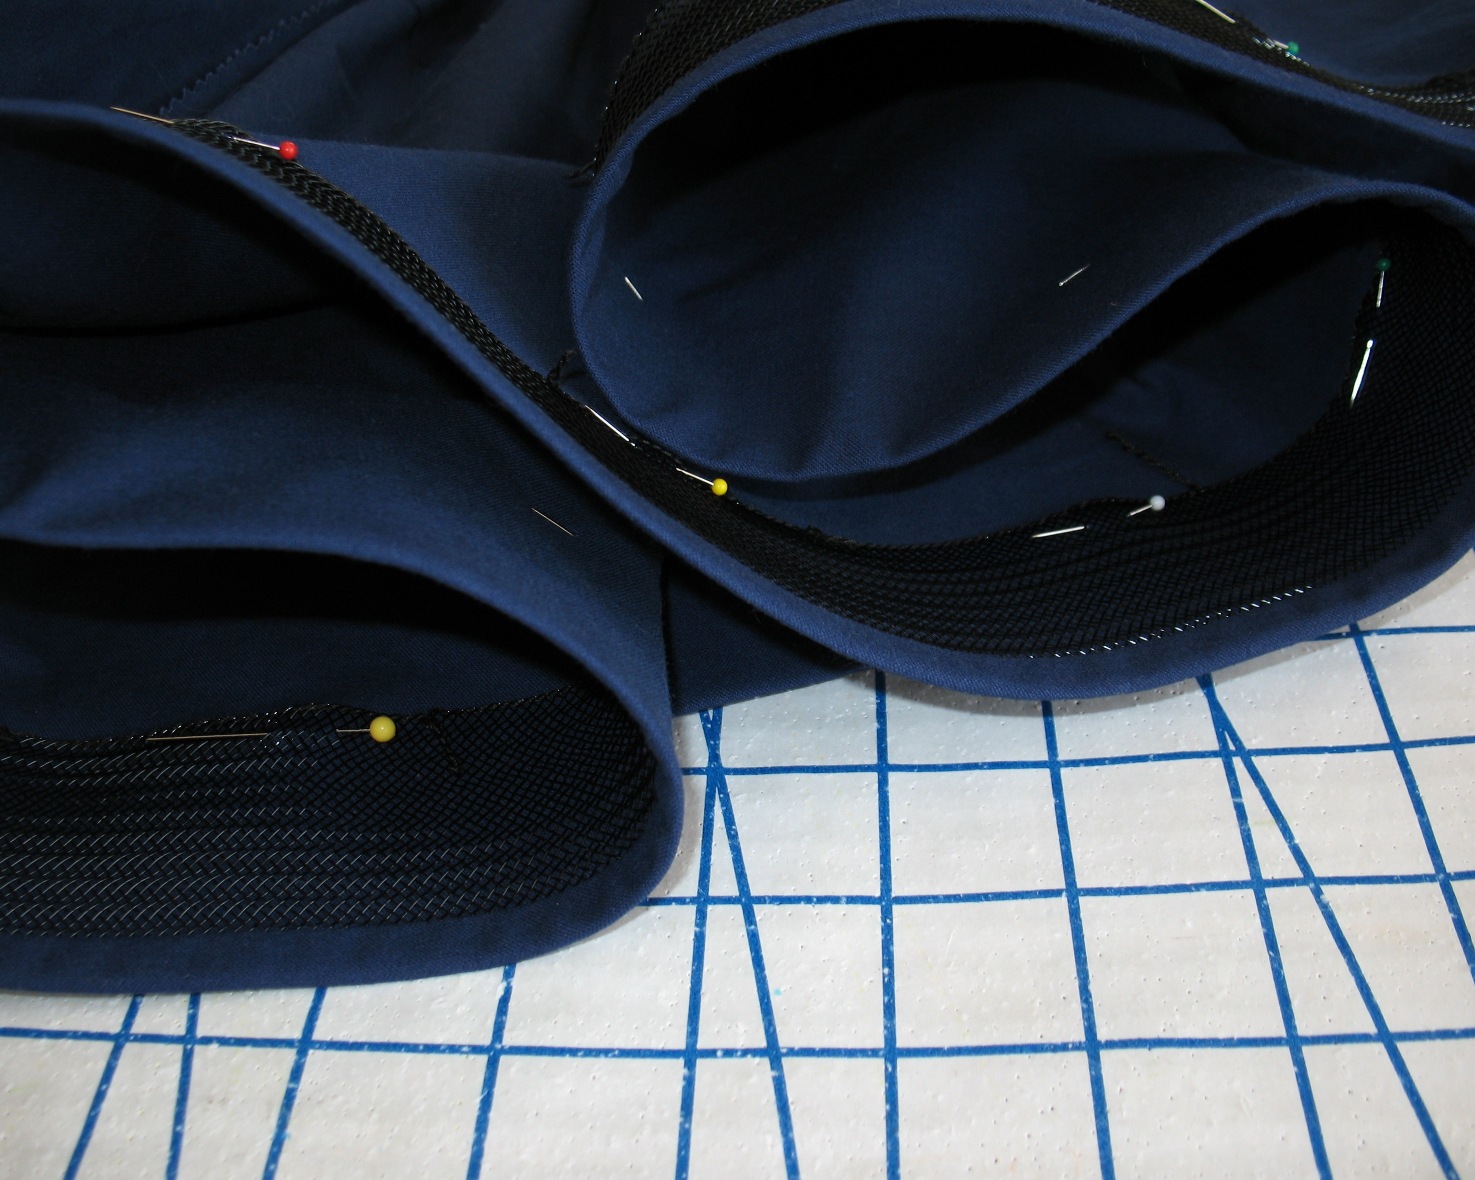
Best of all, the dress was the perfect excuse to wear a crinoline (which has been neglected as of late)! I am going to need to move the hook & eye on this one because it keeps slipping below my waist.
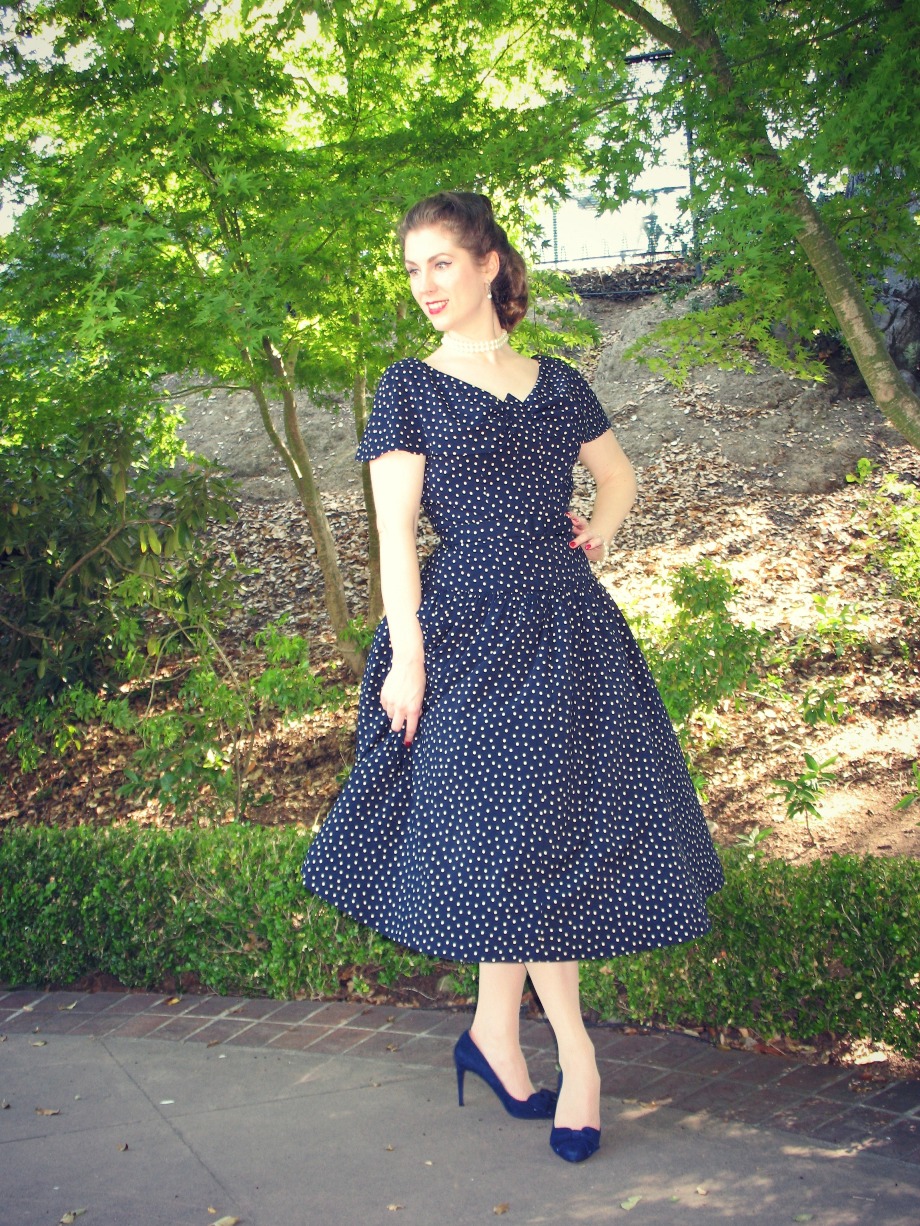
I may even make another version of the dress in wool (with sleeves & without the capelet) once the weather turns.
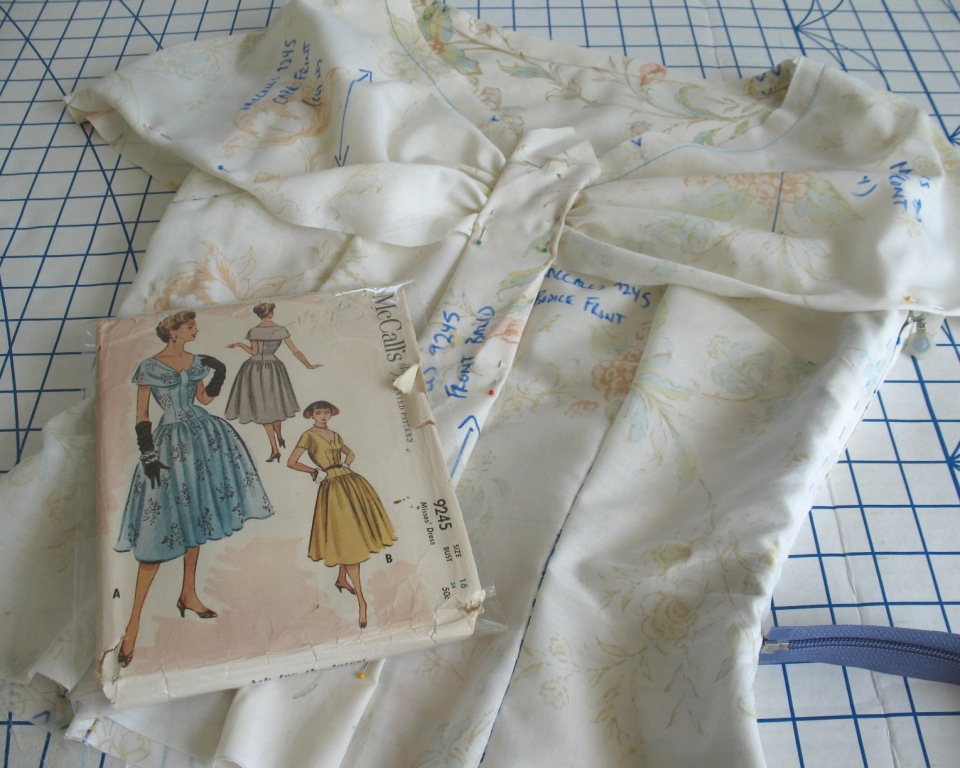
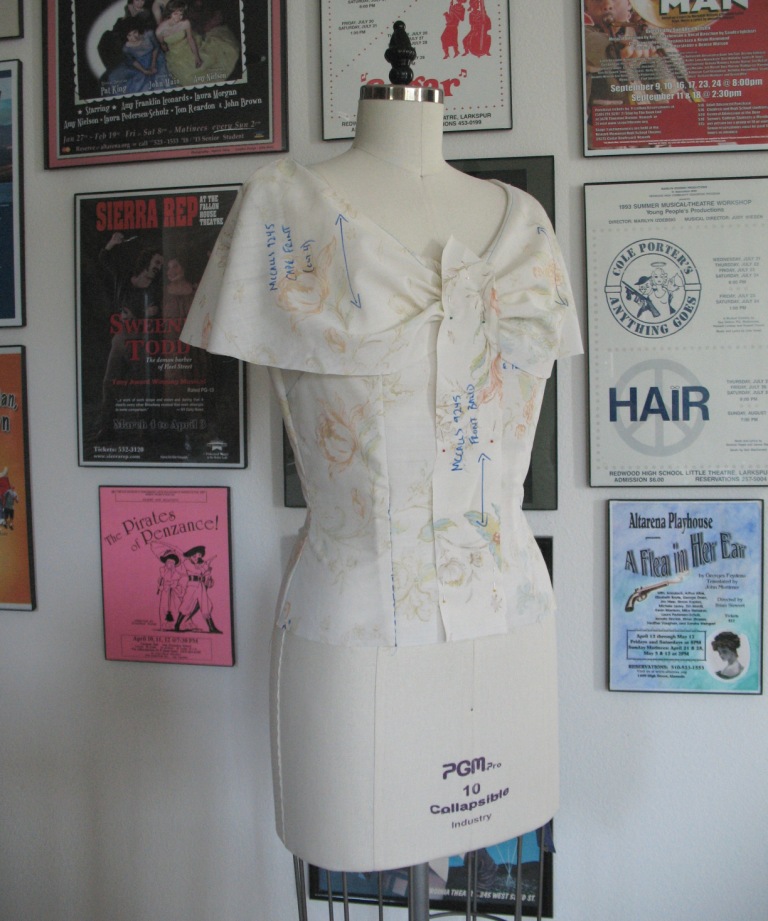
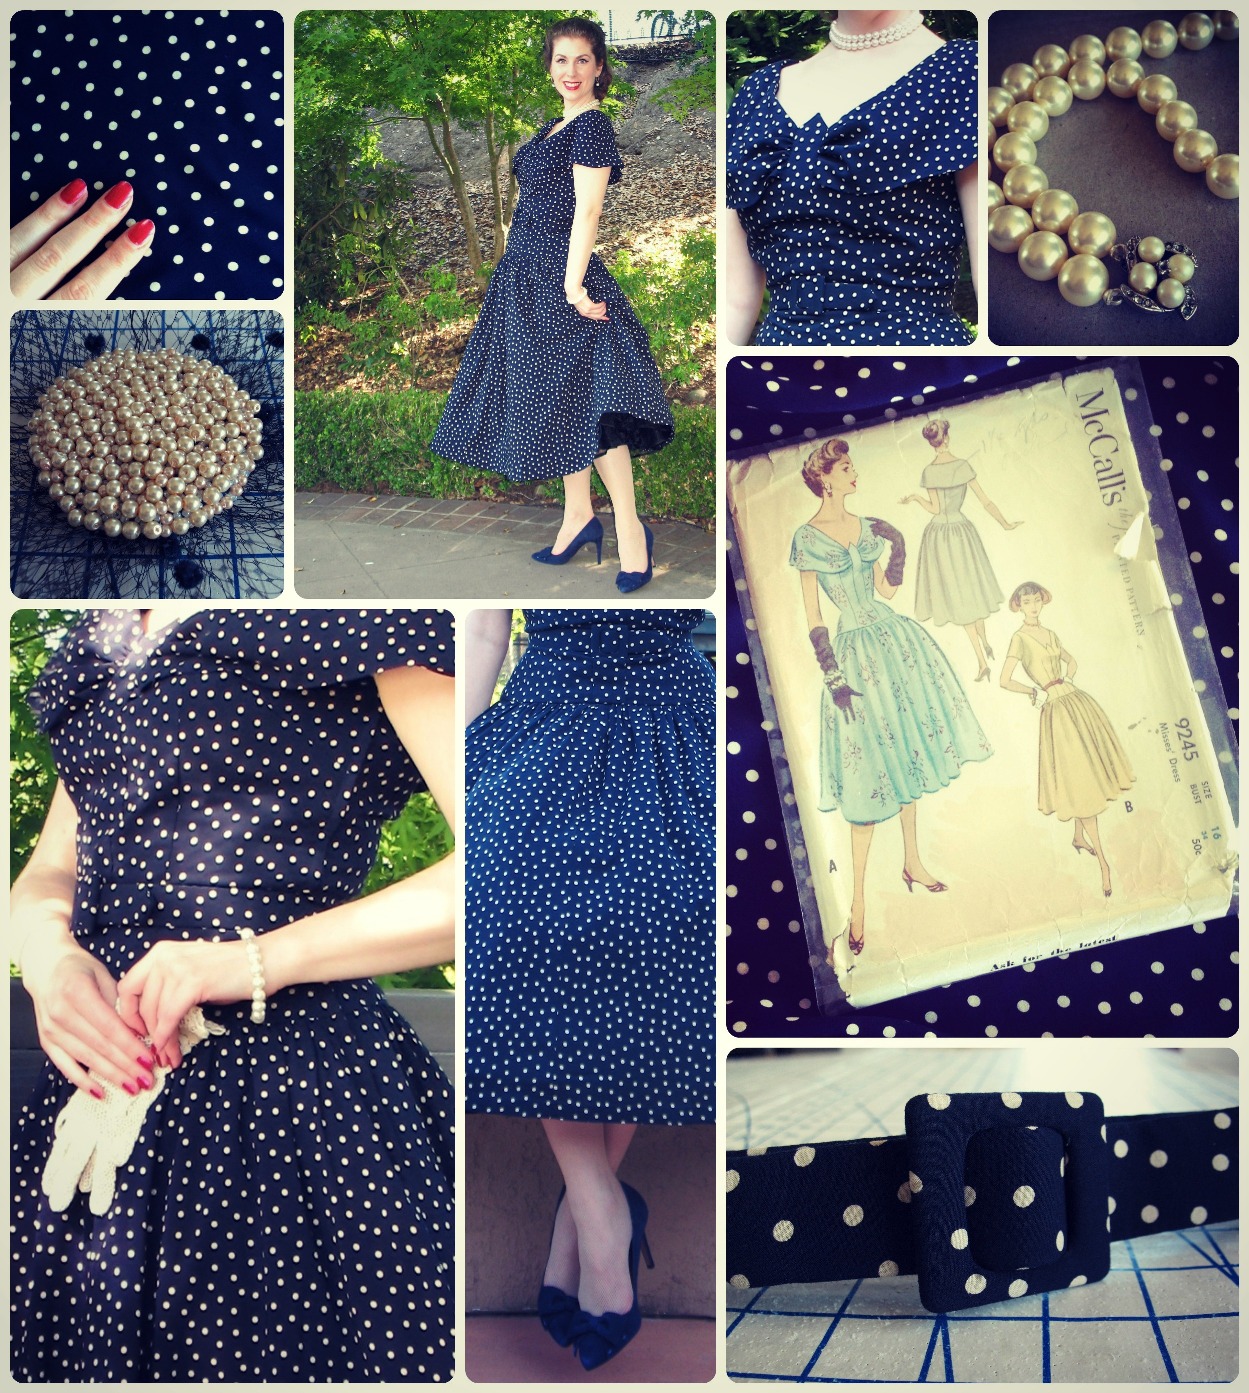
Dress: Made by me,
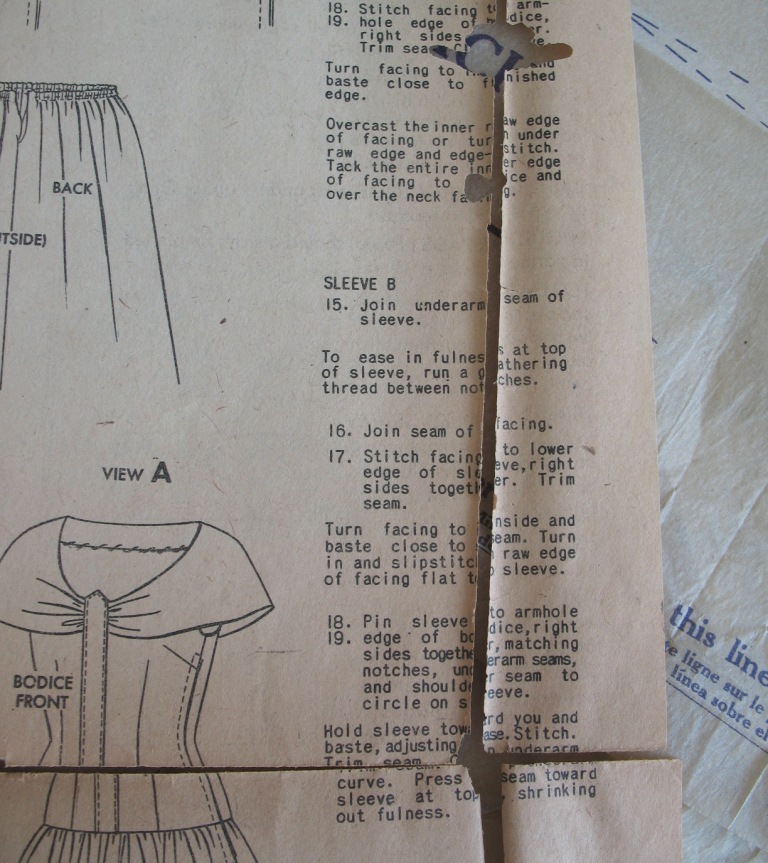
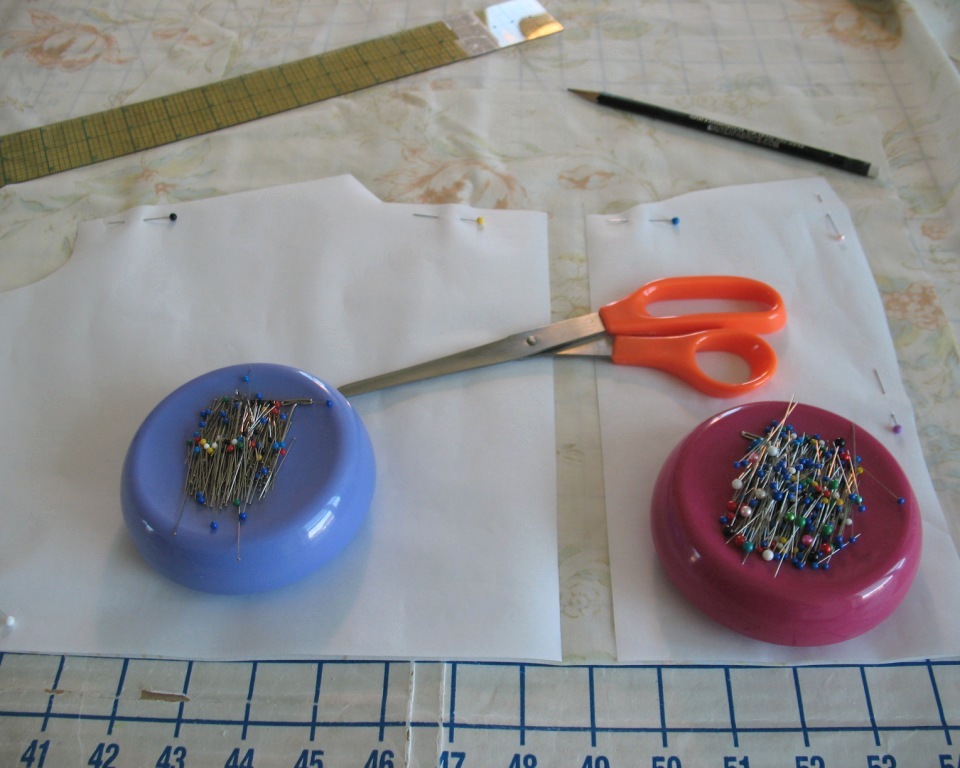
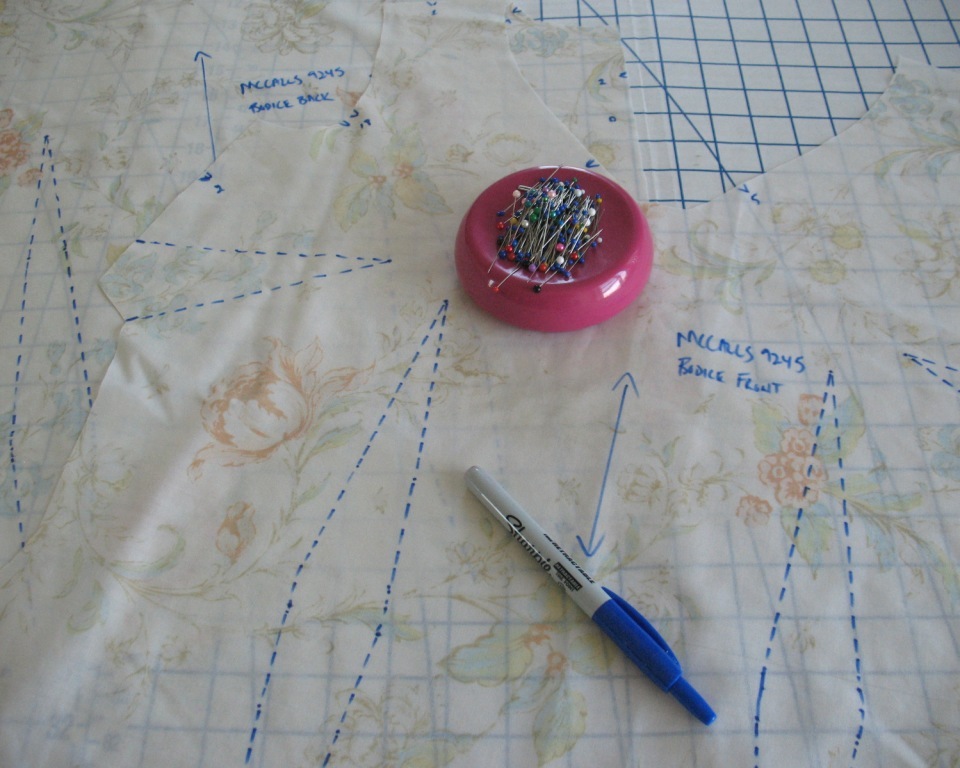
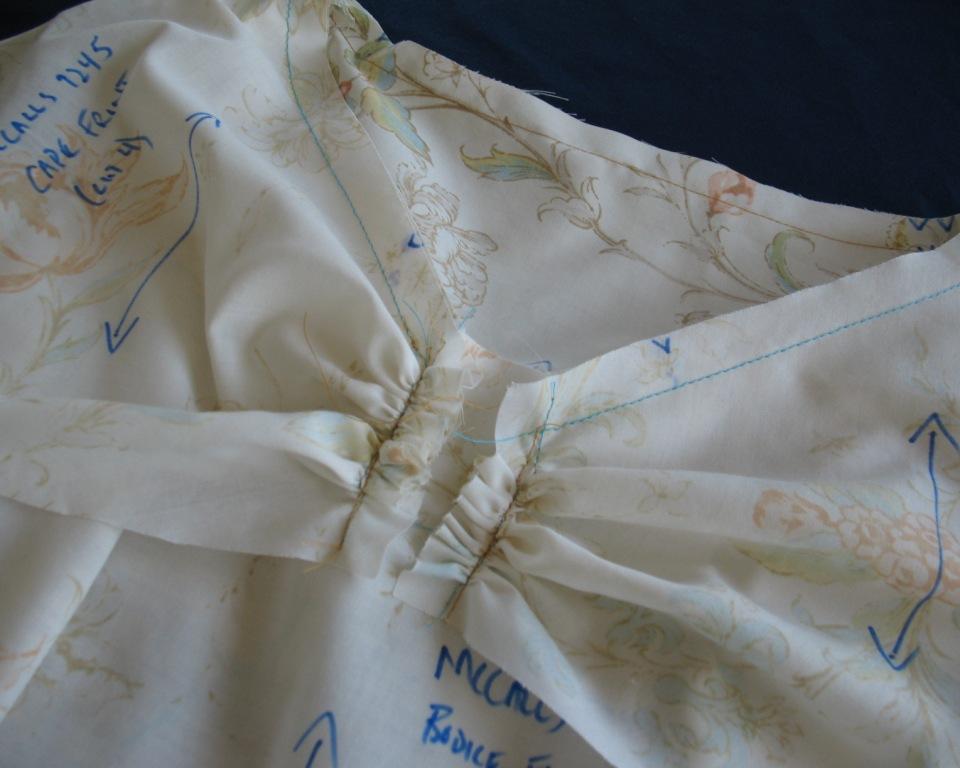
McCalls 9245
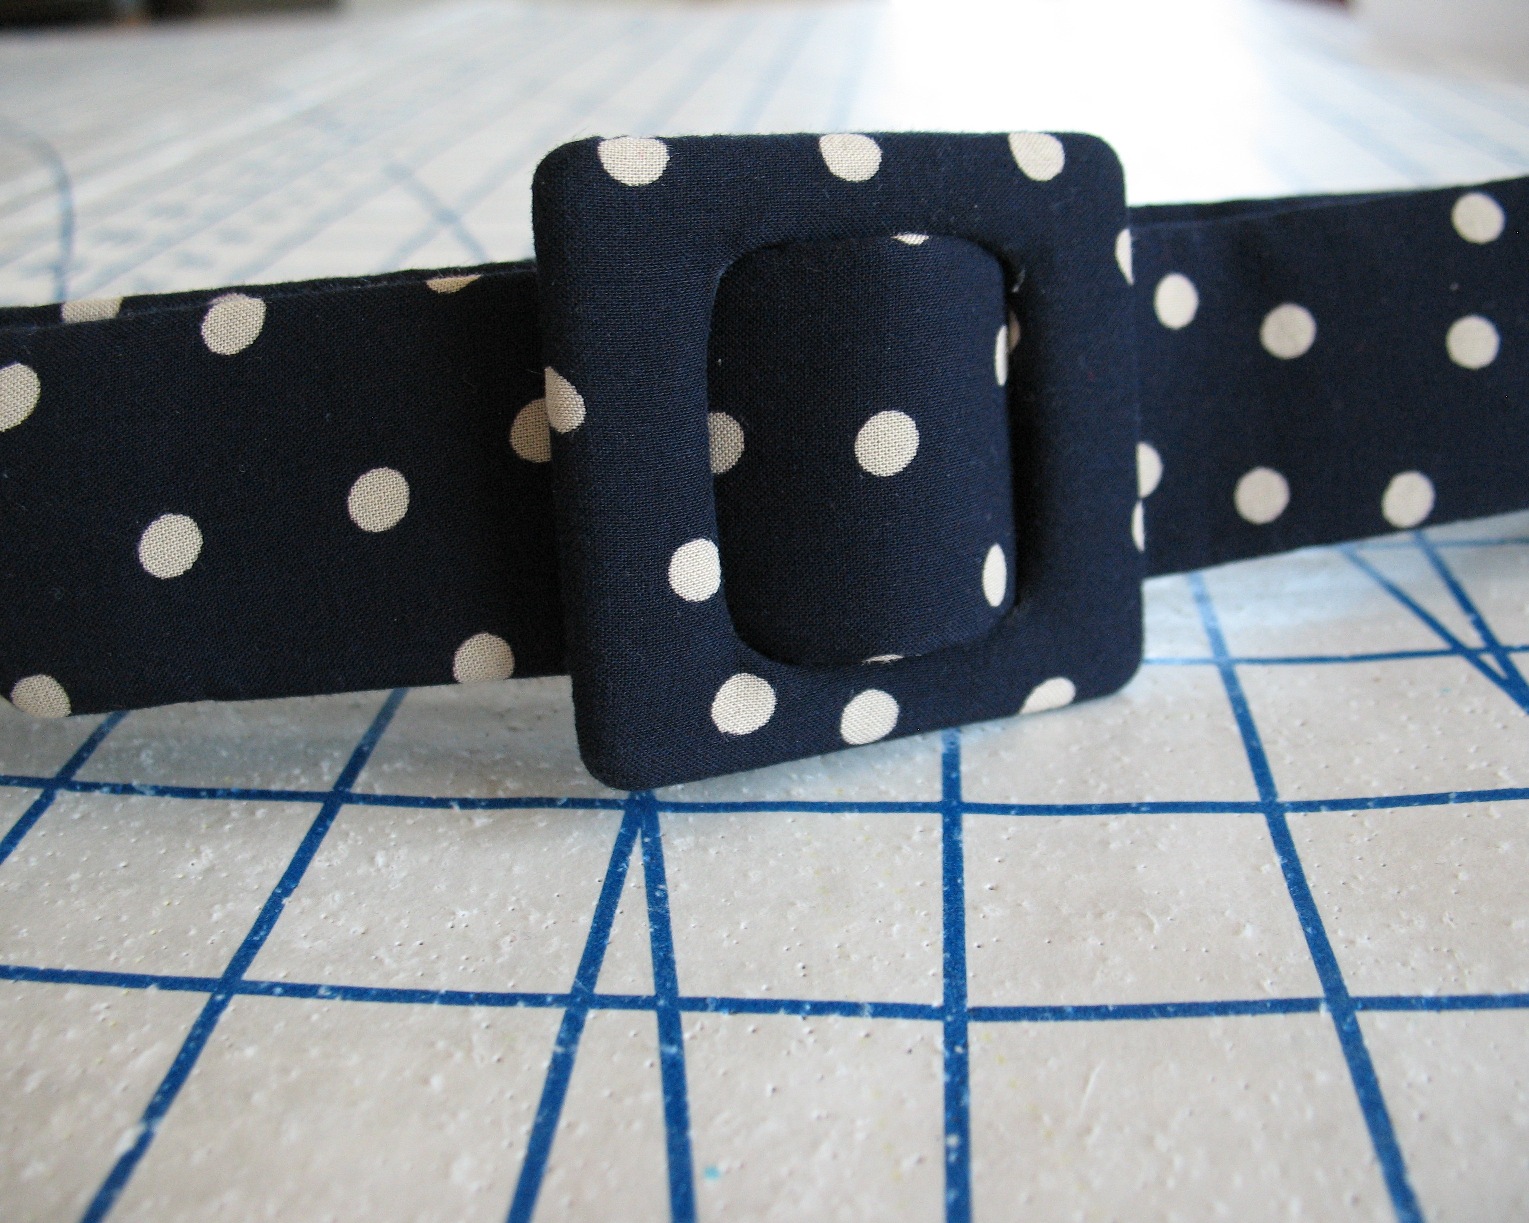
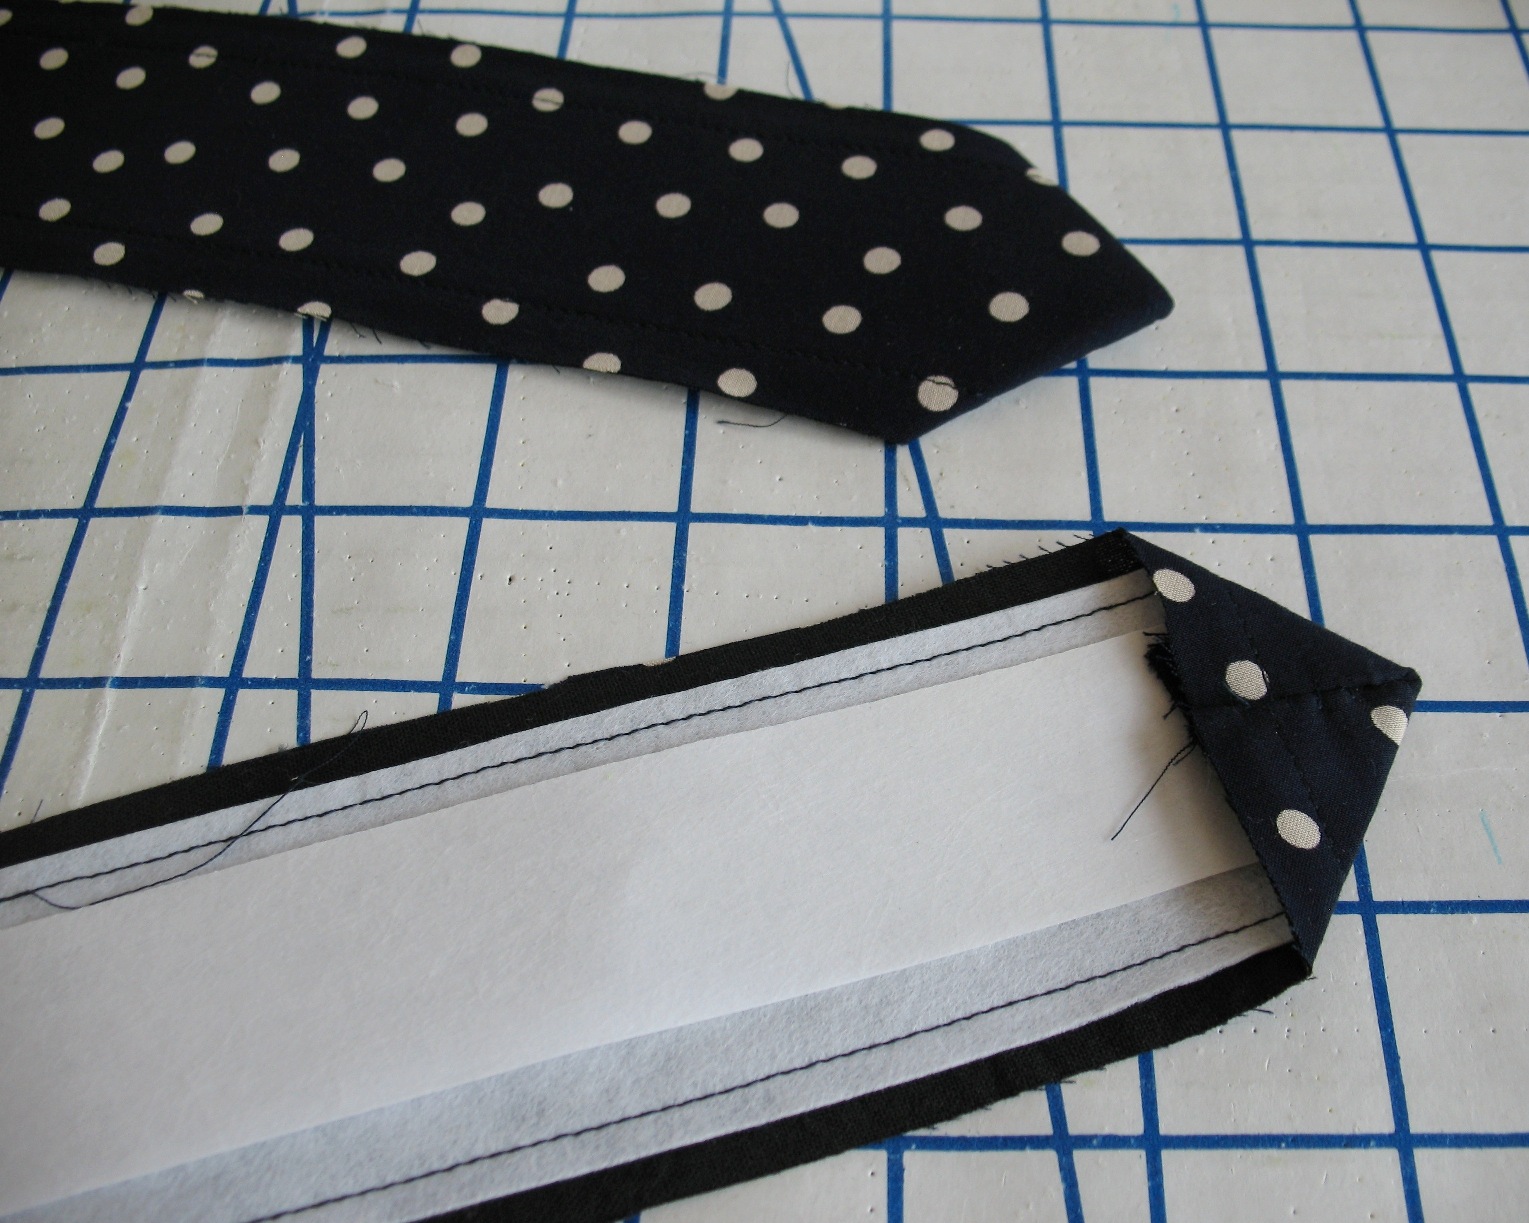
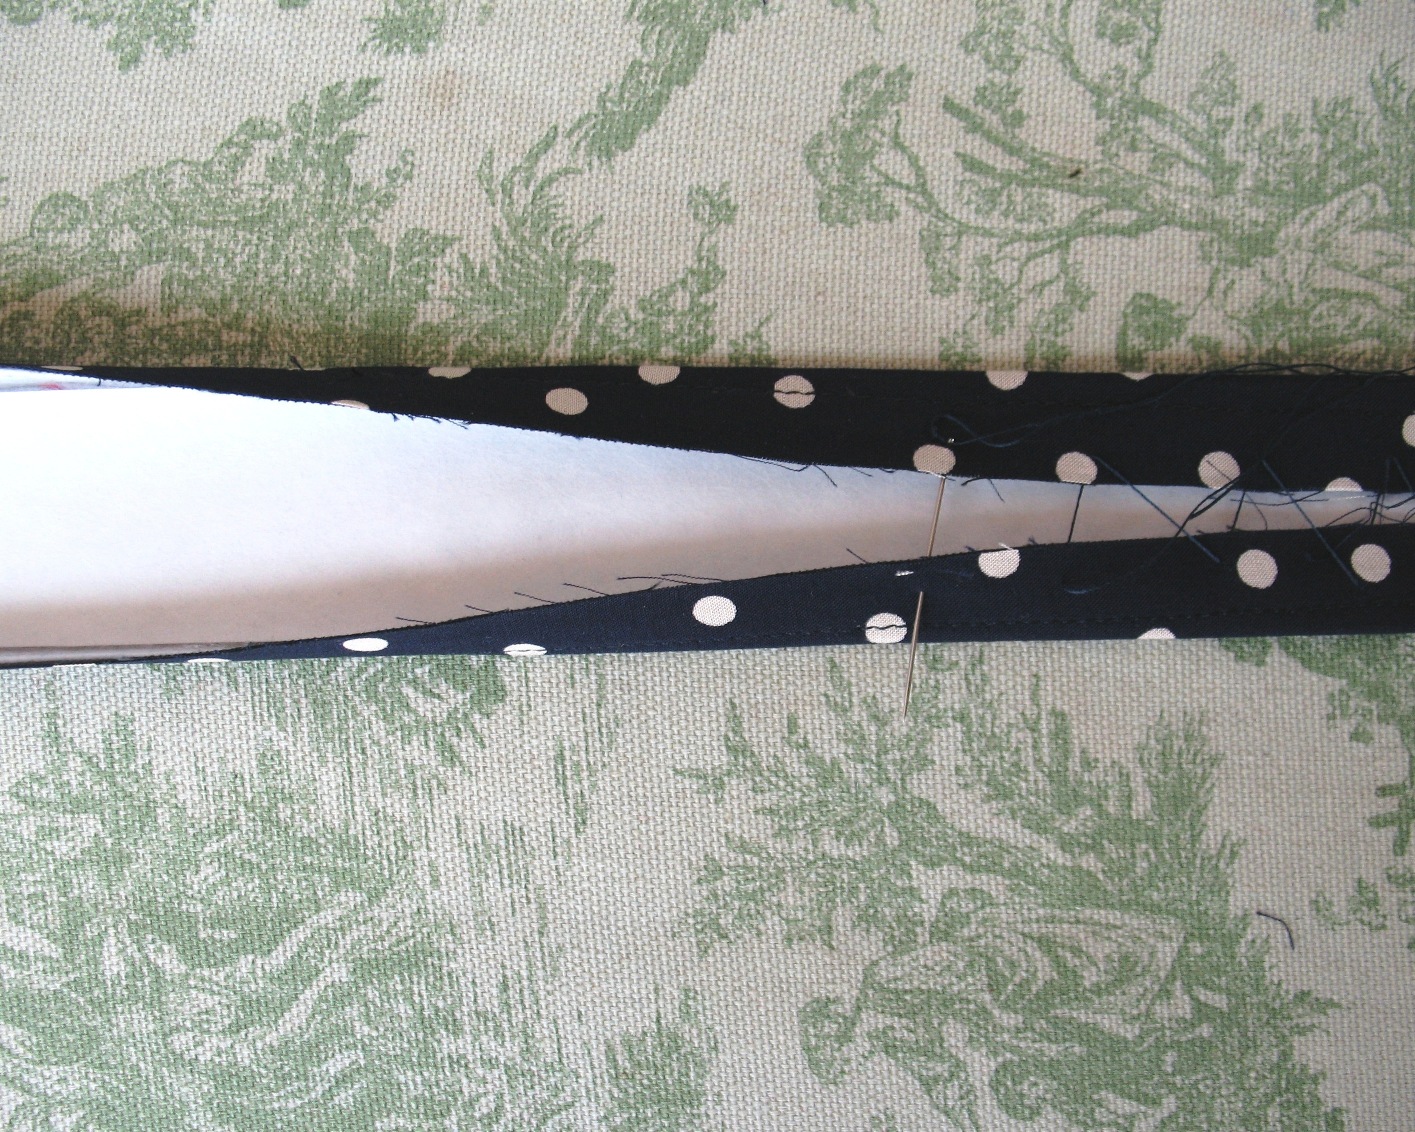
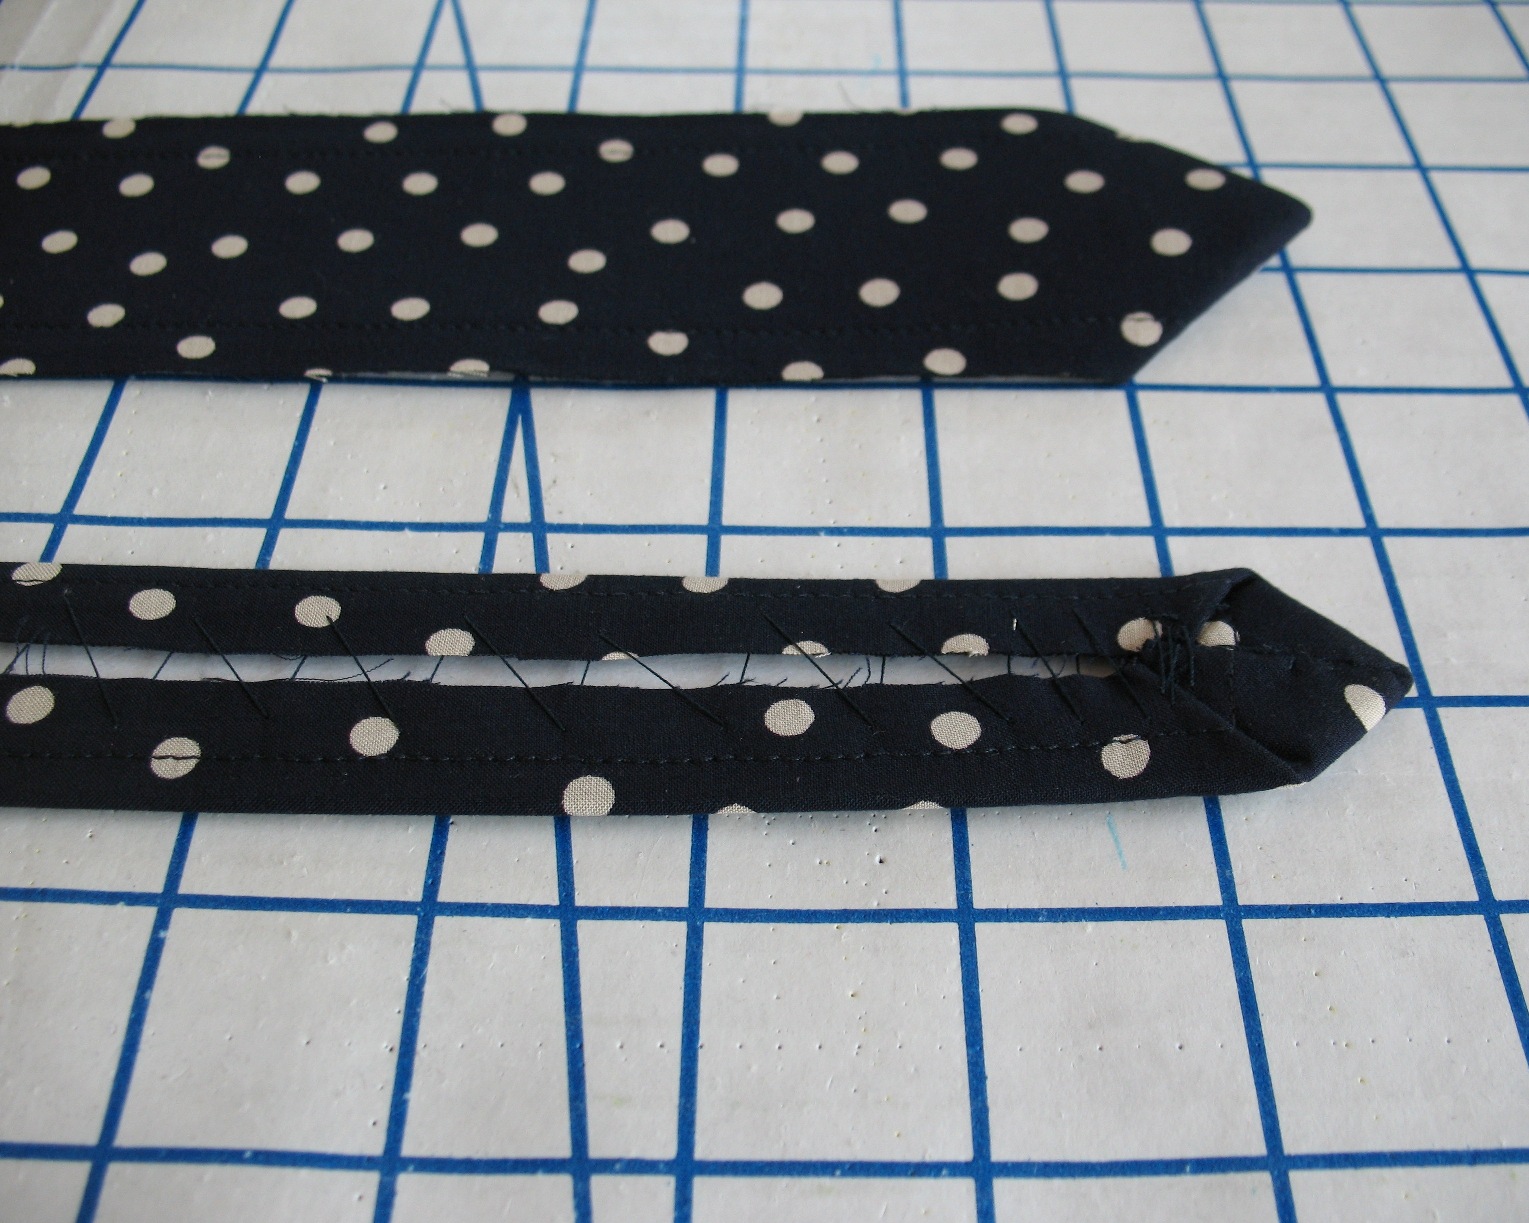
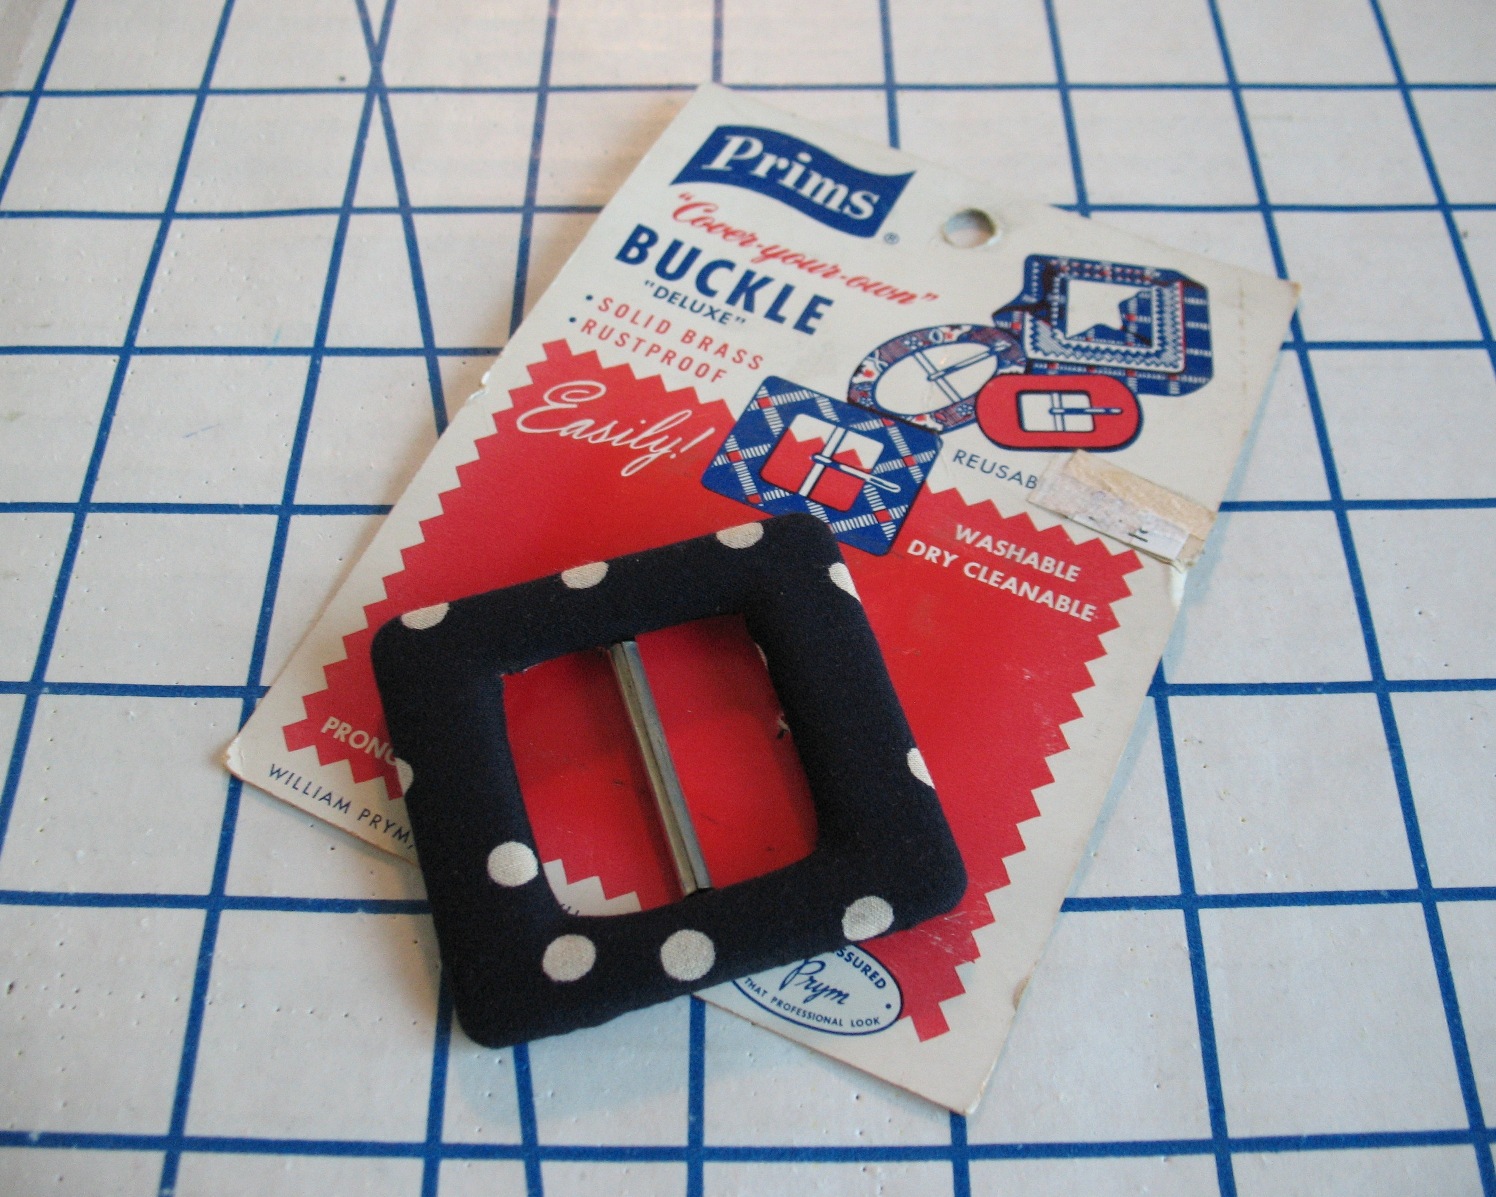
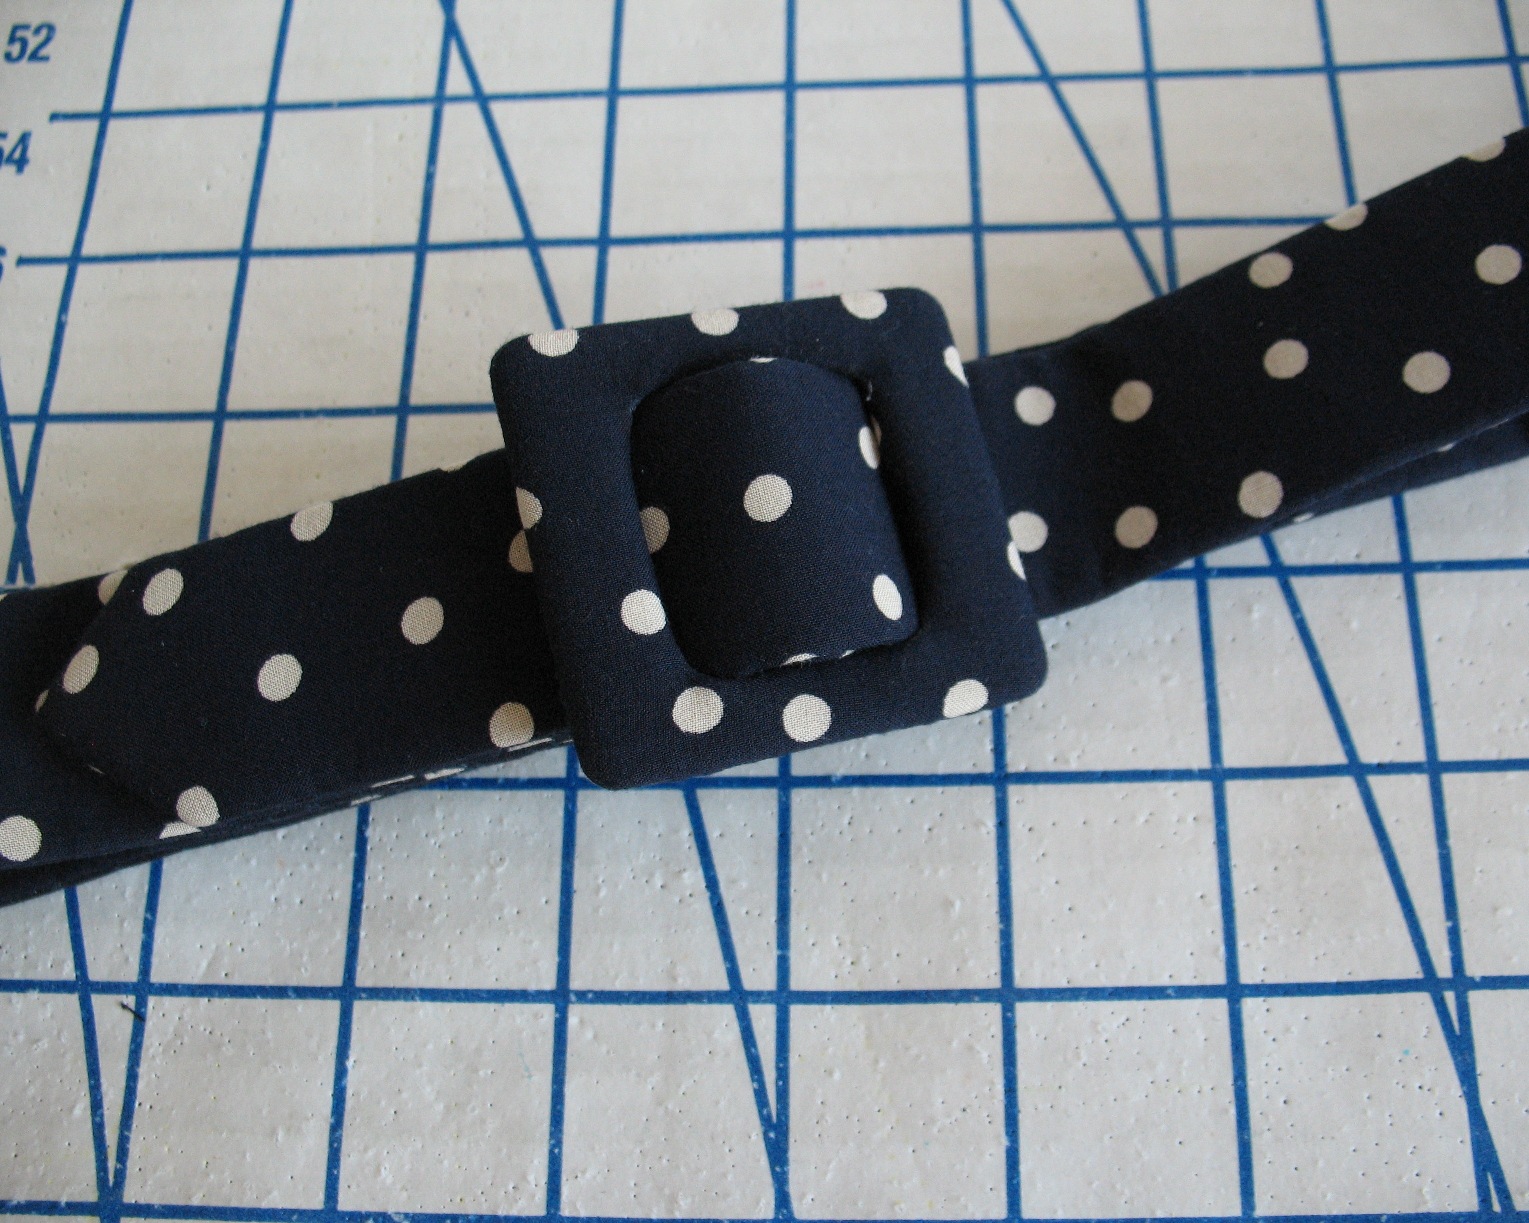
Belt: Made by me
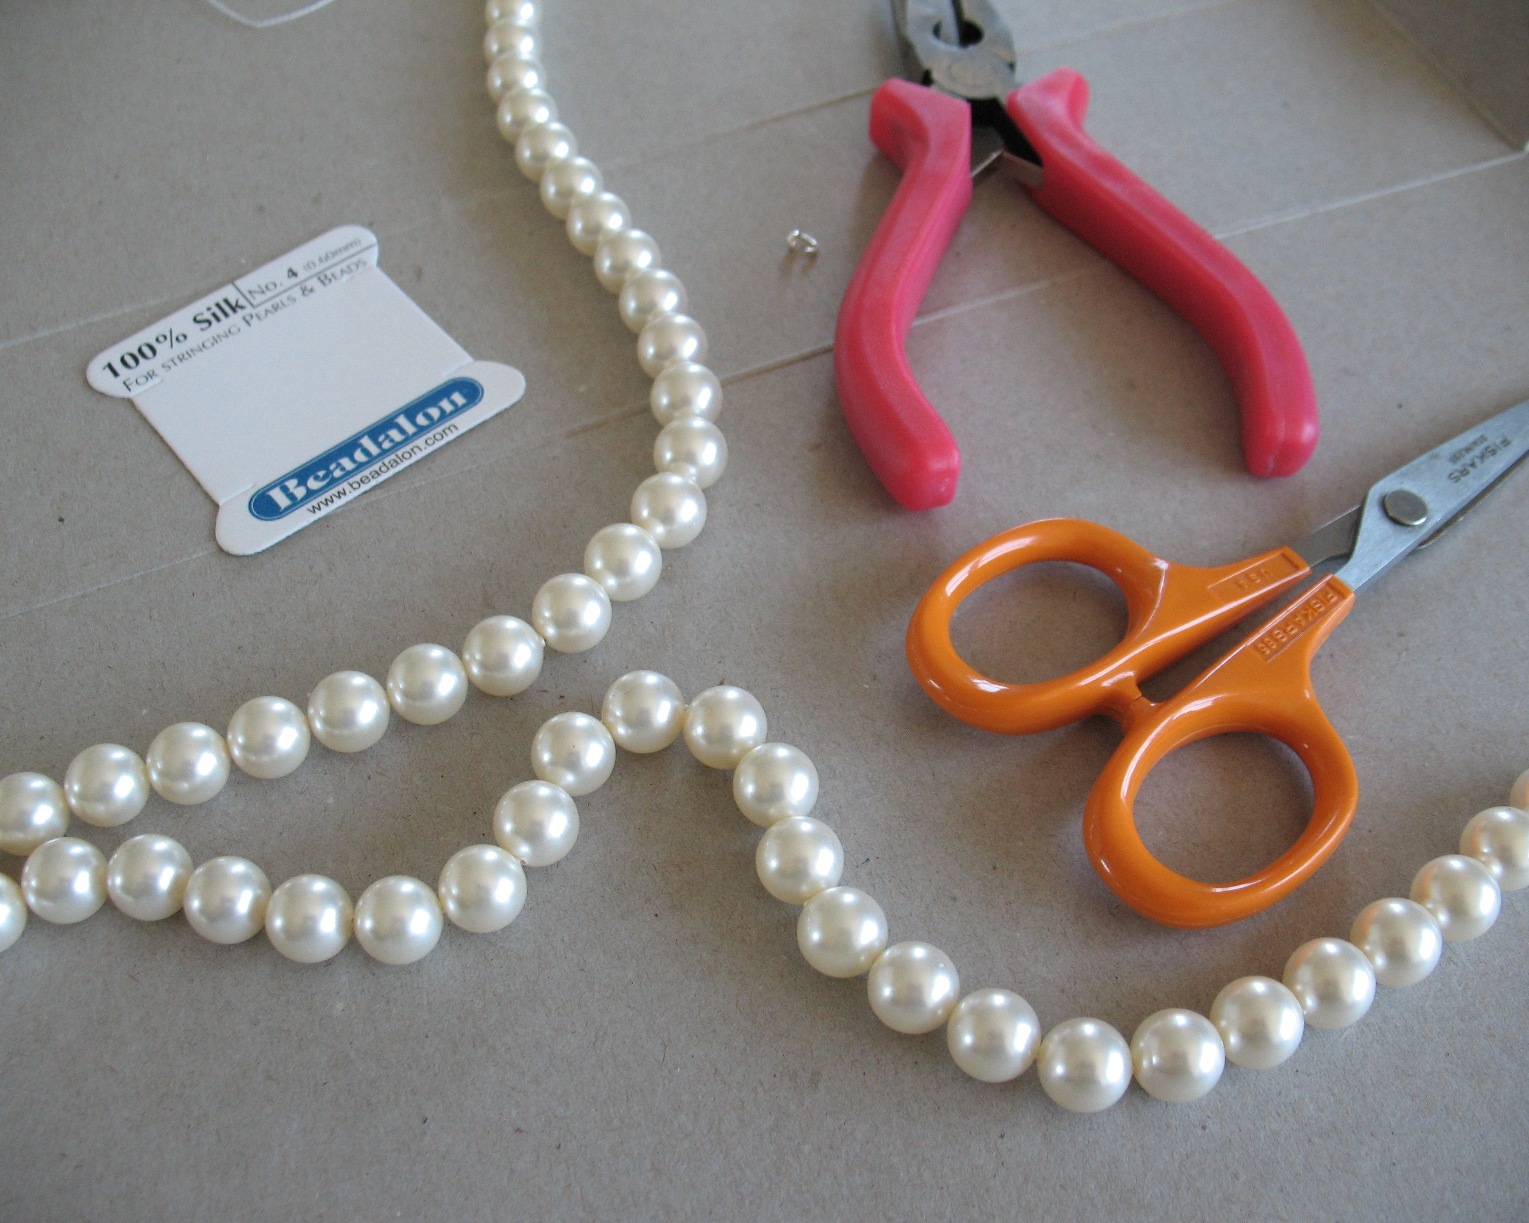
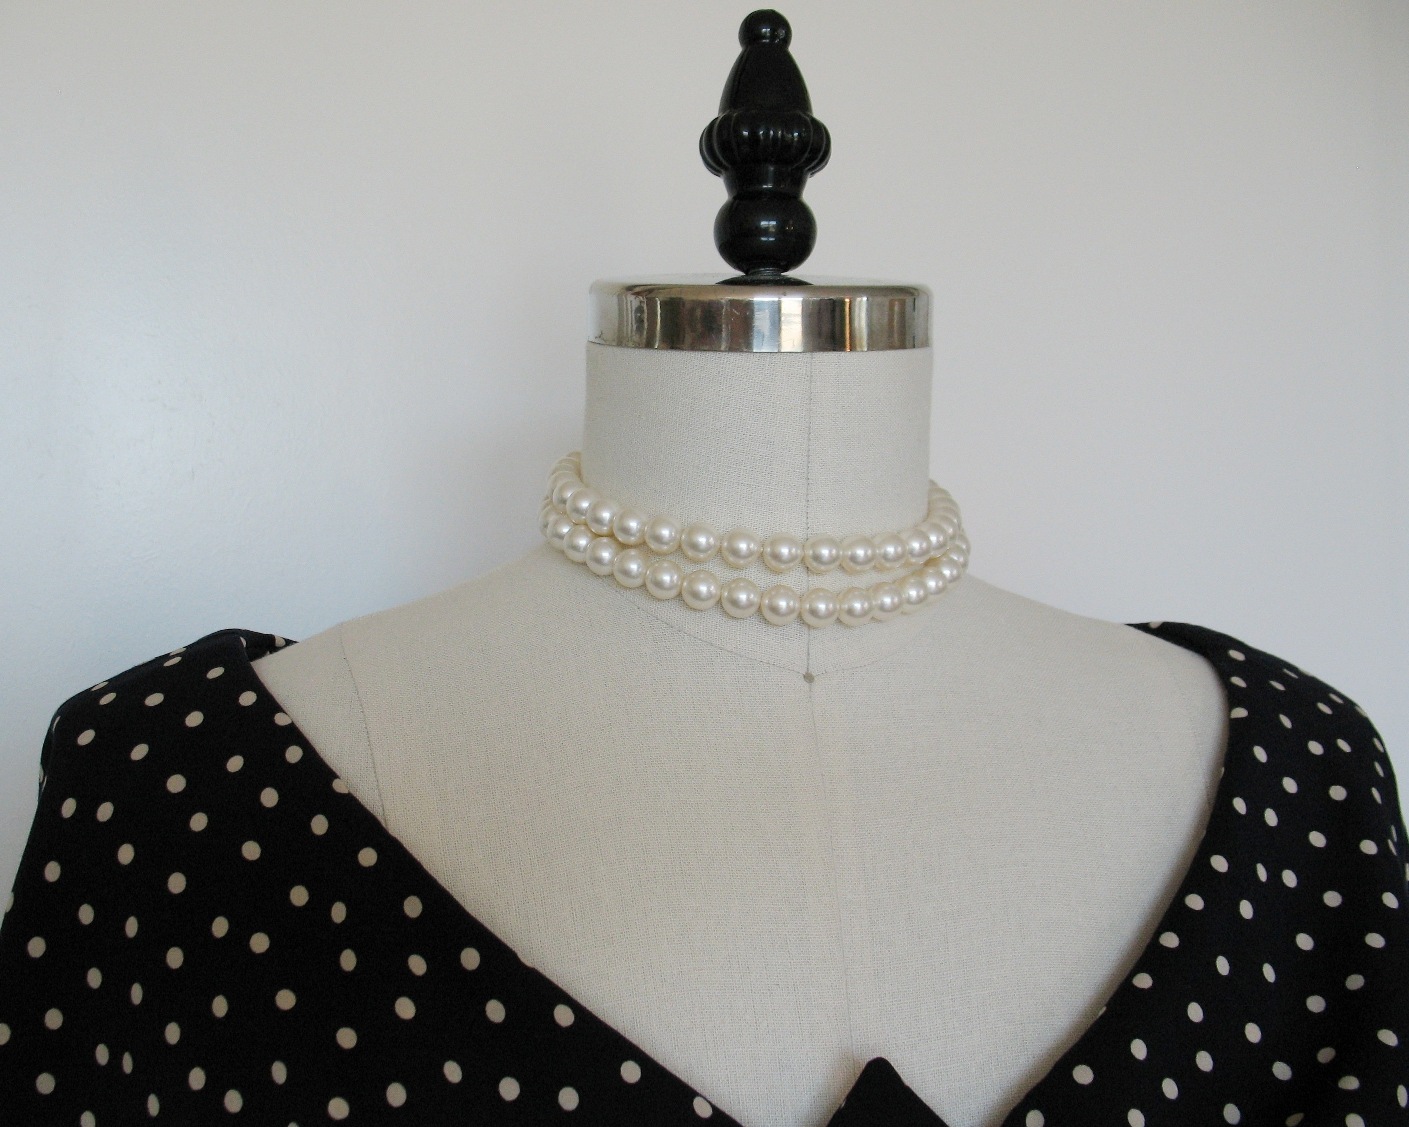
Necklace & Bracelet:
Made by me
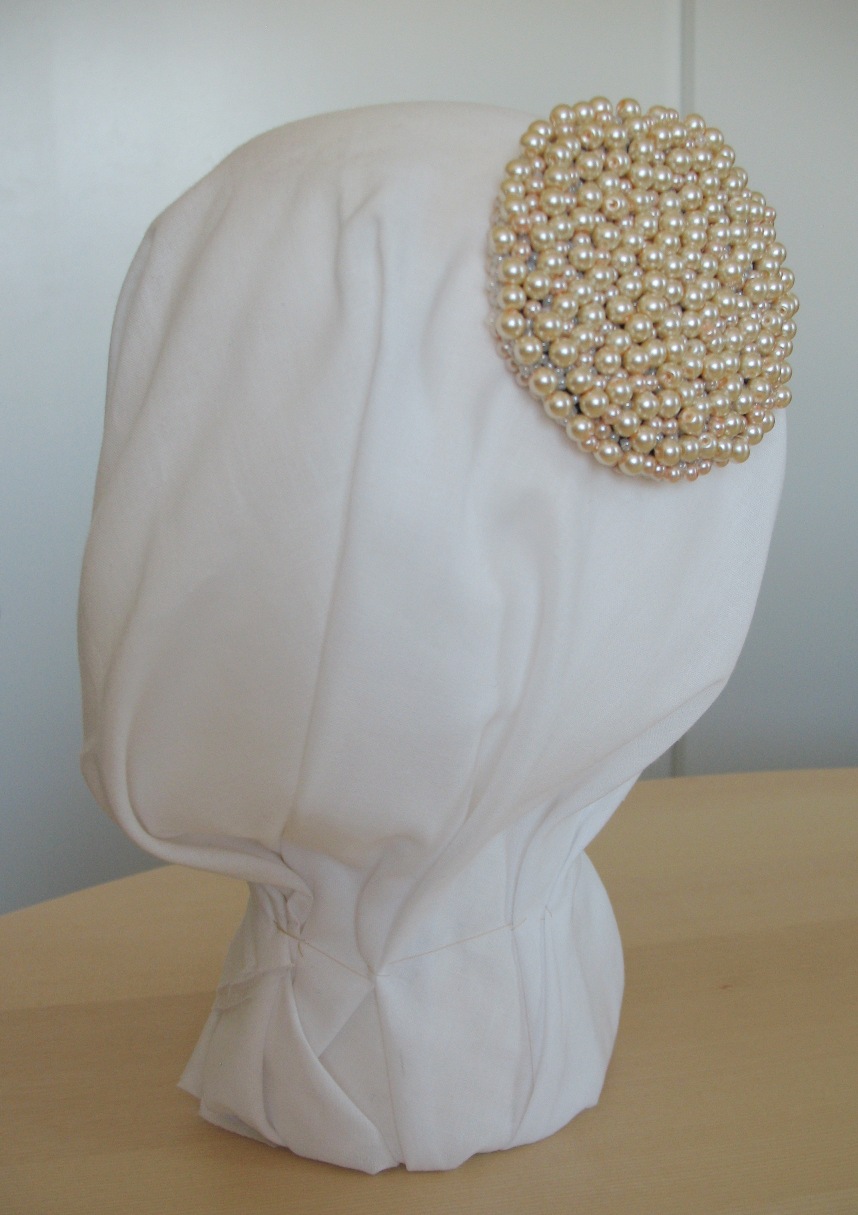
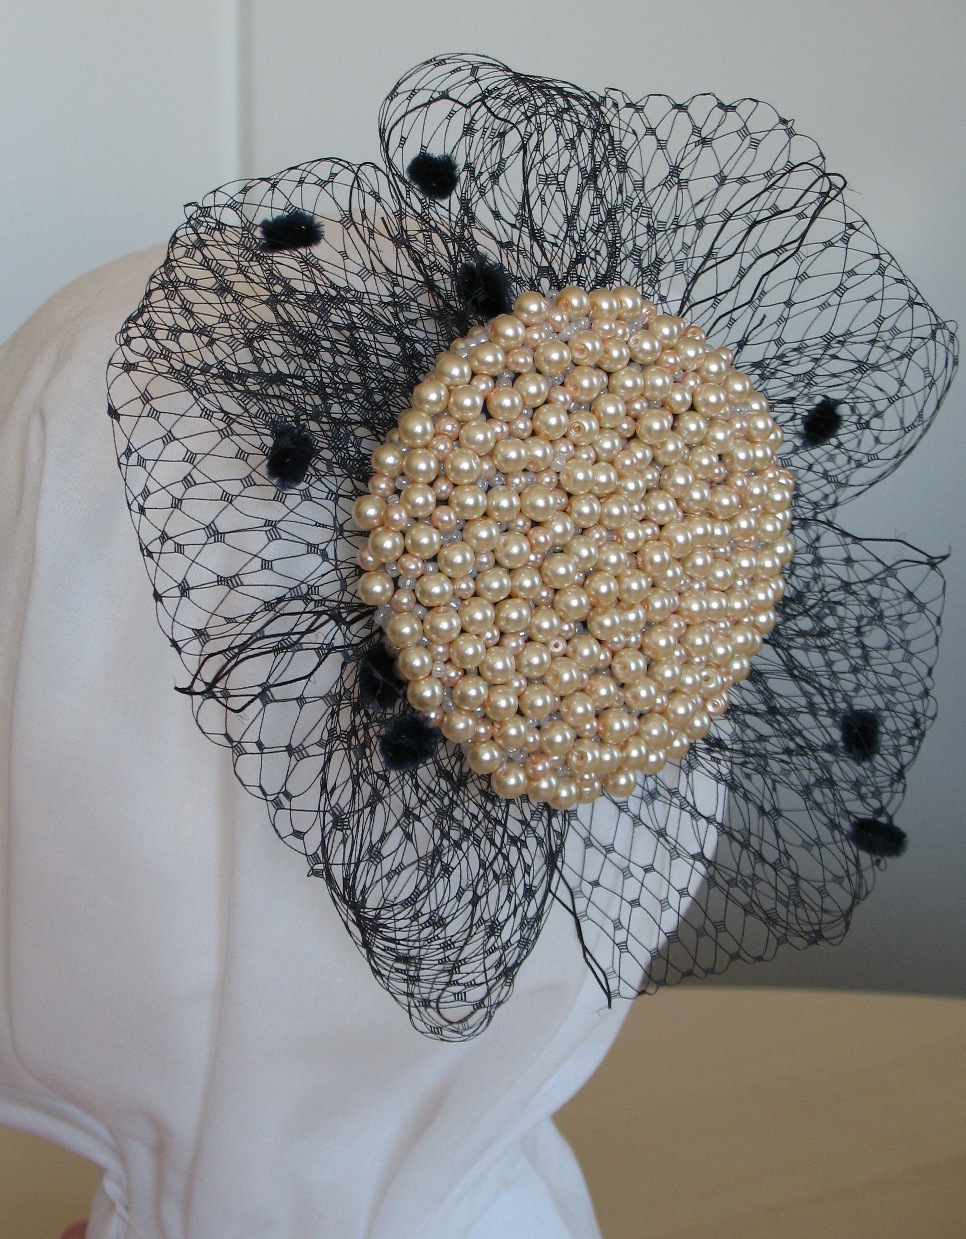
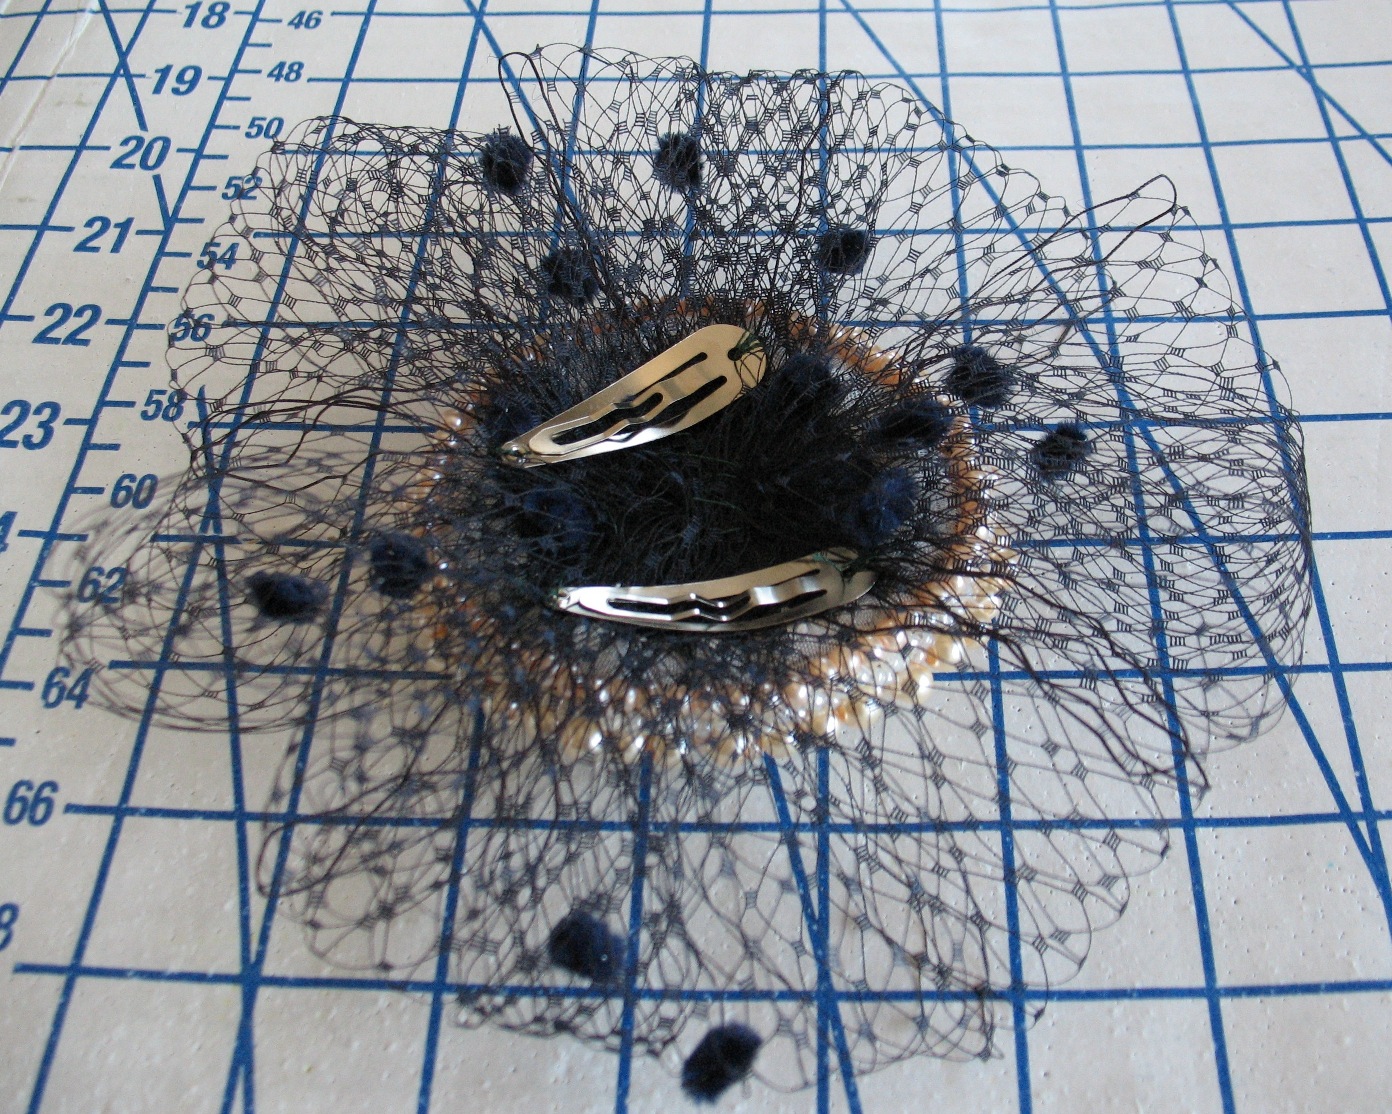
Fascinator: Made by me
Shoes: Halogen
[The fabric for this project was received in exchange for my
contributions as a Britex Guest Blogger.]