Showing posts with label Beading. Show all posts

Wednesday, February 15, 2017

Baubles & Beads

A few years ago, I made this dress.  I also made a matching velvet purse, but never got around to blogging about it.  Well, I am currently working with the scraps of the cherry silk/wool to make myself another dress, which reminded me of the bag.


I had some red velvet stashed away, and it was the perfect fabric to make a matching evening bag for my cherry gown.  Coincidentally, I used the same velvet to make an oversized rose hair accessory  many years ago, and ended up wearing it with this dress.
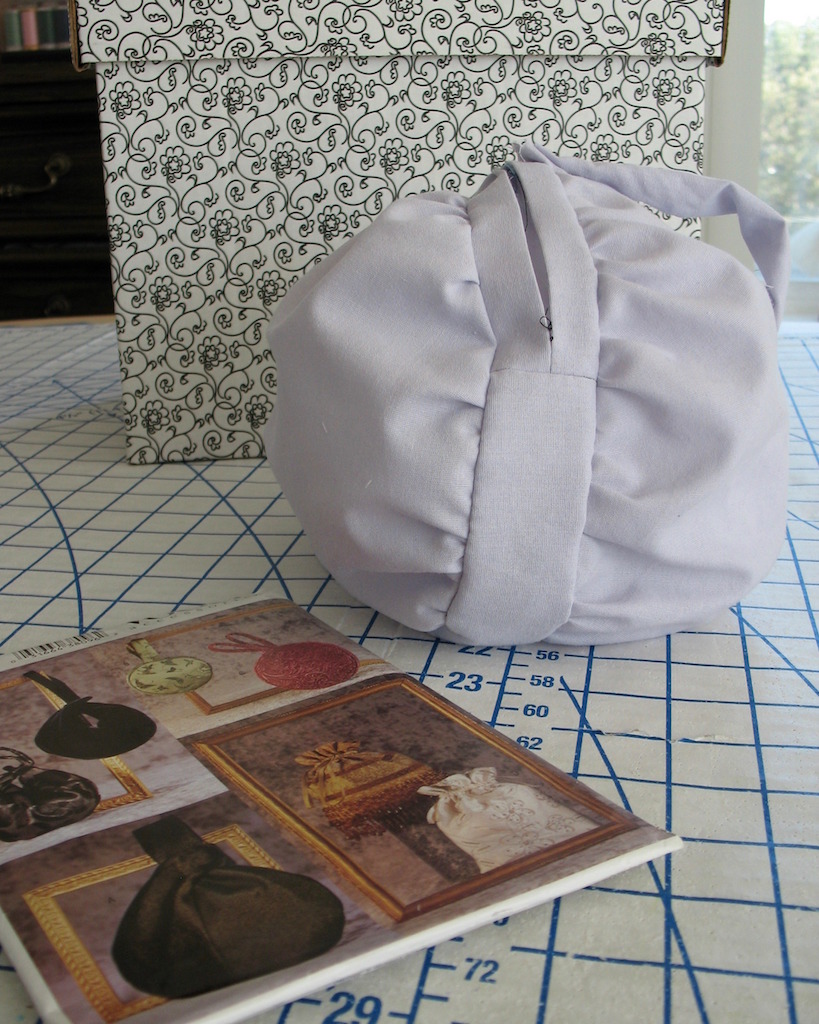

I started with Vogue 7354 as a pattern.  As drafted, there was hardly any room in the purse, and I wanted more of a round shaped accessory that might resemble a cherry, so I increased the diameter of the two circles that make up the bag.  Before cutting into velvet or spending a lot of time beading said velvet, I mocked up a version in some scrap fabric.  One circle was cut 1" larger in diameter than the original, the other 2" larger - I ended up using the larger of the two.
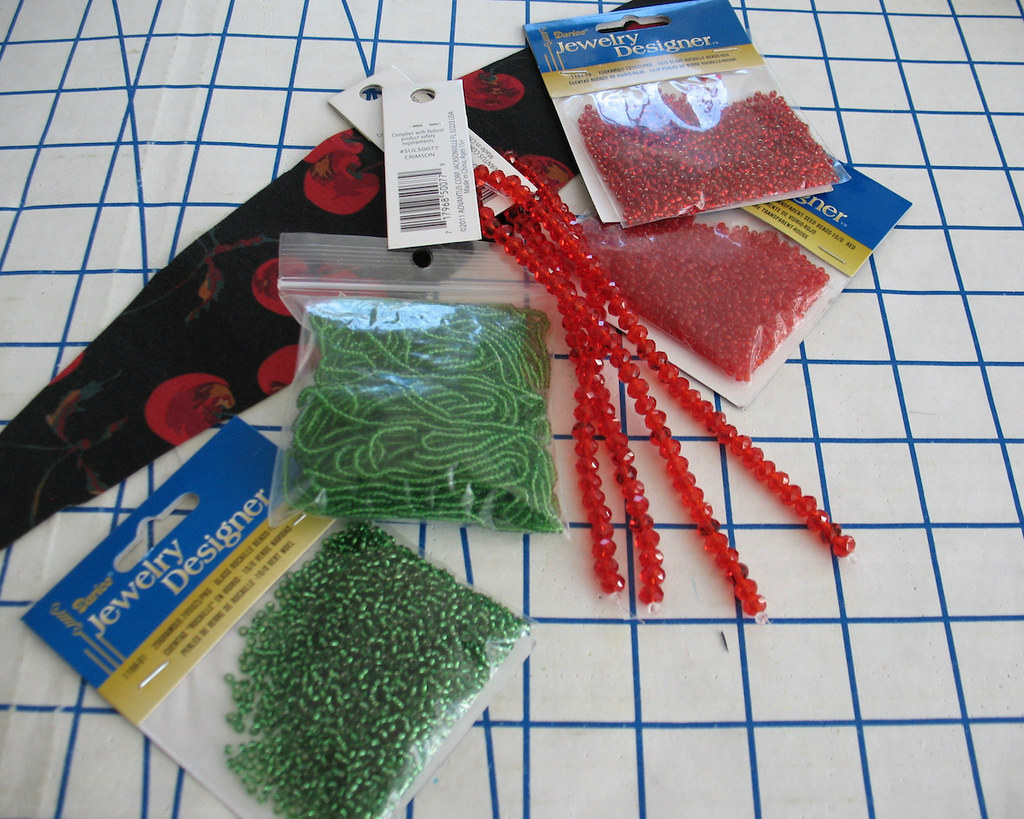

Some of the beads I found in my stash, but I did have to make a trip to JoAnn Fabrics to find the larger ones.  My initial idea was to really go for a cherry inspired look, so I thought I would add beaded leaves near the handles.  Unfortunately (or perhaps fortunately, as it turns out) time was against me, and the beaded leaves never materialized.
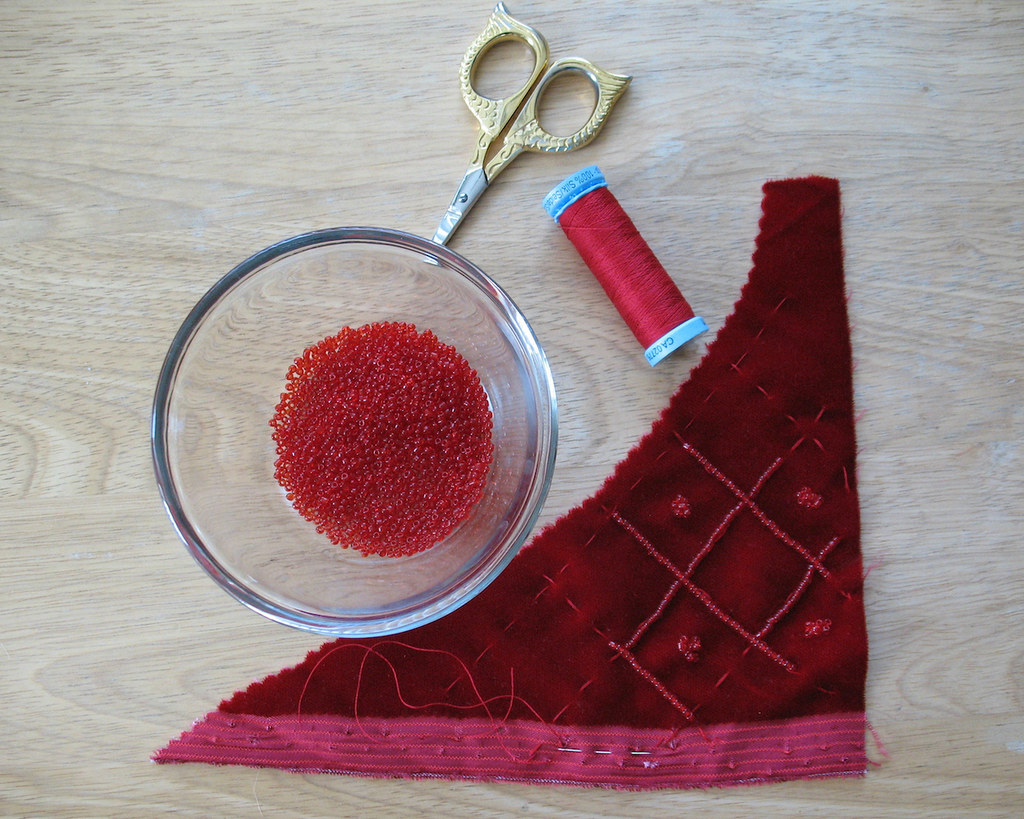

Then I had to test out my beading pattern.  If I hated it, I could scrap the beads and go for a plain velvet bag.  But where would the fun be in that?
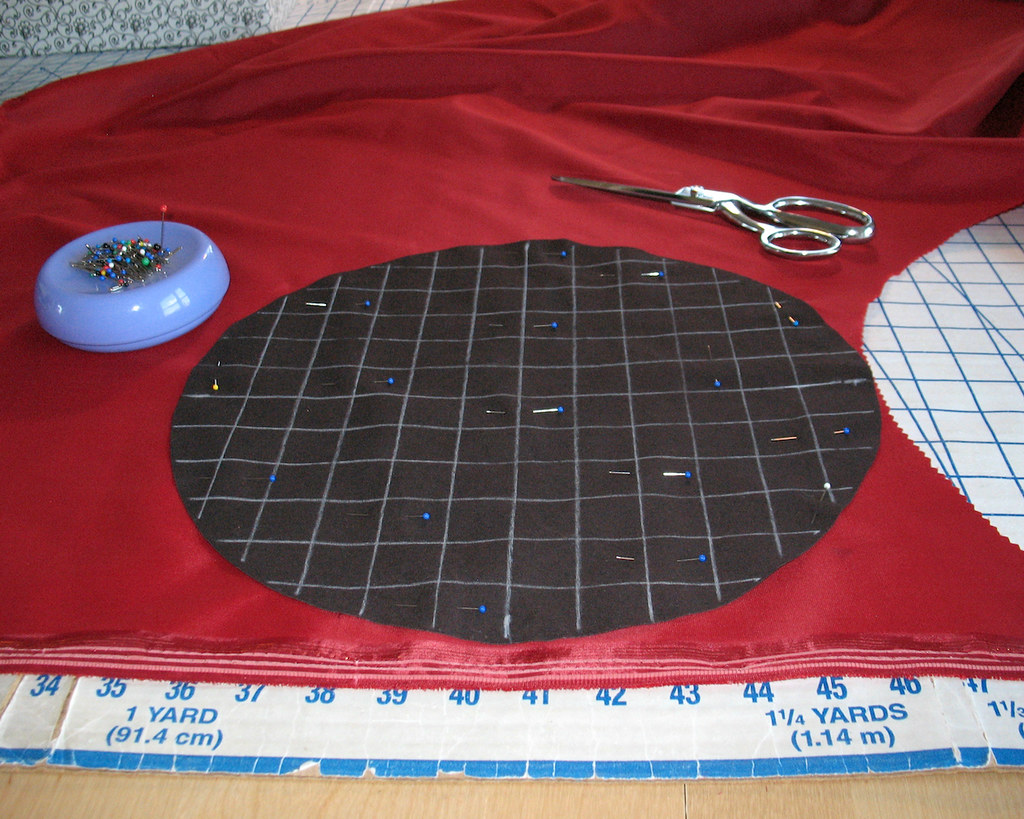

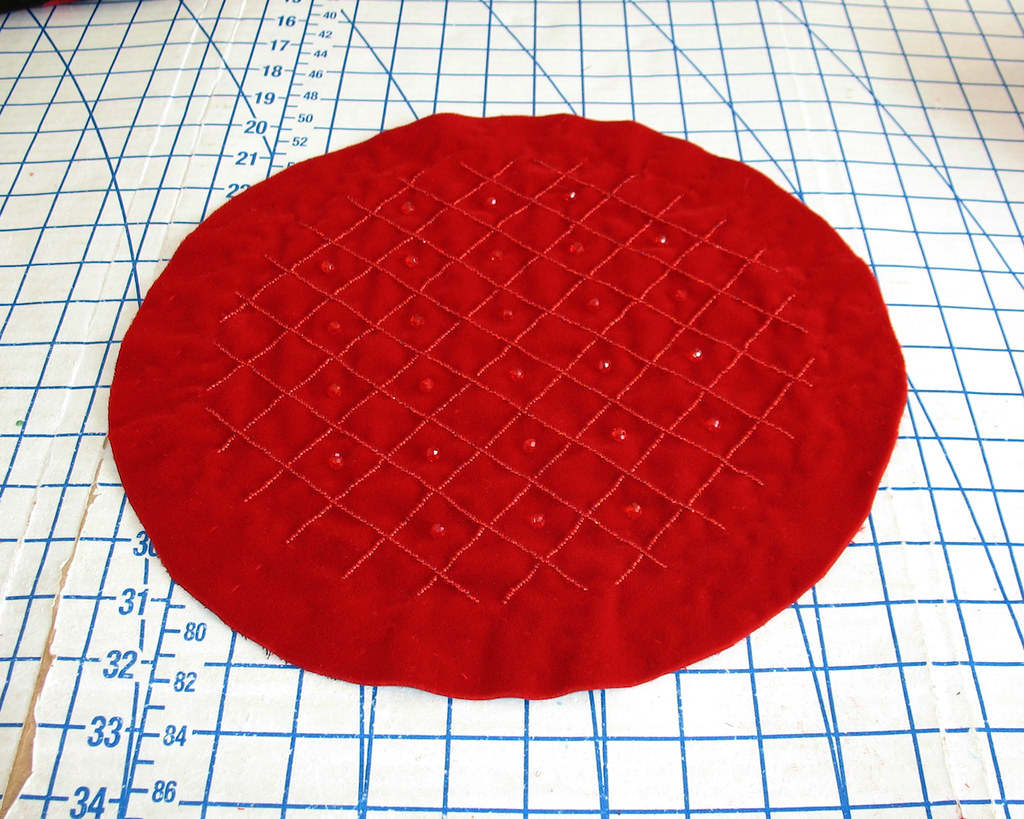
A scrap of cotton doubled as interfacing and a means to mark my beading pattern.
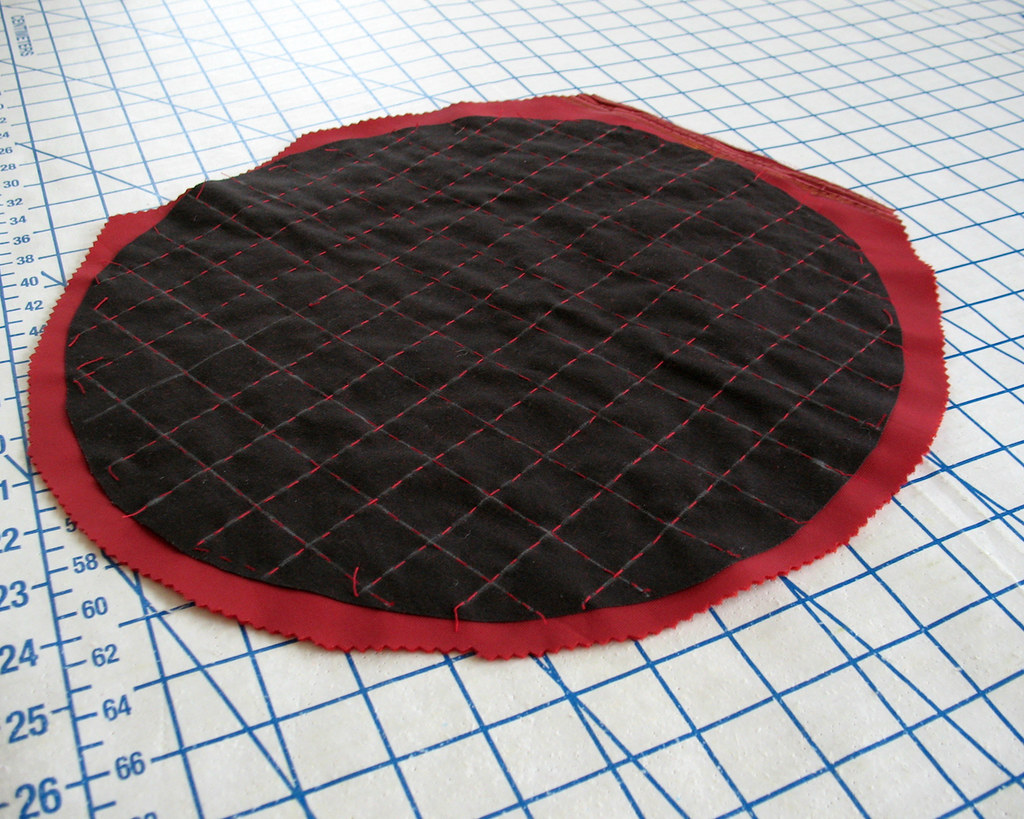

I basted the two layers together with red silk thread.  The thread almost disappeared into the nap of the velvet, but did leave a slight trail that I could follow while applying the beads.  And since the basting was invisible after the beading process, there was no need to remove those stitches.  Hooray!
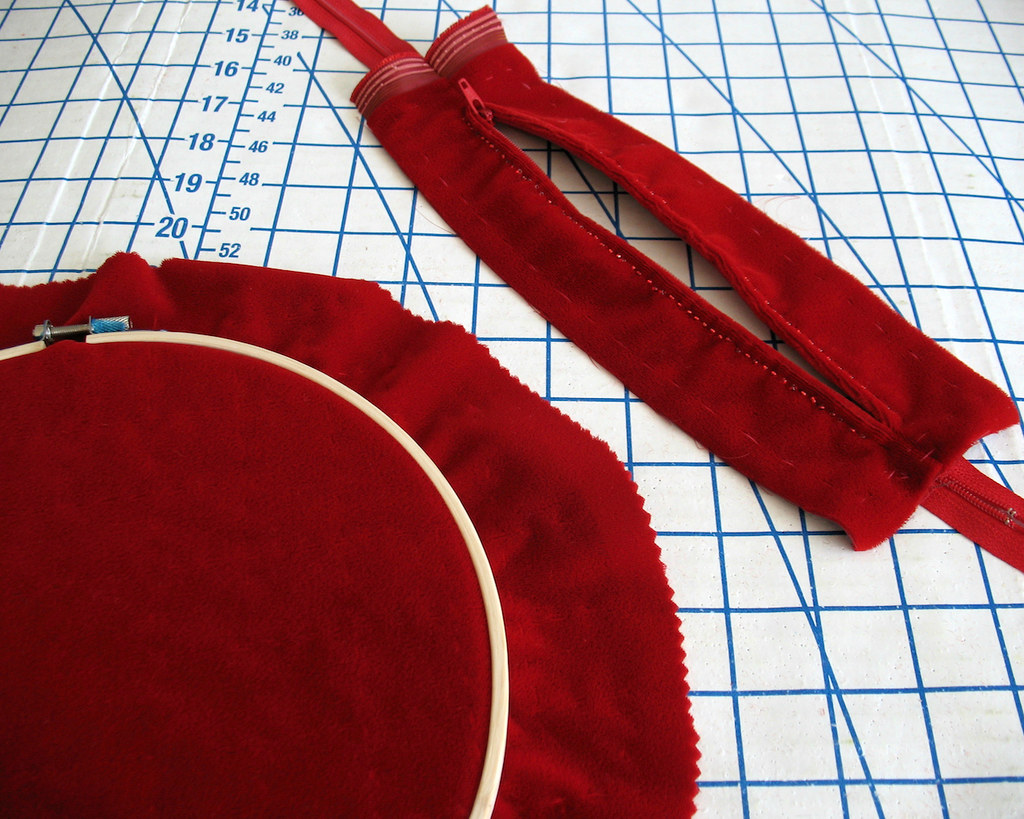

I was not about to fight with this velvet and a zipper foot and hope that the top stitching would look decent on the first go, so I knew I would be hand-picking the zipper.  
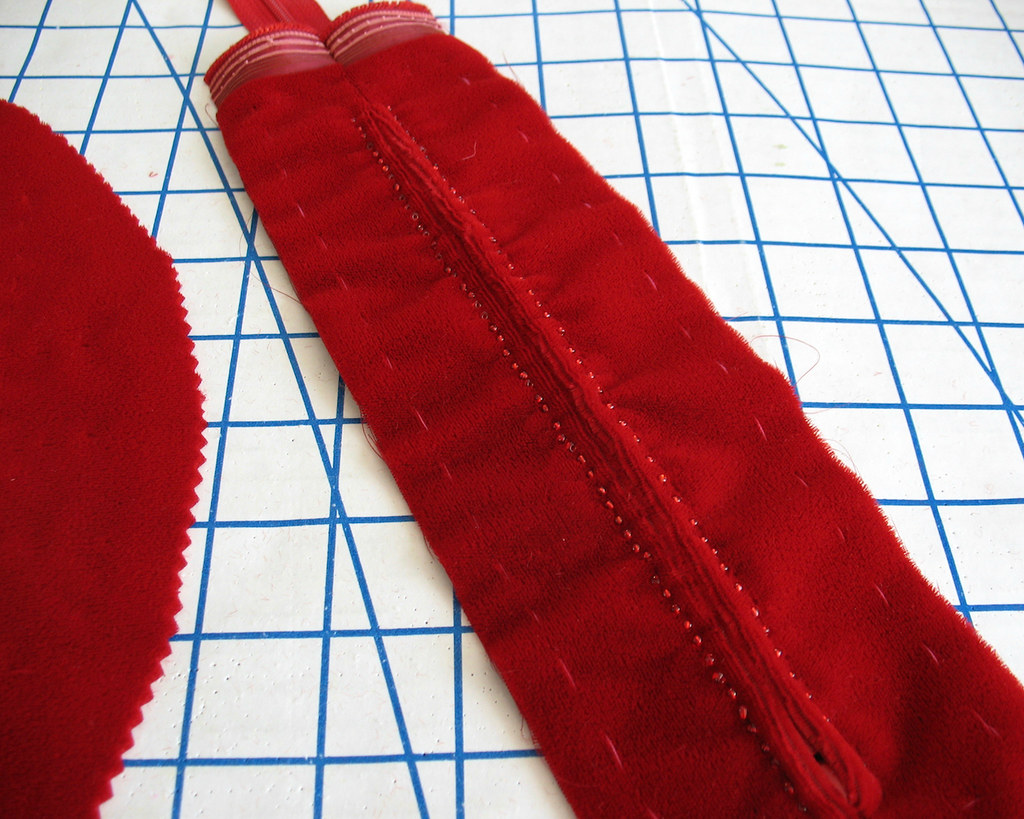

I decided to add beads along that stitching line.  A few years ago I saw this technique in Threads Magazine used on a center back zipper for a dress, and I thought it would work nicely for this bag.
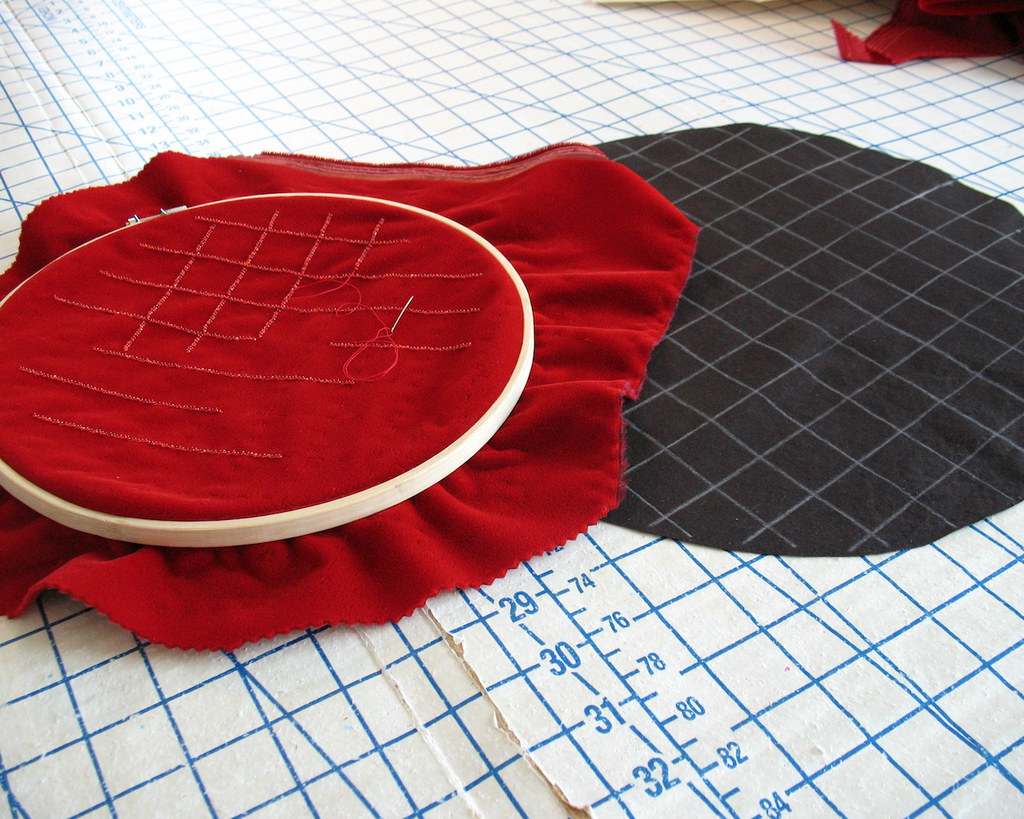

I was a bit concerned that the embroidery hoop might leave a mark in this napped fabric so I decided to make the beaded portion of the design fit within that hoop.  
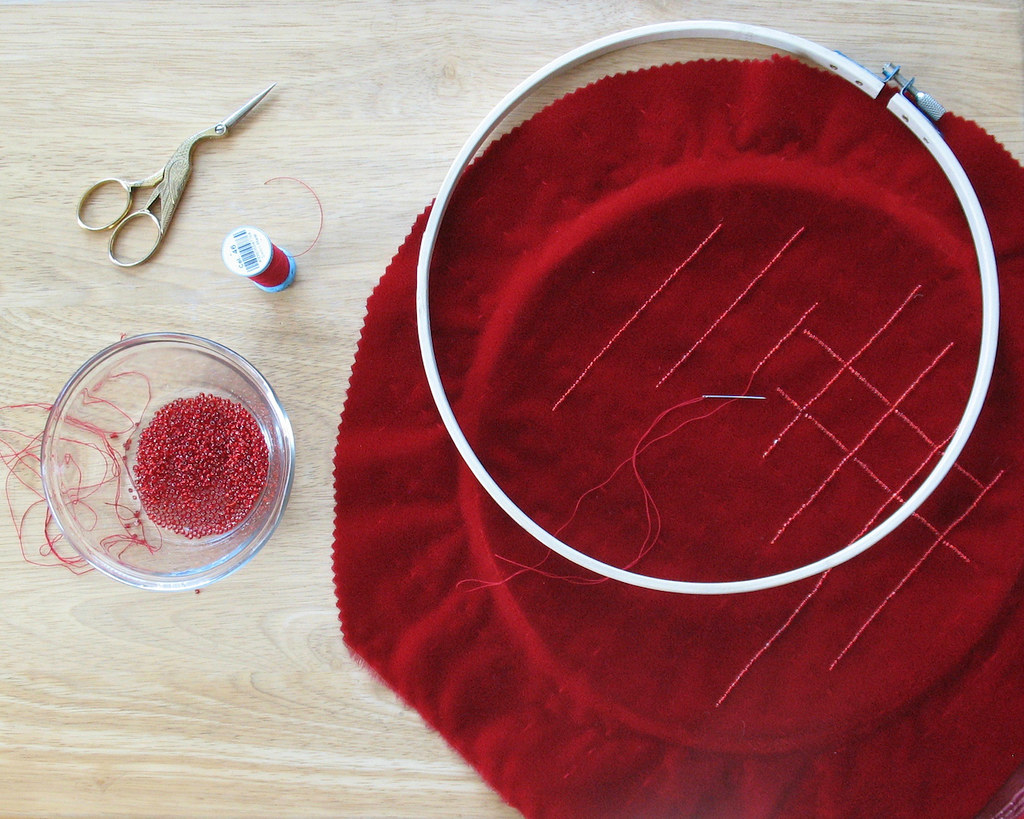

As it turns out, the gathered velvet really masks where the beads stop, so there was no problem there.  And a quick blast of steam from the iron solved the ridged hoop issue.


The final bit of beading was adding the large rondelles to the middle of the gridded pattern.  One side down, one to go!
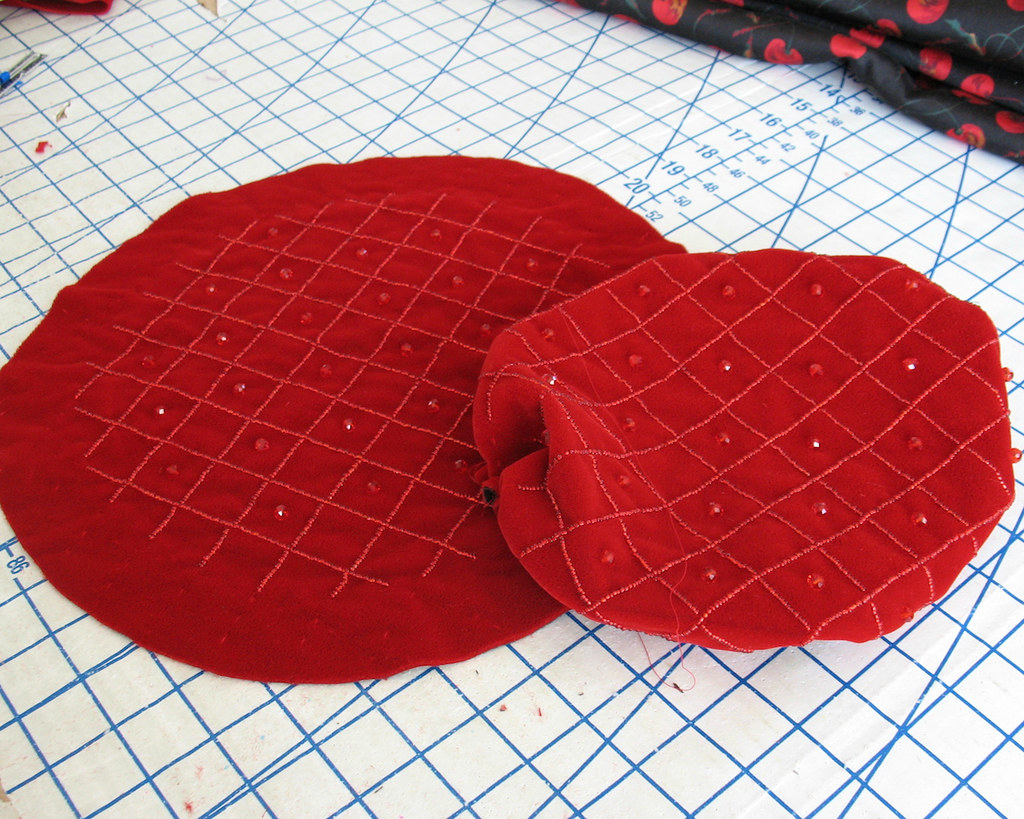

Once the beading was complete, it was time to stitch everything together.
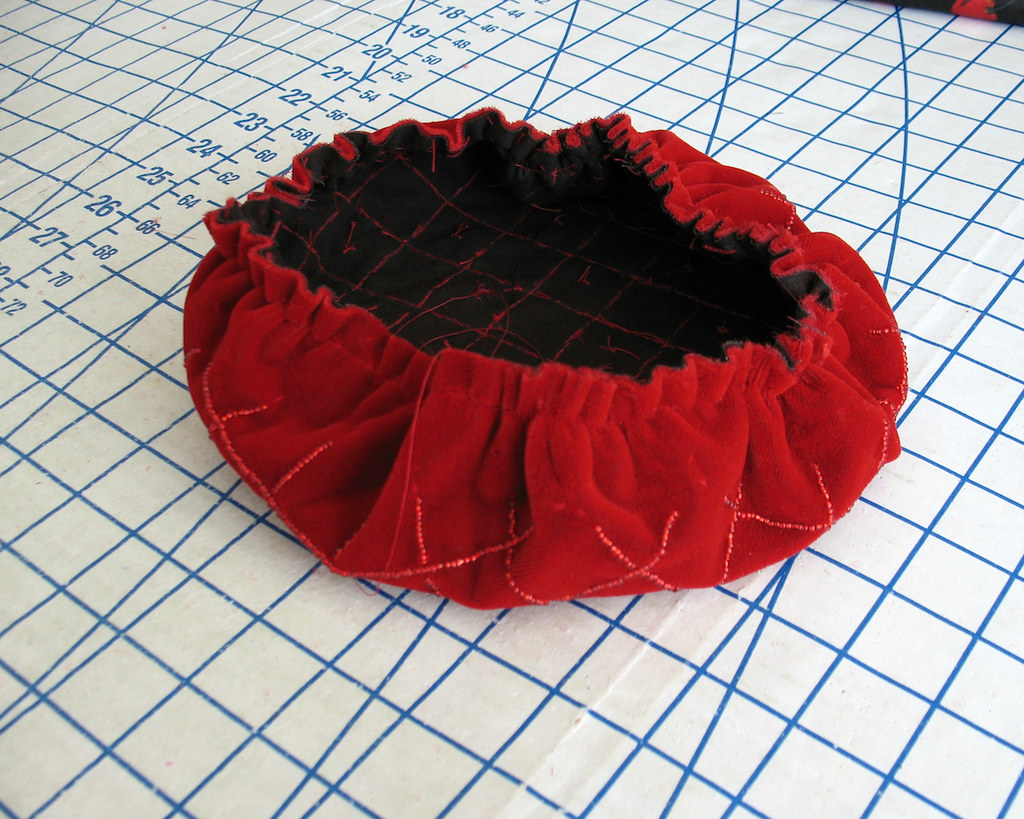

Gathering velvet fabric is a real pain, let me tell you!  But I did manage to get it done without breaking a thread, thank goodness.
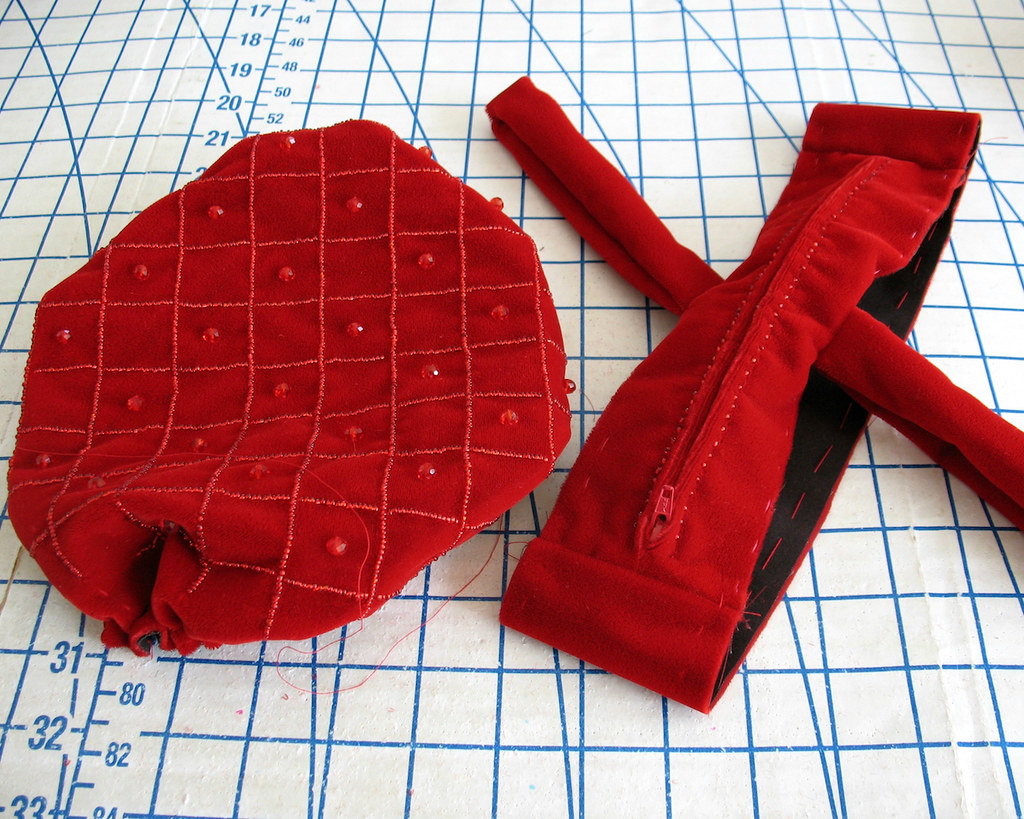

The velvet pieces were basted together before sending them through the machine.  
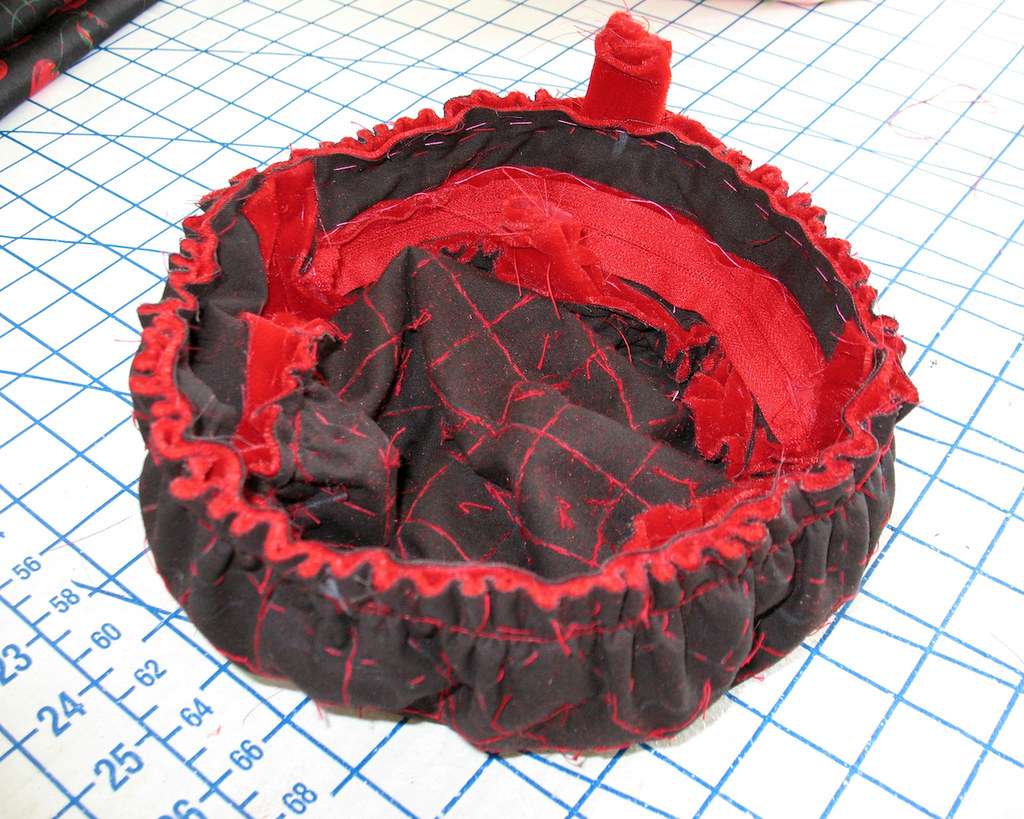

Yes, I was in a rush, but I really did not want to rip any seams out, and without a walking foot, I just do not trust that my machine will behave.
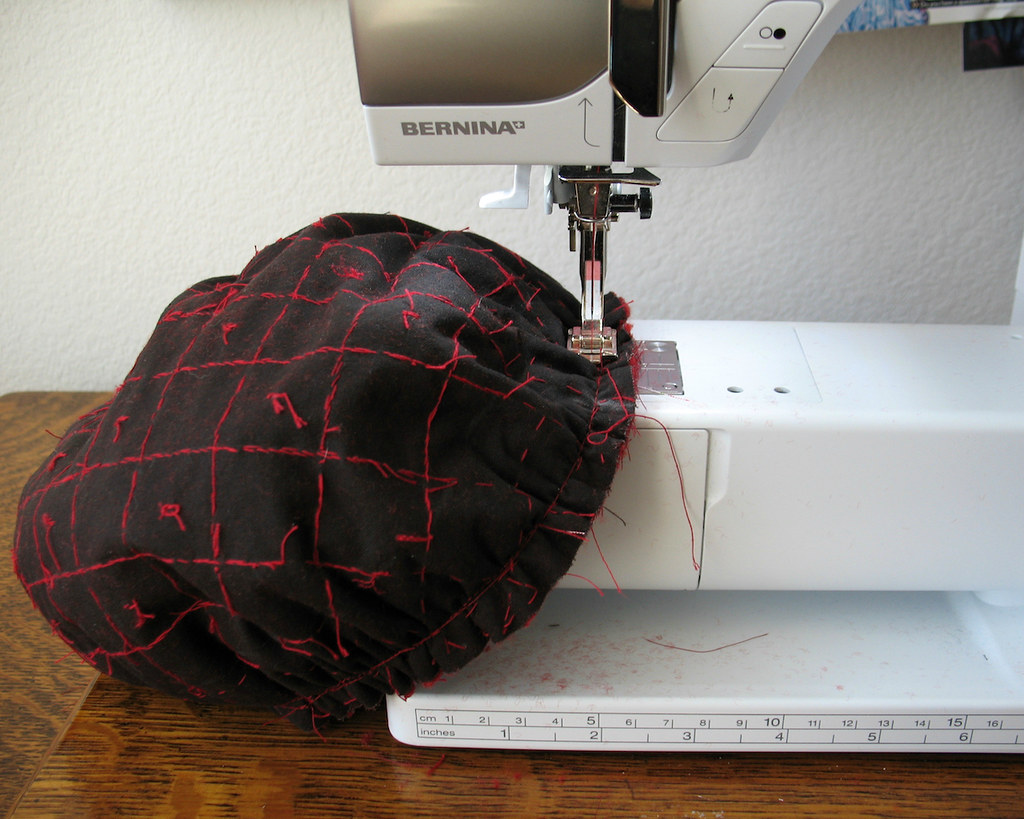

My basting served me well, and everything went together painlessly (although I can vividly recall thinking that this outfit was never going to be finished on time!).
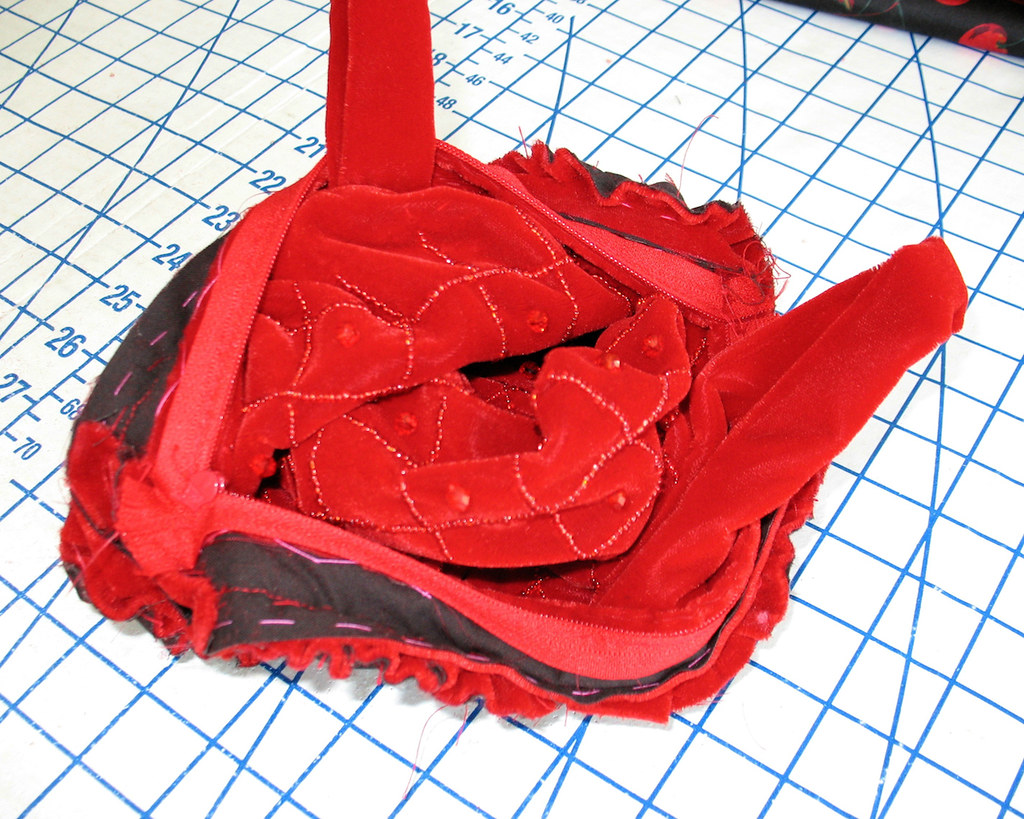

This lining fabric was not my first choice.  With no time to find something I liked better, I had to go with something that I had on hand.  
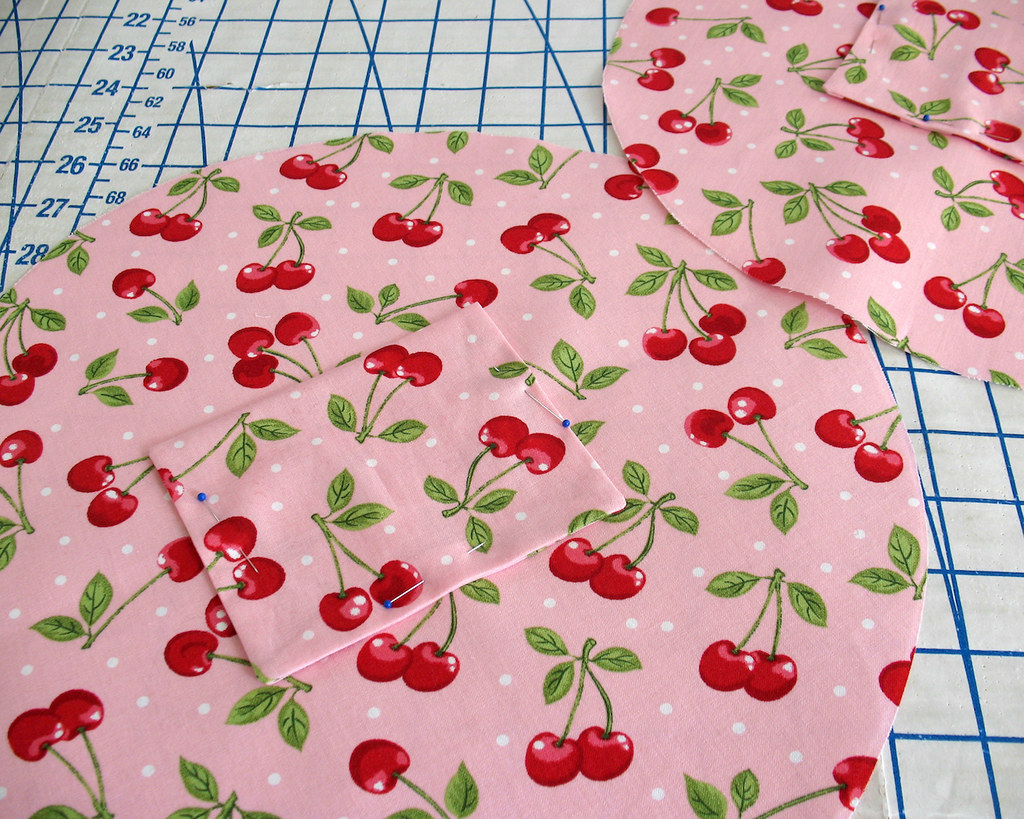

I prefer lighter colors in handbag linings because it makes it easier to find what you are looking for, and I thought the cherry print was a cute callback to the cherry print fabric of the dress.
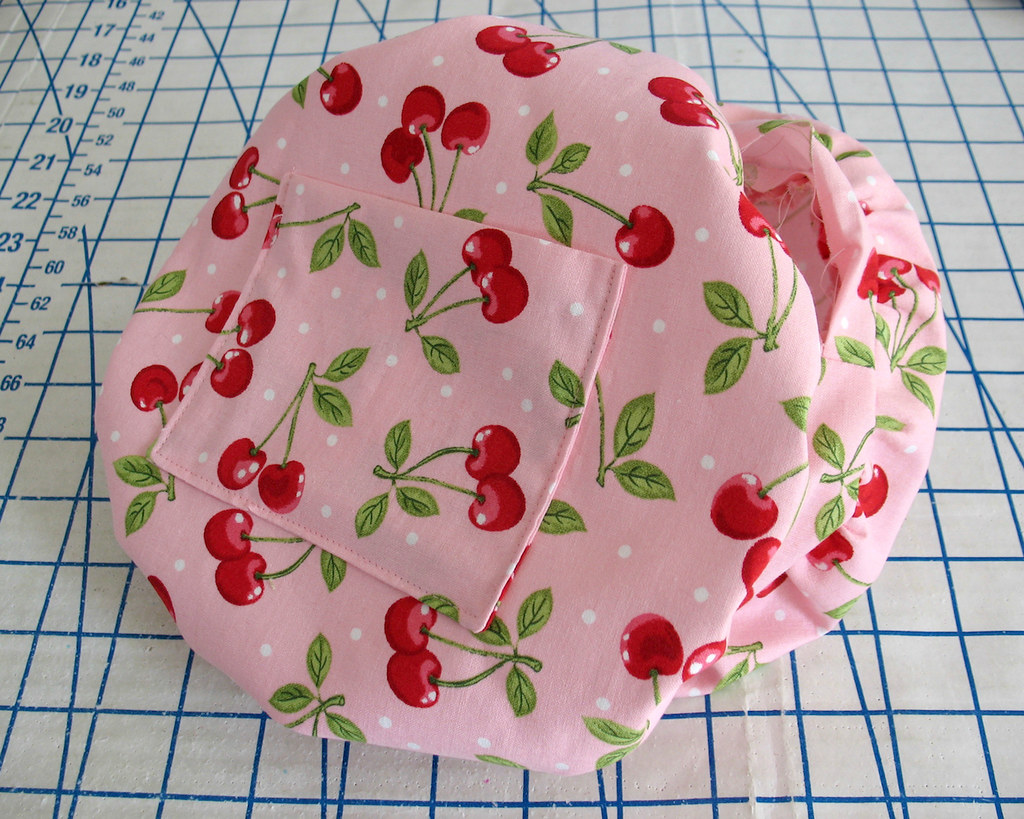

And it doesn't get much easier than working with a quilting cotton!  That is one well behaved fabric.
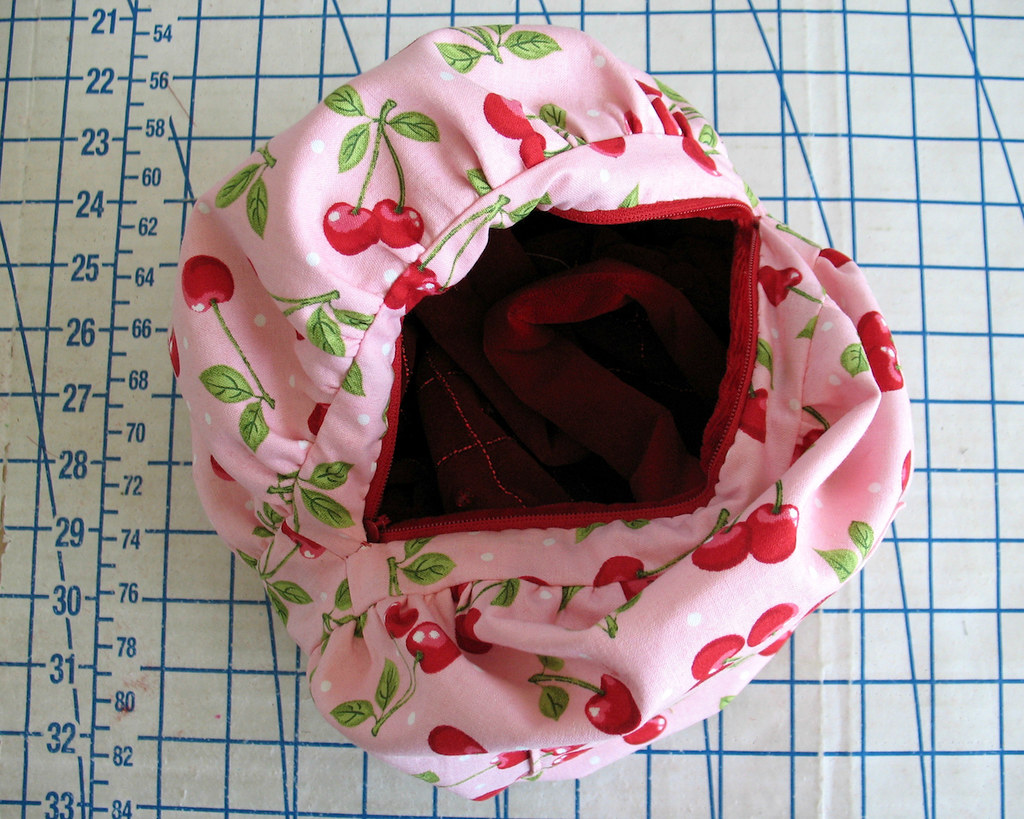

A pocket was added to each side of the lining. 
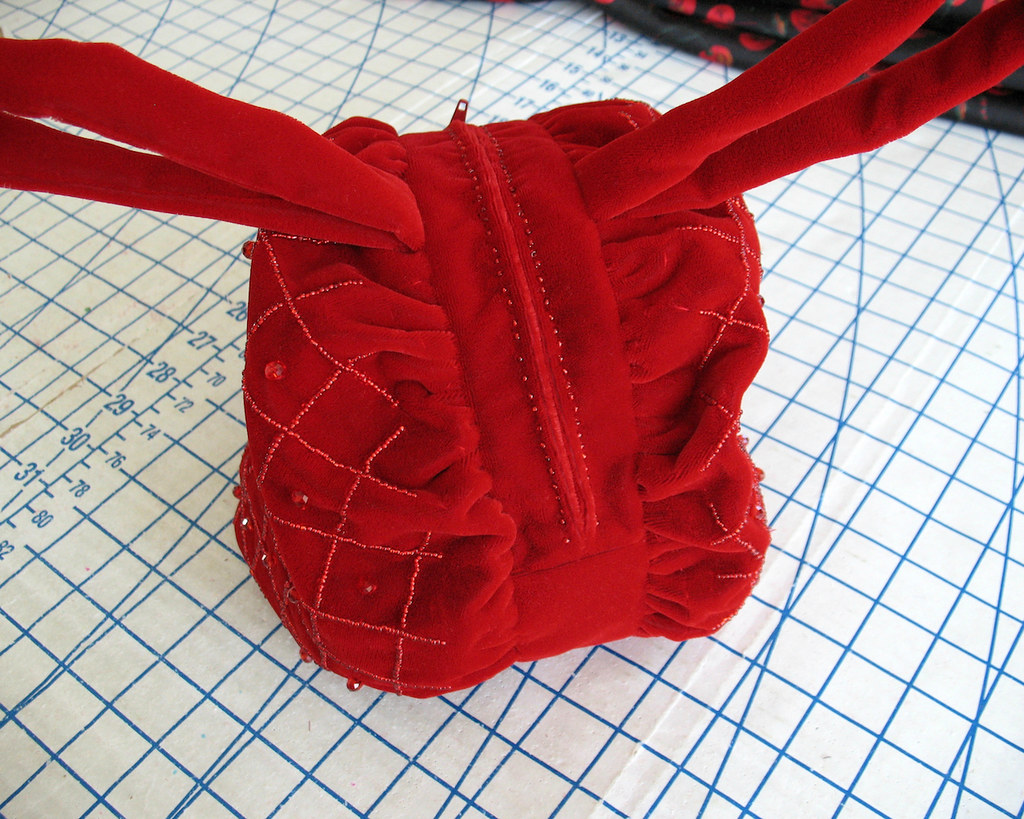

And there we have it.
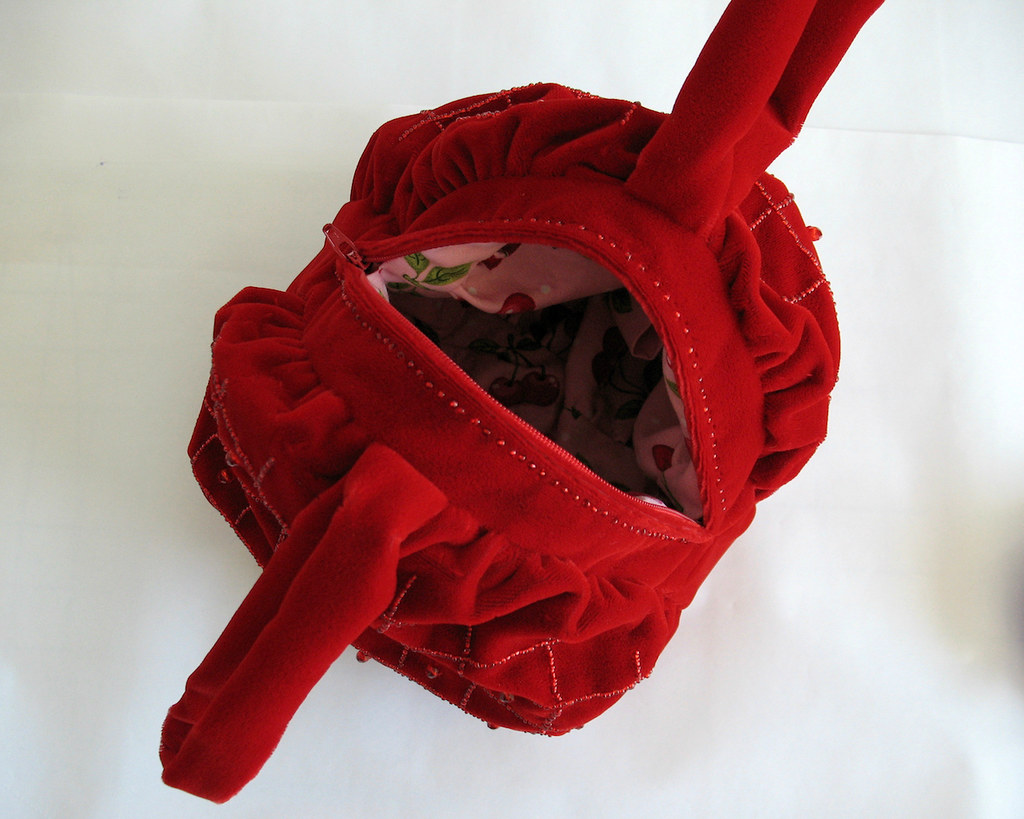

Another accessory finished just in the nick of time.  And I think I like this one better without the green beaded leaves.  It is certainly more versatile this way.  
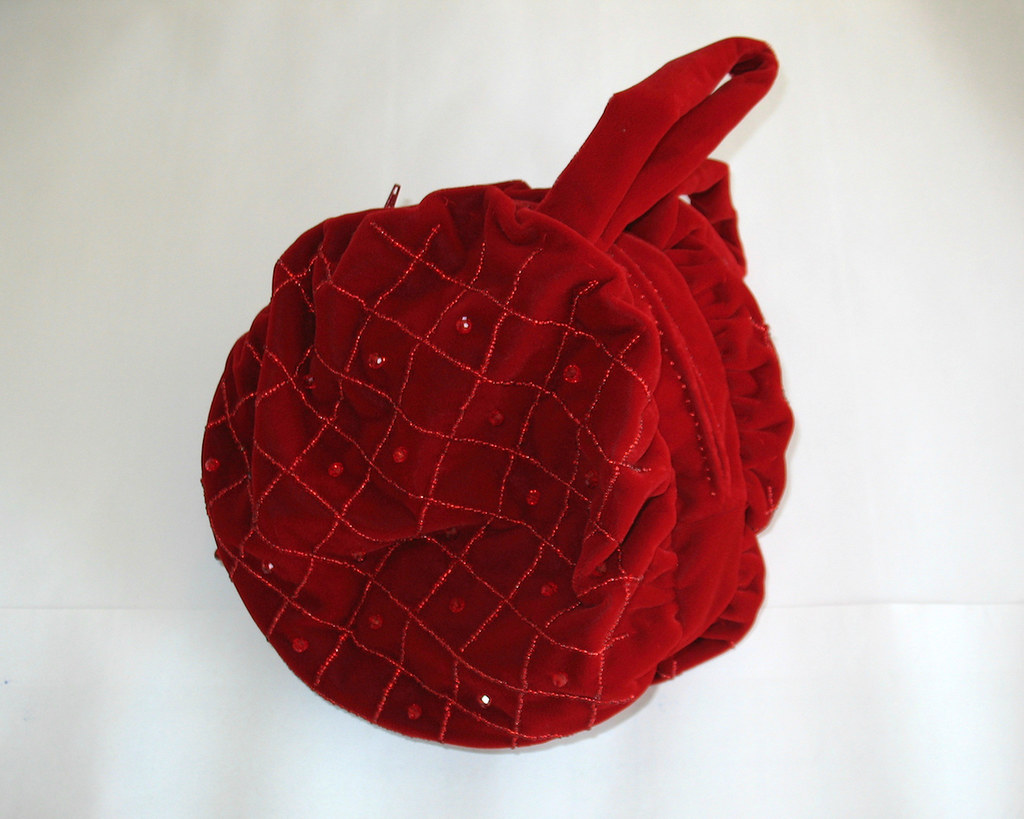

And I was pretty pleased that I did not have to use some old boring black clutch to complete my outfit!


Monday, February 22, 2016

Springtime Blossoms

Spring has definitely arrived around these parts.  I am slightly obsessed with this magnolia tree that lives about a half a block away from me - she looks especially beautiful this time of year.


And just as all the trees begin to bloom, I become obsessed with all things floral.


I came across this dress today as I was wandering around online, which reminded me of this glorious detail.

A photo posted by Marchesa (@marchesafashion) on

Stunning, exquisite, amazing, and oh so beautiful!  Quick, get me some beads . . . I must learn how to do this!!  Is it tambour beading, do we think?  There is another closeup of the embellishment here, and it looks like the edges of the petals are perhaps wired.    


All I know is, I love all the flowers and all the beads!  

Monday, December 8, 2014

The Finished Dress Photos


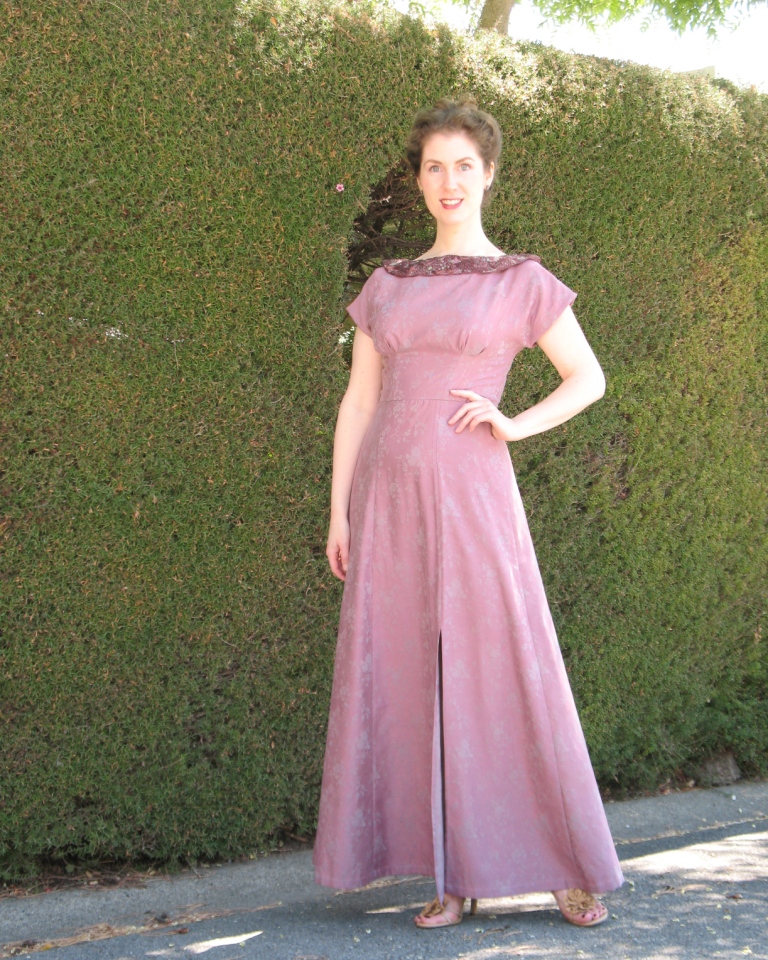
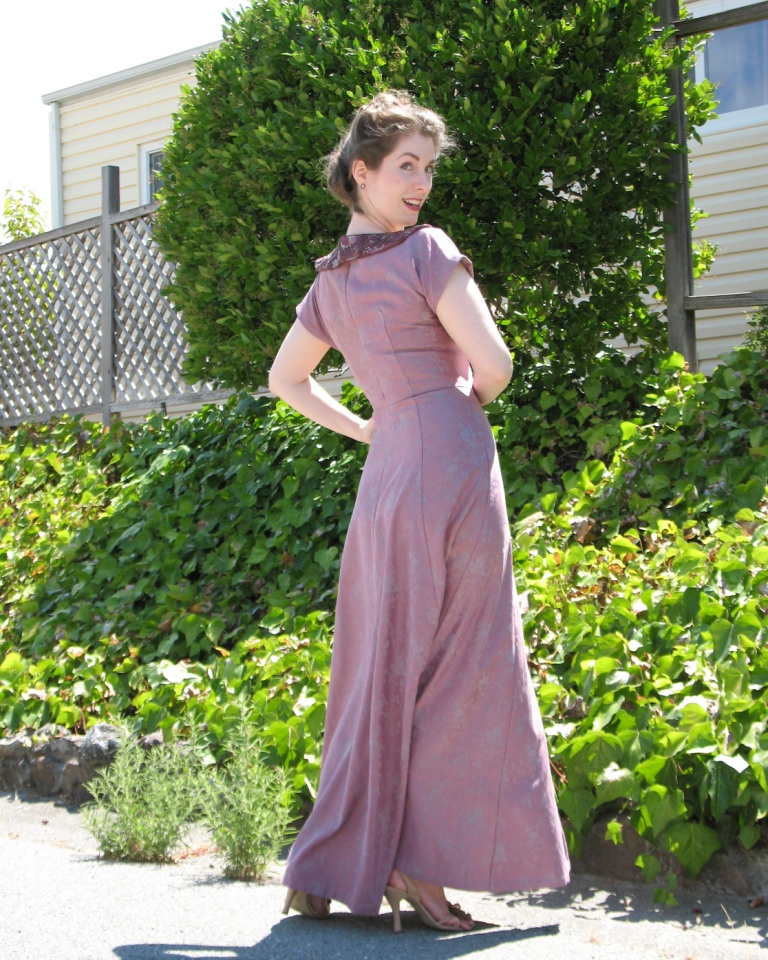
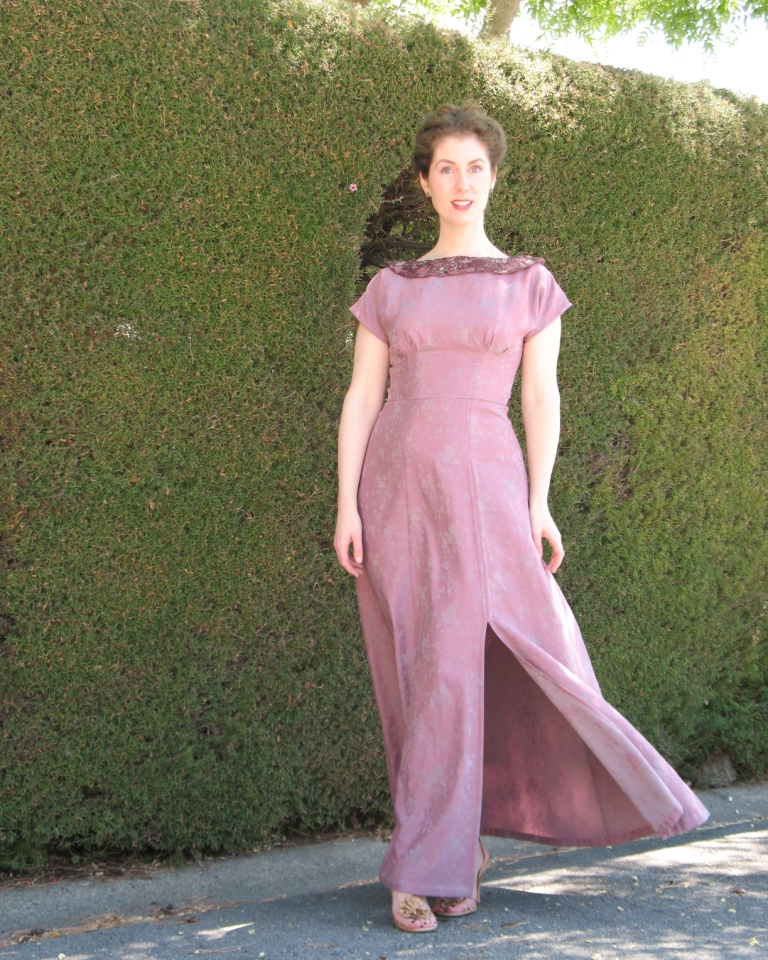
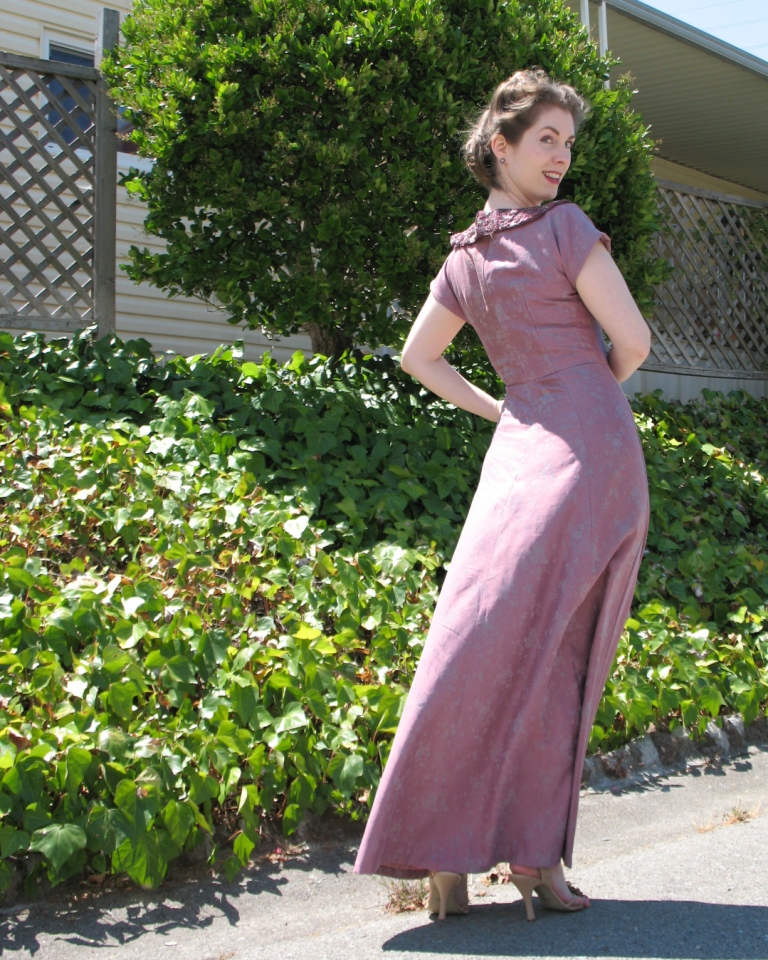
Do you remember Sewing Indie Month?  One of my projects was this Anna Dress.


Needless to say, the dress did not get finished during the month of festivities, then pictures had to be taken, and lots of other stuff got in the way.  Well, it took me a whole lot longer to get through the photos than I expected. 


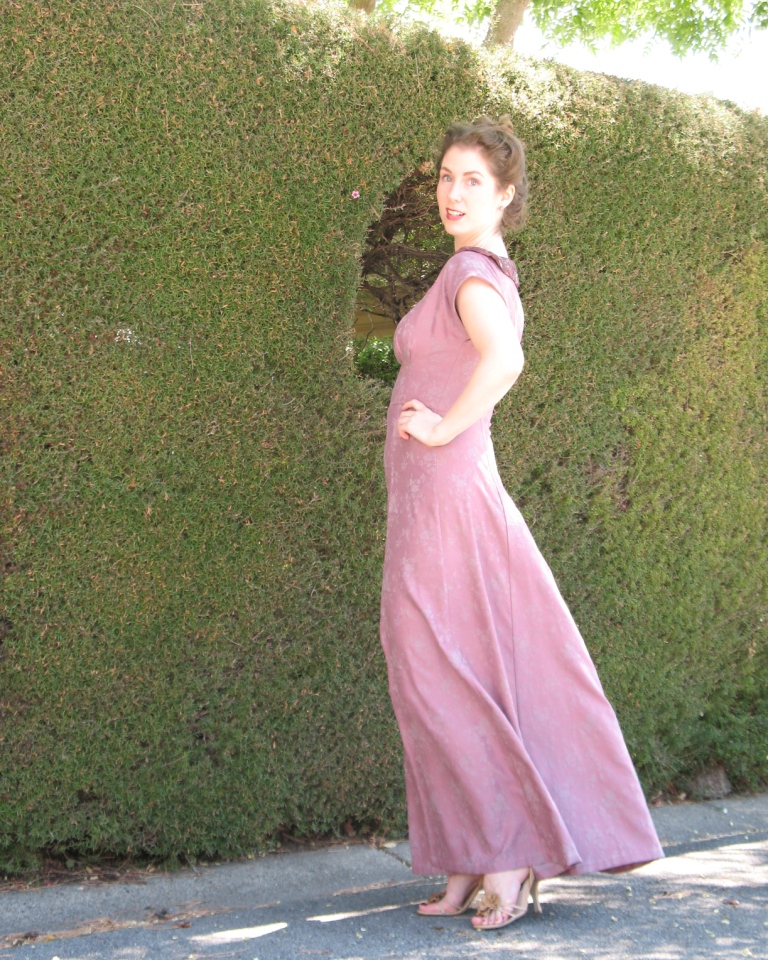
But this weekend, I decided, enough was enough.  I suppose I could have waited until Spring for a more weather appropriate time to share this cotton/silk blend dress.  But instead, I will pretend I live in the Southern hemisphere, the sun is shining, and the weather is as balmy as it was the day these pictures were taken.


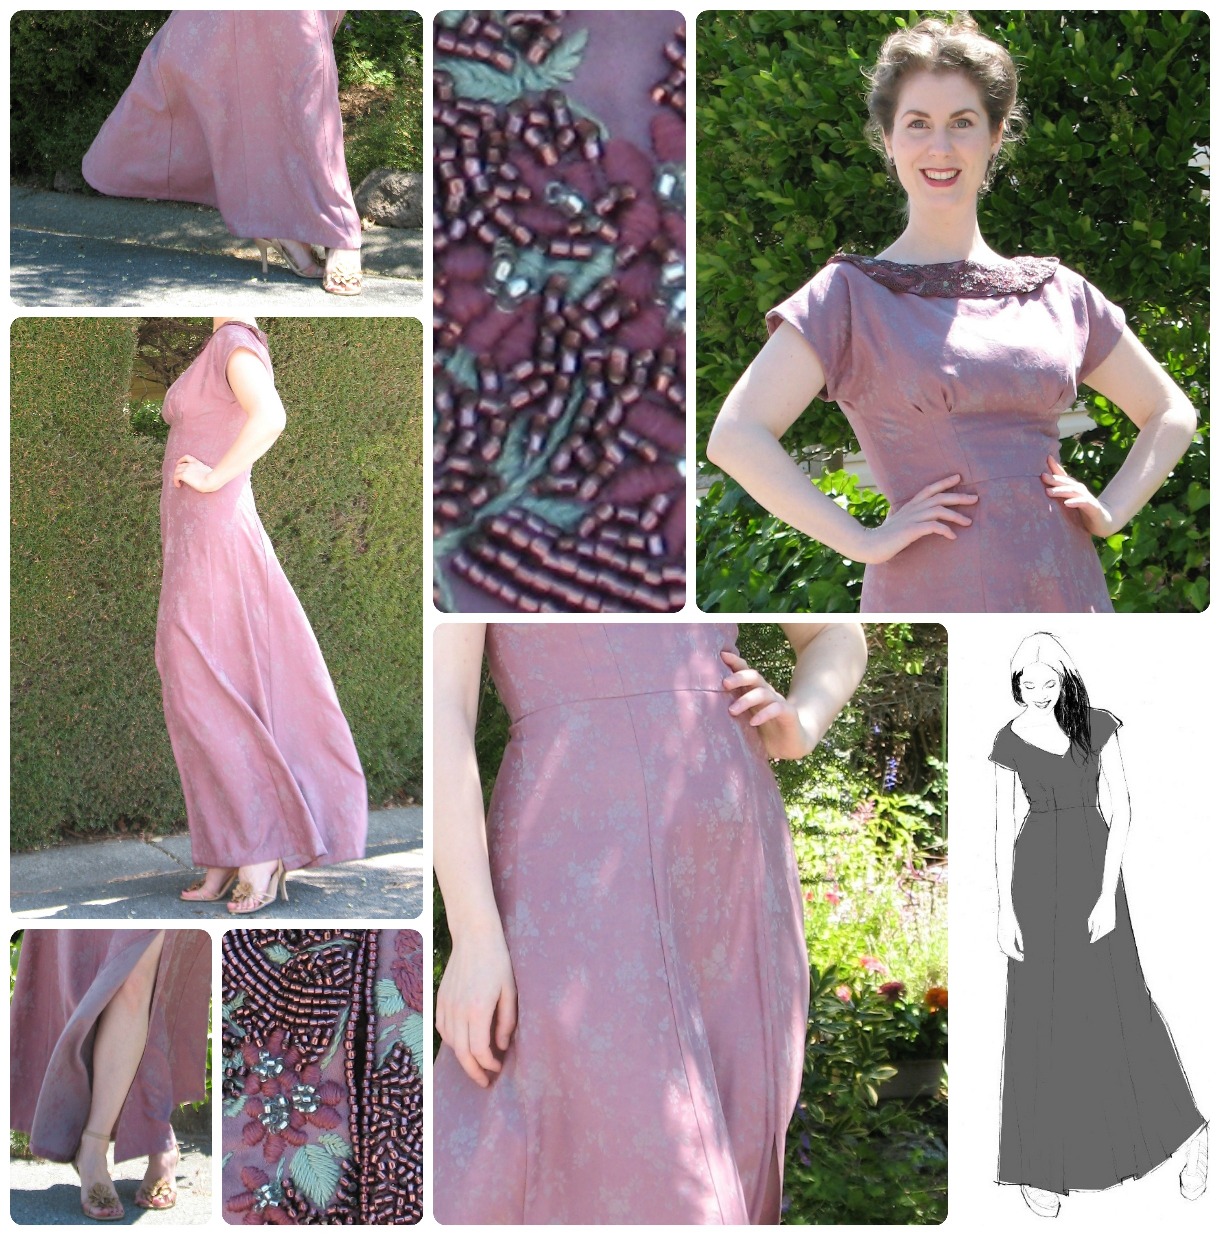
Just as a reminder about the construction of this dress, I prepped the pattern with a muslin, used bias strips of self-fabric to hem the sleeves, and reinforced the neckline and back opening edge with silk organza.


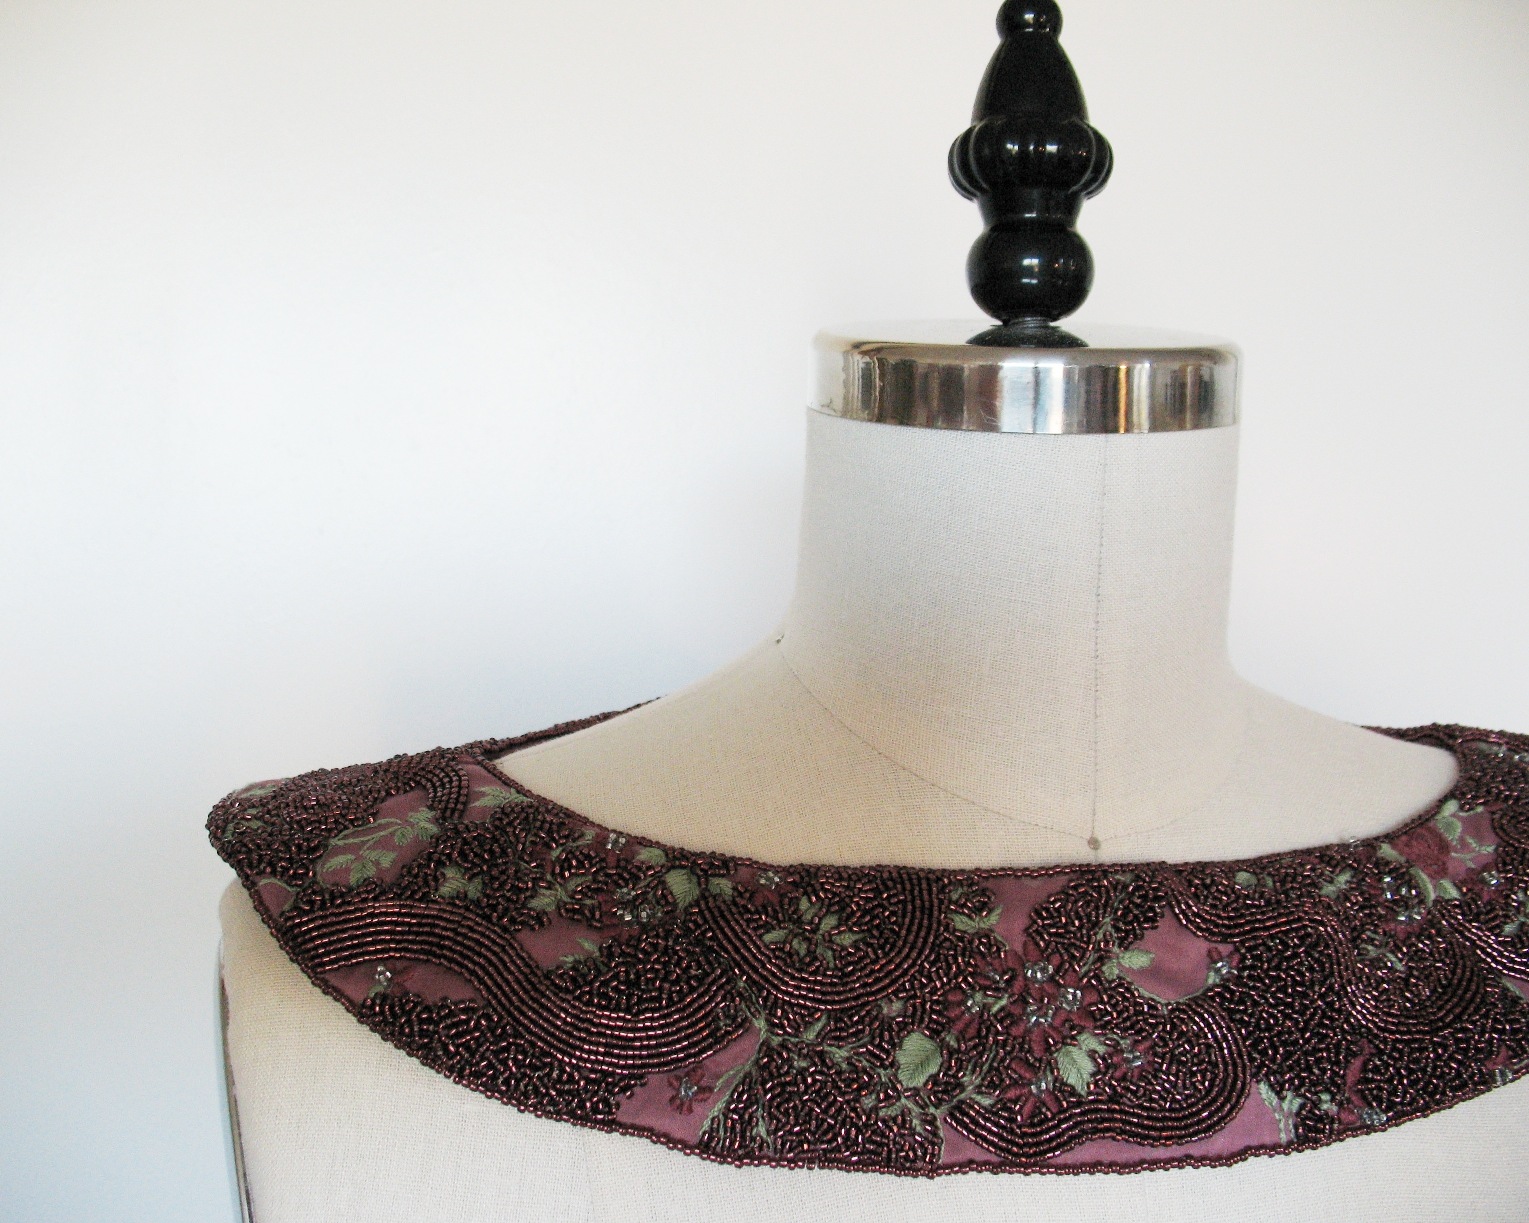
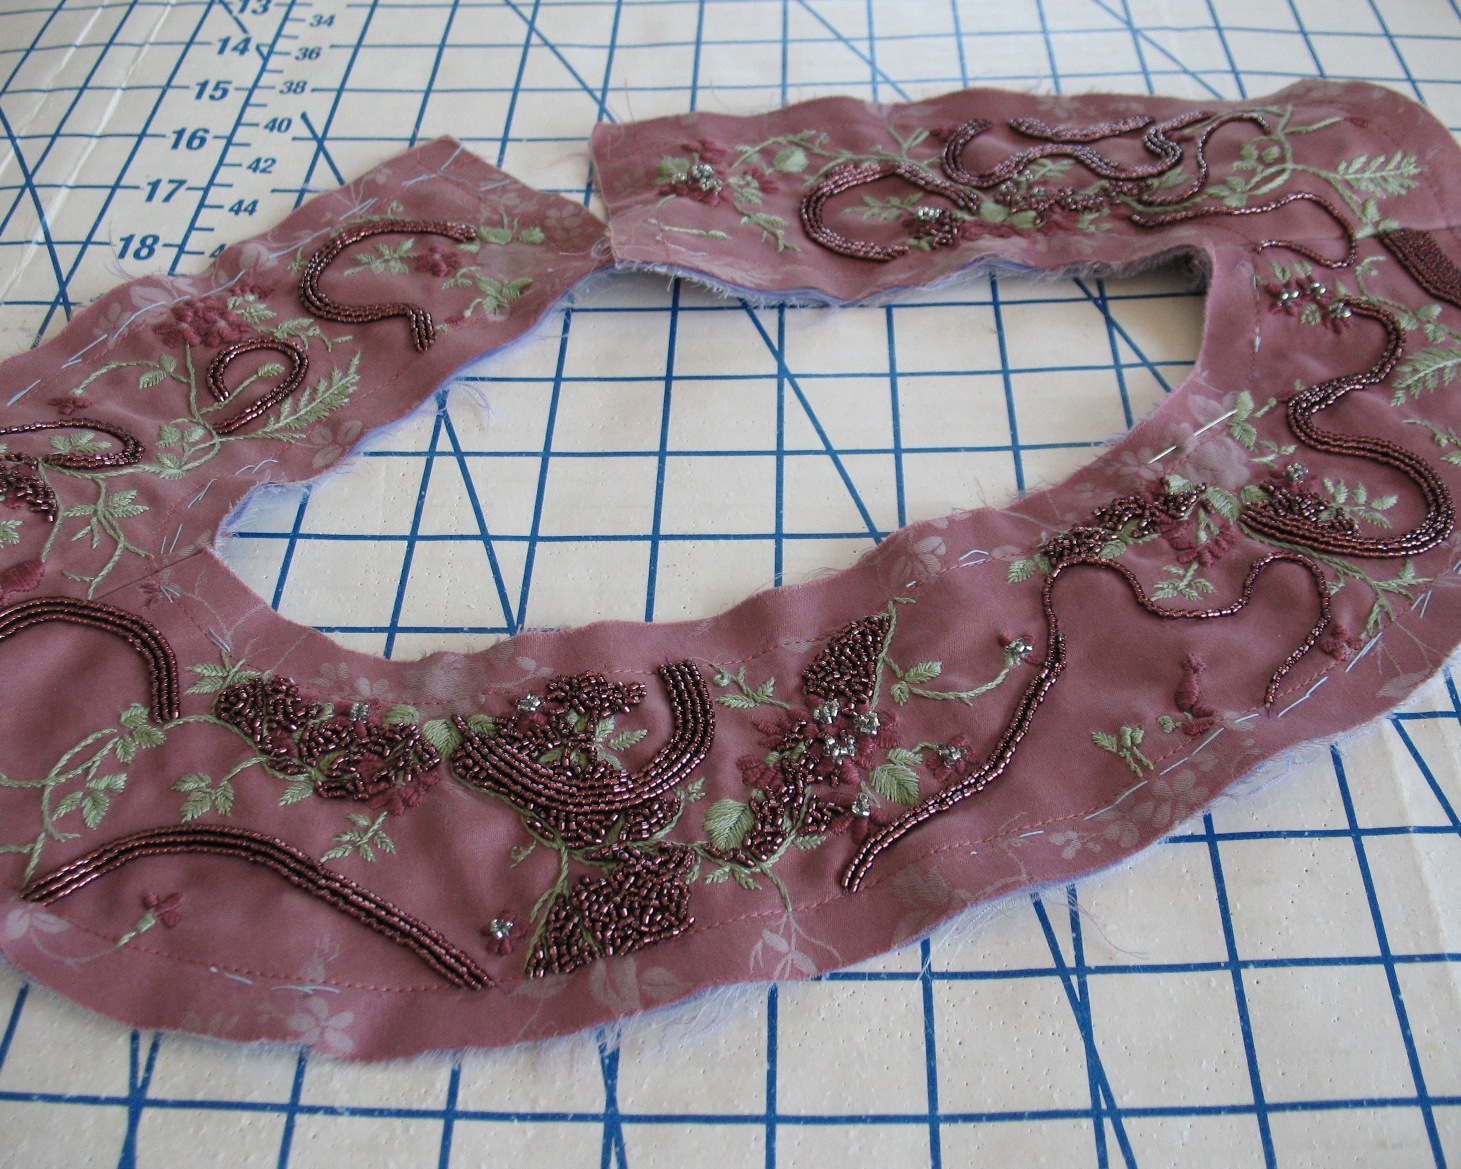
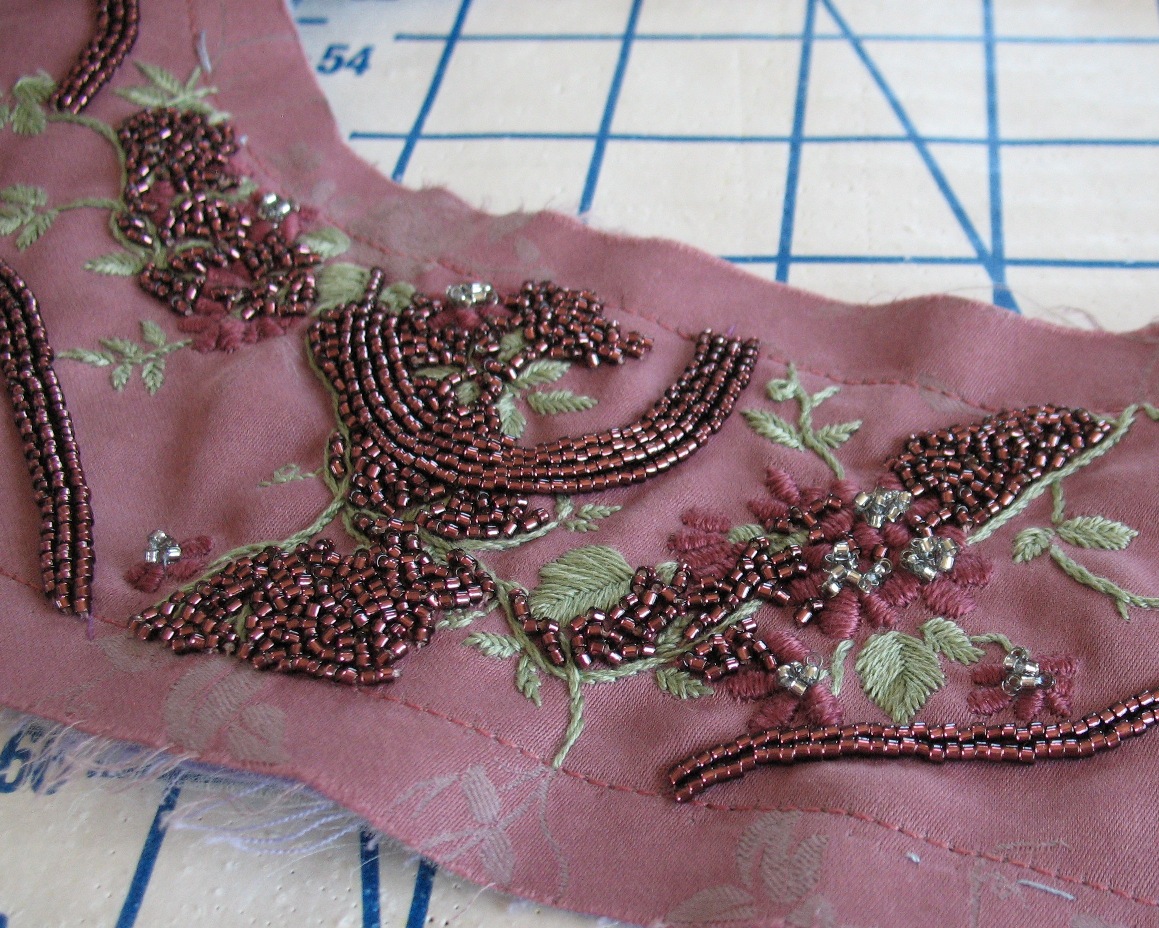
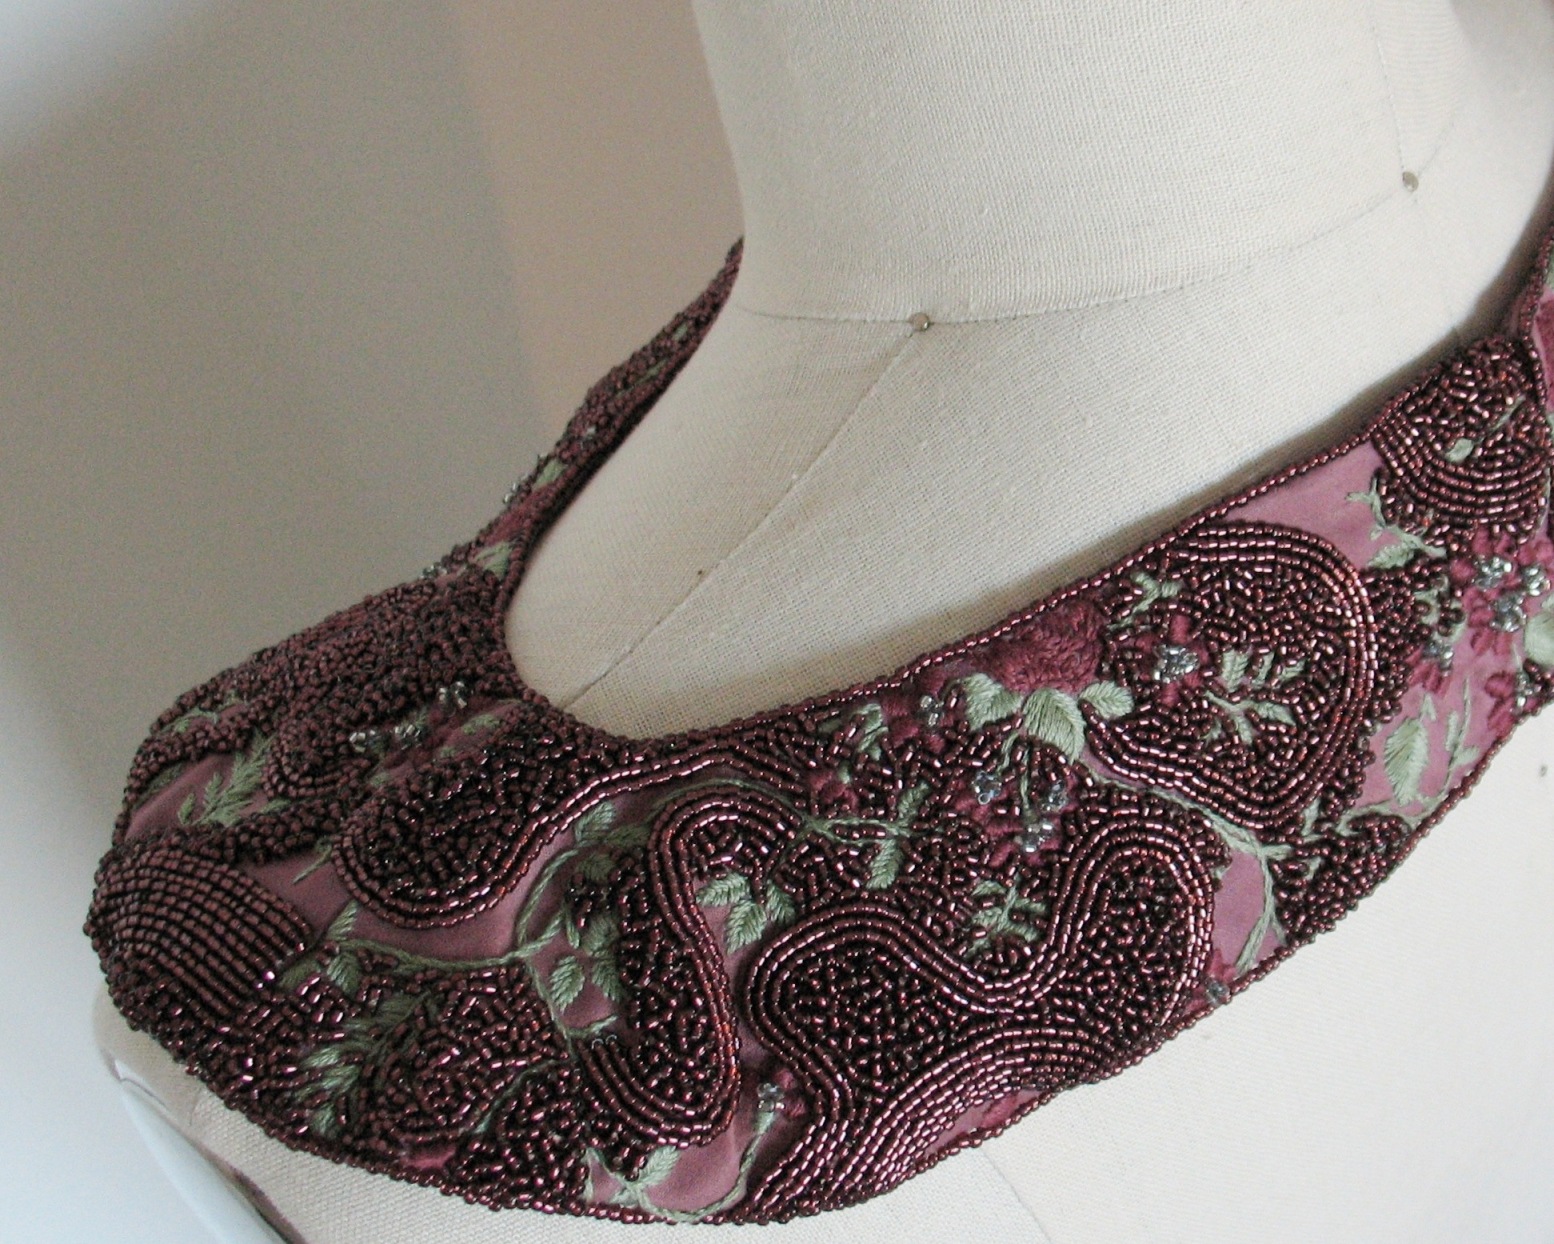
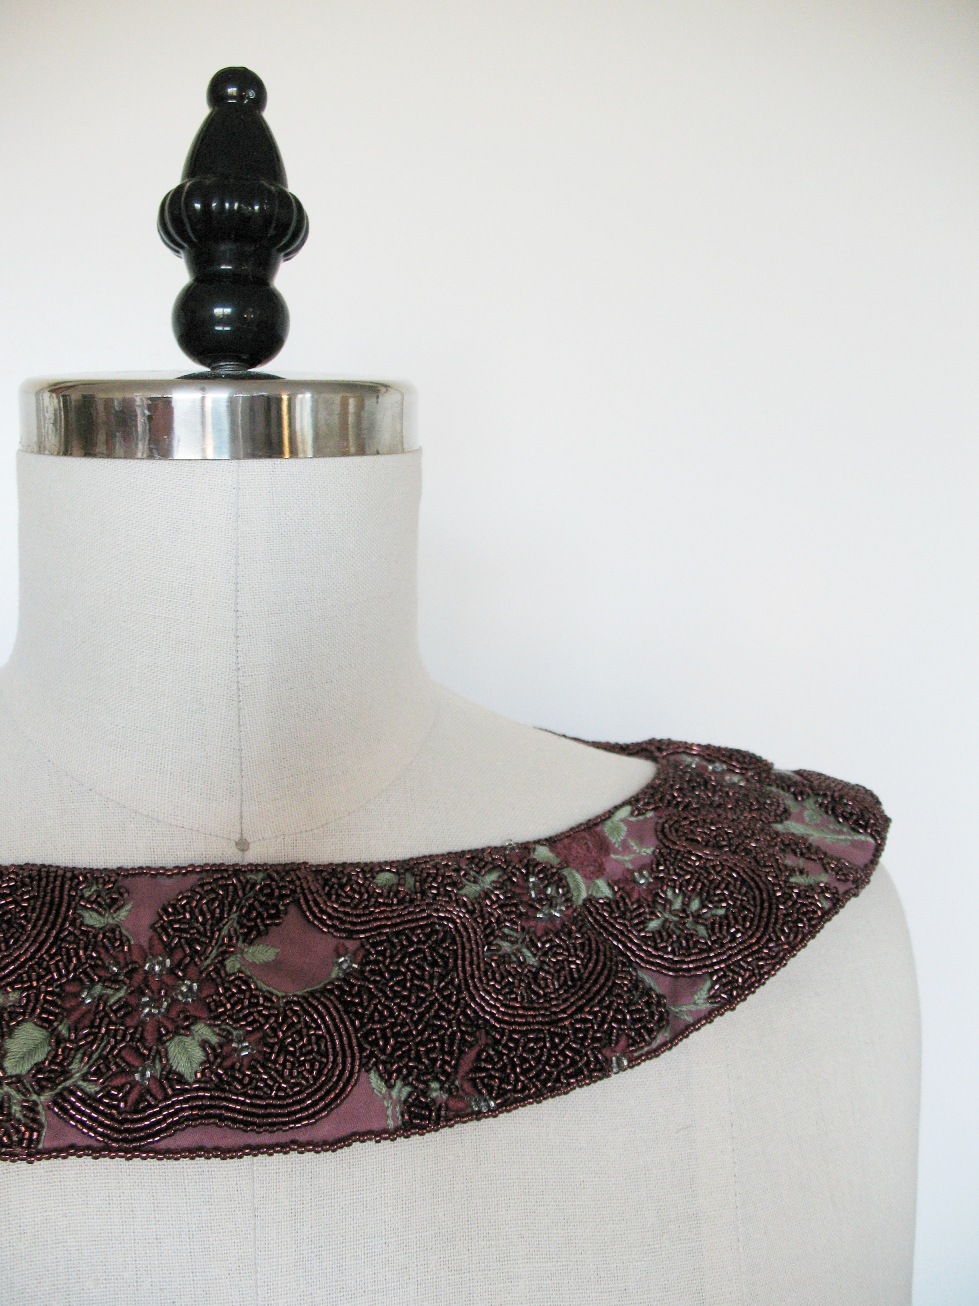
For a bit of  embellishment, I beaded a collar to add to the dress.  Now that I am finally getting around to posting these pictures, I have a mind to make myself a winter appropriate frock with which I can reuse the collar.


So, after many months, the dress finally feels finished (a project never really does until the pictures are posted to the blog)!


And now it is time to pull out my knitting needles.  My latest Knit Picks order has arrived, and I can't wait to get started on a new sweater!


Dress:  Made by me, “Anna” By Hand London
Collar:  Made by me
Shoes:  Franco Sarto


Saturday, June 21, 2014

Beaded Bliss


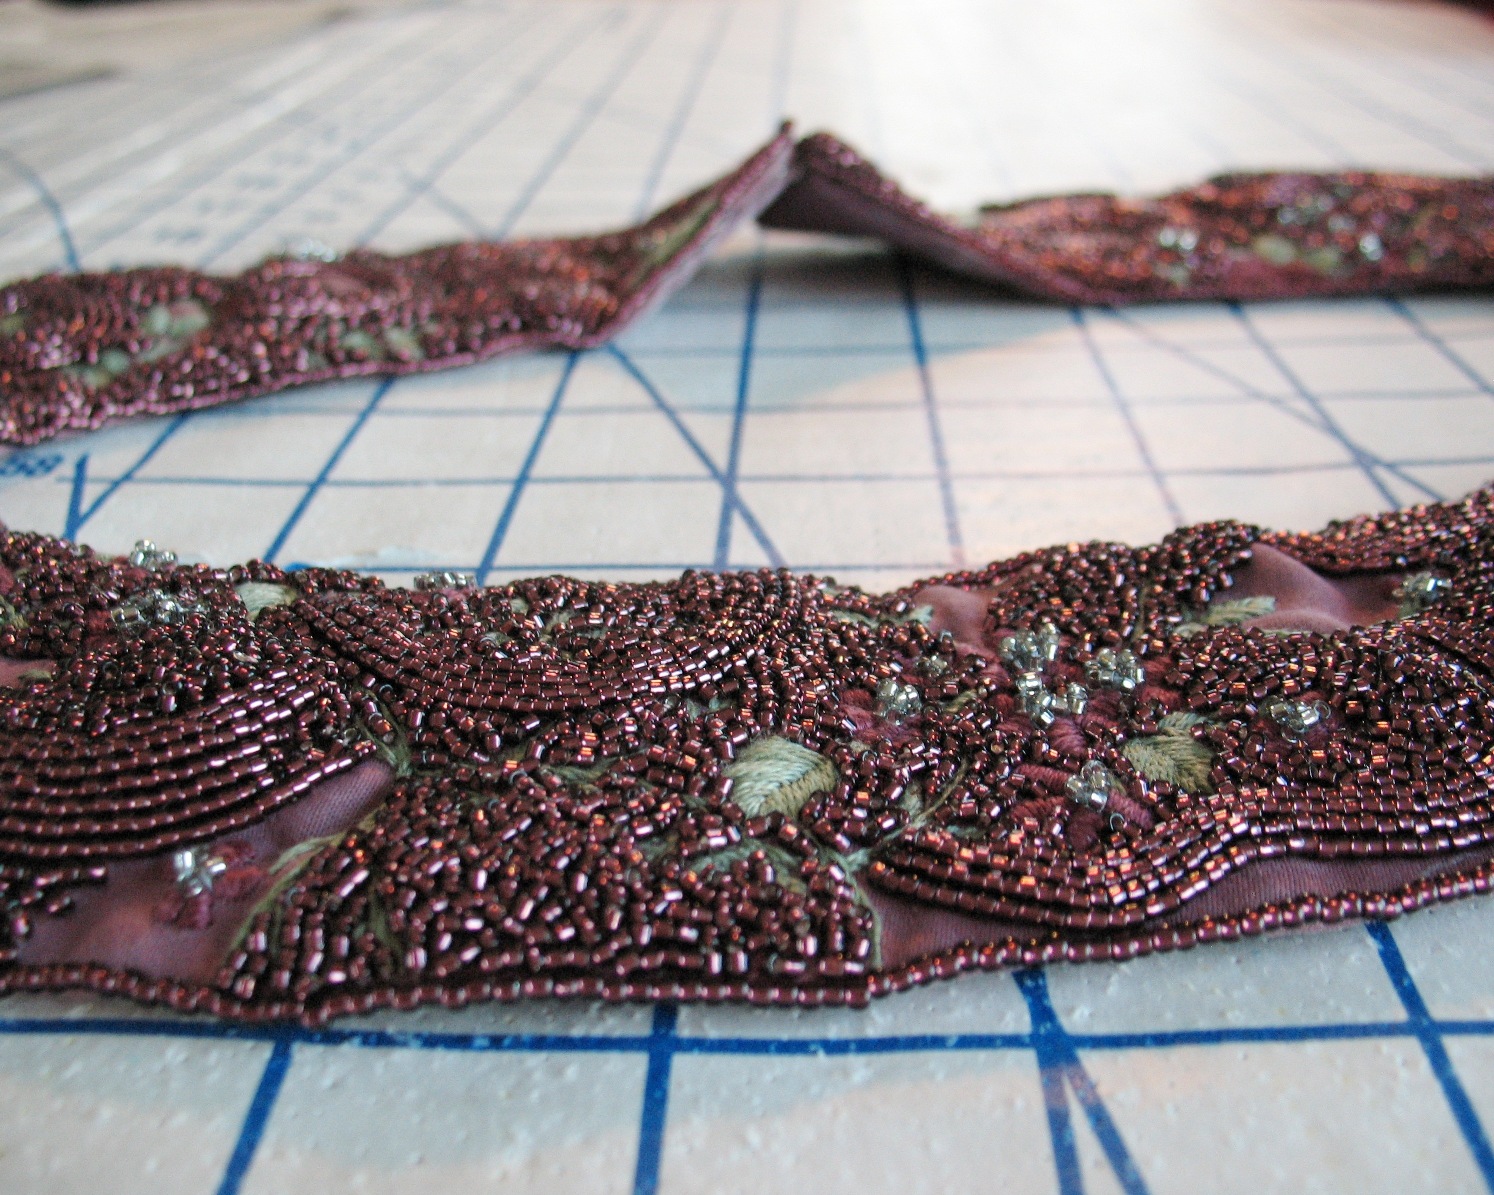
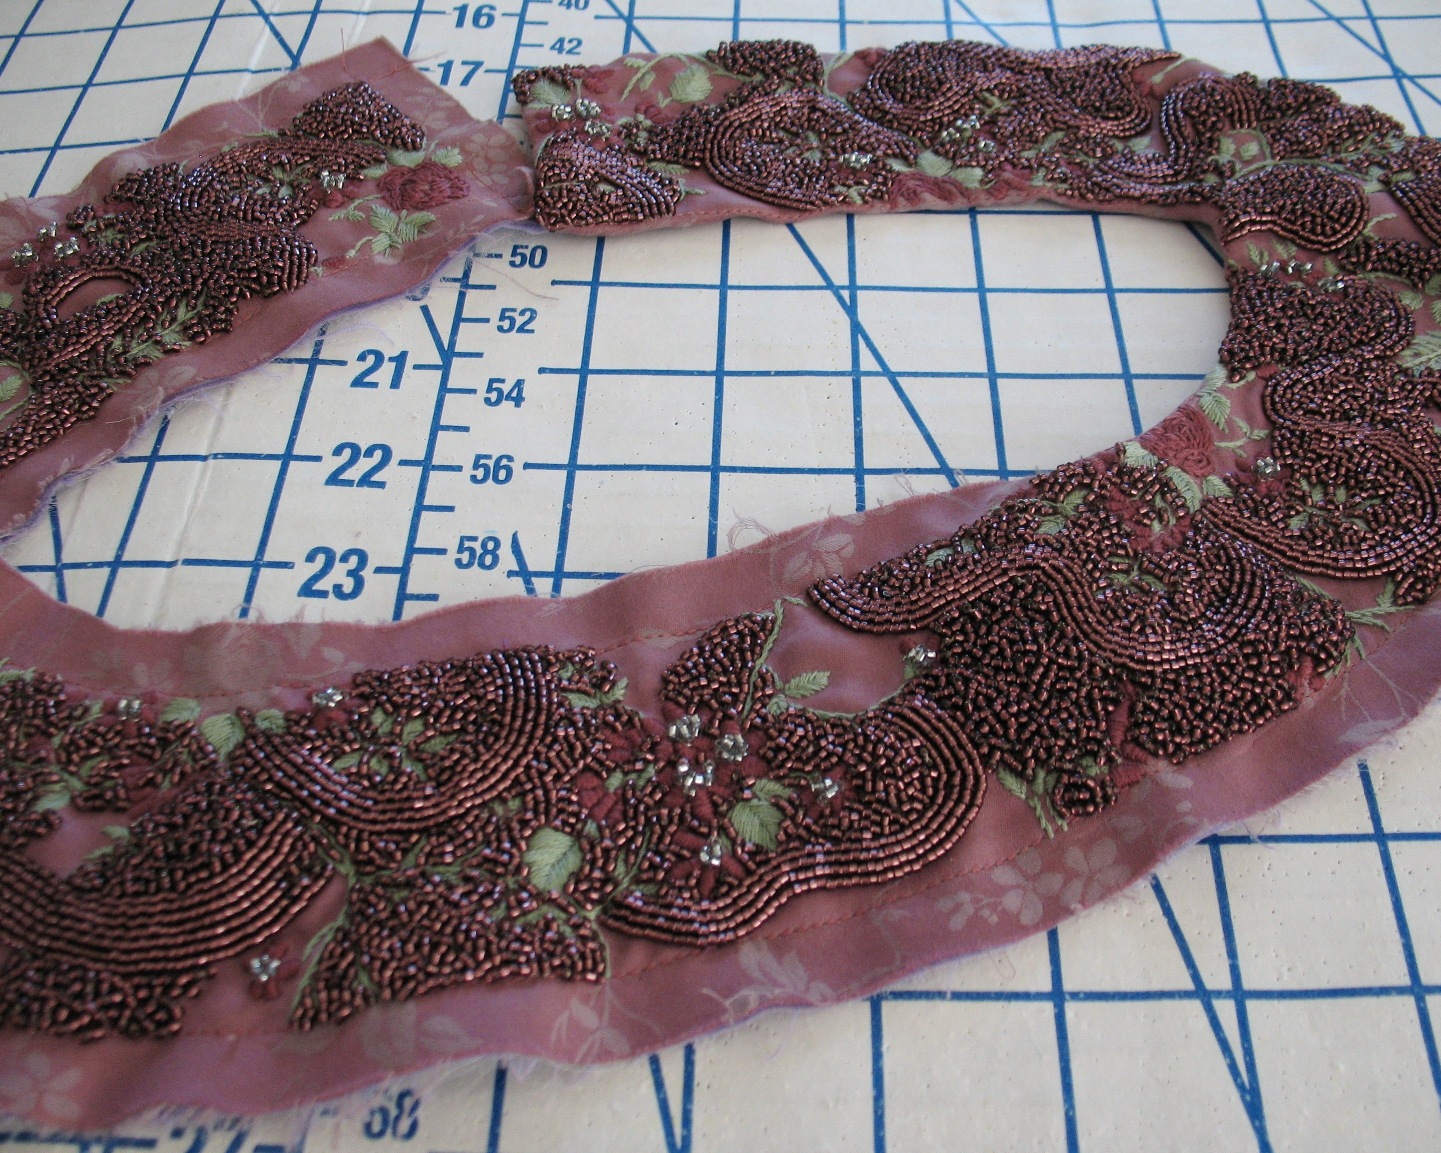
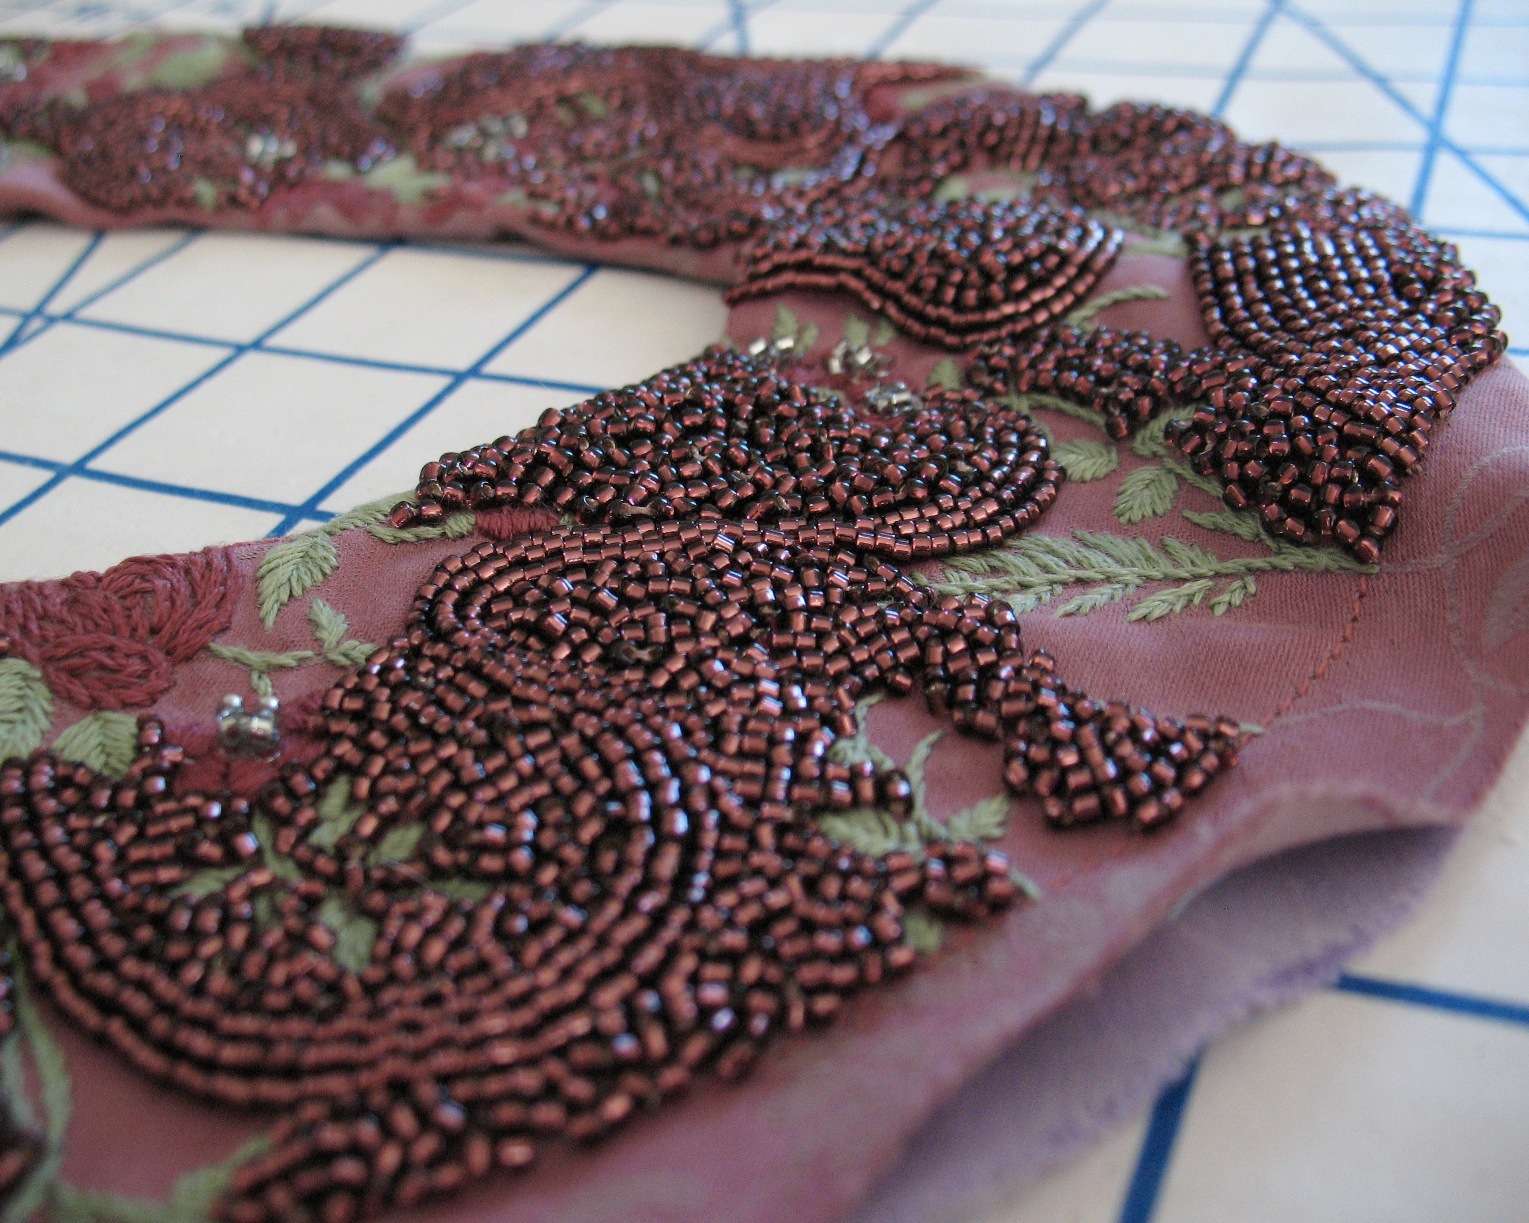
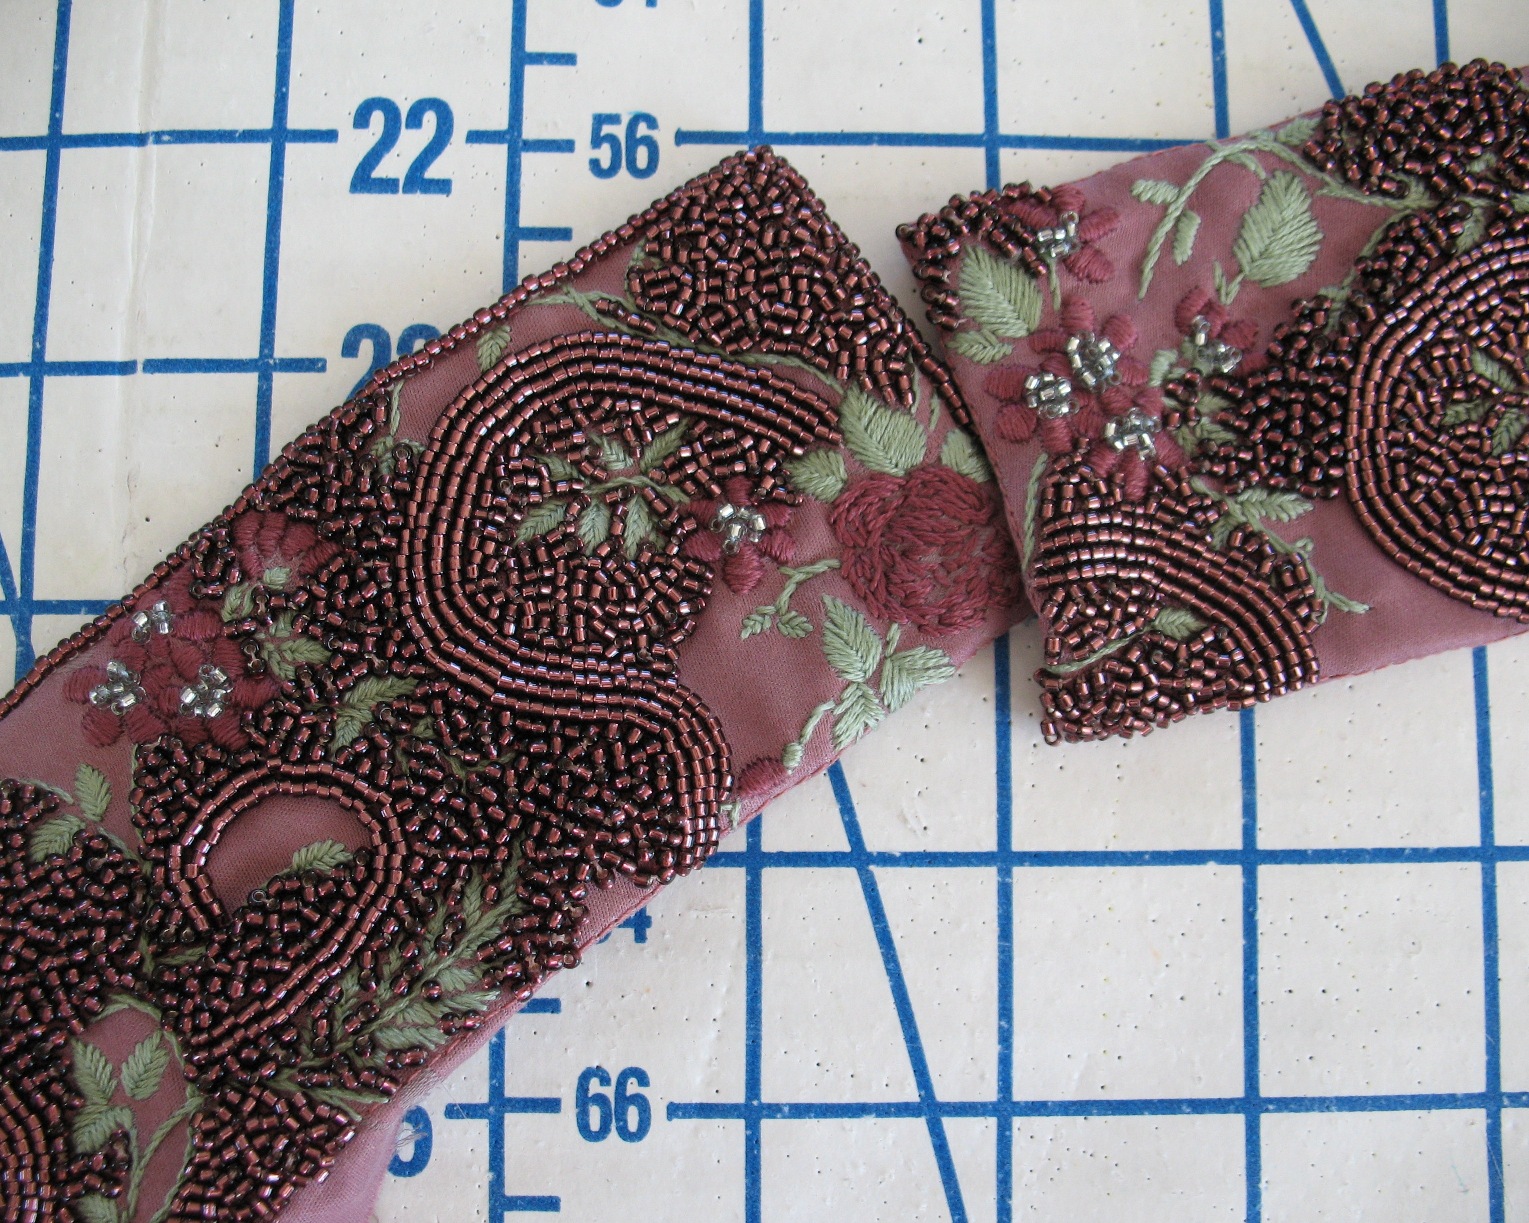
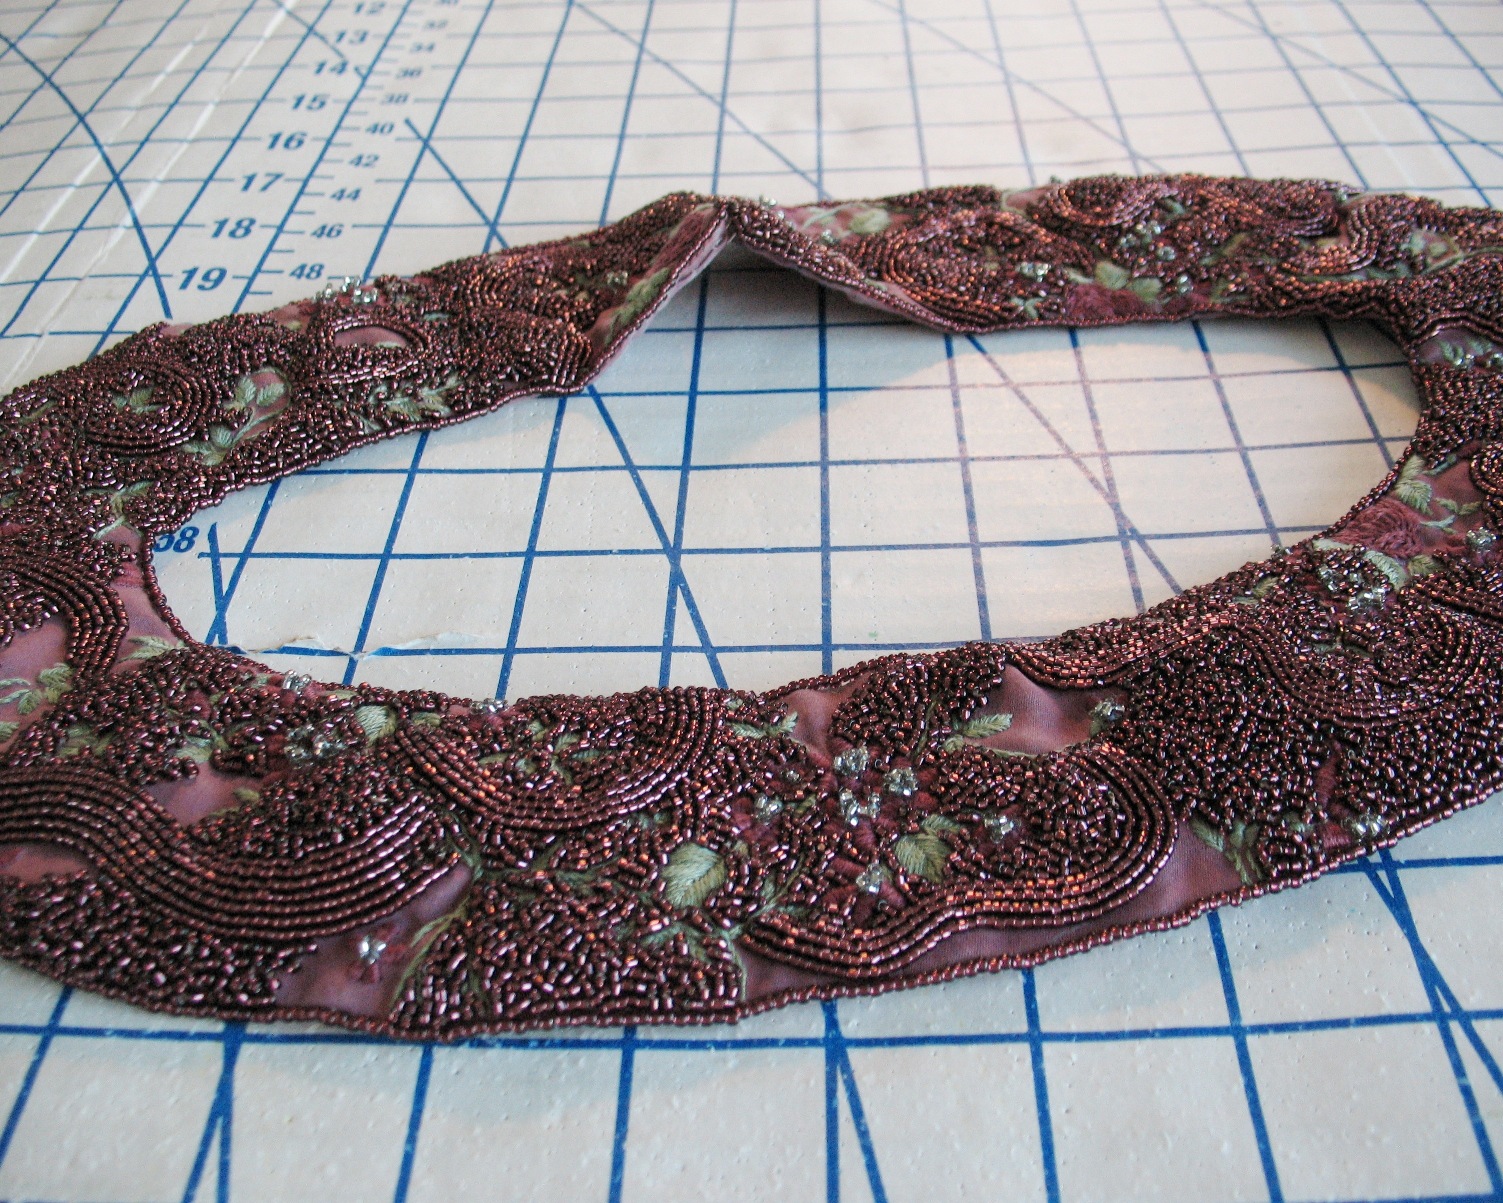
The beading on my Anna collar is complete!


After a lot of hand stitching, a few unpicked sections, and a ton of seed beads, I am tagging this project "finished"!


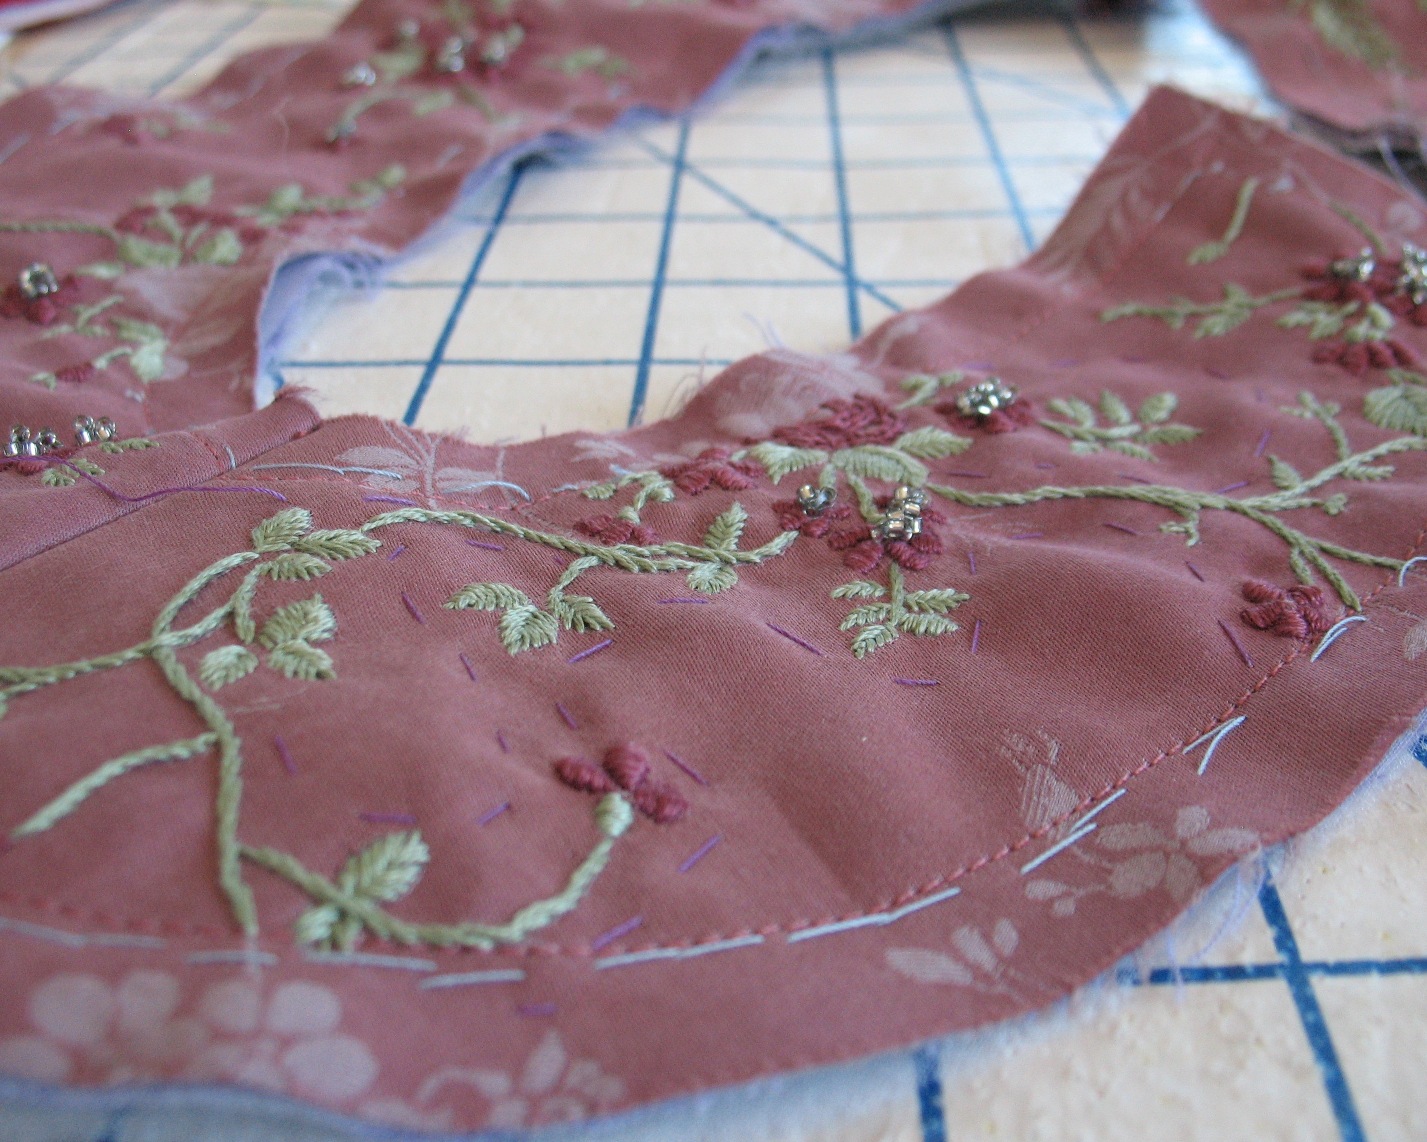
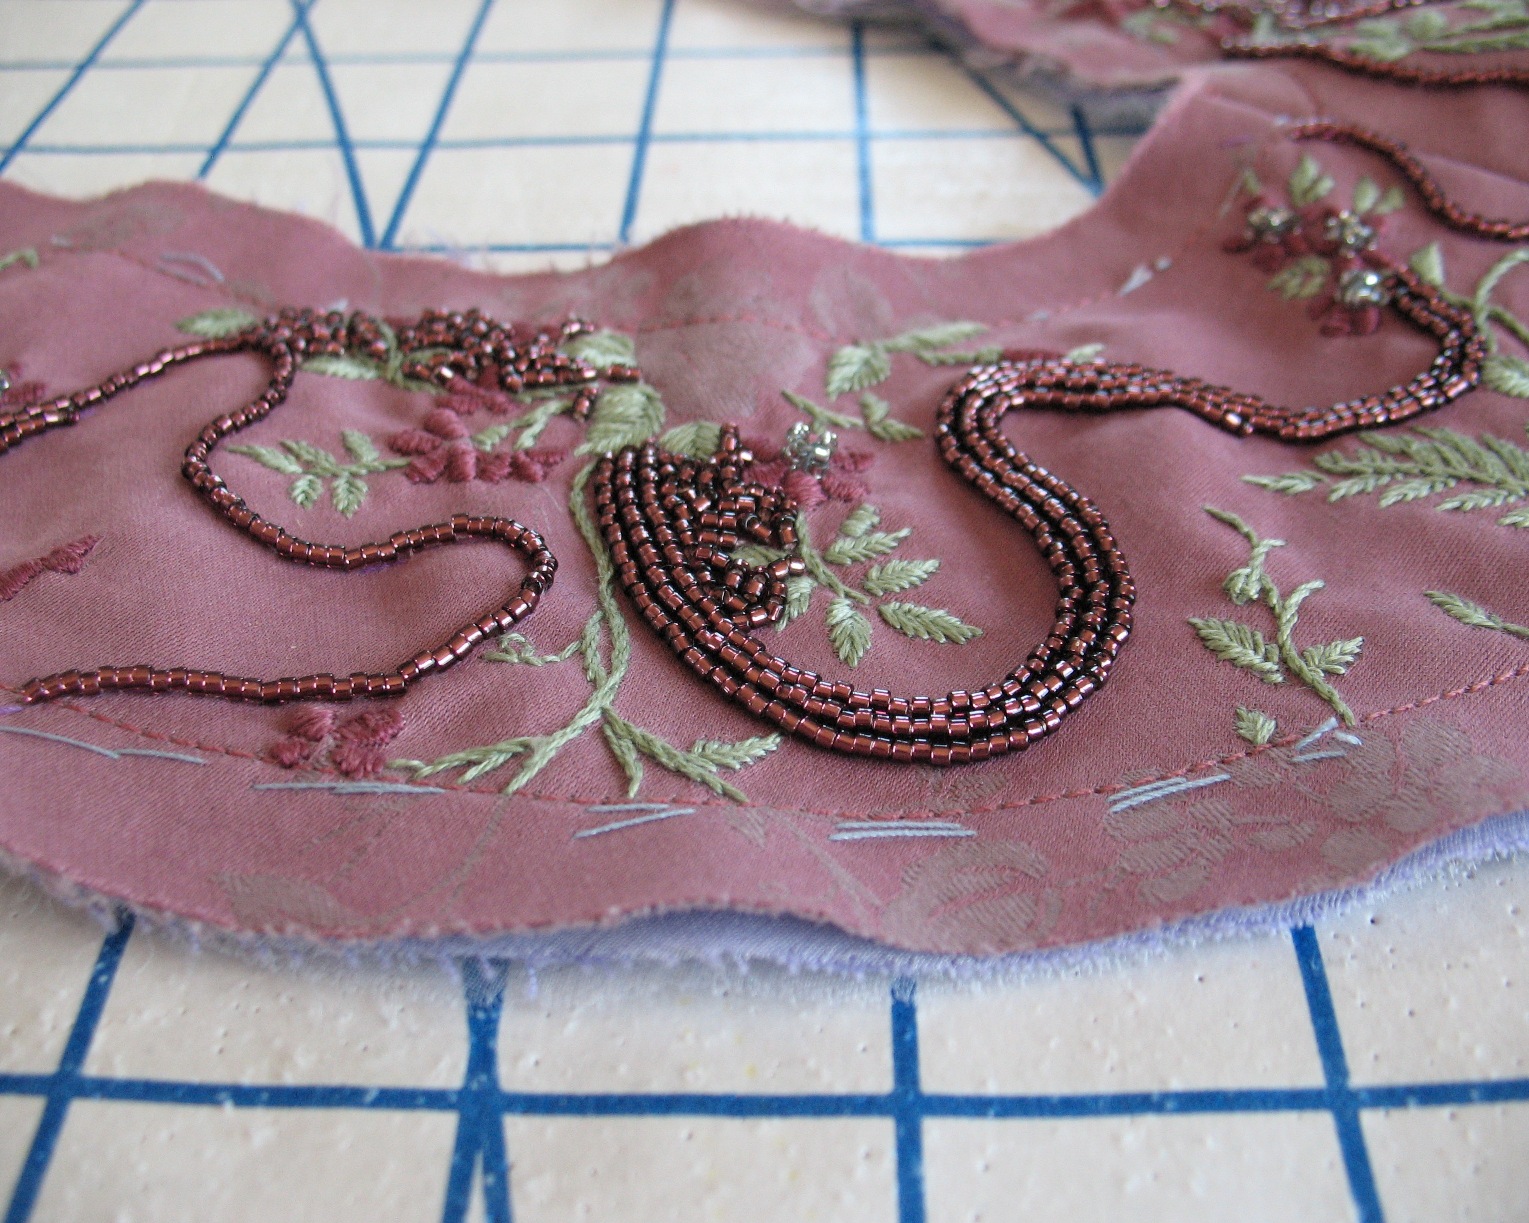
After I was happy with the embroidered bits, I basted a few designs on the collar in silk thread.


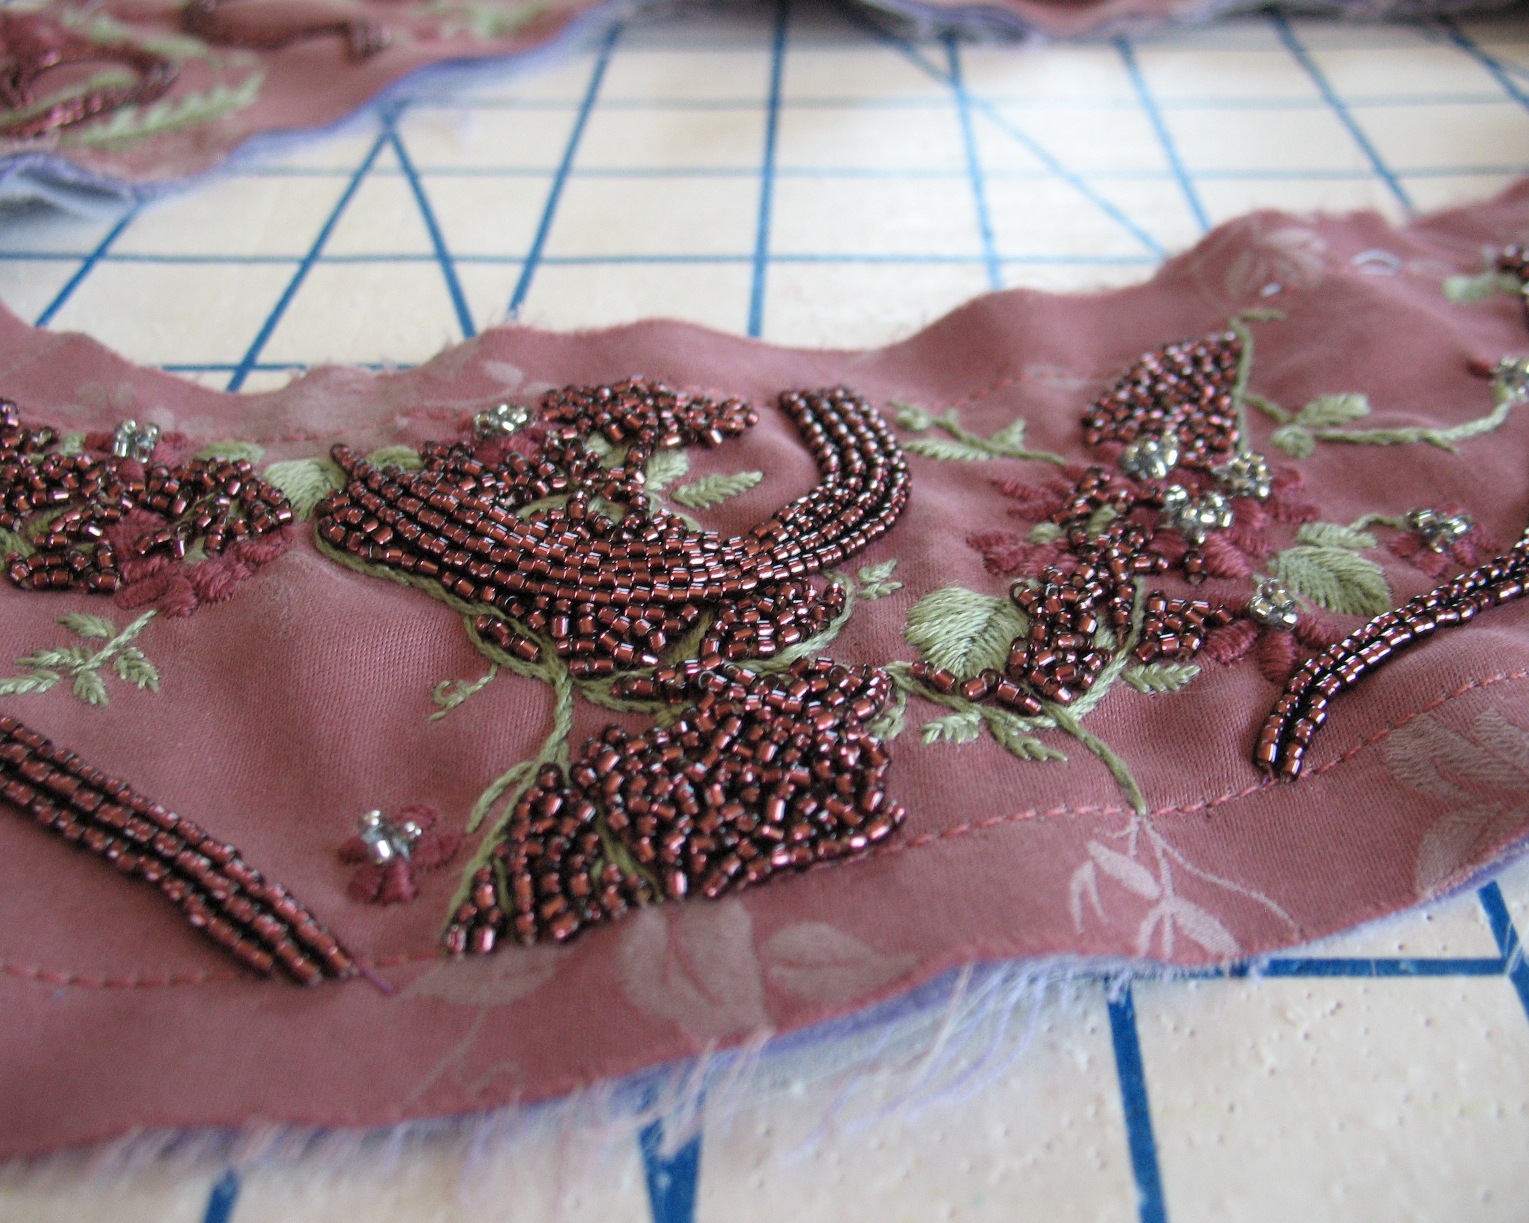
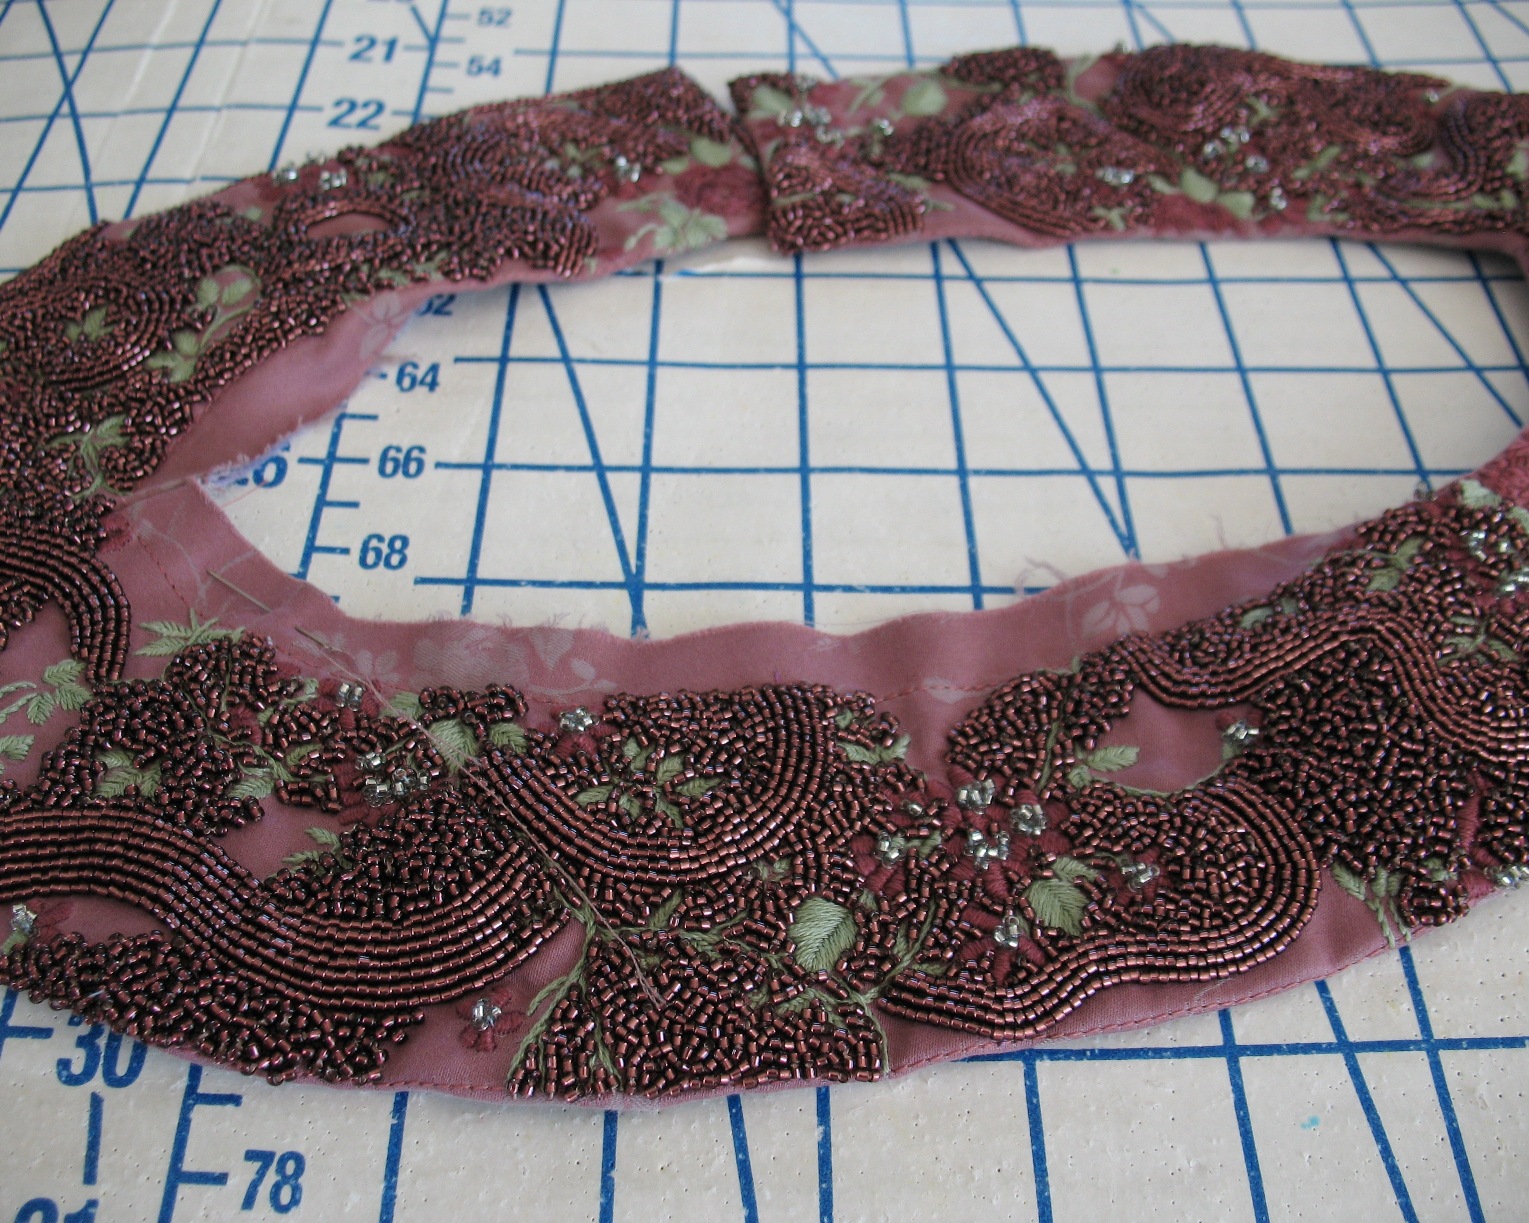
After covering those basted bits with beads, I started filling in the spaces.


And kept going . . .


and going . . .


until I was happy with the result.


I wanted some of the fabric to show through, it was just a matter of getting it to look balanced with all the beading.


I figured out that my thread had a bad habit of catching on all those three-dimensional clumps of silver beads, so I put those on hold until all of the other beading was complete.


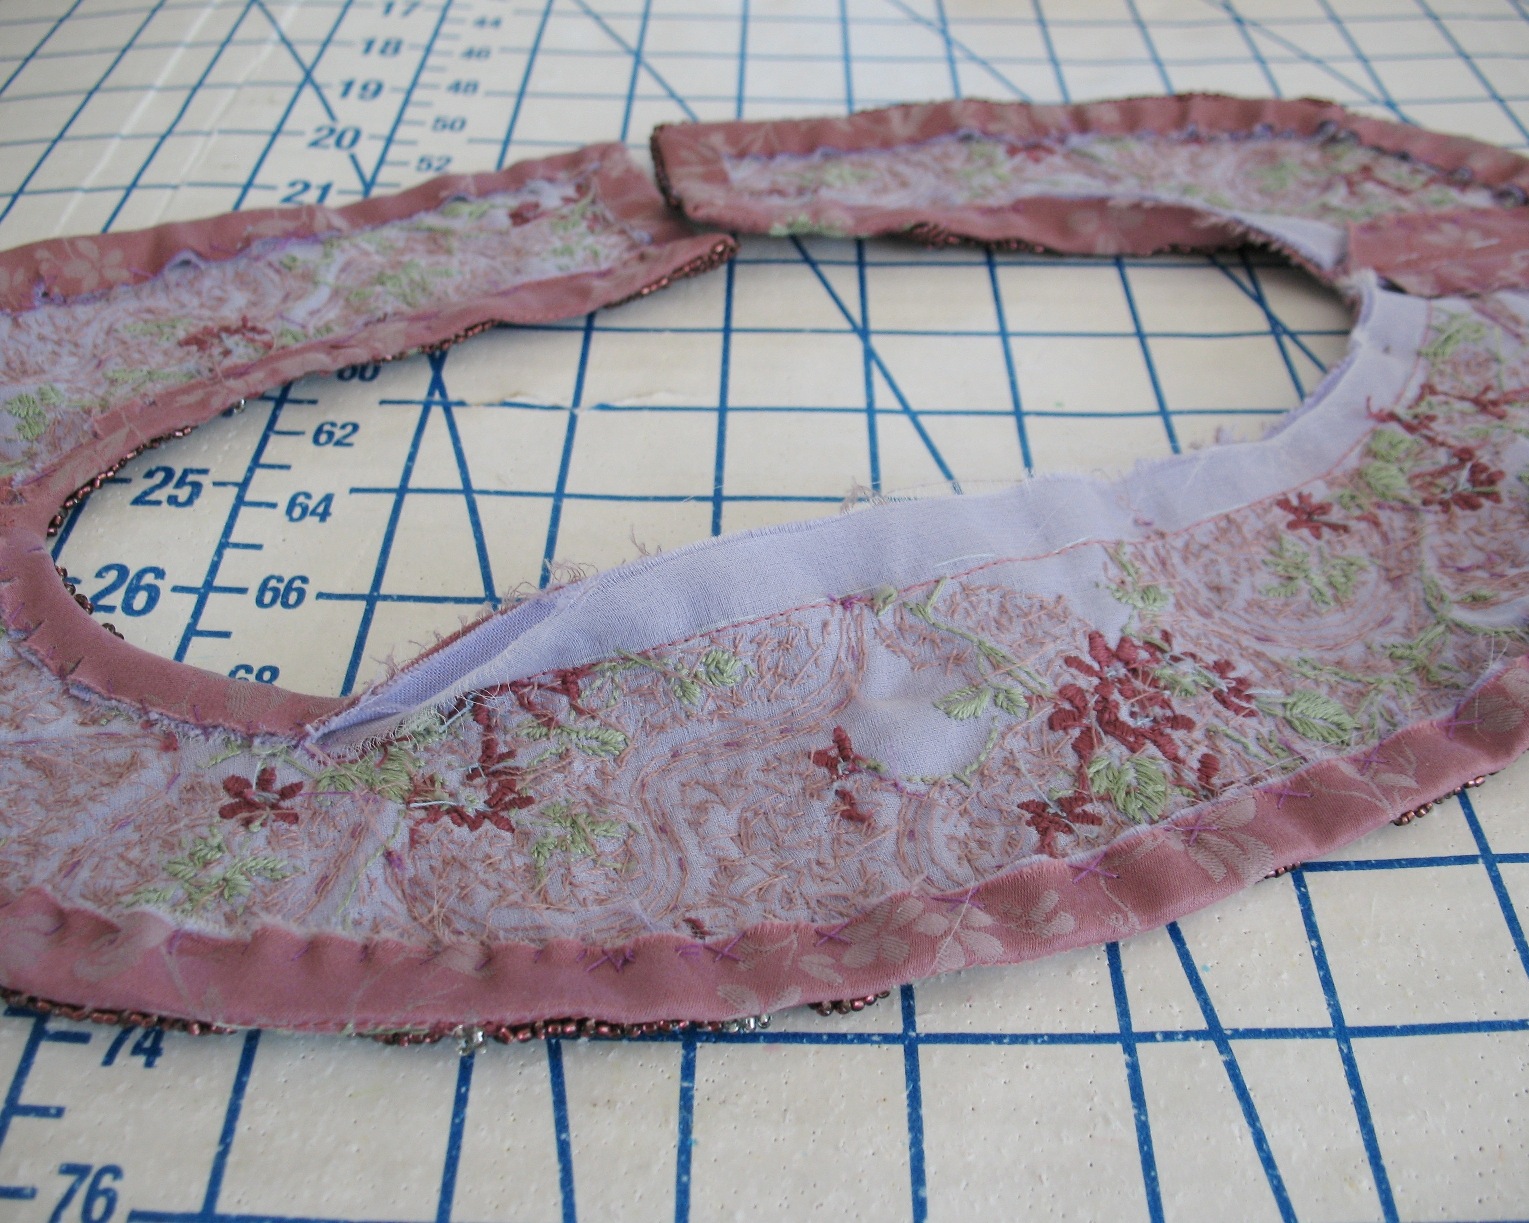
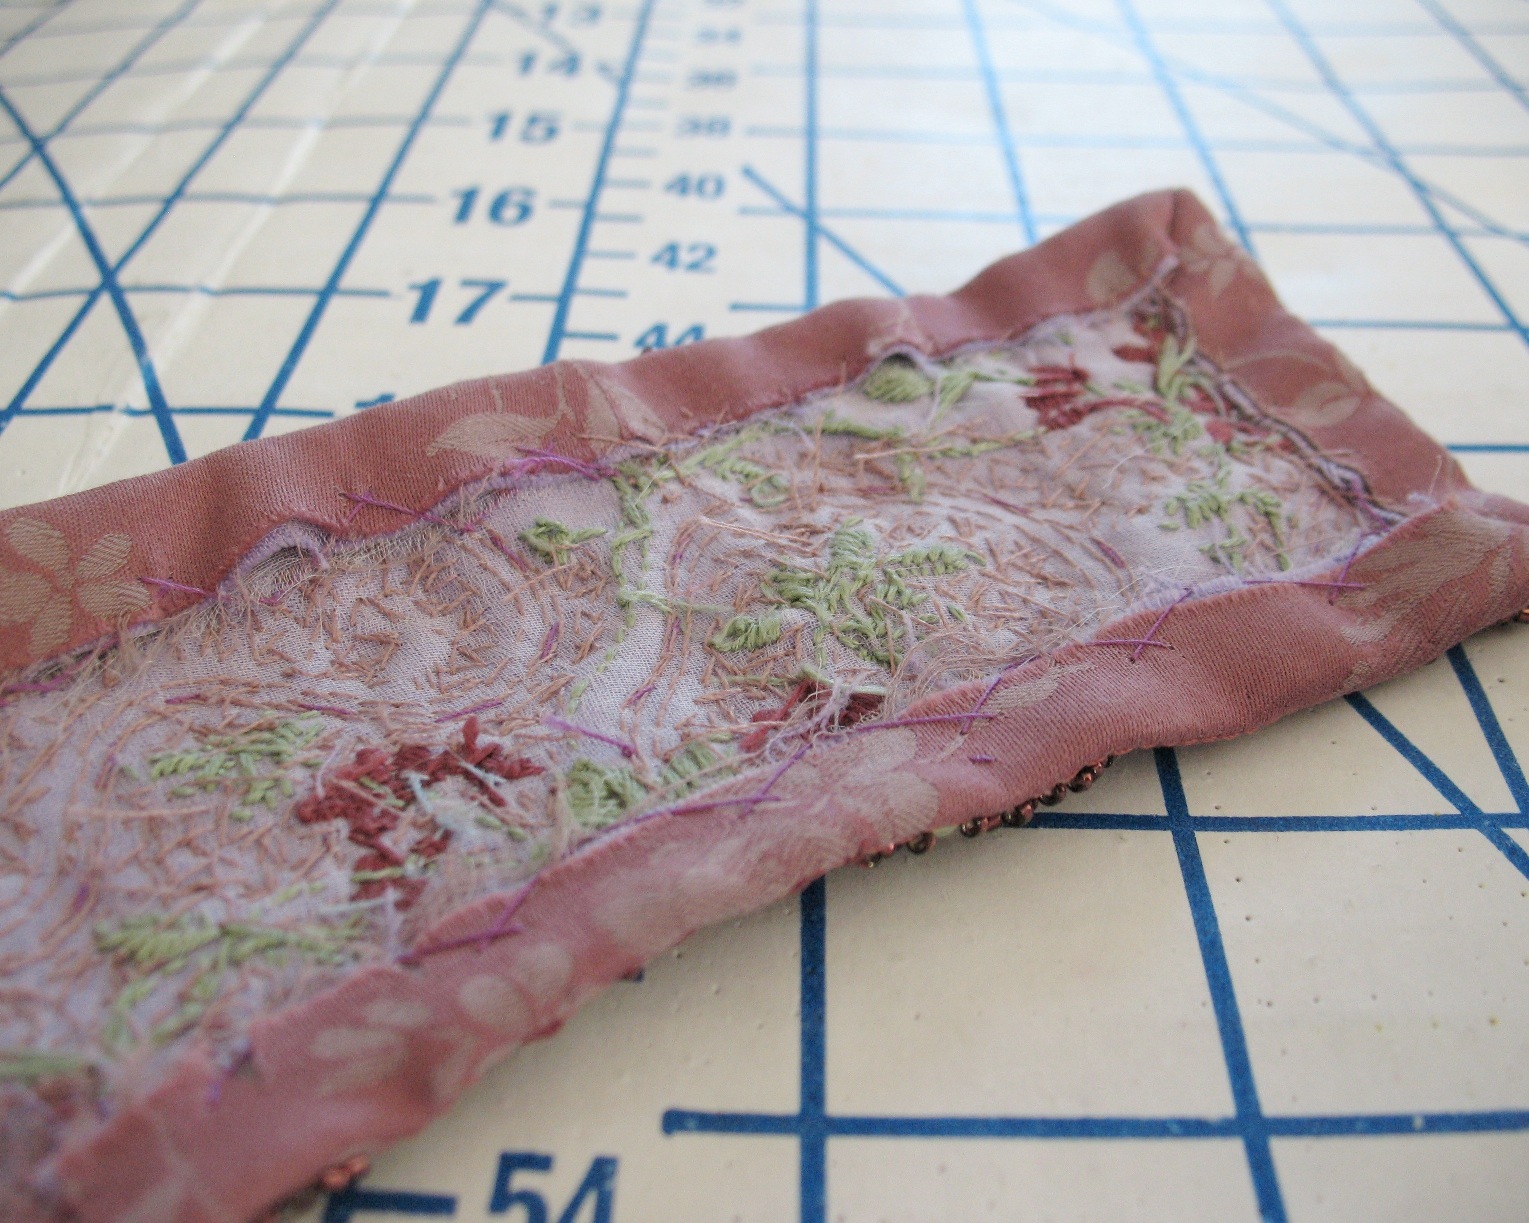
And then the raw edges were turned under.


Which, I have to say, was probably the most exciting part of the project.


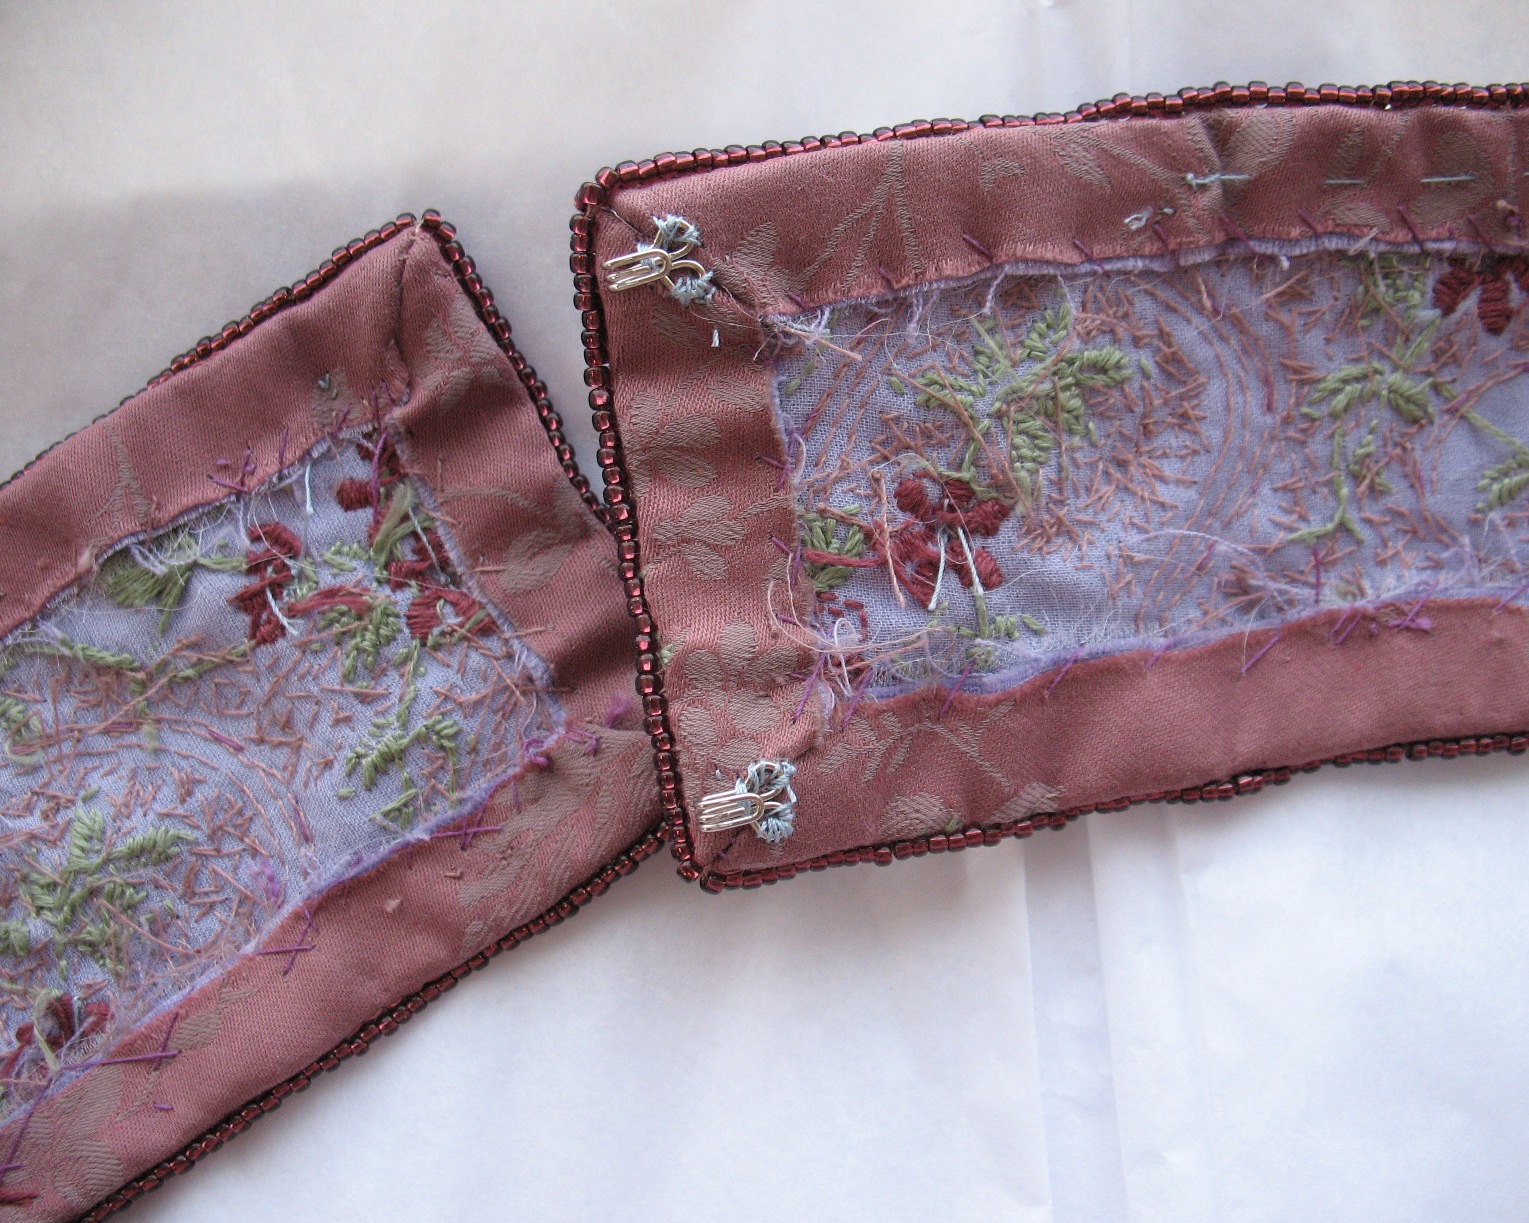
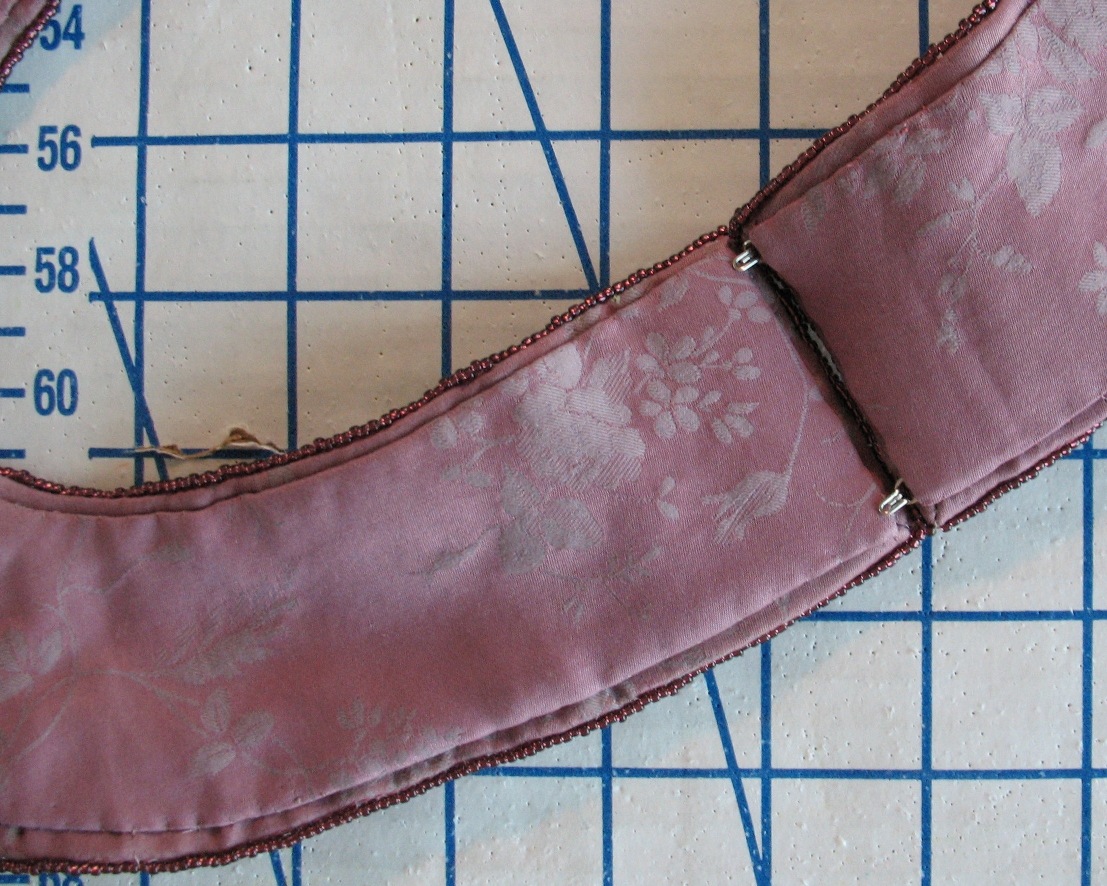
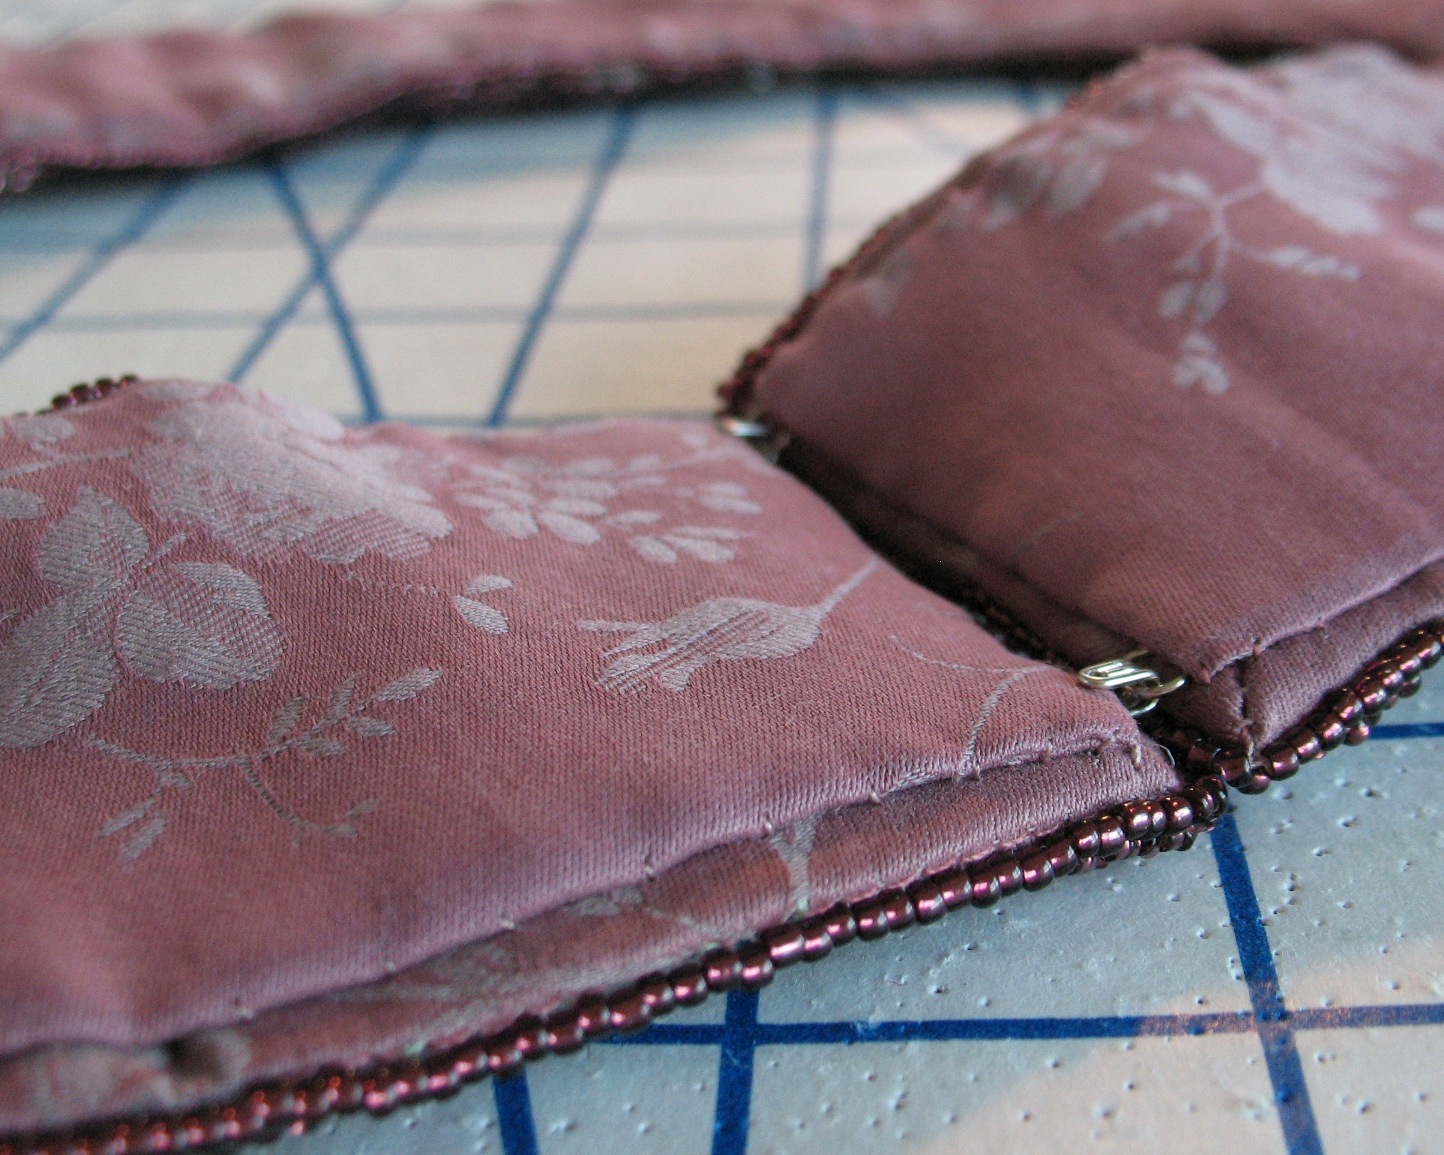
To keep the collar closed, I added two hook & eyes to the center back opening.


Although a thimble still feels foreign to my fingers, I managed to spare my fingertips from major injury this time around.  But it would certainly be a useful skill to have with all of the hand sewing I do . . .


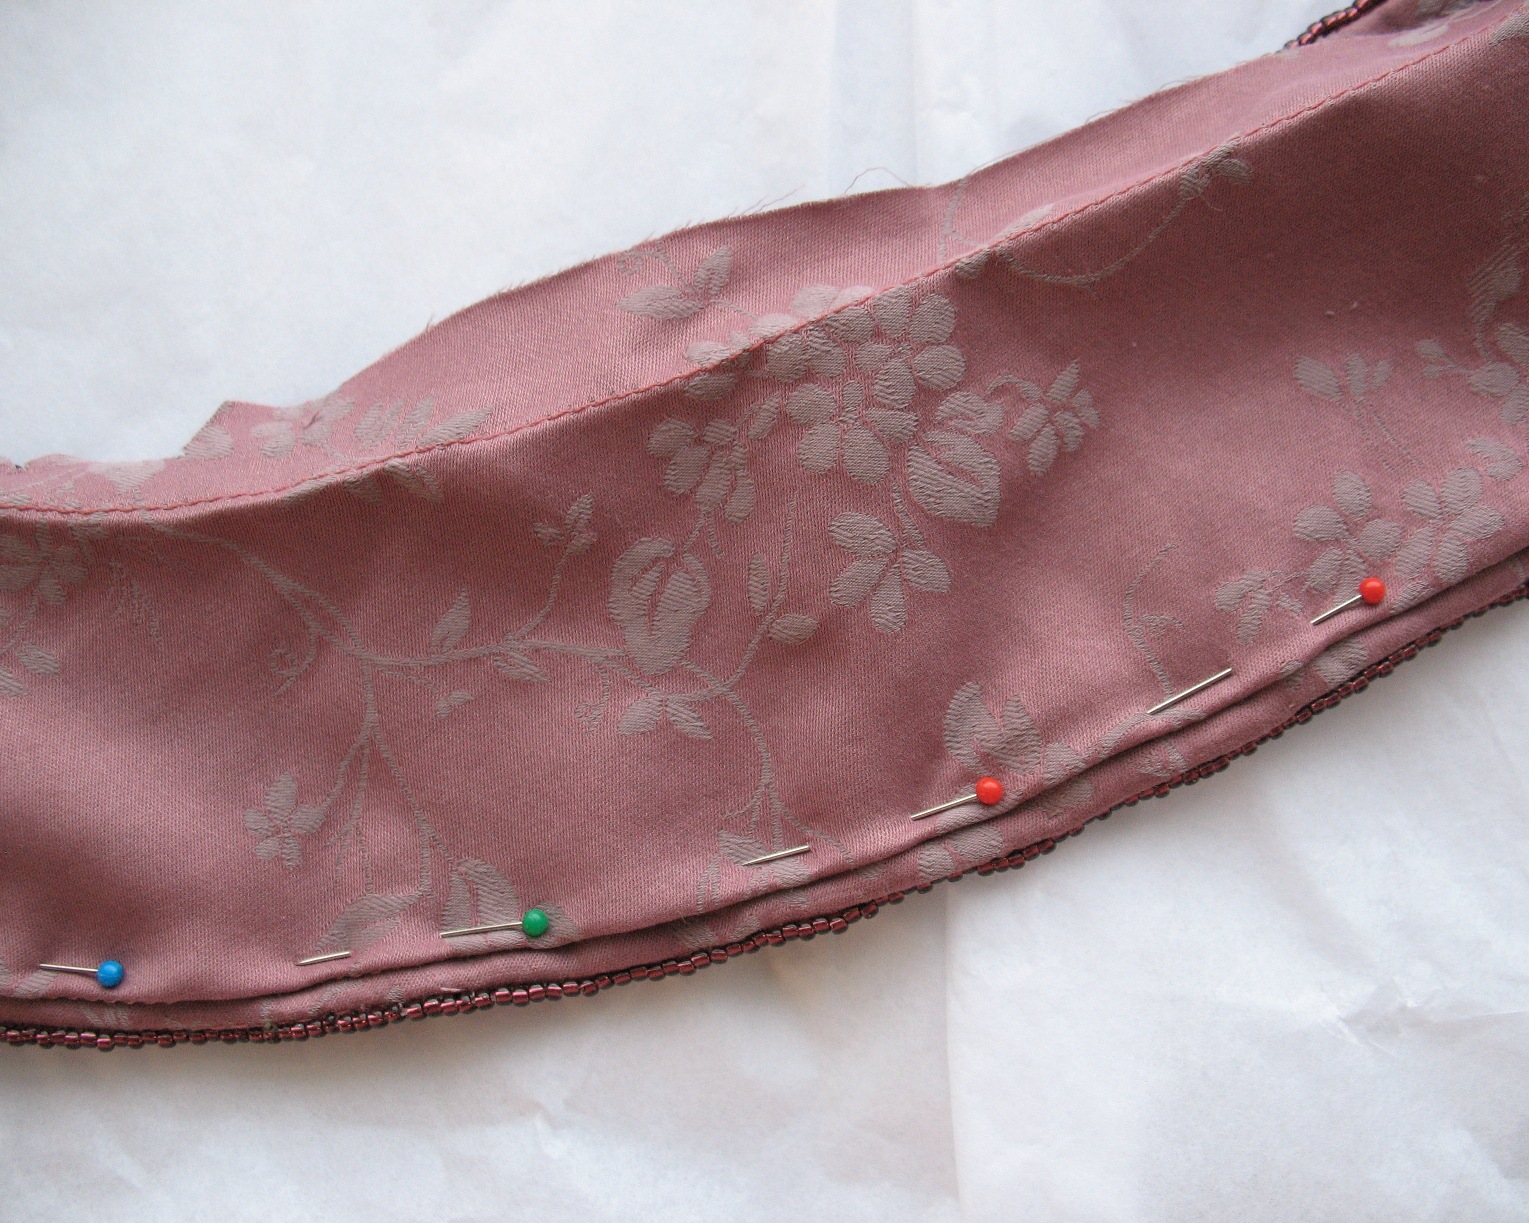
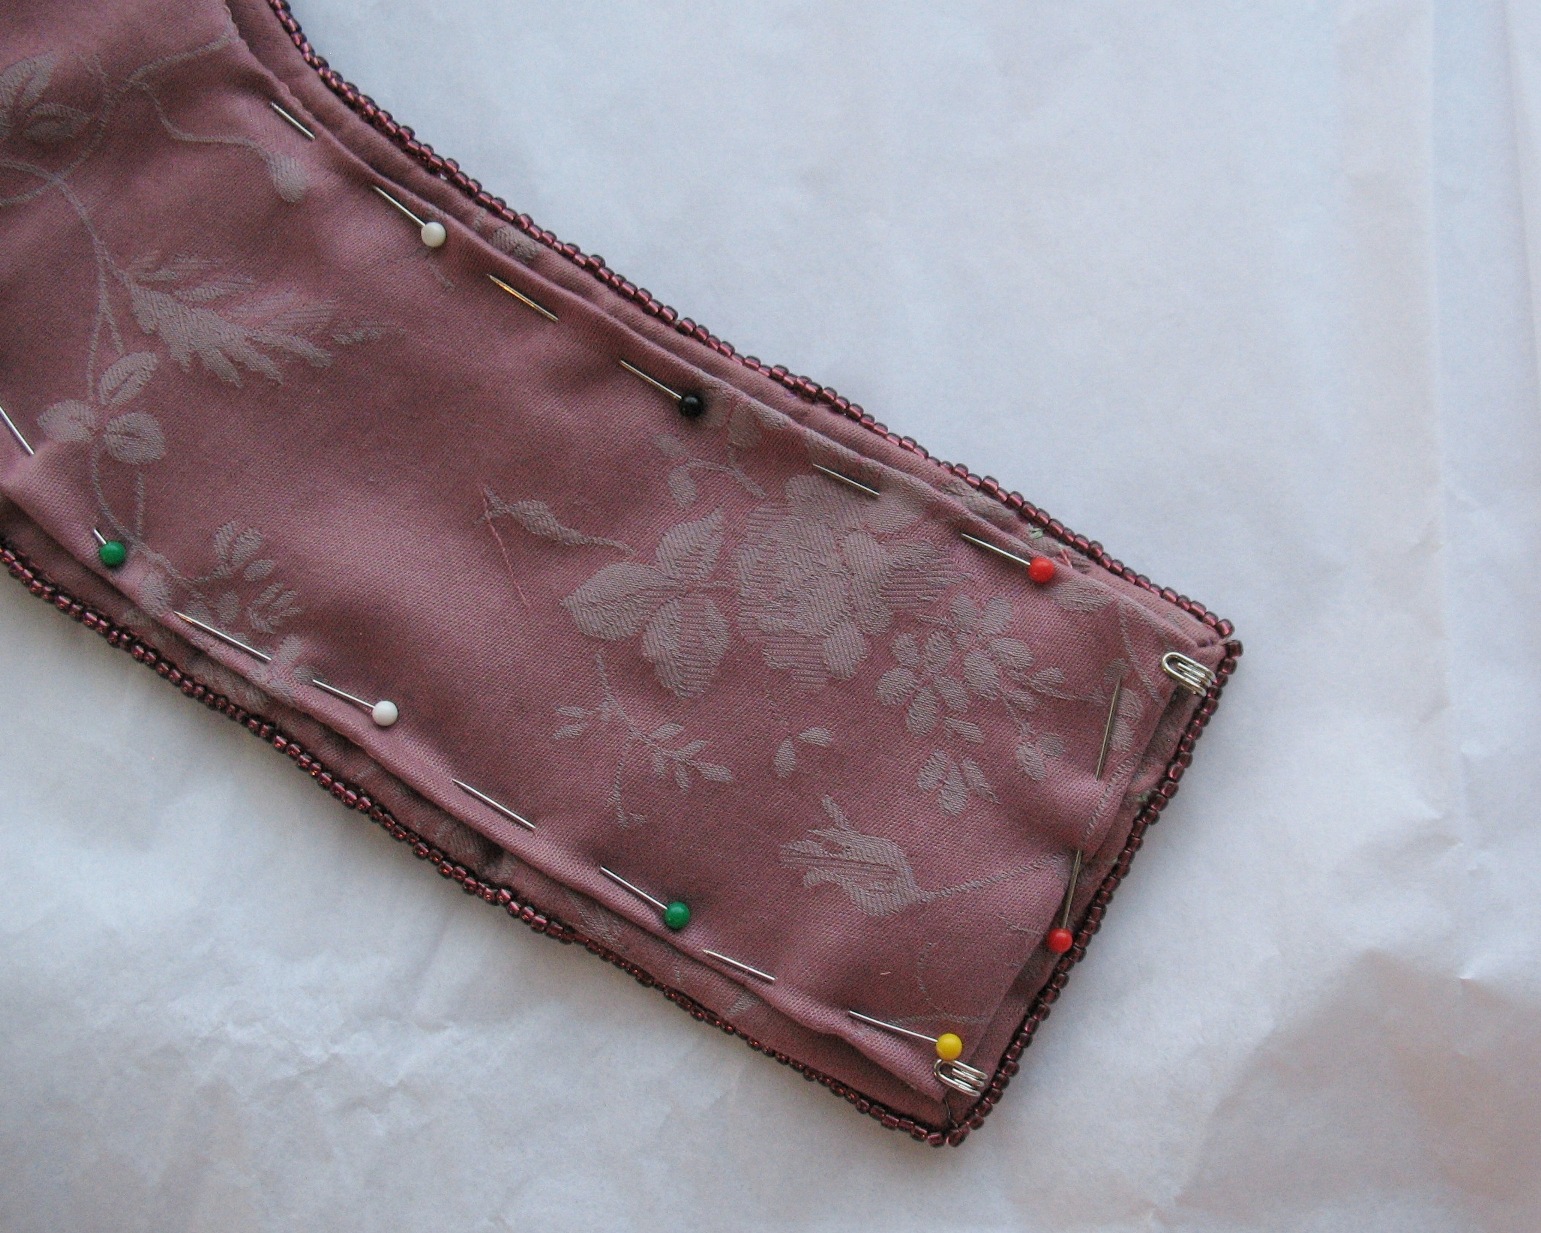
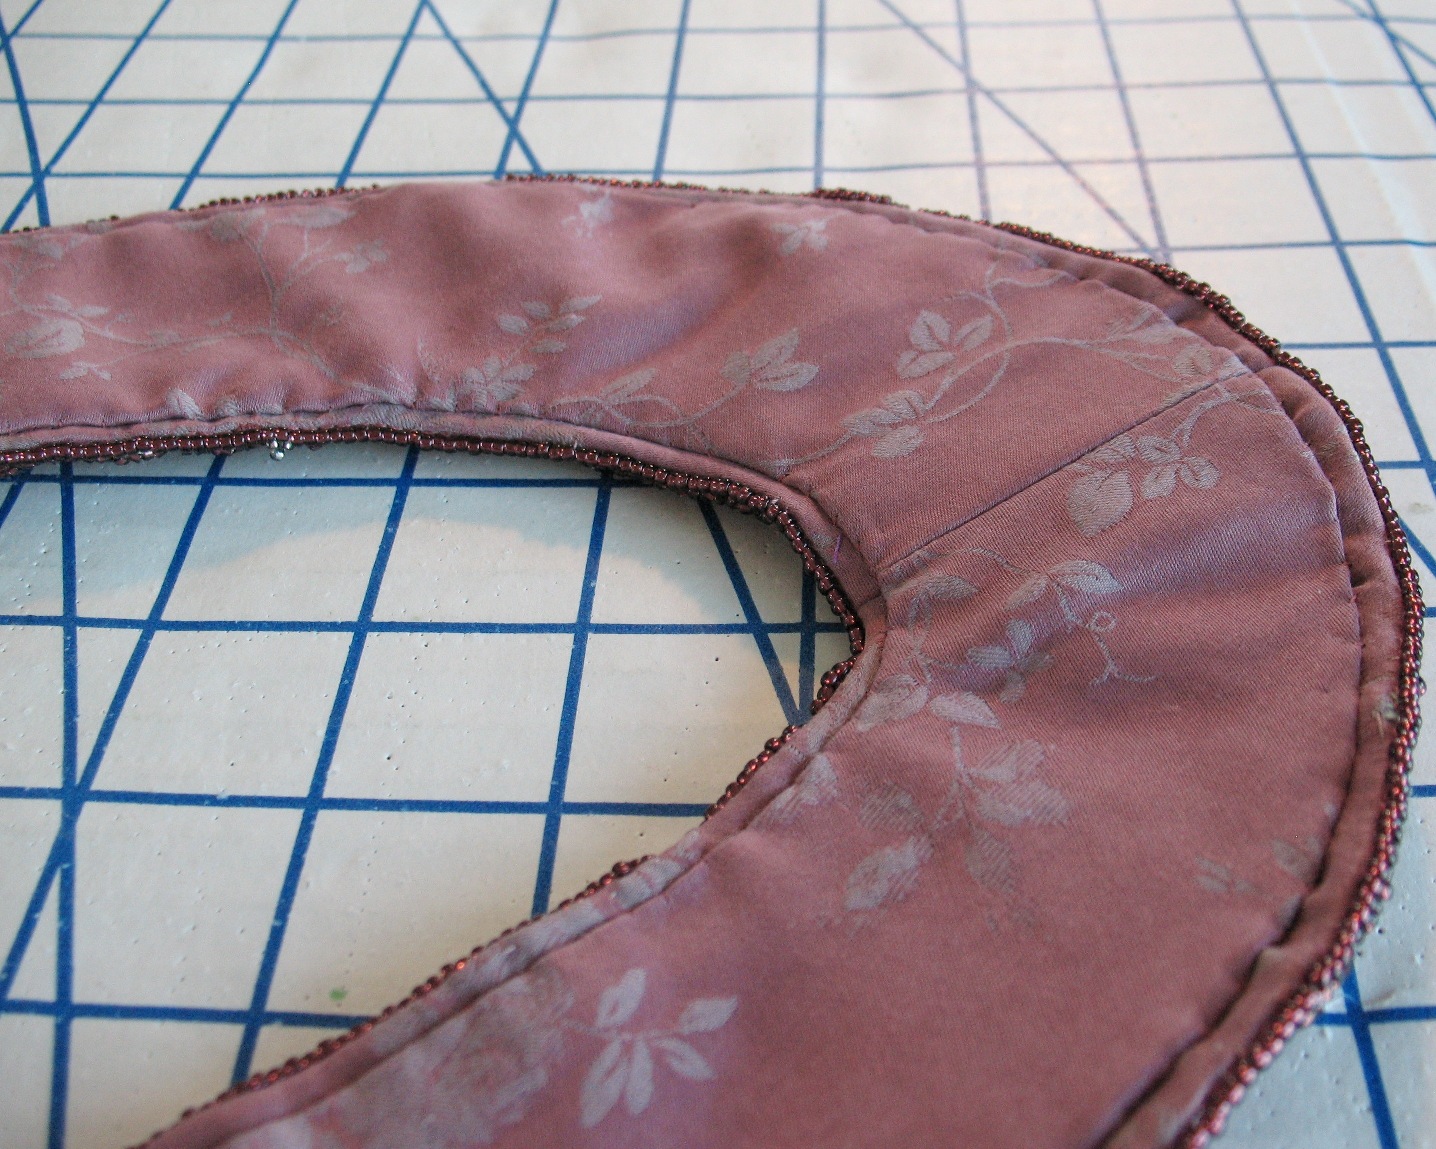
A duplicate collar was cut out to use as a lining.  I suppose I could have used an actual lining material, but since I have plenty of scraps leftover of the silk/cotton jacquard, I figured I would use them.


A line of stay-stitching helped to mark the fold-point - this is so much quicker than marking with a pen!  It also keeps the clipped curves from migrating too far.


The lining also allowed me to cover most of the hook & eye bits.


Which is so much prettier than all that metal showing.


The lining was hand stitched into place.


To camouflage the stay-stitching on the collar, a line of beads was stitched along the outer edges.


And that concludes the collar portion of this outfit . . .


Stitching the two hook & eyes on this collar has reminded me that I have to add one to the dress.  And then I am truly done with the outfit!