Thursday, October 24, 2019

A Cap Sleeve Jumper


One day I found some lovely bright pink cotton/rayon yarn at an estate sale.  There was not very much there (just three balls), but I took it home with me.


Then, of course, I couldn't get the yarn out of my mind.  I had to find a pattern that would work with the limited yardage.


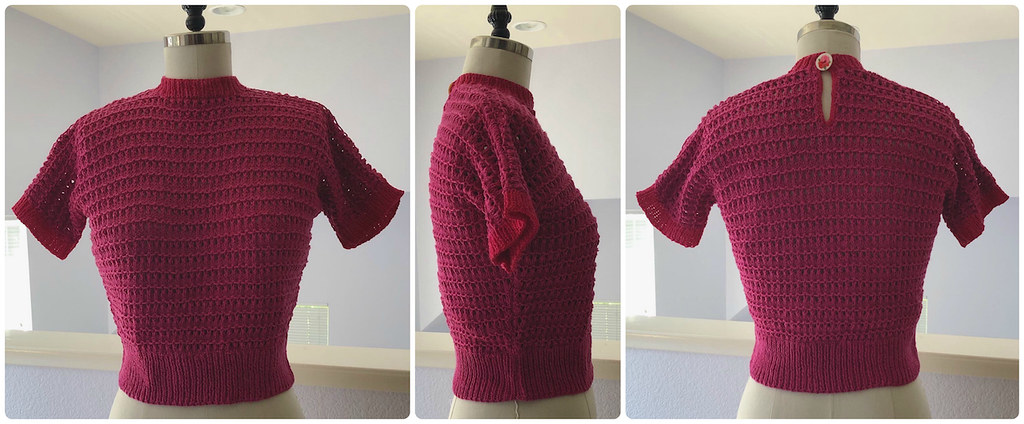
Eventually, I settled on this Cap Sleeve Jumper.  As pictured, I would probably run out of yarn.  But if I shortened the body to sit at the waistline instead of the hips I just might make it.


Unfortunately, the limited yardage was not enough.  The body was knit, but the ribbing sections at the neckline and sleeves were too much for my yardage.


But then, miraculously, I found some of the same yarn on Ebay with no mention of color or dye lot.  But how could there be two different pinks in the same yarn range, right?!  


Of course, when it arrived the color was not at all the same.  I thought about tea dying the new yarn to see if I could darken the brighter color to better match the original, but then decided against it.  Since I would be using the contrasting color on all of the ribbing it just might look intentional.


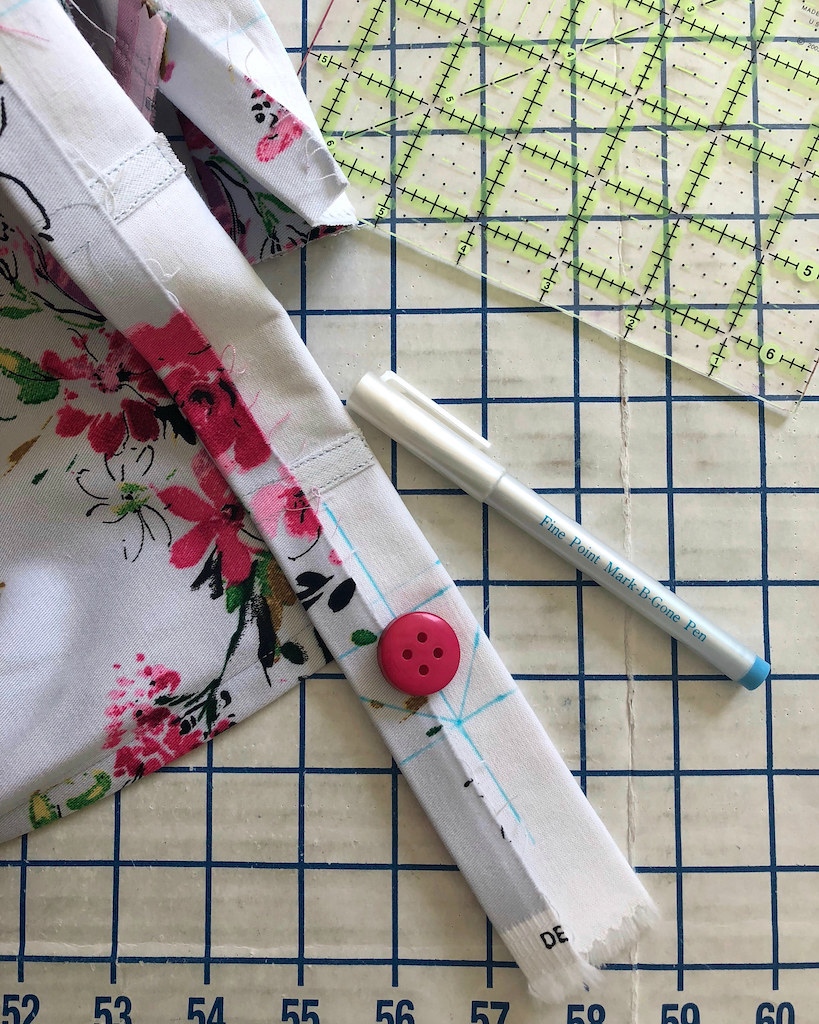
And then I found the single remaining button from this project that was a perfect tie in for both colors!  The pattern actually calls for a zipper to close the neck opening, but I prefer a button.


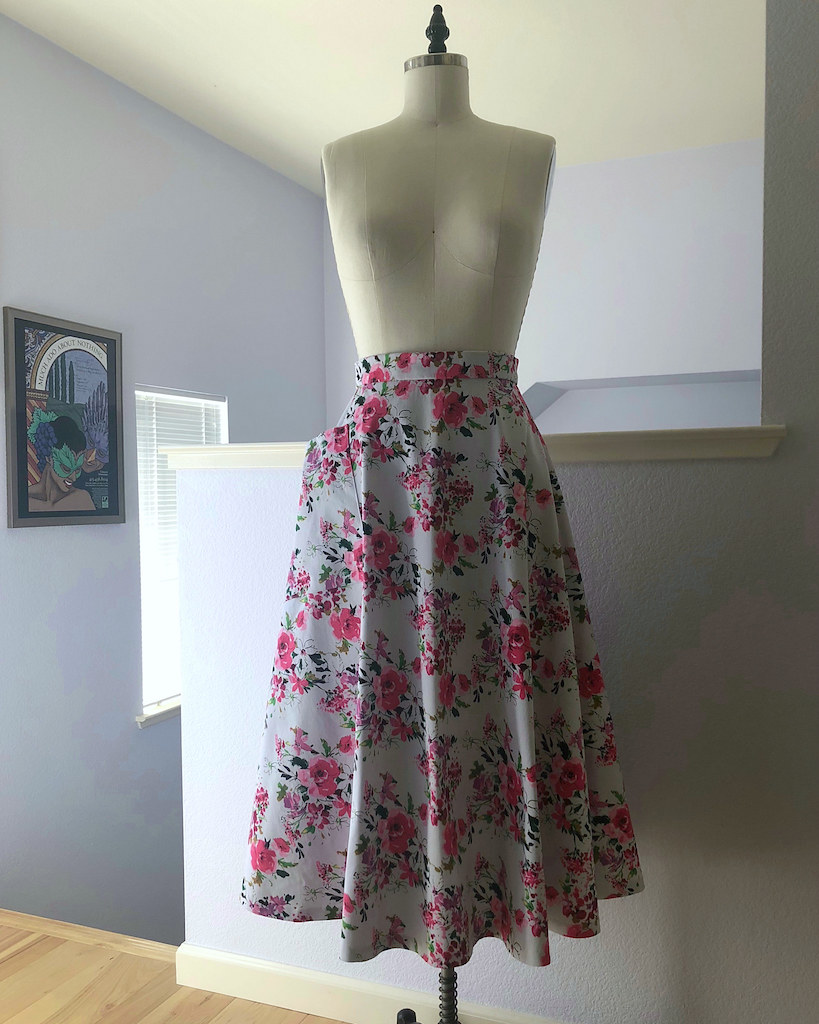
Overall, I am quite pleased with this.  And I have the perfect skirt to wear with it!


Tuesday, October 22, 2019

Vintage Bustier


A few years ago I made a skirt and bustier set and loved it so much that I decided I needed another.


I used a different skirt silhouette, but when I had plenty of leftovers from said skirt, I decided that I would make a second version of Simplicity 1426.


But this time, I decided to add a few pieces of boning to the midriff lining instead of simply interfacing those pieces.


And, of course, I couldn't help myself . . . bound buttonholes were once again used for the center back closure.


A pair of bra cups were stitched between the two layers of fabric.


Definitely a quick project that doesn't require a lot of fabric.


It took me some time, but separates have definitely become a staple in my sewing room.


Adding a cardigan means the outfit can be worn when the weather is a little too chilly for the top.  And, of course, either piece can be worn with other wardrobe options.  The skirt, especially, has had quite a bit of play this summer!


Wednesday, October 16, 2019

Large Pockets and Vintage Silhouettes


Last summer I spotted this bottom weight twill on an endcap in JoAnns.  The pink is rather bright, but I thought it would make an excellent skirt.  I really like the fact that it is a light colored background that is not see-through because of the thickness of the textile.  Simplicity 8458 is recent vintage reproduction that I wanted to try, and this seemed like the perfect opportunity.  I toyed with the idea of making the button front version, but I though the detail would get lost in busy print.


Just for fun, I decided to install my zipper using a machine.  I am alway hearing about people using double sided tape to apply zippers without the distortion from any pins, so I went ahead with that technique.  Will I be deserting my hand picked zippers anytime soon?  Certainly not!  But it was a fairly painless zipper insertion, and went much smoother than expected.  I will conquer my fear of using a machine!


I also decided to insert a few small pieces of boning into the waistband.  At this point, I should know to always do this because whenever I don't, I kick myself.  One of my favorite skirts does not have any waistband reinforcement and it bunches in a very annoying manner.  I should go back and fix it, but "mending" garments is probably my least favorite part of sewing.  Once something is finished, I am done!  Seriously, some of my ready-to-wear cardigans lose a button and it takes me years to fix it.  Highly embarrassing, considering that I could fix it in less than 10 minutes, but there you go.


I also decided that I wanted a button closure on the waistband instead of the hook & bar I usually use.  When cutting the waistband out, I just made sure to give myself a bunch of extra length to play with.


I rather like the tab closure, and will have to remember the technique for future skirts.


I definitely love the silhouette of a classic long full skirt!  Tea-length is probably my favorite proportion, and this skirt is fast becoming a favorite.


Monday, October 14, 2019

Fore!


Here is yet another outfit that was made last year, but never made it to the Blog in a timely manner.


It is certainly safe to say that this outfit was inspired by my Royal Vintage "Hepburn" shoes.  I couldn't resist the style, but they are a little out of my comfort zone.


The obvious thing to do was to spend some time in the sewing room and make myself some new separates!


The skirt is my second version of Simplicity 8019.  It's a great little vintage reproduction pattern, and I may have to make another longer version out of a more drapey fabric at some point in the future.


I managed to squeeze the skirt out of leftovers from this jacket.  I did have to piece the waistband at center back, but considering the small amount of yardage I was working with, I am quite pleased with the results.


The blouse was made from a vintage Brioni shirt that had seen better days.  I Oxicleaned the heck out of it and was able to avoid the shredded and still discolored bits to cut all of the main pieces for Butterick 4985.  I did have to make the neck tie narrower than I might have liked, but it works.


The other change I made was to swap button loops at center front for the buttonholes suggested by the pattern.  And it worked!


I love the pattern, and need to make myself another.  Or maybe I should move on to another design with a tie neck?  I will be holding on to this pattern, though - it's a keeper!


Blouse:  Made by me, Butterick 4985
Skirt:  Made by me, Simplicity 8019
Shoes:  Royal Vintage "Hepburn"

Thursday, October 10, 2019

An Oversized Estate Sale Floral


I have had my eye on this Claire McCardell pattern for some time.  Of course, I have so many ideas for my next project swirling around in my head and this one dropped off of my top ten to-do list.


But when Emily mentioned the pattern recently, it reminded me of the wonderful design.  Of course, I couldn't find the perfect fabric in my stash, but it was only a matter of time until something suitable showed up.  A muslin was made, cinching the deal.  It's a fabulous dress!


And then I found this oversized rose print at an estate sale and there was enough yardage for the McCardell, miracle of miracles!  It was certainly meant to be.  I suspect this is a quilting cotton from the 1980s or 1990s.  I just love the graphic print and as soon as I found it I knew that it would be just perfect for this dress design.


The bodice of this dress is cut on the bias, meaning that the opening v-neck is on the straight of grain.  McCardell genius, you might say.  I went a little overboard and decided to stabilize the opening anyway with a strip of rayon seam binding since it has become a habit.


The front facing is cut in one with the bodice, as you can see here.


And, of course, that rayon seam binding gets a lot of play in most of my projects, as it certainly did here.


One of the most frequently asked questions I receive about rayon seam binding is how it works on curved edges.  The answer is, the product is woven on the grain, but because it is very thin and narrow and irons beautifully, you can ease it around curves without too much fuss.


And here is the front bodice with the cut in one facing folded into place.  The seam binding I used to stay the neckline opening was stitched just inside the fold line, and if you look closely, you can see the white thread on the red and black portions of the fabric.


I did forget just how much extra yardage is needed with an oversized print like this.  So while I had slightly more fabric than the pattern yardage requirements stated, it was a fight to get everything cut out.   I ended up piecing the sash because I wanted print placement on the front and back bodice to look as intentional as possible.


The skirt is pretty fabulous on its own.  I may just have to make a skirt from this pattern in the future. And another potential project gets added to the very long list . . .


A regular zipper was hand stitched into the left side seam.


And I catch-stitched the hemline in place.


Because my favorite vintage style bra has very narrow set straps that like to peek out of necklines, I added lingerie guards to the shoulder seams.


It's easy to make your own with a snap and a short length of ribbon, and I think they look much nicer than the store bought options.


And that means the dress is finished, right down to the smallest detail.  This is definitely a pattern I plan to make again in the near future!

Tuesday, October 8, 2019

A Novelty Shirtwaist Dress


I actually managed to wear this dress before the calendar date made wearing a predominately white cotton dress just too out of season!


I don't necessarily subscribe to the "rules" of fashion, no white after Labor Day and all of that, but this is definitely a summer dress in my book.


There certainly are a massive number of shirt dress patterns out there, and I can say without reservation that this is a good one.


There were no real surprises in the construction; everything was very straightforward.  This is also one of those "Custom Fit" patterns that include multi-cup sizes, so if you wish to avoid small or full bust adjustments, this might just be the right shirt dress pattern for you.


And as I mentioned in my post about the construction of this garment, the only real thing to complain about is the amount of yardage required by the pattern.  But who doesn't want to wear a really full skirt, right?  And that is the price we have to pay.


All told, this was a very pleasant project.


And now it's on to sewing more seasonally appropriate garments.  Although I can't promise that there won't be one or two more summery garments that get posted to this blog.  I really am trying to catch up, but as I continue to spend time sewing, that may never happen!


Dress:  Made by me, Vogue 9345
Shoes:  Royal Vintage "Ginger"