Sunday, November 27, 2022

All Hallows' Eve

Well, I missed the deadline on this post.  Whoops!  I did manage to finish my dress in time for Halloween, but getting through the photos proved to be too much for me.  This time change business kills me; I lose all of my motivation around this time of year.  Blergh.

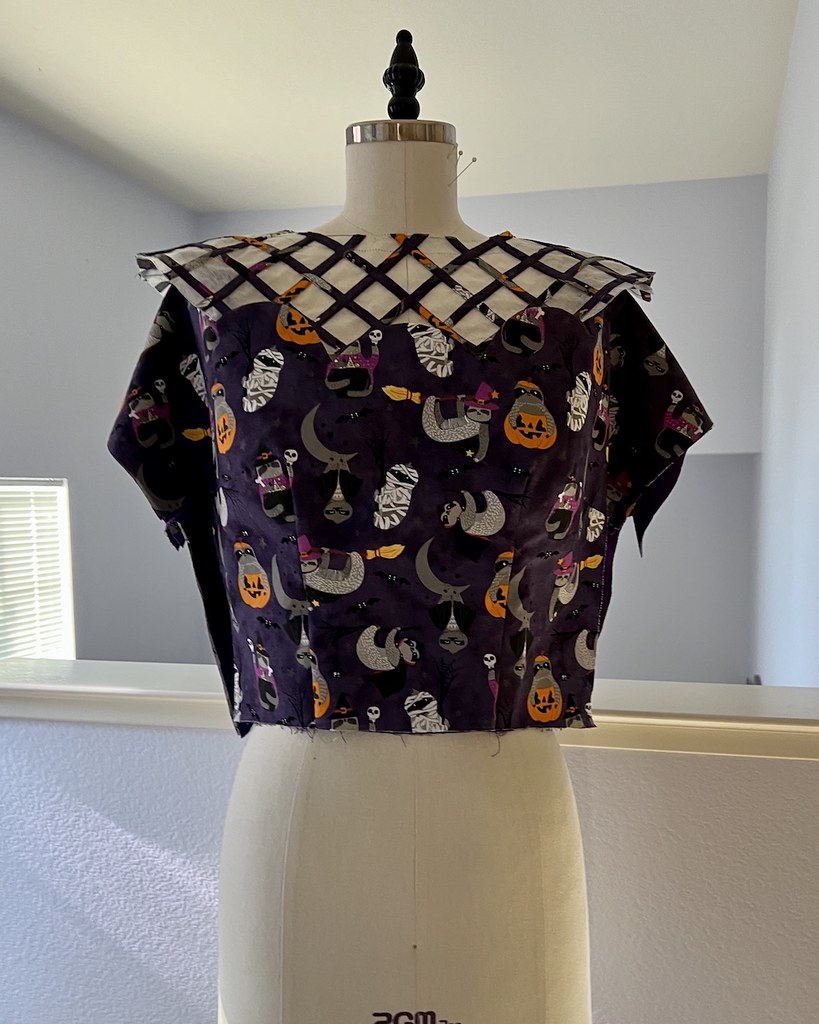
But I am happy to report that I love how this year's Halloween outfit turned out.  Michelle from OldPatterns.com sent me the dress pattern, and I just couldn't wait to try it out.  The holiday themed print was an excellent way to test out the pattern as a wearable muslin.

If you have been around these parts for any length of time, you are probably well aware of my obsession with novelty prints.

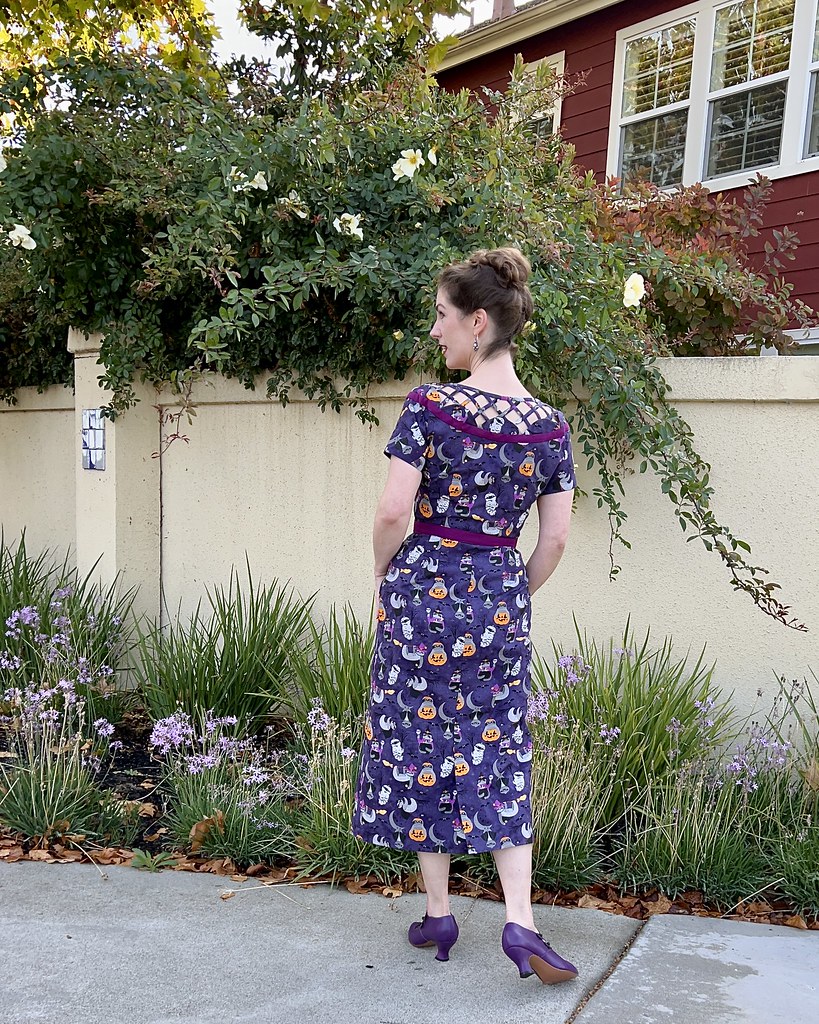
There are a whole lot of  orange and grey based Halloween prints, but neither of those colors work especially well for me.  But add purple into the mix, and I am on board!

Mr. Blue came along for the photo shoot.  He looks great in any color!  Valentino prefers to stay at home these days, snuggled in one of his many doggie beds (especially early in the morning when the temperature is a bit chilly).

The shoes were another motivating factor when picking a print for this year's themed outfit.

Of course, the sloths made my choice easy.  I actually had another sloth novelty print planned for my Summer sewing, but never got around to that project, so that will have to wait until next year.

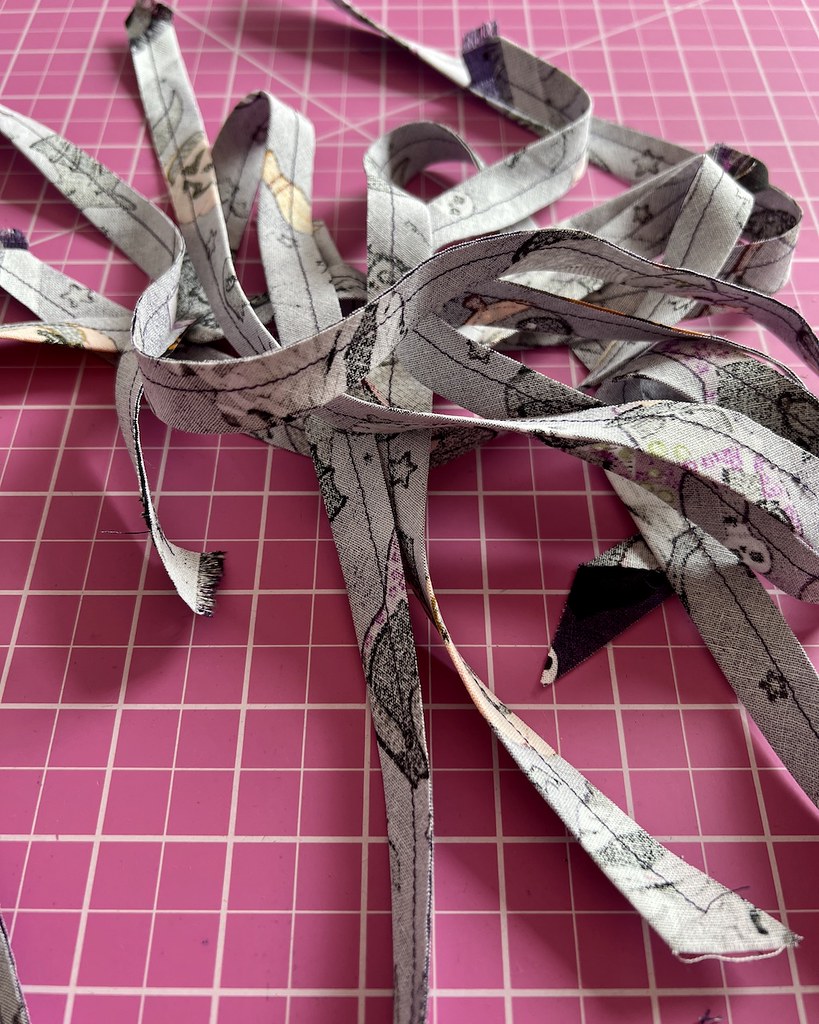
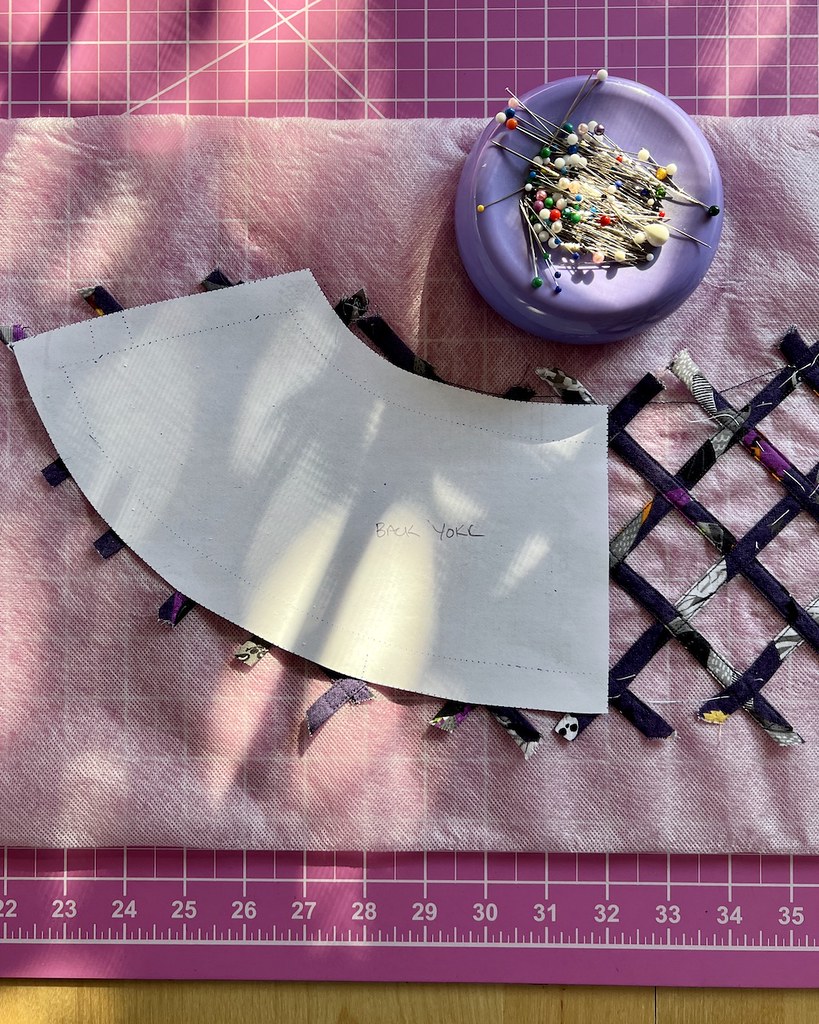
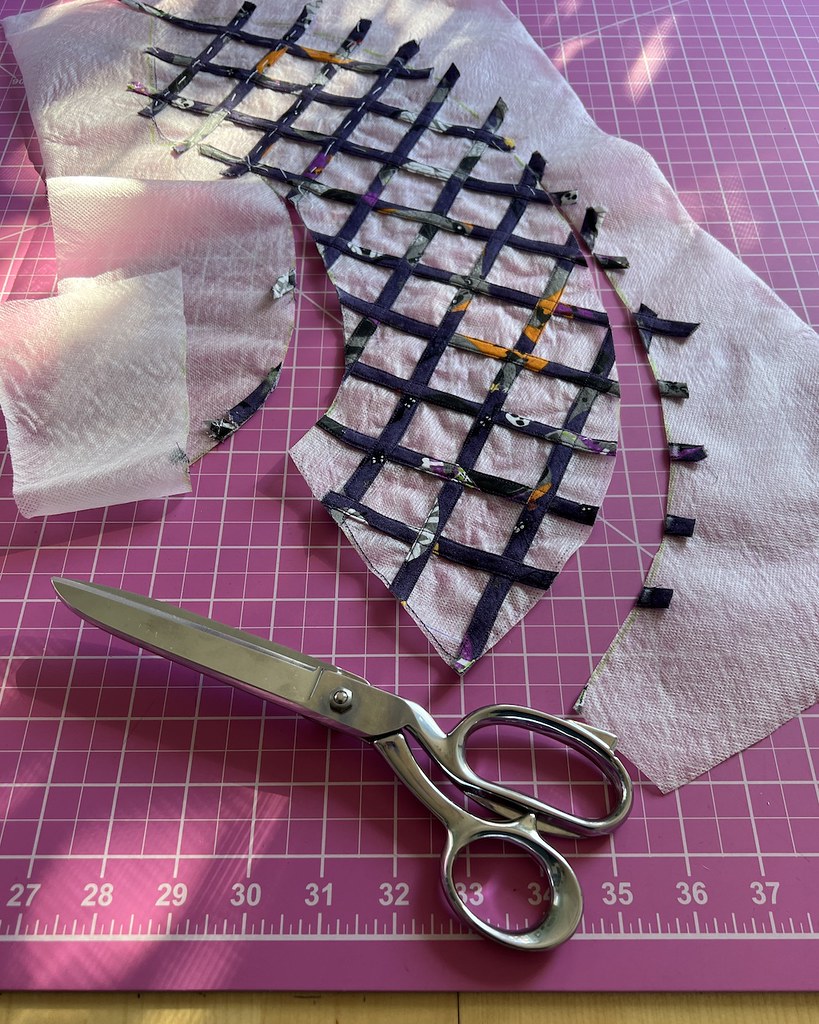
As I mentioned, this dress was more of a wearable muslin and a test of the cage neckline technique that I made up.  And I am pleased to report that it worked!

There is an excellent chance that I will be making this pattern again, perhaps with a full skirt, or perhaps the straight skirt paired with more of the originally intended sheer yoke.

But that is for another day, and requires a bit of research for fabric choices and such.

I really haven't been sewing at all for a few weeks.  Most of my free time is spent with a chihuahua on my lap, and a pair of knitting needles and some squishy wool.  Tino has become an absolute lap dog in his later years, and I am trying to give him as much attention as I can manage.  So for now, it's couch appropriate crafting.  But I do have quite a few sewing projects that I would like to put together during the colder months, so I am hoping to get back into the sewing room soon.

Dress & Belt:  Made by me, McCalls 4587
Shoes:  American Duchess, "Endora"
Earrings:  Shadows

Sunday, November 6, 2022

Spooky Sloths

I had hoped to get this dress posted by October 31st, but such is life.  When I left off, I had finished making the yoke for McCalls 4587 (sent to me by Michelle of OldPatterns.com).  But I need to go back a bit.  The print of this fabric is fabulous, but the quality of the cotton is not great.  It's a fairly loose weave, and a little bit sheer for a dark colored background.

I knew that I wanted to line the pencil skirt so that it would maintain its shape better, so I decided to go ahead and line the bodice as well.

That was easily accomplished by cutting a duplicate of bodice front and back, stitching the shoulder seam on both the fashion fabric and the lining, placing them wrong sides together, and then treating them as one where the yoke meets the bodice.  The scallop facing finished those raw edges.

The next step was to attach the yoke.  The lower edge of the yoke matches the lower edge of the lower bodice facing (the scalloped piece).  I thought about rinsing the stabilizer out before stitching the yoke to the bodice, but changed my mind.  And I think that was the right decision.  This made it much easier to attach the two pieces accurately.

Of course, that meant having to wash the entire bodice while there were still a bunch of raw edges.

I was as gentle as I could be, and placed the wet fabric on a flat surface to dry.  The great news is that the water soluble stabilizer came out with no issues.

The line of stitching connecting the yoke to the bodice is covered with a bias piece of fabric.

I could have gone with the printed fabric, but I thought it would break up the print too much, so I found a contrasting cotton.

This was probably the most fiddly bit of the dress construction.  Trying to get everything to line up properly and maneuver the bias bits versus the straight of grain under the machine gave me a bit of grief.  But it all worked out in the end.

The skirt went together easily.

I wish that I had enough of the fabric to do a better print match, but I didn't, so I am going to have to get over the center back and side seams.  Thankfully, the front of the dress doesn't have any strange duplications of the motifs.

The side zipper was hand stitched into place.

I found a very good thread match, so those stitches just about disappear.

As the days are getting significantly shorter, and I was running out of time to complete the dress by Halloween, I did some of my hand stitching after the sun had gone down.  Boy does it make a difference working with dark colors in crummy lighting.  Still, hand sewing is one of my favorite things to do, and I wasn't about to let a lack of light stop me.

The pattern faces the sleeve hems, which I find works best for a cut-in-one sleeve.

The facing was finished with seam binding, under stitched (a step which was omitted from the directions, but I did it anyway), and hand stitched in place.

And all of those raw edges are tucked away nicely.

The bodice and skirt lining were hand stitched to the zipper tapes.

Next up was a belt to tie in the contrasting bias of the yoke.

With all of the machine edge stitching on the yoke, I decided top-stitching would be a nice finish for the belt as well.  And I just happened to have an appropriate buckle stashed away.

And that's about it on the construction end of things.

I had a specific idea that came to mind as soon as I had this vintage pattern in my hands, and the alteration of the fabric yoke to a cage/lattice made of fabric strips worked as well as I could have hoped.

I am confident that I will use the same technique in the future.

And as for the pattern?  This fun novelty print was an excellent opportunity to test how well I like the fit of this design, and I definitely plan to make another version.  Now I wonder where I can find fabric to make an illusion neckline . . .

Tuesday, November 1, 2022

Latticework

If I had to choose my favorite portion of this pattern, it is the scalloped edge.  But I was unsure about the yoke.  The scallops were not going to show very well if I used self-fabric for that portion of the pattern, and I didn't think that I could find a sheer fabric in a short period of time.  But I have been wanting to attempt a lattice cage along the neckline of a dress for quite a few years, and now seemed like an excellent opportunity.  First, I traced the yoke pattern on paper so that I could visualize how the spacing would work.

The next step was to test my theory.  I found water soluble stabilizer and purchased a roll.  This product is generally used for machine embroidery, and I have never used anything like it.  I was somewhat skeptical that it would wash away, so I pulled out some scrap fabric.

Short answer is, the product works.  I have found that it dissolves best in warm water, and I used some mild hand soap to make sure everything was washed away.

Proof of concept was a success!  With that accomplished, I was ready to get started on the actual yoke.

First, I cut out a bunch of bias strips.

Those were stitched together with a narrow seam allowance.

And then comes the fun part . . .

I know all of the tricks, but I still detest turning loops right side out.  I hate it almost as much as mending, which is saying a lot!  A quick bit of steam flattened them out nicely, and that bit of torture was over.

I knew that I would have to make more lattice than was needed for the yoke, but I wanted some idea of the shape.  This was accomplished by tracing directly onto the stabilizer.

Next, I drew in the spacing lines for the lattice.

This particular stabilizer does not sit completely flat.  I was able to stretch the edges slightly, but I was unable to keep it from puckering, especially with the pinned strips of bias.

I wasn't too concerned about the stabilizer itself (since it would be washed away) and since my fabric was bias, I was hoping it would turn out flat if I dried it on a flat surface.

So what started out as a simple two piece yoke turned into a rather time consuming activity.  

As I was laying everything out, I realized that I should probably weave them in and out of each other.  This had completely slipped my mind as I was thinking through all of the steps.  Thankfully, these yoke pieces are not too big, so making sure everything was properly woven under and over was not too much work.  That being said, how do people manage this with pastry?!

With all of those pins, I knew that I would have a fit at the sewing machine, so it was obviously time to hand baste everything into place.

Once that was accomplished, it was just a matter of edge stitching all of the strips down.

I generally prefer hand sewing to machine sewing, but I got in a rhythm with this and it wasn't too bad.

I had, of course, traced the outline of the yoke directly on the stabilizer, but I wanted to make sure that stitching on a slightly puckered surface hadn't shrunk my yoke, so I made myself a paper template and retraced that shape.

It was fairly accurate, even with the addition of all that machine stitching, but I am glad that I took the time to ensure that the pieces were the proper size.

And then I had to cut that shape out.

After joining both shoulder seams, it starts to look like part of the bodice.

And it was at this point that I realized that I would need to add two more strips of bias. 

I wanted the cage to be centered, both front and back, but that meant that there were not many strips matching along the shoulder seams.  Once that stabilizer was washed away, I don't think the pieces would have stayed connected without the additional bias strip.  But better to figure that out now rather than later!

I also ran another line of stitching just inside of my seamline.  This may not have been necessary, but I wanted to bind the neck edge, necessitating removal of the seam allowance, and I didn't want the lattice to stretch out.

The final step was to bind the neck edge with another strip of bias fabric.  And so ends the saga of the cage yoke, and now it's time to get back to the actual construction of the dress!