Friday, May 31, 2013

Silk Organza Magic: An Underlining Tutorial

Years ago when I first heard about how fabulous organza was, I was very curious.  On my next trip to my local JoAnn Fabrics (I bet you know where this is going . . .) I decided to check it out.  Over with the “bridal” satin and lace was a plethora of organza, of the polyester persuasion.  It felt awful, but it sure did spring back into shape, so maybe all of the hype was for a good reason?

Well, my dislike of polyester was proved right.  The stuff was hideous and terrible to work with.  The iron would just as soon melt the yardage as crease it properly.

How much of a difference could fabric content make?  Turns out, a massive difference!  It is similar to my experience with polyester seam binding (horrid) versus my beloved rayon seam binding (the stuff dreams are made of!).


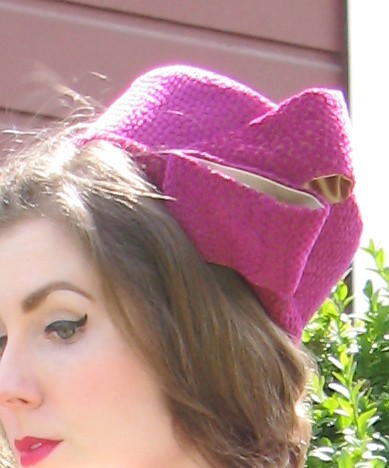
Silk organza really is a miracle fabric, in my opinion.  It is crisp, lightweight, and can perform so many different functions.  First off, it makes truly beautiful finished garments.  At the other end of the spectrum, it also makes an excellent press 
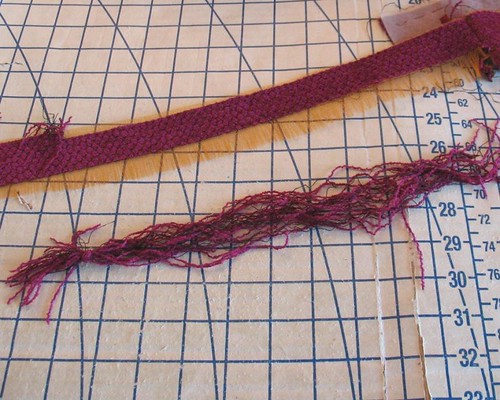
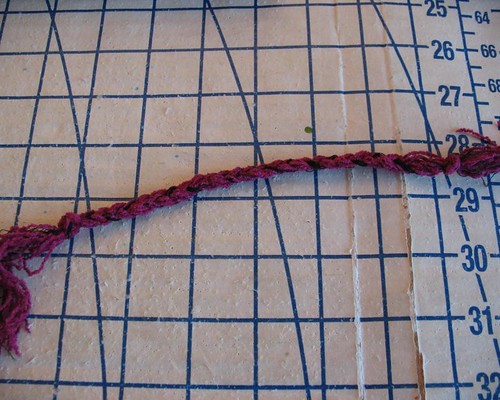
cloth.  Tear it into strips, and it can help to stabilize an opening.  I even substitute organza for fusible interfacings on facings. 

One of my favorite tricks is using organza to stabilize the back of a skirt (or anything else for that matter).

Fitted skirts or pants can easily stretch and bag out at the back after a day of wear.  Generally, a cleaning will get those fabric fibers back to normal, but I would rather avoid the issue in the first place!  A layer of silk organza added to the back pieces as an underlining layer can help to minimize this problem.

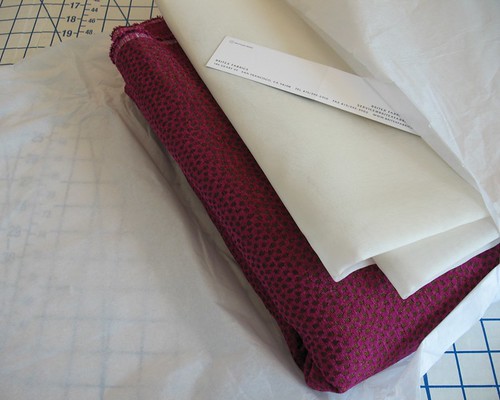
First, make sure to pre-treat your silk organza just as you pre-treat your fashion fabric.  There is no sense going through all that extra work to have everything shift and shrink after the first wash.  A dunking in water may change the hand of the organza slightly, but it will retain its crispness and stability, which is what we want!


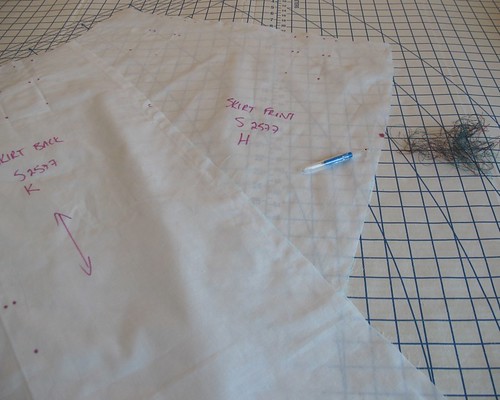
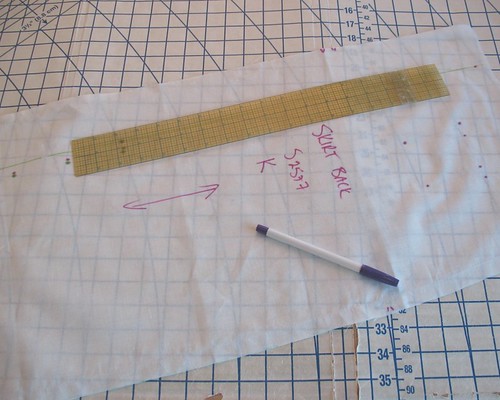
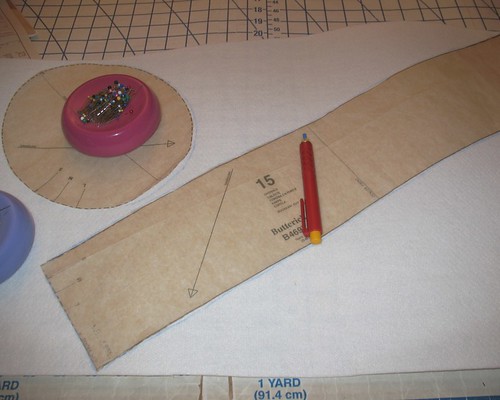
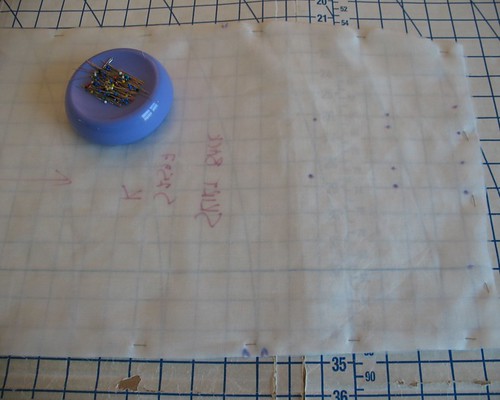
Using your pattern piece, cut out the pieces needing stabilization in organza.  Before removing the pattern, flip the pinned pieces so that the organza faces up.   Mark darts, and all necessary symbols in chalk or your preferred method.  


Feel free to mark up the organza with grainlines, and anything else you think will come in handy later.  Unless your fashion fabric is white or very sheer, those chalk marks are not going to show through.  


This is especially helpful with fabrics that are a challenge to mark, like chenille!  If you think your markings are not showing very well on the organza, place it over your fabric, and they will often pop with a bit of background contrast.


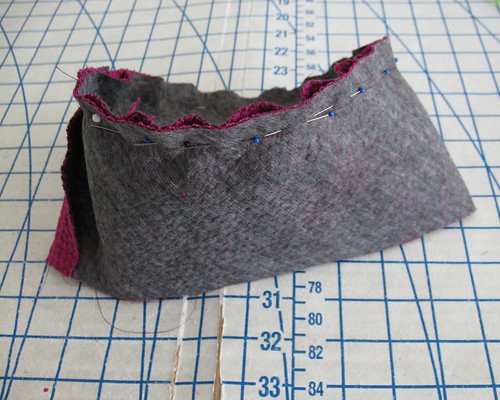
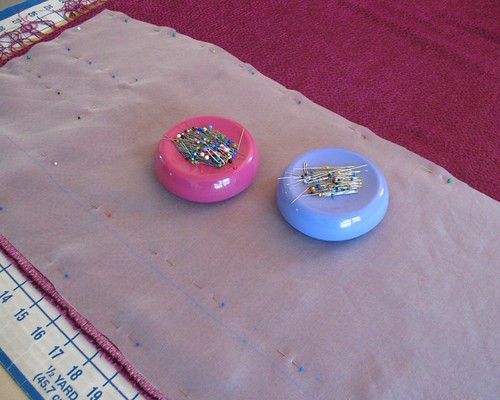
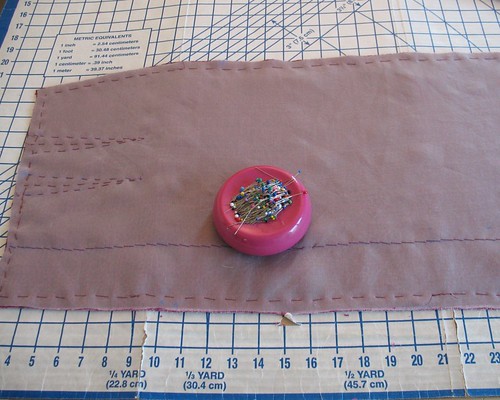
The marked organza is now placed on the WRONG side of your fabric, and pinned carefully into place.  
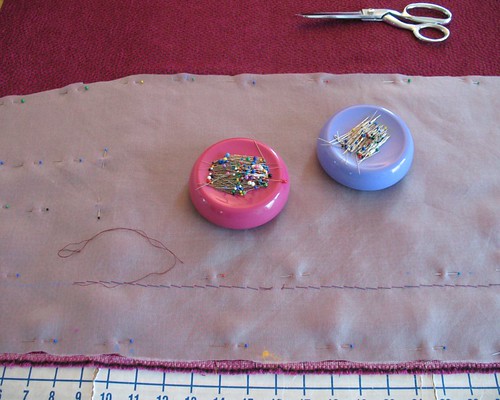
Before you cut anything out, it is time to baste the two layers together.  I like to use silk thread for this purpose because it makes hand sewing more enjoyable, and should you need to remove your stitches later on, the thread will pull out smoothly without marring your fabric!


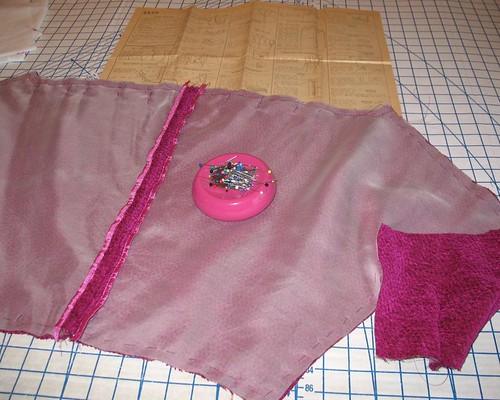
And make sure that duplicate pieces are placed correctly.  You do not want to baste an entire piece only to find that you have two left side back skirt pieces!


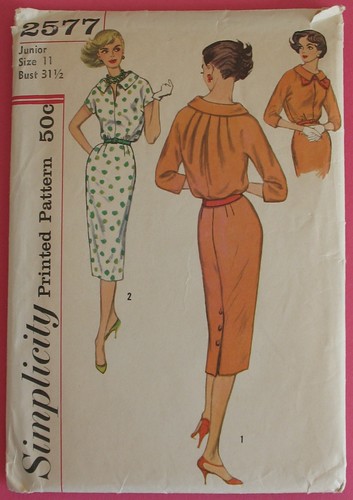
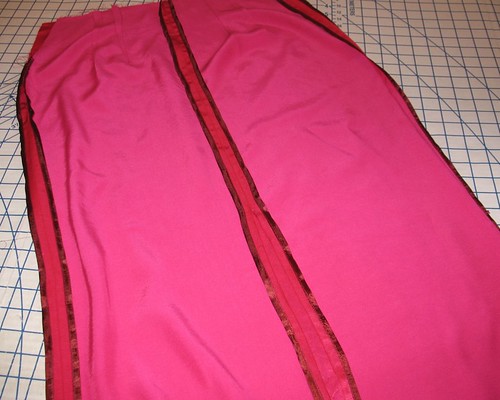
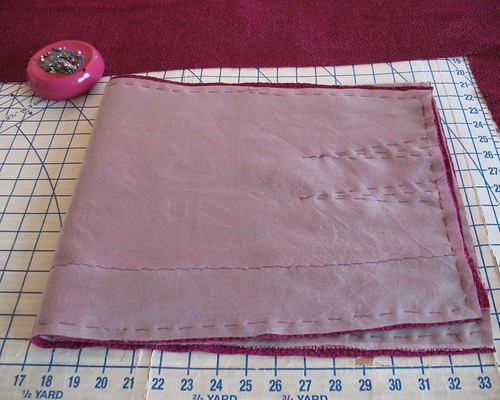
This particular dress has a center back pleat, and to ensure that the organza did not shift during construction, I stitched along that line as well, making sure that particular line of stitching was invisible from the right side of the fabric.  This also helps to stabilize those fold lines in the drapey chenille.


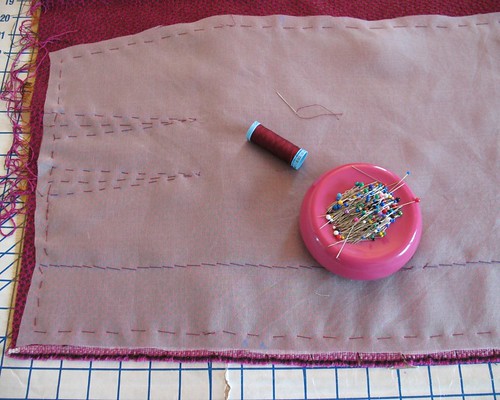
Any darts should be basted just inside the stitching line.  To help keep the two layers from shifting, it is a good idea to baste through the center of the dart as well.


Now you are ready to begin the construction of your garment.  And there you have it – a fitted skirt made from a fabric with quite a bit of drape that will retain its shape.


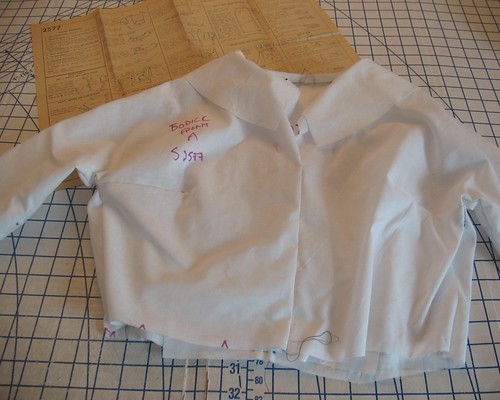
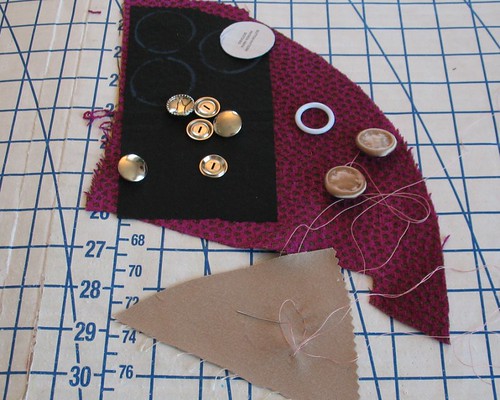
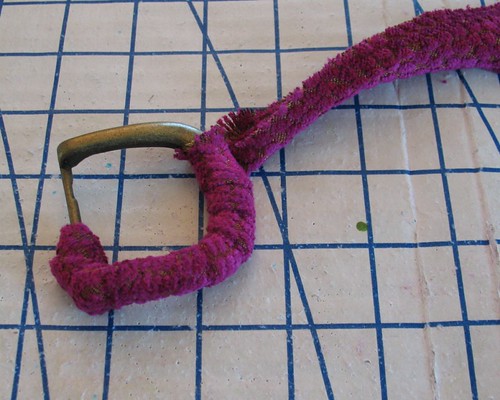
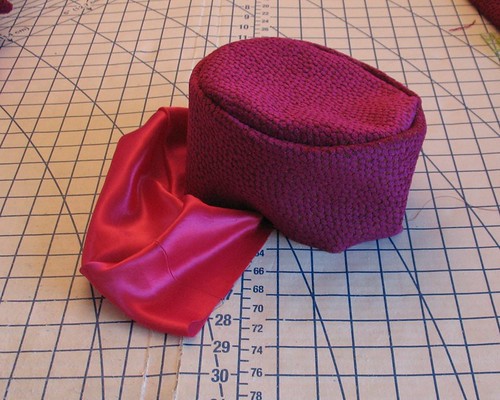
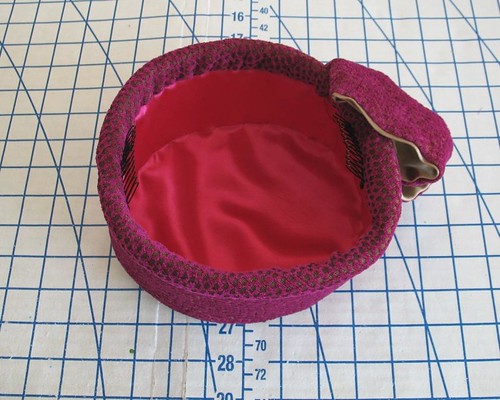
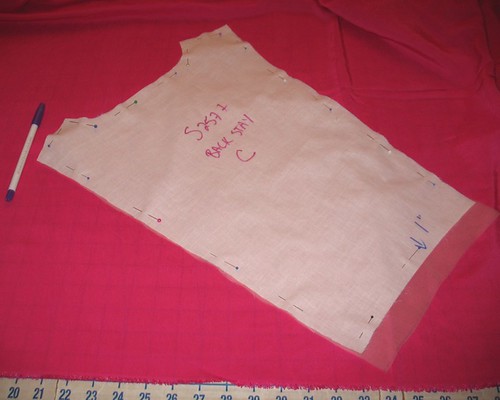
For this particular project, I also used the organza to stabilize the back stay, made from rayon satin . . . 


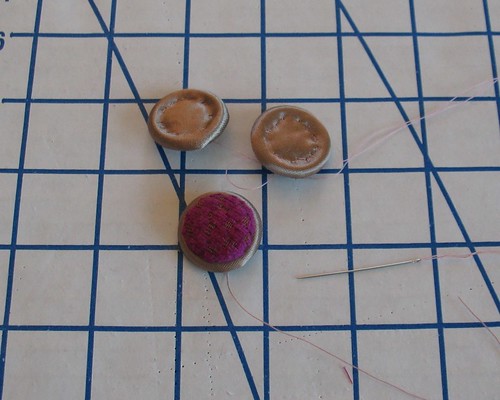
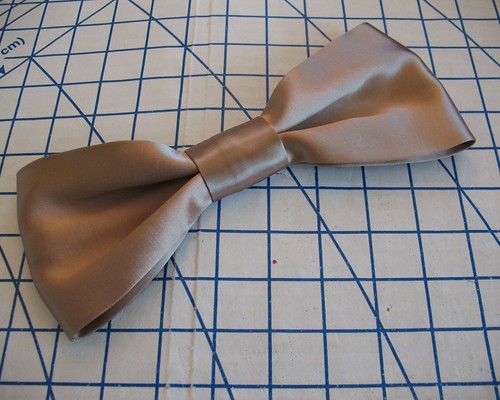
and to give a bit more oomph to the pleated back bodice pieces.


Have fun playing with silk organza – it really is the perfect addition to the sewing room, right along with your essentials like good sewing sheers, pins, and an iron.  

Just make sure to avoid the polyester stuff - it will only lead to tears!


[The fabric for this dress was received in exchange for my contributions as a Britex Guest Blogger.]


Thursday, May 30, 2013

1960s Chenille: Construction


The Britex Guest Blogger process starts with an idea for a tutorial.  A recent ebay pattern purchase was nagging me.  And my obsession with silk organza is quickly catching up to my seam binding addiction, so an underlining tutorial seemed like the perfect way to get this 1960s sack-back dress made!


The first item of business was to make a muslin.  My pattern is a 31 1/2” bust – and I am quite sure that I was never that petite, even as a child.  There are many situations in which I cannot be bothered to make a muslin, however, when working with special fabric on a pattern needing significant alterations I feel it is vital.  Turns out, I had to add 1 3/4" in length to the bodice pieces (that is a record for me), so my practice run served me well!


The fun really started when the fabric showed up in the mail!


This time around, I had this incredible fuchsia chenille to work with, along with some silk organza.


I was curious to see what sort of construction methods would be used to stabilize the back bodice.  Turns out, all that is needed is a simple stay.  How fun is it to learn something new from a pattern?!


I ended up lining the skirt because the fabric is perfect for Fall weather, and I have a feeling I will be wearing stockings!


To make a lining, I eliminated the extra pleat fabric by drawing in a new seam allowance, and folding the excess of my muslin out of the way.


Because my skirt back seam is finished with, you guessed it, rayon seam binding, I left the slit open - this helps to eliminate extra bulk at the back pleat.  To keep the lining in place, a used a few thread tacks.


For a bit of contrast, and to pull in the gold and black background, I made a few covered buttons, backed with some gold Zeus lining scraps I saved from a previous project.  Speaking of which, did they stop producing that fabric?  I am bummed that I cannot find more yardage.  It really is my favorite lining for heavier coats. 


Because the back side of the fabric is almost as yummy as the front, I used it for my belt.  


And because I could not find a suitable buckle, I wrapped a bias strip around a basic metal one from my stash.


The last bit was to make the neck bow that snaps the neckline closed.  


In this case, the gold seemed just a bit too much, and with that incredible Chanel video fresh in my mind, I decided to tear apart the extra length I took off of the skirt pieces and make myself some braided trim.


[The fabric for this dress was received in exchange for my contributions as a Britex Guest Blogger.]

Wednesday, May 29, 2013

The Finishing Touch


Some projects get so involved that they never seem to end!  I was working away on my latest Britex project, but something was missing.  After cutting out my dress (more on that to come), there was a bit of yardage left – not enough to make much of anything . . . except a hat!  Perfect!


I do not have a pillbox hat pattern, but with a few quick google searches I found enough inspiration to get started.


A search through the hat patterns that I did have brought me to Butterick 4697 - no drafting necessary!


I have some very thick fusible interfacing that I assume is meant for craft projects.  It turns out to be a great substitute for buckram (which is still hiding somewhere in the sewing room).  Pinning the stuff was not very fun, so I traced the pattern pieces in chalk.


So many online directions and tutorials suggest using glue to construct hats - I just cannot get past the idea of using glue on fabric.  I am sure there are situations where there is no other option, but I plan on avoiding them as long as I possibly can.  


My chenille fabric has quite a bit of drape, so I block fused my hat pieces.


The next step was to cut and stitch a duplicate in lining fabric.


I ended up hand stitching sections of the lining to the crown to keep it from drooping.


And to finish the raw edges, I used a bias strip with the "wrong" side of my chenille fabric facing outward.


The last thing to do was add a makeshift bow similar to my vintage pattern inspiration, and a couple of combs.  And it's off to the photo shoot we go!


Sunday, May 26, 2013

My Kind of Pattern Catalog


Here are the remaining pages of Butterick Fashion News, May 1939.


I wonder if some day soon I will feel the same about a 1979 pattern catalog?  Probably not.  But perhaps in thirty or forty years another set of sewing bloggers will!


This is my favorite illustration of the bunch.  What do you think she is doing with her foot?  Is she demonstrating something from her recent ballet class to her friend?  Or is she perhaps showing off her fabulous footwear?  And why has everyone else turned around?  I will just have to add that to the list of pattern illustration mysteries!


In the entire pamphlet, there is only one advertisement!  I am actually a little disappointed, since vintage adverts can be so much fun.  Boy have things changed!