Showing posts with label Petticoat. Show all posts

Thursday, April 28, 2016

Extreme Netting


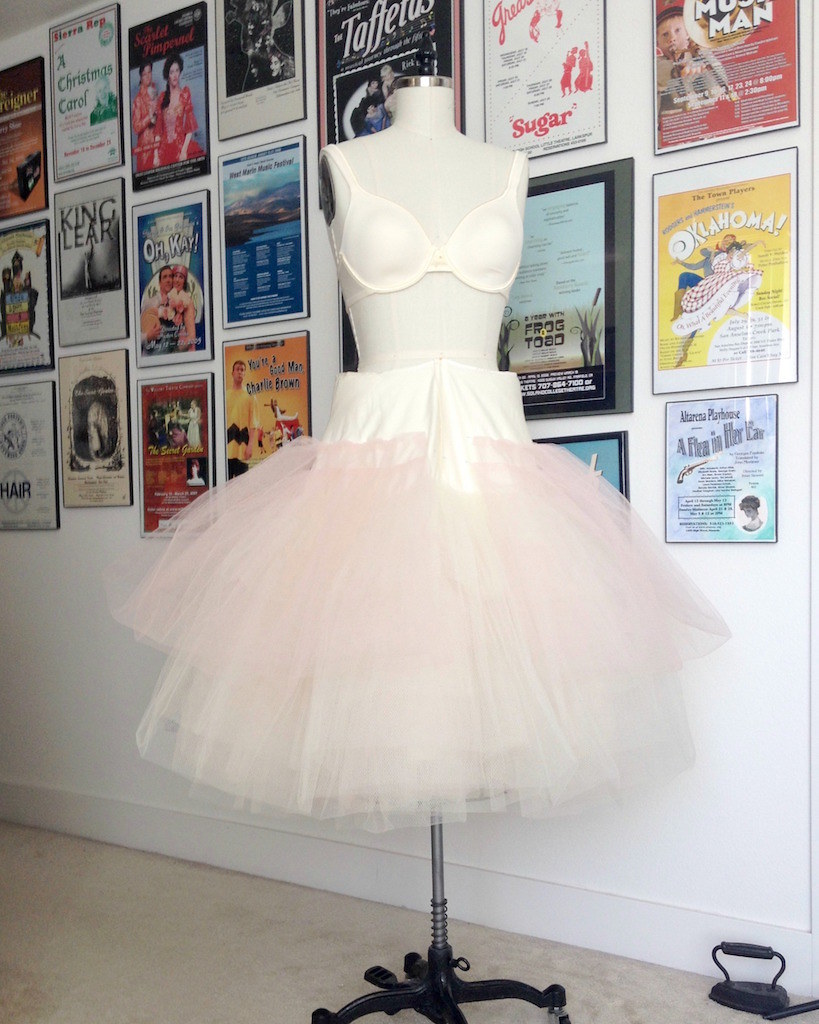
So I couldn’t leave well enough alone.  This petticoat needed to be over the top!


And so I just kept adding more and more netting . . .
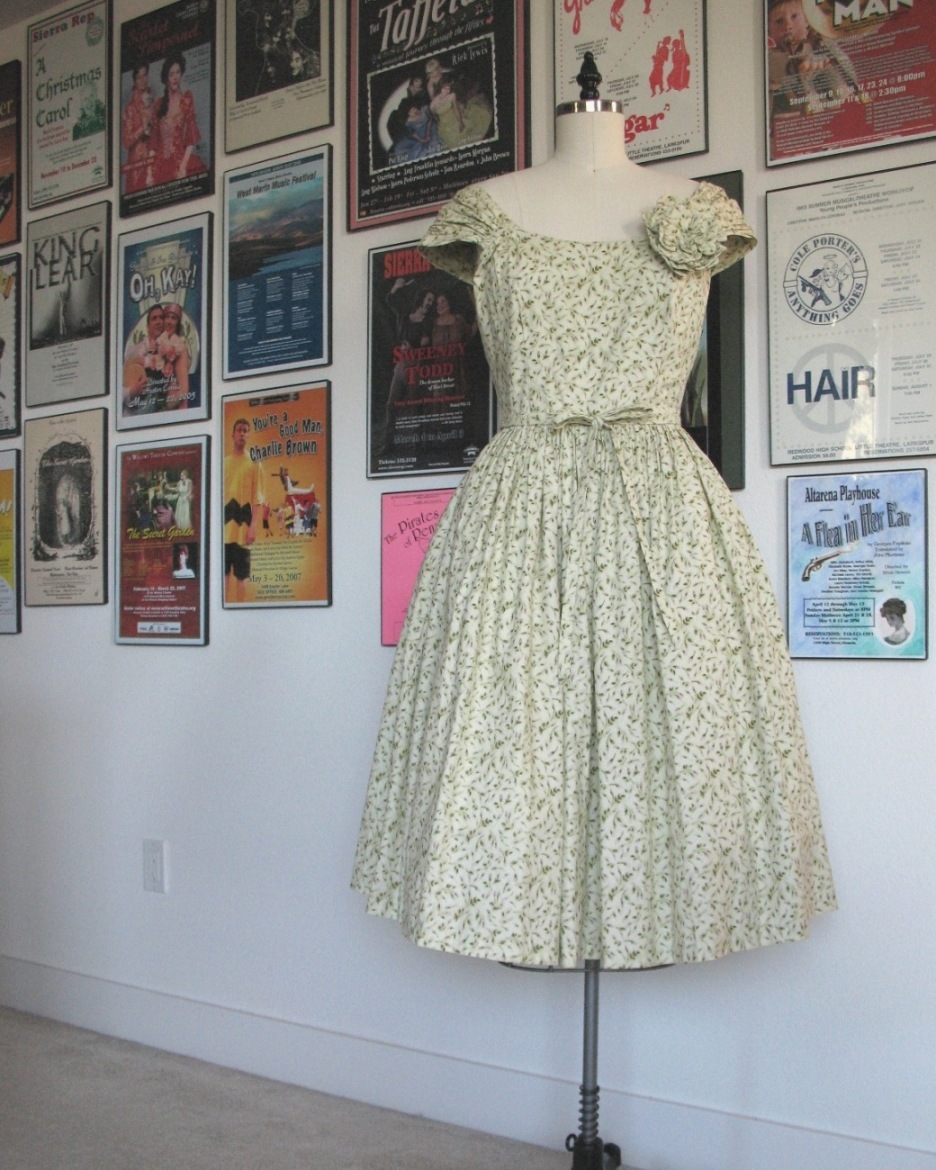

and then some more . . . 

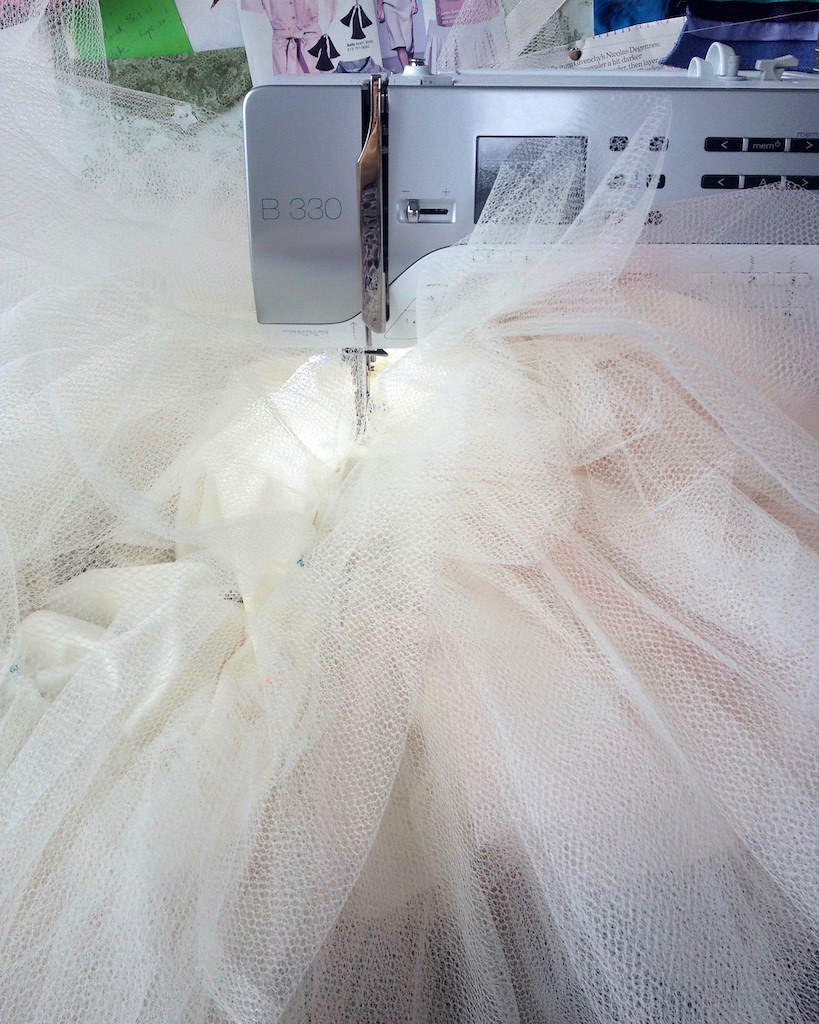
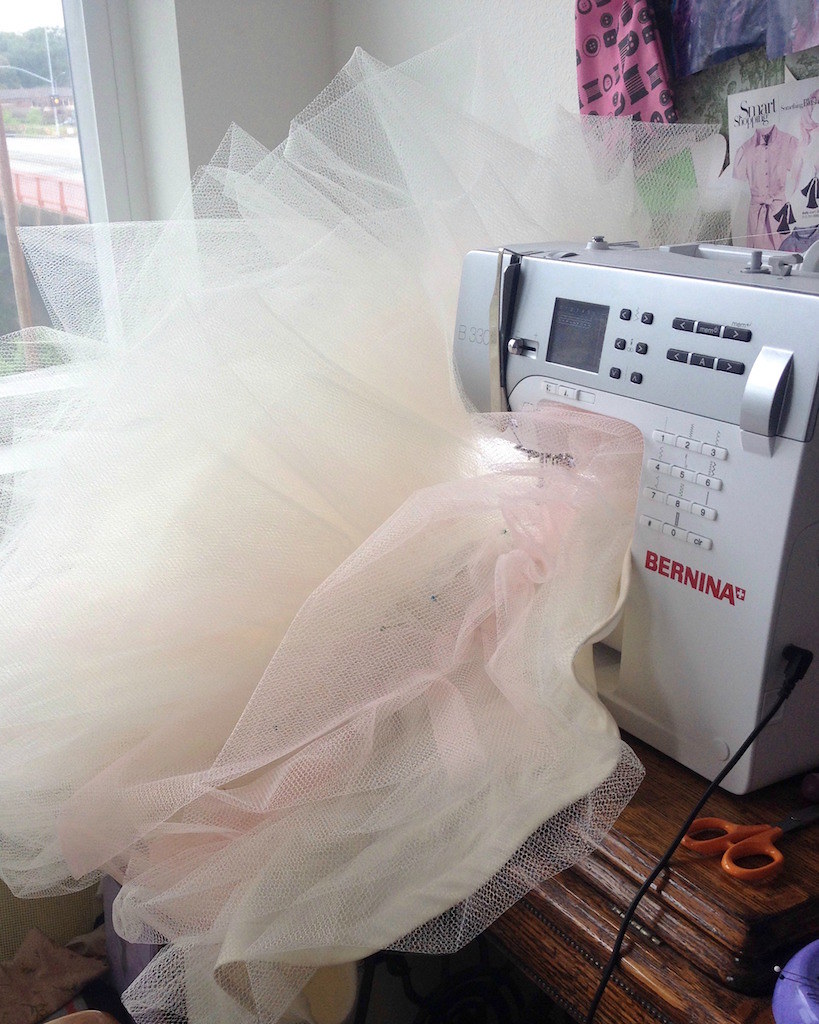
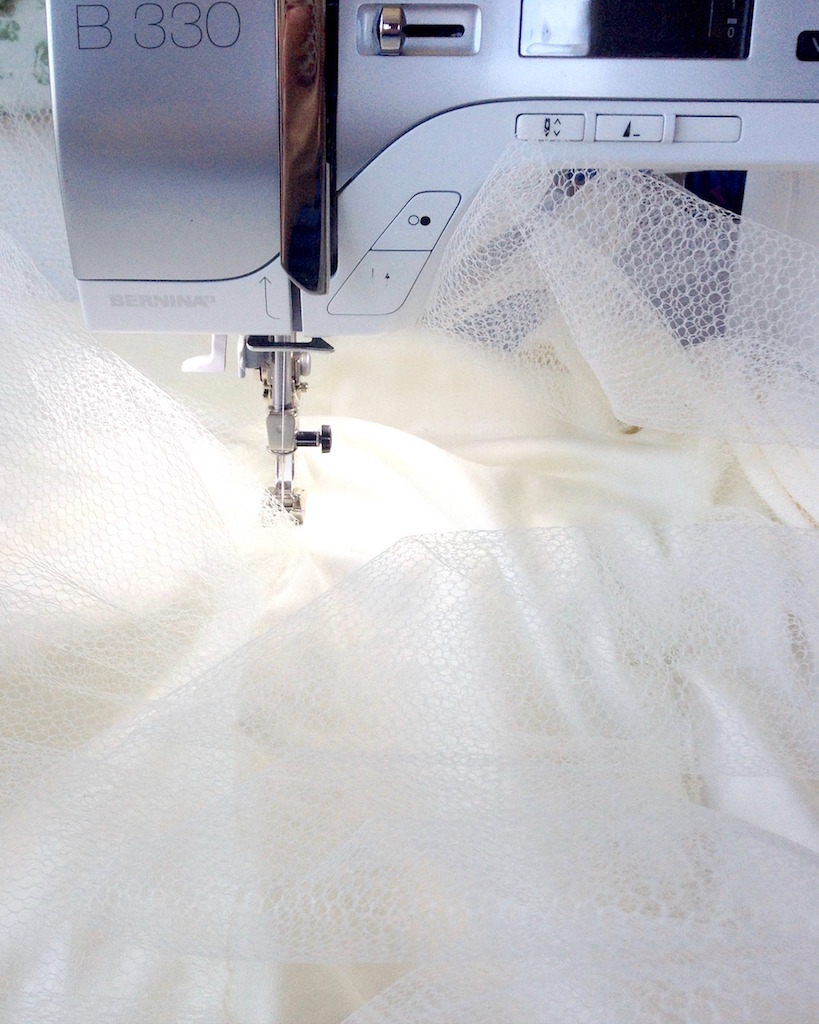
until there was a mountain of netting.


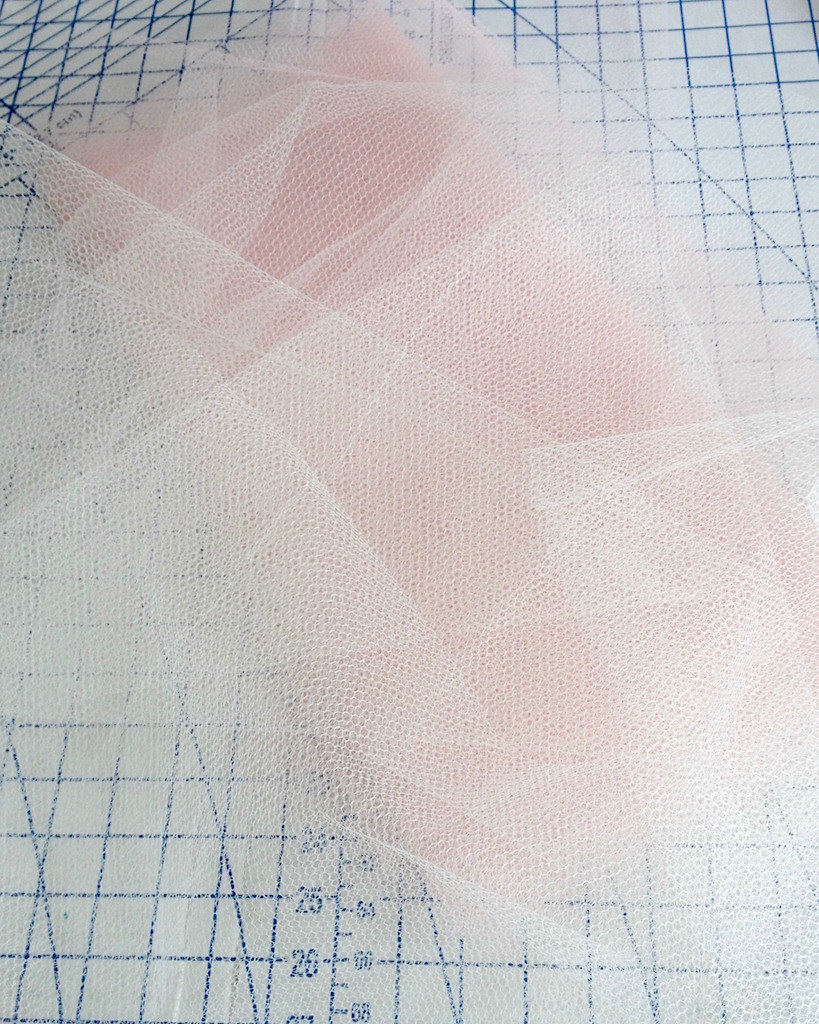
This is what 20 yards of the stuff looks like.  


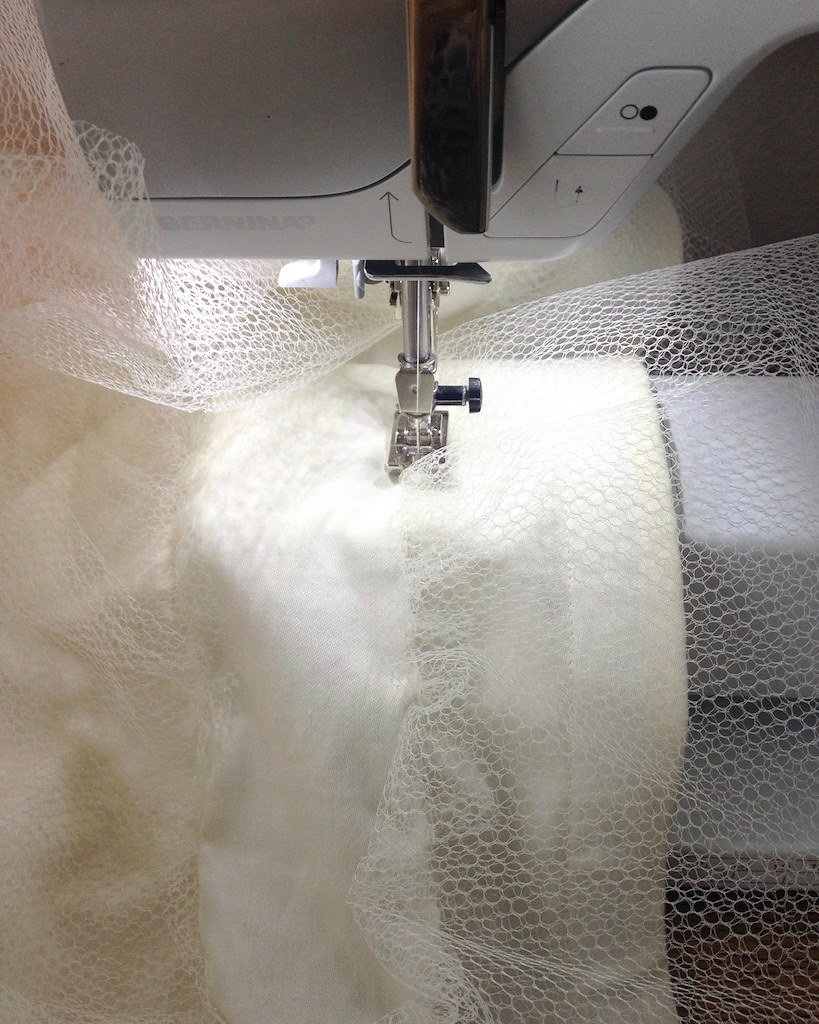
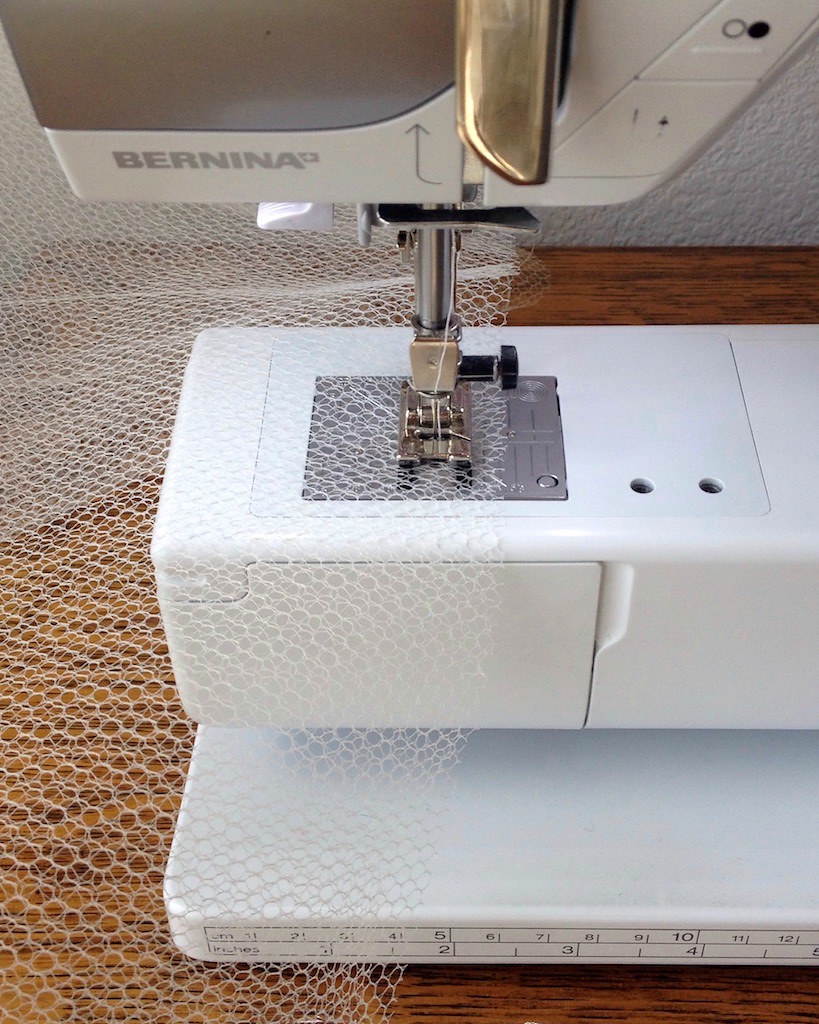
I am not sure any more bulk would fit through my sewing machine!


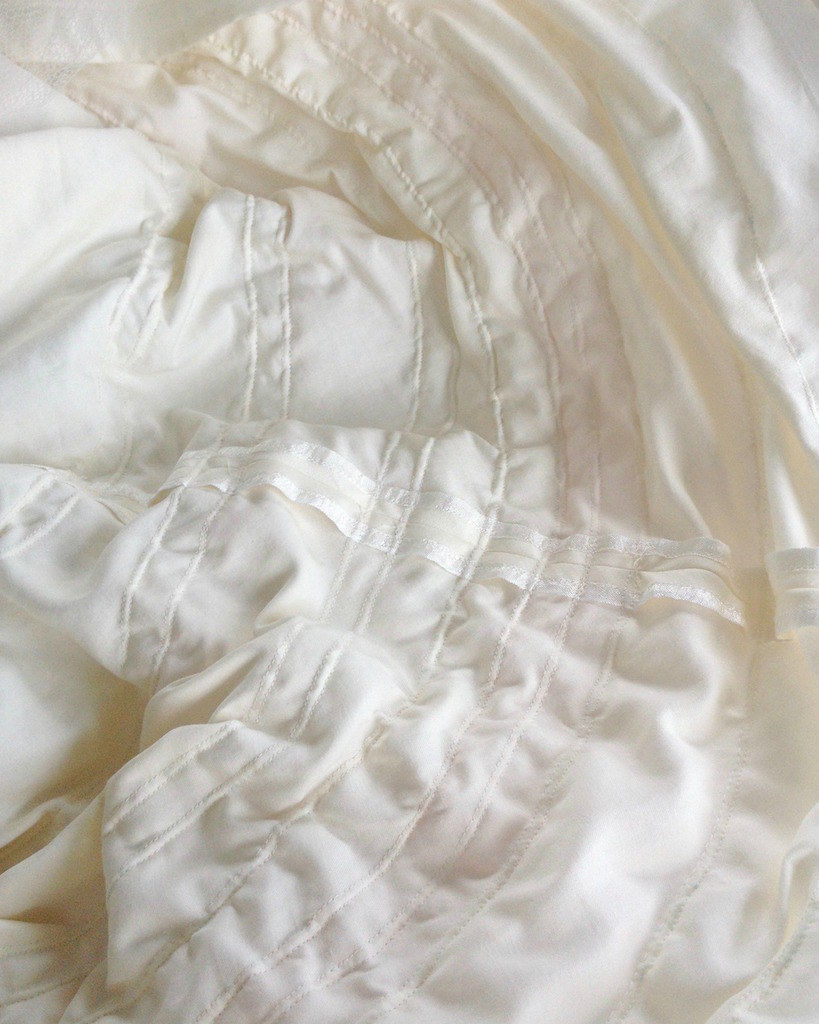
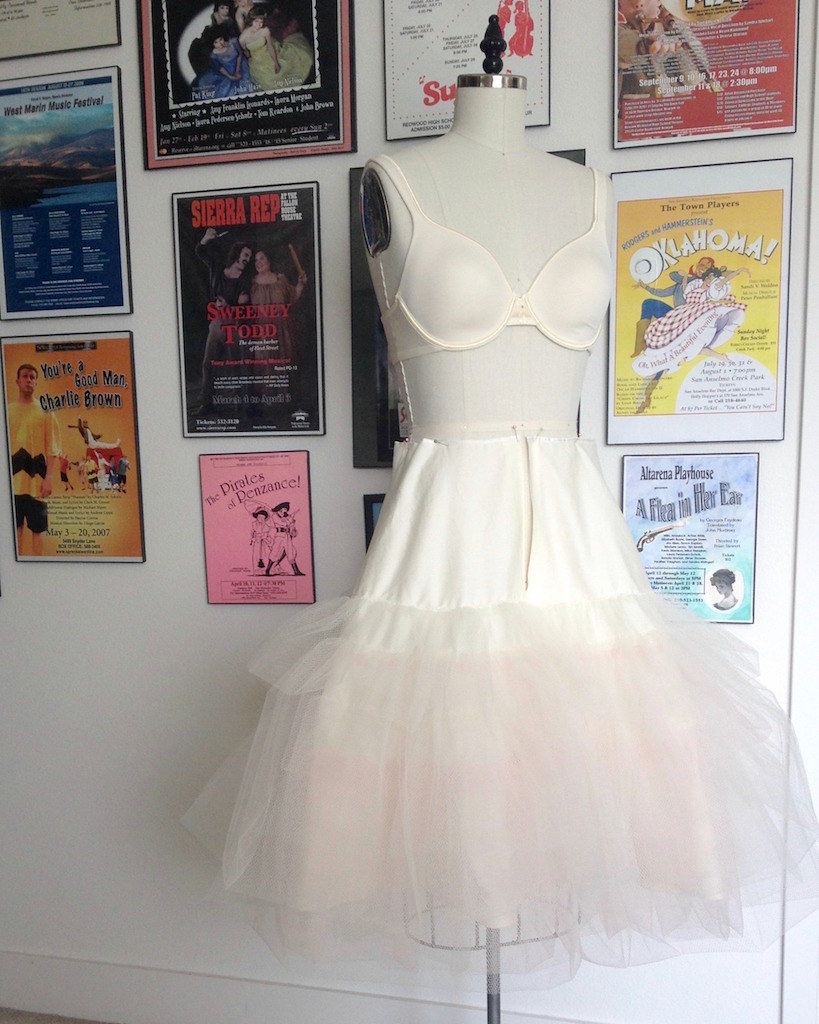
Then I hemmed the cotton lining with a one inch horsehair braid.  


This will help to keep the cotton skirt hem from collapsing and/or getting caught between my legs when I walk.


My initial thought was that I would attach this piece to the corselette.  However, with the amount of netting on this skirt, it suddenly did not seem like such a great idea.  That, and trying to pin the two together was getting on my last nerve.


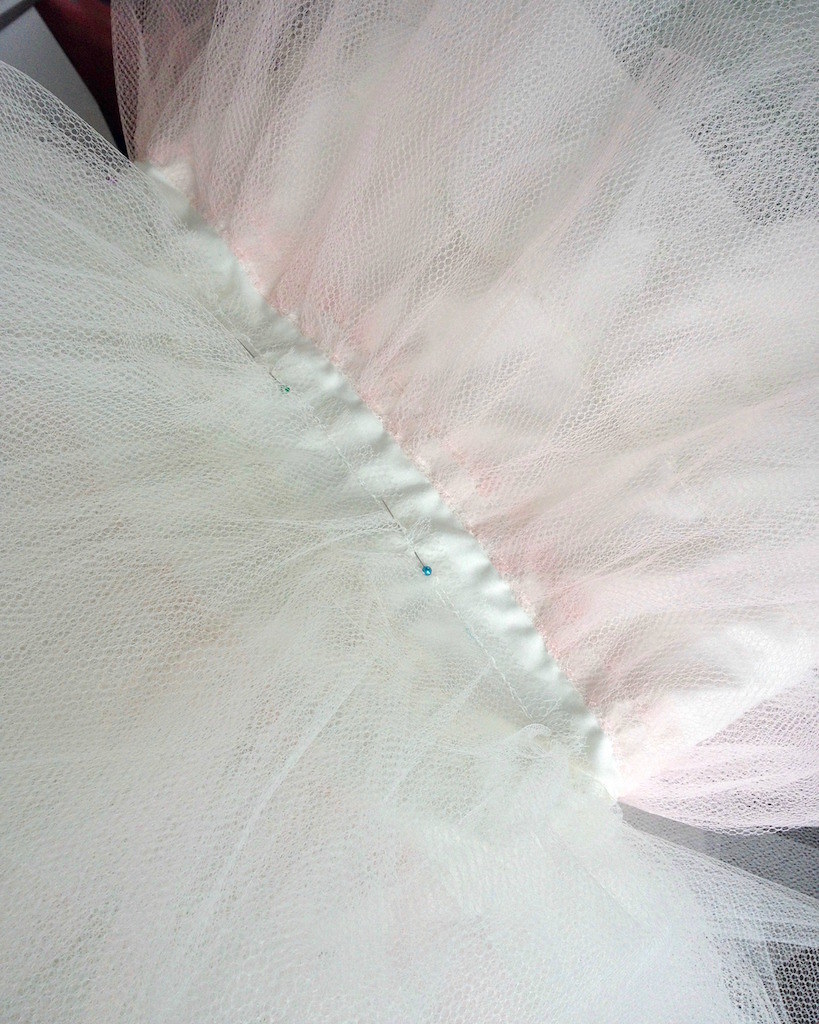
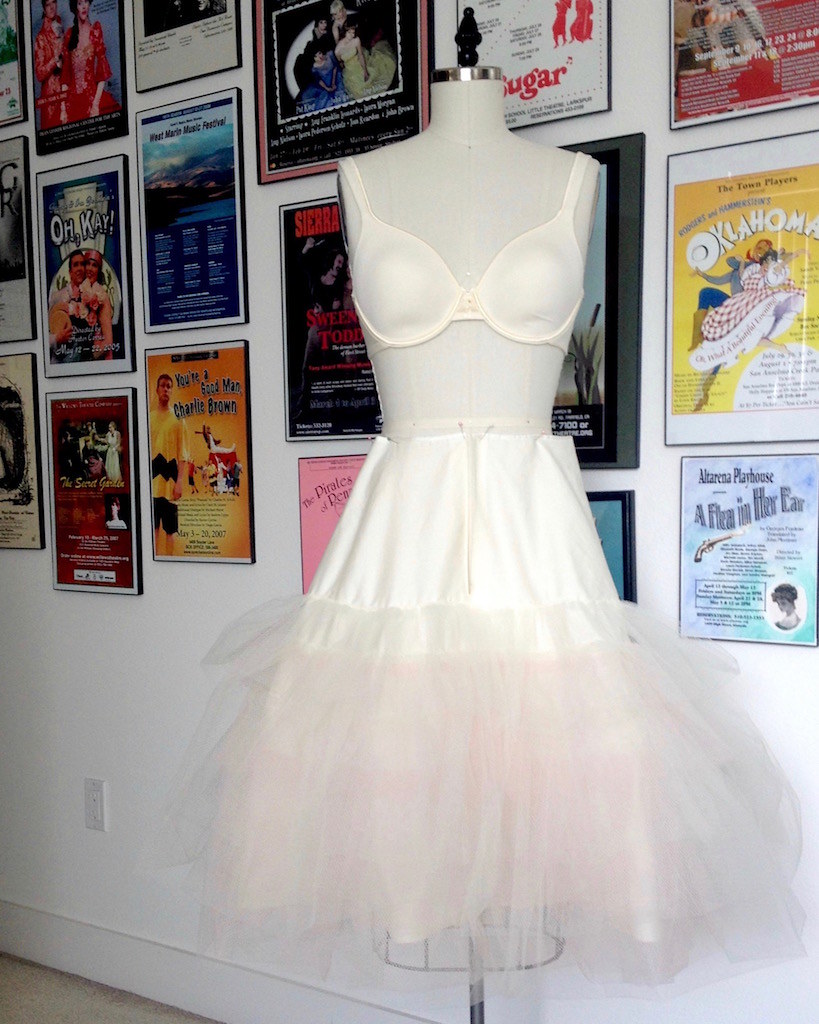
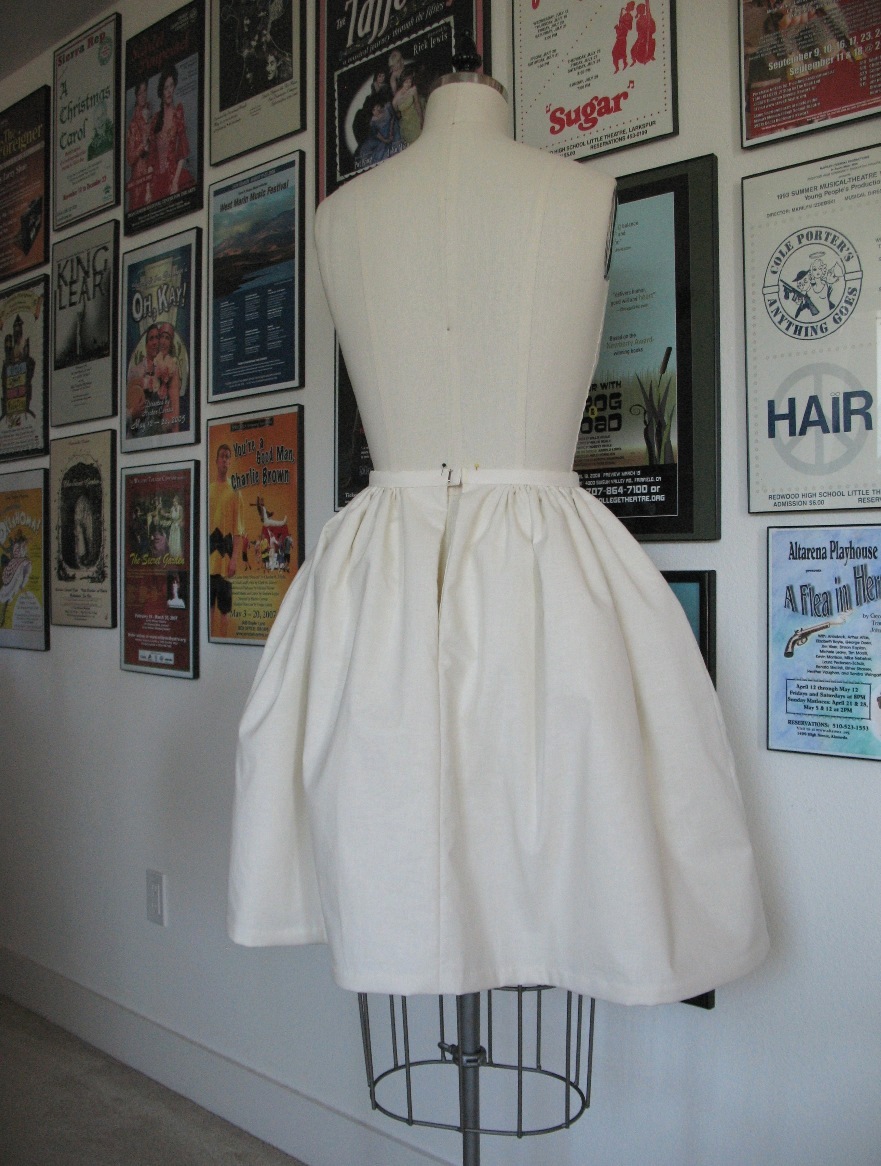
With time running out, I found some grosgrain ribbon in my stash and attached it to the cotton portion of the garment.  It is not pretty, but it does the job.  A skirt hook & bar closes the waistband just off of center front.


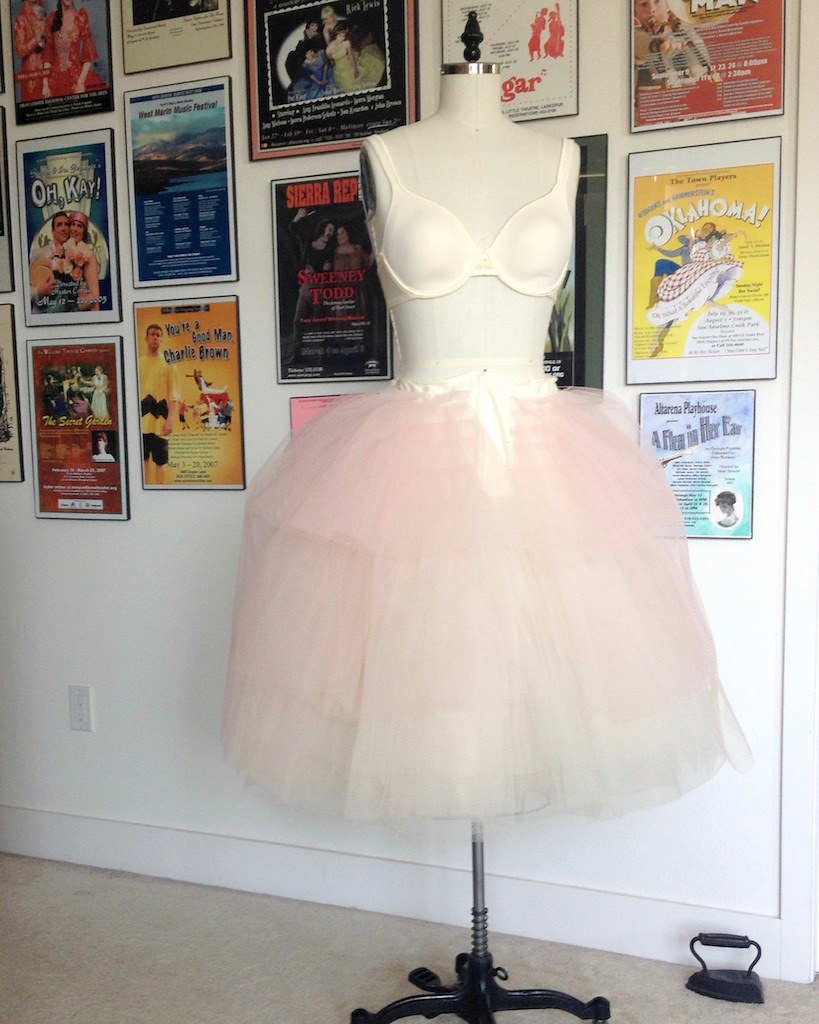
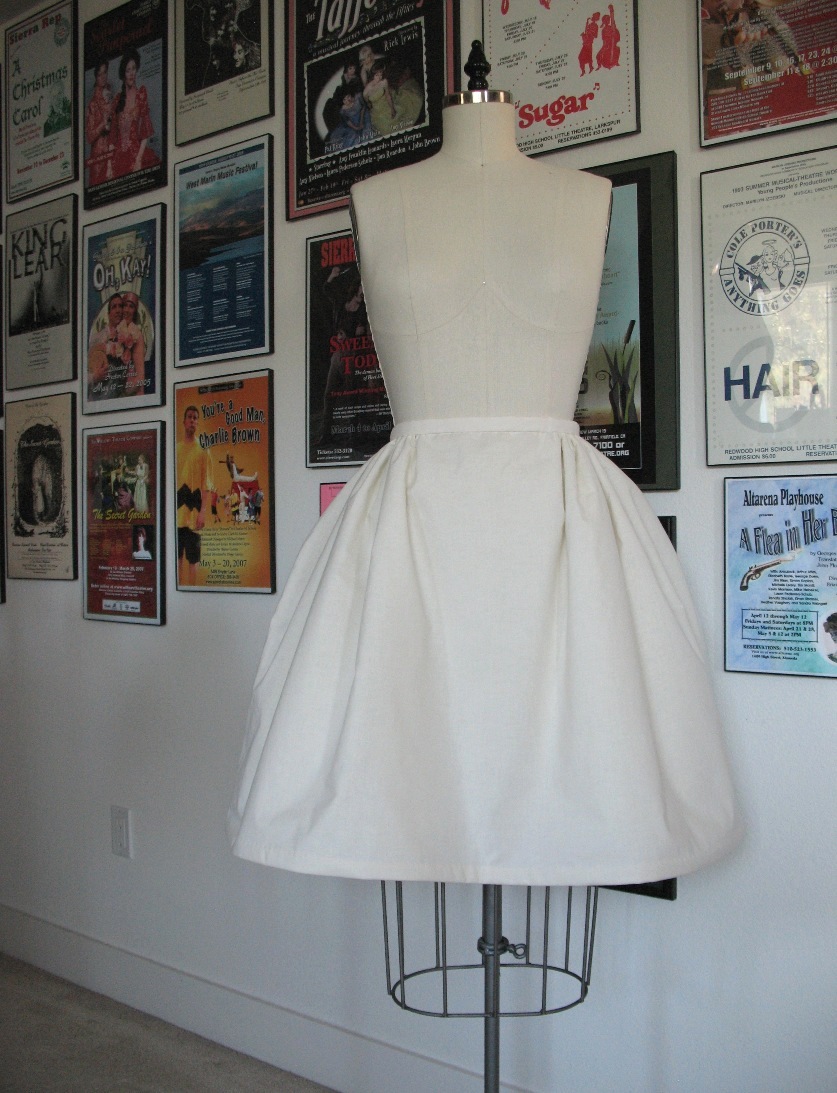
And that is one fluffy petticoat.  Only time will tell if I can fit in my car while wearing this!


Sunday, April 10, 2016

Poofy Petticoats


Now that I have a good bit of work completed on my corselette, it is time to get started on the other undergarment portion of this dress . . . the petticoat.  I have a few different petticoats on hand, but none of them are going to work for this dress.  One is the right shape, but it is black, and I have a feeling that it would show through my fabric, even with the layer of underlining I am planning on using.  So I am making my own!

For the foundation of the petticoat, I like to use cotton.  Some are made almost entirely of netting or tulle, but I prefer something more comfortable.  


I find netting and tulle to be too itchy next to the skin, and any kind of polyester is out because I avoid it whenever possible.


One of these days I will figure out a good source of cotton crinoline, but on a time crunch, netting is a great substitute to make a petticoat.  While tulle is a lot softer to wear, it just does not create the bulk that netting does.  Another bonus is that netting comes 72 inches wide and it is really inexpensive!


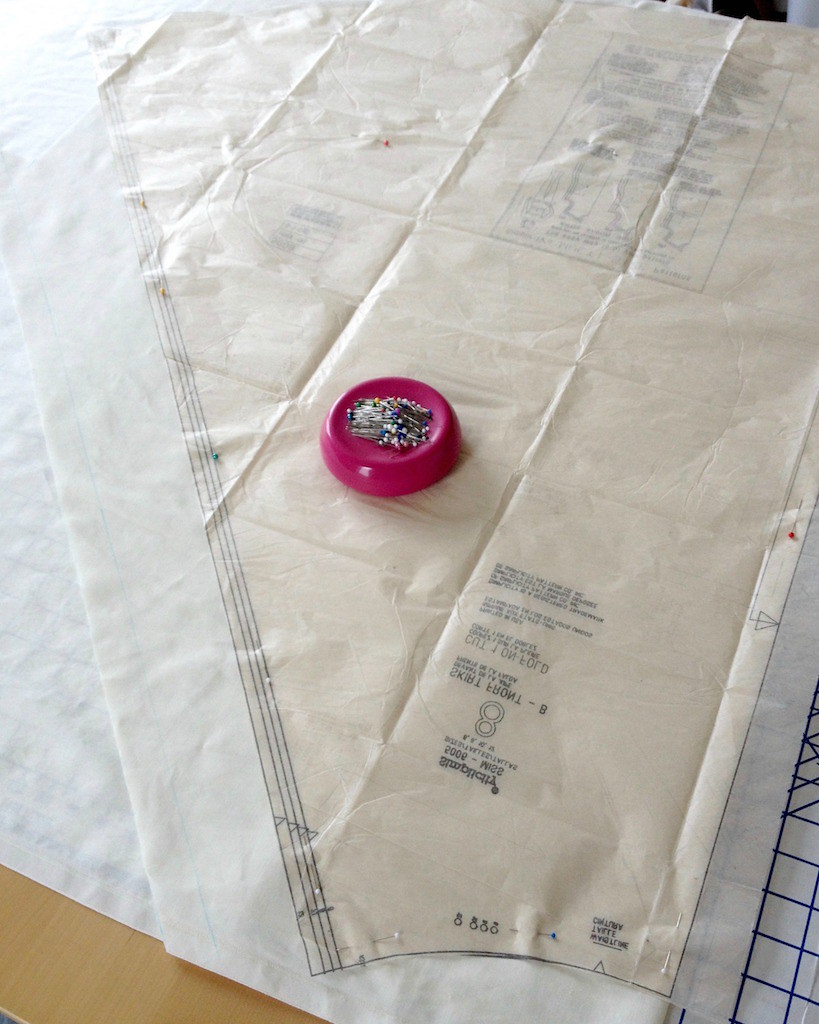
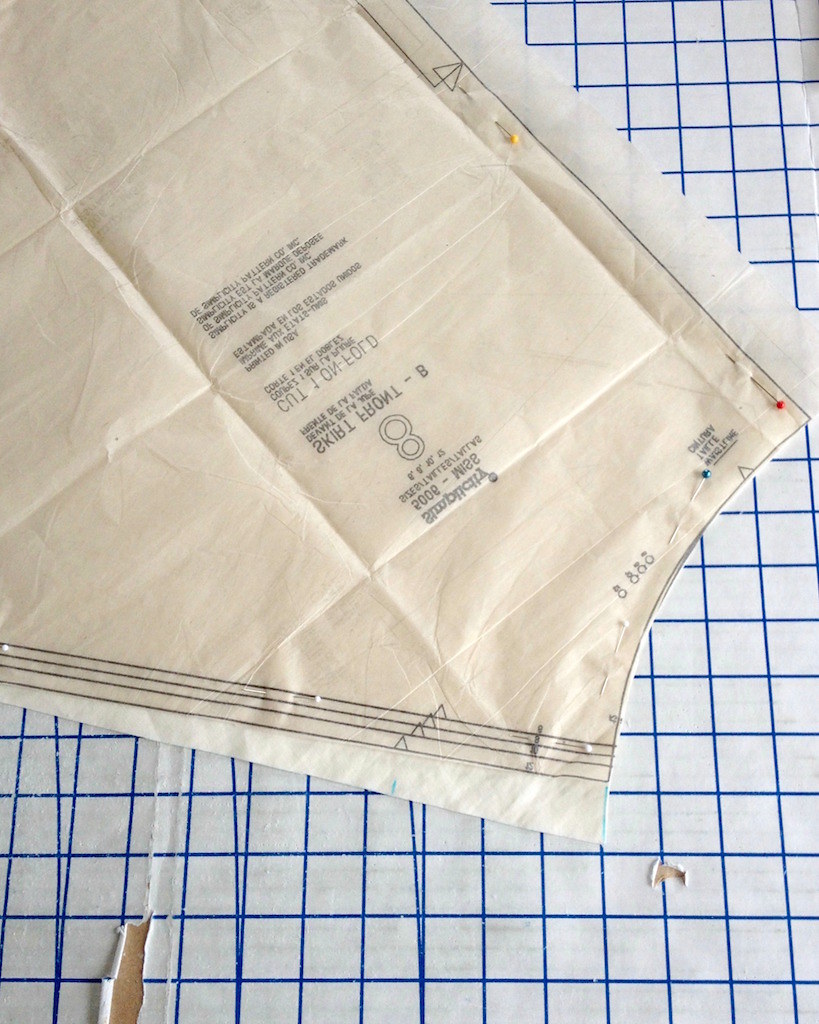
For the cotton foundation layer, I pulled out Simplicity 5006 and cut two skirt fronts.  For my Cherries Jubilee gown, I used a much narrower cotton skirt as the foundation for my net ruffles.  This time around, I am curious to see how starting with a full skirt as a base will work.


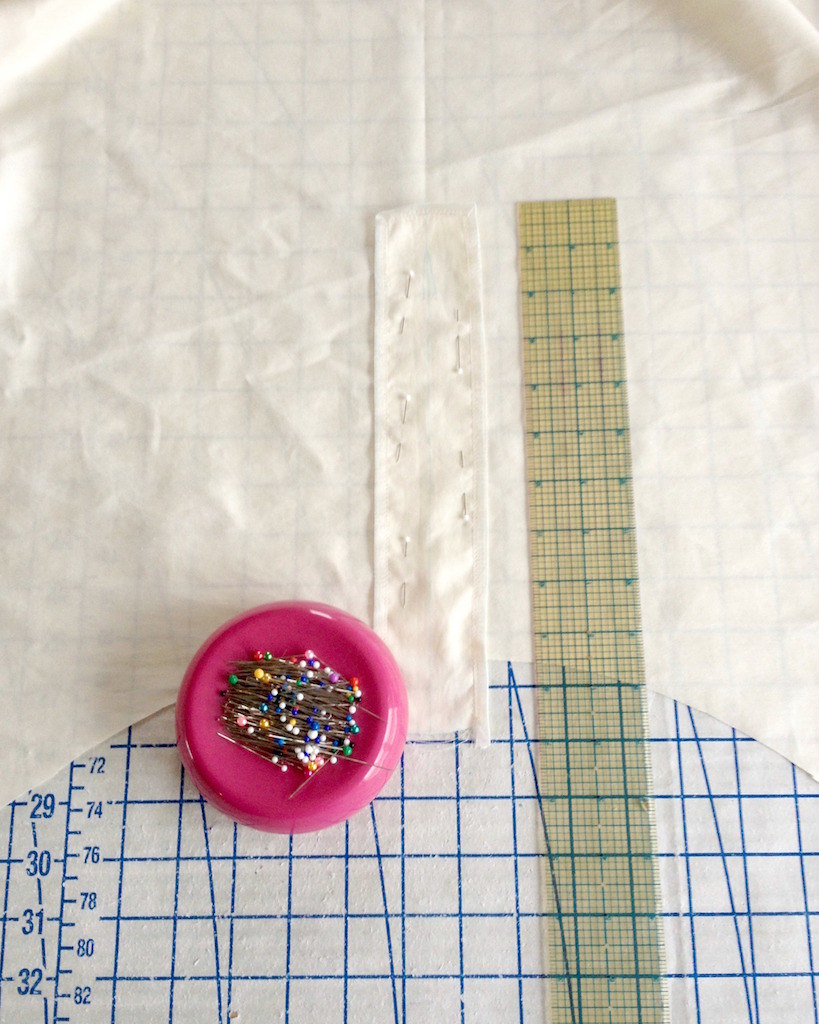
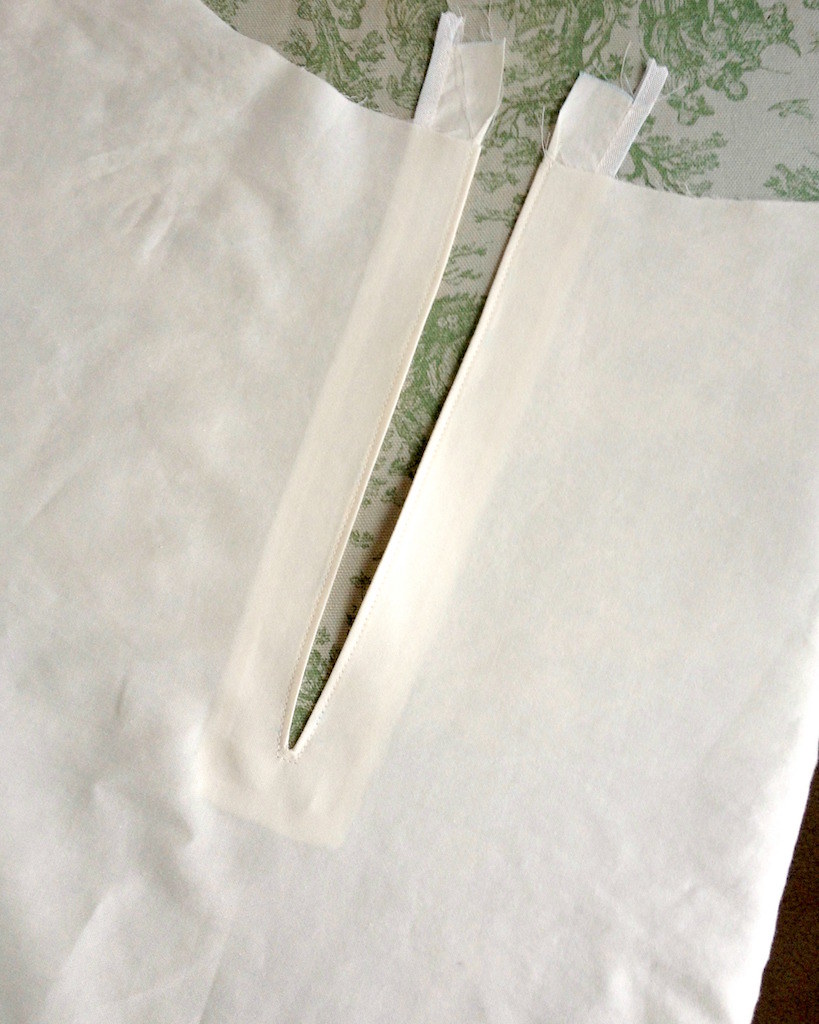
A placket was added to the center of one of the cotton pieces before stitching them together at both sides.  I will be attaching this an inch or two below the waistline of my corselette when both items are finished.


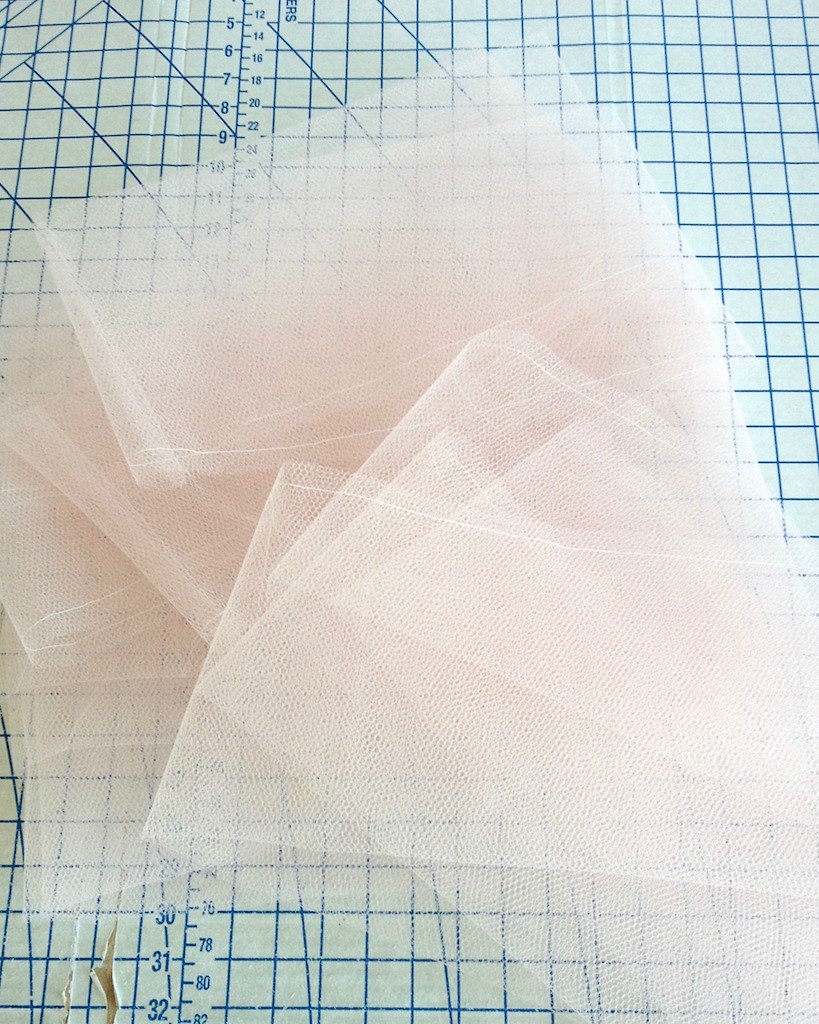
To make the ruffles, I cut two pieces of netting of equal size, stitch the ends together, and then fold that newly formed circle in half, joining the two raw edges.  I did a similar thing for this petticoat, but this time I am using the netting around the entire skirt circumference.


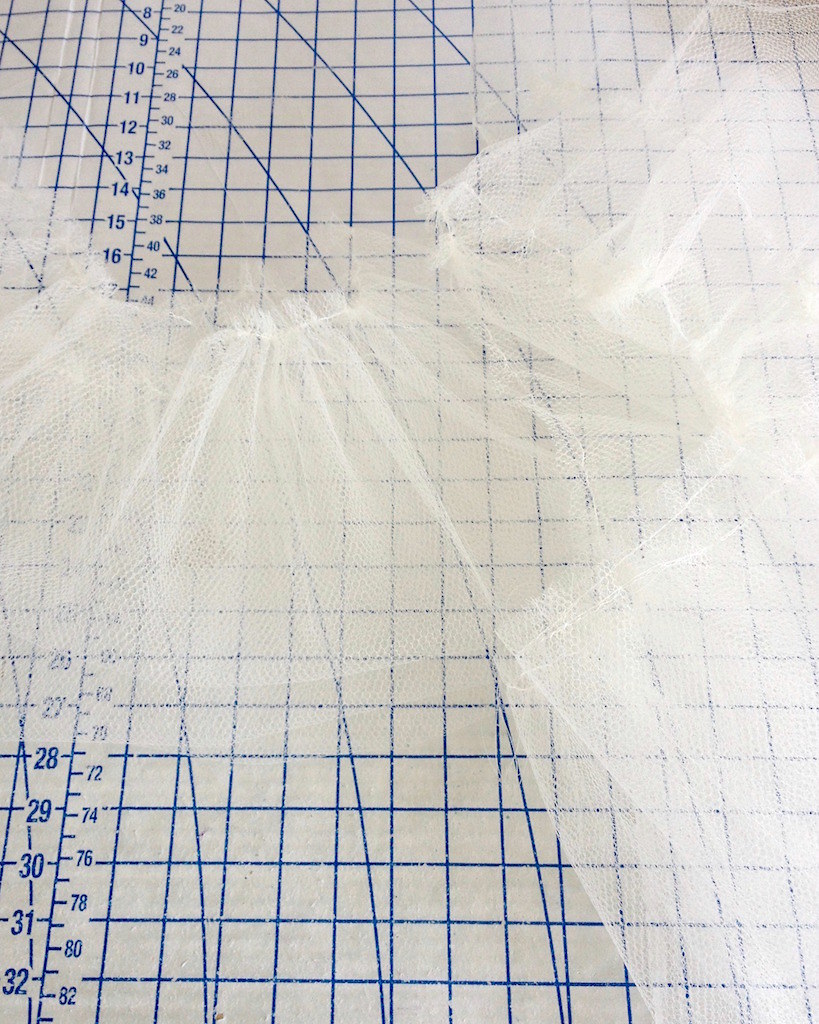
Those raw edges are then gathered to create a ruffle.


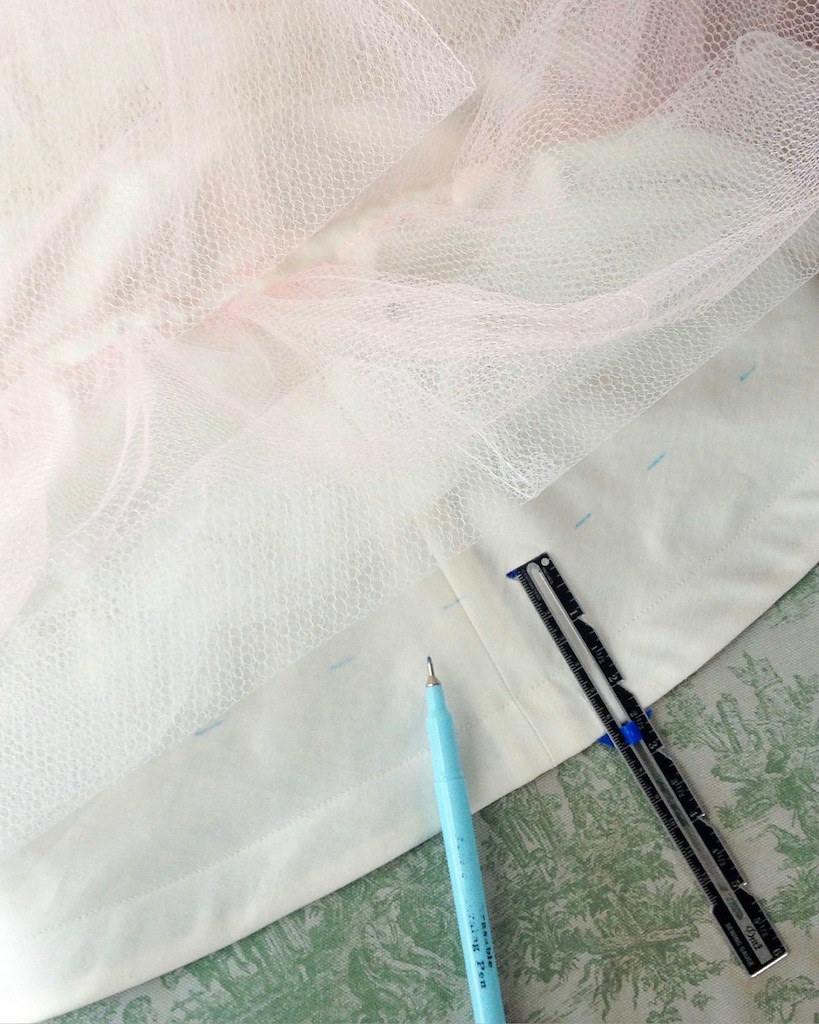
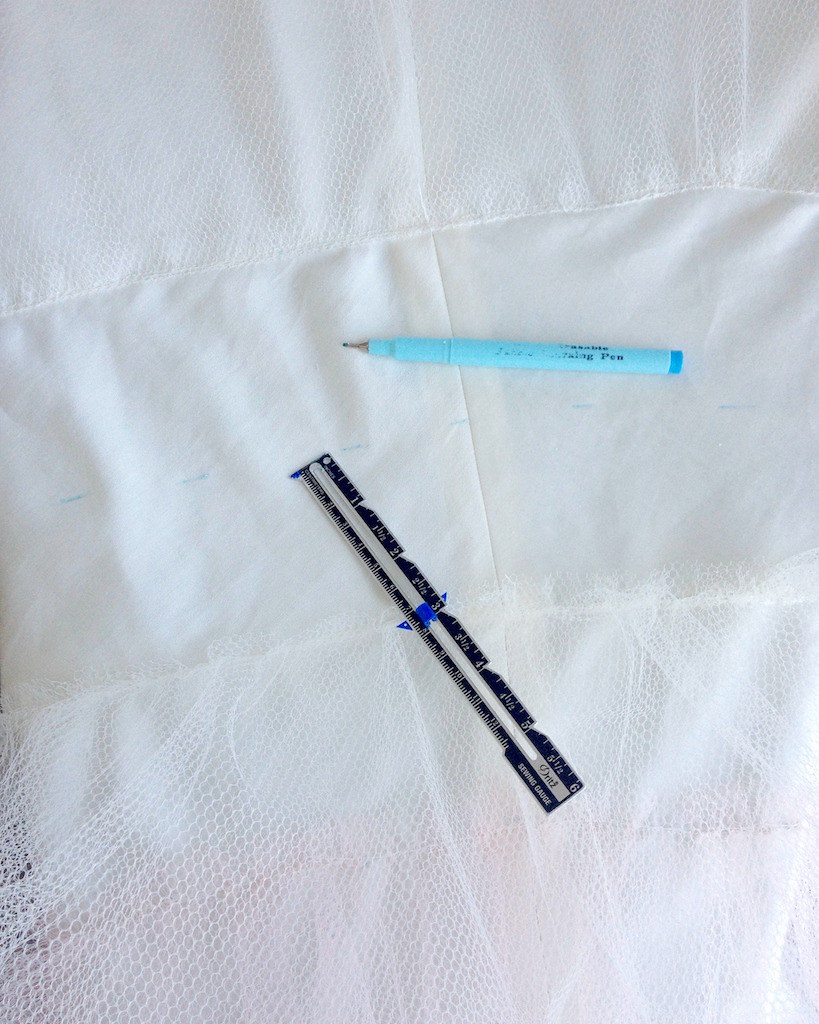
To make it easier to apply the ruffle evenly, I mark placement lines on the cotton.


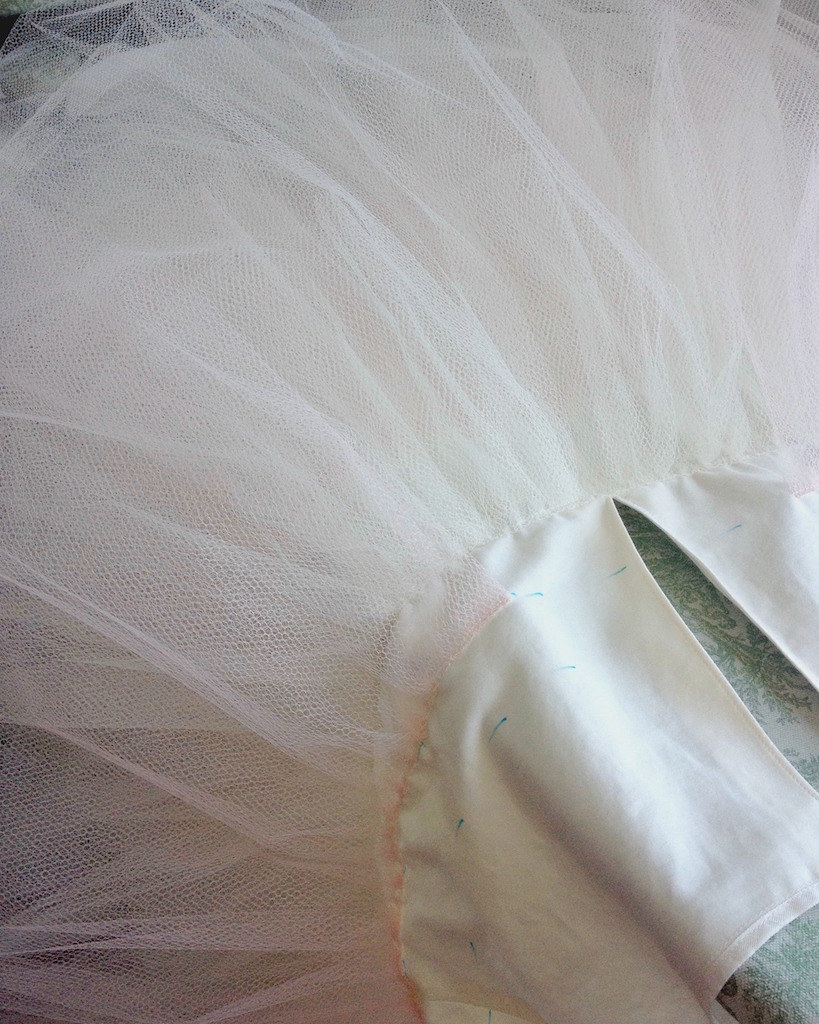
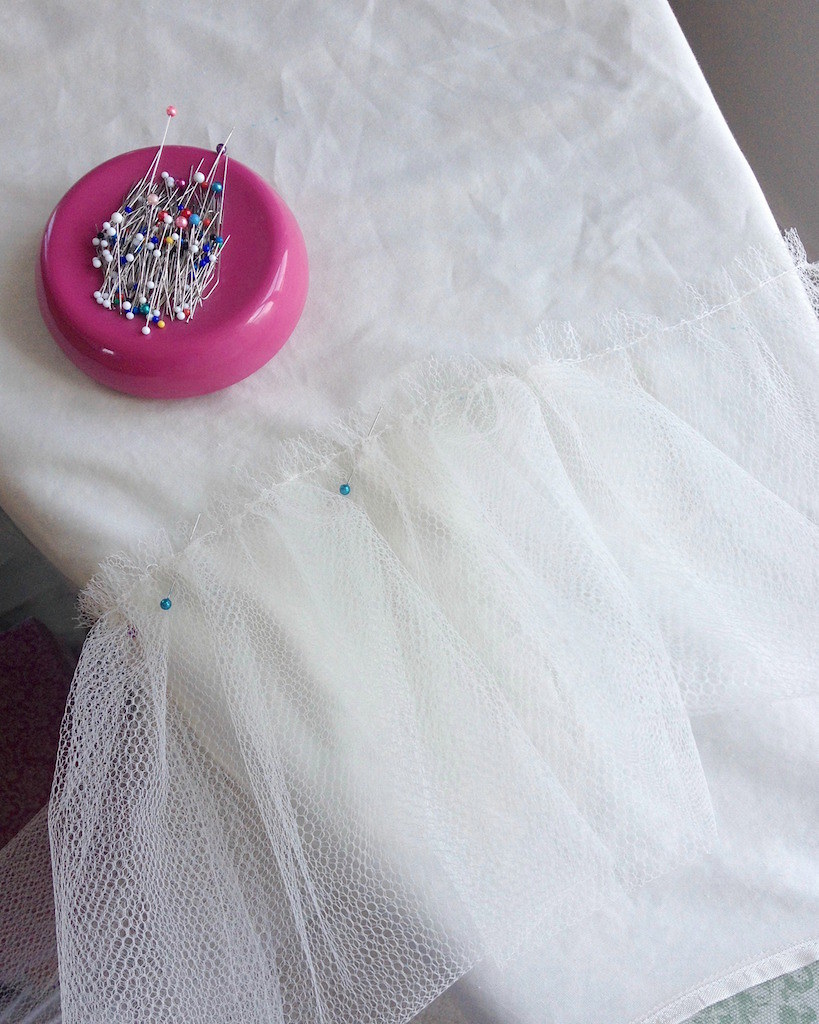
To apply the ruffle to the cotton foundation, I stitch along the gathered stitching line with the folded ruffle edge facing the waistband.  After stitching it in place, that ruffle is then reoriented with the folded ruffle edge facing the hemline of the cotton foundation and edge stitched over the gathered edge.  


If I don’t run that line of edge stitching, the netting tends to have a mind of its own and the multiple layers like to bunch up.


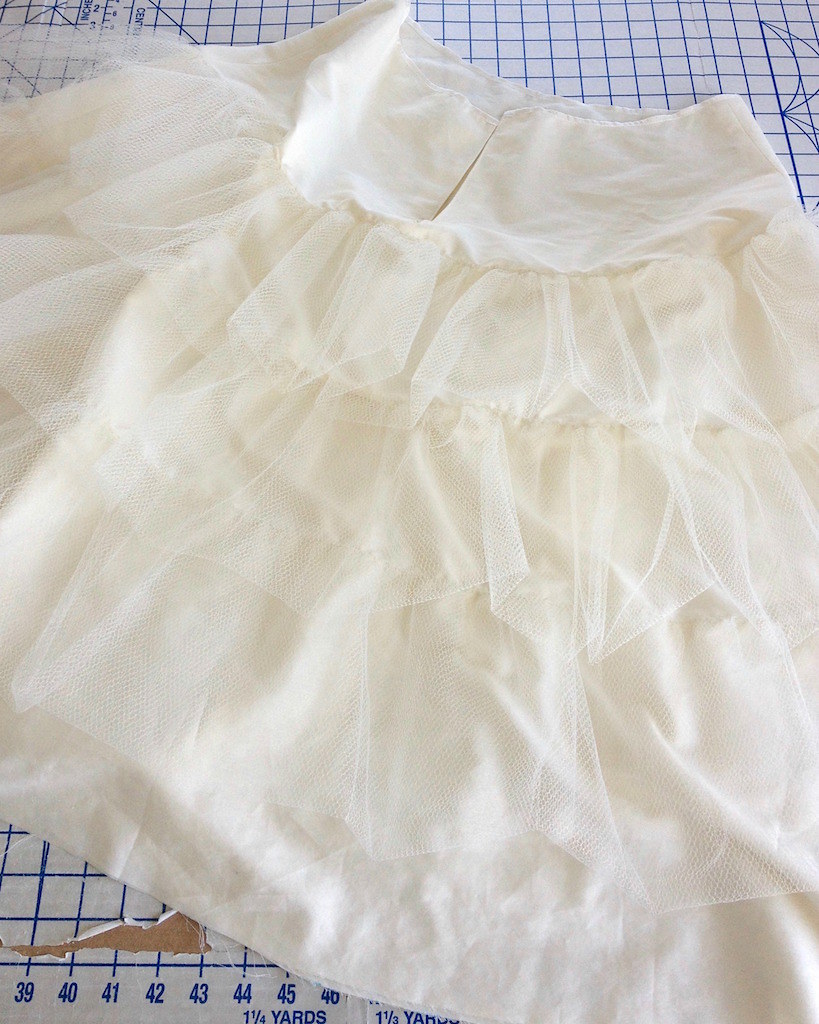
And that process get repeated over and over . . .


. . .  until it looks something like this.  I will need to add a few more yards of netting to this petticoat, but it is beginning to take shape.


Friday, October 10, 2014

Outtakes

After a long week, I am looking forward to a couple of days off!  My sewing motivation is slowly coming back after a bit of burnout (I am guessing it is partly from this project).  And I have quite a few finished project pictures to get through and share!

But my goodness, there are some strange moments that a camera catches.  I will not subject you to the worst, but this one was pretty funny thanks to a gust of wind – especially since there was a group of can-can dancers at The Gala in honor of the French themed program.


And I bet you didn’t know I sleep standing up in full make-up and formal wear!


Have a great weekend, everyone!

Monday, August 4, 2014

With or Without?

So to continue the petticoat theme . . .


Elizabeth was curious to see the difference a petticoat can make.  I thought that was an excellent idea, so I thought I would oblige.


Since the dress that the petticoat was made for has a pellon hip yoke, I did not think it would be a fair example.  Butterick 6175 was out of the closet since I wore it to last week’s fabric swap, and I thought it would be suitable for a little show and tell. 


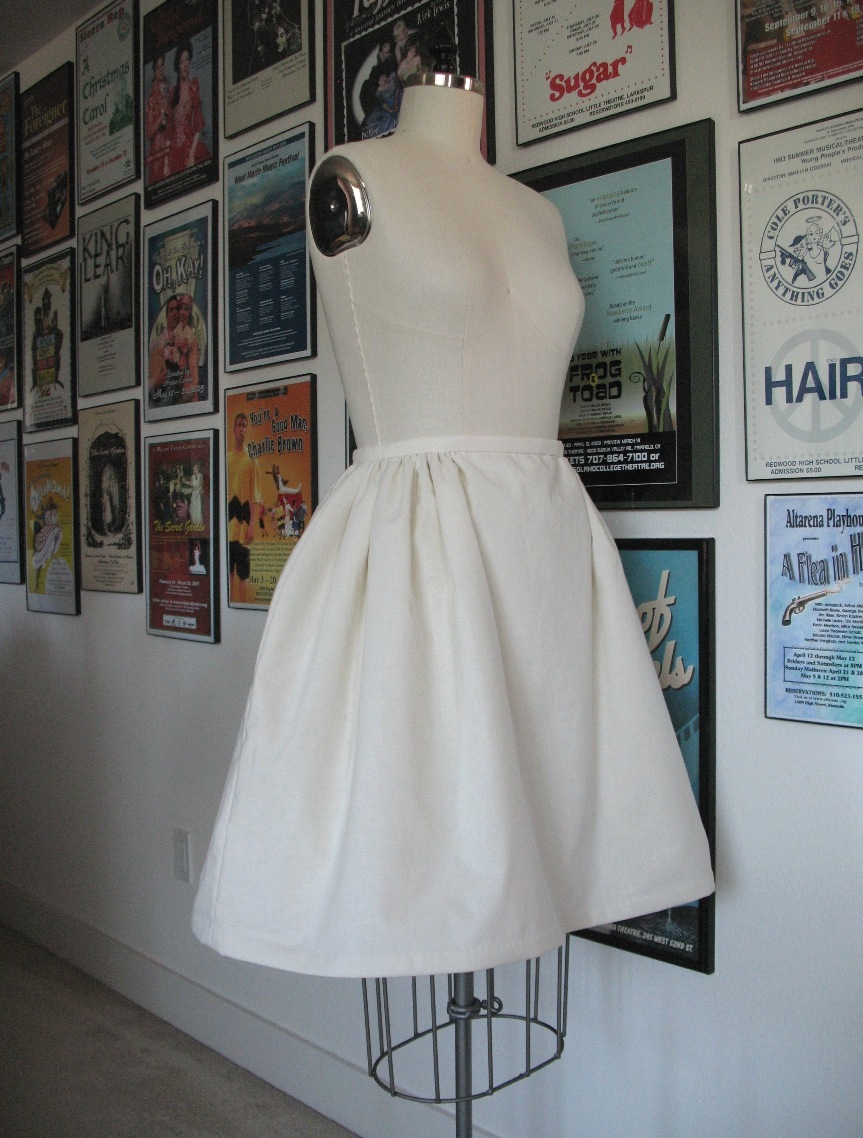
The petticoat is a bit short for this particular dress, but it does show that one can easily change the look of a full skirted dress and give it a more vintage vibe by adding the extra layer.  And I have certainly worn more than one at a time if the occasion and dress allow (this dress is a good example of that)!


Add my hips to the mix (they are larger than the dress form) and it looks even more full.  


While this is certainly not the most poofy petticoat I own, it does make a dramatic difference in the silhouette.  Without, the dress just looks a bit deflated.  I will admit, however, that I usually wear this particular dress without because I often choose this dress on days when the weather is quite warm and I want to avoid layers!  


What do you think . . . with or without? 

Saturday, August 2, 2014

Underpinnings and False Silhouettes


I have been thinking a lot about foundation garments lately.  Or, more specifically, the idea of false silhouettes and how the under-structure of an outfit can radically change how a garment looks.  Petticoats from the mid-twentieth century are quite tame in comparison to the underpinnings that came before, although their function is similar.


Farthingales, hoop skirts, cage crinolines, petticoats, crinolines, panniers, bustles . . . who comes up with this stuff?!   Some of them look rather goofy, some are beautiful, and some look like torture devices to a modern individual used to spending the day in stretchy clothing.


Sometimes the shape is conical, circular, bell-shaped, or even oblong.  Exaggerate the silhouette in one area, and everything else suddenly looks small in comparison.  The Victorian wasp-waisted figure wearing a massive hoop skirt is an extreme example.


But the crinoline and petticoat are really just modified and more “modern” versions.


The dress I am working on has a very bell shaped skirt, so I went for more of a poof from the waist, but there are so many other options.


Focus the gathers over the hips and the silhouette begins to look like panniers.


A petticoat is never going to look as extreme (and is so much easier to fit through a door!), but there are definite similarities.


A little like hip pads under a peplum, n’est-ce pas?  Or perhaps a more obvious example would be the Robe de Style of the 1920s.


My absolute favorite kind of petticoat extends the silhouette from the hipline.


The shape begins to look like a conical hoop.


It really is fascinating to see how one style blends into the next over time, and how “modern” clothing design borrows from historical clothing again and again. 


And hey, even some ultra modern designers like the cage crinoline.  For most individuals, this look is not suitable for daily activity, but I quite like this underwear as outerwear.  My biggest concern would be getting caught on a doorknob.

  
I have some very fond memories of flouncing about in a hoop skirt.  So much fun, right?!  And while I am certainly glad that it is not an everyday requirement, I do love me a fluffy petticoat.


[Click on image for source]

Sunday, July 27, 2014

Making a Petticoat: A Tutorial

I thought it was time to do a petticoat tutorial since I have had so many requests for one.  I should preface this by saying that there many, many different silhouette options; this is just one which happens to be very suitable for a 1960s bell shaped silhouette, which is what I am currently working on.  I did not take many in-process photos, so please bear with the line drawings.


Generally, I prefer more of an a-line silhouette in a petticoat with the poof starting at mid-hip, but Vogue 4203 requires something different – something I do not currently have in my closet . . . and here we are.


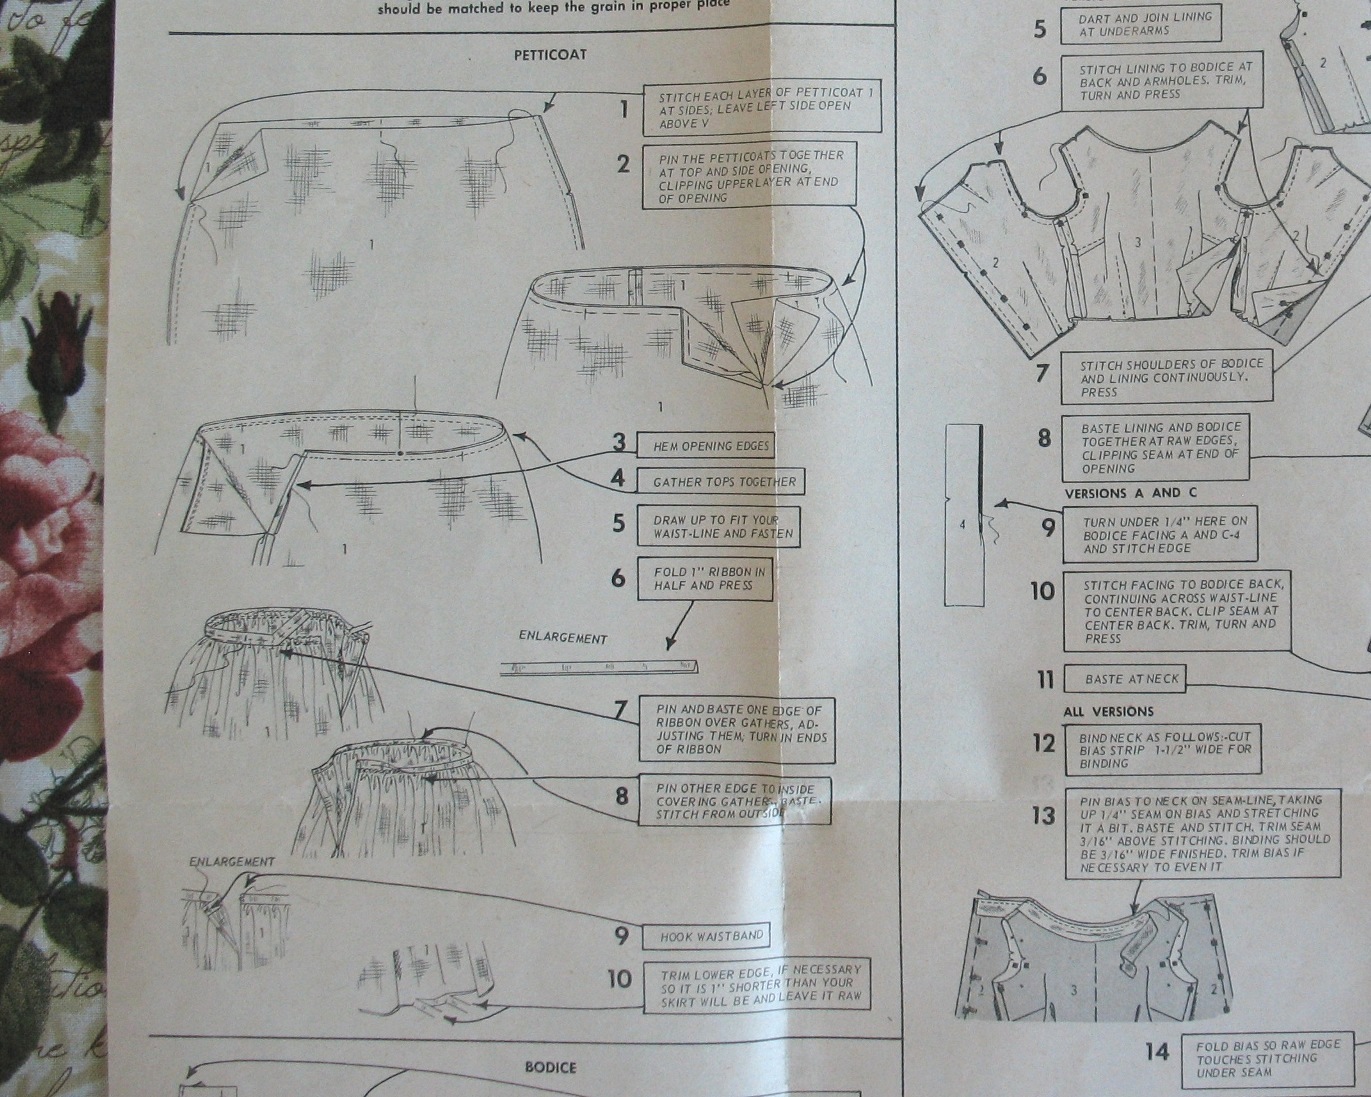
The pattern actually includes a petticoat made from a double layer of netting, although that pattern piece is missing from my copy.  But never fear . . . I just used my front skirt piece to create the petticoat pattern by smoothing out the jagged upper pleated edge.  One was cut for the front of the petticoat, and one was cut out and then cut in half for the back (I prefer to have a center back opening so the side gathers are more even on both sides).  But really any gathered skirt pattern should work with minor modifications - just look for one that is similar to the silhouette you are looking to create.

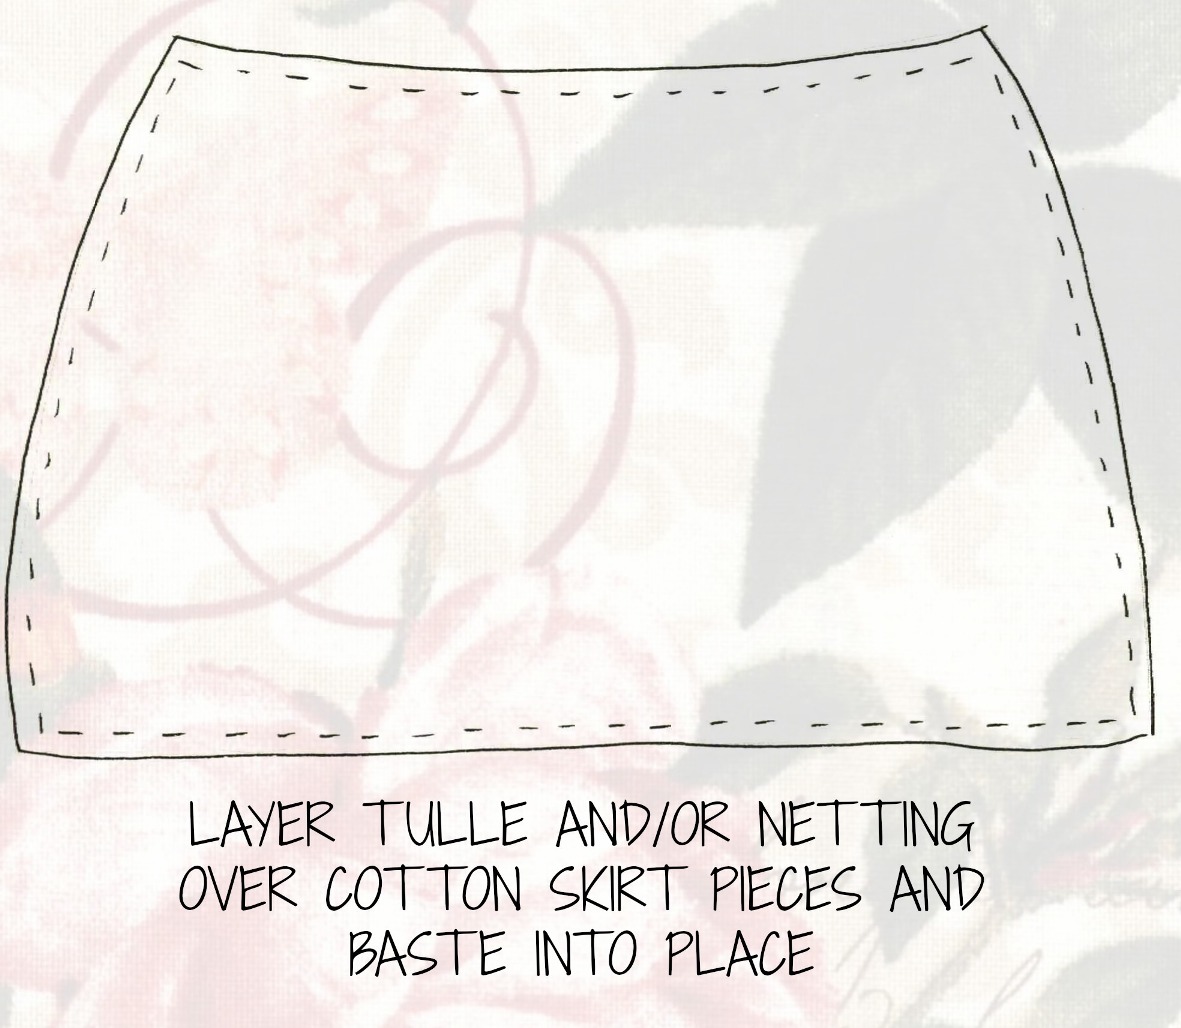
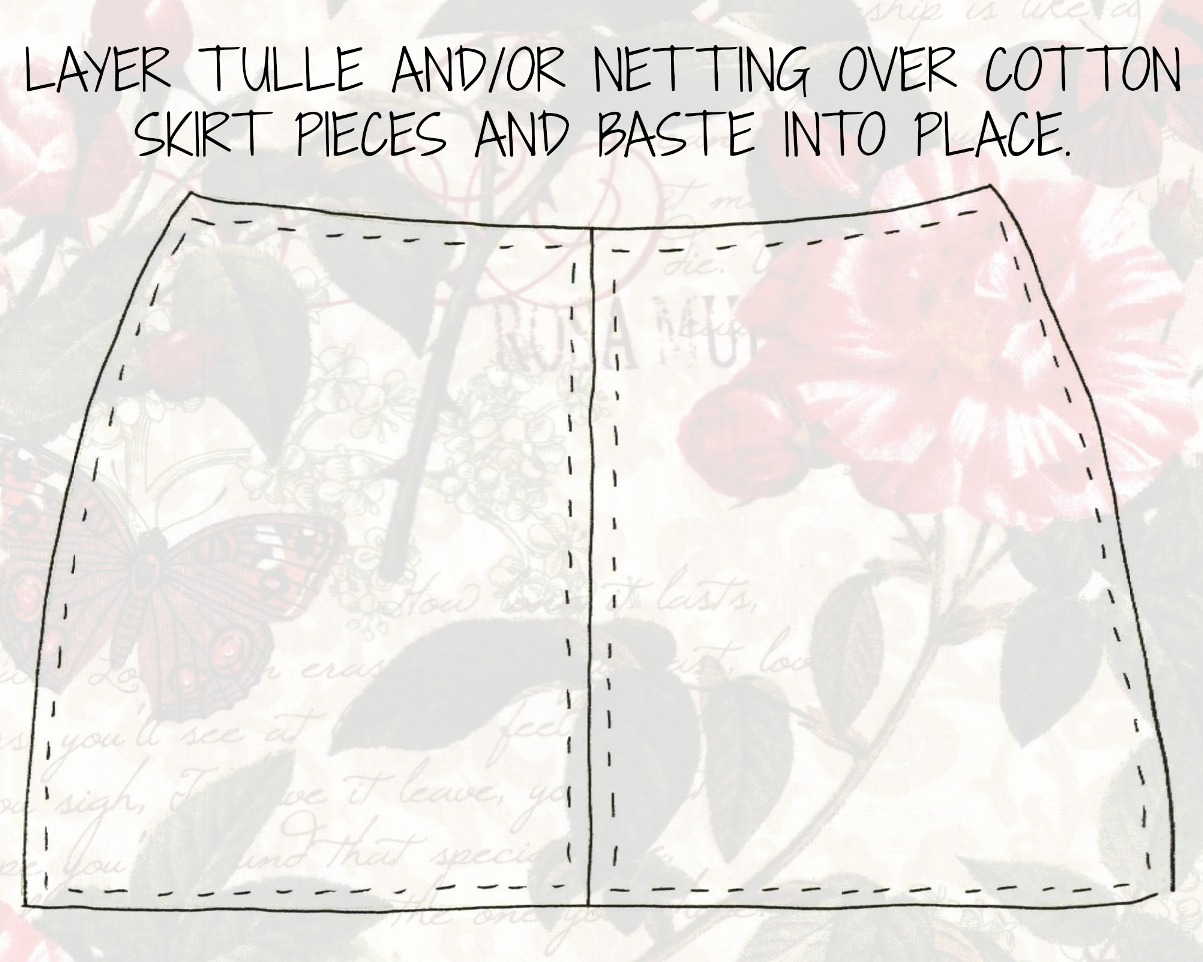
Layer your tulle and/or netting over a layer of cotton and baste into place along the edges.  Repeat for the back pieces.  


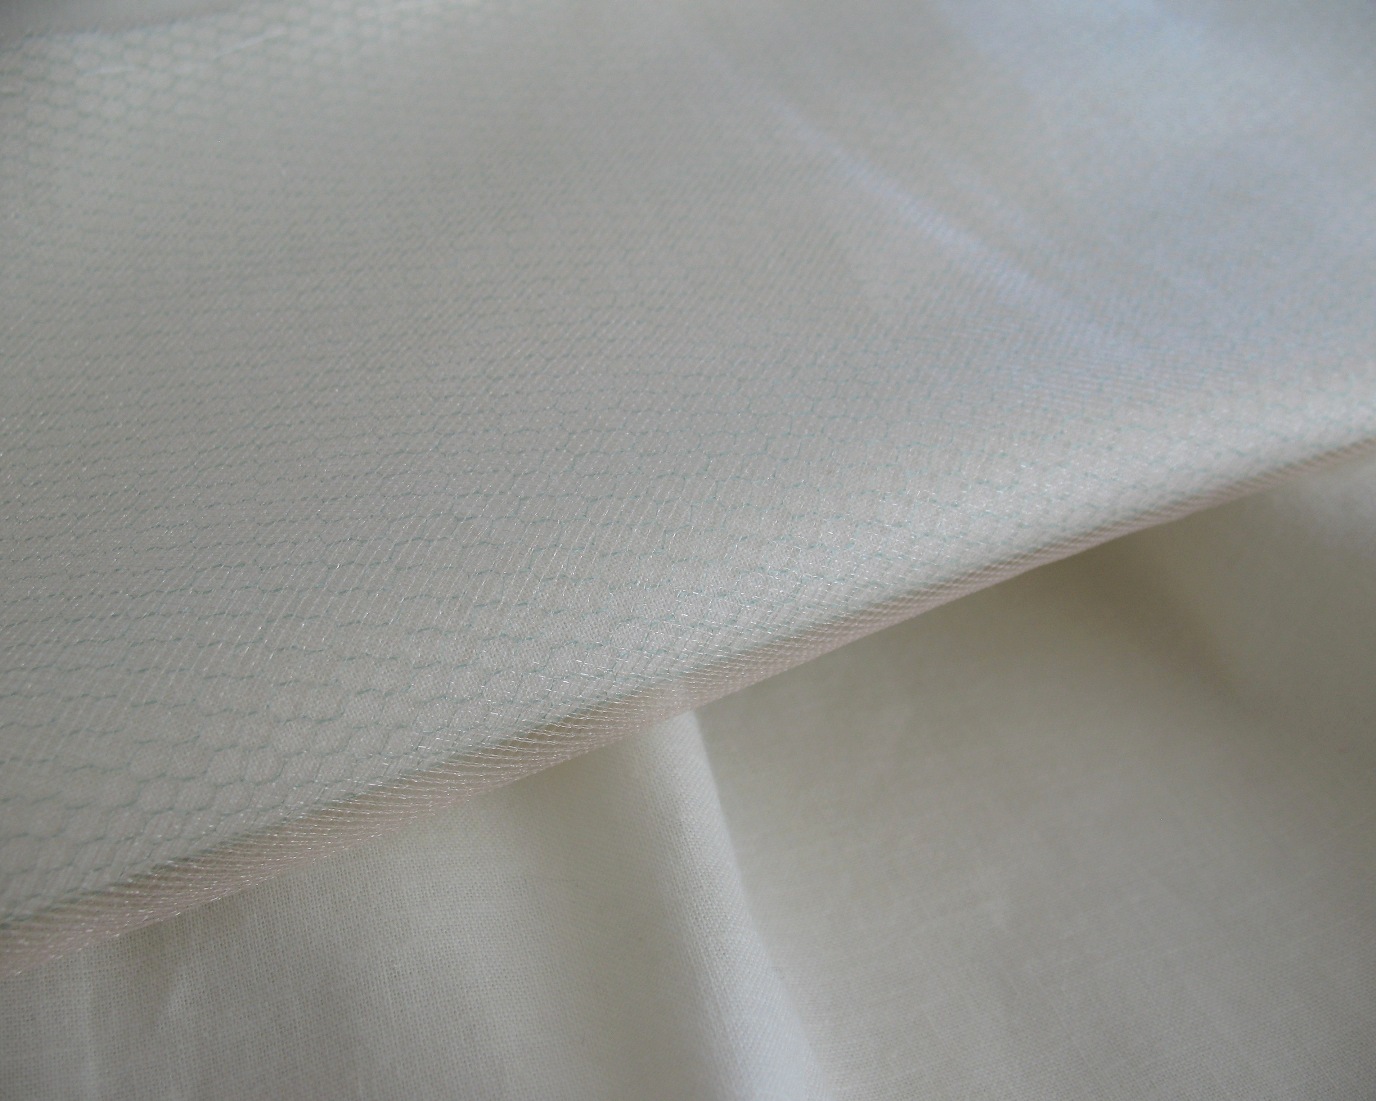
Many petticoats are made exclusively from netting.  I find this rather itchy.  Tulle is a less itchy option with less body than netting, but it can still irritate my skin.  My solution is to layer the itchiness between layers of cotton.


For this particular petticoat, I used a single layer of tulle (pink) over a single layer of netting (green) basted to a layer of cotton. 


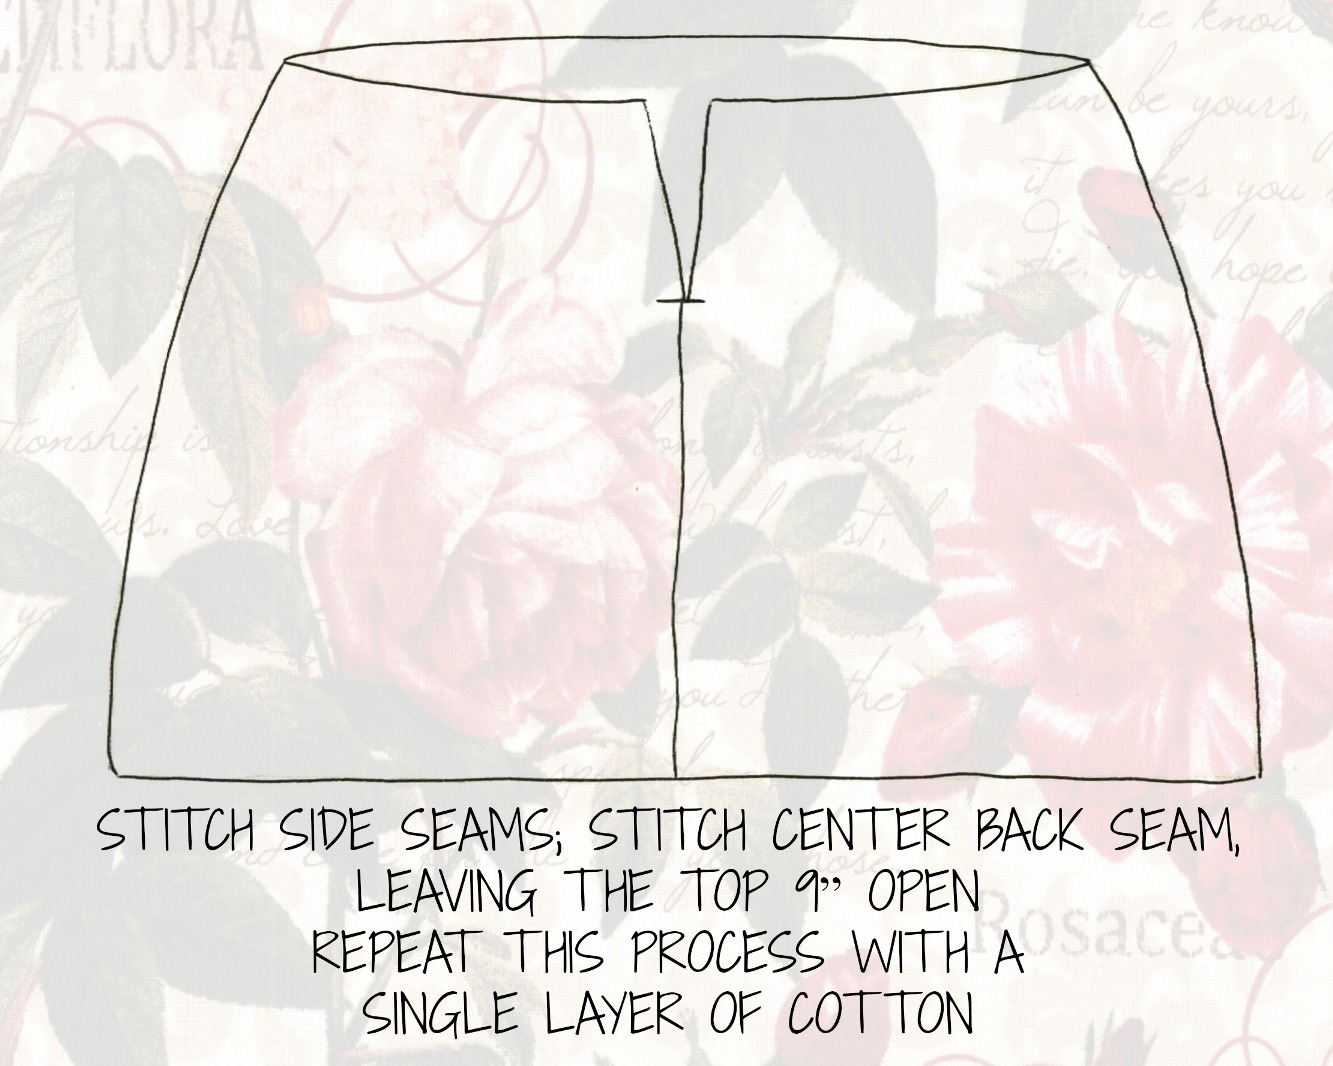
The tulle, netting, and cotton will now be treated as a single layer.  Stitch the side seams together and stitch the center back seam, leaving an opening at the top.


Repeat this process with a single layer of cotton.  Now you should have the beginnings of two separate skirts, one that contains layers of tulle, netting, and cotton, and a duplicate lining made of cotton.

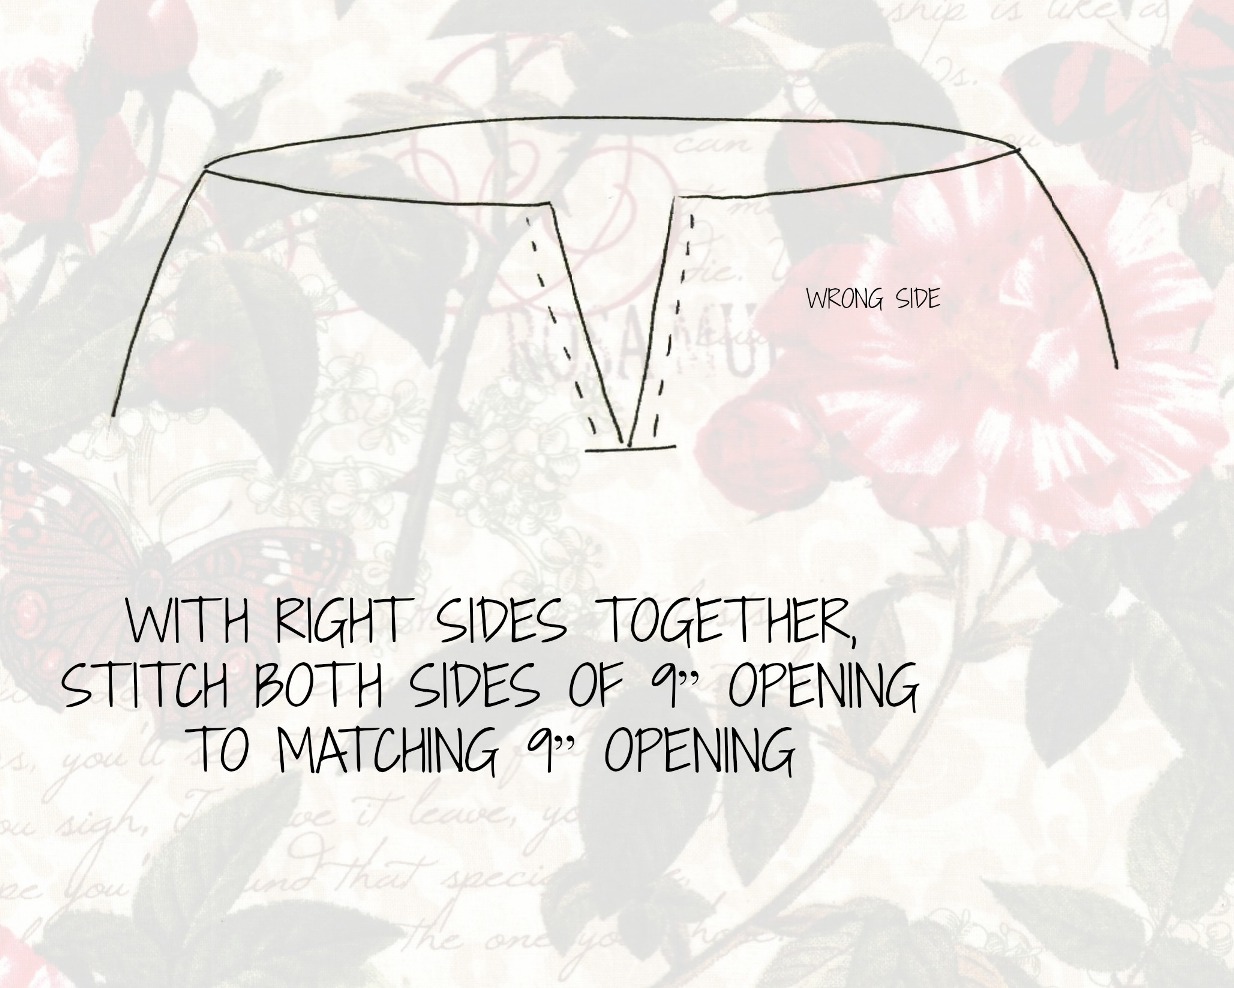
With right sides facing, join the two layers together along the center back opening.


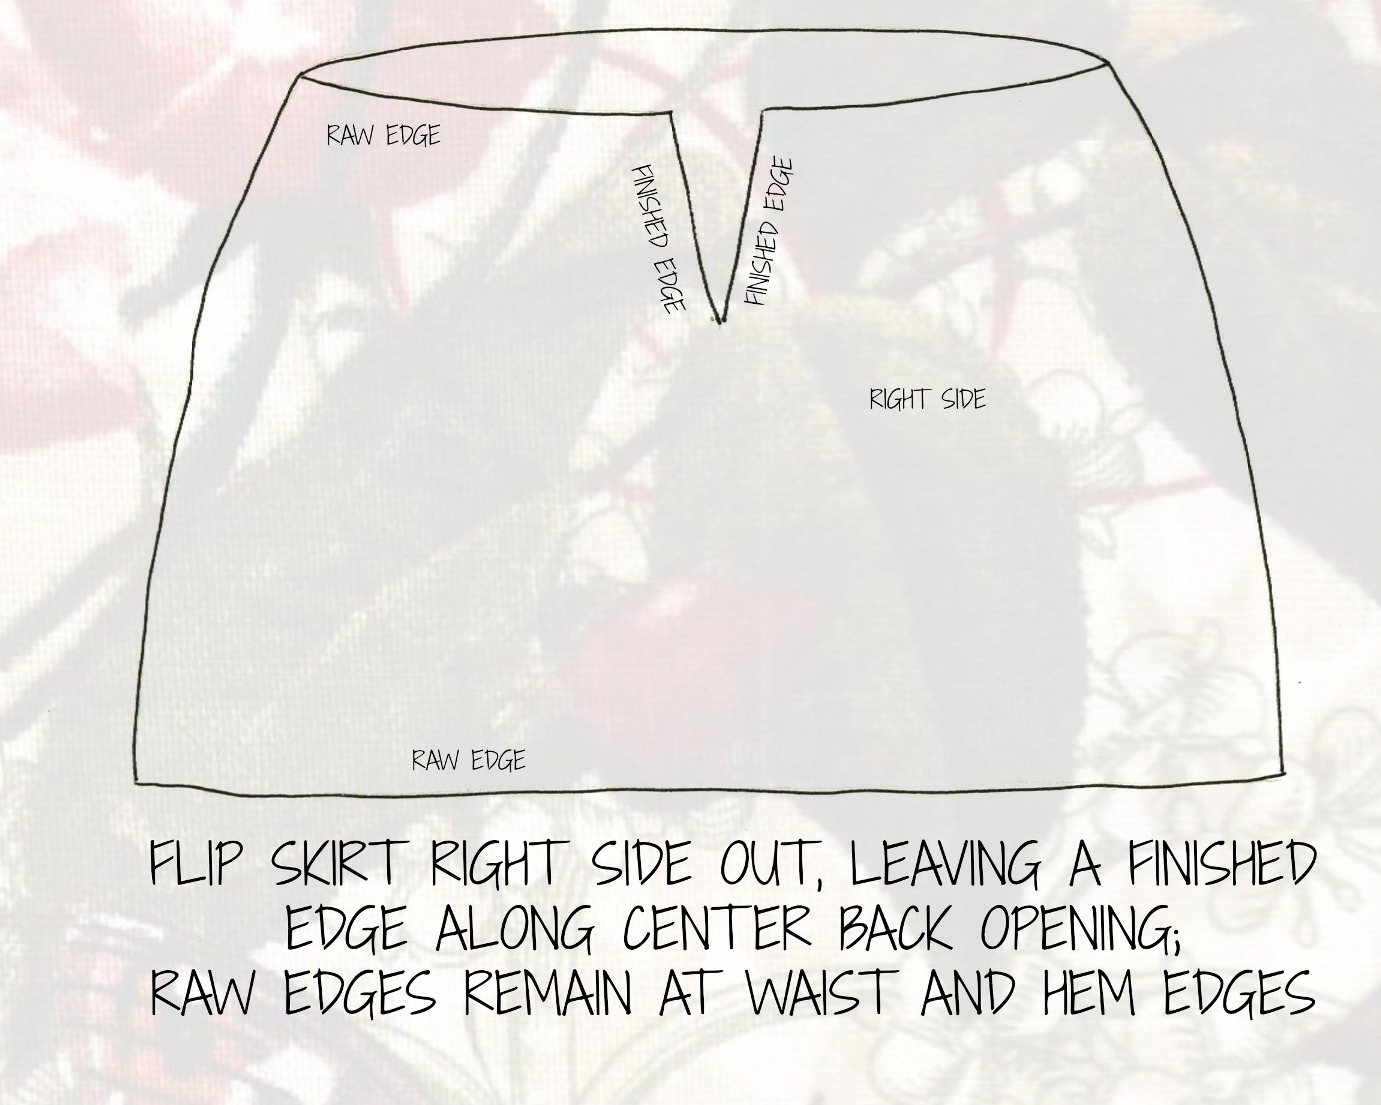
Flip the skirt right side out, leaving a finished edge along the center back opening; you will still have raw edges at the waist and hem edges.  You could certainly insert a zipper instead, but they are really not necessary for a petticoat.


Baste the raw upper edges together. 


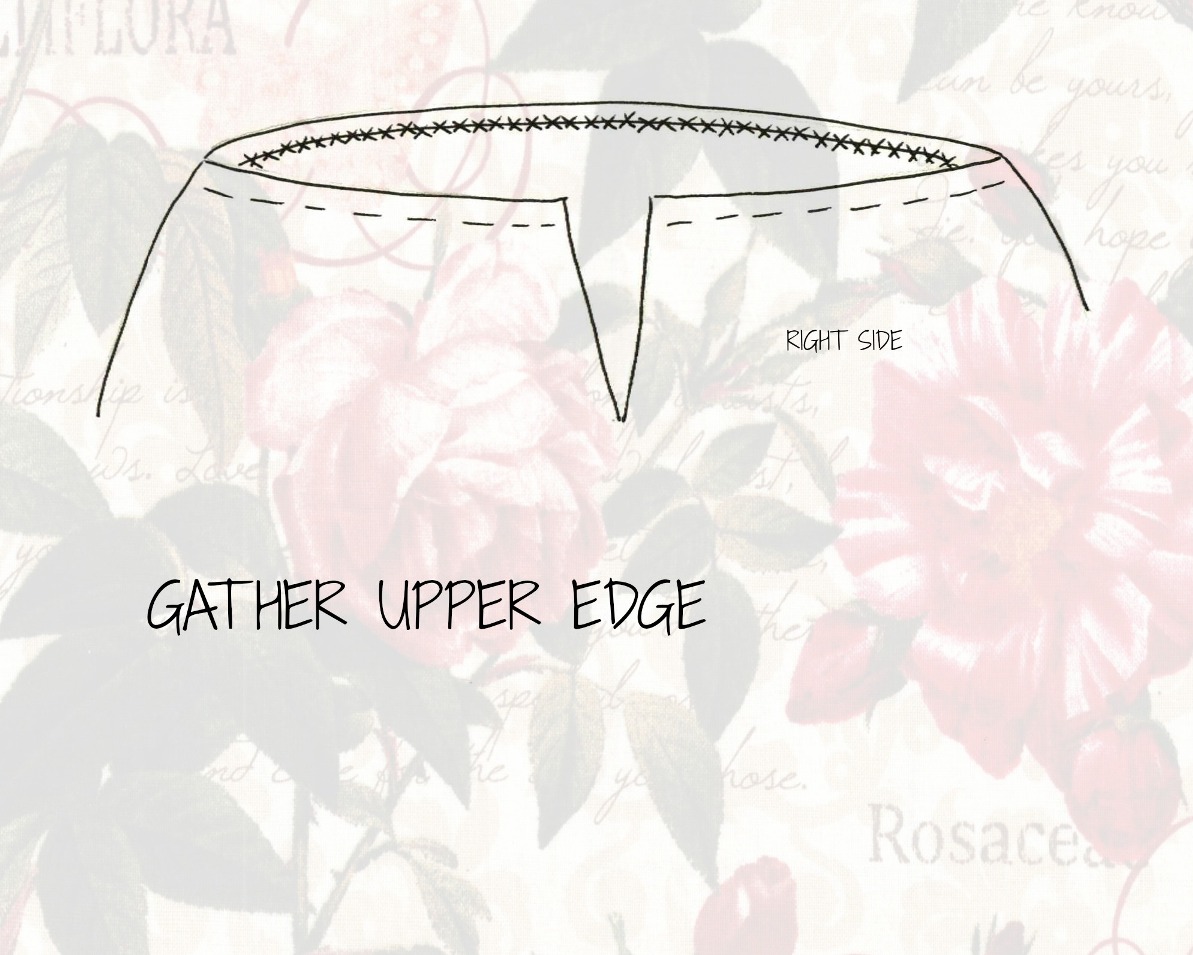
Gather the upper edge.  I prefer to push the majority of the gathers to the hips, leaving the center front and center back relatively flat.


Because of the bulk created by two layers of cotton plus two layers of netting & tulle, I like to use a zig-zag stitch and a length of crochet thread to gather petticoats (and anything bulky, for that matter).  This saves on the frustration of snapped gathering threads.


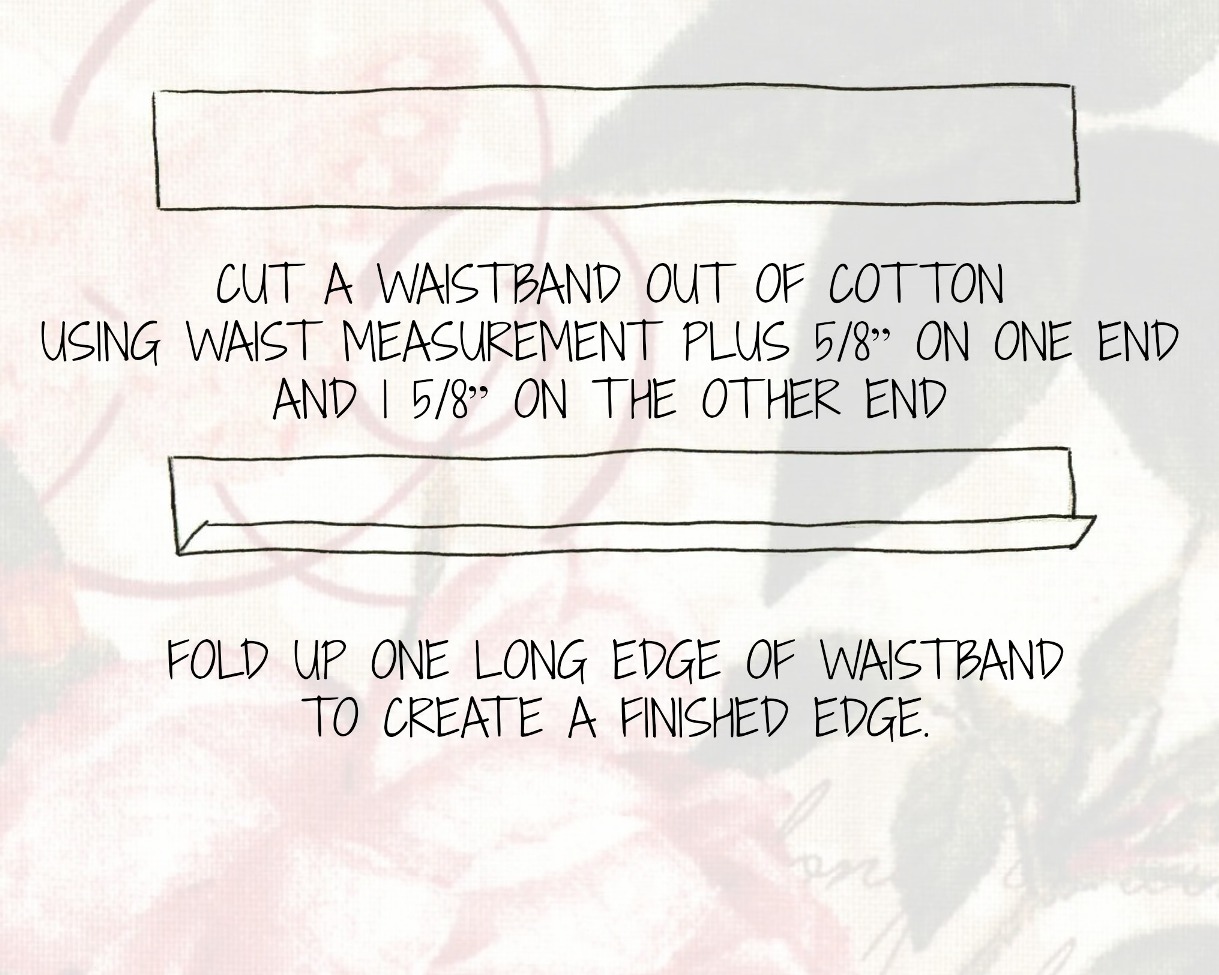
Cut a waistband out of cotton using the measurement of your waist plus 5/8” on one end and 1 5/8” on the other end (I like to interface this portion as with any other waistband).  I like my skirts to be snug at the waist, but you can certainly add extra ease into the waistband if you like.  Fold up one long edge of waistband to create a finished edge.


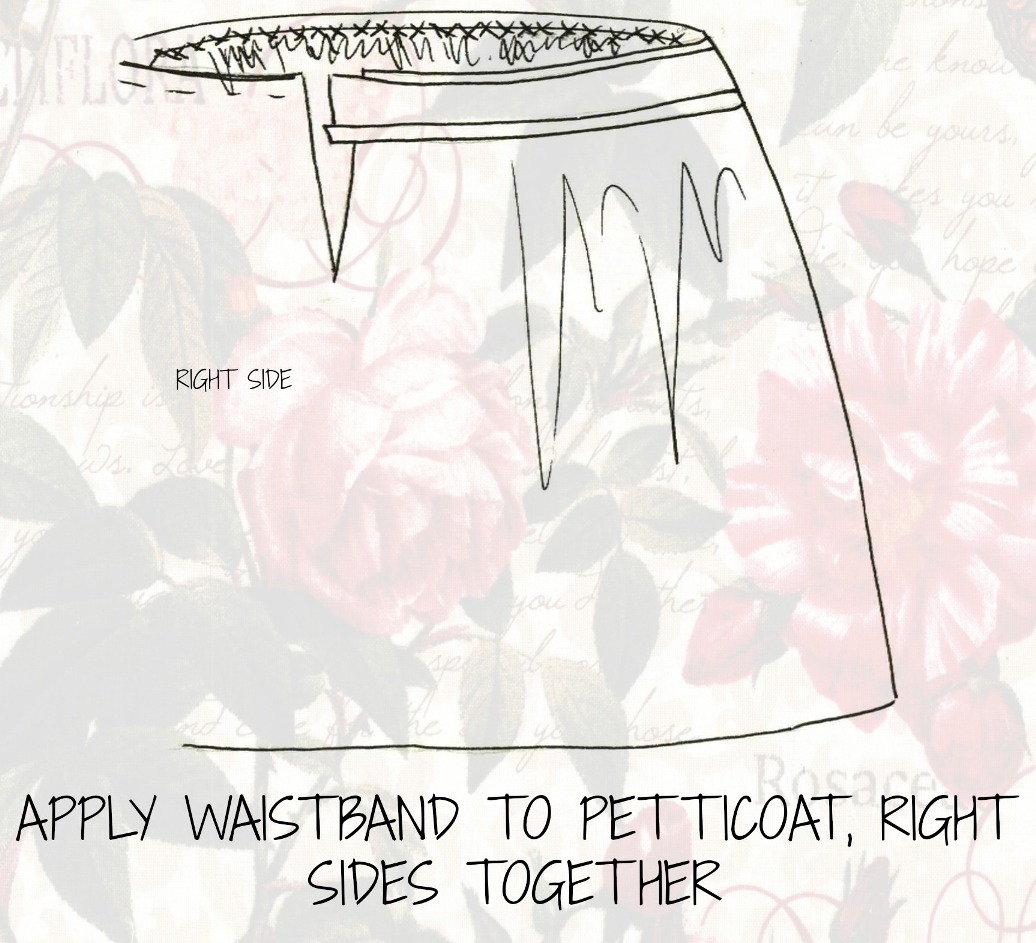
With right sides together, stitch the waistband to the gathered upper edge, making sure to leave the appropriate amount of overhang at each of the opening edges.


With the right side of skirt facing, fold waistband in half, right sides together.  Stitch the folded edge in place, trim, and turn waistband right side out.


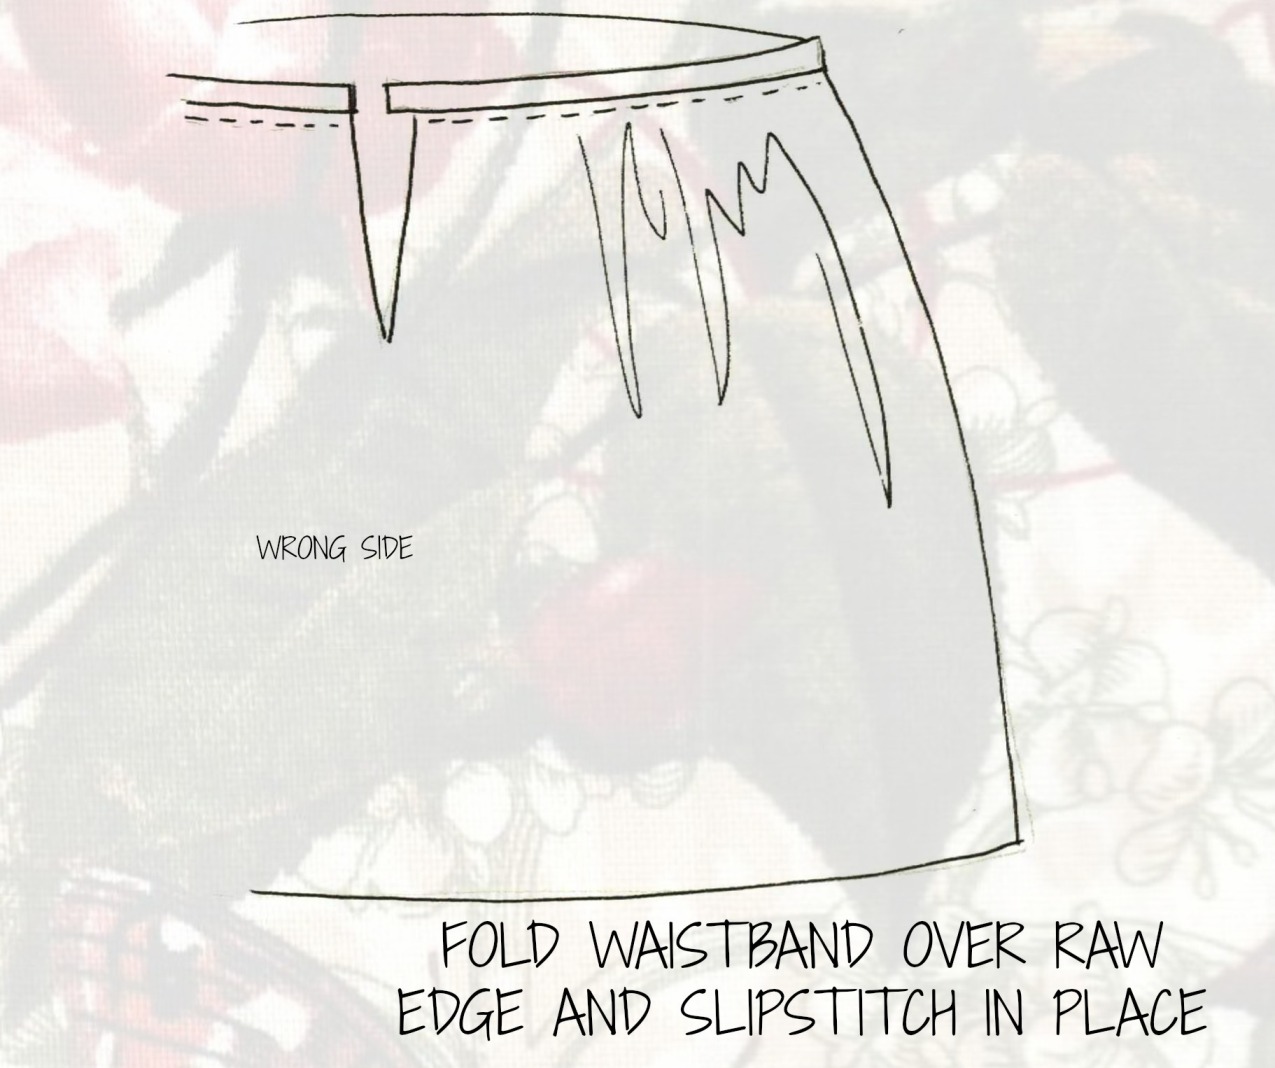
Fold the waistband over the raw skirt edge and slipstitch in place.    


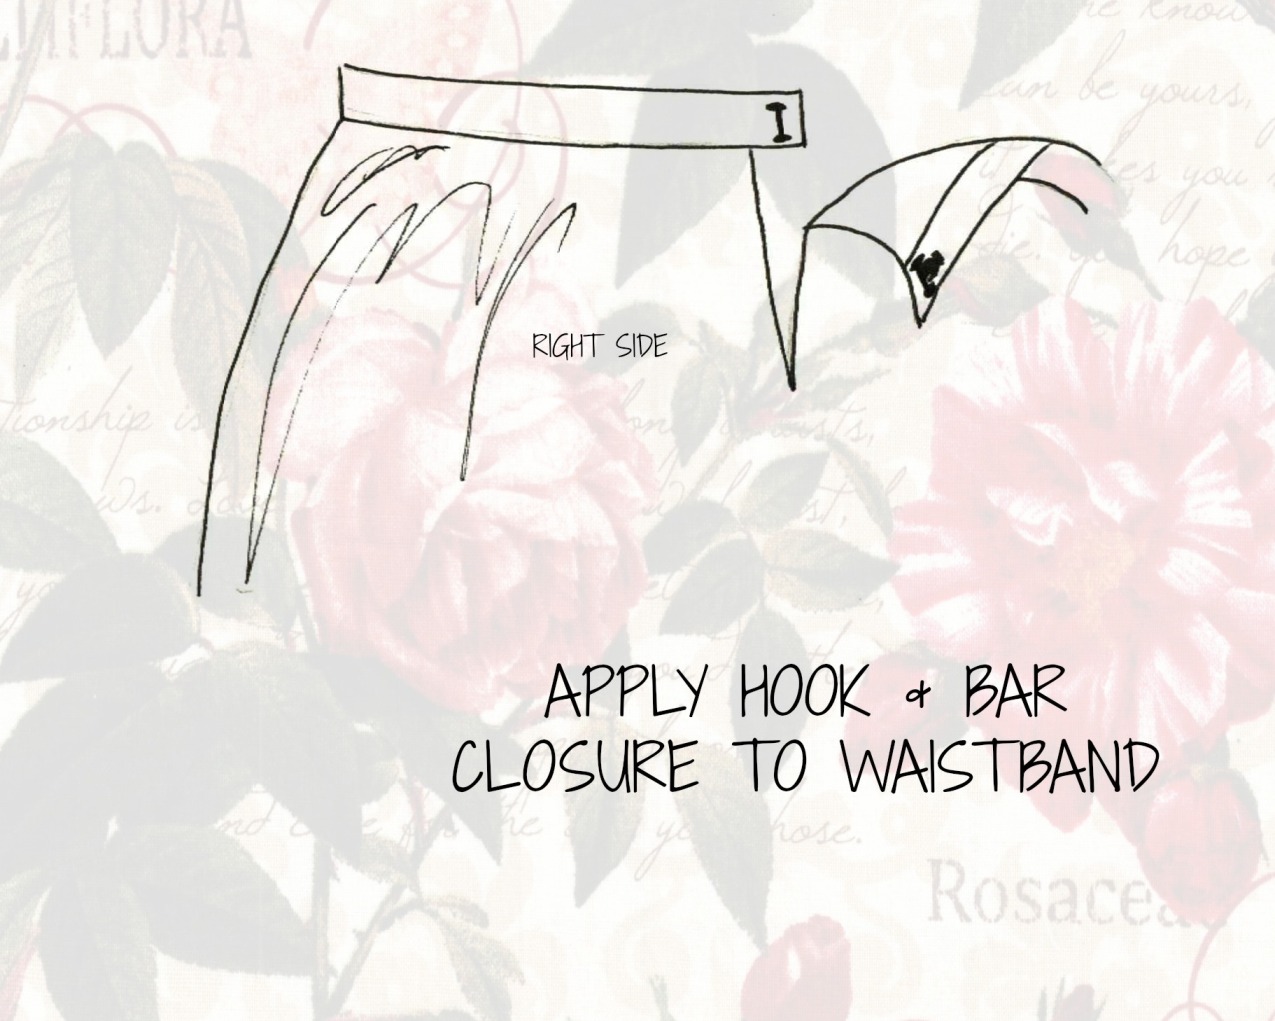
Apply a hook & bar closure to the waistband.  I believe these pictures actually depict the “wrong” way to close a woman’s skirt, but it has always been easier for me to reach around to my back and hook the right side over the left – and that is more important to me than following standard protocol.  If you are looking for a more standard application, you may want to make that alteration.


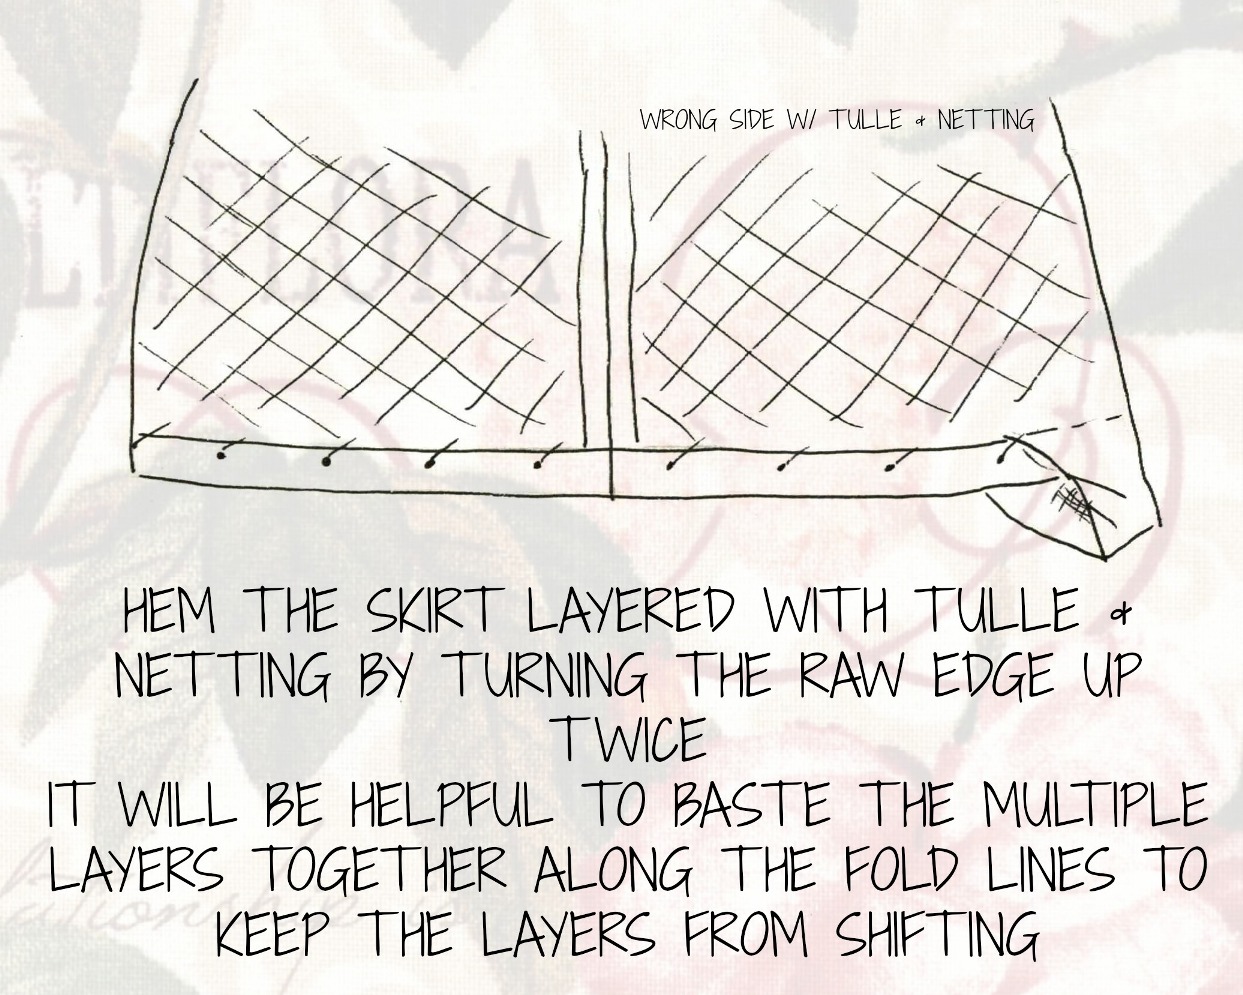
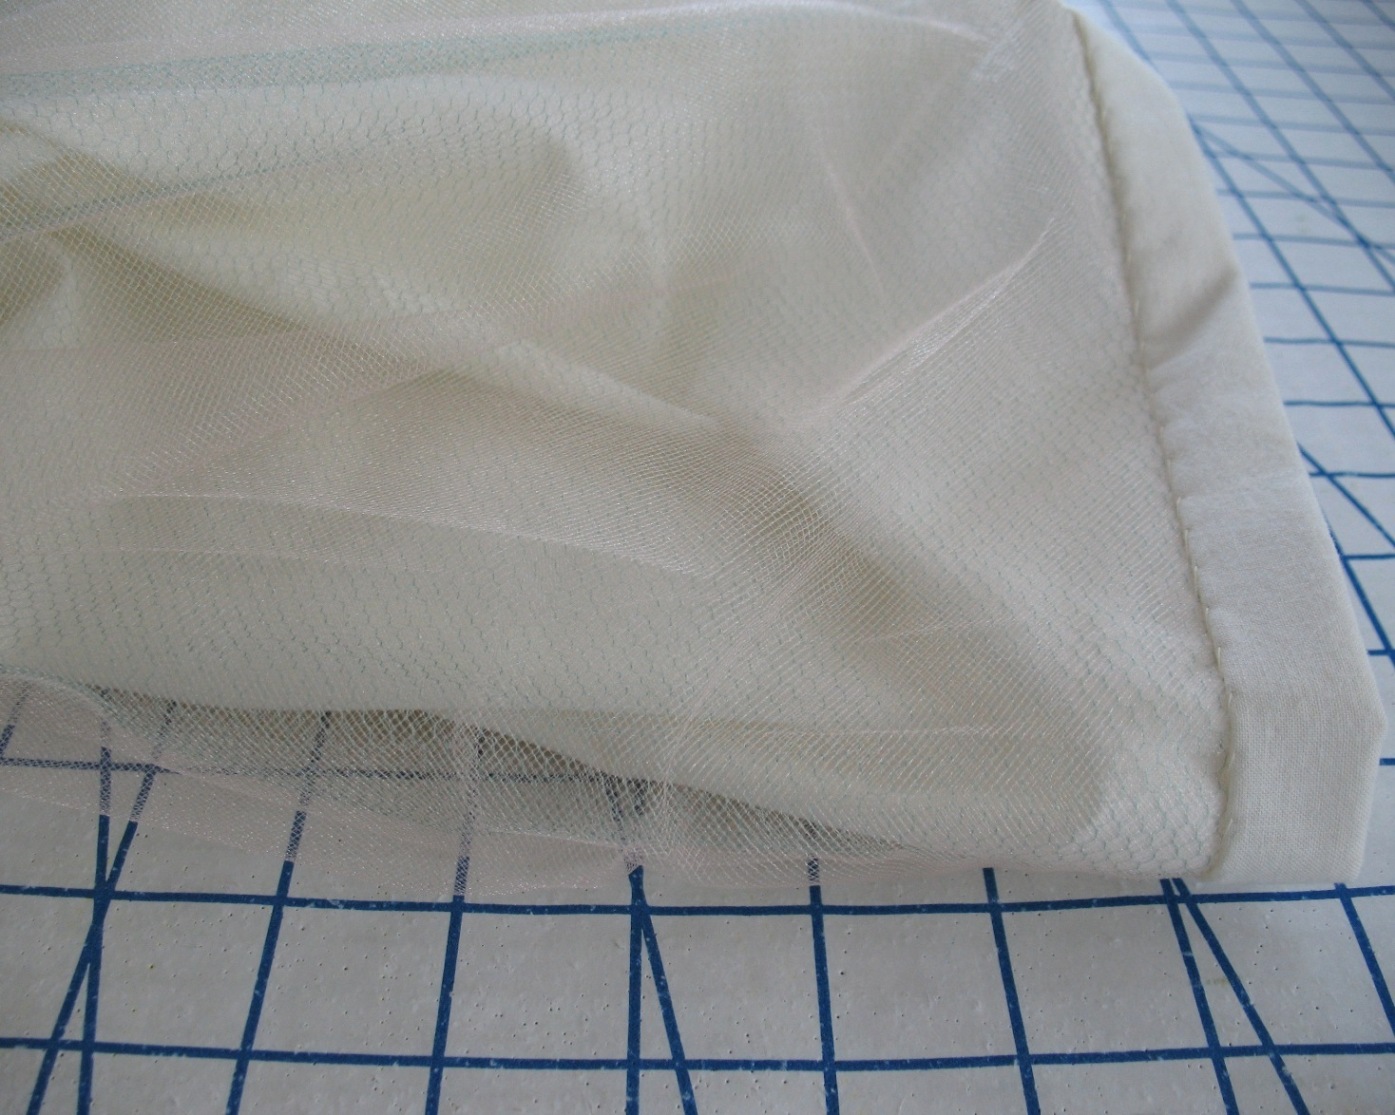
Hem the skirt layered with tulle & netting by turning the raw edge up twice.  It will be helpful to baste the multiple layers together along the fold lines so they cannot shift.  And make sure to use a presscloth when you iron over tulle & netting - it will make a huge mess if you don't!


Once everything is stitched into place, don't worry about the layers of tulle, netting, and cotton separating - that just adds to the poof!


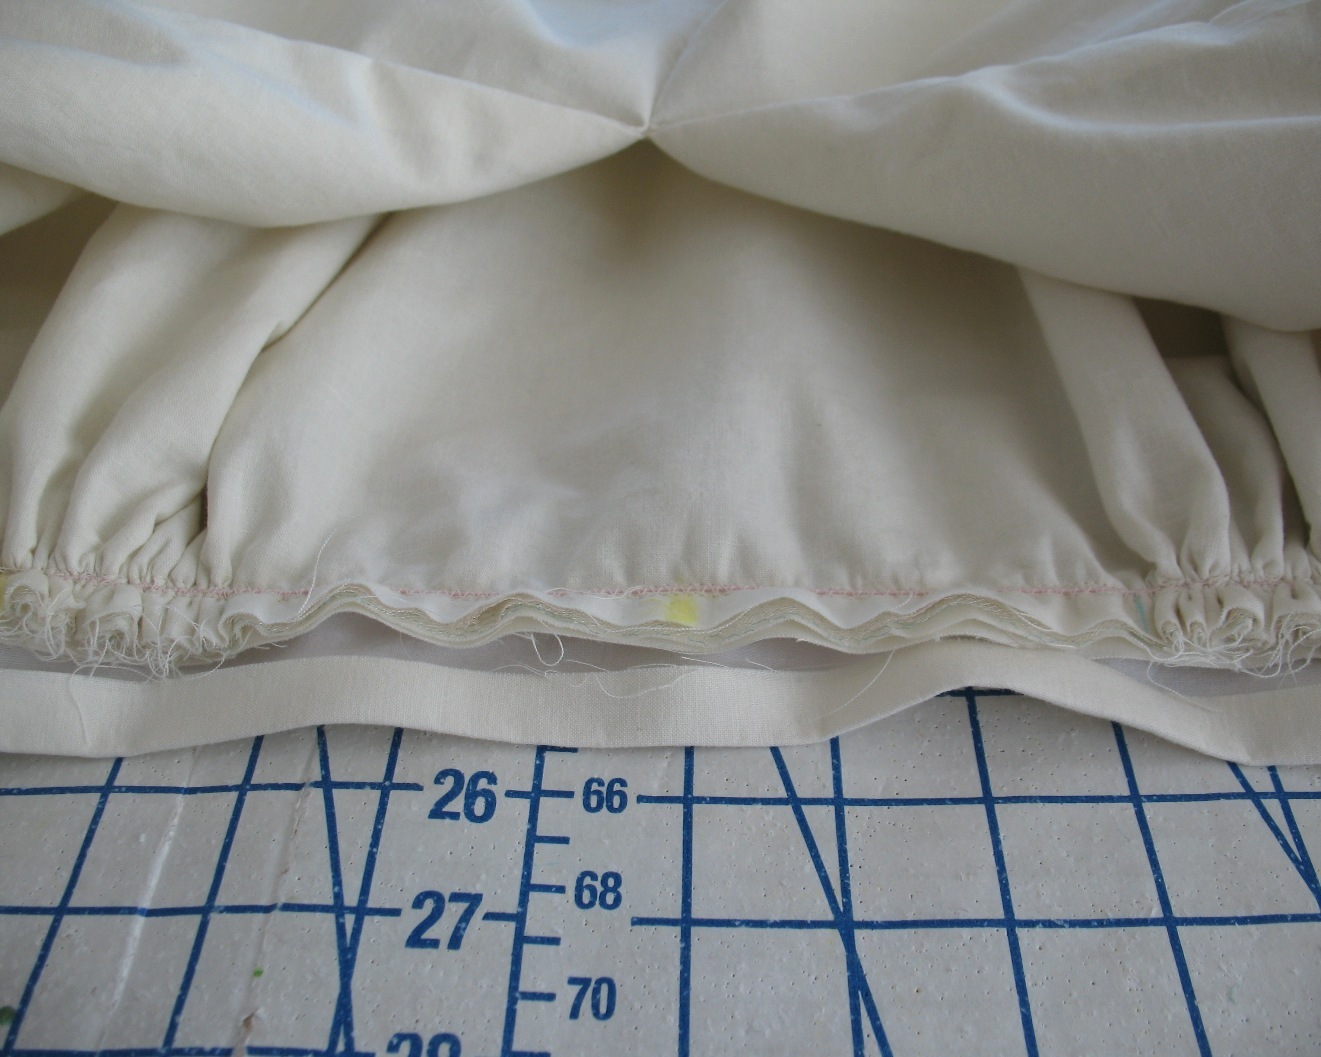
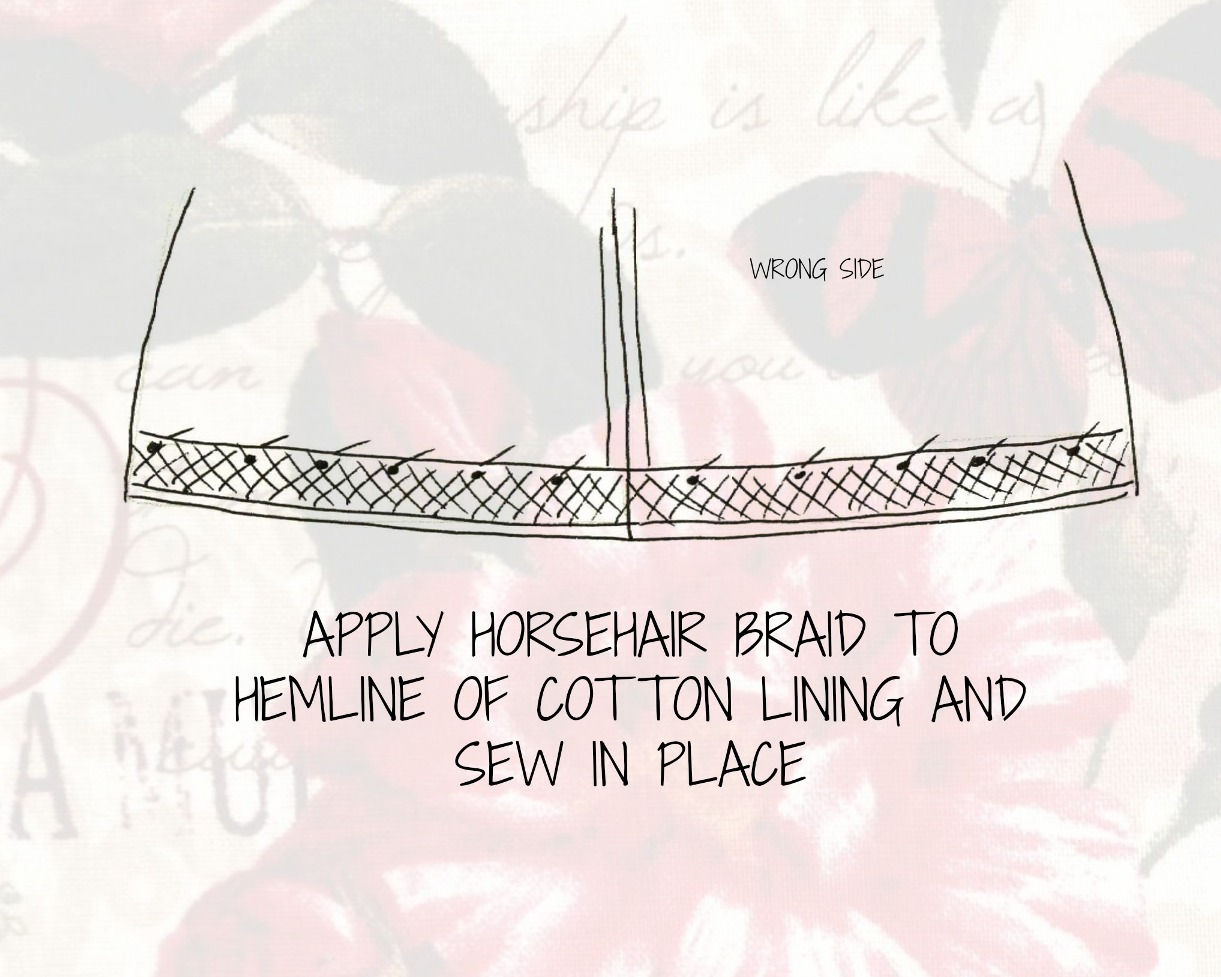
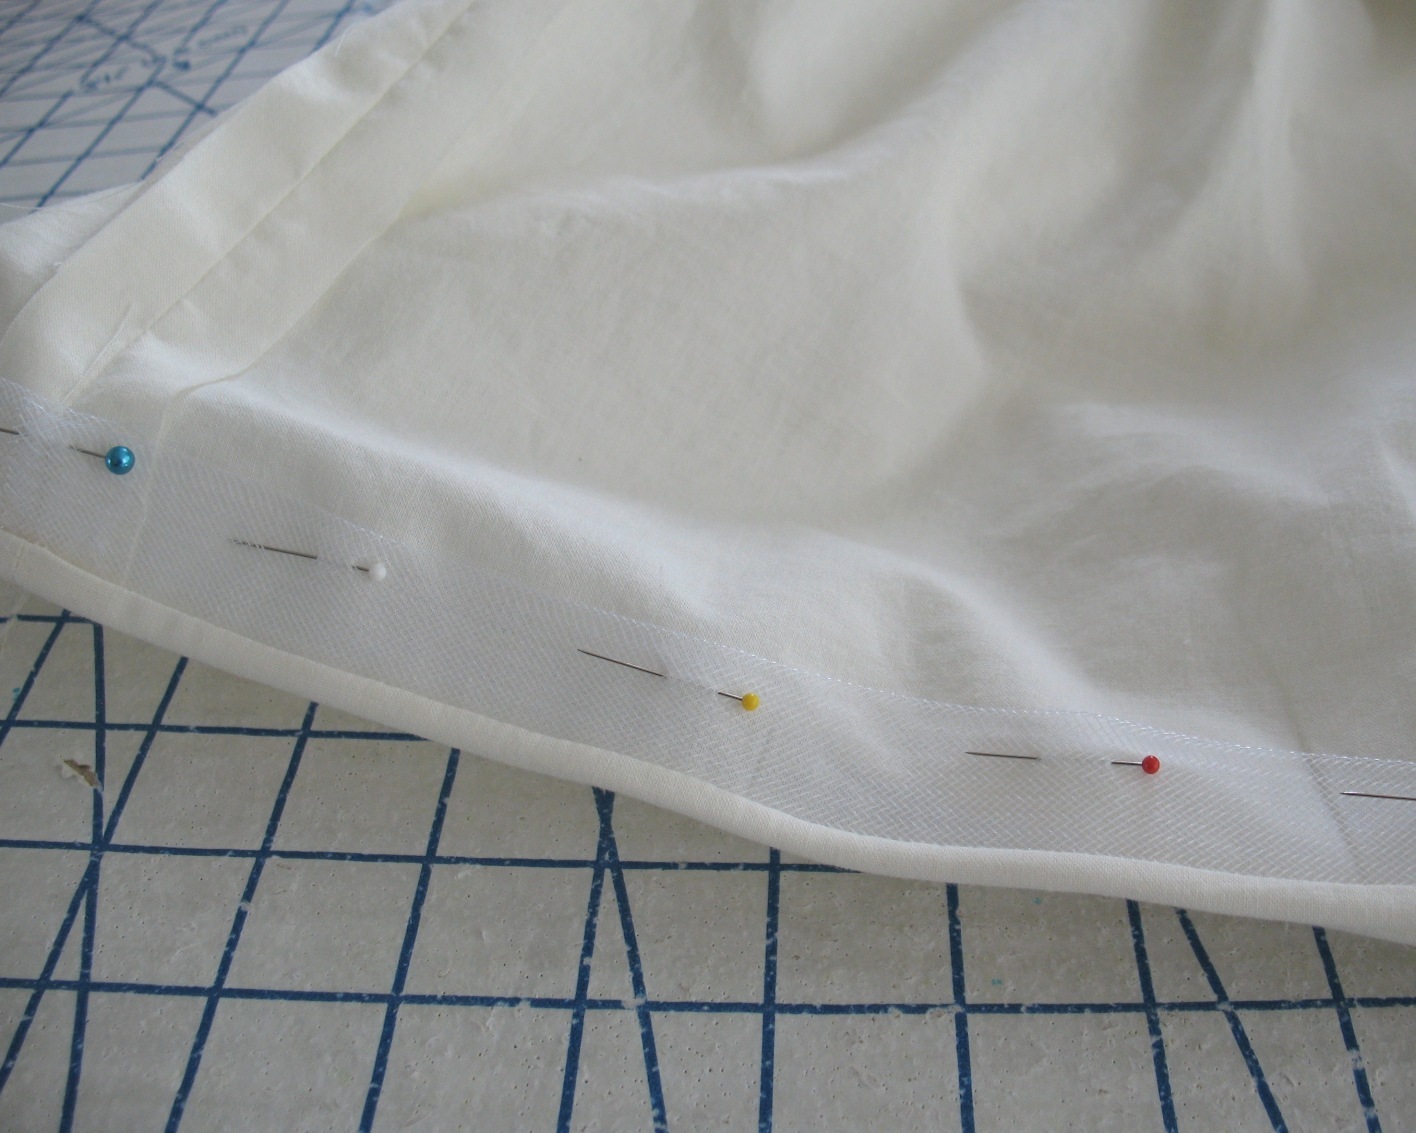
Apply horsehair braid to the hemline of the petticoat lining (the single layer of cotton) and sew in place.


The first petticoat I made was not done this way, and the lining has a tendency to get caught between my legs when I walk – the horsehair will push that inner hemline away from the body and will stop that from happening.


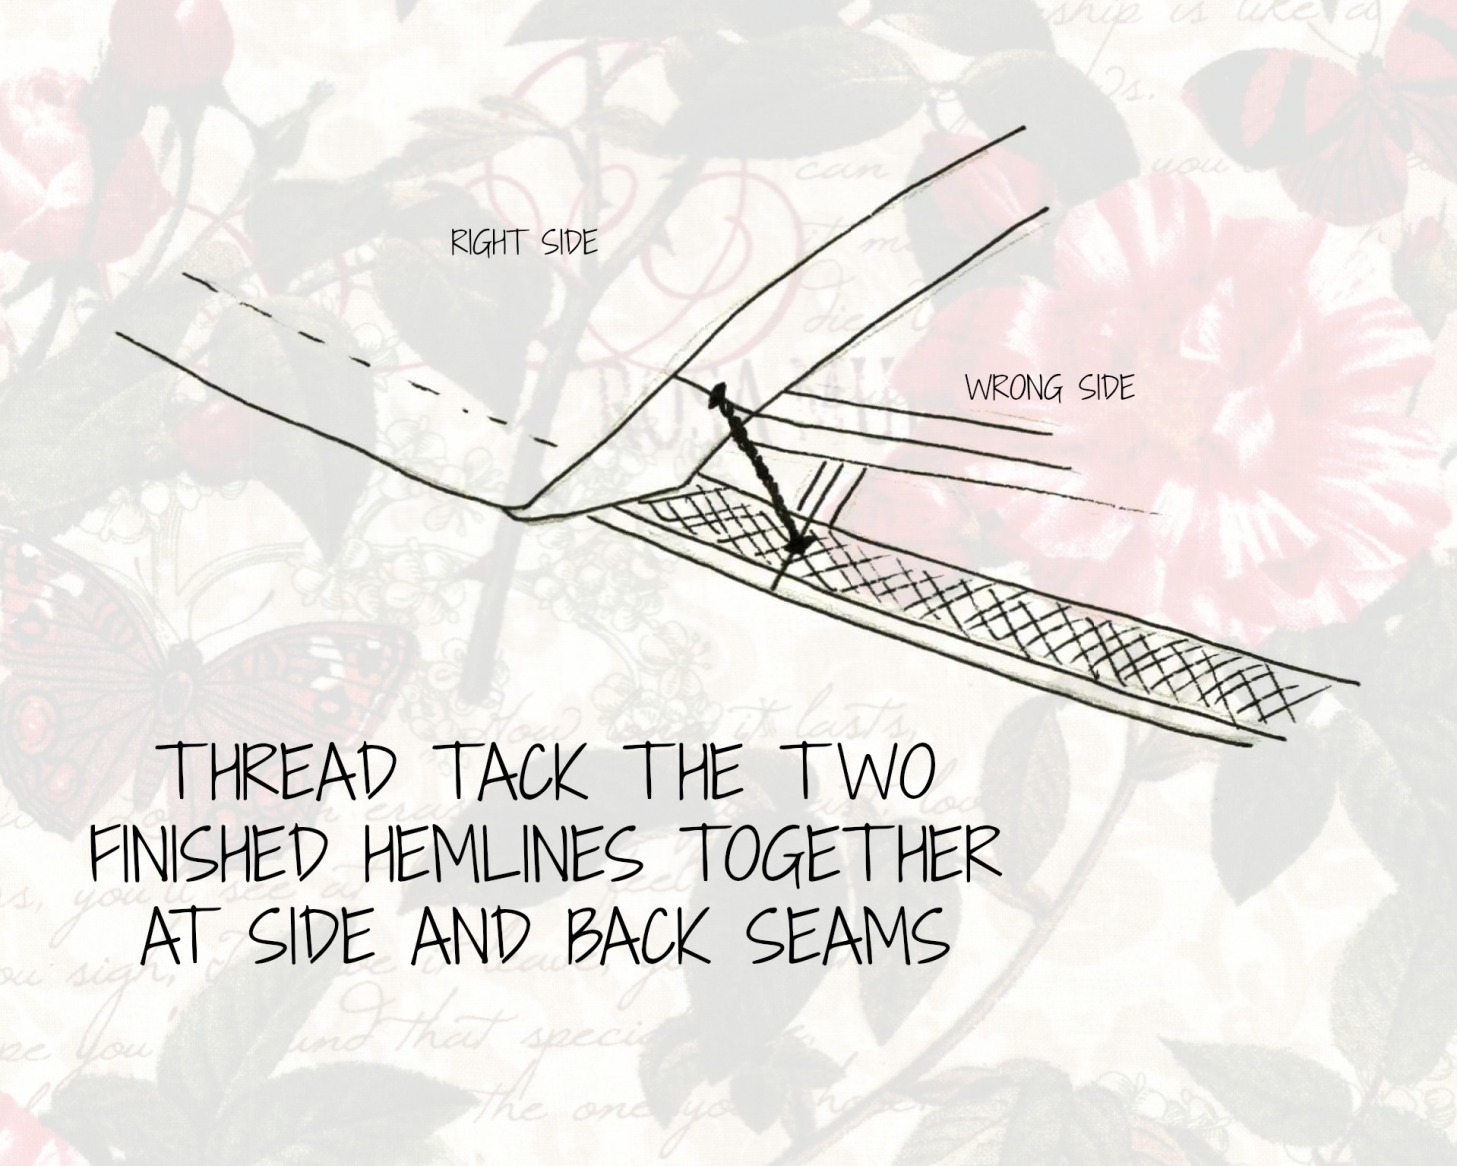
Thread tack the two finished hemlines together at the side and back seams.


Finished!  You are now the proud owner of your very own petticoat; a petticoat that will not scratch you and is quite cool to wear, even with all the added layers.


And they really are incredibly fun to wear - just know that you are going to take up more space than you are accustomed to!  Swing wide when maneuvering around coffee tables and the like, or you may clear the surface!  This is also an excellent choice if you wish to increase your own personal space in crowded areas - a built in buffer zone, if you will . . .