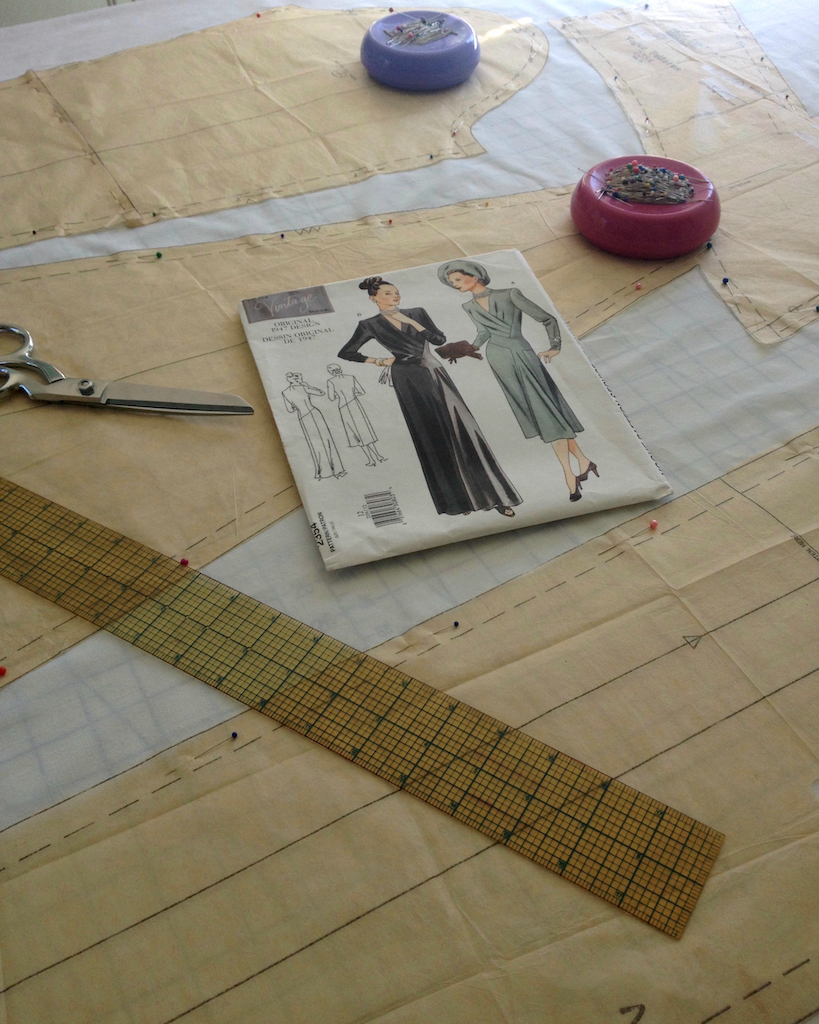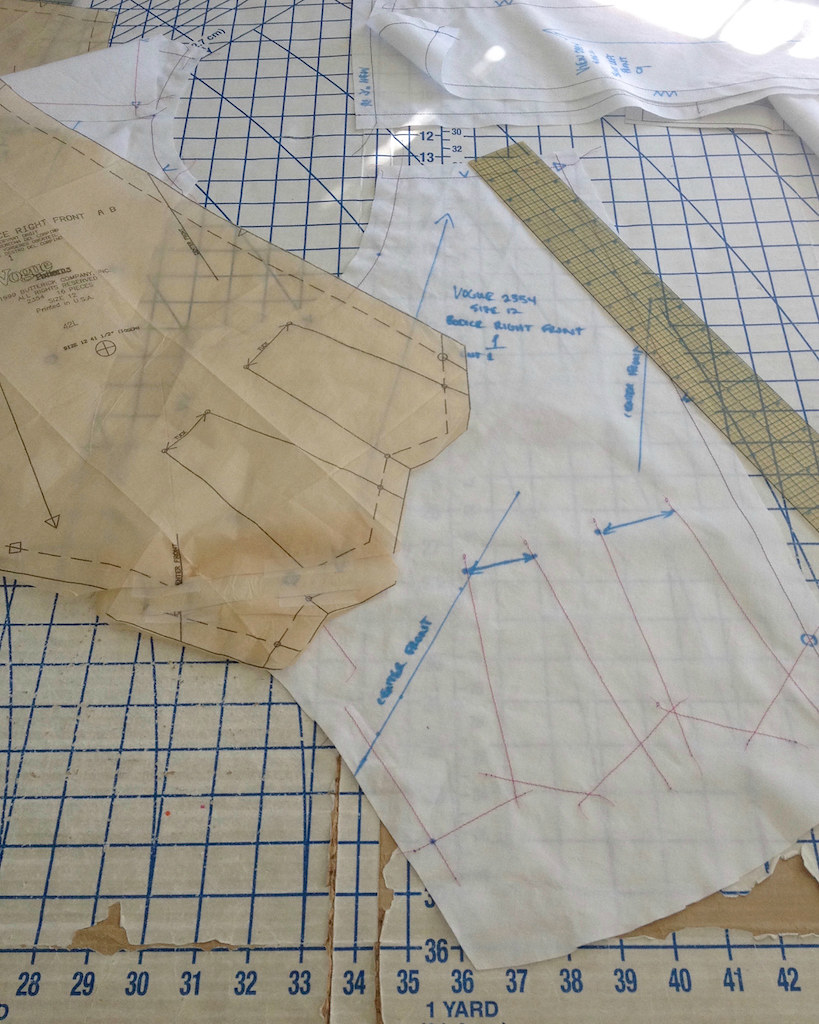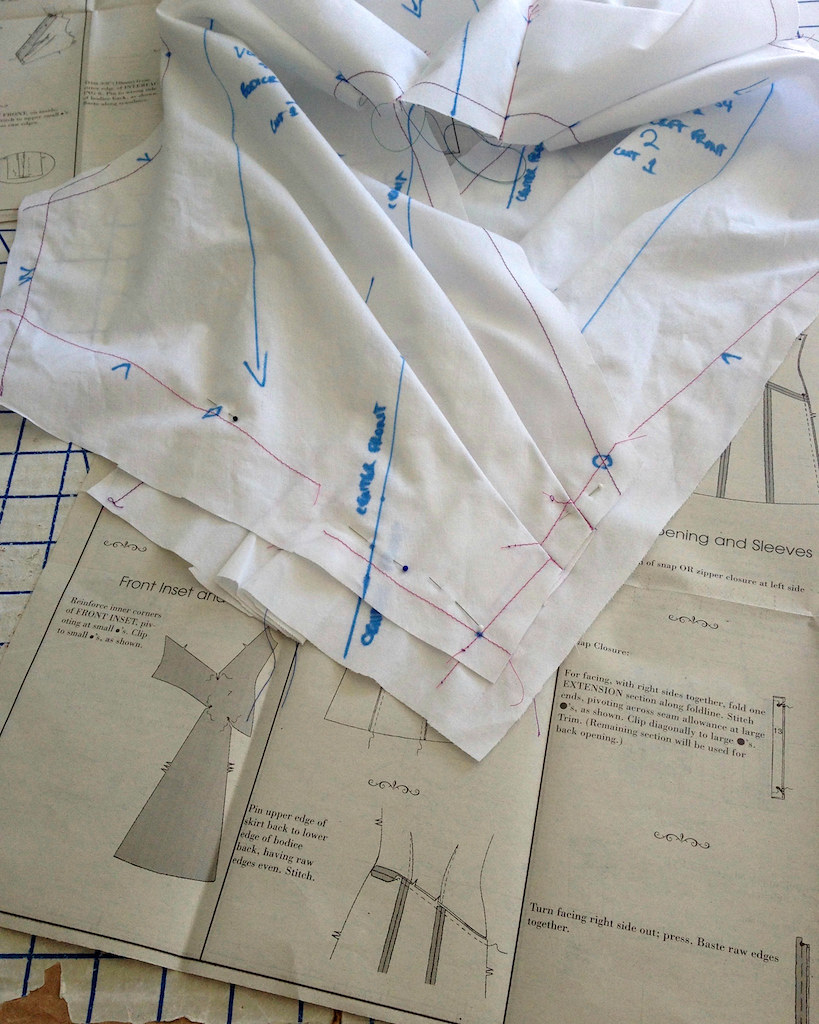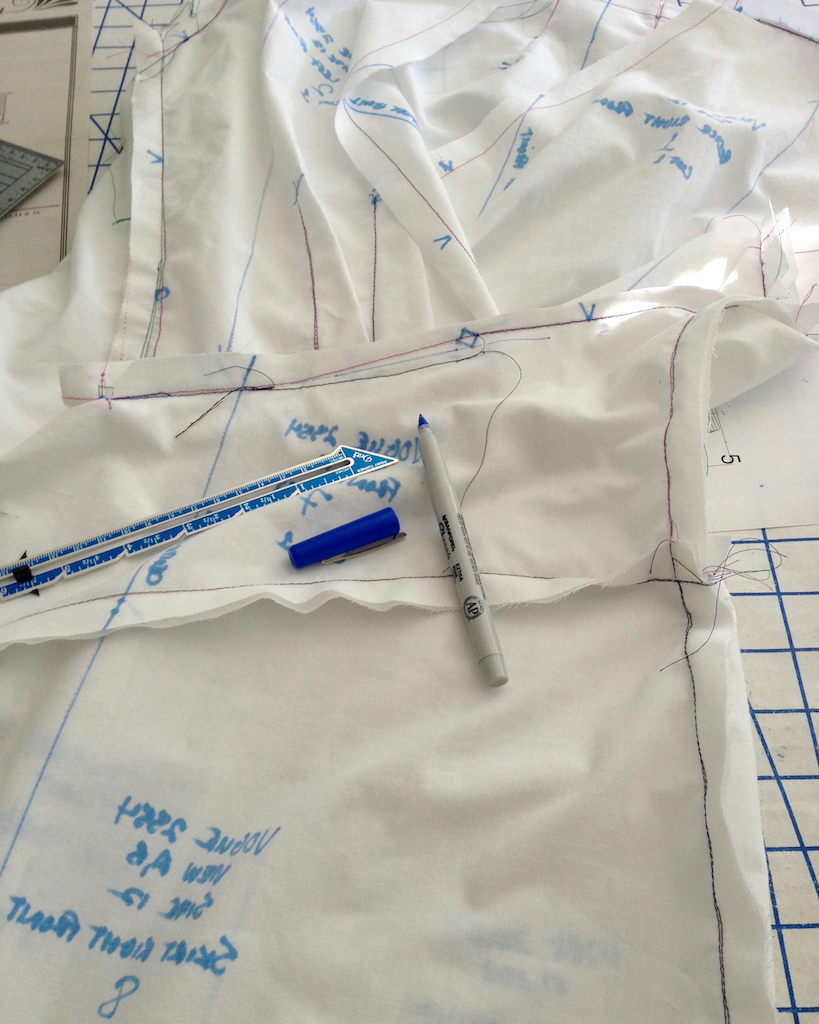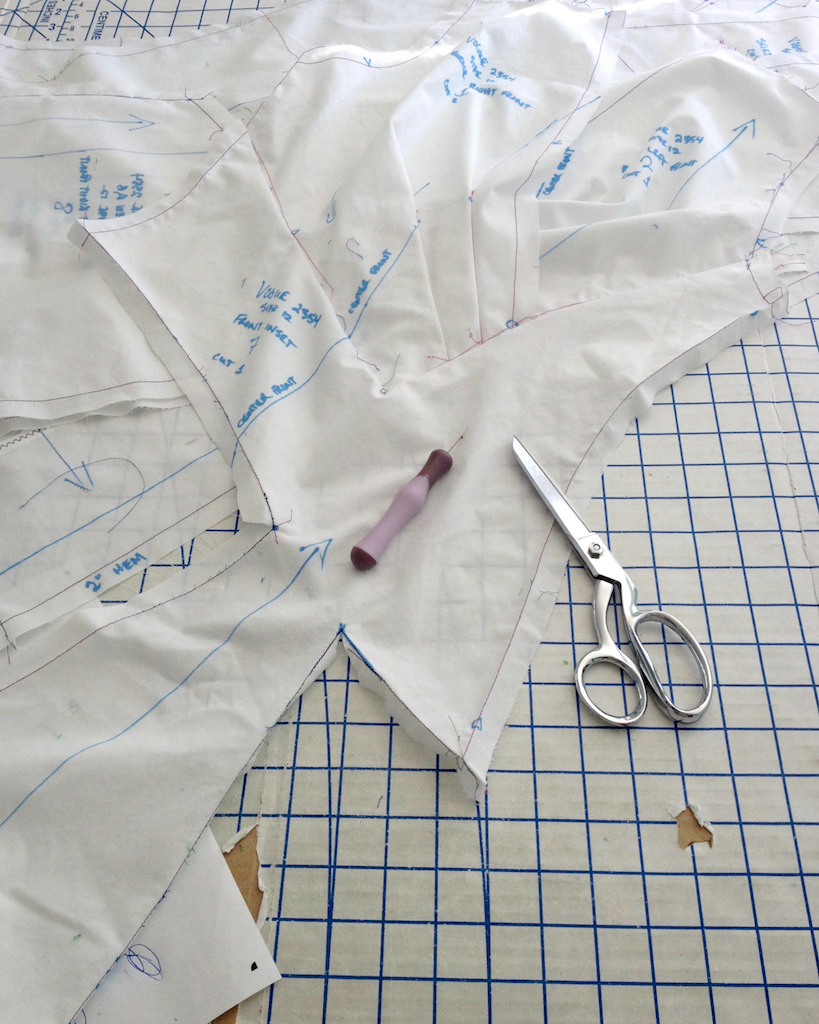
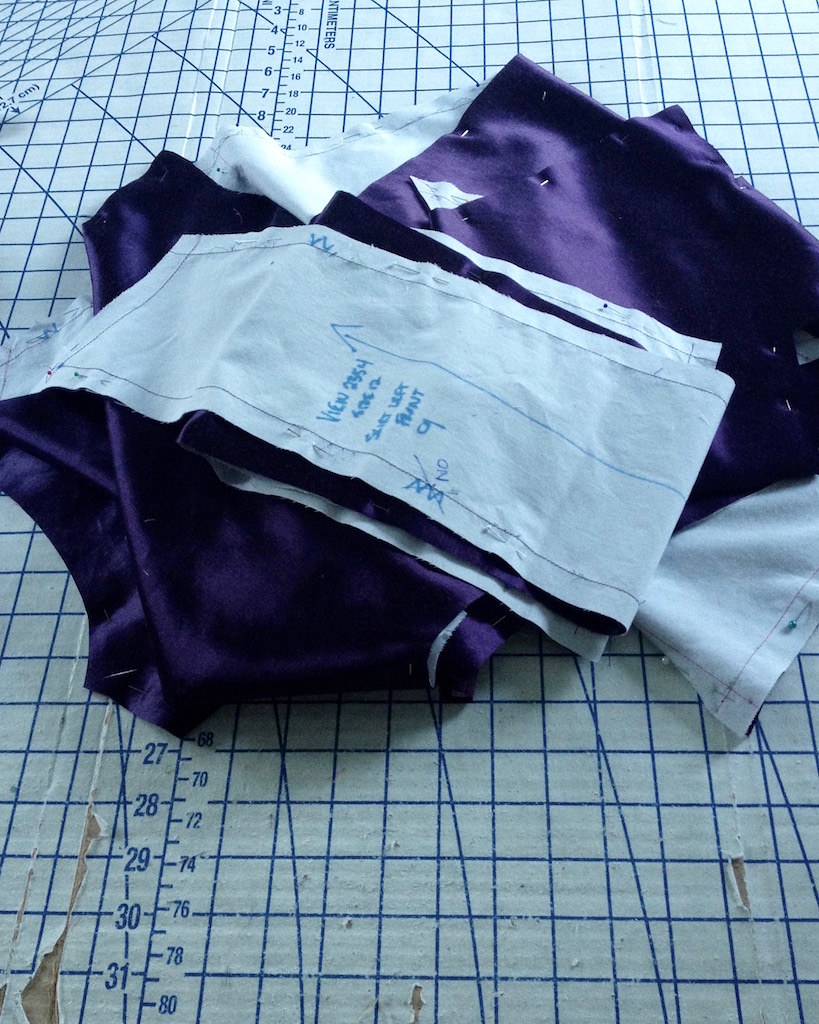
Now for the fun part . . . cutting into the pretty fabric!
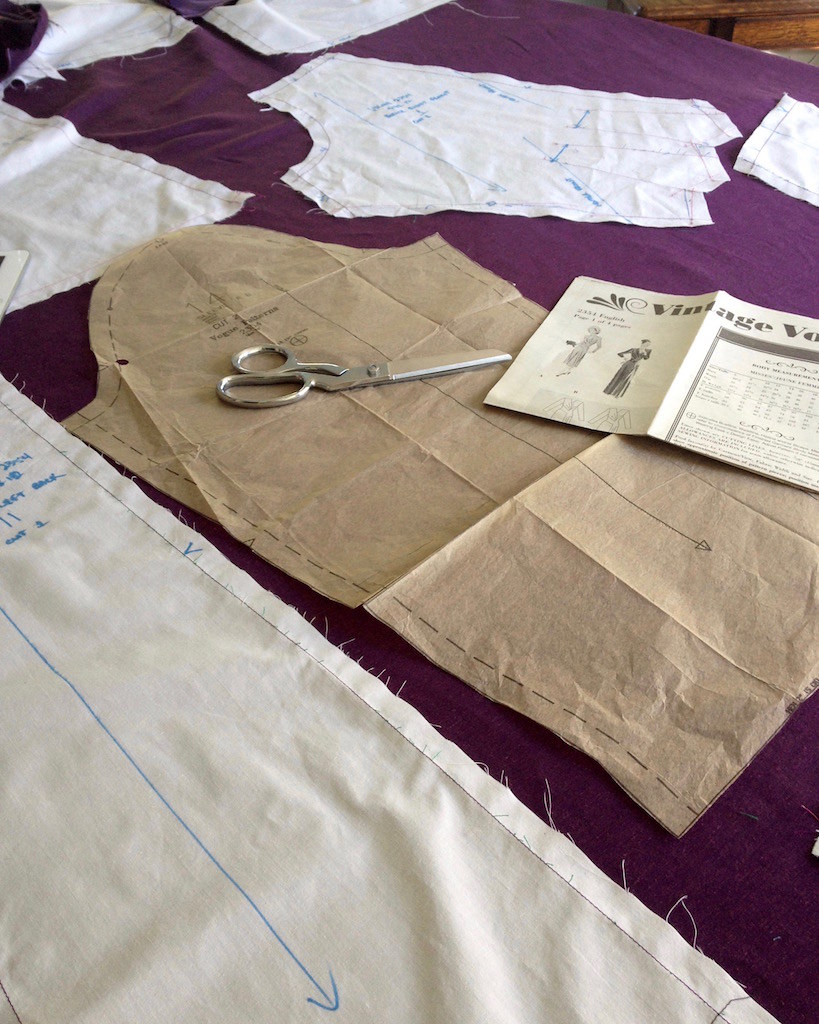
I did not have a whole lot of time to get this dress put together if I was going to have a place to wear it in the near future, so I jumped right in. Thanks to my muslin, I was fairly certain it would turn out okay.
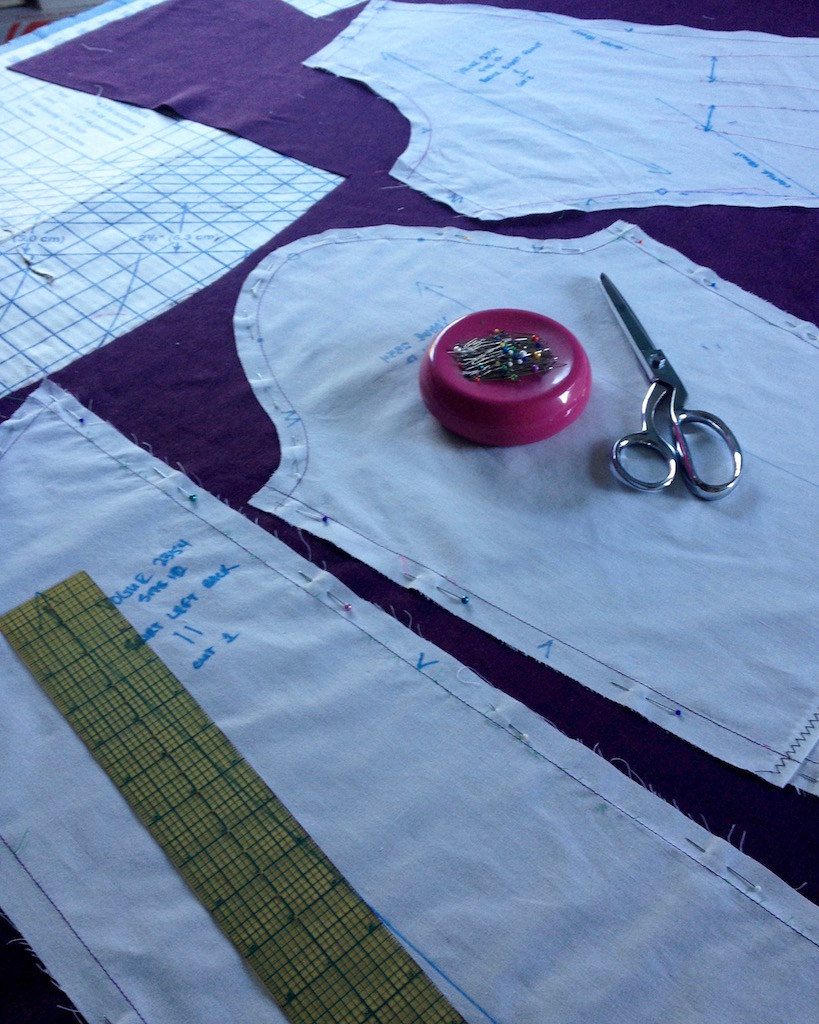
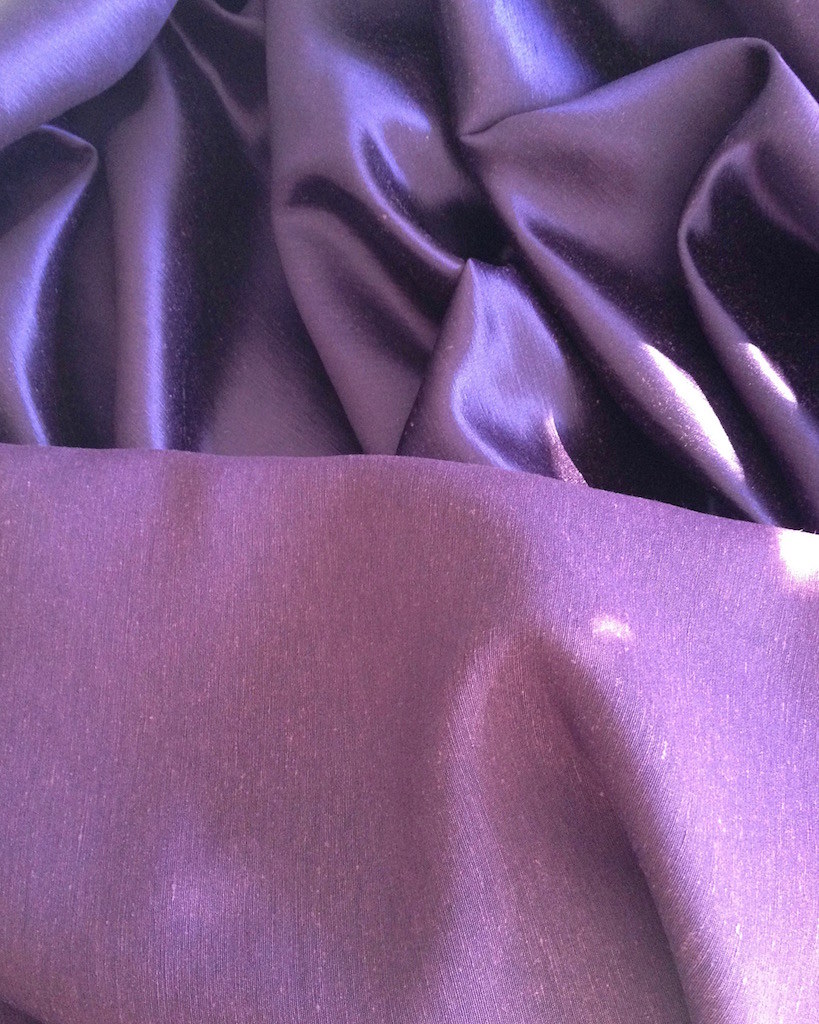
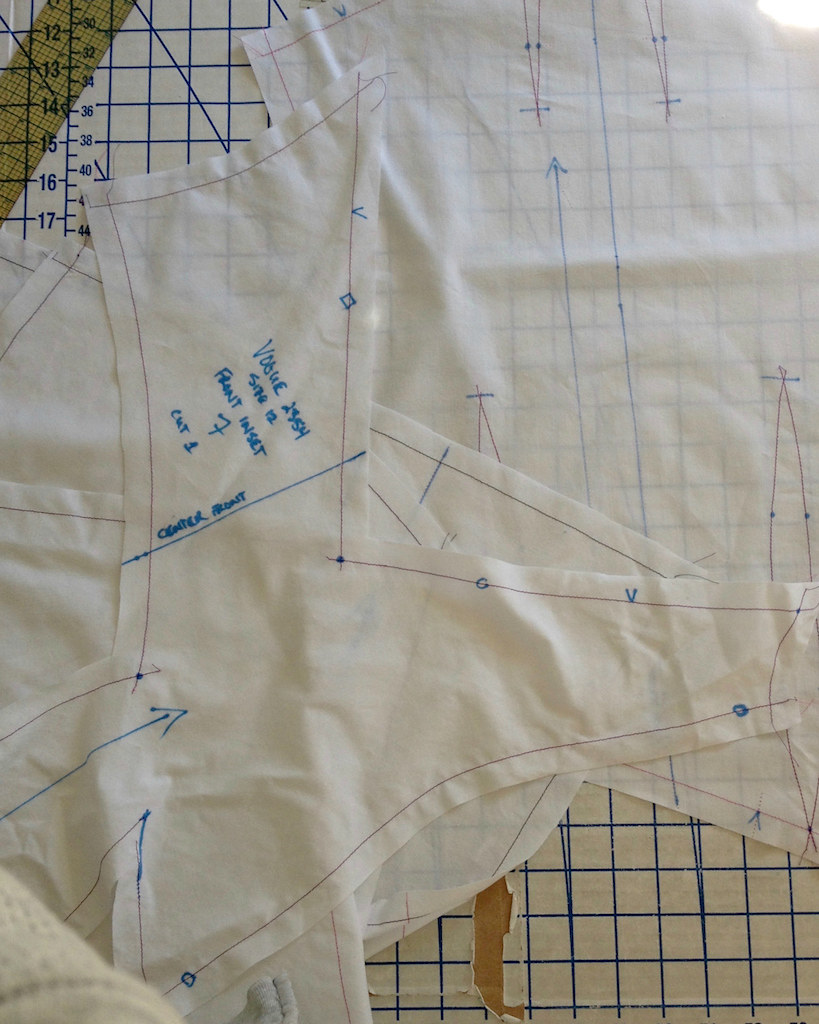
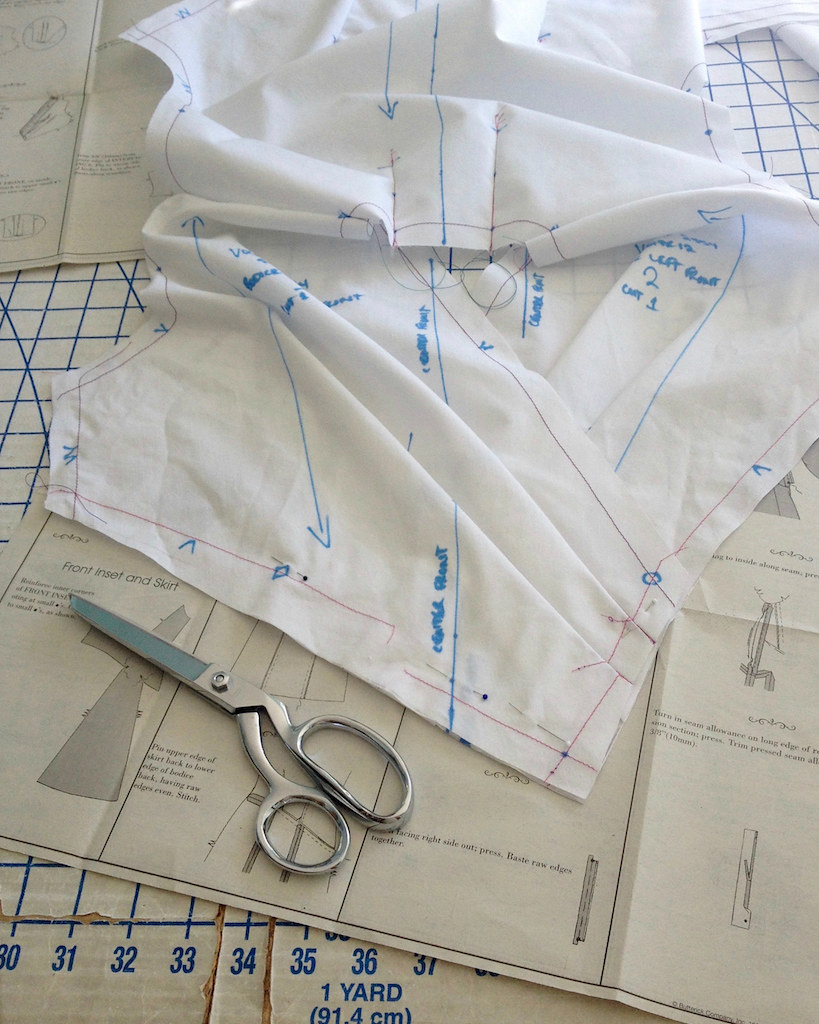
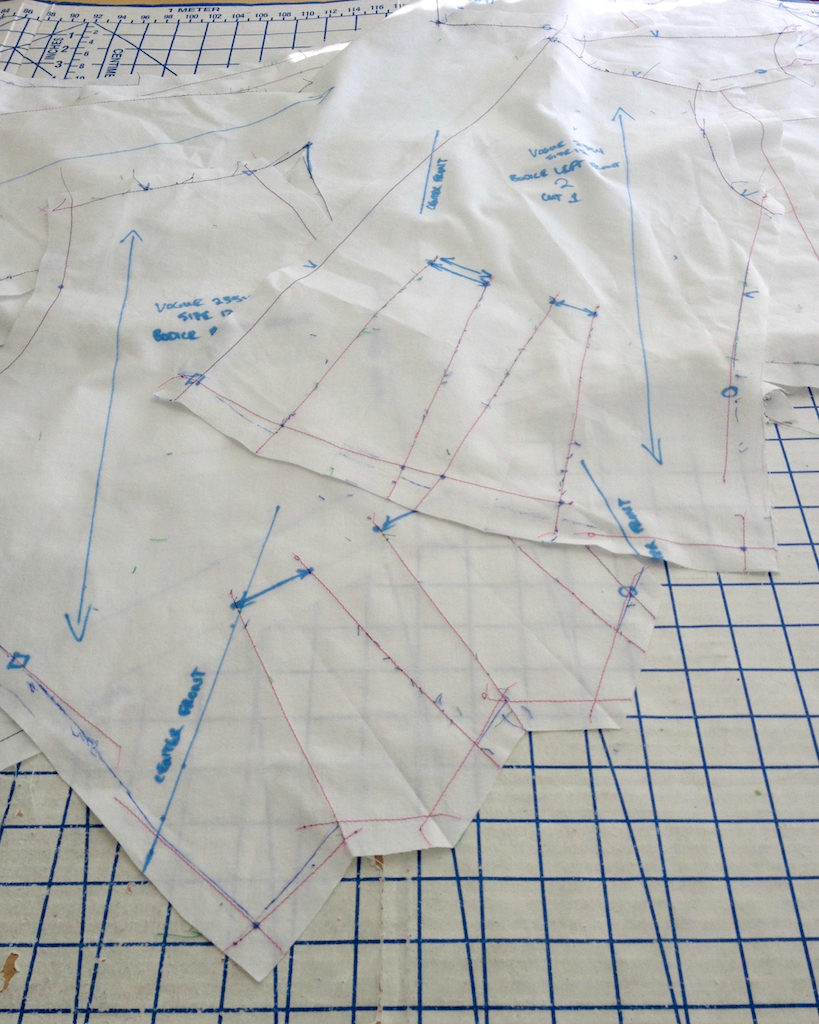
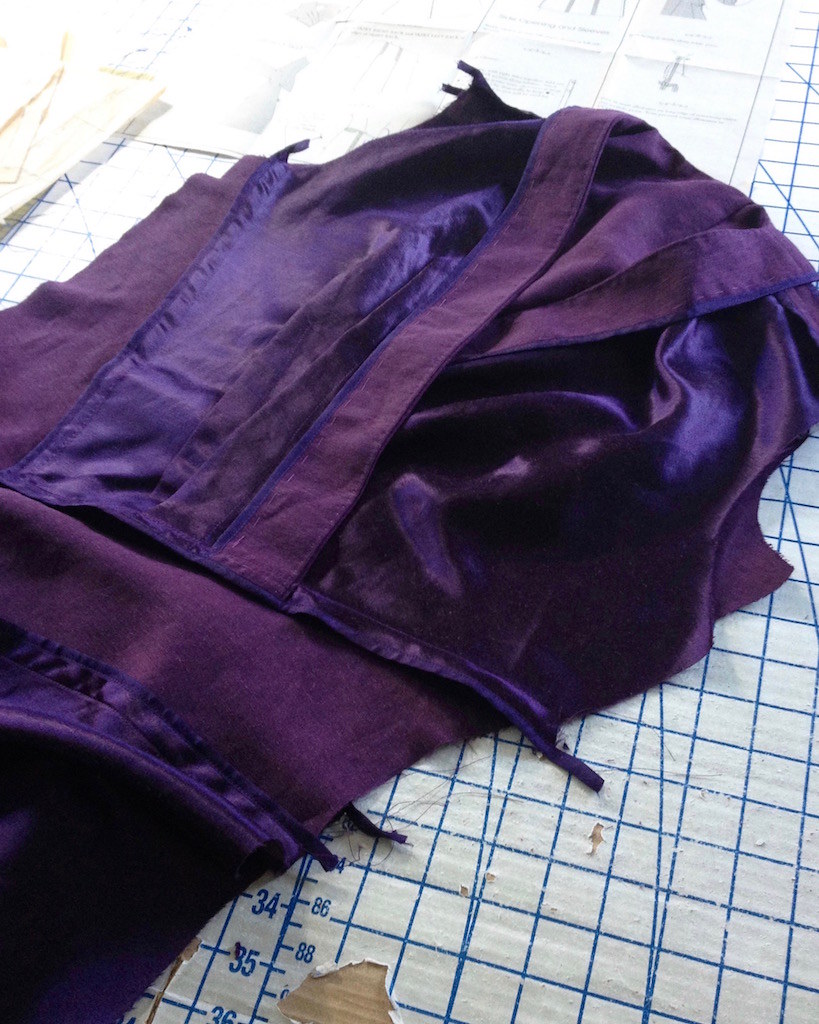
The fabric has a lovely drape, but it is also quite stable which made cutting very easy. The real challenge was fitting all the pieces on my yardage (I originally thought I was going to make another design with this fabric which required a bit less yardage, so it was a crunch). But with a bit of rearranging, I made it work!
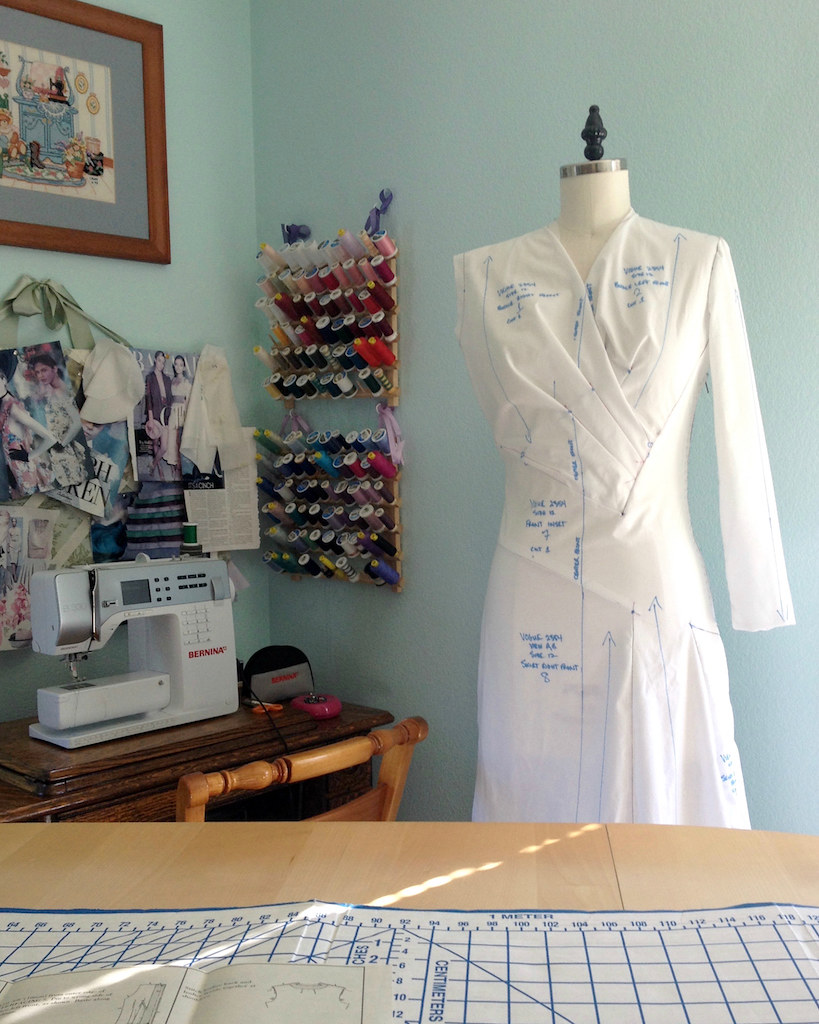
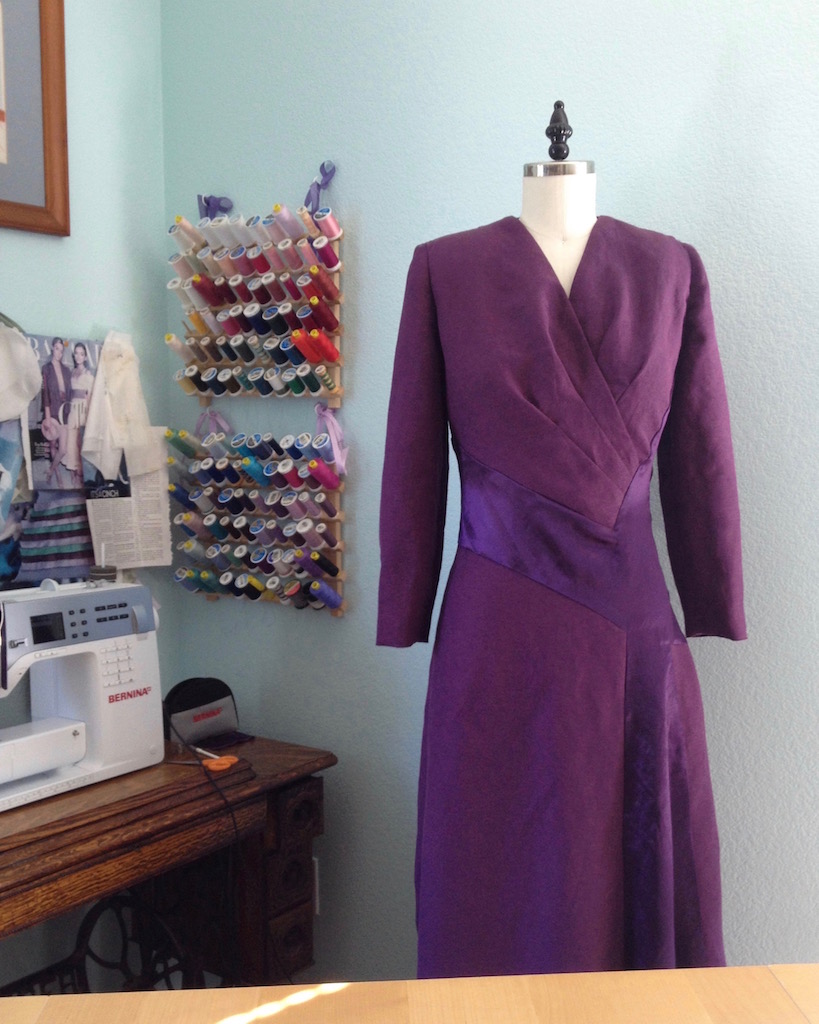
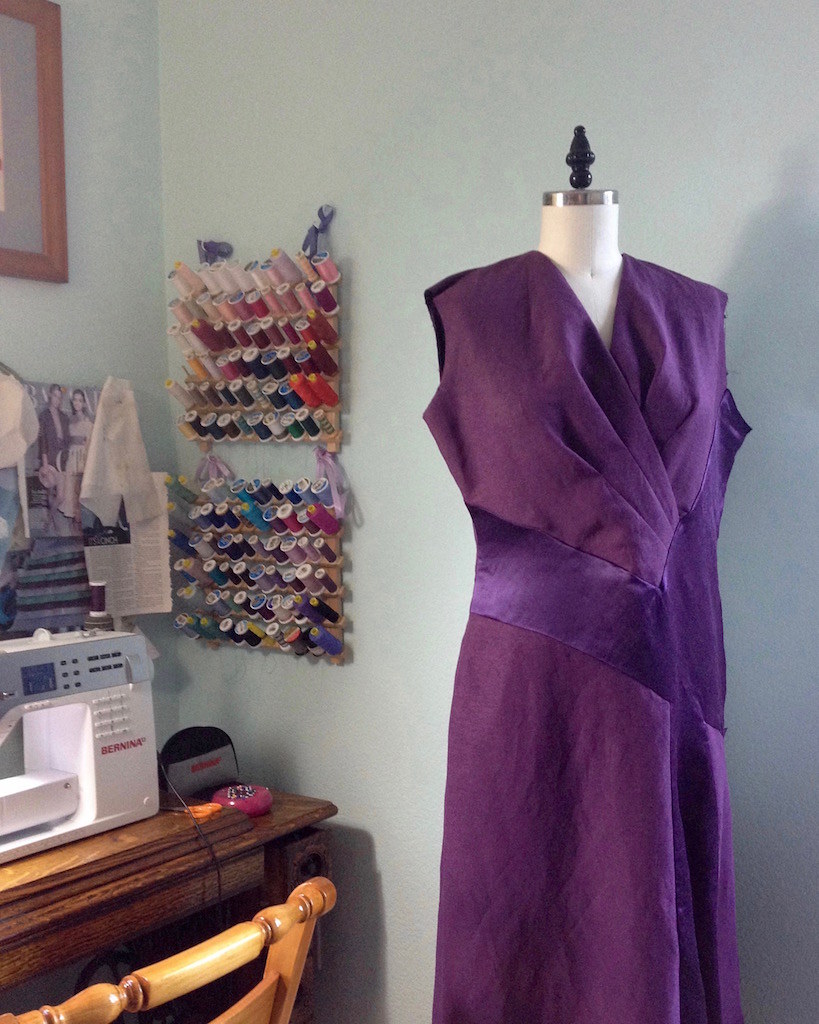
Next up was finding some matching thread so I could begin construction . . .
but my wall full of thread let me down - not a single matching color, or anything remotely close, so it was off to JoAnns.
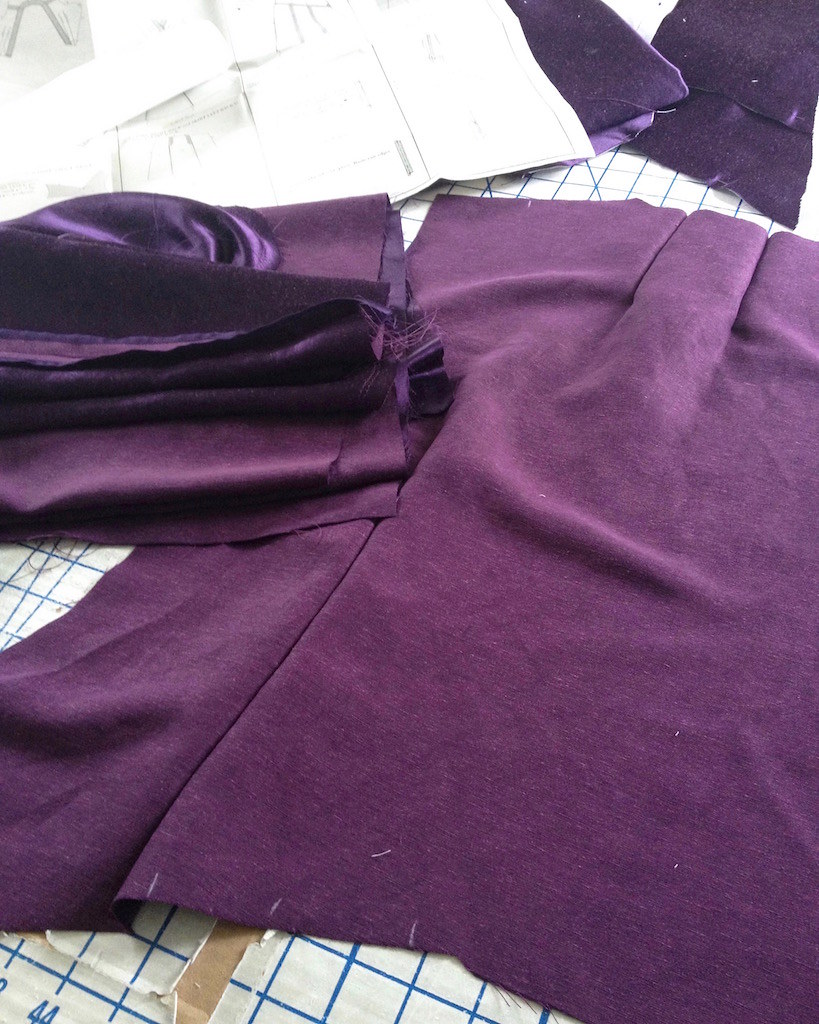
Once that hurdle was crossed, I started getting somewhere!

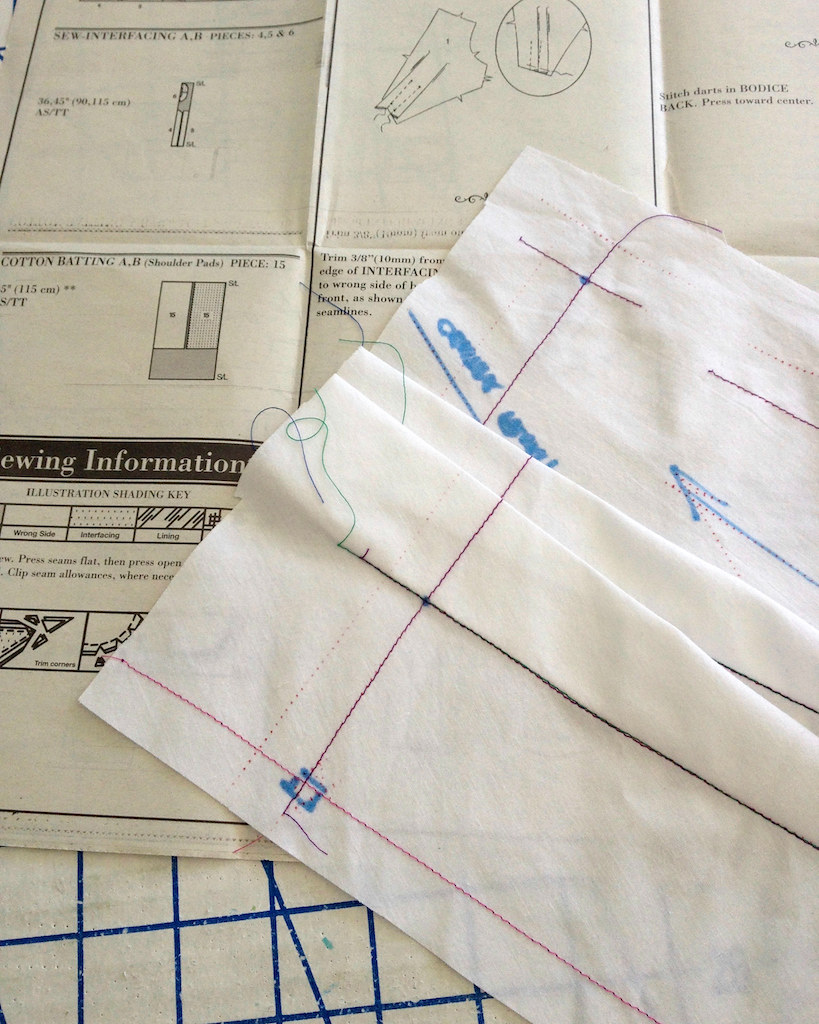
I did not have any cotton for sew-in interfacing to match, either, but I figure it is not going to show, so I went with pink.
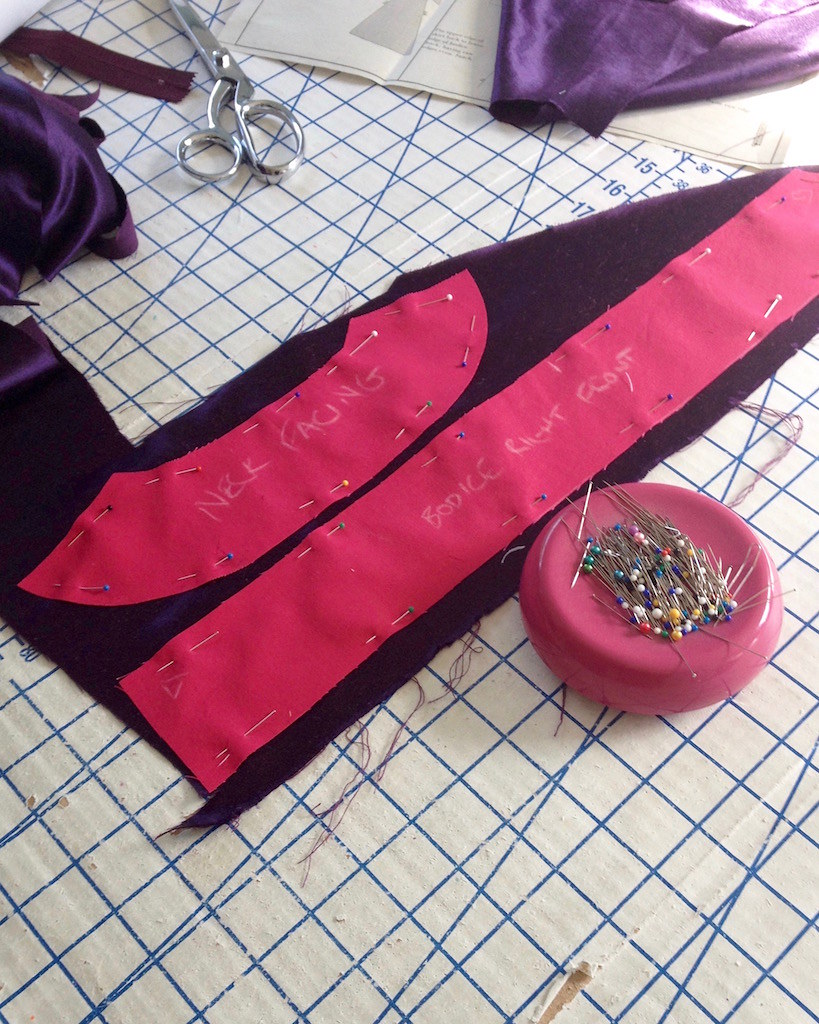
I have a habit of keeping every scrap of fabric, even when they are tiny. For the last few projects, I keep pulling bits out that will work as far as color goes, only to find there is no way I am going to fit the tiny facing piece on the even tinier scrap of fabric I have been hoarding. I believe I need to rethink the size of scraps I keep on hand, unless they are something really, really special - medium weight cotton doesn't count!
Everything else went according to plan.
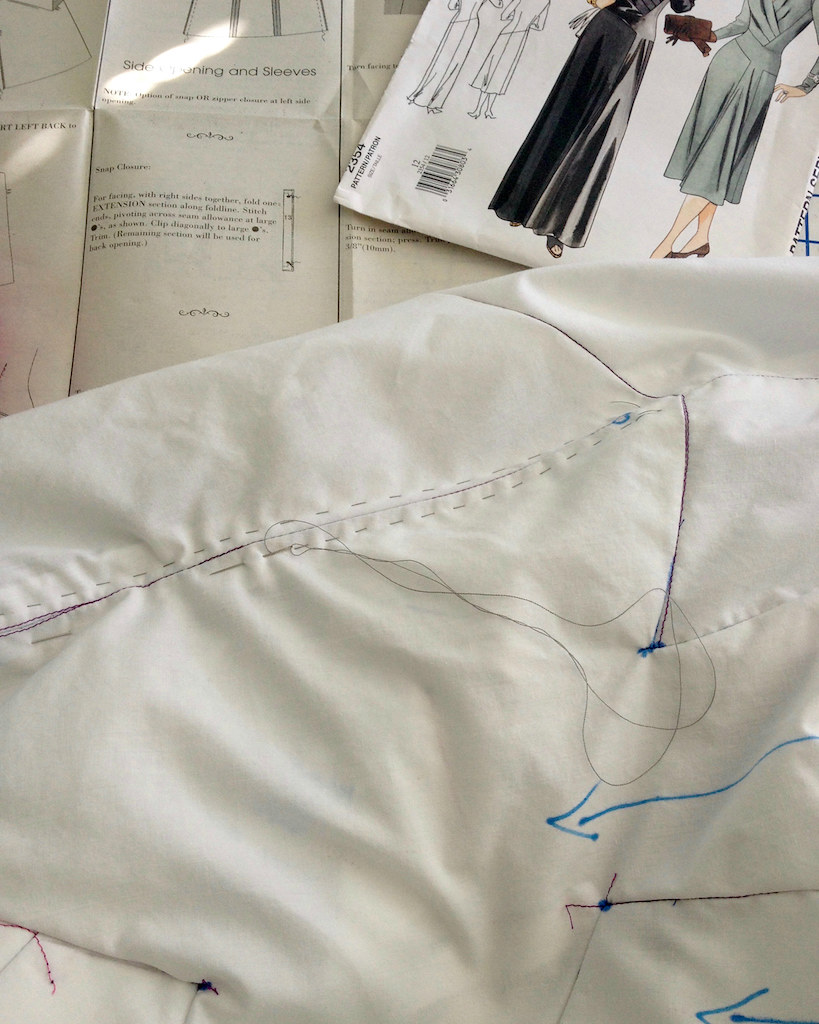
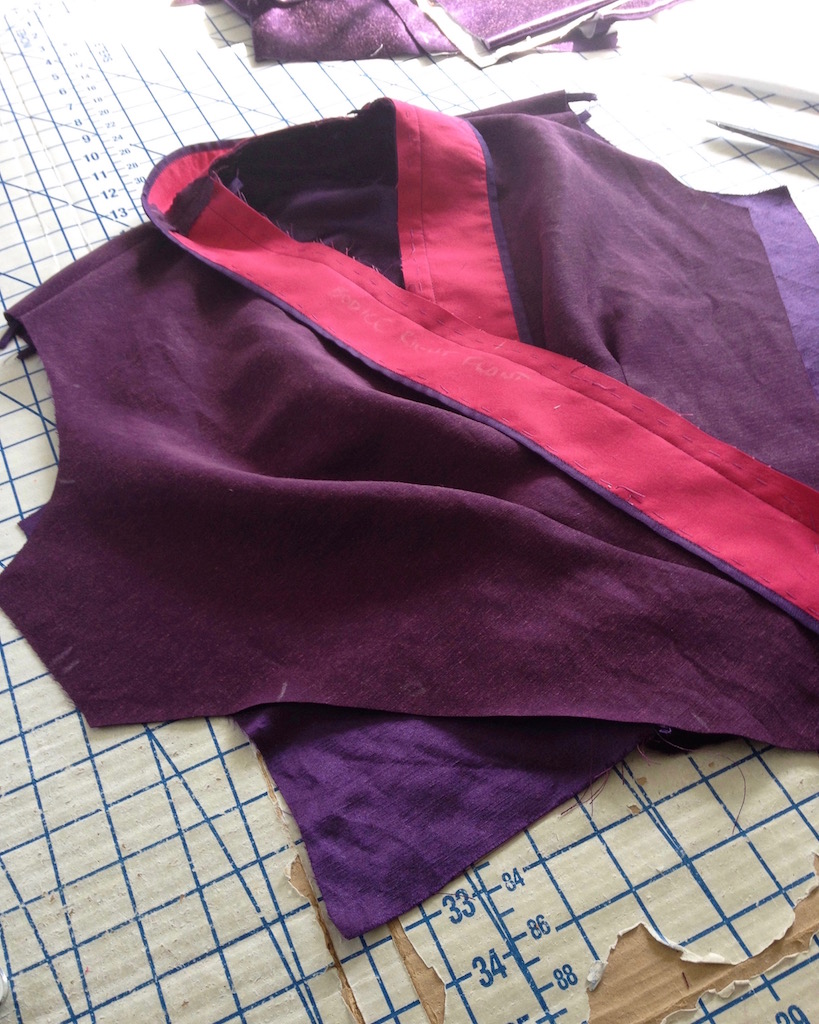
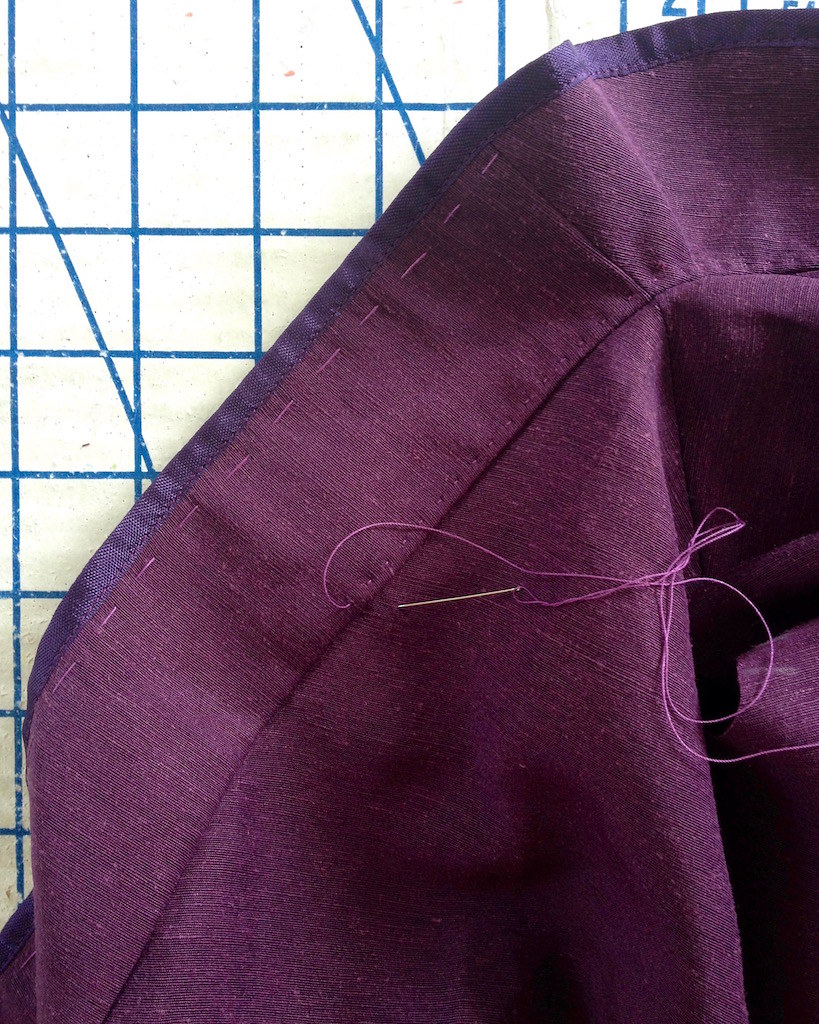
And I even managed to make time so that I could enjoy my favorite part . . . the hand sewing! This is the understitching on the neck facing pieces - so glad I found a nice thread to match.
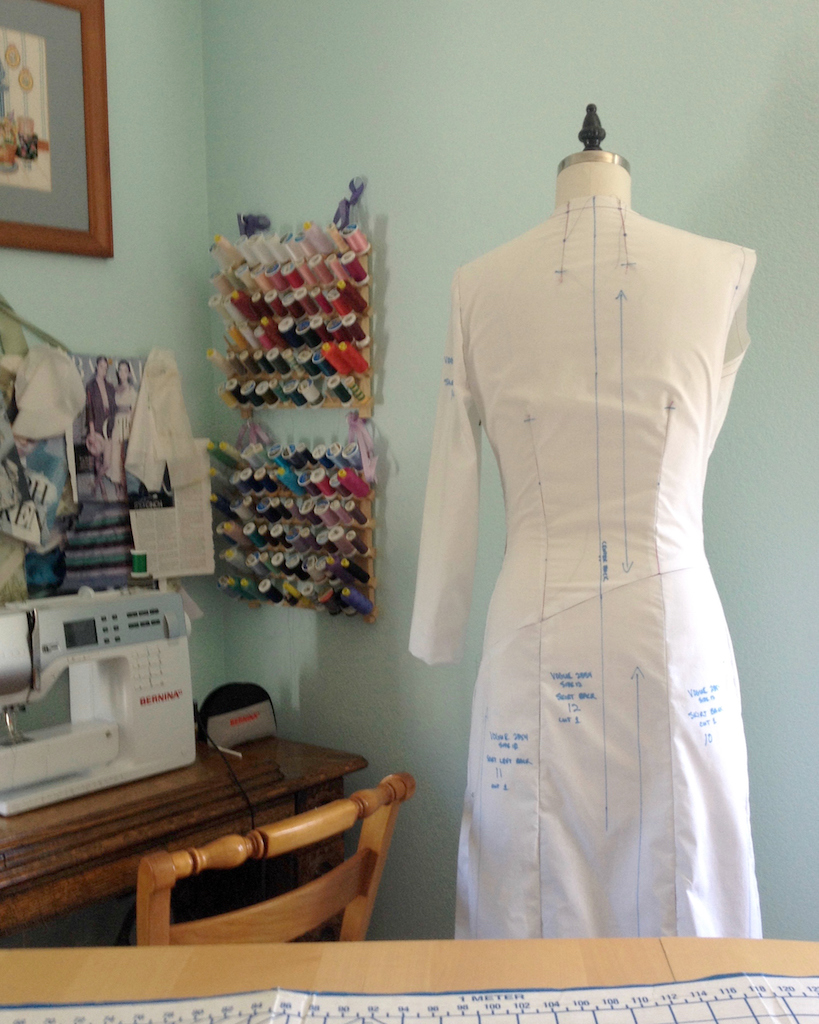
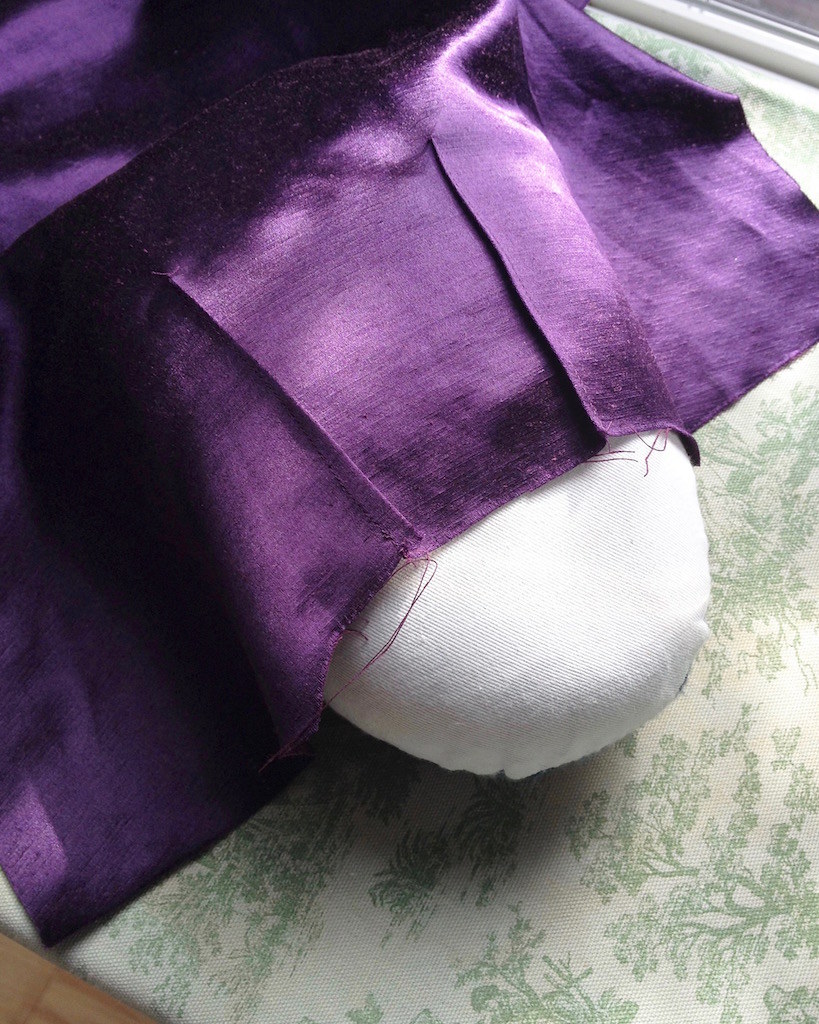
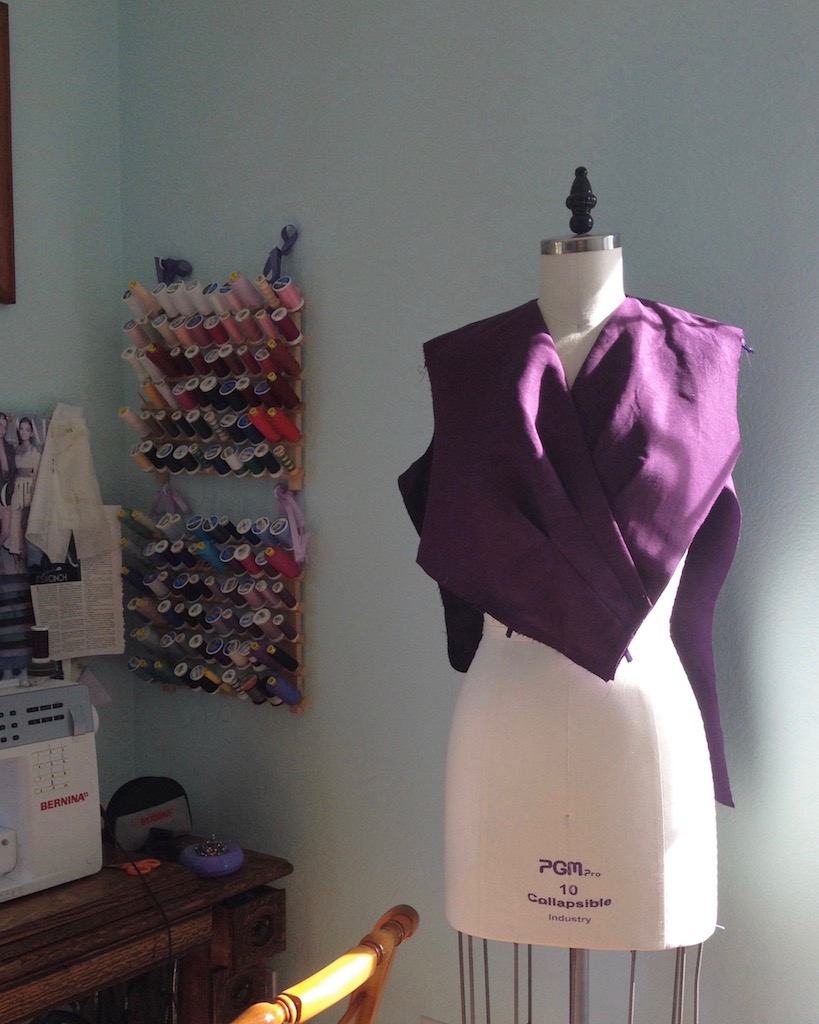
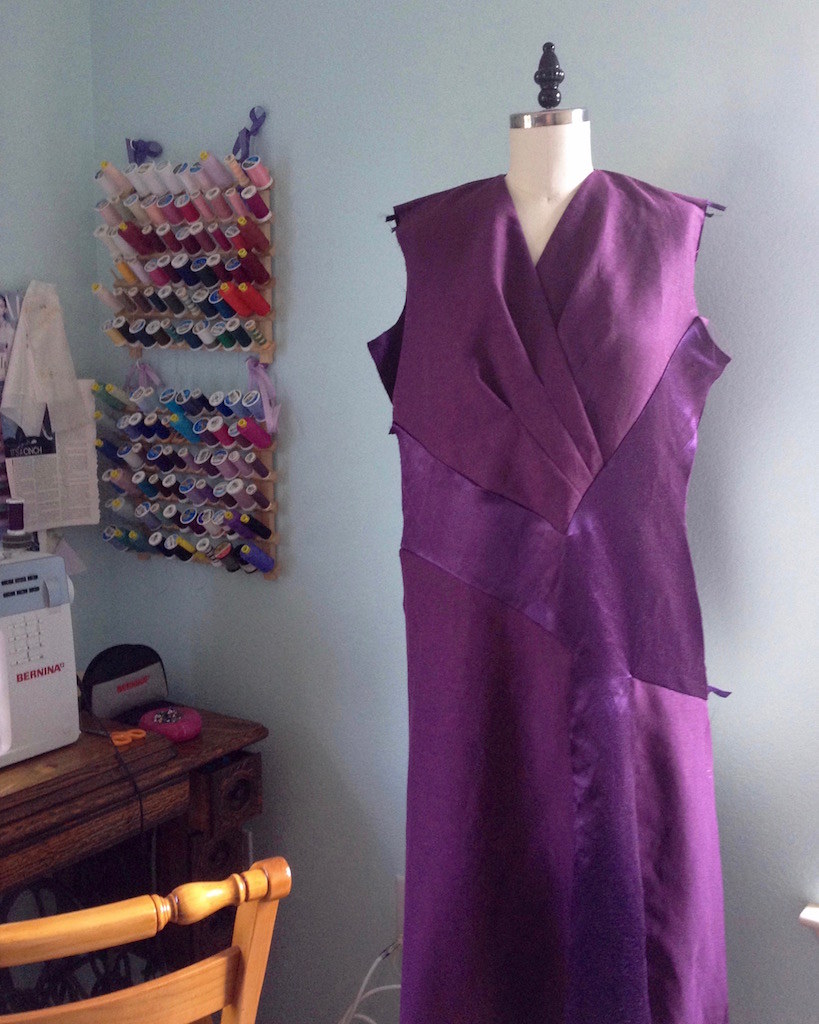
And my dress form got a bit of a workout for this project. It makes a very useful hanger, and it also keeps me motivated. It is so much easier to see progress on a form than a shapeless pile of fabric on a table!
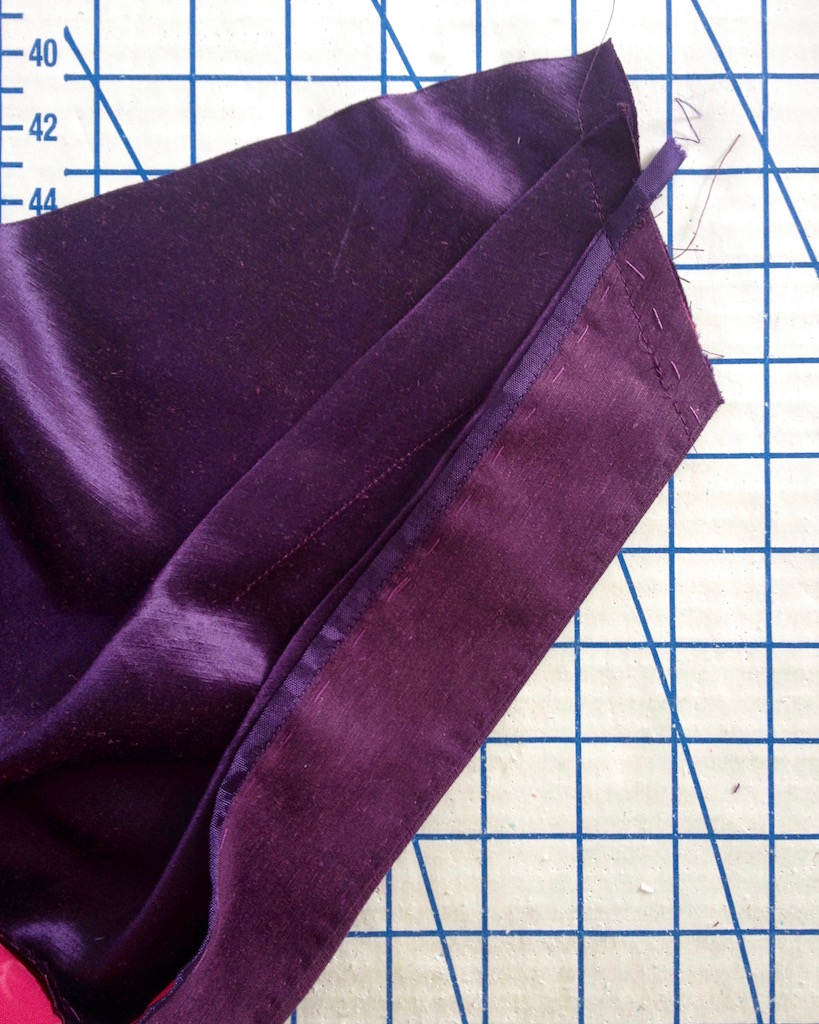
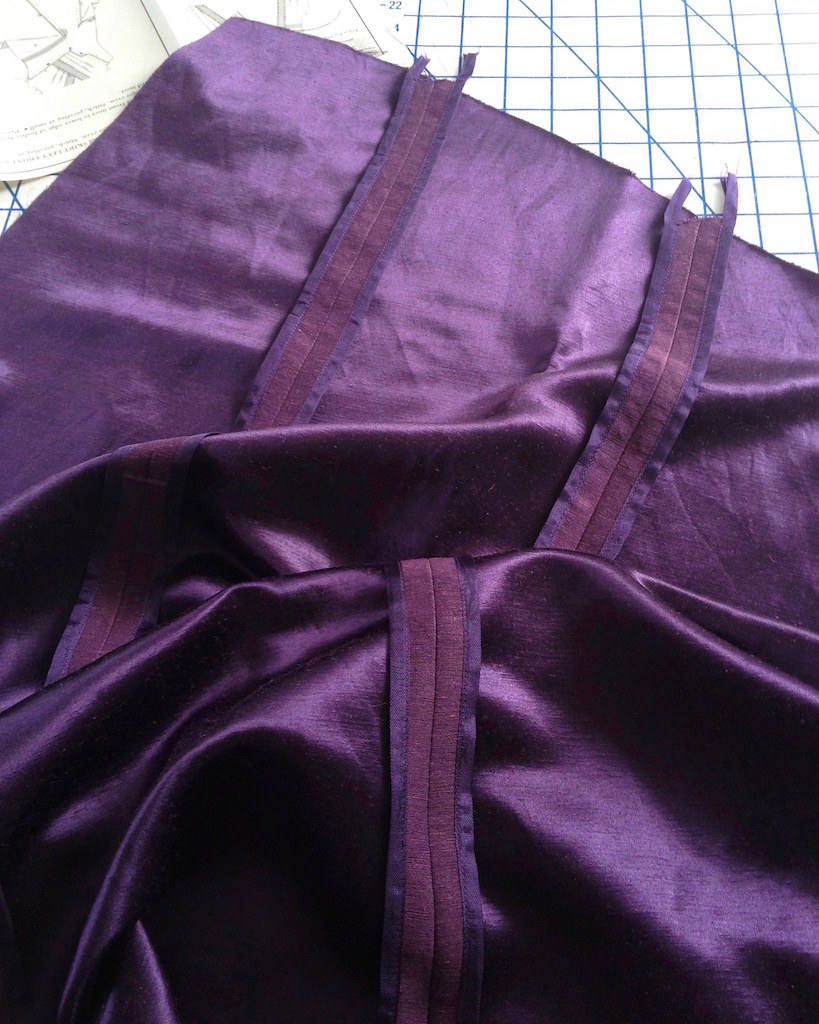
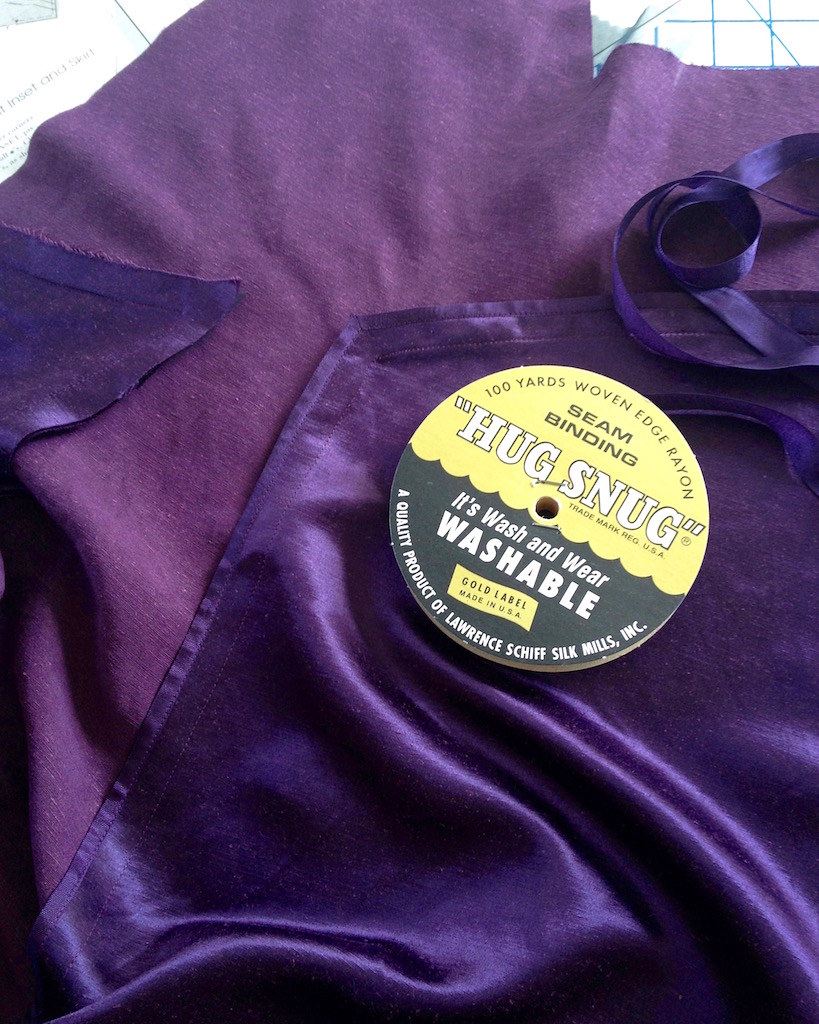
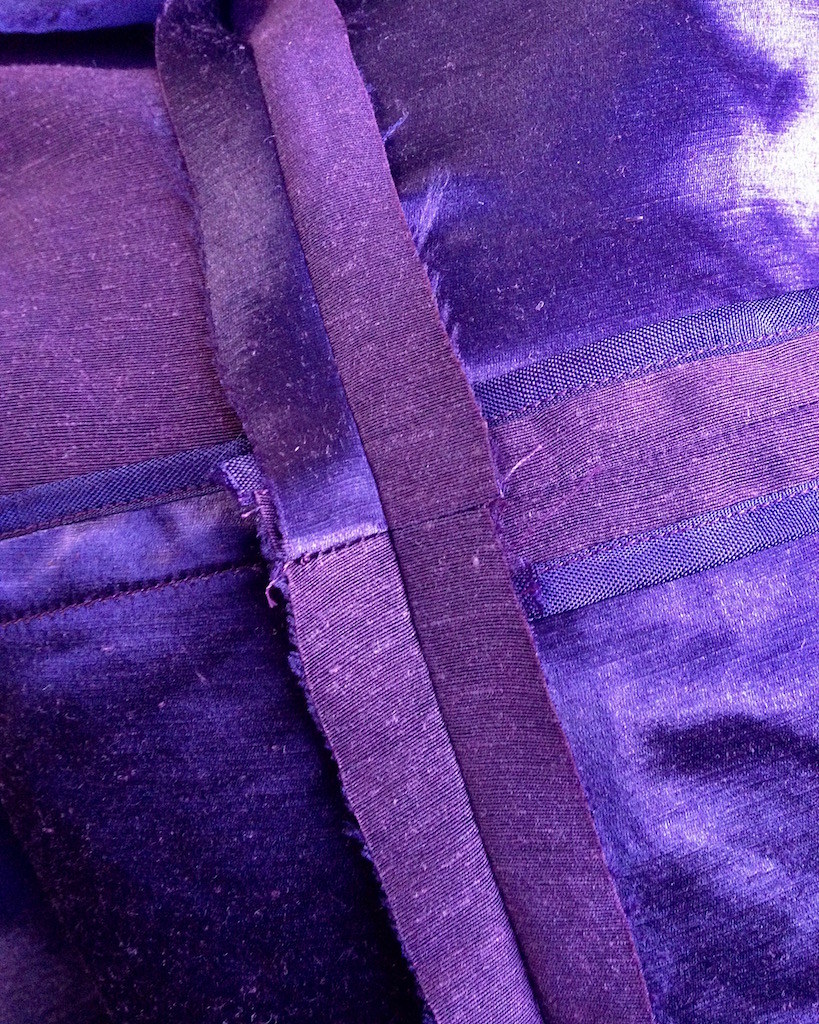
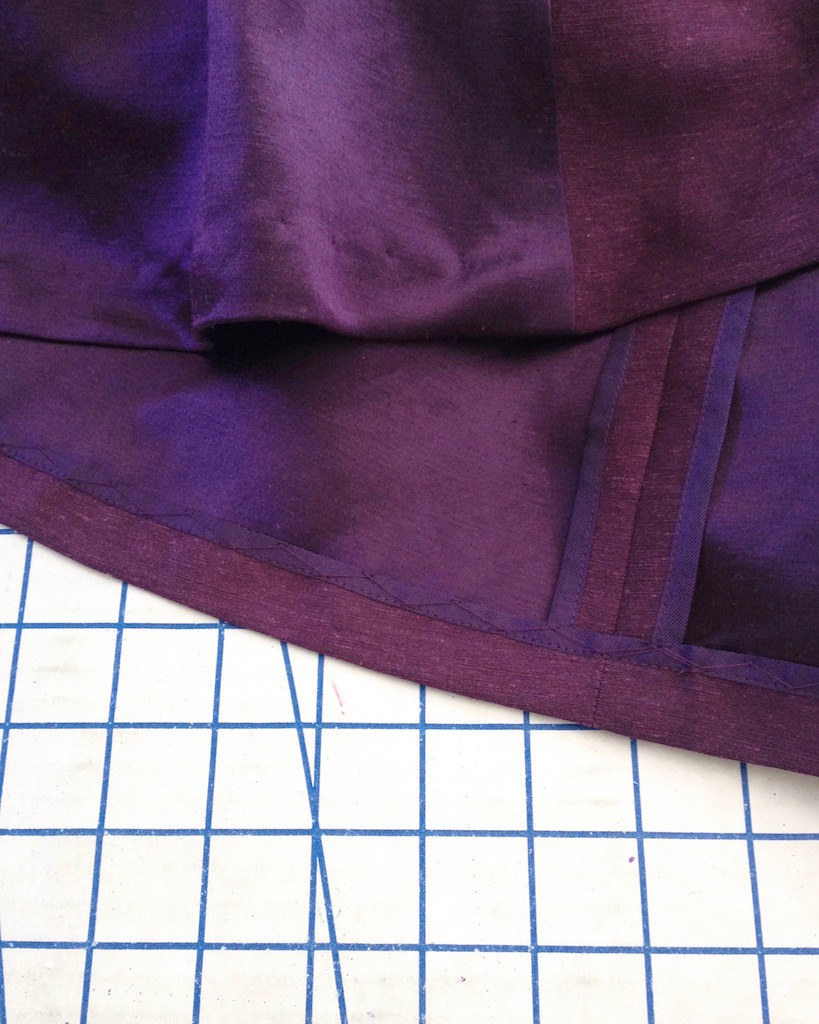
Of course, I finished the raw edges with Hug Snug seam binding. If there is a complaint that I have about this fabric, it would be that it likes to fray. It is certainly not the worst I have come across, but you do have to be a little extra careful. It was a relief once I got a few of those raw edges taken care of!
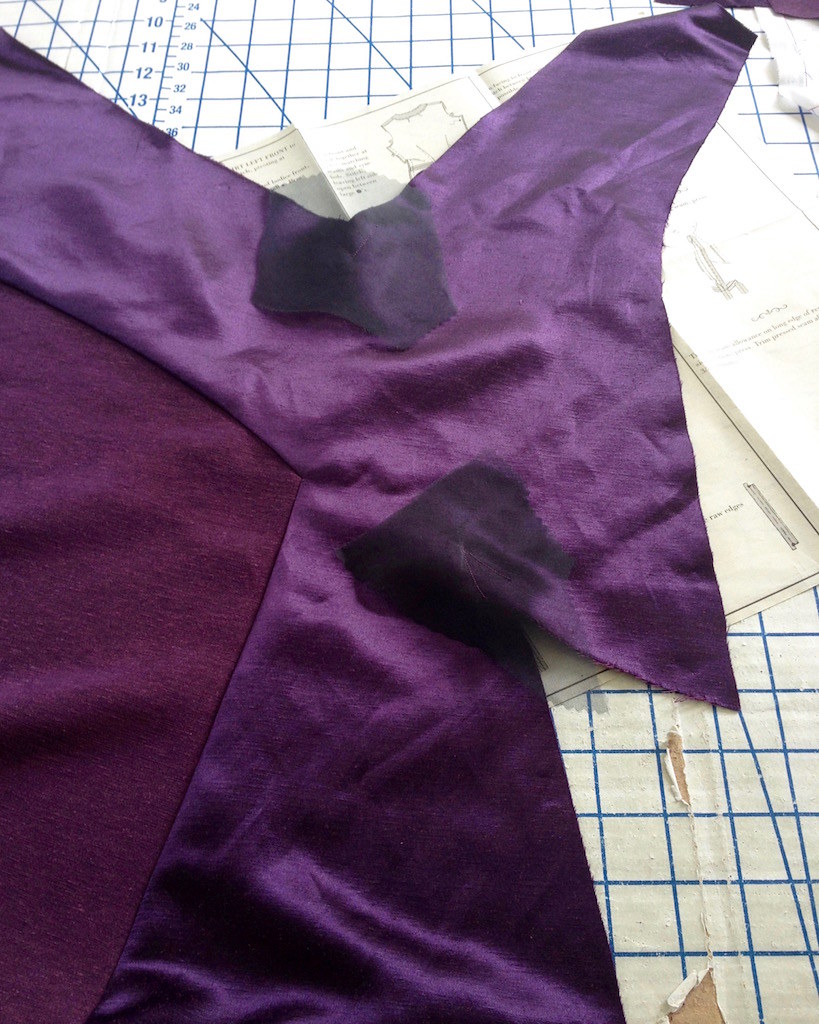
The other issue with a fray happy fabric is when there are acute angles that need to get clipped. Scraps of silk organza (tiny pieces of this particular textile actually get some use!) and this technique helped to keep those points nice and neat.
And that seam binding makes another appearance to help finish those raw edges!
The construction order on this dress is not what I am used to, but it was fun to have a design keep me on my toes.
There are also a lot of seams to match up. When I am working with a deadline, it always seems like I have to redo these joins multiple times.
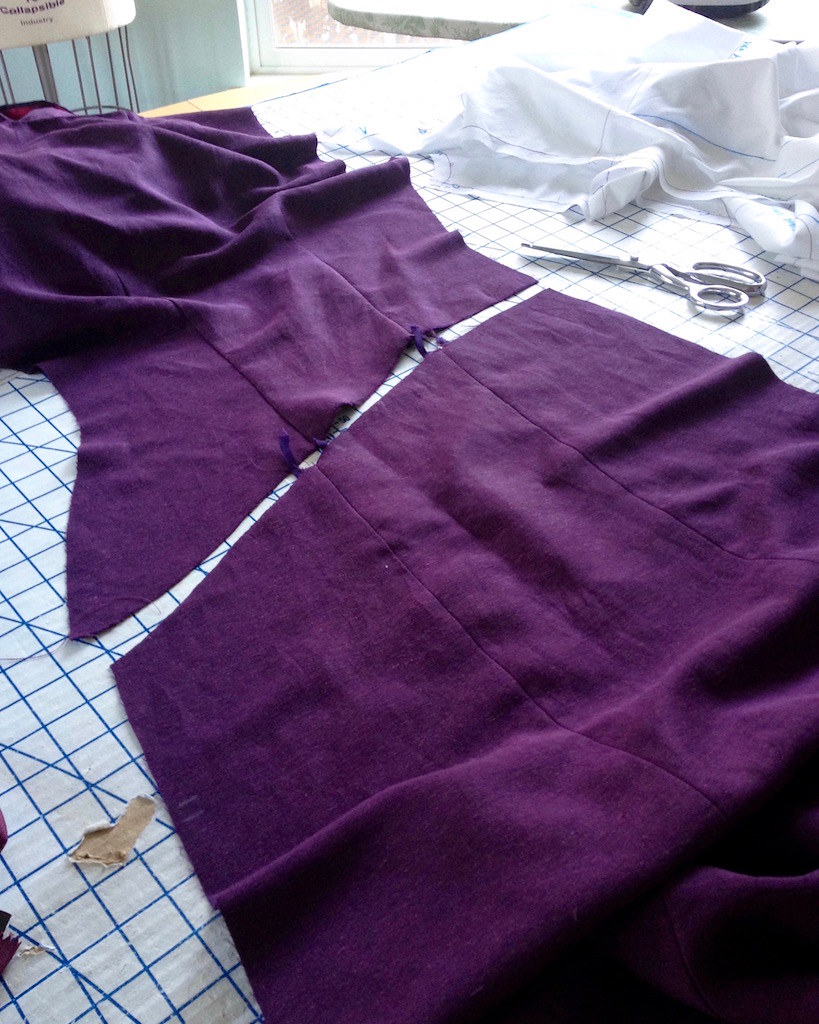
But somehow, each one was spot on after the first go!
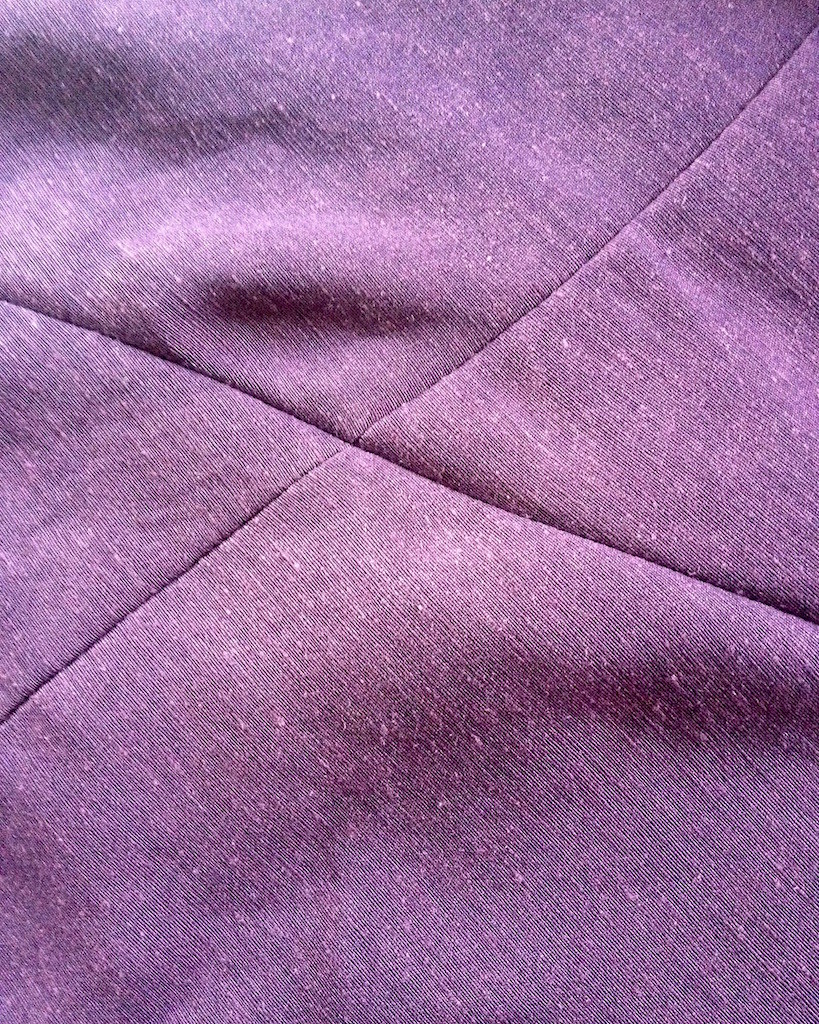
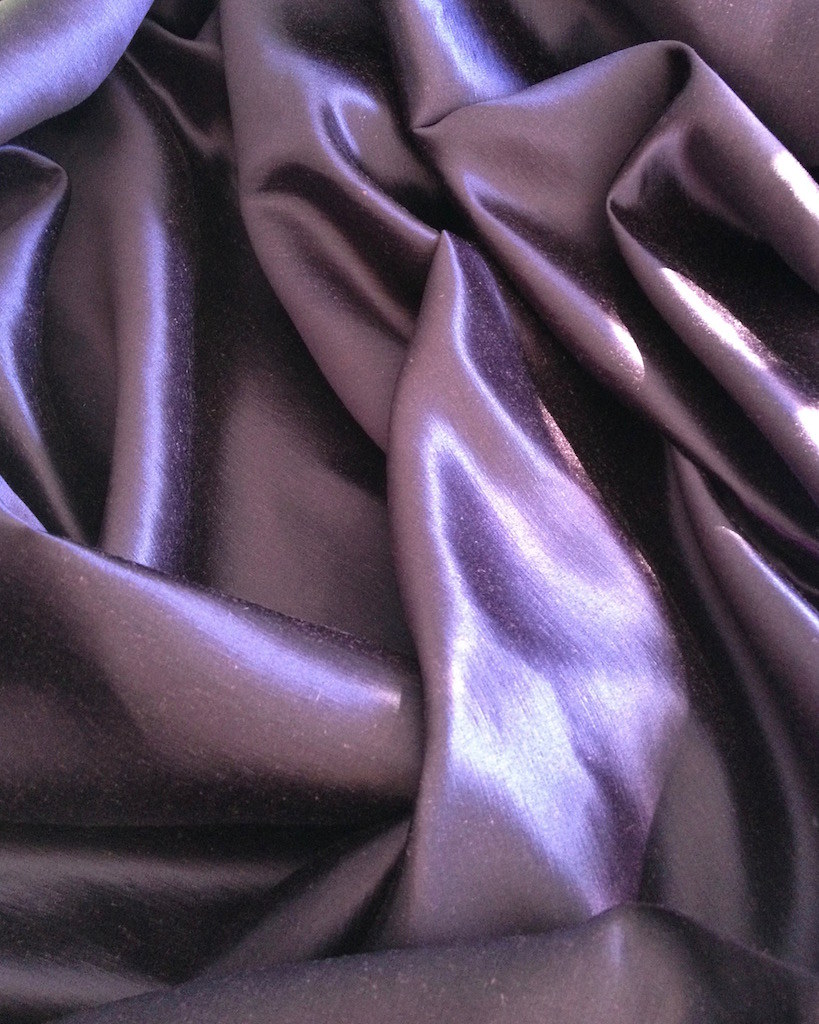
I just love the way the two sides of this fabric look together.
And another join that decided to be nice to me!!
It's beginning to look like an actual dress at this point, so it goes on the dress form for motivation.
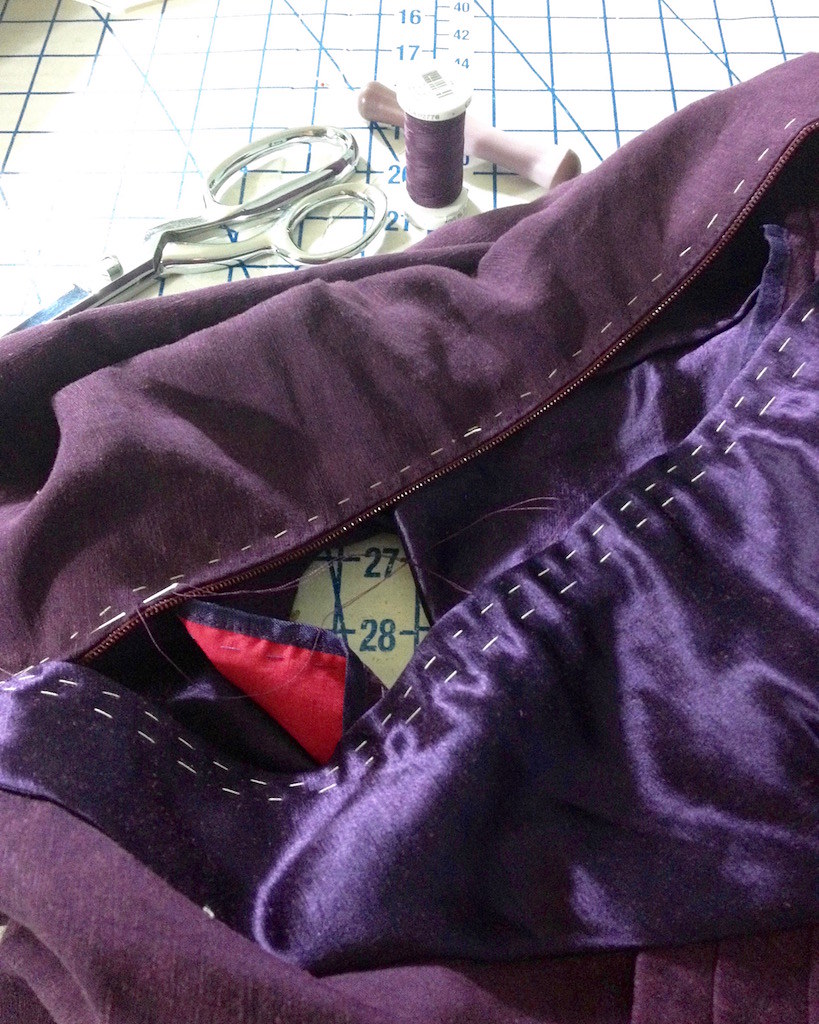
Another scrap of organza to stabilize the zipper opening . . .
and a lot of basting to line everything up before hand stitching it into place.
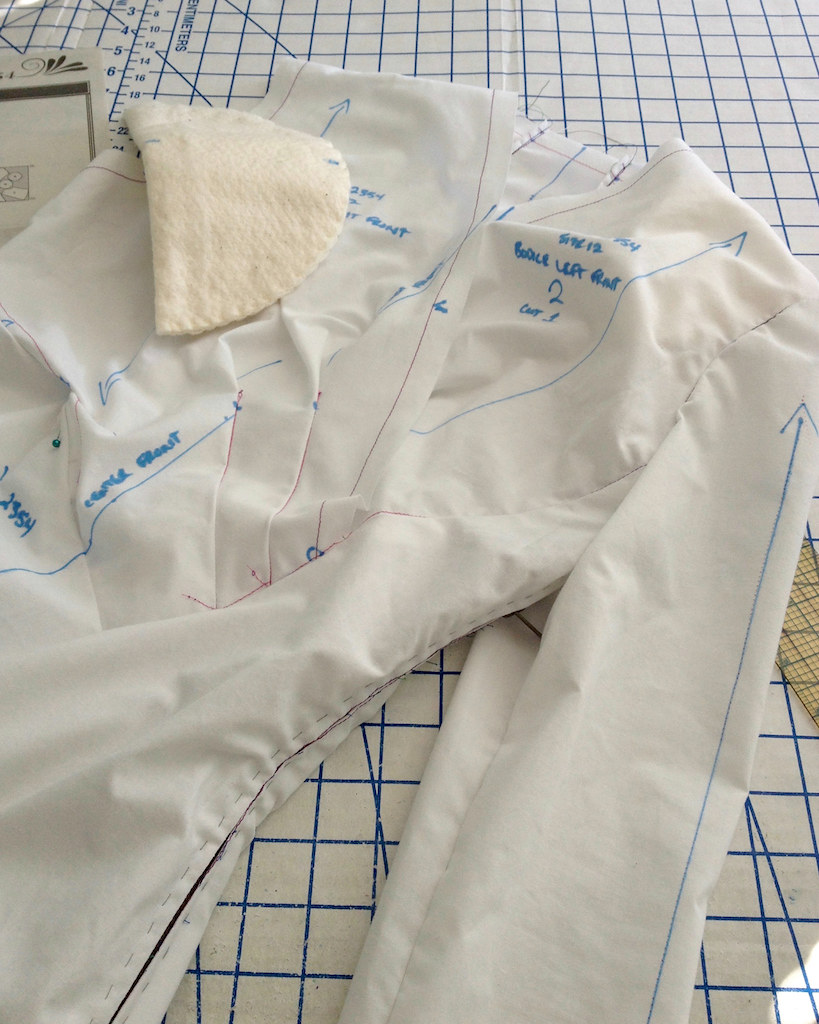
I was a good girl and fit my muslin with the shoulder pads I made early on in this process, but I was worried that I would not have enough fabric to cover them. That would not be a huge problem, but it looks so nice when everything matches.
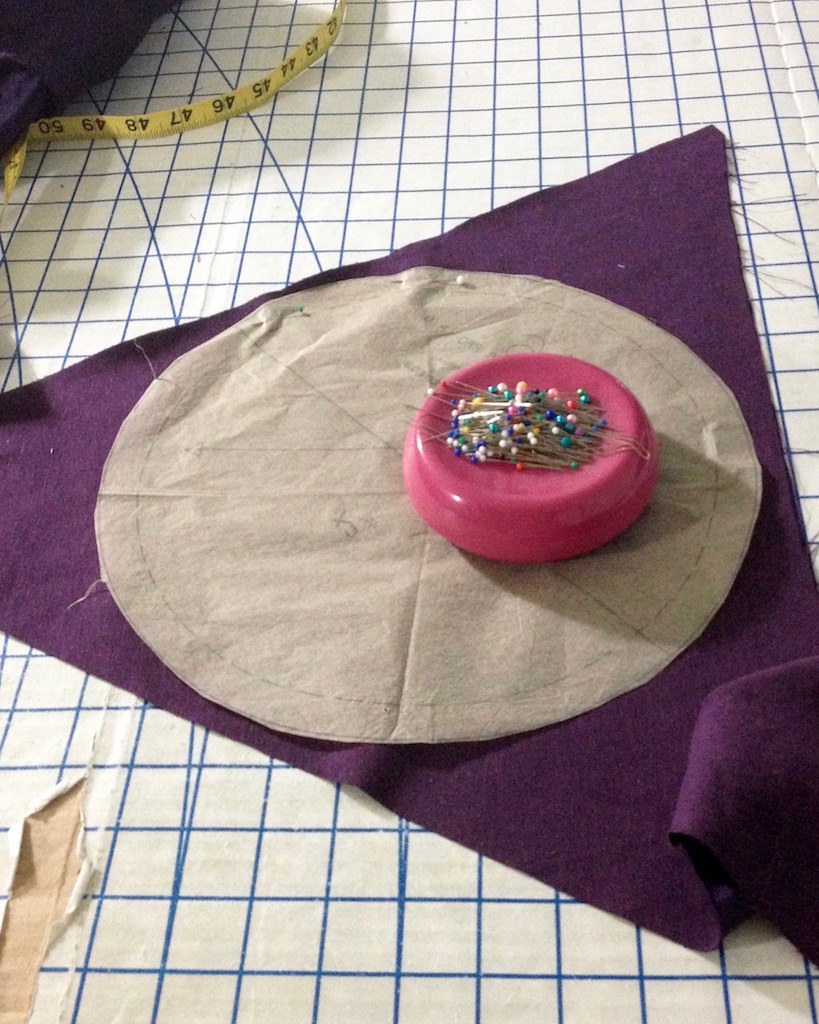
And it just so happens that I had two perfect scraps left over. It would seem that this fabric really was meant for this dress design!
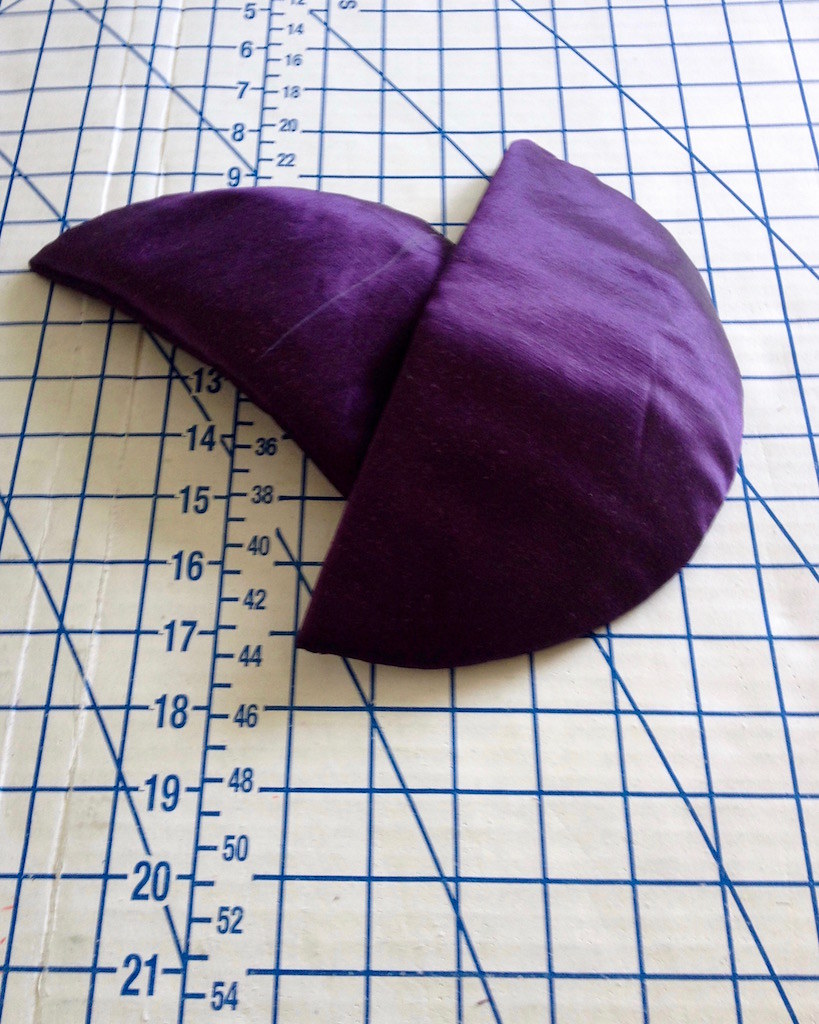
Of course, when I pinned the pads in place and tried the dress on, they just did not look right. See anything wrong with this picture? I had them in backwards. How the heck did I manage to do that?! At least that was an easy fix!

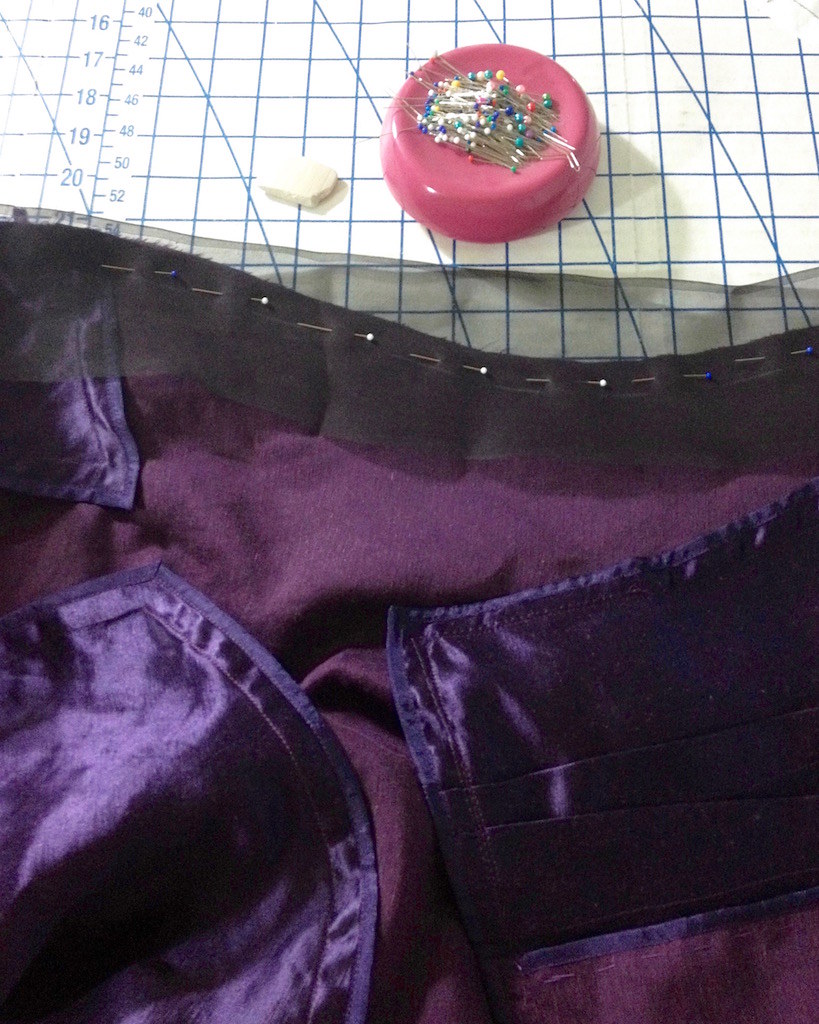
And then all that was left was hemming.
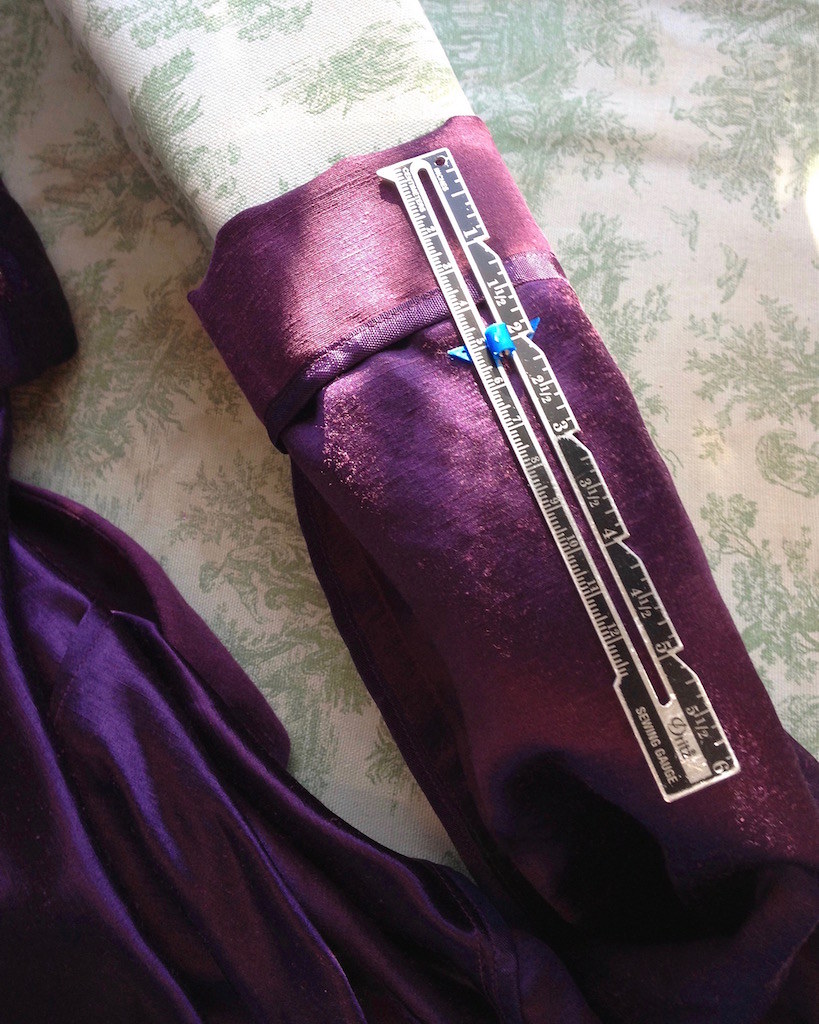
A whole lot of pins . . .
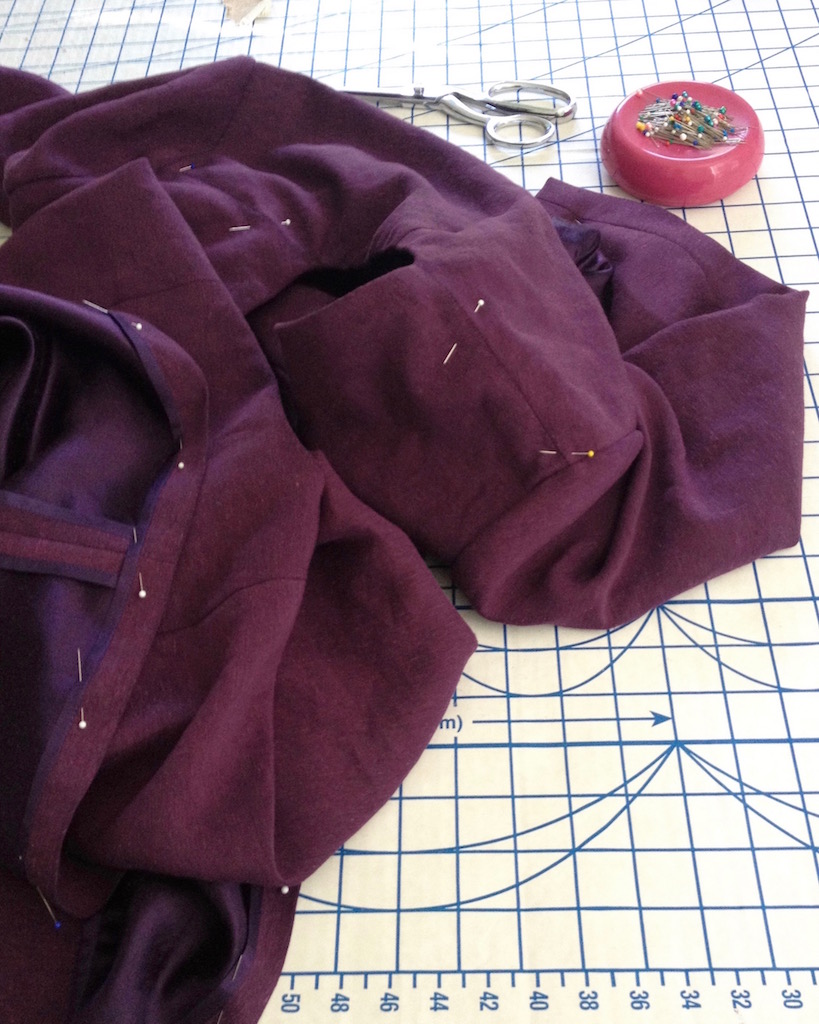
and more lovely hand sewing . . .
and the dress was complete!

[Disclosure: Organic Cotton Plus provided me with this fabric, but the opinions posted here are my own.]