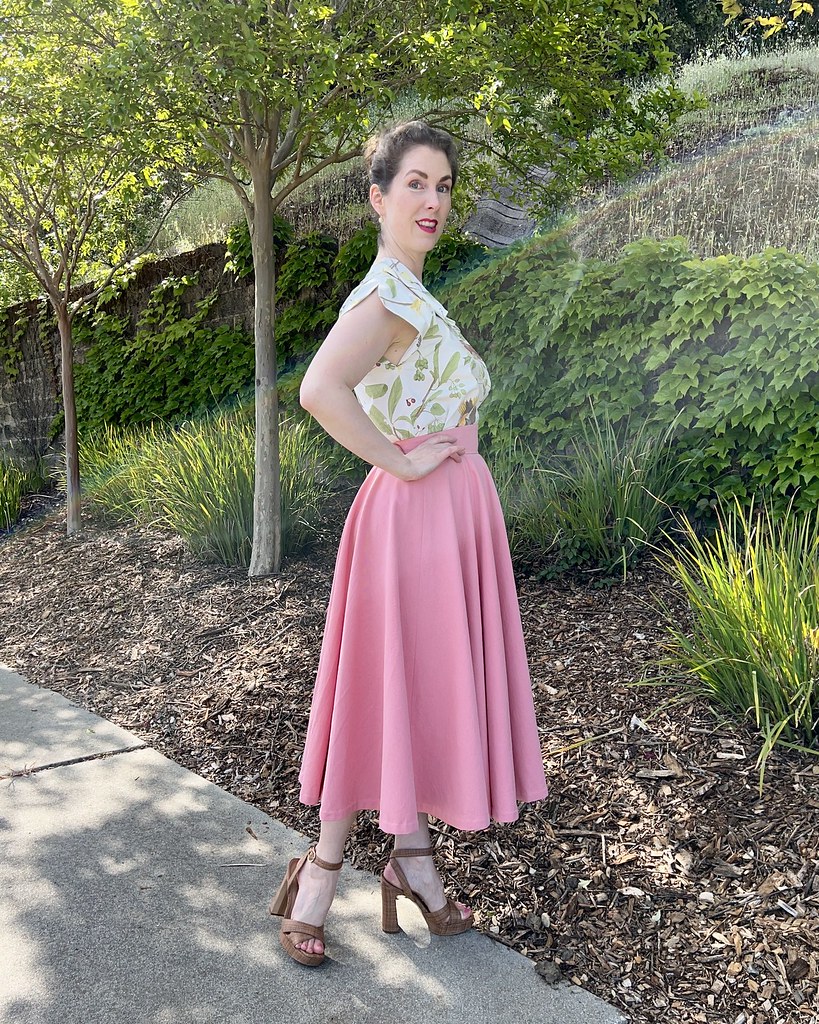
I purchased three yards of this pink cotton twill with the idea of making a circle skirt. Because the fabric can be cut using a multi directional layout, I had a small amount of yardage left . . . so the obvious thing to do was make a matching top.

I had the idea of using McCalls 8108 because those puffed sleeves were calling my name. The only real issue was that the bodice stops just under the bust, and I was looking for more coverage than that, so I needed to add some kind of midriff yoke. And because I'm lazy, I decided to look for something that would work in my collection of patterns instead of starting from scratch. The first pattern that seemed to be a good fit was McCalls 5094.

It didn't quite match up with the lines of McCalls 8108, but it was easy enough to futz with to correct the differences between the two.

And now the garment will stop just above the waistline, which is exactly what I wanted.

The pattern instructions for McCalls 8108 have one major issue: they don't tell you to stop your line of stitching at the 5/8" seamline when attaching the shoulder straps to the bodice at the unfinished edge. This leaves you with no means of attaching the sleeve within the seamline.

I knew that something was wrong as I looked at the diagrams, but it became extremely clear once I had finished the sleeve and was trying to stitch everything together! Even after working with patterns for many, many years, I still always assume that it's me that is the problem and not the pattern instructions and/or drafting. But sometimes it's an actual mistake from the pattern company, which is something to keep in mind.

And now for the sleeve itself. The sleeve cap was drafted perfectly for this cotton denim because I couldn't have gathered it any denser if I had tried.

Because of the additional bulk created by the gathers, I did cut the sleeve band about 1/4" longer than the pattern piece to give my arms some breathing room. I have come across the issue in the past (one particular costume comes to mind) and I didn't want to deal with too tight cuffs for this project.

The squared off armhole means that the front and back bodice corners need to be clipped. And even though this fabric isn't terrible when it comes to fraying, I have gotten into the habit of using this technique to reinforce every clipped corner that I come across.

And to keep things interesting, I added some top-stitching to the armband edging. I was tempted to add another line at the upper portion of the band, but I don't think my machine would appreciate/survive all of that bulk.

When it came to lining this garment, I had two choices: use what I had on hand, or purchase some pink cotton. I cannot believe how little remaining pink cotton fabric I have in my stash. These are not large pattern pieces that I had to cut out, but I just didn't have enough of any pink adjacent colors. In the interest of using up what I already have, I went with a motley assortment of lighter colored cotton. It looks goofy from the inside, to be sure, but no one is going to see it, so I am learning to live with it.

Initially, I had wanted to add a bunch of top-stitching to the garment, but I jumped right into the construction and somehow forgot about adding it as I went.

This made for some awkward top-stitching, especially along the straps, but it turned out okay in the end.

It also meant that a hand picked zipper was going to look rather odd with all of those machine stitches on the outside of the garment, so I took a deep breath and machine inserted my zipper (with the help of a few basting stitches, of course!).

Not only did I forget about the top-stitching until later in the game, I also decided that I wanted to add some boning to the midriff to keep the fabric nice and flat.

I usually think things through a bit better, but at least these issues were fixable.

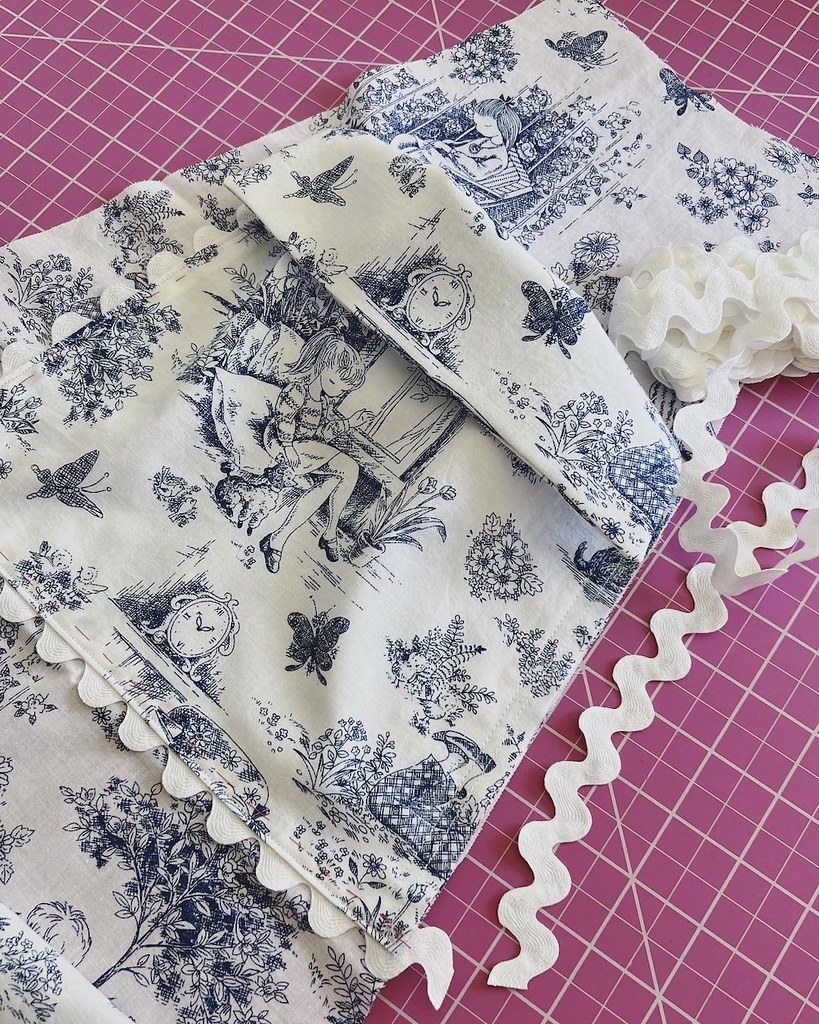
And as a matter of fact, I was probably a bit more haphazard about this project because this was really just a test for making another version of this top using my leftover dark blue denim to match the skirt that I just completed.

It may be more involved than most wearable muslins, but I really started to like the way that it was coming out, so I decided to spend the extra time and put in a bit of effort to make it look good.

And the more I stare at the mismatched lining, the more it grows on me!

The lining was hand stitched to the hem after top-stitching the fashion fabric.

And I did have a few questions about why the zipper is hanging below the hem when I posted images on Instagram, so I will explain that here, as well.

The size of my bust/shoulders and hips is significantly larger than my waist. These measurements are echoed in the proportions of this garment, so if I installed a normal zipper with a stopper placed at the waistline, it would be next to impossible to get in and out of the garment. I might be able to squeeze into the garment if the stopper was placed at the upper edge, but that would require a whole lot of wriggling, and I am not convinced that it would work, either.

I could have purchased a separating zipper, but those are generally very bulky, both the plastic and metal teeth varieties. Also, I didn't have one on hand, and as is obvious from the lining, this was a project that I wanted to make using only what I had stashed away.

The other option was something that you often see in corselettes that are attached within the structure of strapless gowns. The foundation garment stops at the waist, but the zipper extends below the waist, making it easy to step in and out; the gown itself has a skirt, so the zipper is installed normally. Because you don't see the interior during wear, that interior corselette zipper just hangs within the interior of the dress.

In this case, I am making a garment that stops at the waist, so having it hang out would look odd. My solution is a snap or two that will keep the zipper extension tucked into the garment during wear. This will not work with an invisible zipper as the coils are very inflexible. But with a standard dress zip, this is not a problem. I wouldn't recommend storing a zipper in a folded position for a long period of time, but this will be fine for the number of hours that it will be worn. So maybe this is not a great technique for a uniform that will see wear multiple times a week for years on end, but I have a few garments in my wardrobe that have this same zipper application, and I haven't had any trouble with the nylon zipper coils.

With so many full skirts already in my closet, this new top will give me quite a few more pairing options to play around with mixing and matching separates.

In fact, I think that this pink would look great with my new denim skirt!