

Last year I found a pink cotton twill at JoAnn Fabrics and knew that it would make a fabulous circle skirt. But time got away from me, and it seemed silly to make a pink cotton skirt as the weather became cold and wet, so I put the yardage away.

This year, I was determined to get around to it. I have made the Stanwyck Skirt a number of times, and it was an obvious choice because I wear my gored circle skirt almost constantly. The only real decision to make was what kind of waistband to use, and whether or not to add pockets.

I prefer more of a tea length skirt these days, so (as with my other versions) I added a significant amount of length to the skirt pieces.

I debated whether or not to use an invisible zipper or my standard lapped zipper application. In the end, I decided that it was time to brush up on installing an invisible zipper since I haven't done one in a while.
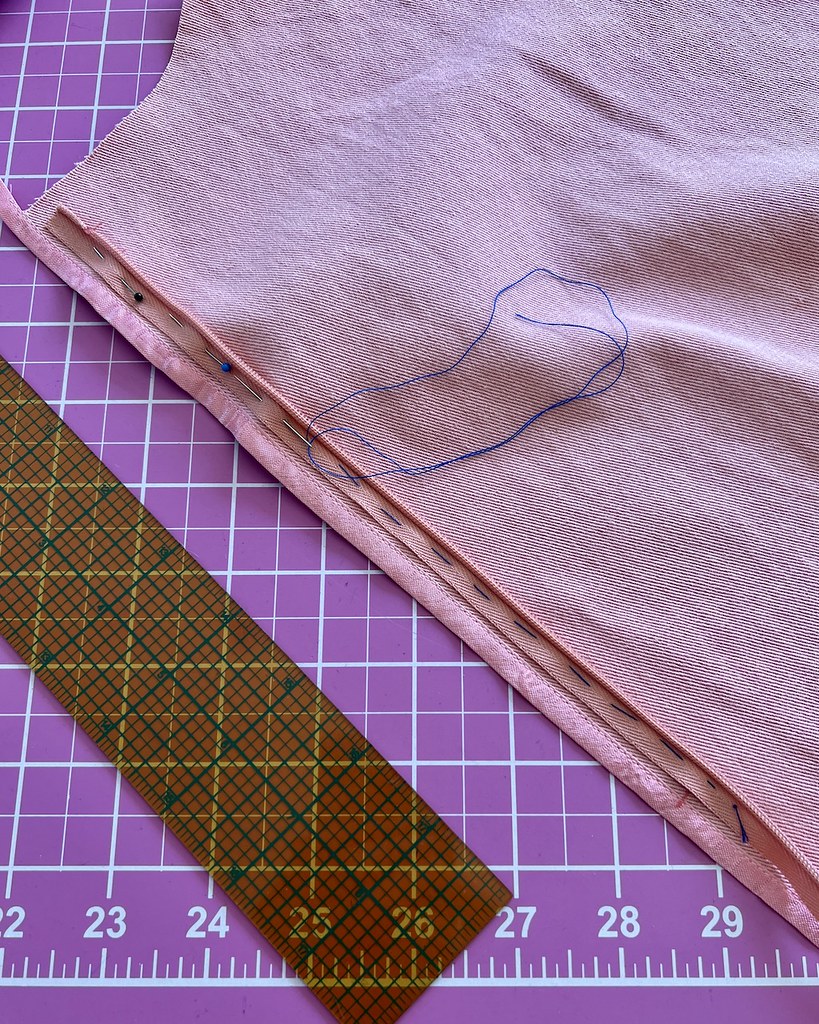
I do have an invisible zipper foot, but I prefer to baste the zipper tapes into place before hand stitching them to the garment. I find that I get a better finish if I use this technique.

Although I normally wait to finish the raw edges until after the seam is stitched, I decided to try applying seam binding to the raw edges of the center back seams before inserting the zipper.

And, as luck would have it, the raw edge played nicely and didn't stretch out very much at all.

Just as a note, I find it helpful to work with a zipper that is longer than the actual zipper opening. This is especially important with an invisible zipper because the coils need to be pulled back in order to stitch the tapes down, and that is much easier along the length of the zipper, instead of fighting with the closed ends.

So if you don't have an invisible zipper foot, go ahead and install it by hand!

And here is the finished zipper.

At which point, I stitched all of the skirt gores together and finished those edges.

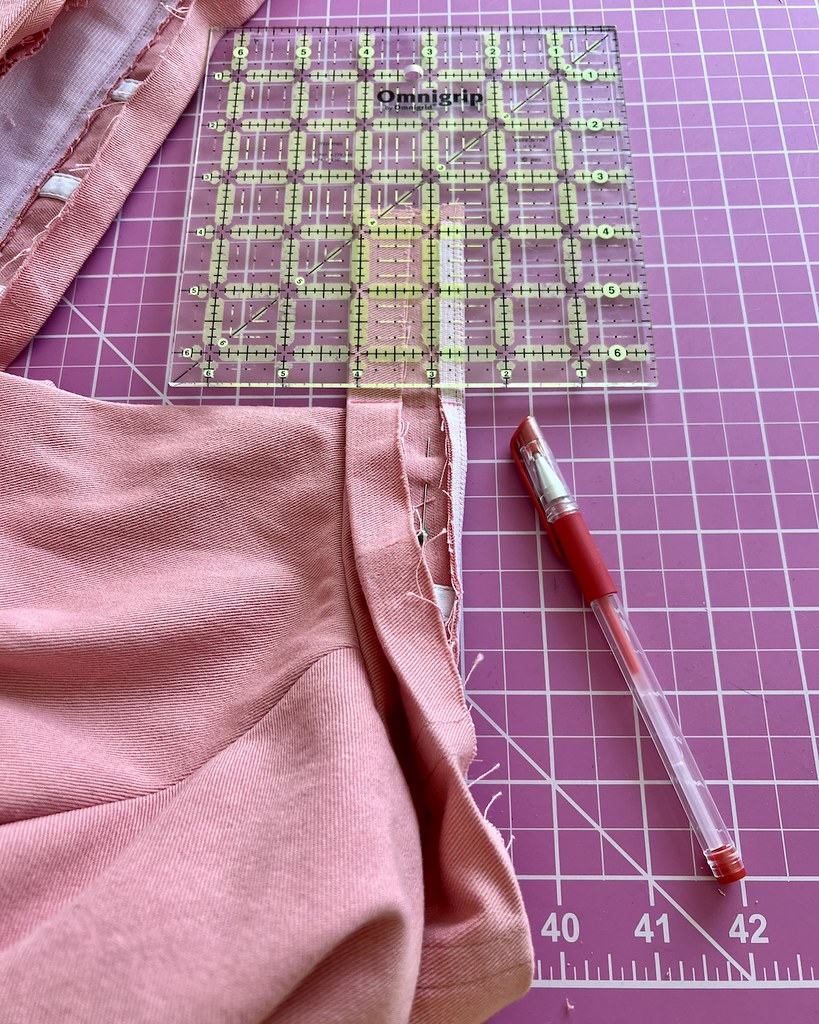
Next up was the waistband. I decided that a shaped waistband would be the right choice for this skirt.

As with any waistband that is more than an inch wide when finished, I add boning to help keep the shape of the waistband.

It doesn't require that many extra steps, and it makes the finished garment look and wear so much better.

The trick, I feel, is to make those pieces of plastic boning short enough so that they do not poke into the seam allowances and/or the body.

If looking in my closet is any indication, tea length skirts are becoming a favorite style of mine. I have quite a few prints, but the solids tend to be dark in tone, so I was very happy to find a mid-weight fabric in a lighter color that matches quite a few of my blouses.
And, of course, don't forget about those ribbon hangers!

For whatever reason, I didn't forget this step this time around, but it's something that often slips my mind until I am sewing the waistband lining closed.

But wait, lest you think that I somehow got out of the most frustrating part of the process in finishing a circle skirt, I did not. Waiting for the bias to drop, and marking and trimming the hemline so that it is even is, without a doubt, my least favorite sewing activity.

I am not sure I will ever enjoy this part of the process, but no one else is going to do it for me, so I am stuck with it.

For the hem, I folded the raw edge twice and hand stitched it into place. The fabric is almost too thick for this treatment, but I decided to give it a try anyway.

The hem is perhaps more obvious than it should be, but I don't hate it. So for now, I am leaving it as-is. I'm not really sure what Blue's opinion on the subject is, but he was definitely interested in checking it out.

For one last bit of finishing, I added two pairs of hook & bars at the center back waistband.
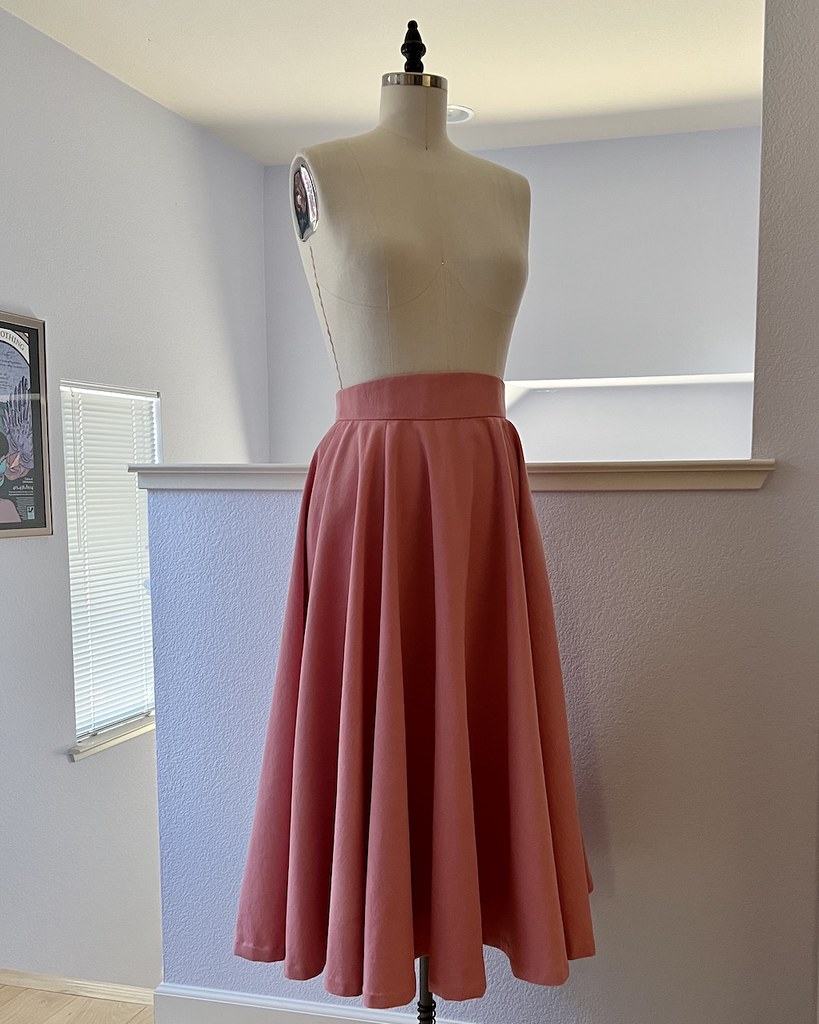
And that's a wrap! The only question is, how did I go so long without having a pink circle skirt in my life?!

So….Barbie…
ReplyDelete