Friday, May 27, 2016

Finishing Touches


The end is in sight!


Of course, there are so many little details that go into finishing a dress.


A waist-stay is one of the final steps.


And, of course, the hemline has to be finished.


Once the petticoat was completely finished, my Mom came over to help me even out the hem.


I debated over adding horsehair to the hem - pleats can start to look strange when the hem flares out.  But with such a poofy petticoat, I thought the horsehair might work.


And it did!


[Disclosure:  My Fabric Designs provided me with a coupon code which was used to purchase a portion of this fabric, but the opinions posted here are my own.]

Saturday, May 21, 2016

The Sash


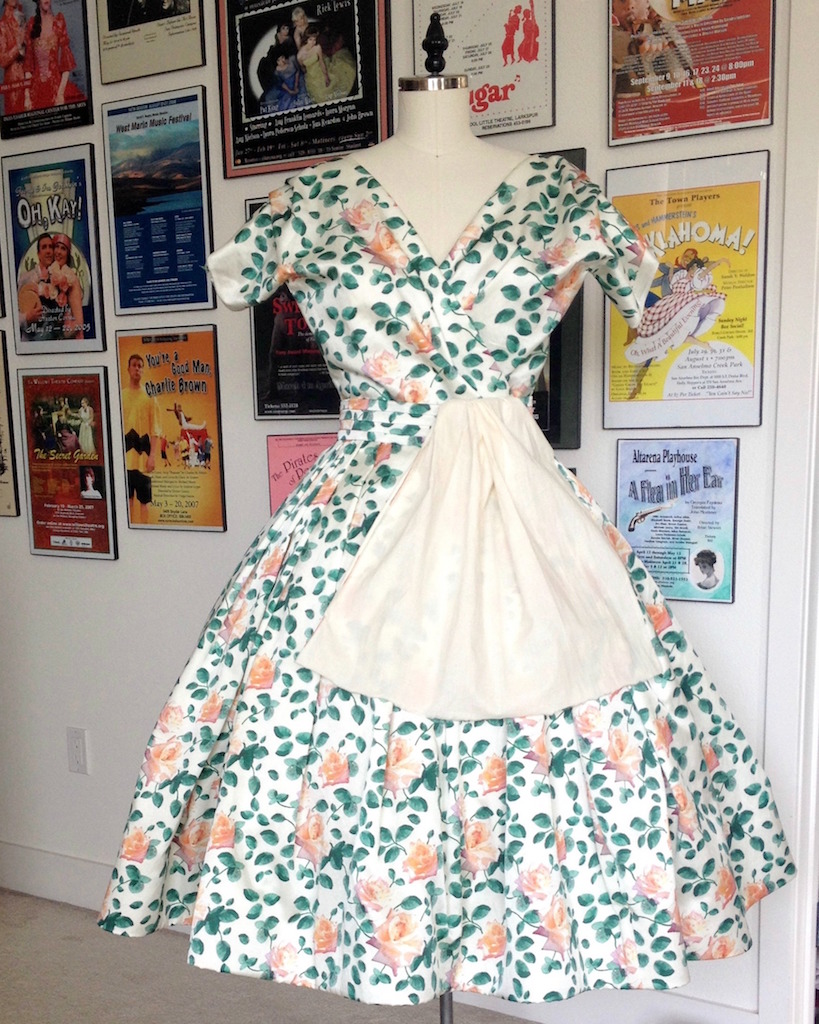
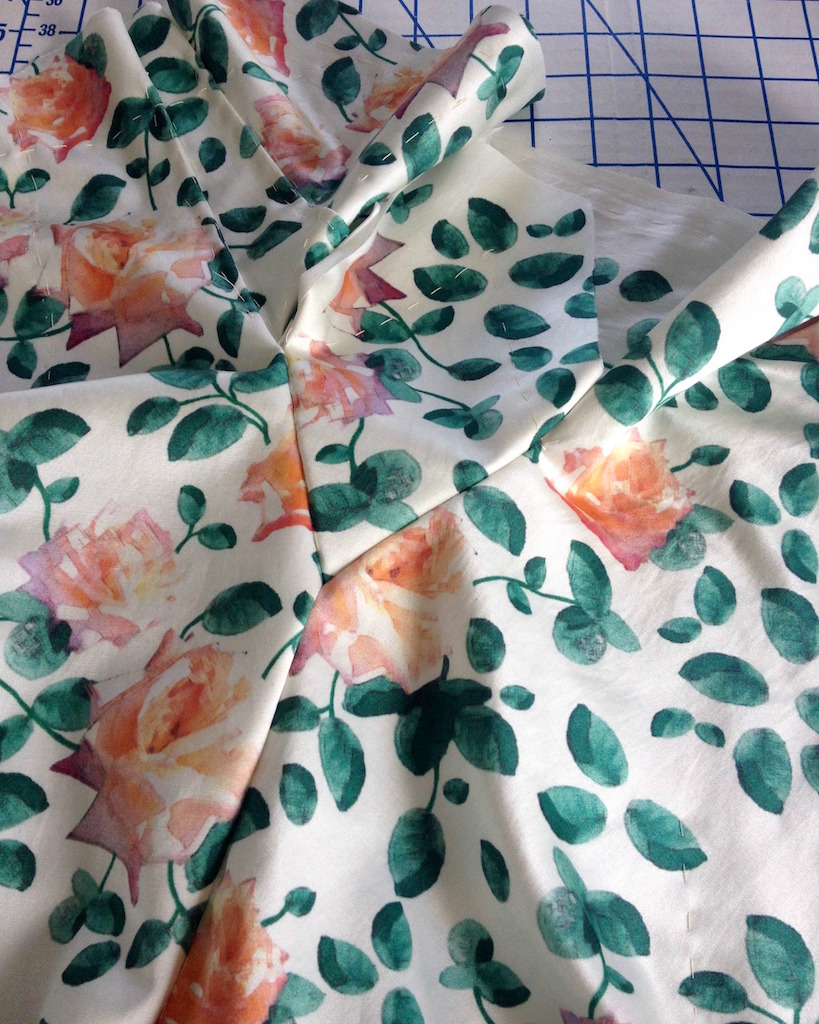
One of the most challenging parts of this project was the belted drape.  From the images I could find of my original inspiration, it is very hard to tell exactly what is going on.  Is the drape a continuation of the pleated portion that wraps around the waist?  Are they separate?  And where does the sash come in?  Does it all just get tied together?  Because that was going to get rather unwieldy.  

I made a breakthrough after coming across this other Dior dress.  It is not exactly the same treatment, but I came up with something that works!


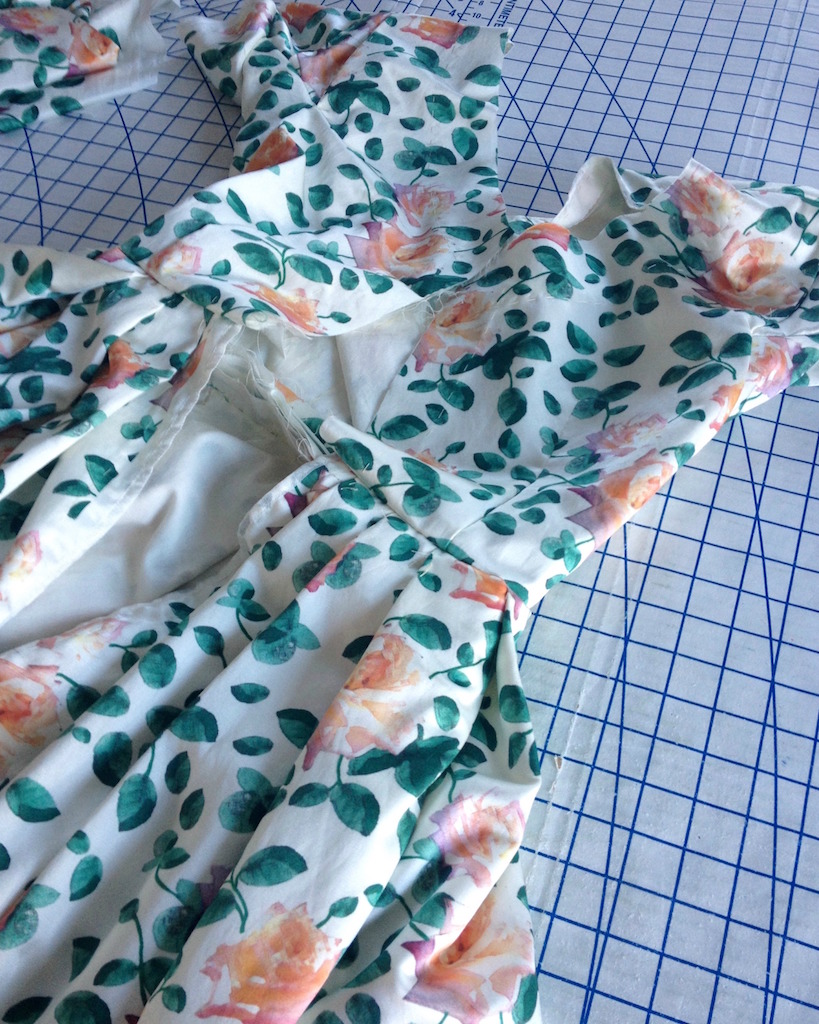
Some dresses include a drape stitched in the waist seam, but that did not strike me as a great idea (there was enough bulk with the pleats of the skirt).


Instead, I decided to use a pleated belt made from self-fabric and attach the drape and sashes to that piece.


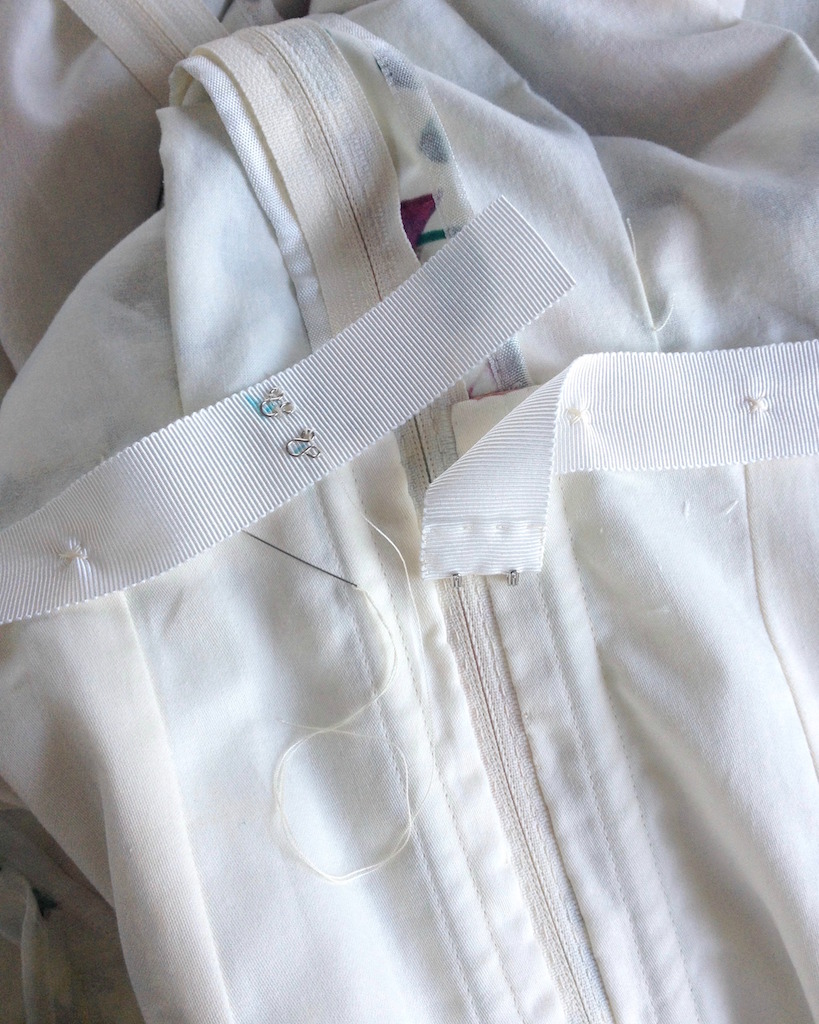
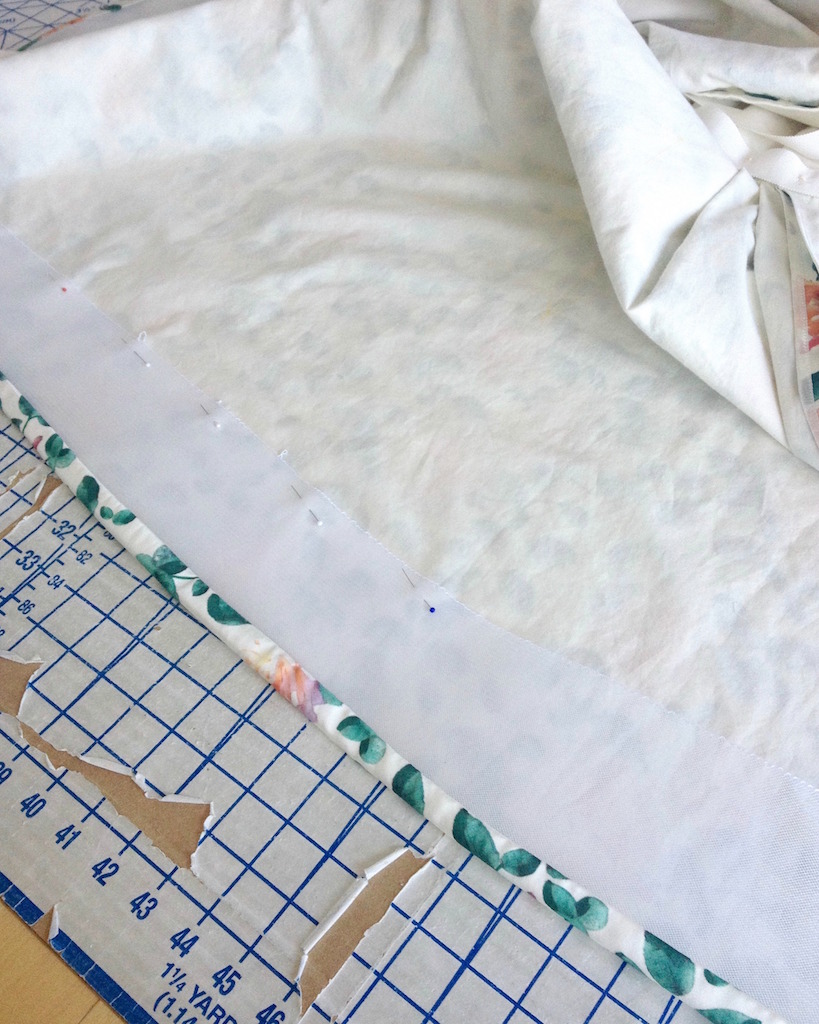
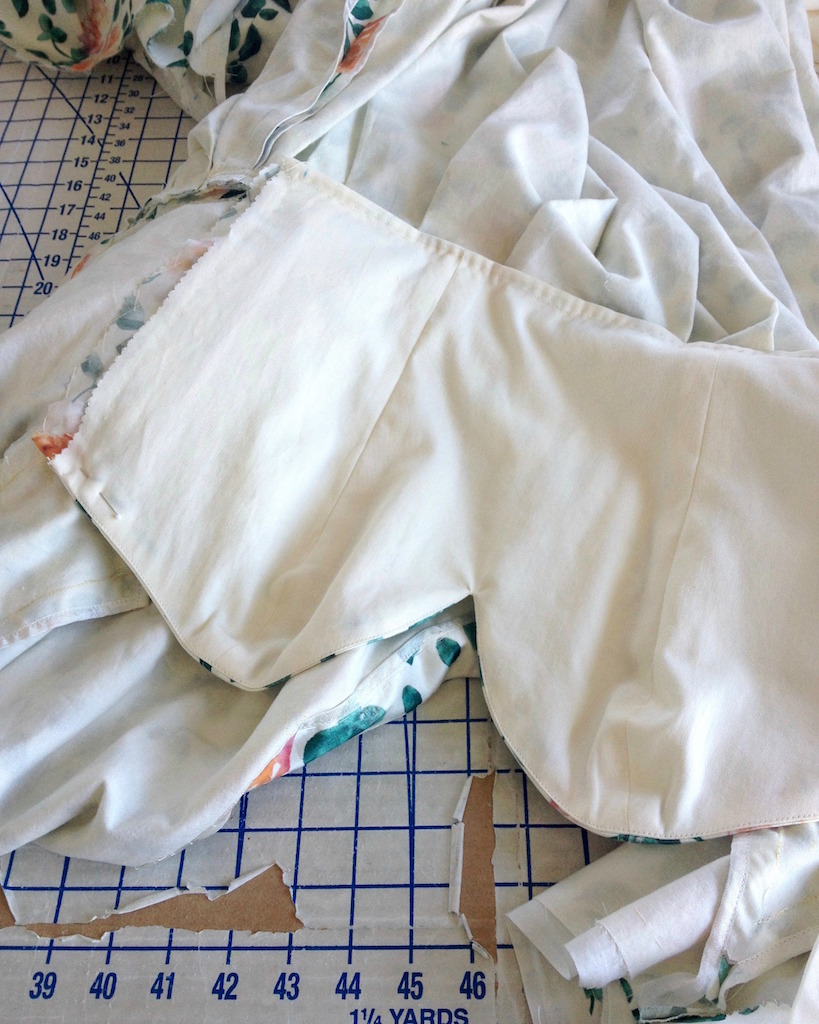
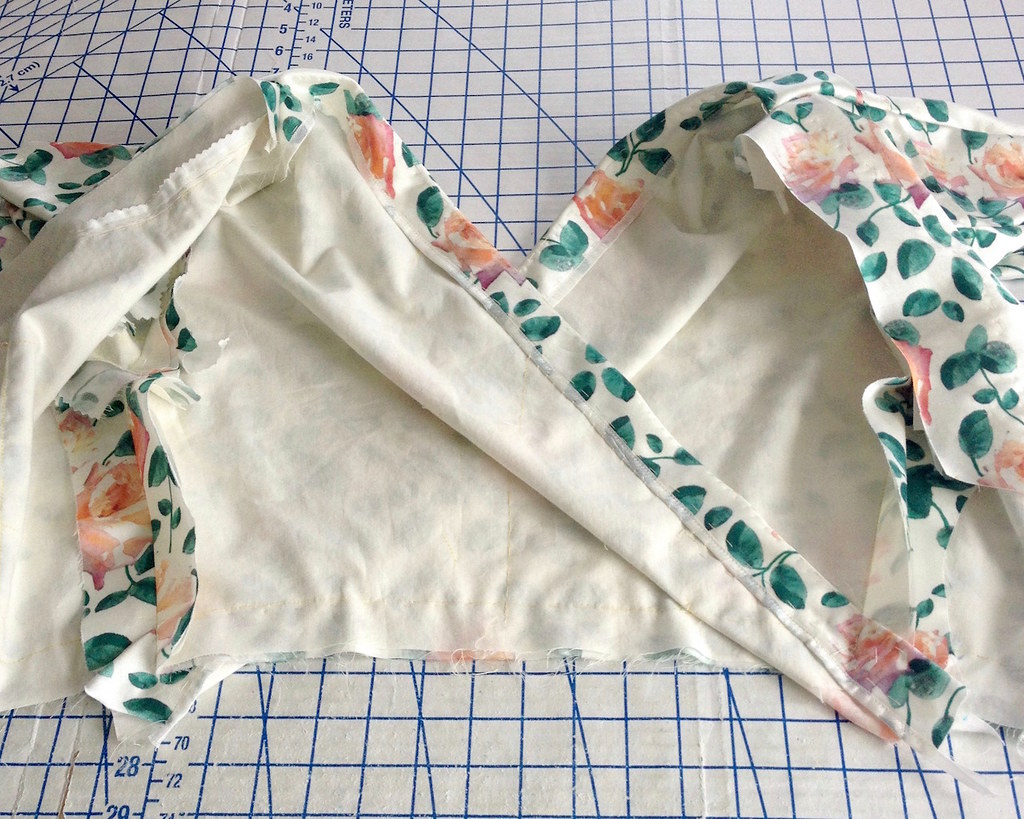
I purchased a roll of waistband interfacing years ago.  I was hoping that it would replace belting (which is becoming more and more difficult to find), but it is not nearly as stable as I had anticipated.  But it does work in this instance to add just a bit of a foundation to the belt.


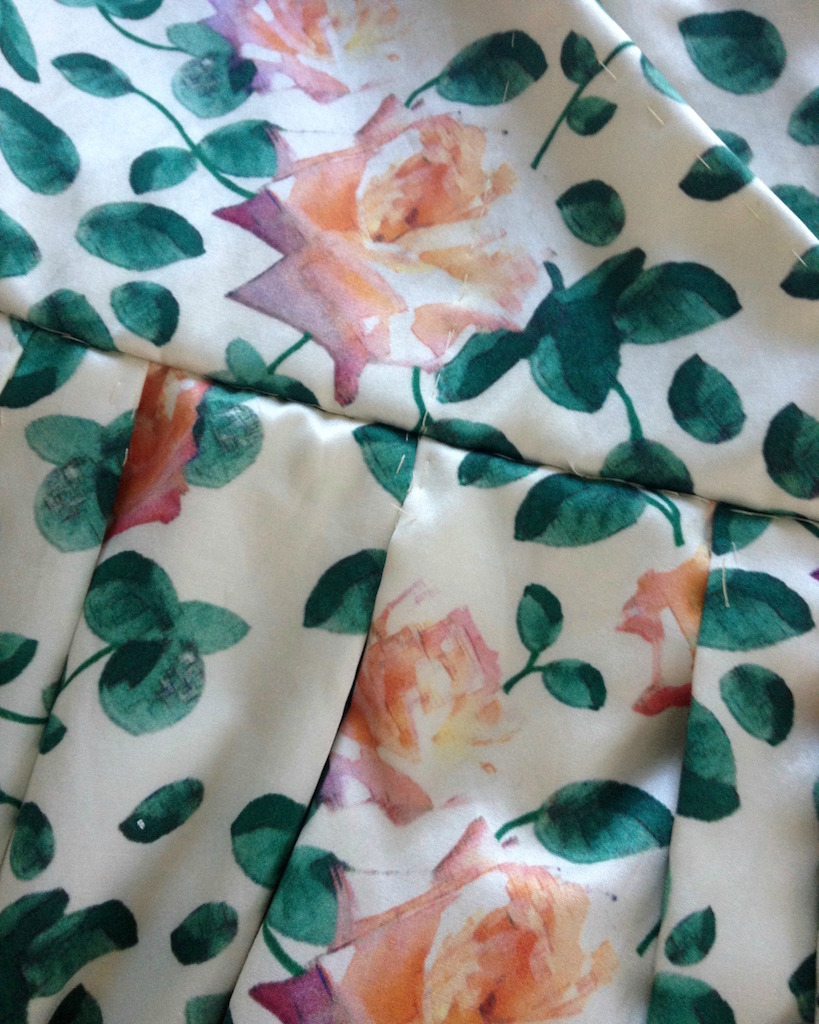
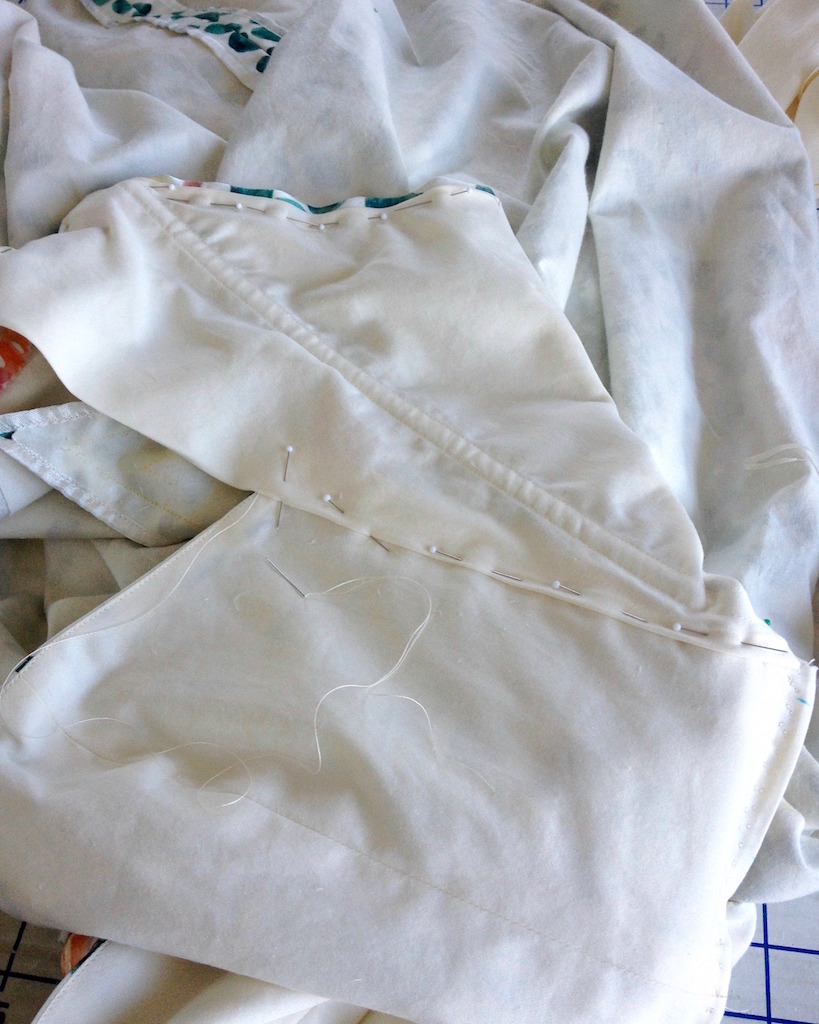
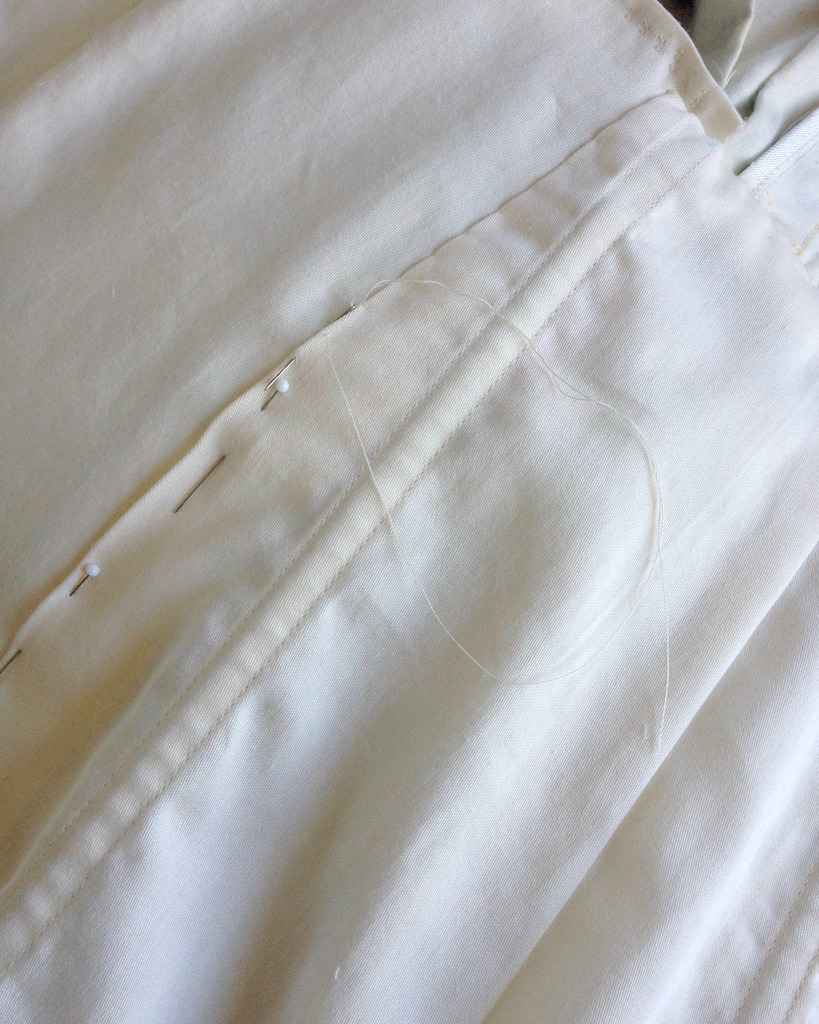
That was catch-stitched to the fabric.  Those stitches do not show on the right side of the fabric with all of the pleats to disguise them.


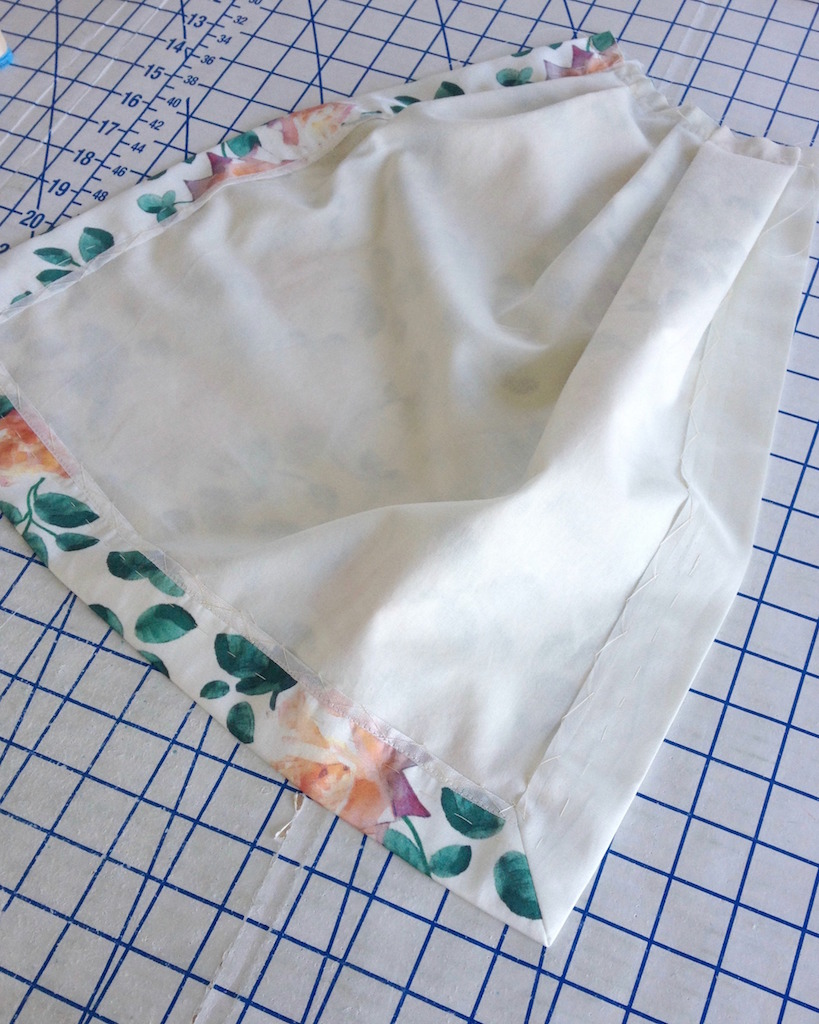
The lower edge was then folded up and stitched in place, followed by the upper edge with the raw edge turned under.


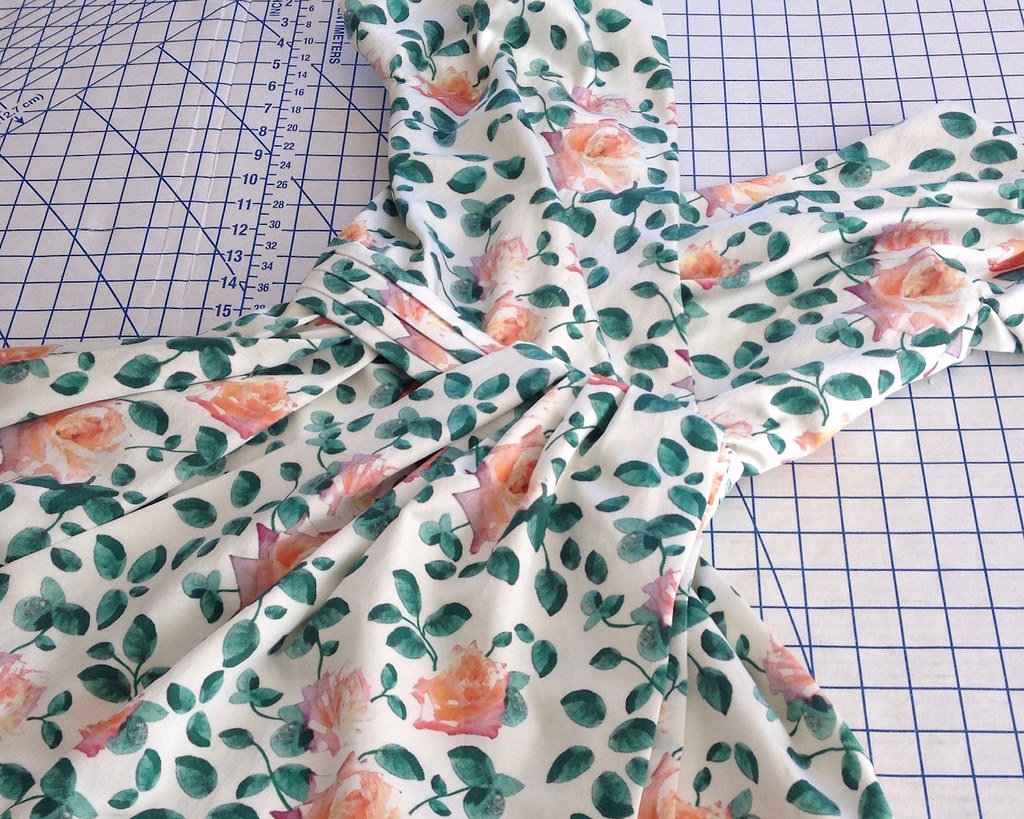
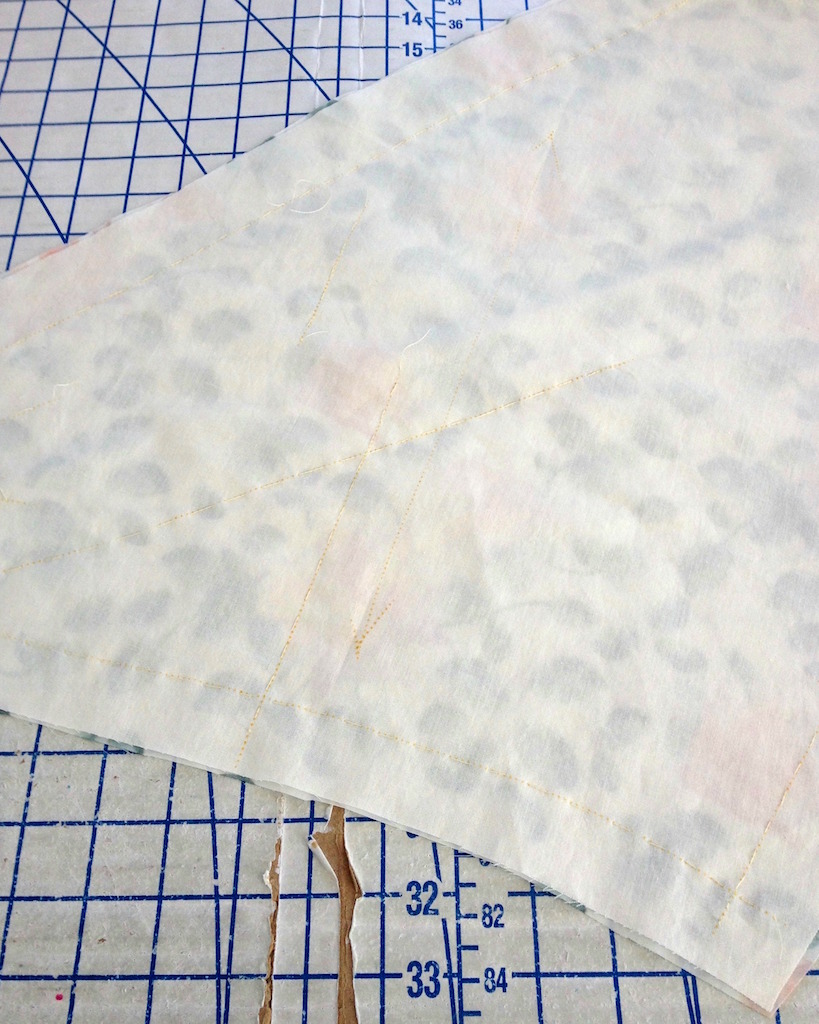
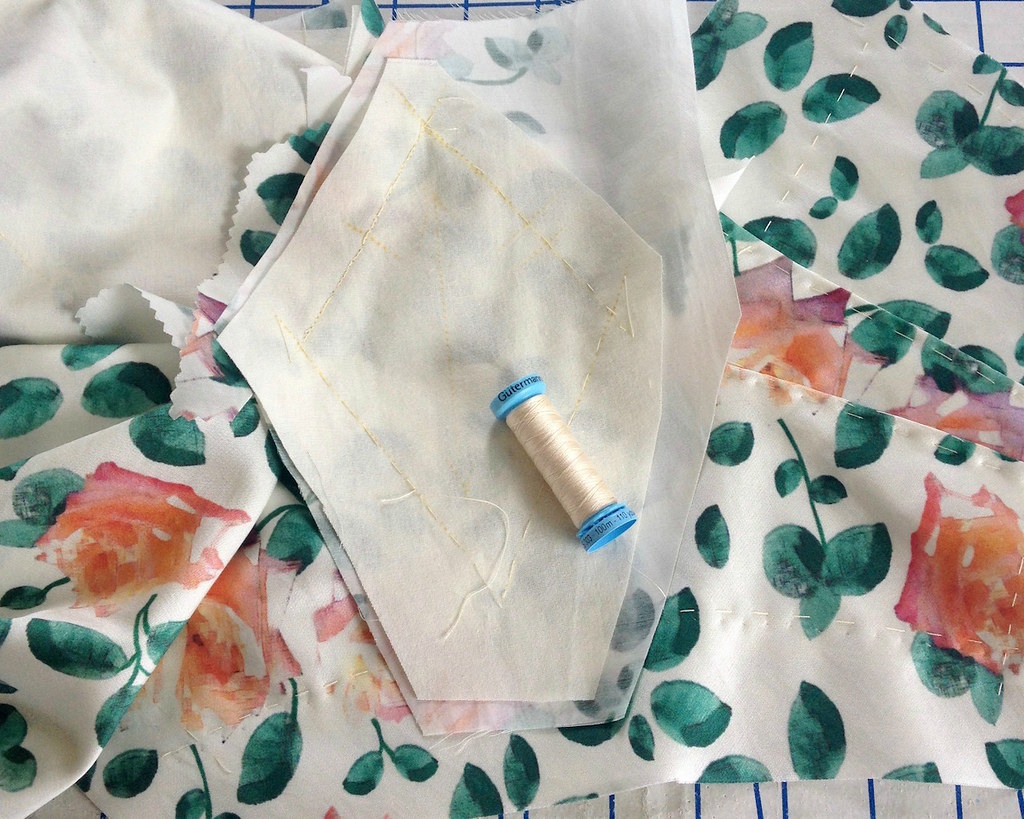
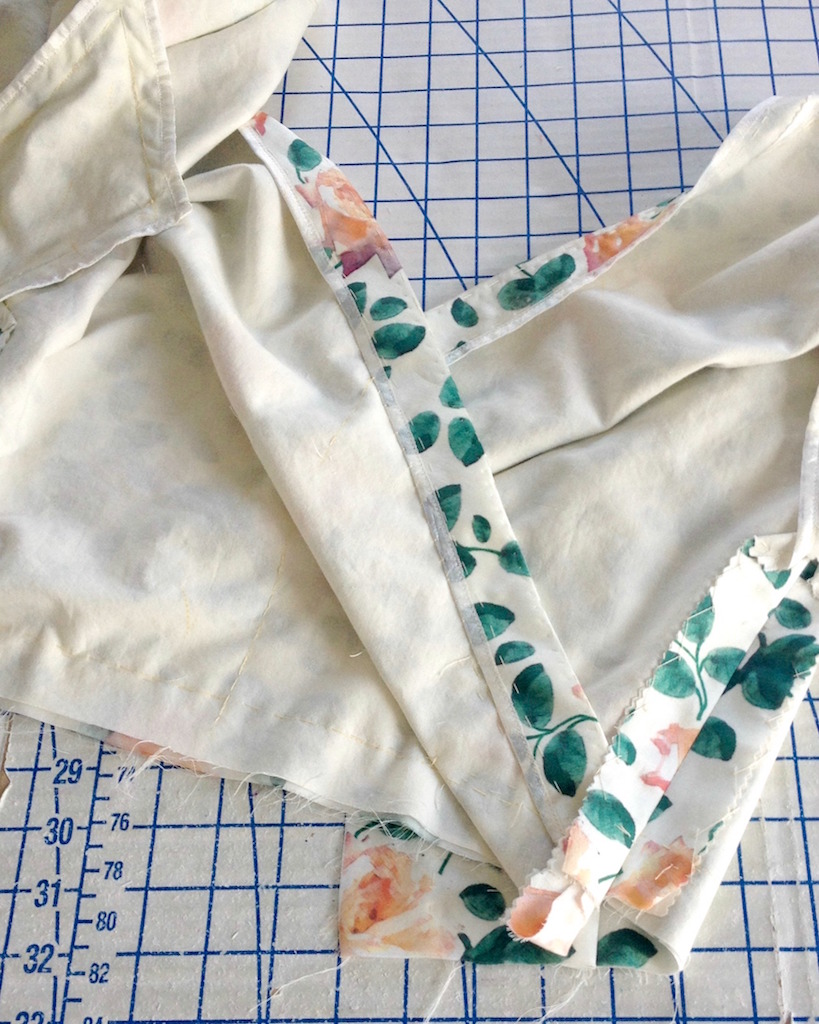
To get an idea of proportion, I ripped up a piece of muslin.  In the end, the small pieces of fabric that were left over after cutting the dress pieces was more of a deciding factor for the finished size of the drape.


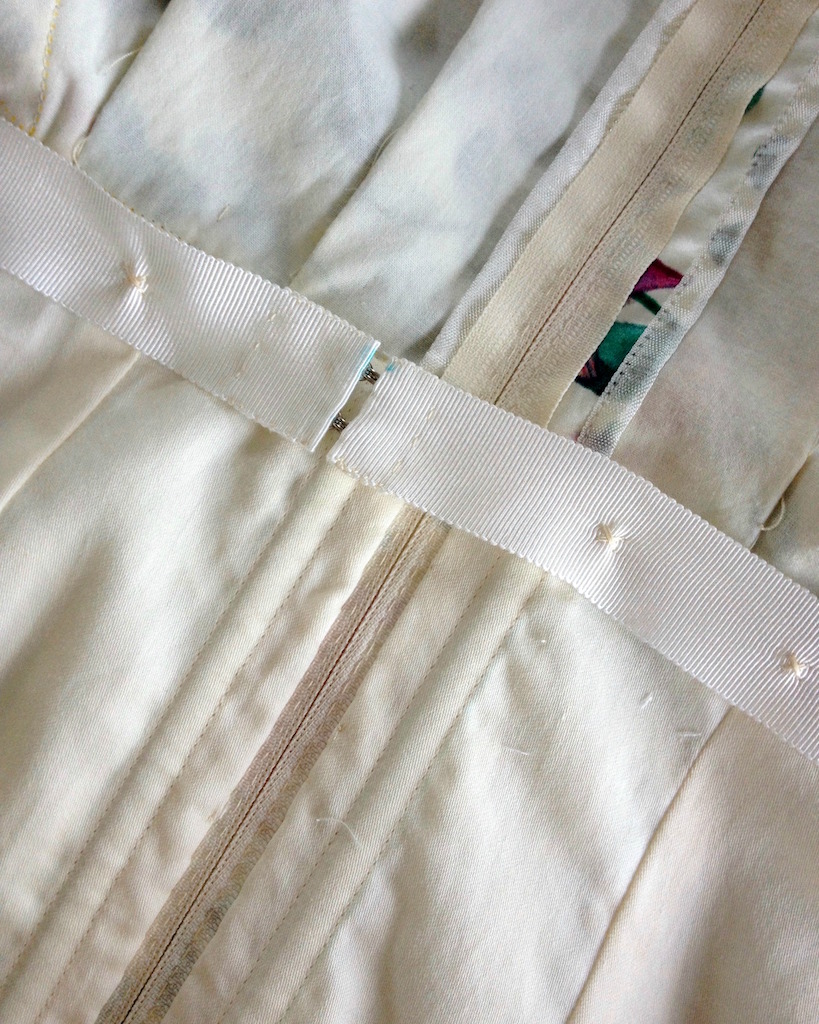
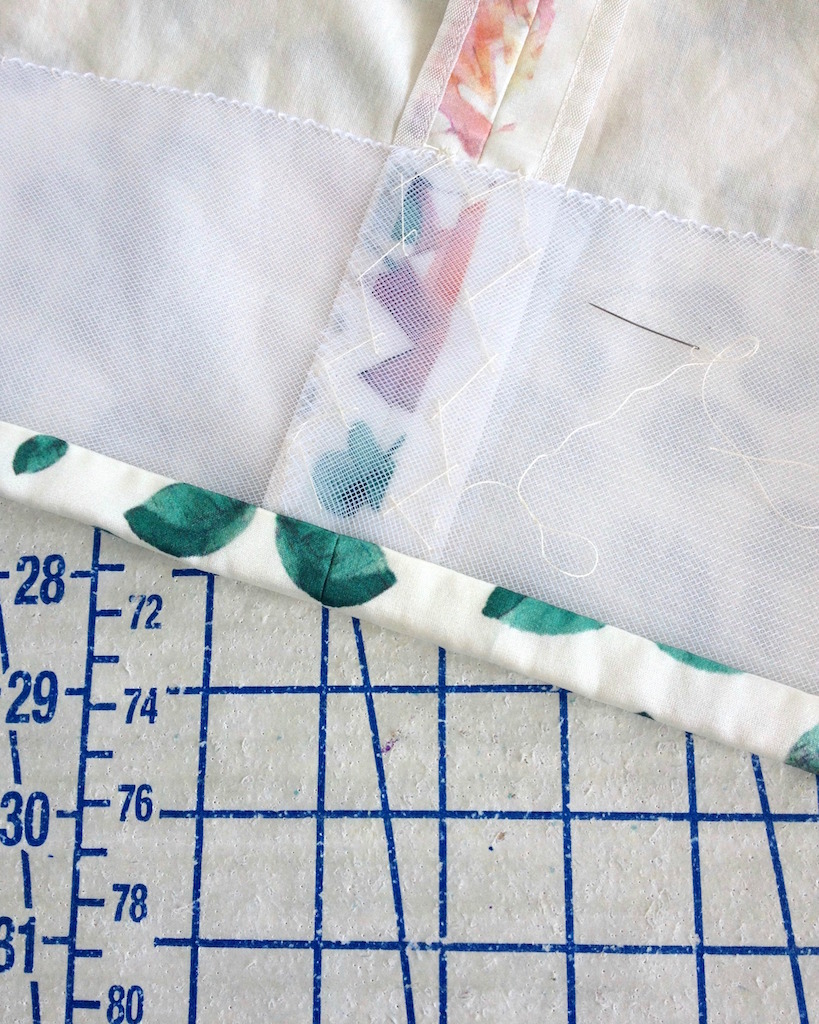
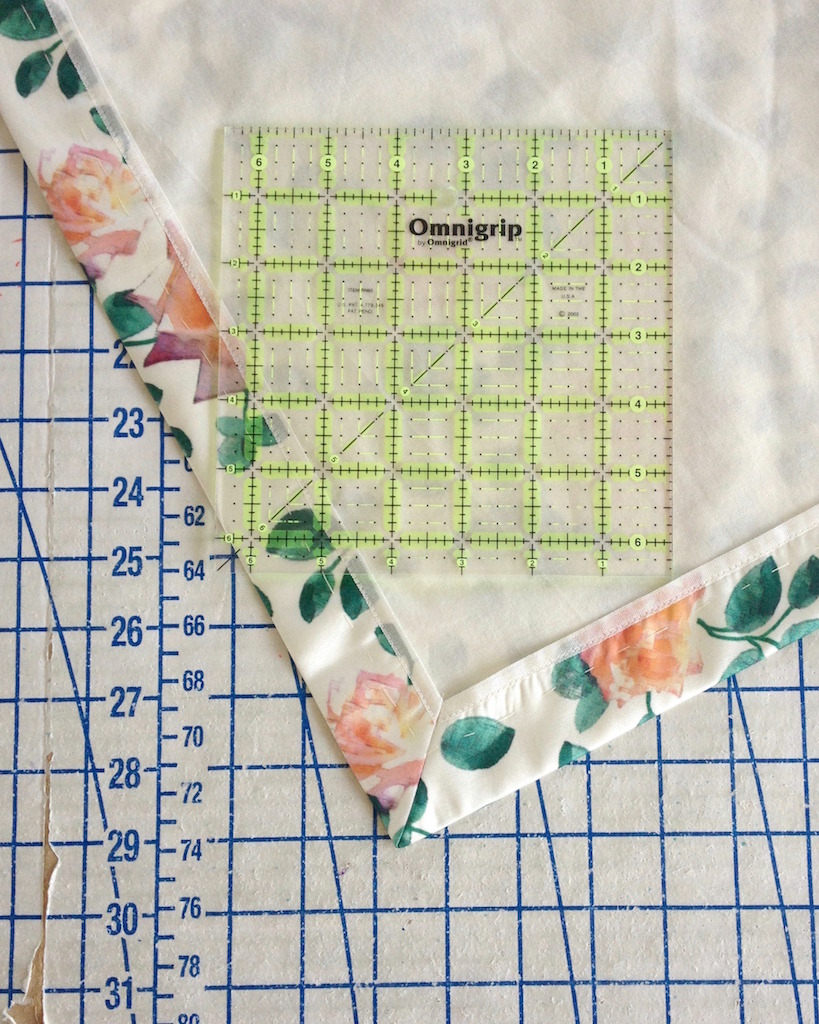
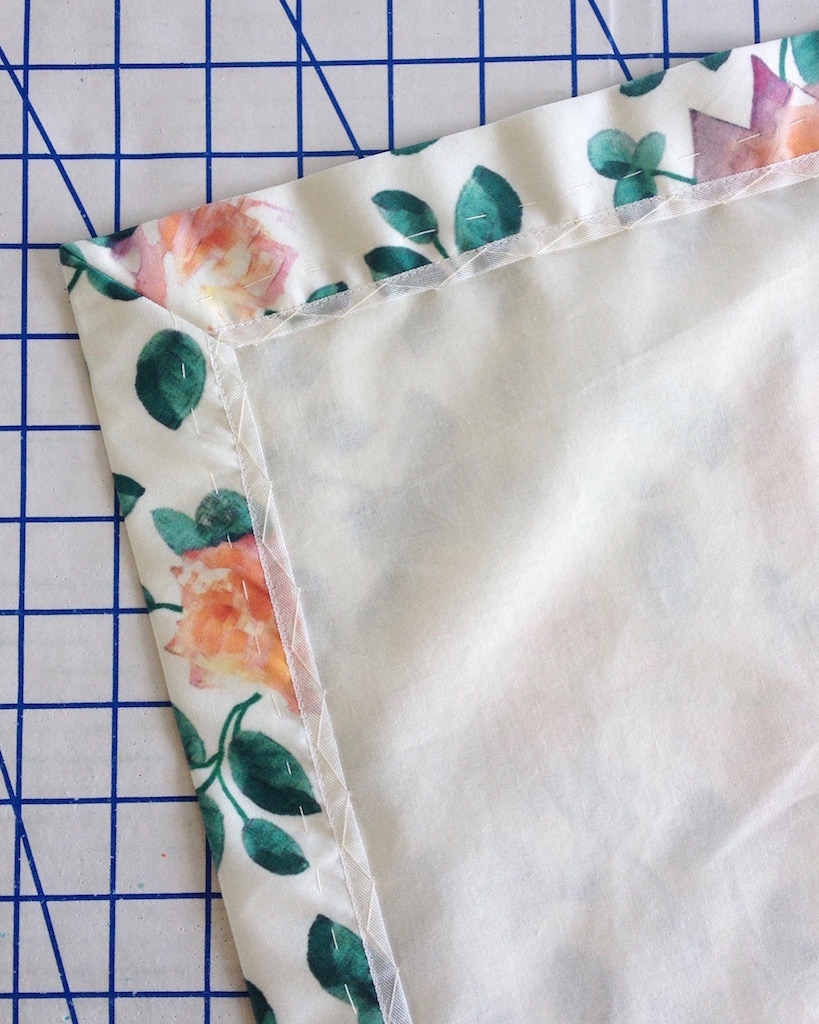
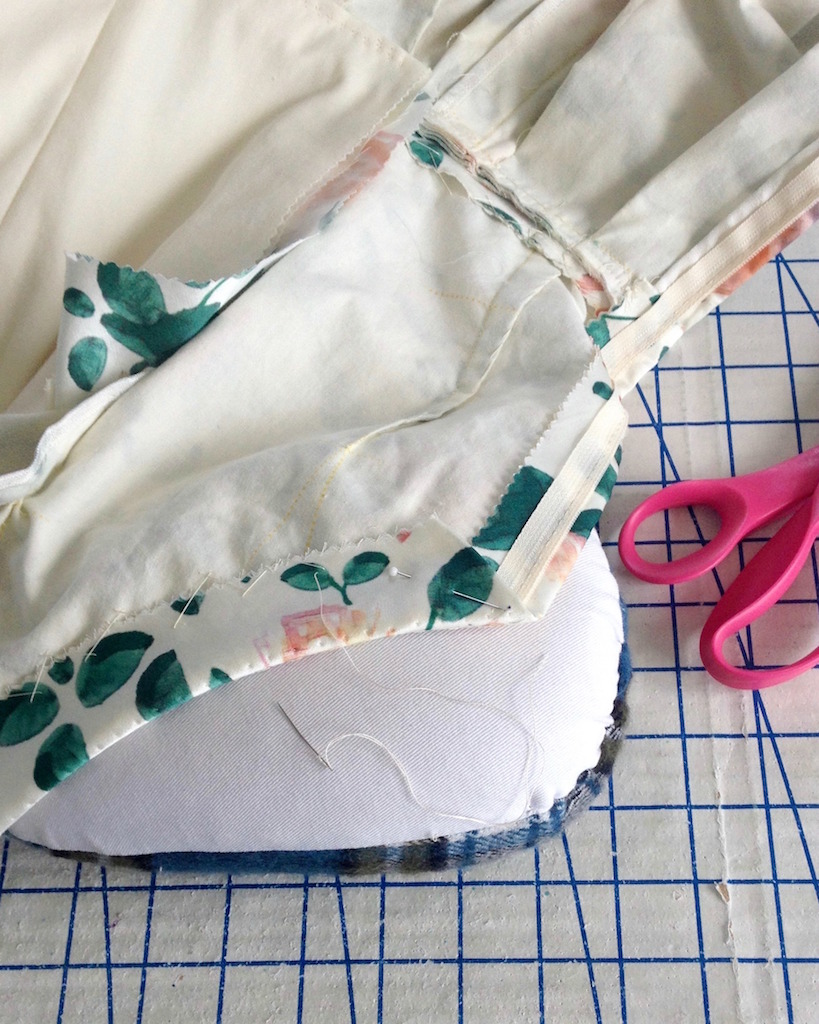
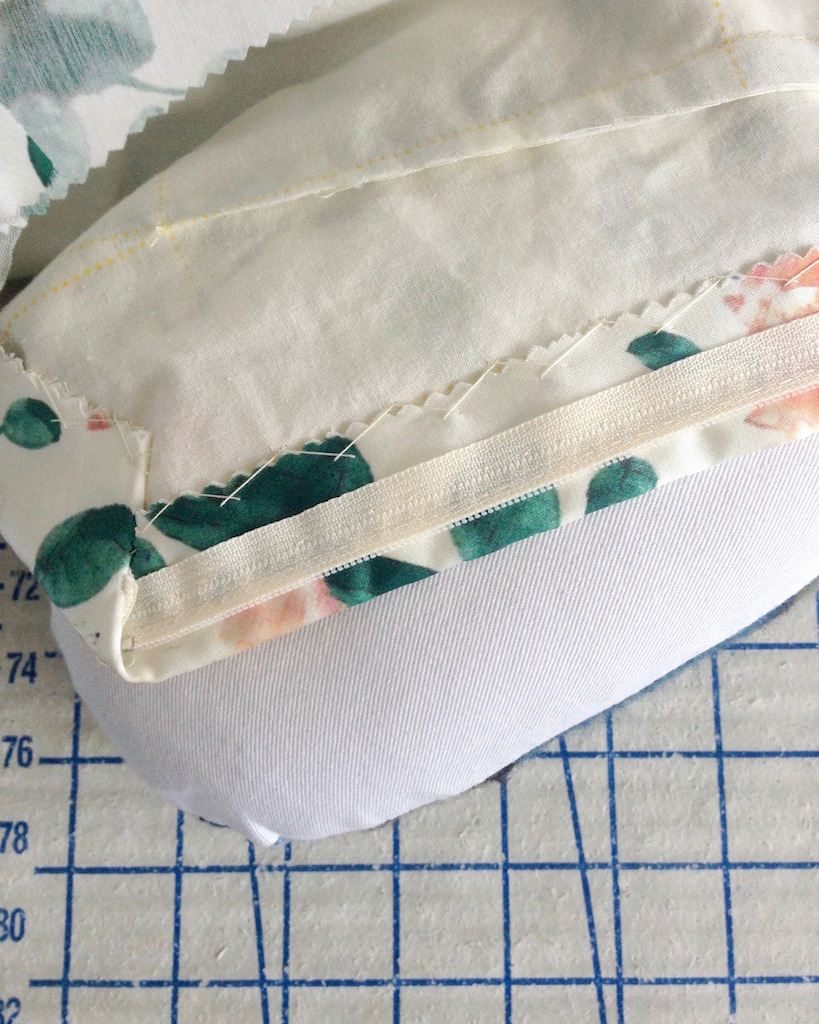
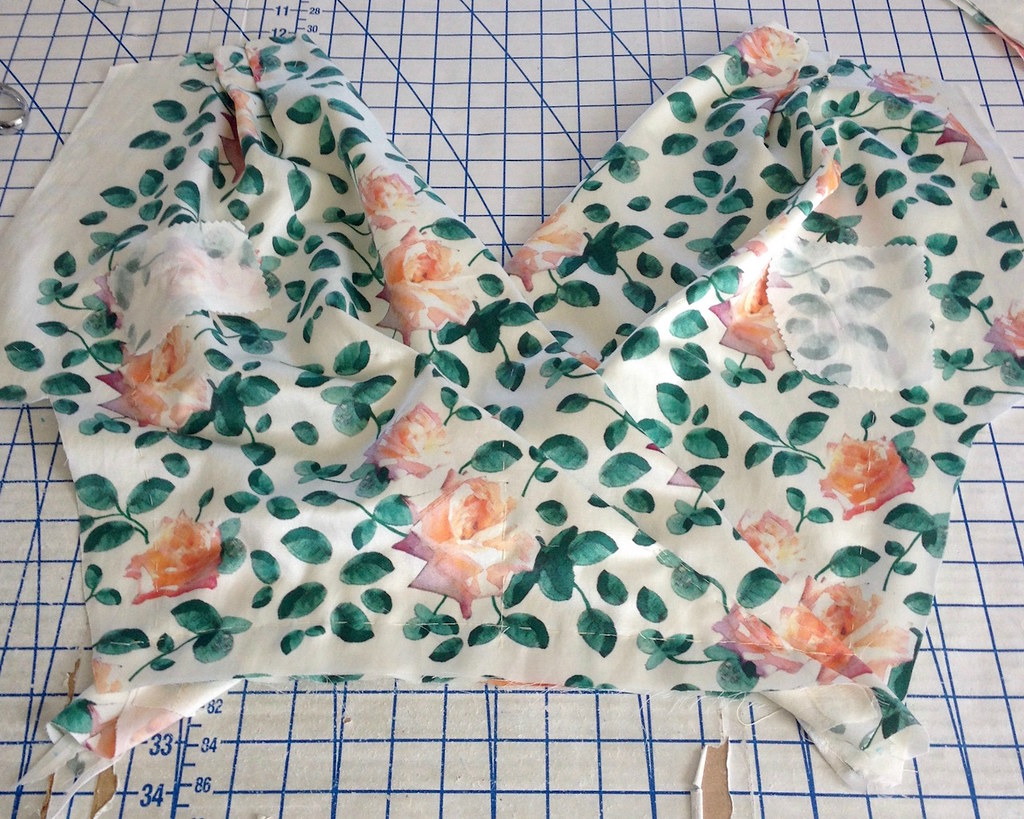
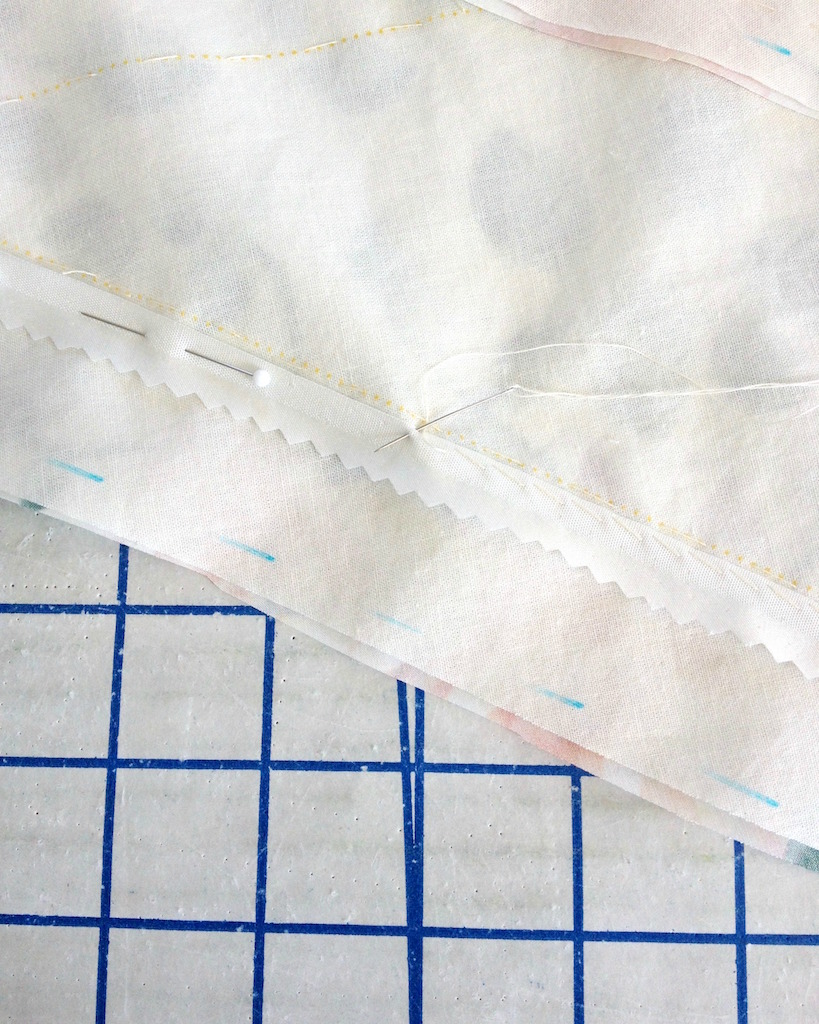
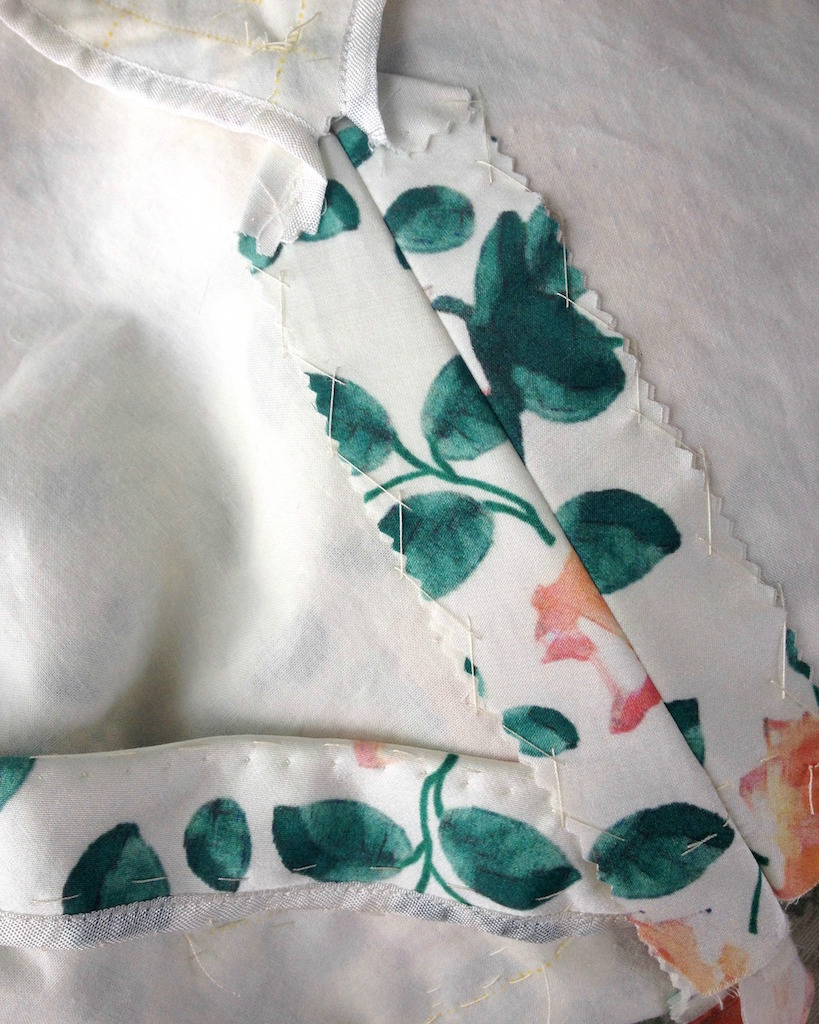
The raw edges were finished with rayon seam binding, the lower corner edges were mitered, and then catch-stitched in place.


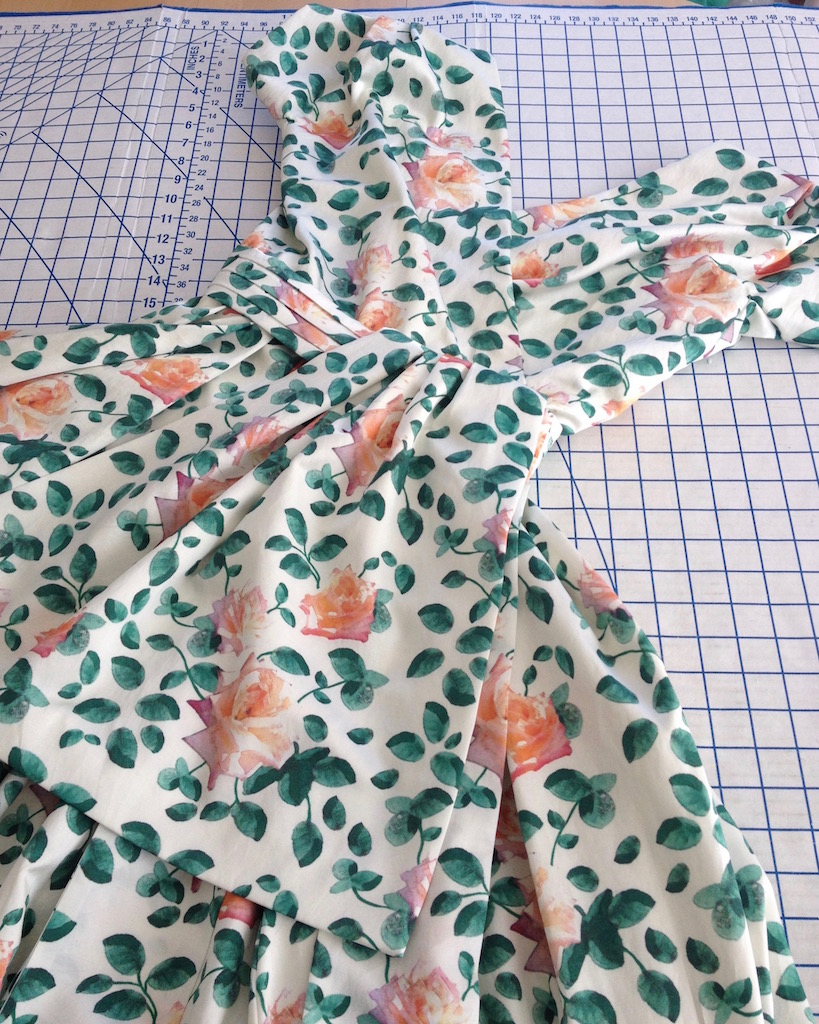
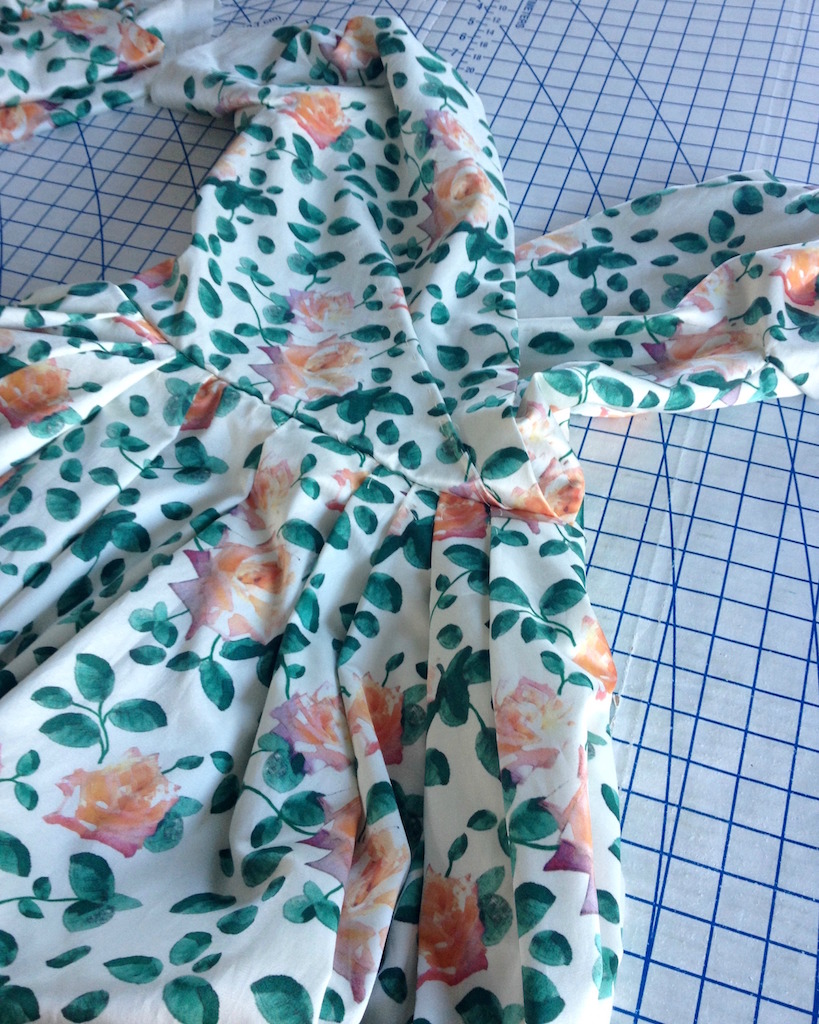
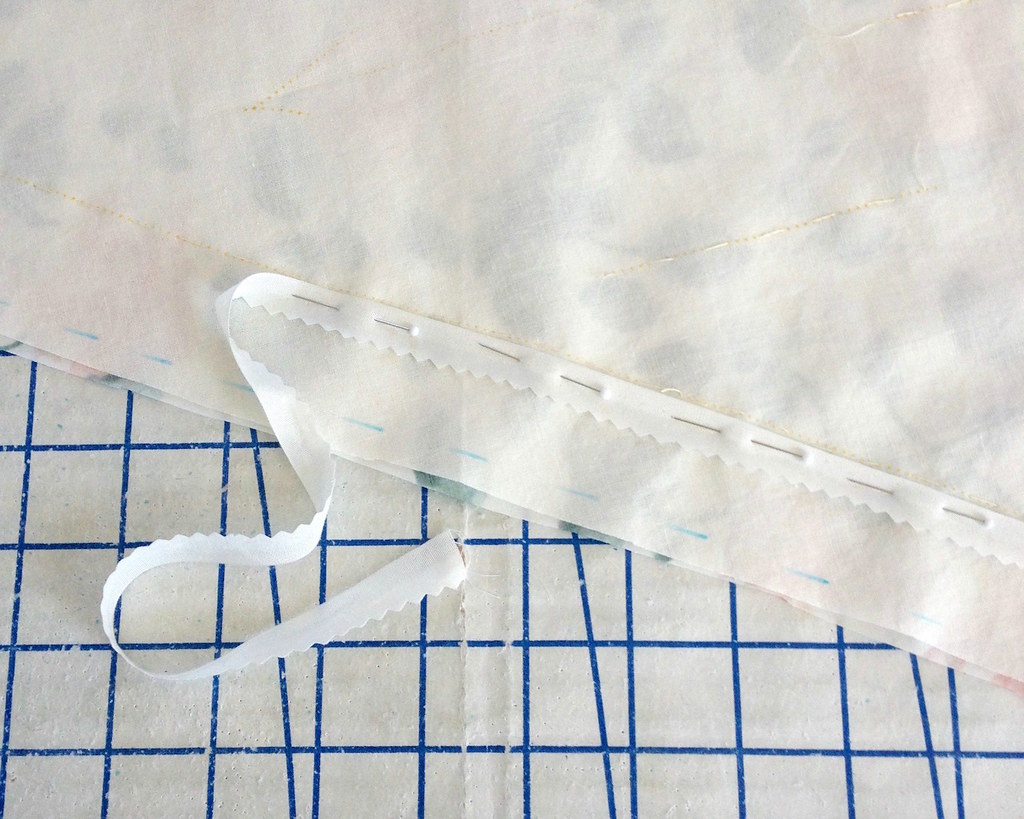
The upper edge was pleated in a shape I liked, and that raw edge was also finished with seam binding.


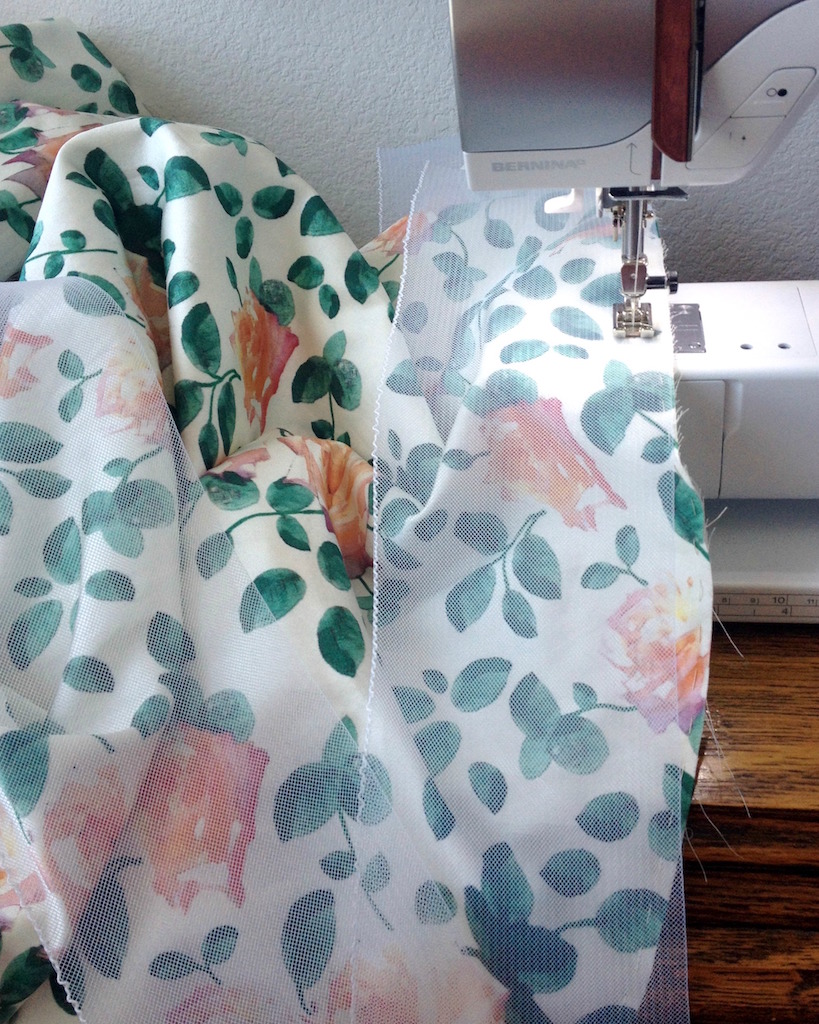
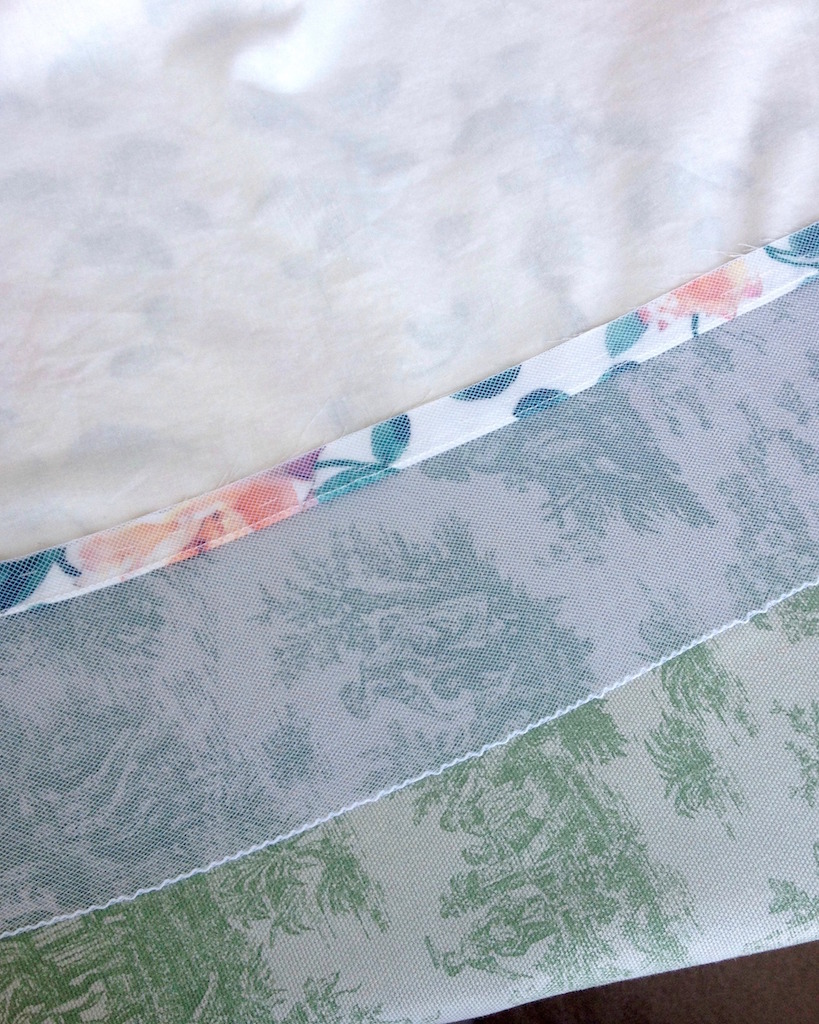
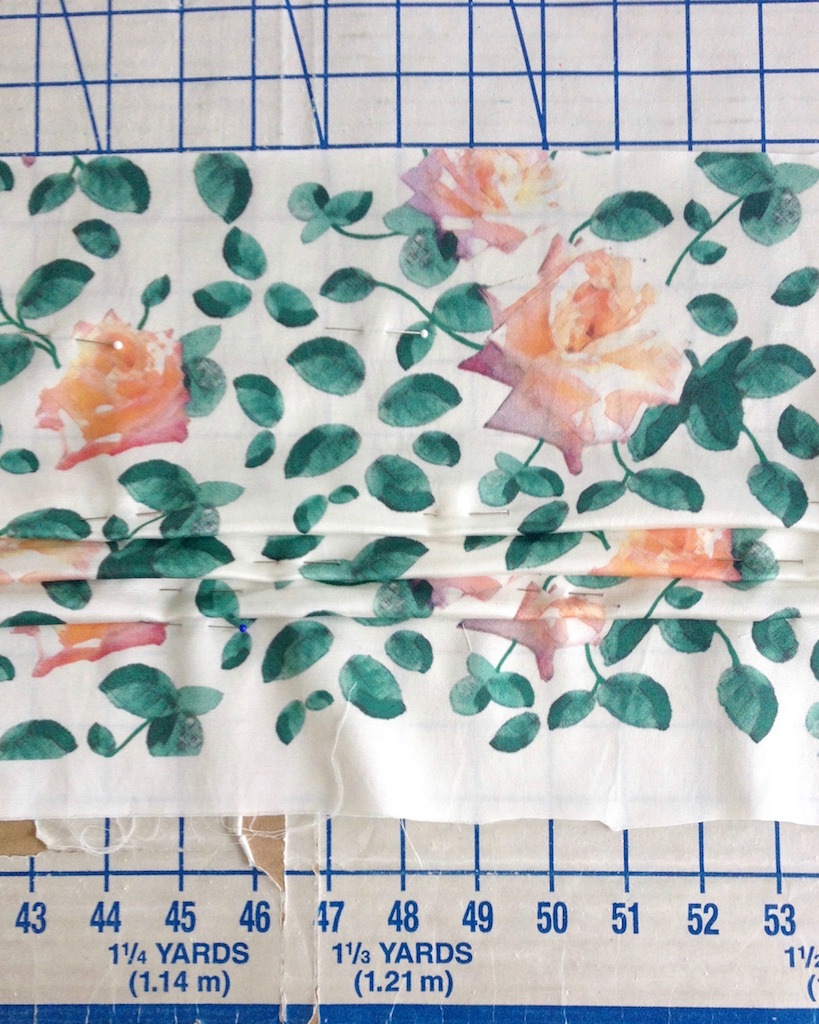
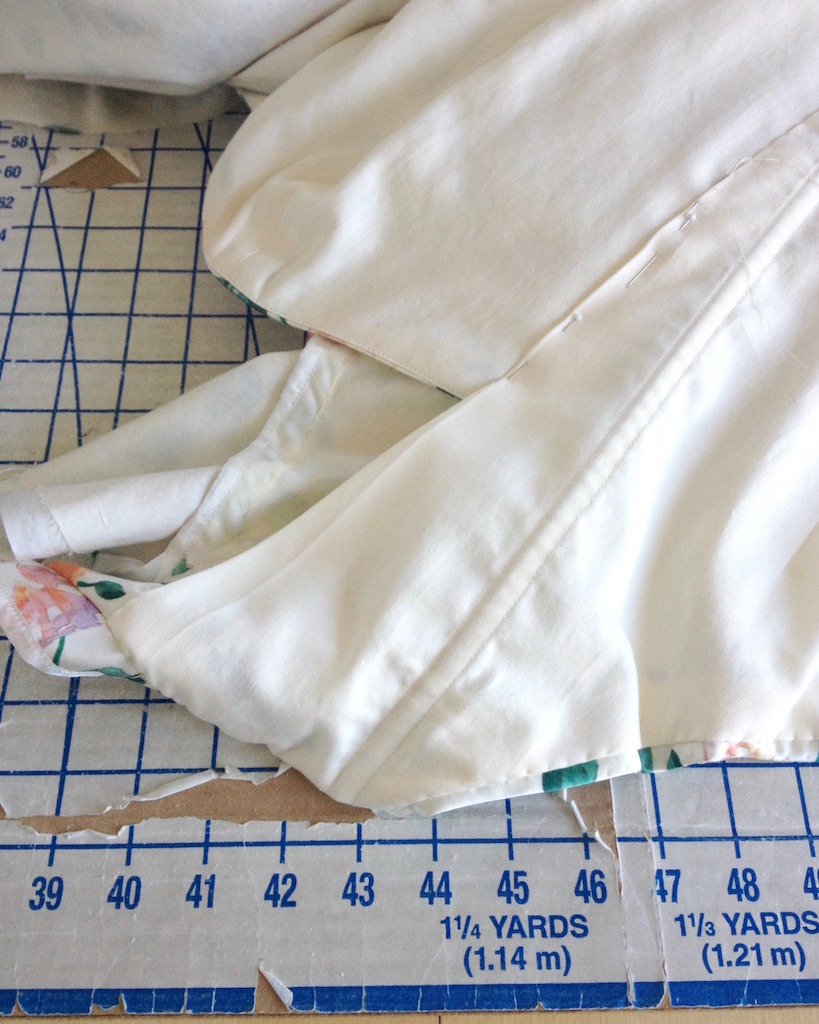
That white strip is the un-printed portion of the fabric edge, so you can see I was making use of every bit of fabric I could!


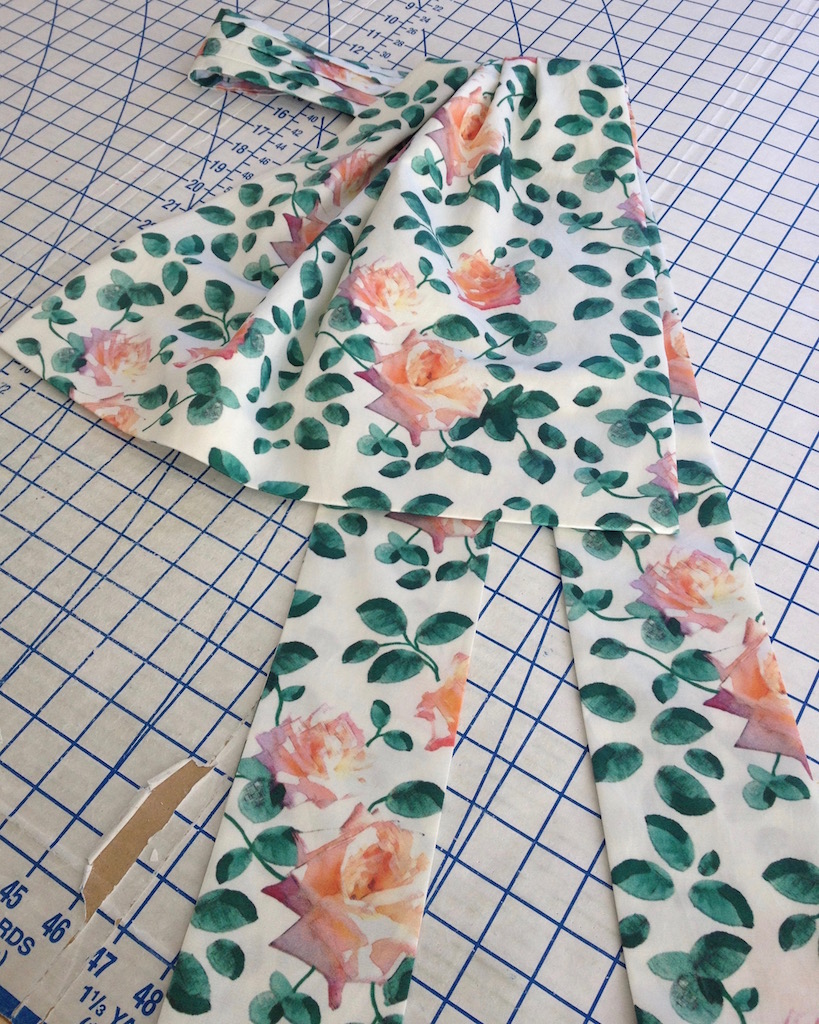
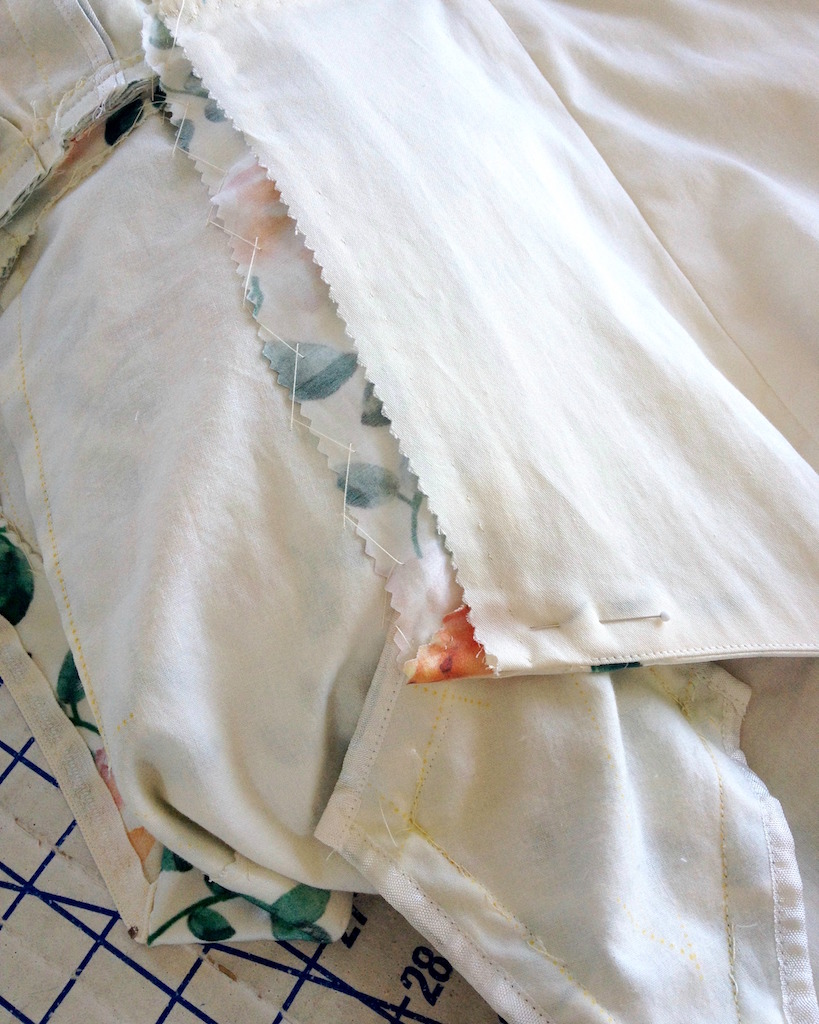
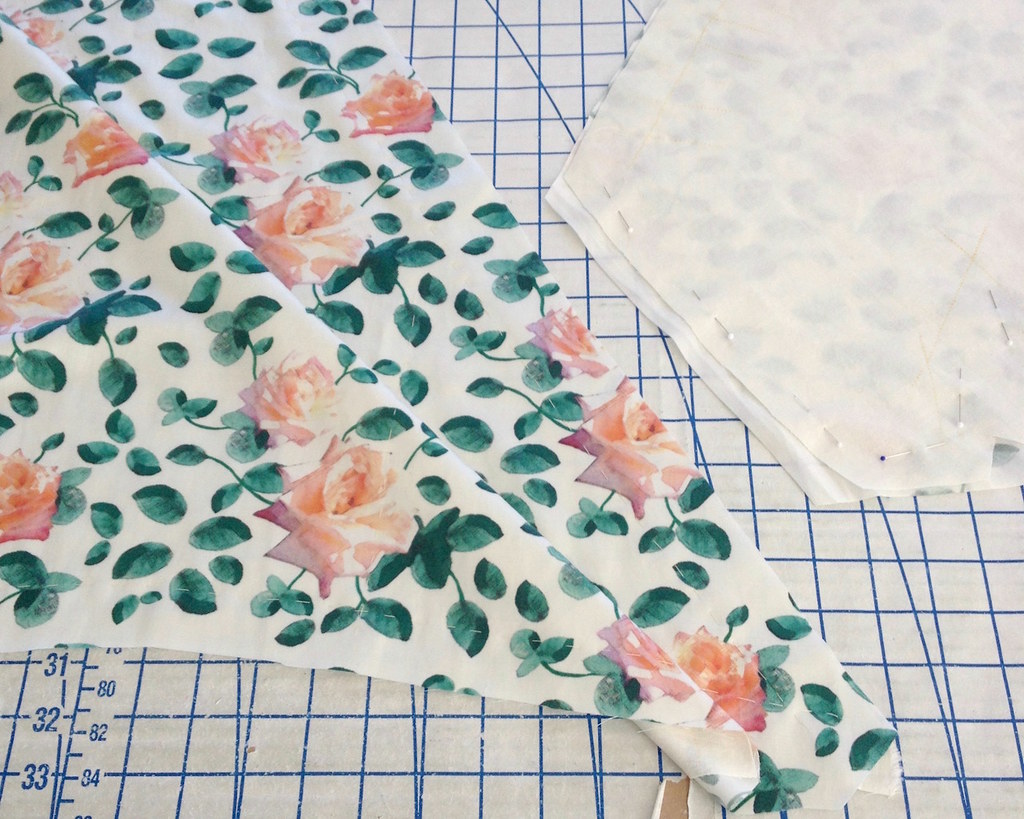
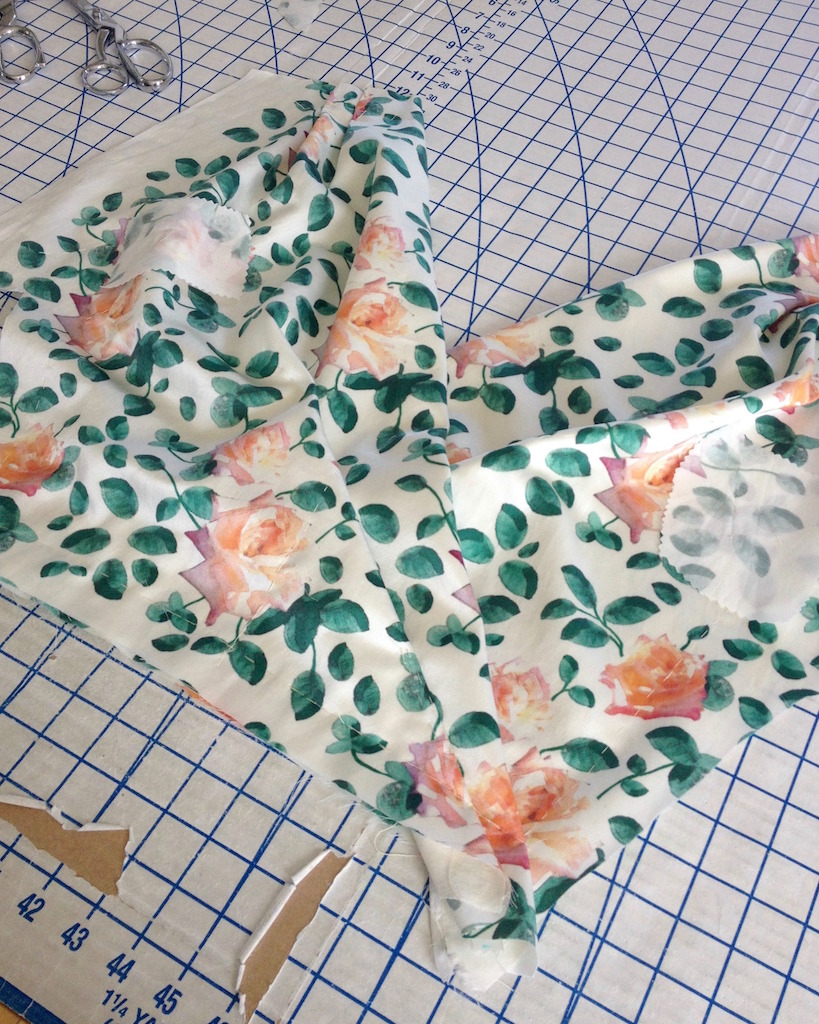
With the remaining yardage, I cut two rectangular pieces and marked a 45 degree angle at one end.


Those piece were then attached to the belt.


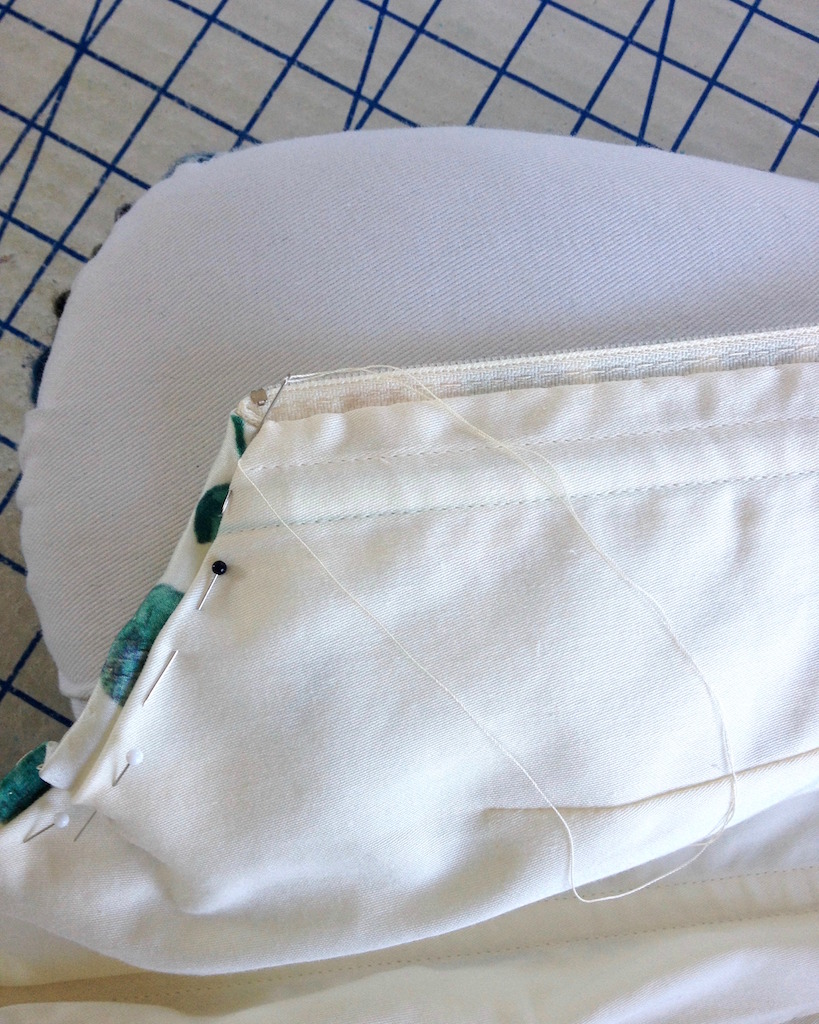
The drape was attached to the other end of the belt and stitched in place.


A few snaps and hook & eyes later, and my draped overlay was complete!


[Disclosure:  My Fabric Designs provided me with a coupon code which was used to purchase a portion of this fabric, but the opinions posted here are my own.]

Wednesday, May 18, 2016

Putting It Together


And now it starts to look like an actual dress!


Joining the bodice to the skirt is always exciting.


I love getting an idea of what the final dress is going to look like, but from here on out, there is a lot of fabric to drag around the sewing room.


I did a fair amount of grading to the waist seam.


Most of the raw edges were pinked and catch-stitched to the underlining.


I decided to go for a lapped zipper application, which was hand-picked.


The underbodice was hand stitched to the bodice side seam allowance.  I trimmed the layers and catch-stitched them to the underlining of the bodice as well to keep them from moving around.


The back bodice pieces were cut out in the cotton lining fabric and hand stitched in place, covering the raw edges of the underbodice.  I added a couple of bones to the back bodice lining as well.


The gussets were omitted from the lining, so the upper portion of that side seam is simply folded under and not stitched to anything.


This eliminates some bulk and keeps the mobility through the arms.


And after a lot of hand stitching . . .


most of the raw edges were covered.


[Disclosure:  My Fabric Designs provided me with a coupon code which was used to purchase a portion of this fabric, but the opinions posted here are my own.]

Thursday, May 12, 2016

A Bodice


And now for the bodice . . .


Like the skirt and the underbodice, I underlined the silk/cotton fabric with a mid-weight cotton.


The bias lines of the front bodice were stabilized with scraps of fabric selvedge.


Just inside the seam allowance, that selvedge was pick-stitched to the two layers of fabric.  This does a great job of keeping the bias from stretching out of shape (far more than a line of stay-stitching can ever do).


The raw edge was evened out and finished with rayon seam binding.


And then it was time for the gussets.  A scrap of fabric was stitched to the right side of the bodice to stabilize the clipped area.


The gusset was then hand basted into place . . .


and then stitched by machine.


Which ended up looking like this.


After the shoulder seams were stitched, the bodice started looking like a wearable garment.


The side seams were pinked and then catch-stitched to the underlining.


And the raw edges of the gussets were finished with seam binding.


The underbodice was then stitched to the side seam allowances.  It still needs the back bodice lining, but is definitely coming together.


[Disclosure:  My Fabric Designs provided me with a coupon code which was used to purchase a portion of this fabric, but the opinions posted here are my own.]