
One of the most challenging parts of this project was the belted drape. From the images I could find of my original inspiration, it is very hard to tell exactly what is going on. Is the drape a continuation of the pleated portion that wraps around the waist? Are they separate? And where does the sash come in? Does it all just get tied together? Because that was going to get rather unwieldy.
I made a breakthrough after coming across this other Dior dress. It is not exactly the same treatment, but I came up with something that works!
I made a breakthrough after coming across this other Dior dress. It is not exactly the same treatment, but I came up with something that works!

Some dresses include a drape stitched in the waist seam, but that did not strike me as a great idea (there was enough bulk with the pleats of the skirt).
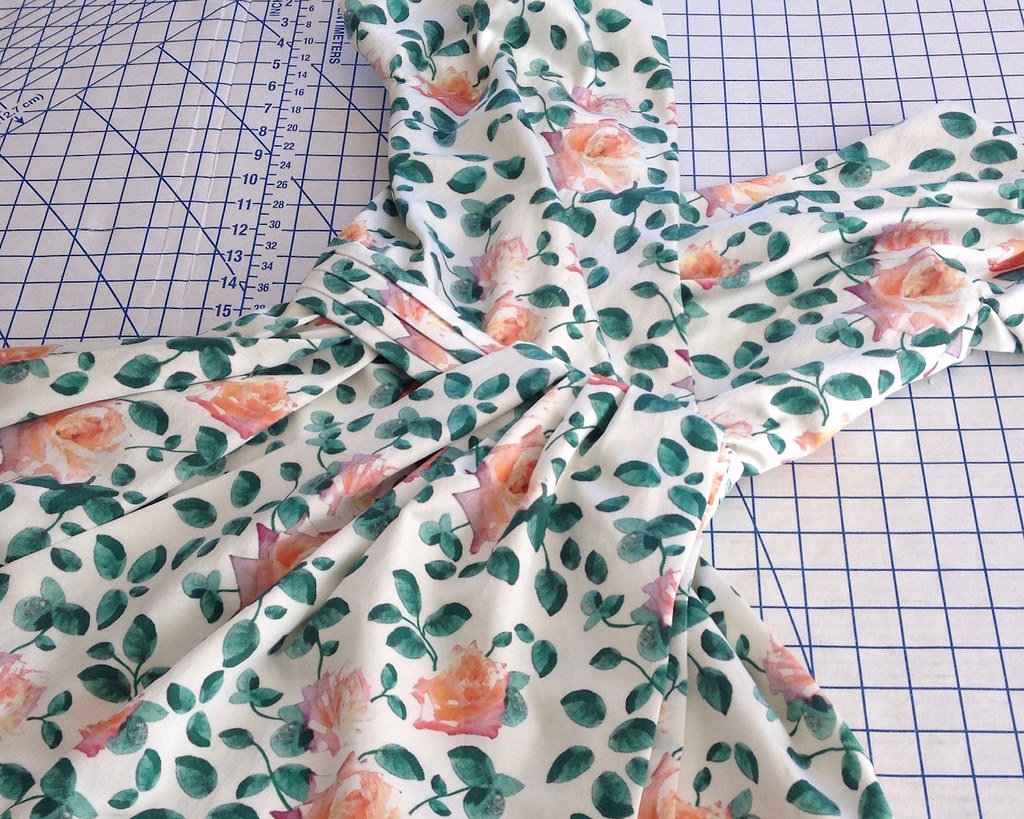
Instead, I decided to use a pleated belt made from self-fabric and attach the drape and sashes to that piece.

I purchased a roll of waistband interfacing years ago. I was hoping that it would replace belting (which is becoming more and more difficult to find), but it is not nearly as stable as I had anticipated. But it does work in this instance to add just a bit of a foundation to the belt.

That was catch-stitched to the fabric. Those stitches do not show on the right side of the fabric with all of the pleats to disguise them.

The lower edge was then folded up and stitched in place, followed by the upper edge with the raw edge turned under.
To get an idea of proportion, I ripped up a piece of muslin. In the end, the small pieces of fabric that were left over after cutting the dress pieces was more of a deciding factor for the finished size of the drape.
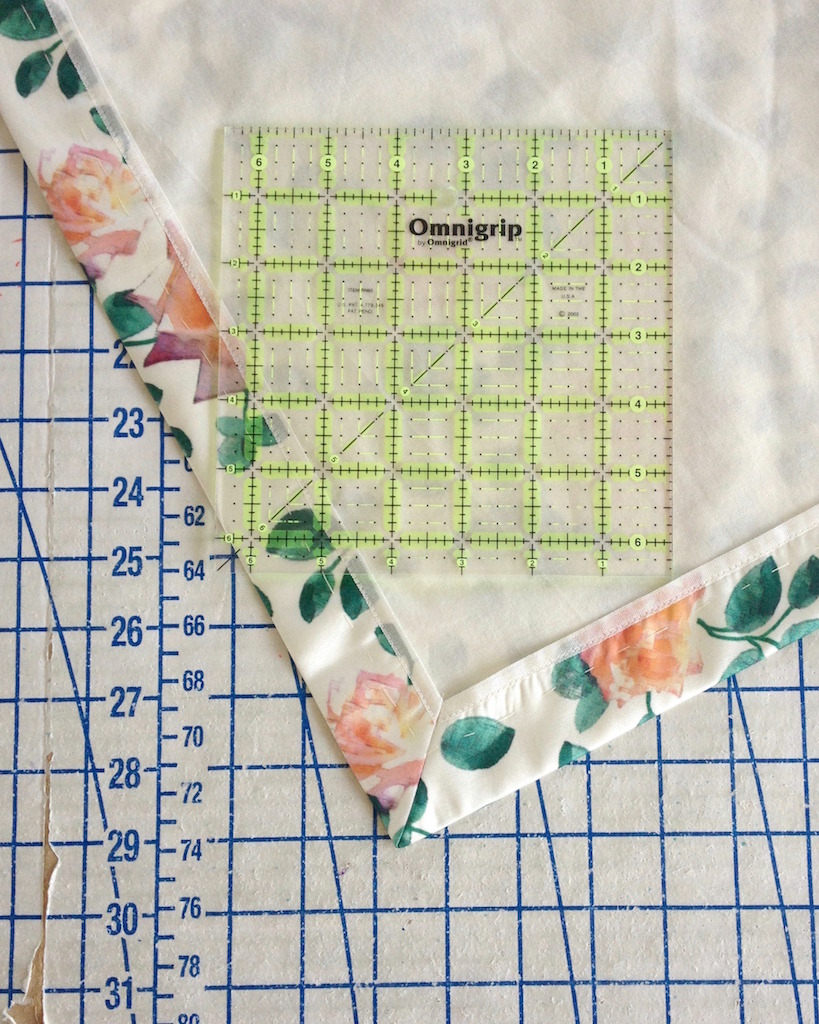
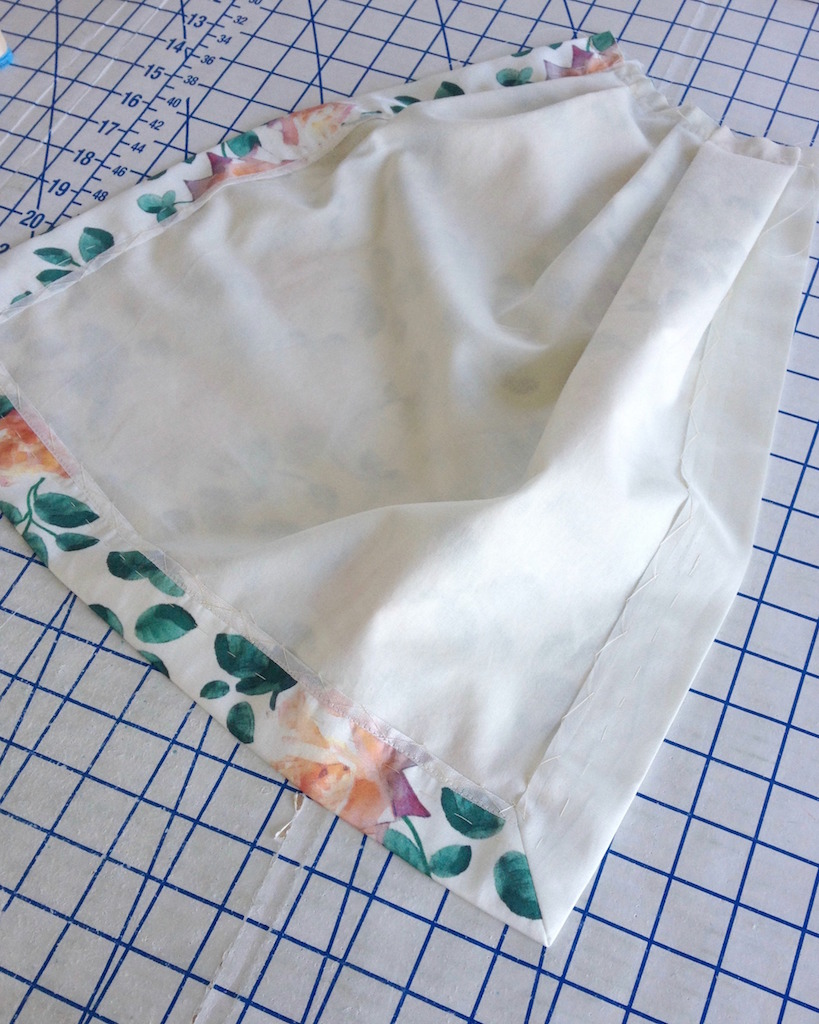
The raw edges were finished with rayon seam binding, the lower corner edges were mitered, and then catch-stitched in place.
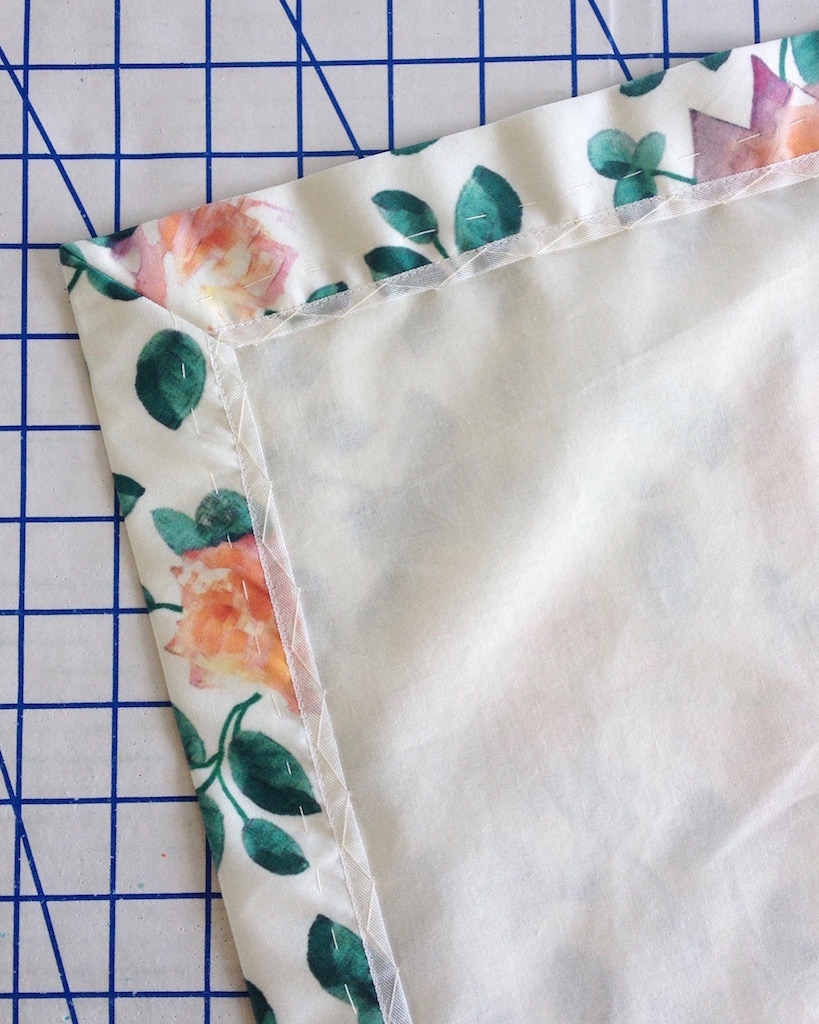
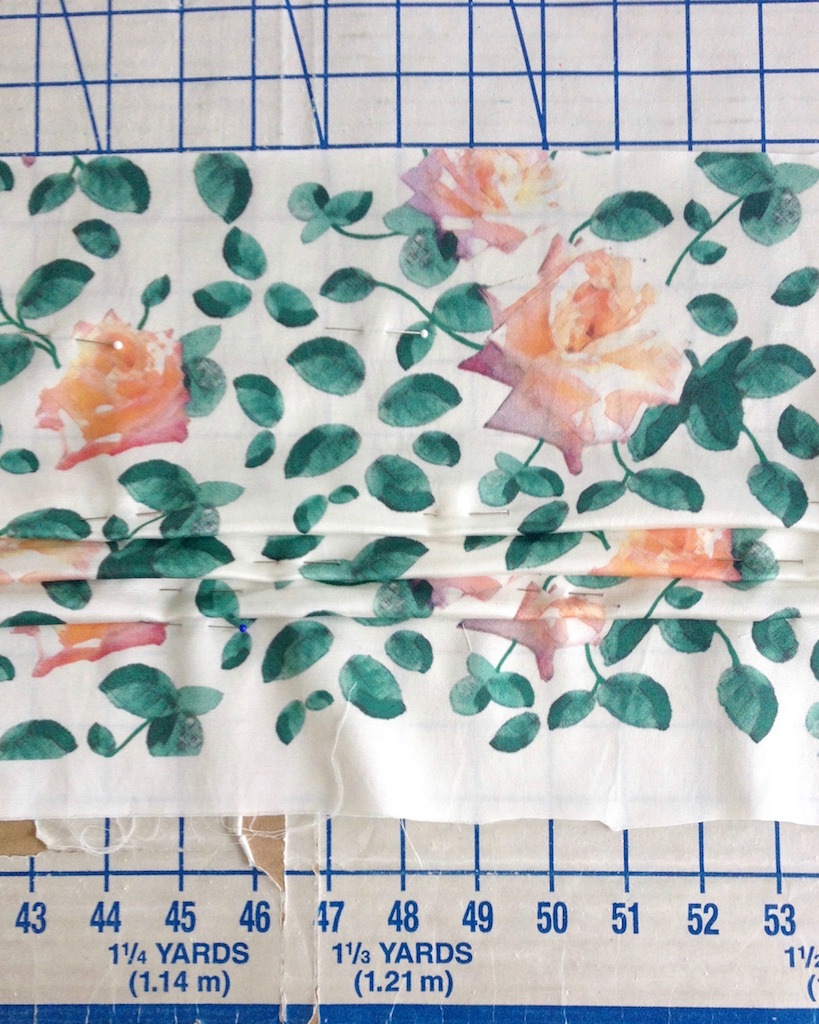
The upper edge was pleated in a shape I liked, and that raw edge was also finished with seam binding.

That white strip is the un-printed portion of the fabric edge, so you can see I was making use of every bit of fabric I could!
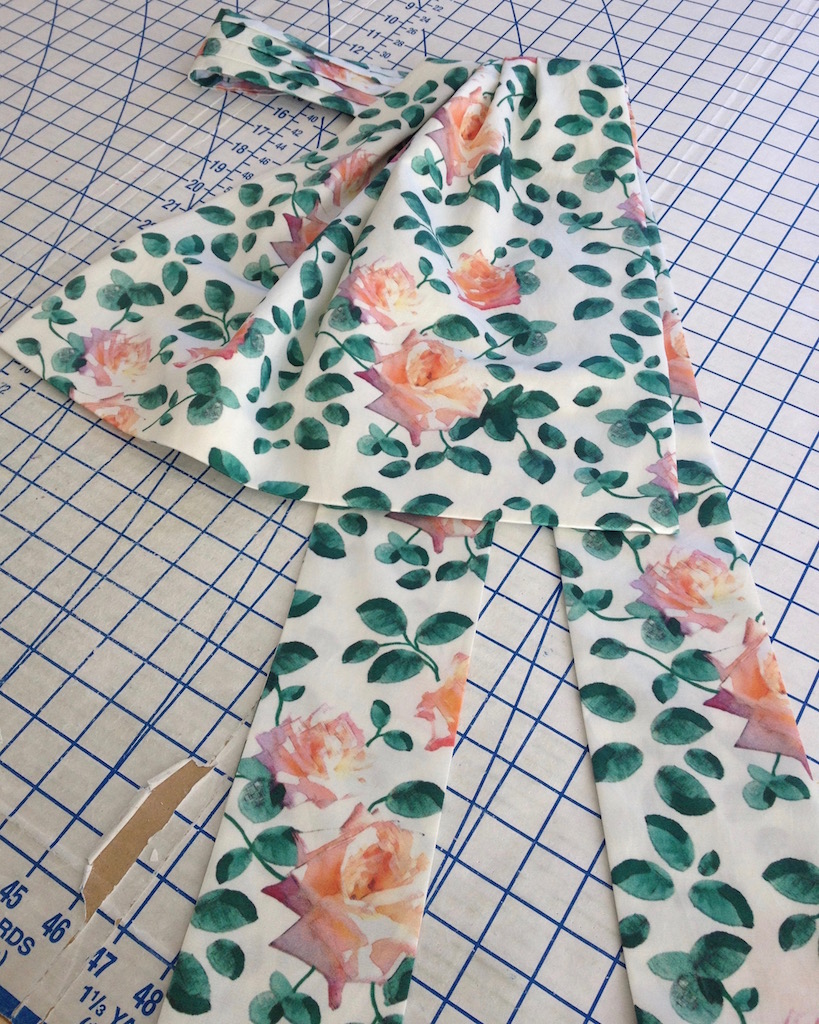
With the remaining yardage, I cut two rectangular pieces and marked a 45 degree angle at one end.

Those piece were then attached to the belt.

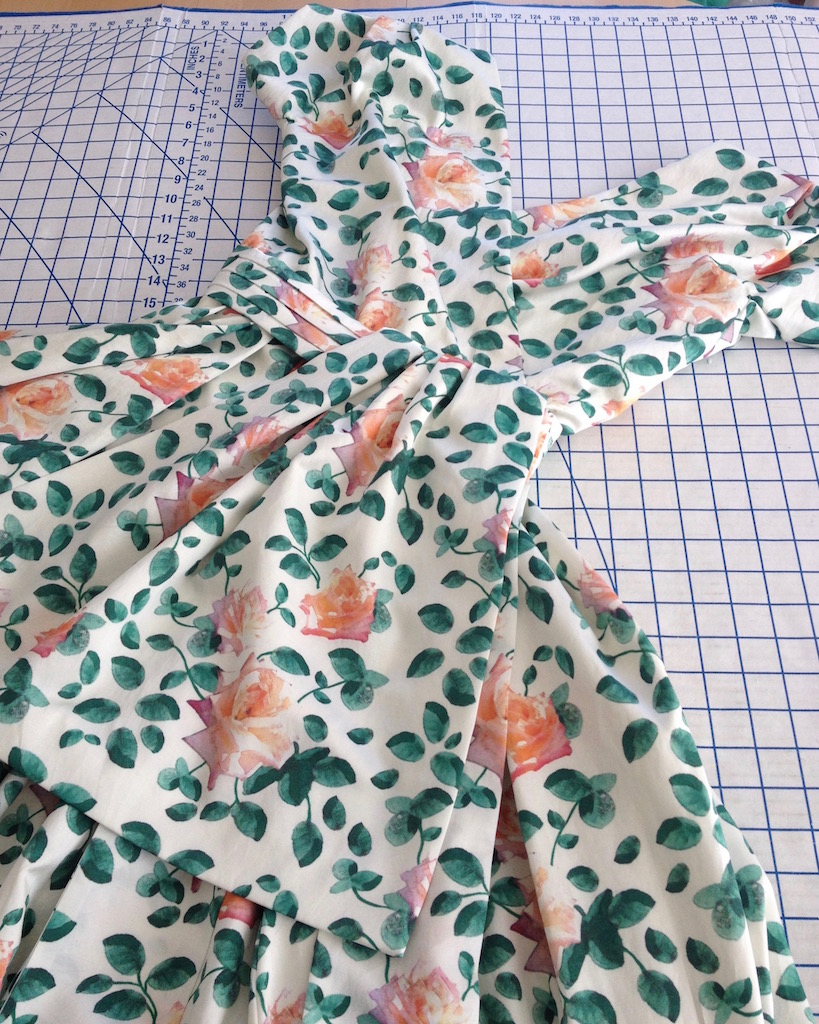
The drape was attached to the other end of the belt and stitched in place.
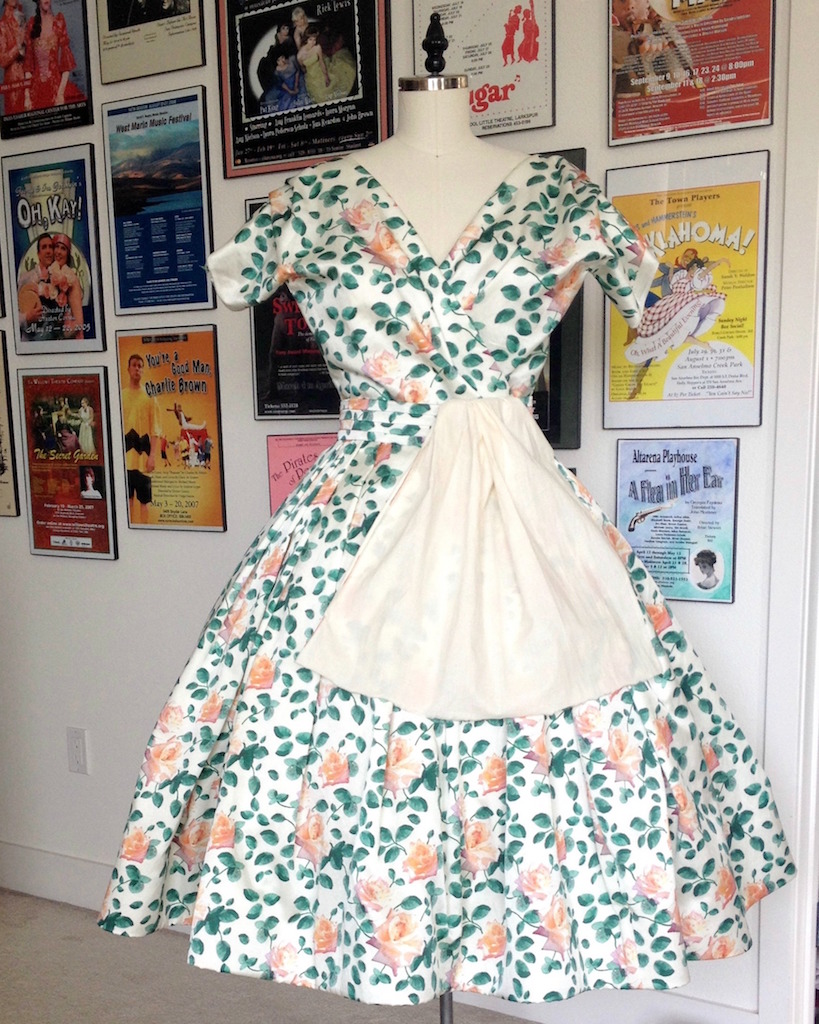
A few snaps and hook & eyes later, and my draped overlay was complete!
[Disclosure: My Fabric Designs provided me with a coupon code which was used to purchase a portion of this fabric, but the opinions posted here are my own.]
Amazing! This dress is so stunning!
ReplyDeleteThe finished garment looks amazing. Now I am waiting to see if there is a hat or bag to follow! I can't wait to see you wearing the finished gown.
ReplyDeleteYou are a study in innovation and economy - how modern is THAT?
ReplyDeleteContinually amazed at your deconstruction/reconstruction skills.
One of your fans
Just Lovely!
ReplyDeleteI love how you designed and constructed the sash/belt. The dress will be a show stopper as you are the perfect model for such a beautiful dress. You do look a lot like Dita... minus the overtly sexy attire that is her livelihood (sex sells) but you are just as beautiful.
ReplyDeleteI've been on the edge of my computer seat since this last post - can't wait to see the final reveal. As always, I am in awe.
ReplyDeleteI have only recently discovered your blog. Oh what a treat it has been to read about your sewing career. I have devoured every word. Thank you so much for all the technical construction detail and tutorials. Like everybody else, I am eagerly awaiting the reveal of this truly stunning gown you have been creating.
ReplyDelete