My
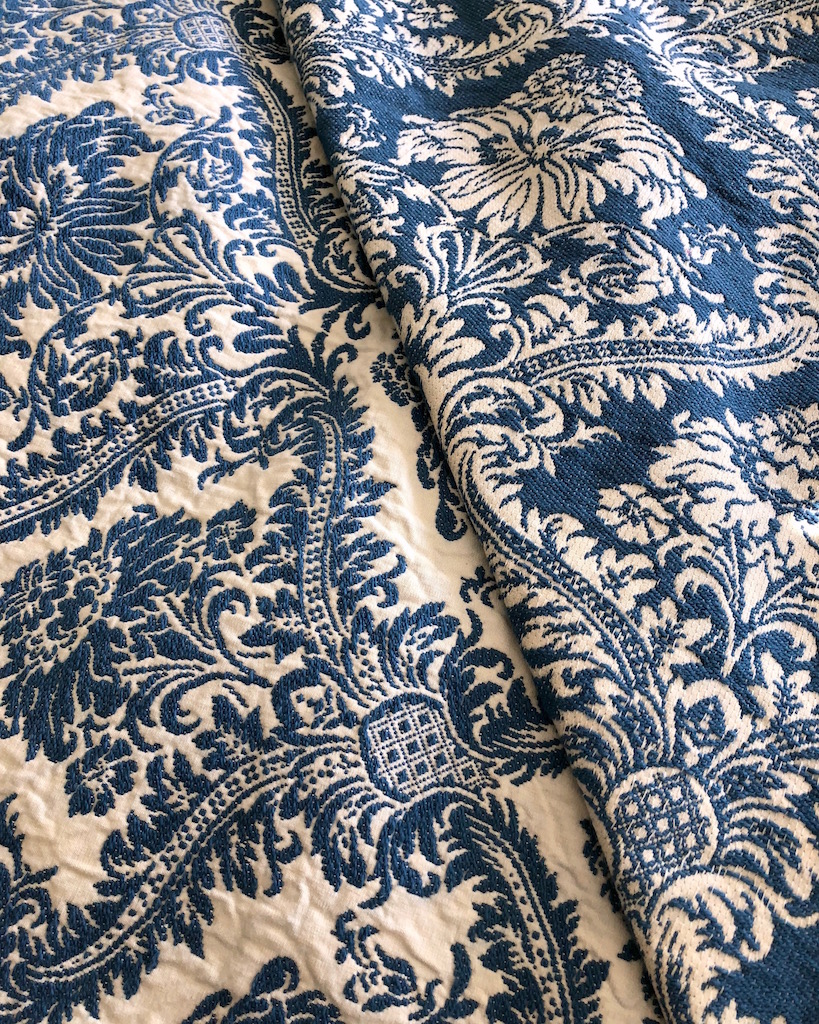
obsession with upholstery fabric continues. I have loved
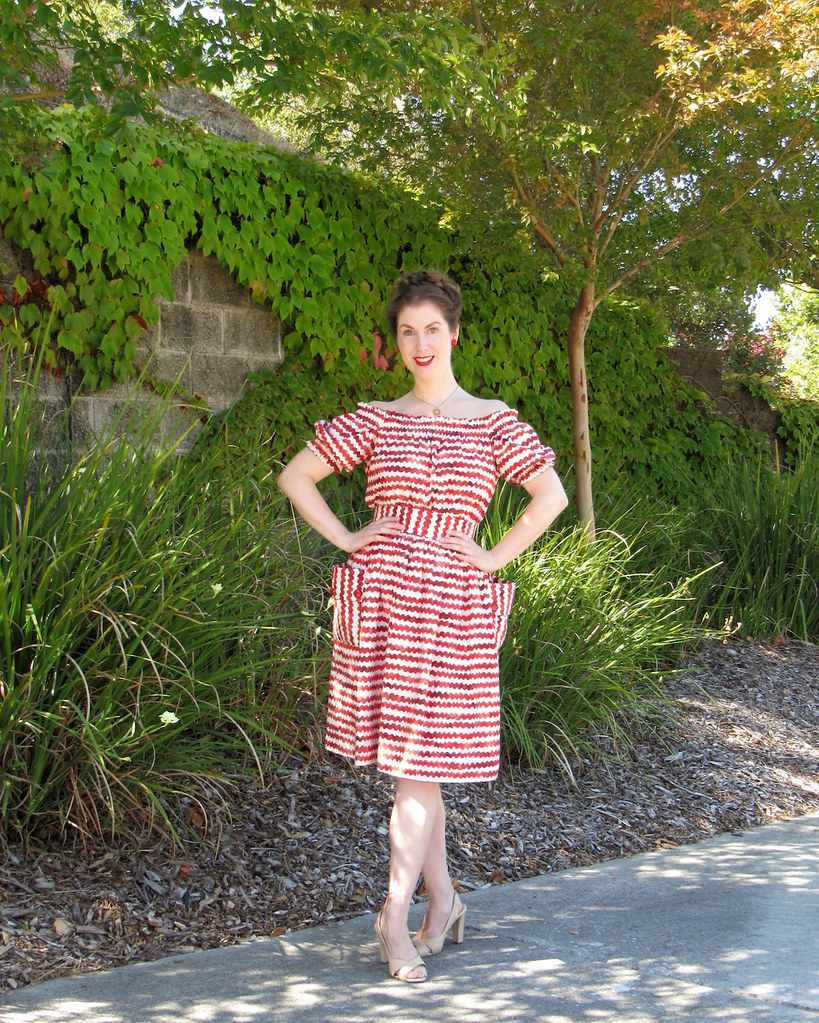
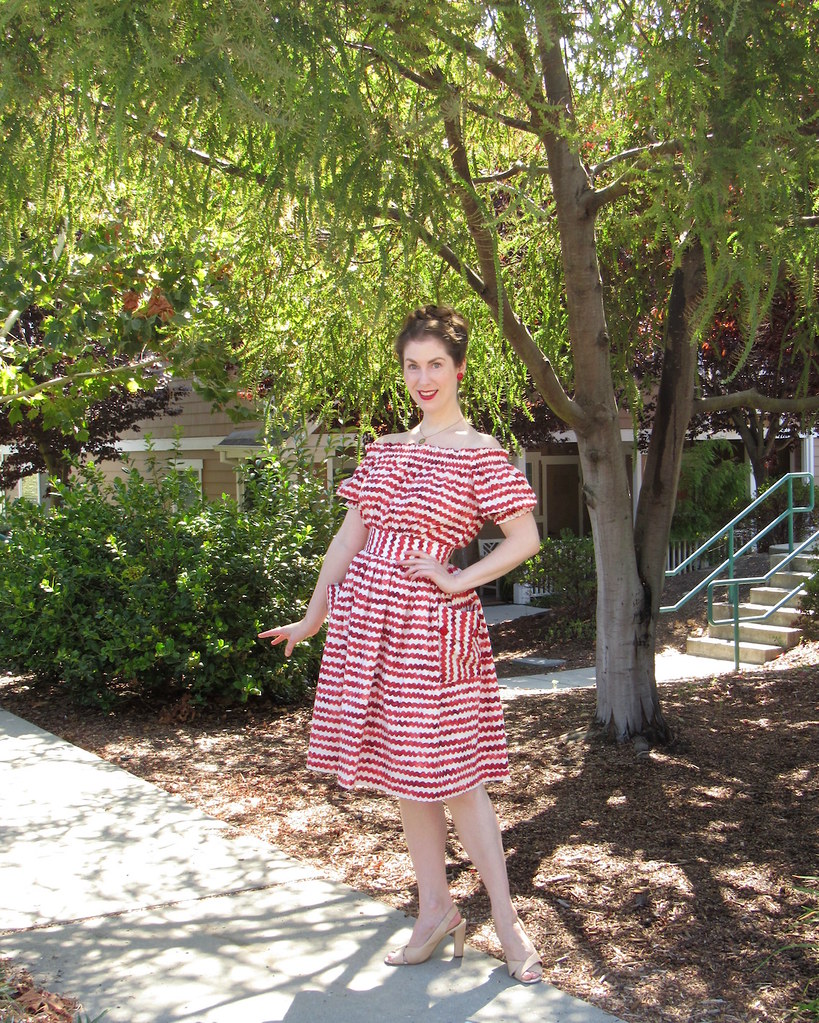
my past results, and I will continue to use the heavy duty textiles for my garments. Whether or not they are considered "appropriate" for wear is irrelevant to me because I think they are fabulous!
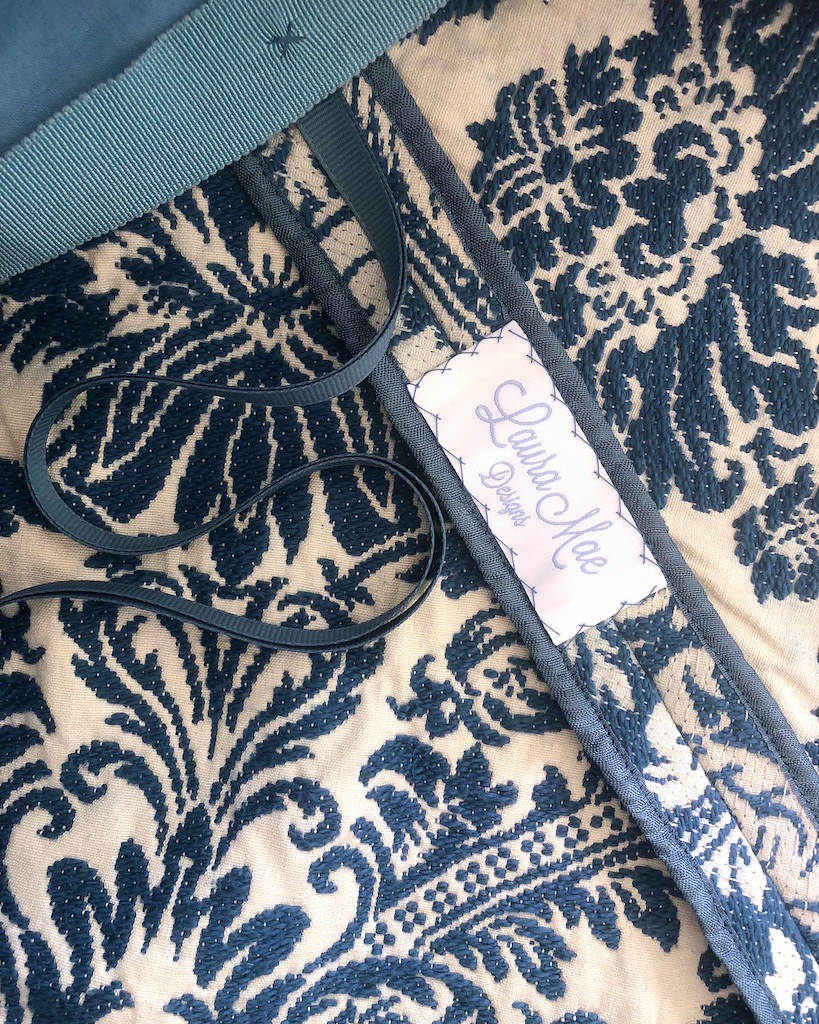
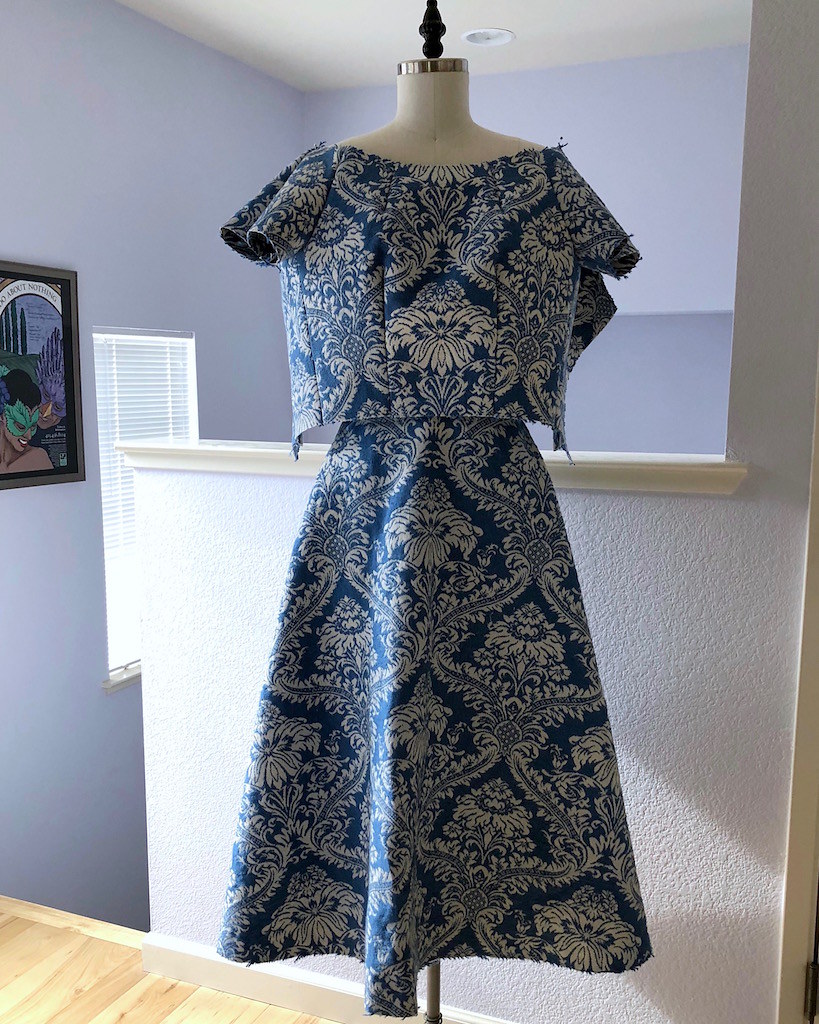
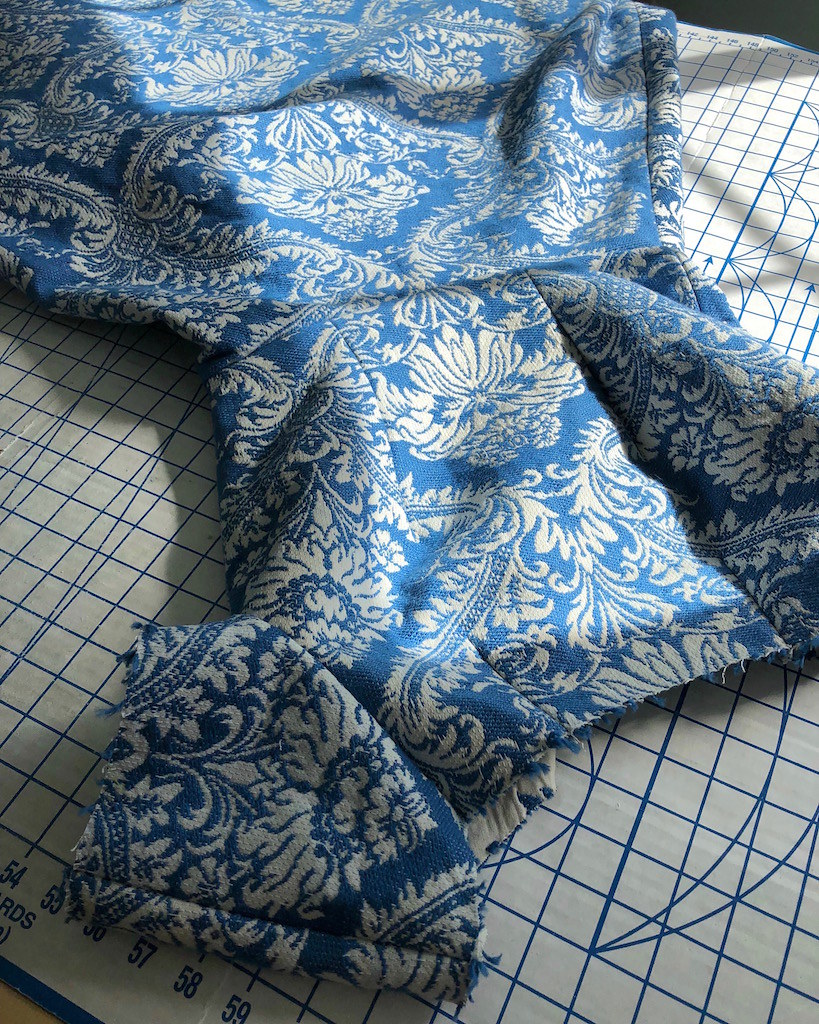
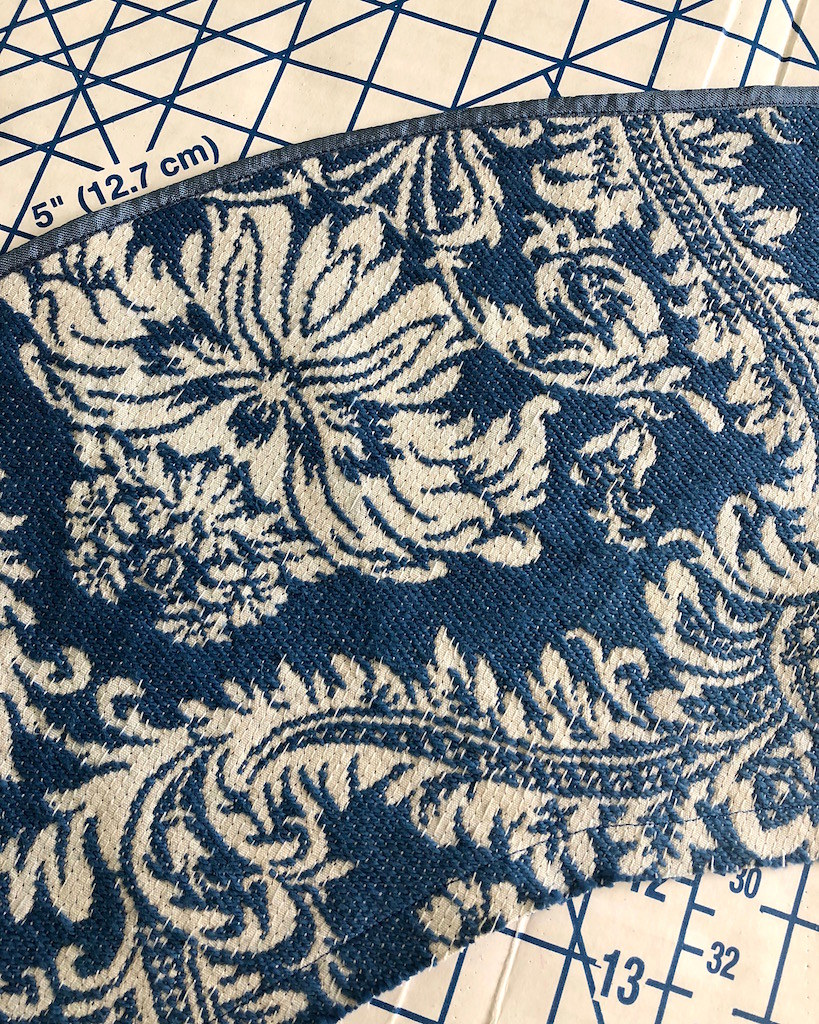
My first major decision for this project was which side of the fabric to use. The cream background is the actual "right" side, but I really liked the blue. In the end, I went with it.
I had already decided what I wanted to do with the fabric when I was given an entire roll of the stuff. I had plenty of yardage to work with, so limited fabric was not an issue. That never happens!
I have wanted to make something similar to
these Ralph & Russo dresses since I first came across the images.
For some reason the tapestry fabric immediately made me flash on these garments, and therefore I could not get the idea of making something similar with this fabric out of my mind.
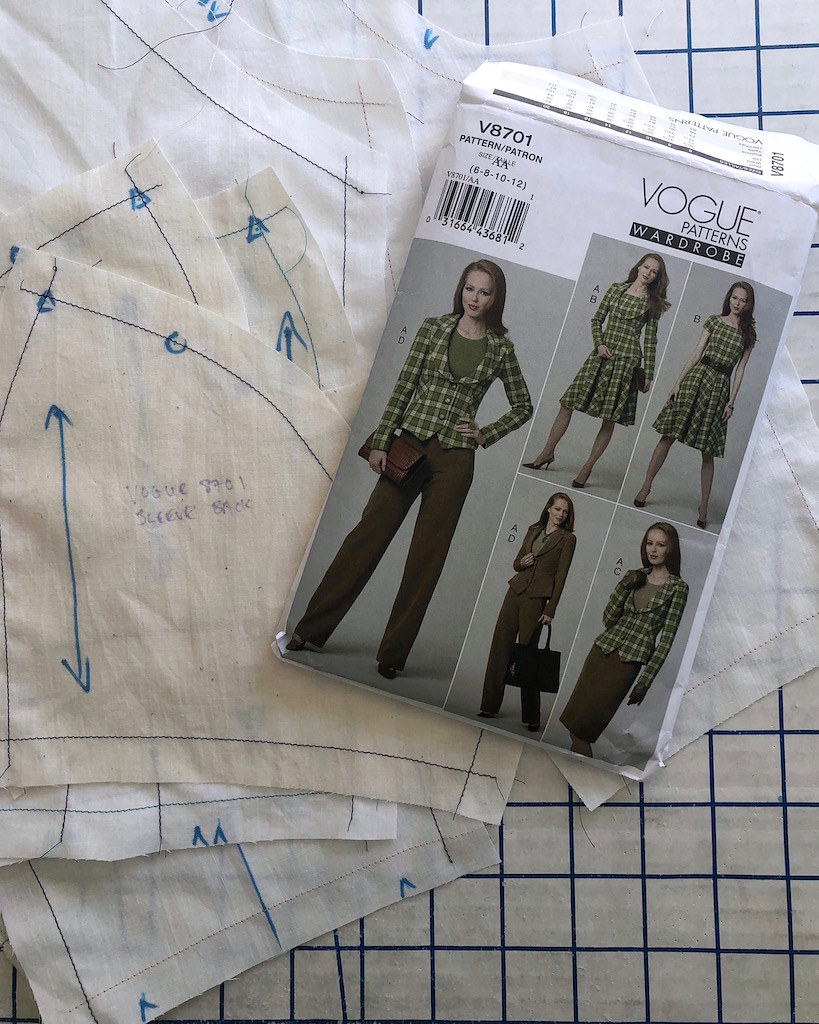
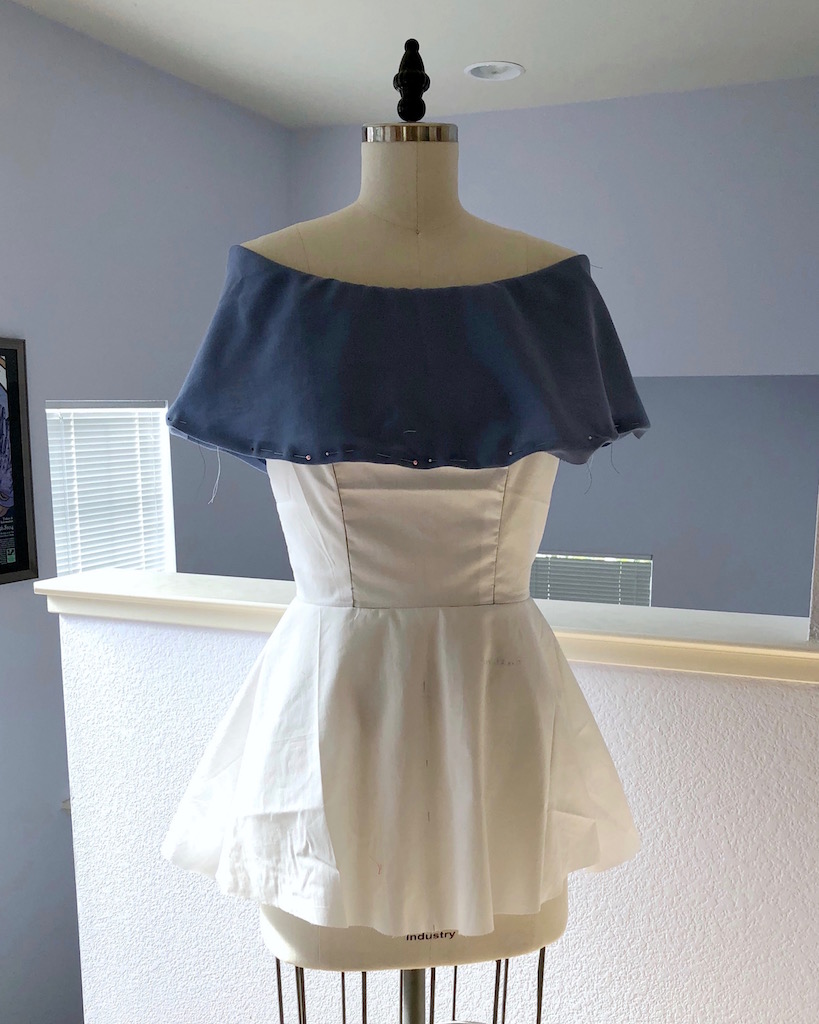
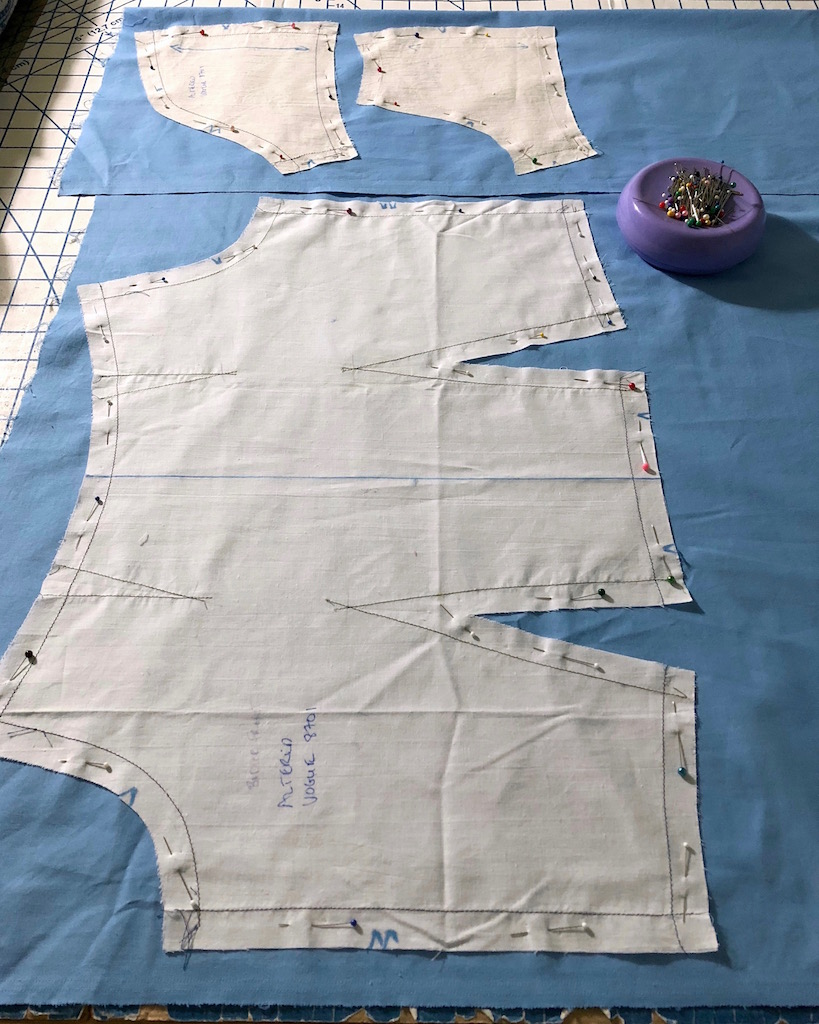
The
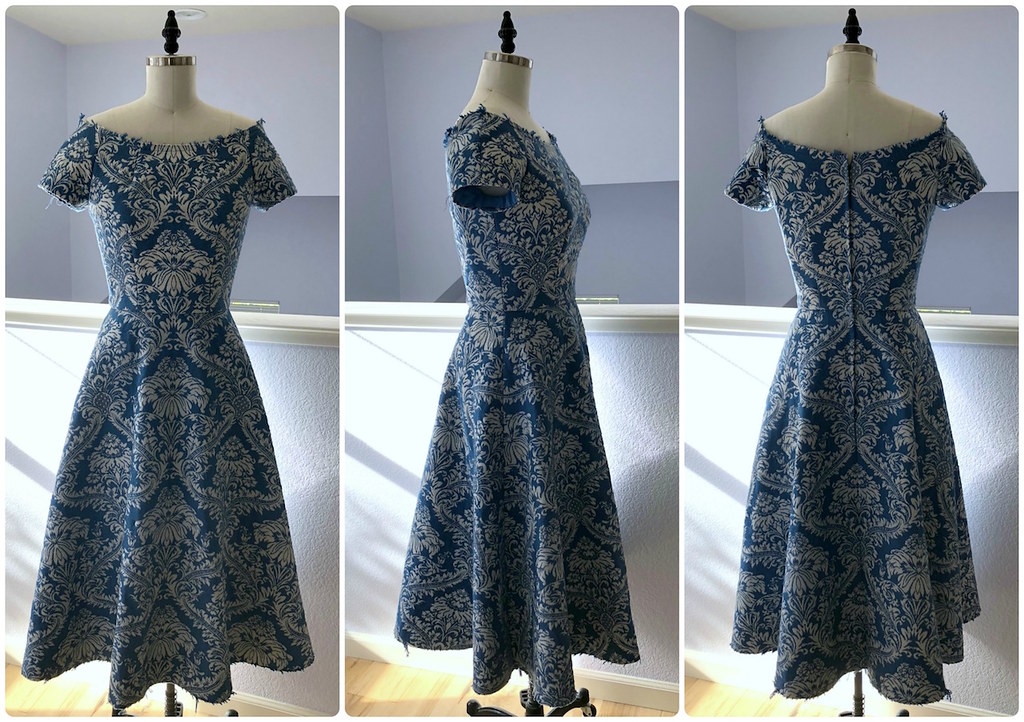
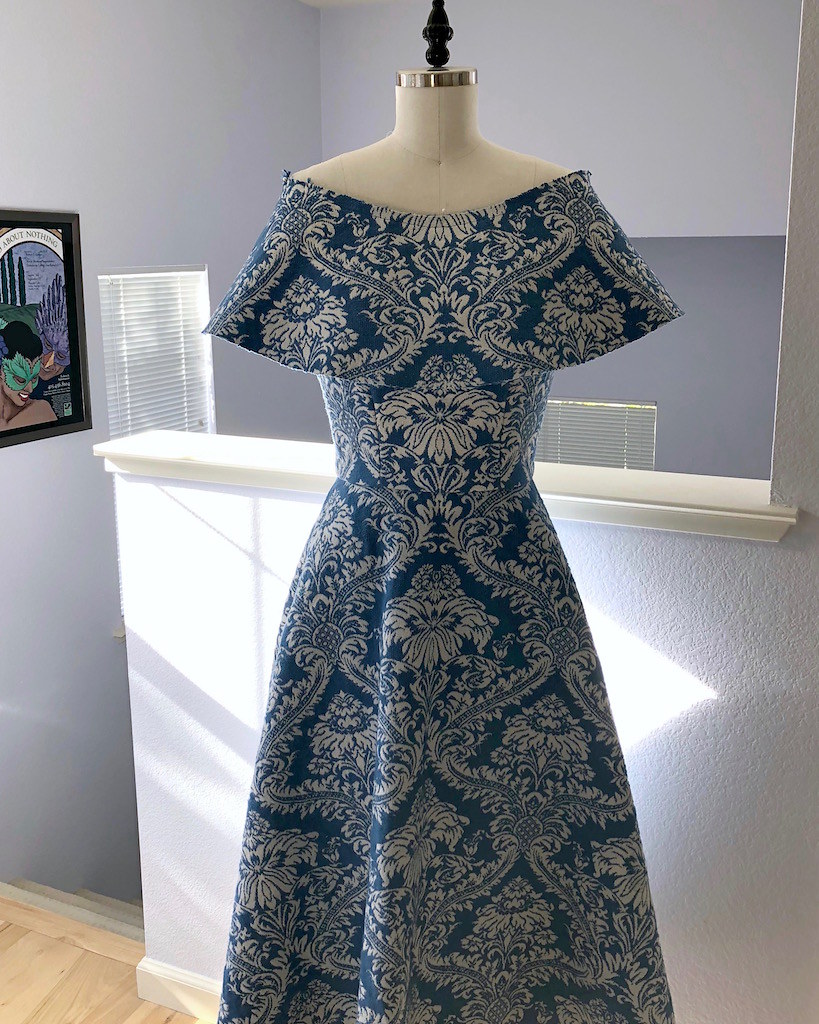
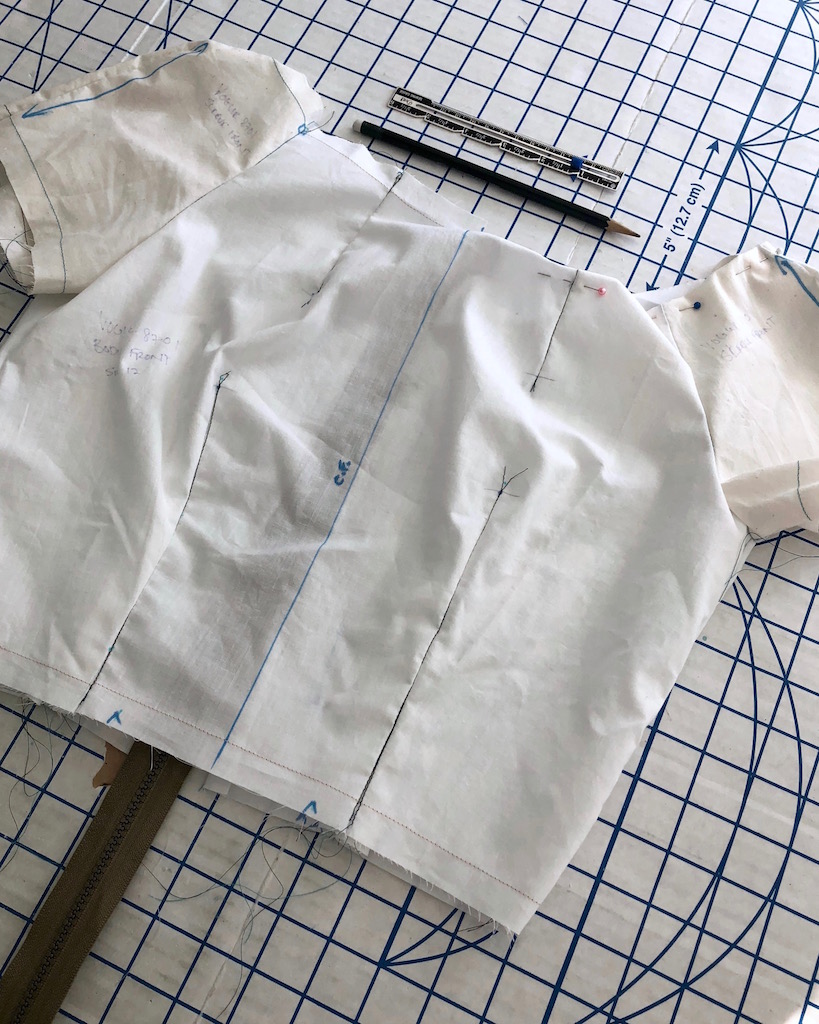
Vogue 8701 bodice was an obvious choice. I already know it fits well, and I figured I could alter the neckline to give it a bit more of an off the shoulder look. I made a couple of muslins to get everything just right, and then it was on to the capelet.
My first try was pretty good.
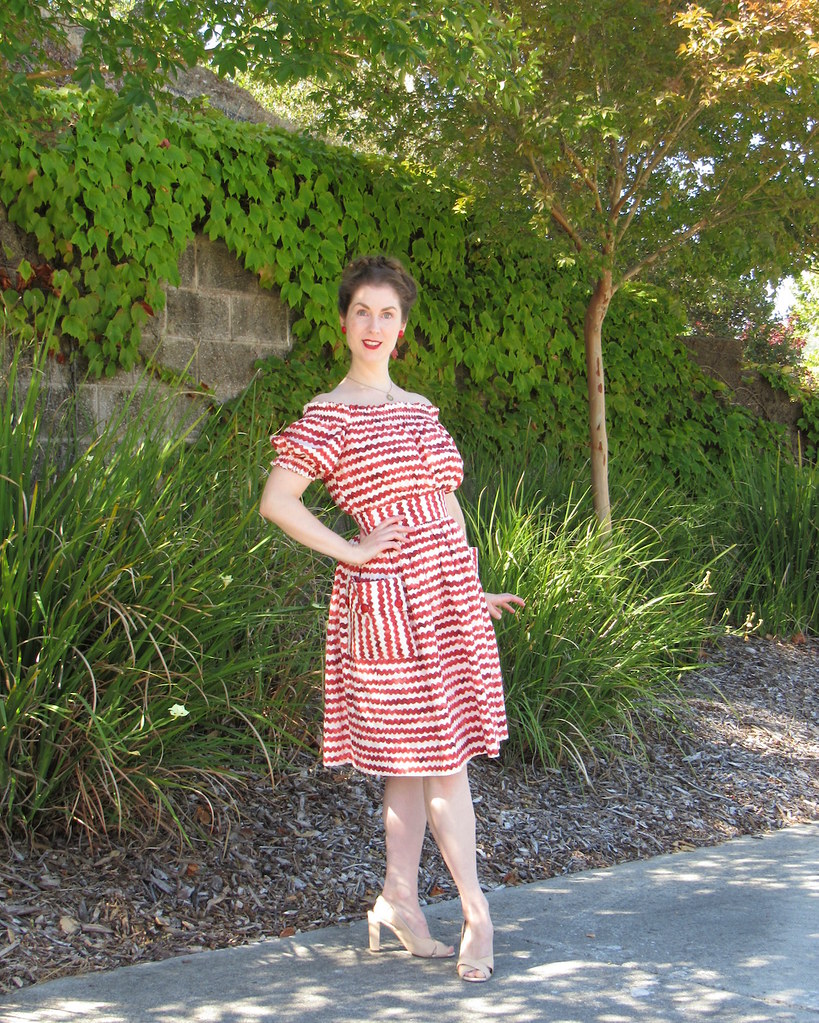
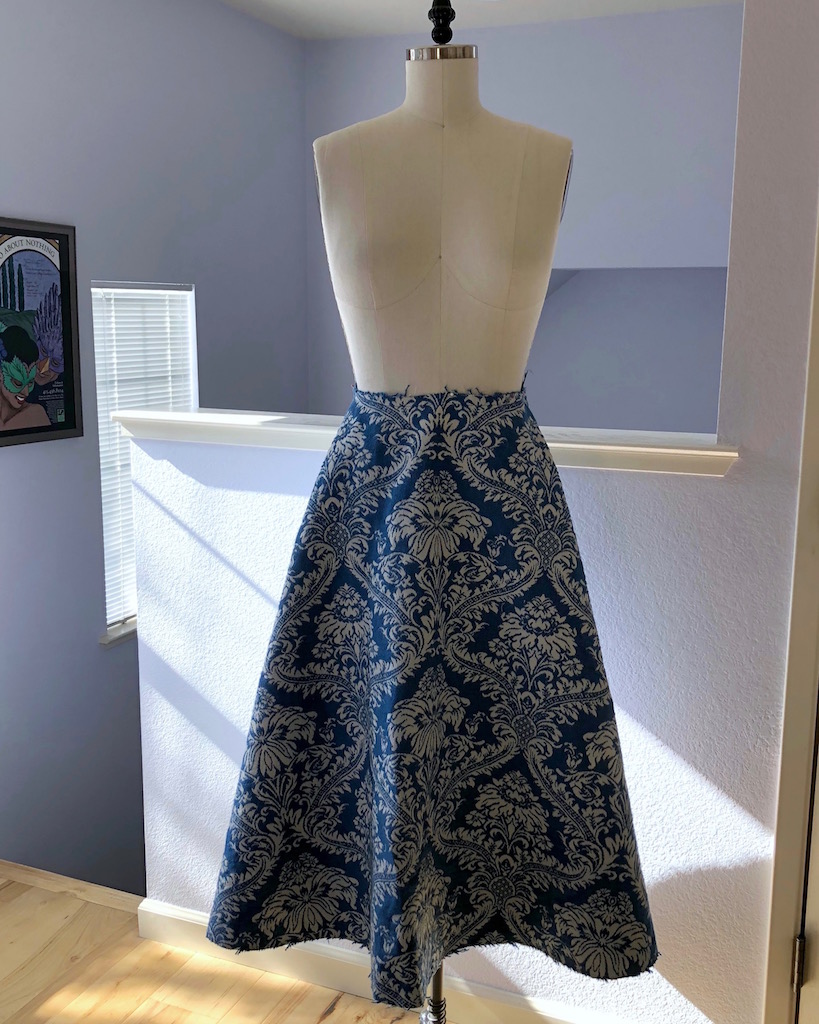
Next, I needed a skirt. Because the fabric is incredibly heavy and thick, I thought a circle skirt would be too much. I recently made
Simplicity 8458 and thought that the silhouette would work nicely. Turns out, the side seams were in the perfect spot to match the bodice side seams. I just love when things come together like that with no alterations needed!
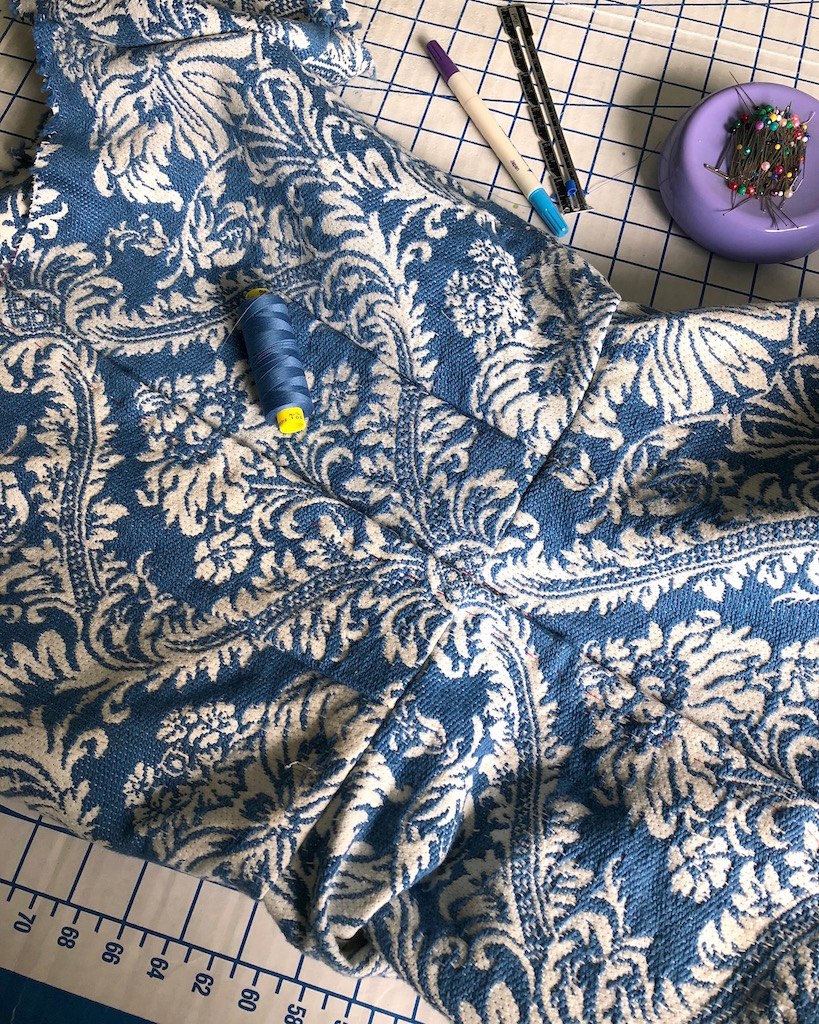
And then it was time to cut into the good stuff. The width of the fabric determined my skirt length since I did not want to piece the front skirt.
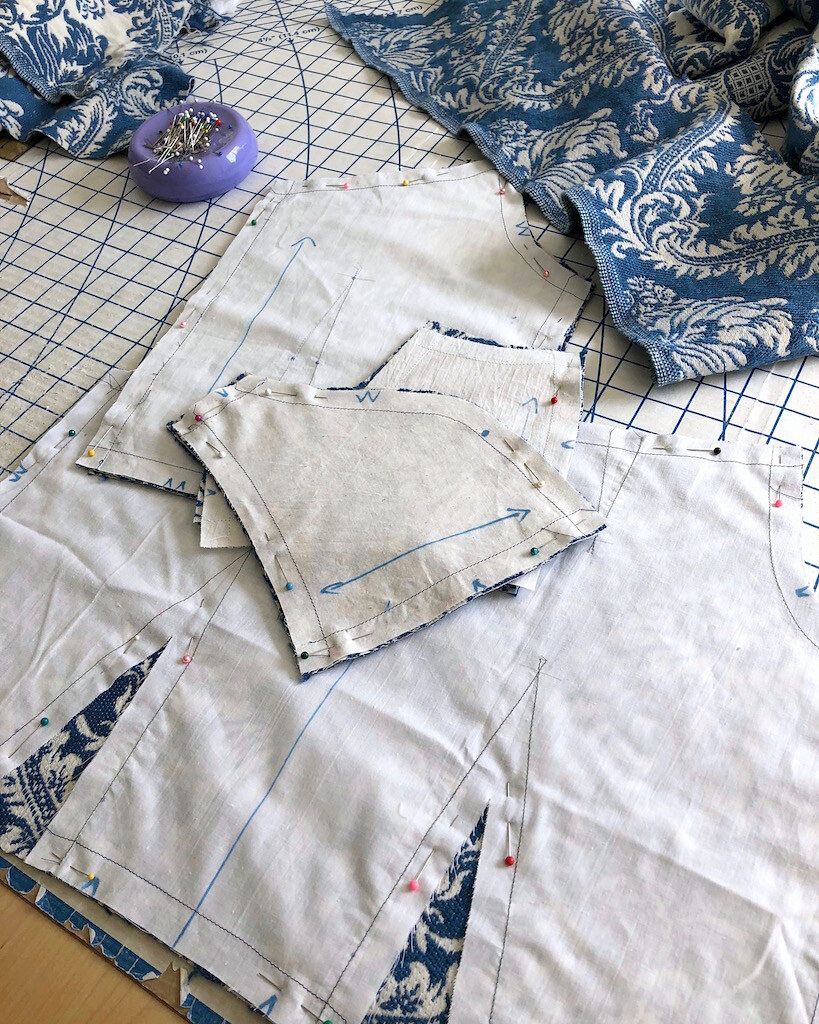
Once those large pattern pieces were cut, I did my best to match the motifs to the corresponding bodice pieces.
It all turned out pretty well (probably because I had a ton of fabric left to cut another if I needed it, so of course, I didn't).
I wasn't as concerned about matching the sleeves to the bodice, since they would be covered by the capelet, but I did make sure to mirror the pieces so they matched on either side.
So far, so good.
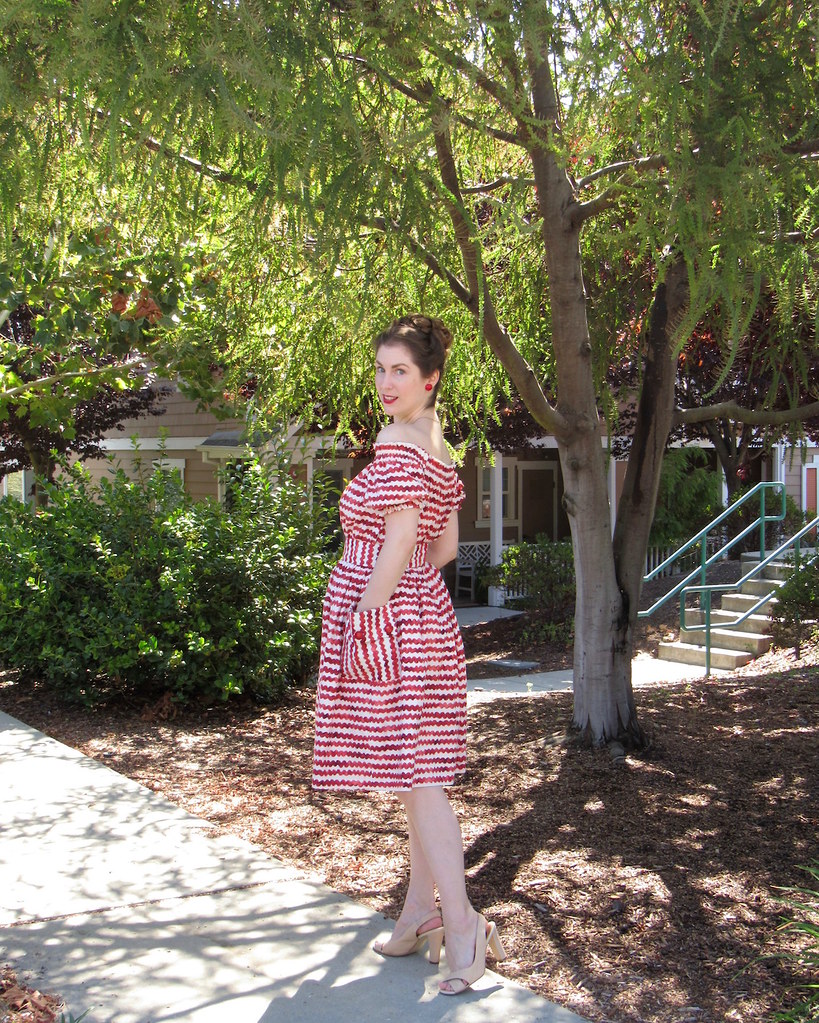
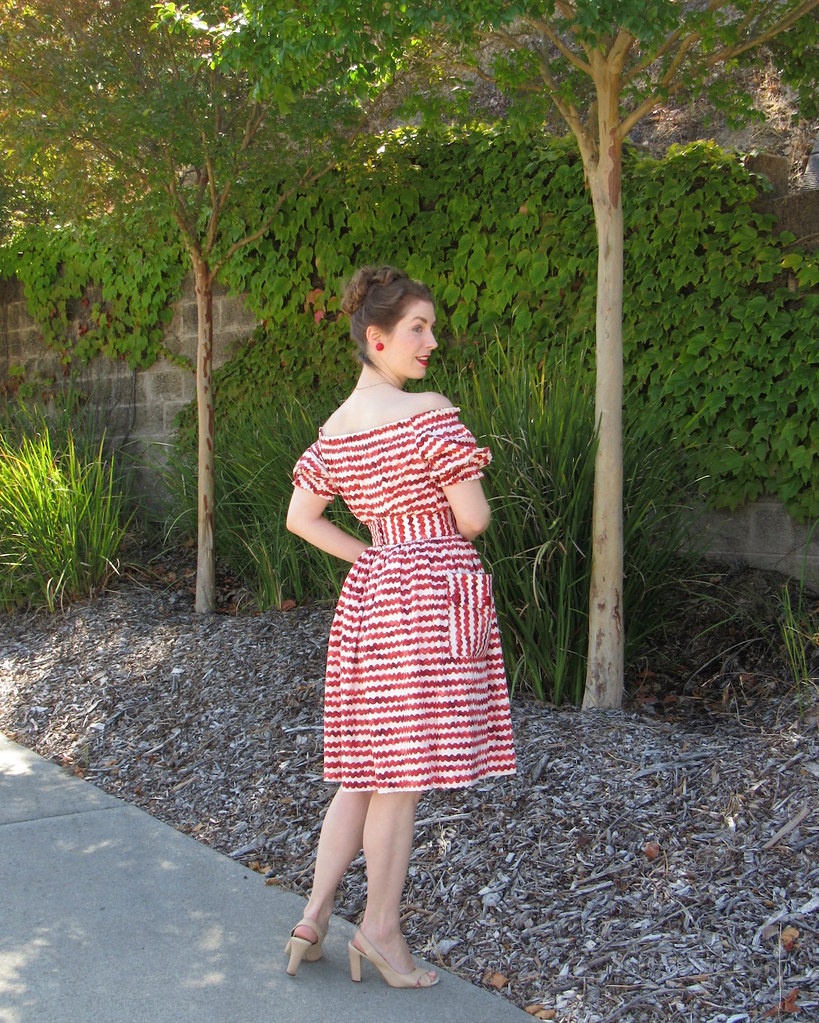
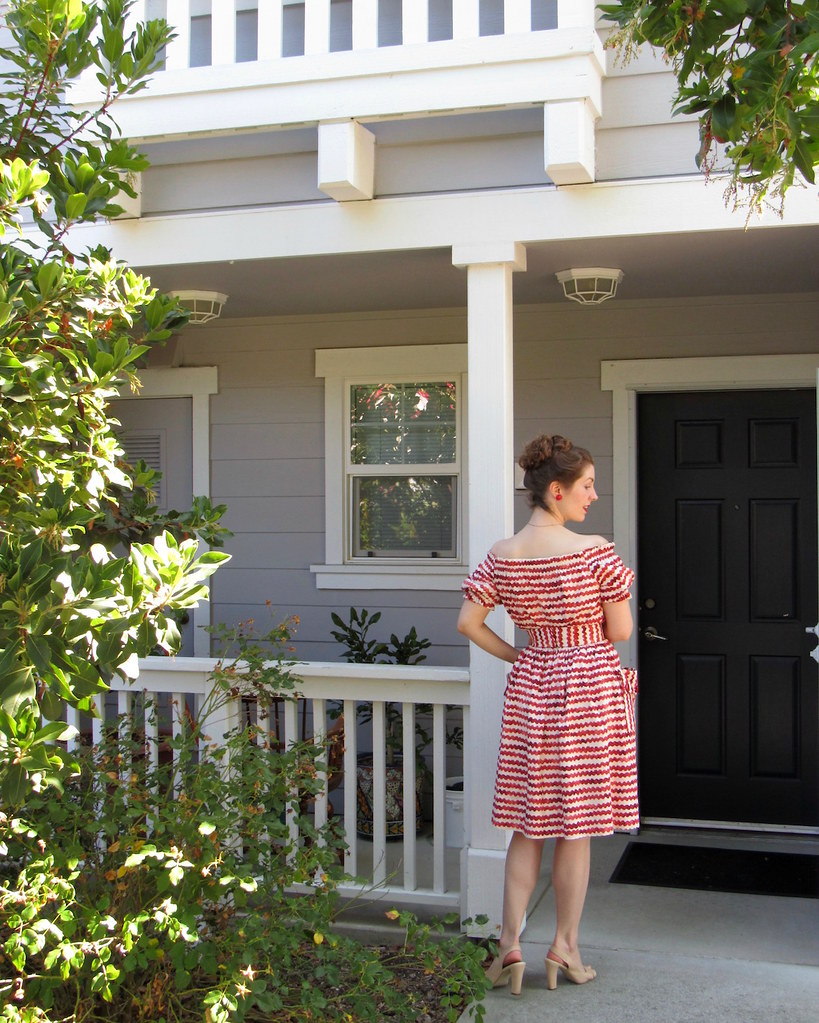
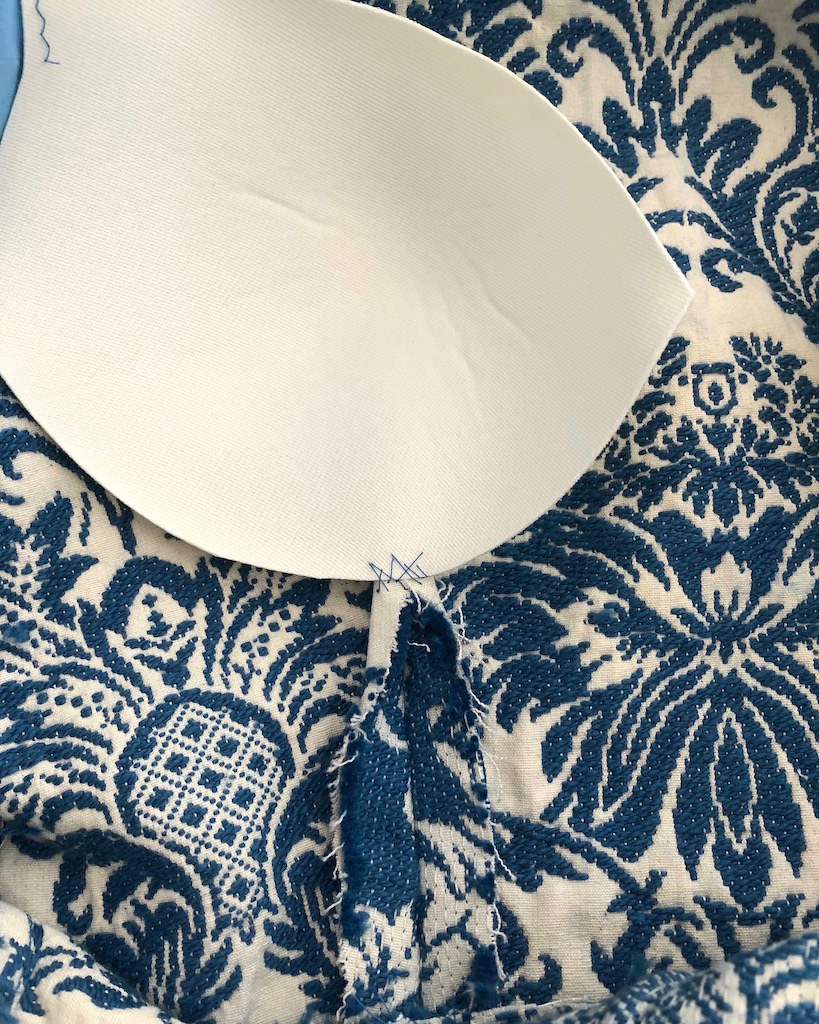
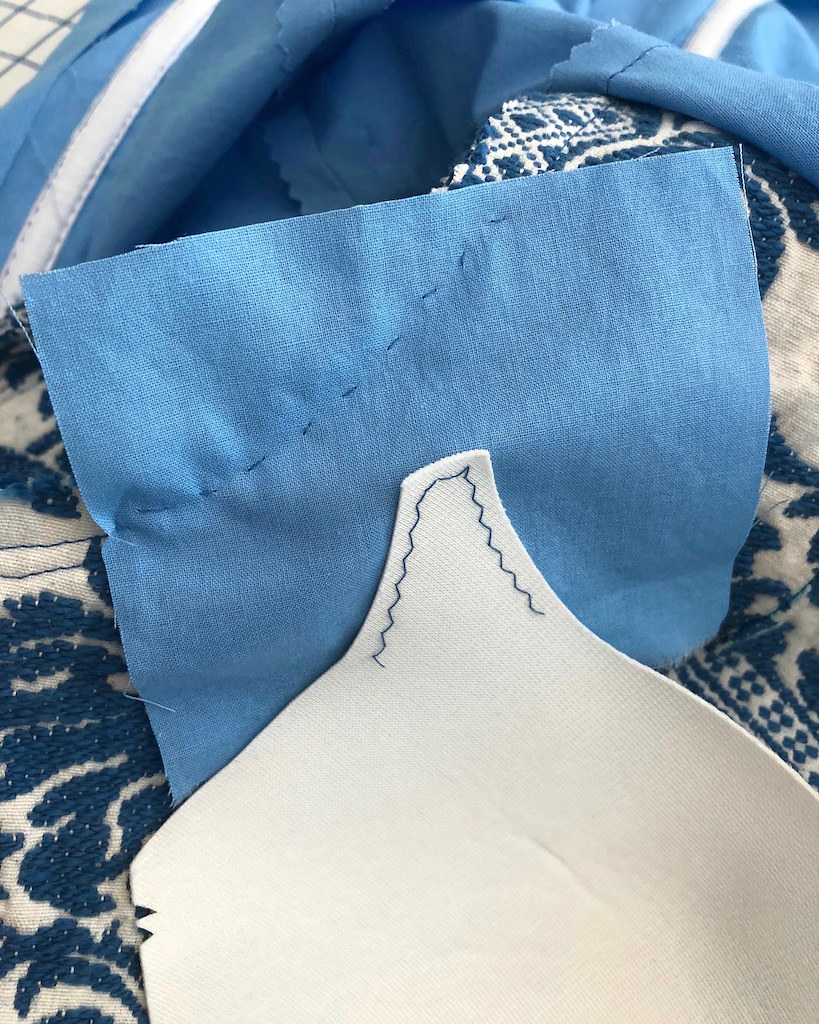
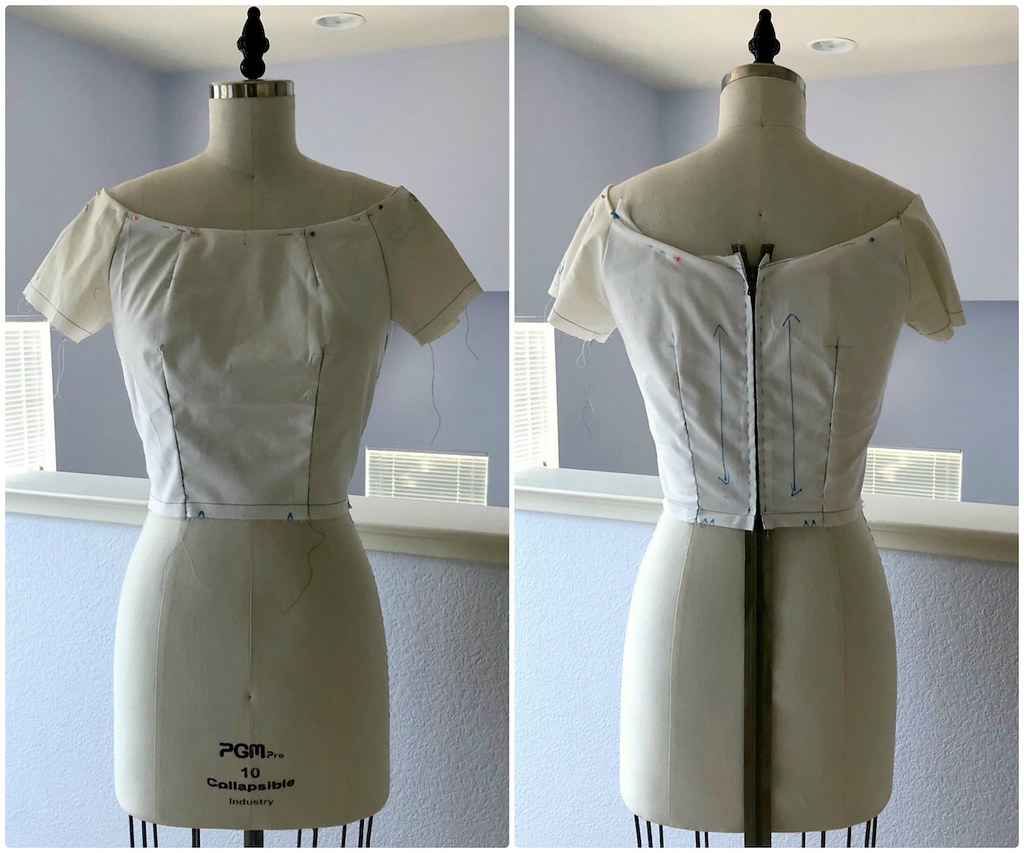
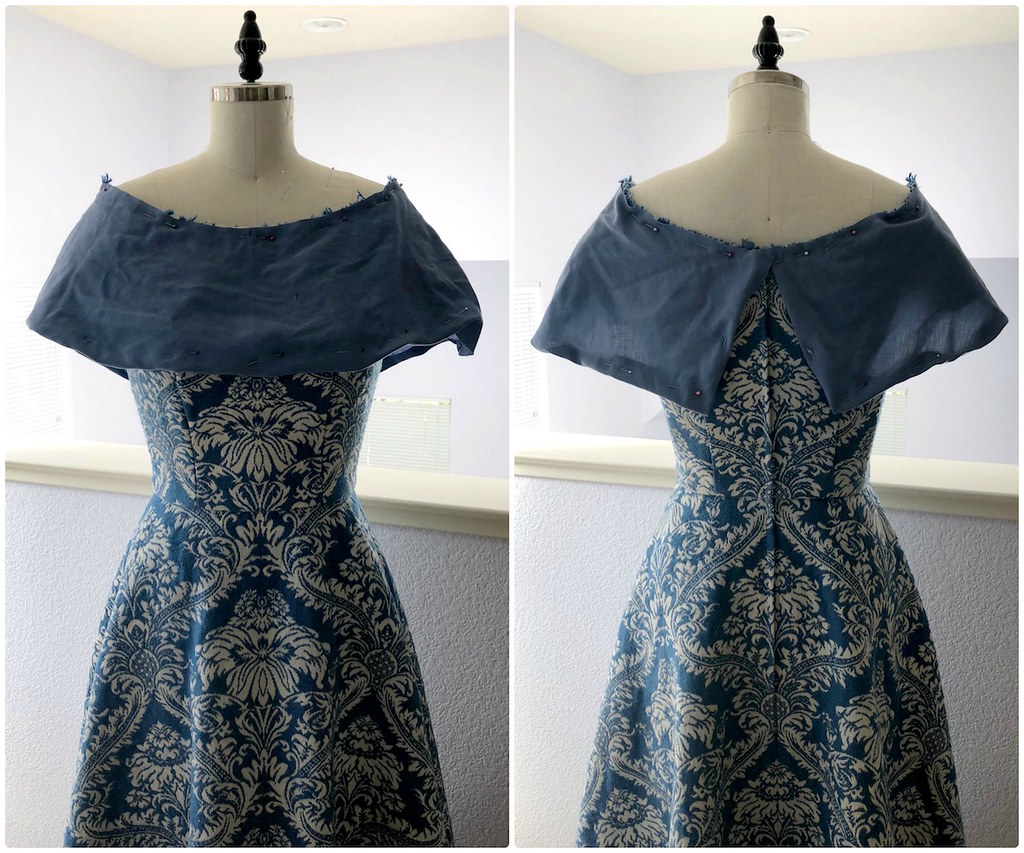
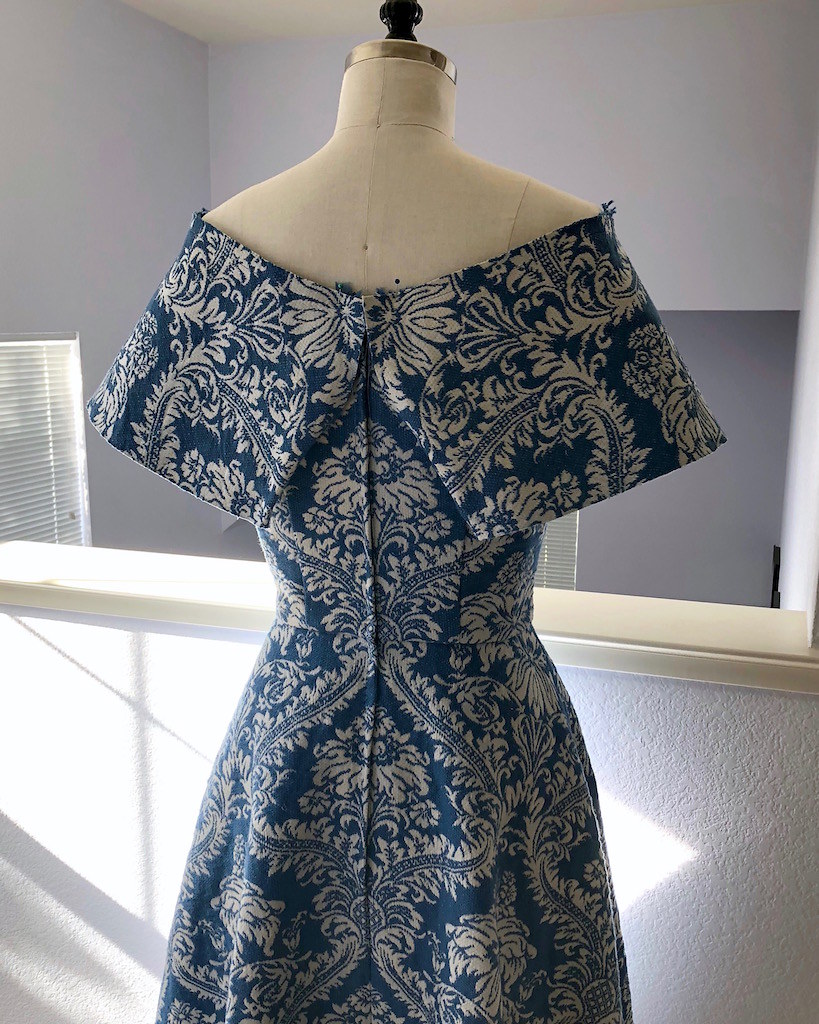
Then I pinned the muslin capelet back on the dress. I decided that I like a bit of a split in the back, but had to decide just how open to make it so it did not look like a drafting mistake.
I also felt like the shoulders needed a little extra room to make the capelet lay nicely.
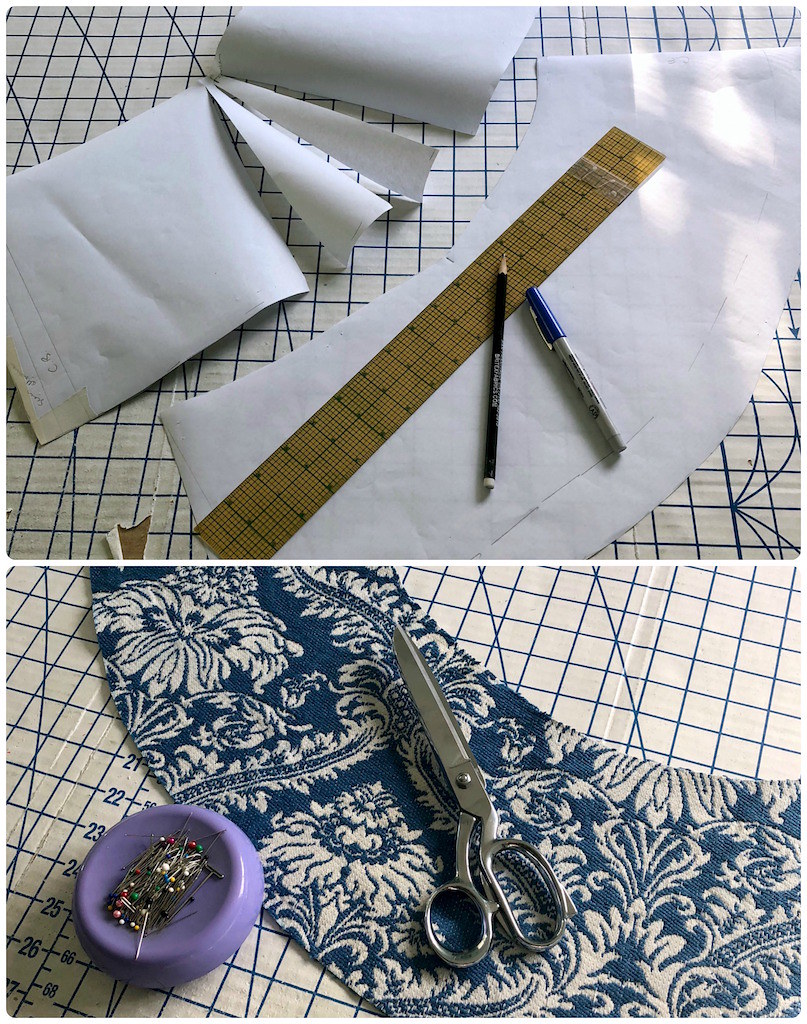
So I sliced into the paper pattern and gave myself a little extra wiggle room at the shoulder.
The edge of the capelet was bound with Hug Snug seam binding and left un-hemmed until I hemmed the skirt and could mess around with finished proportions.
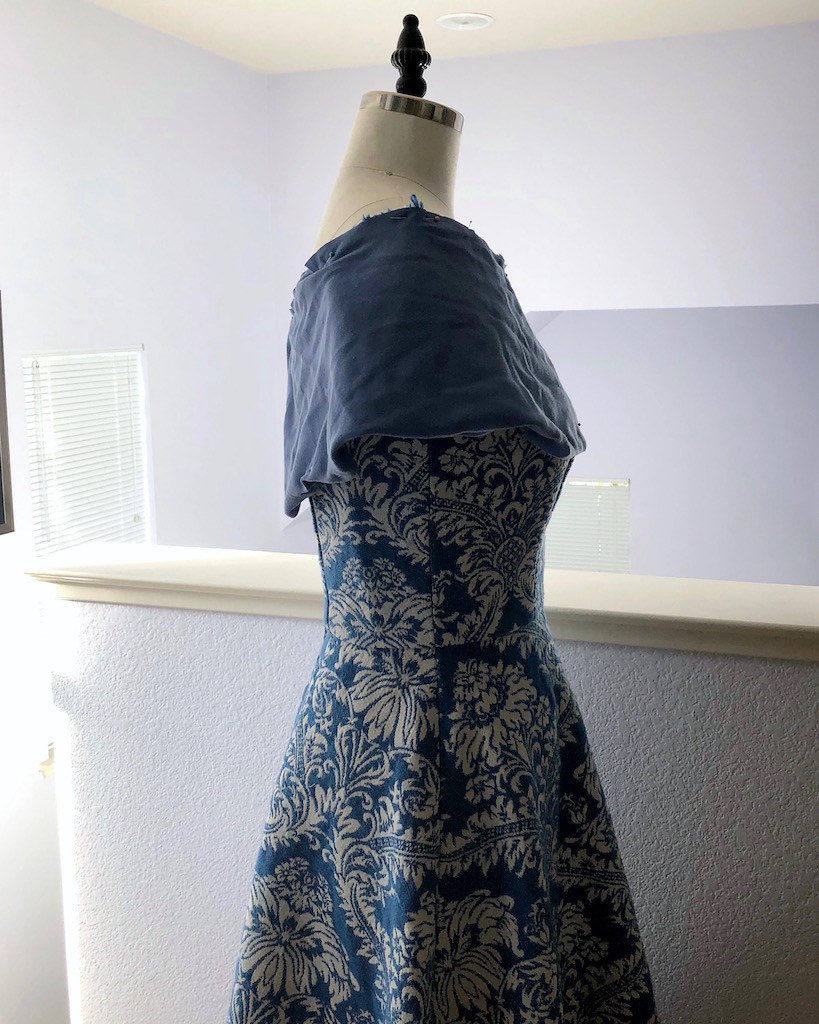
So far, the capelet looks great.
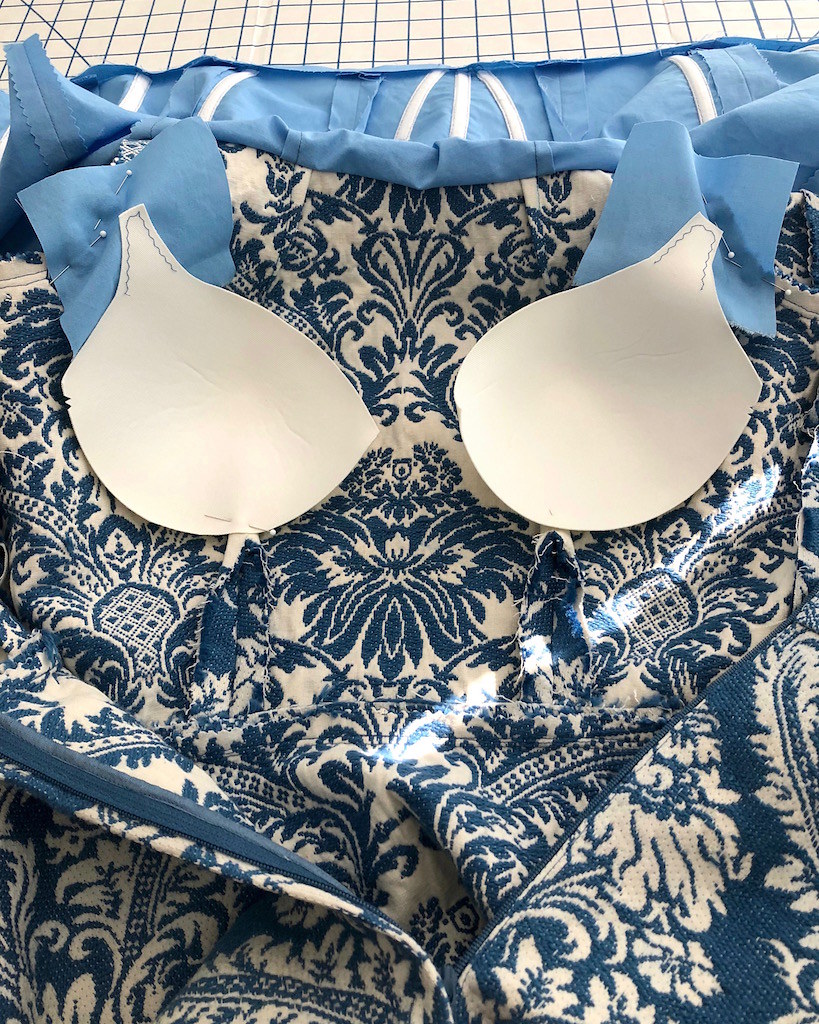
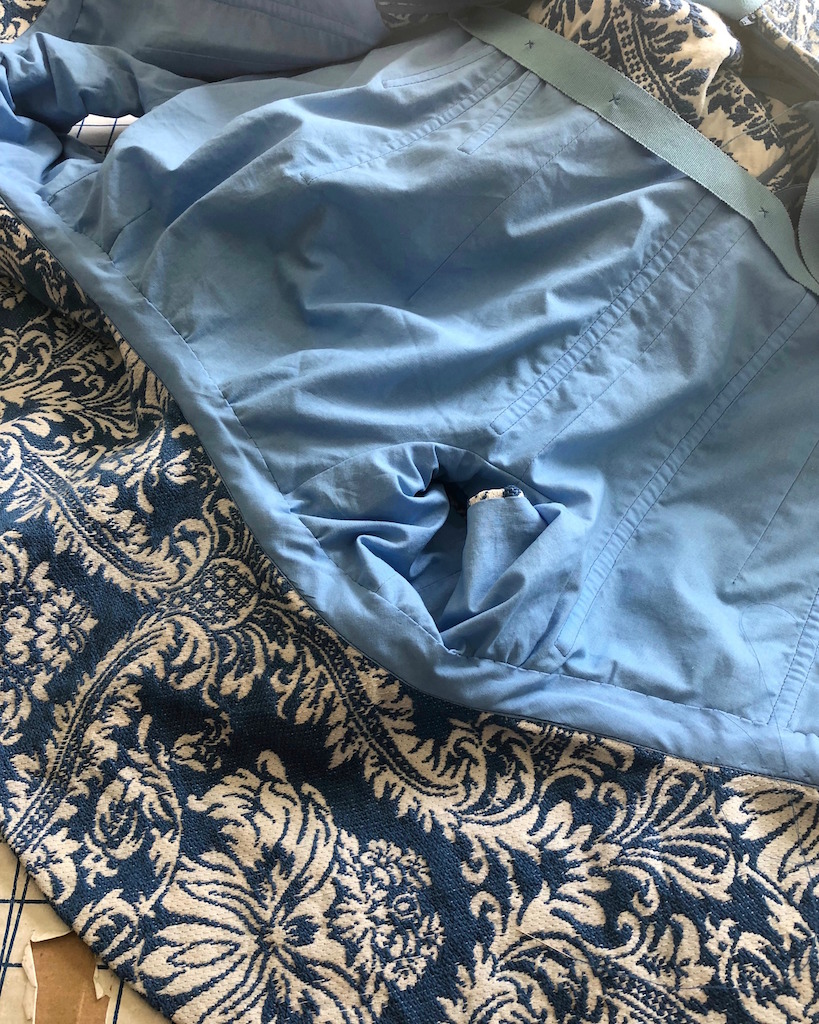
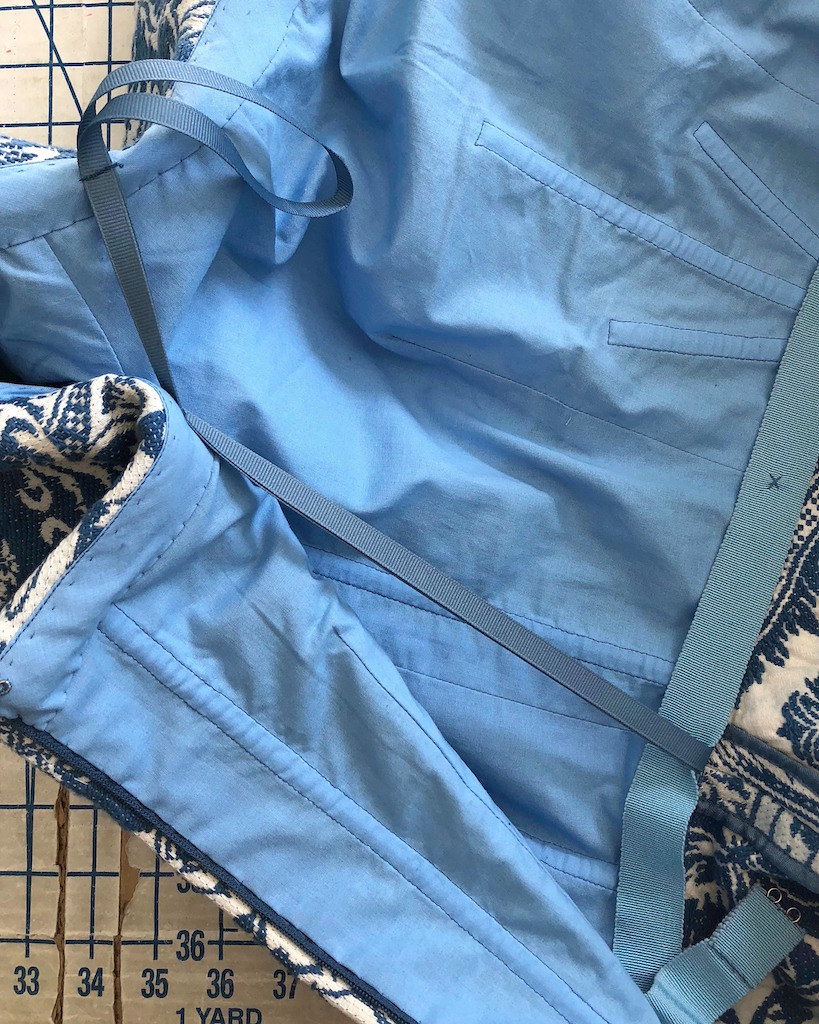
I did not line the skirt, but the bodice definitely needed a lining.
The biggest reason was that I wanted to add some boning channels to help keep the bodice from collapsing. The upholstery fabric was probably up to the challenge without the added infrastructure, but I didn't want to take any chances.
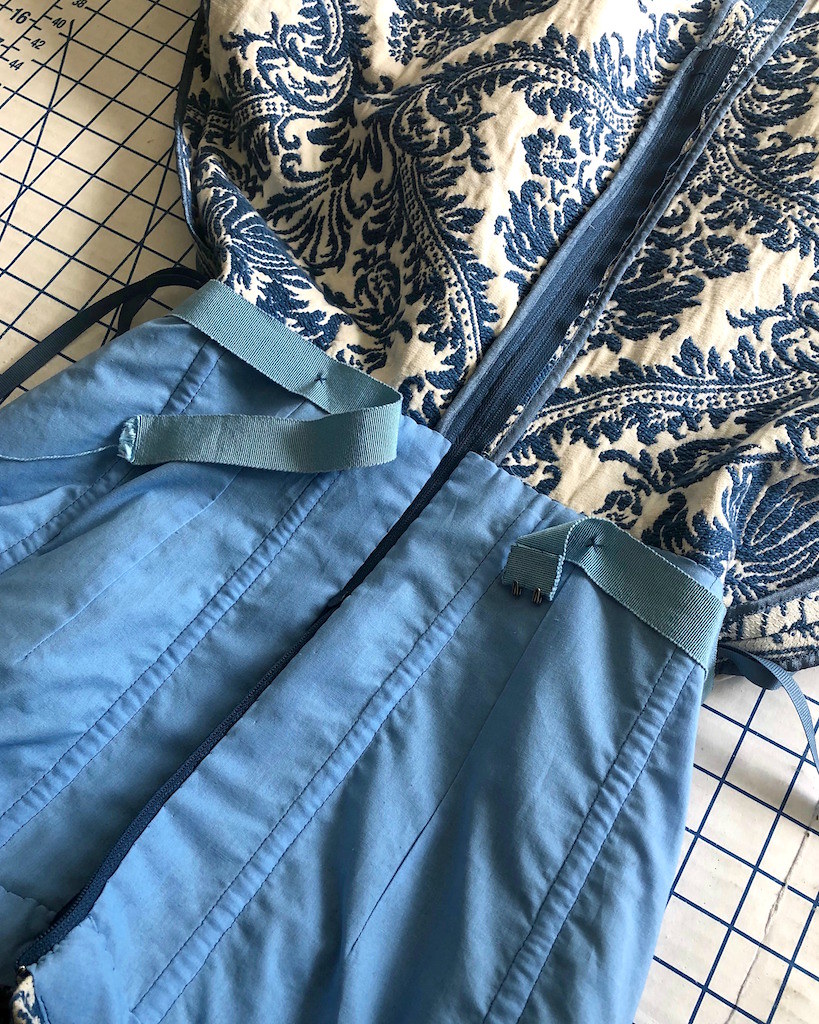
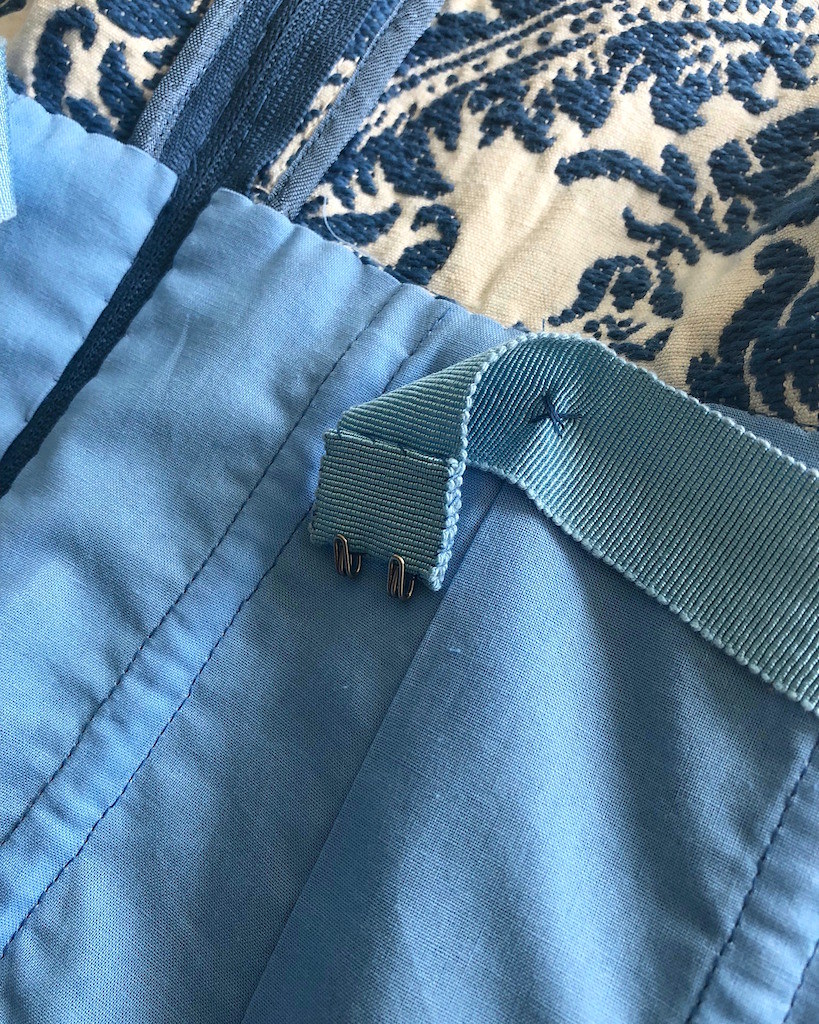
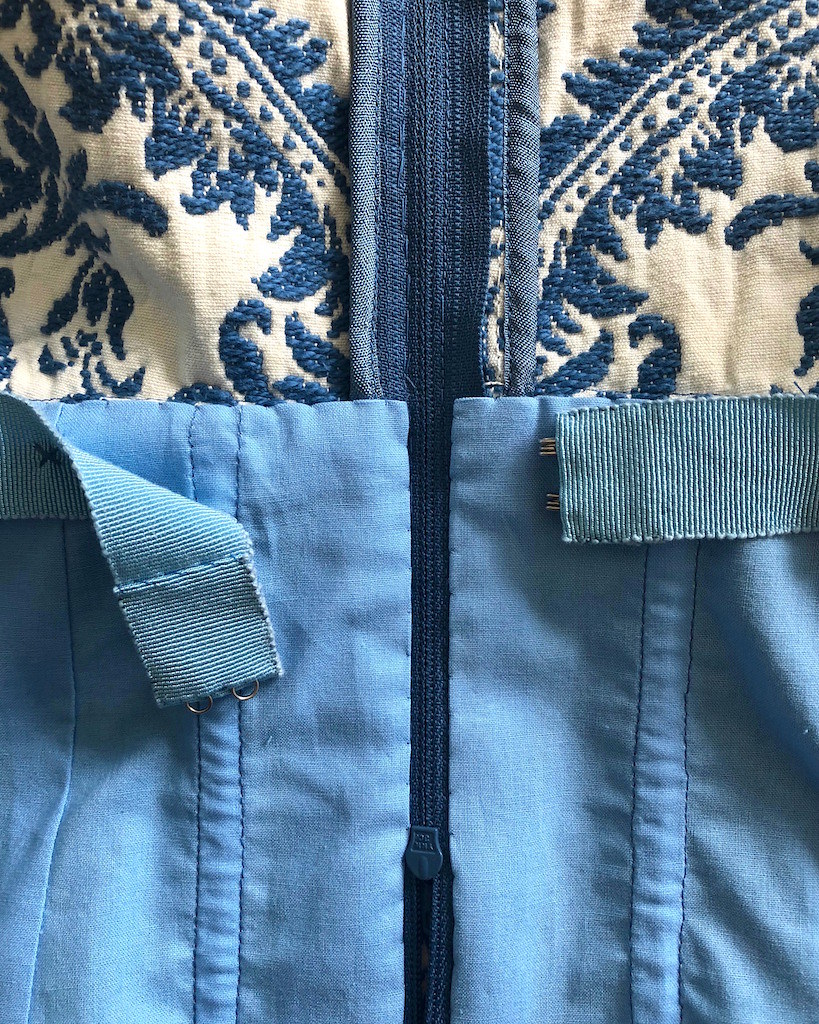
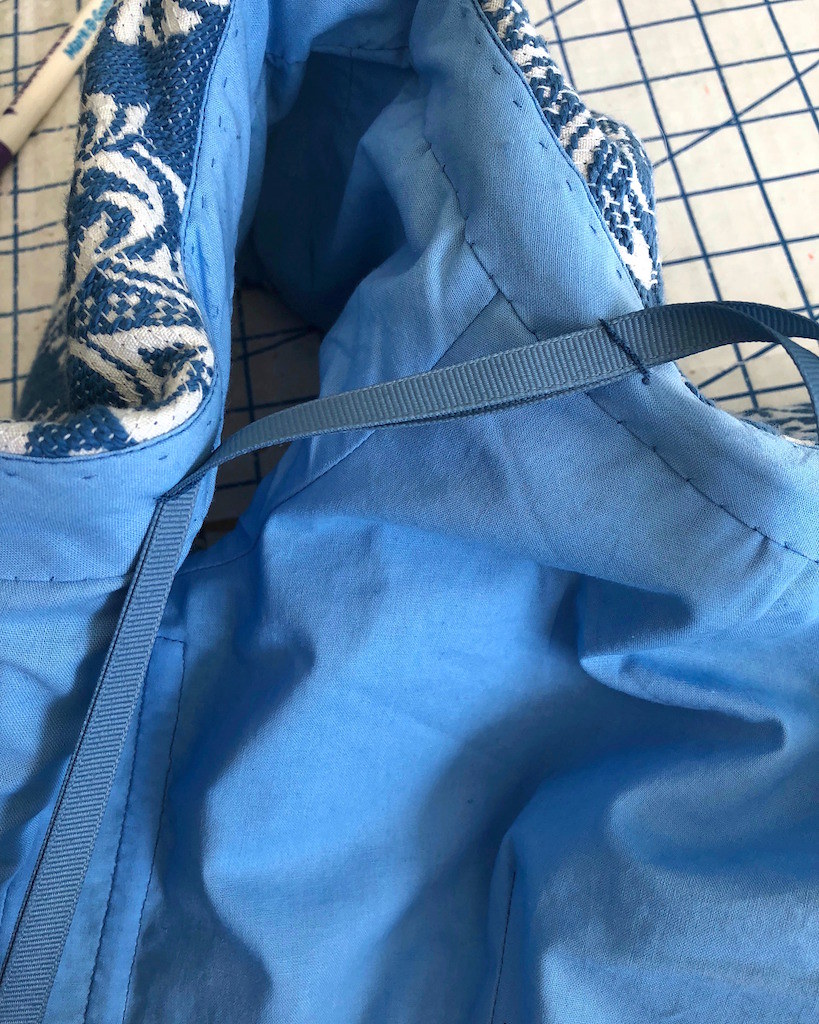
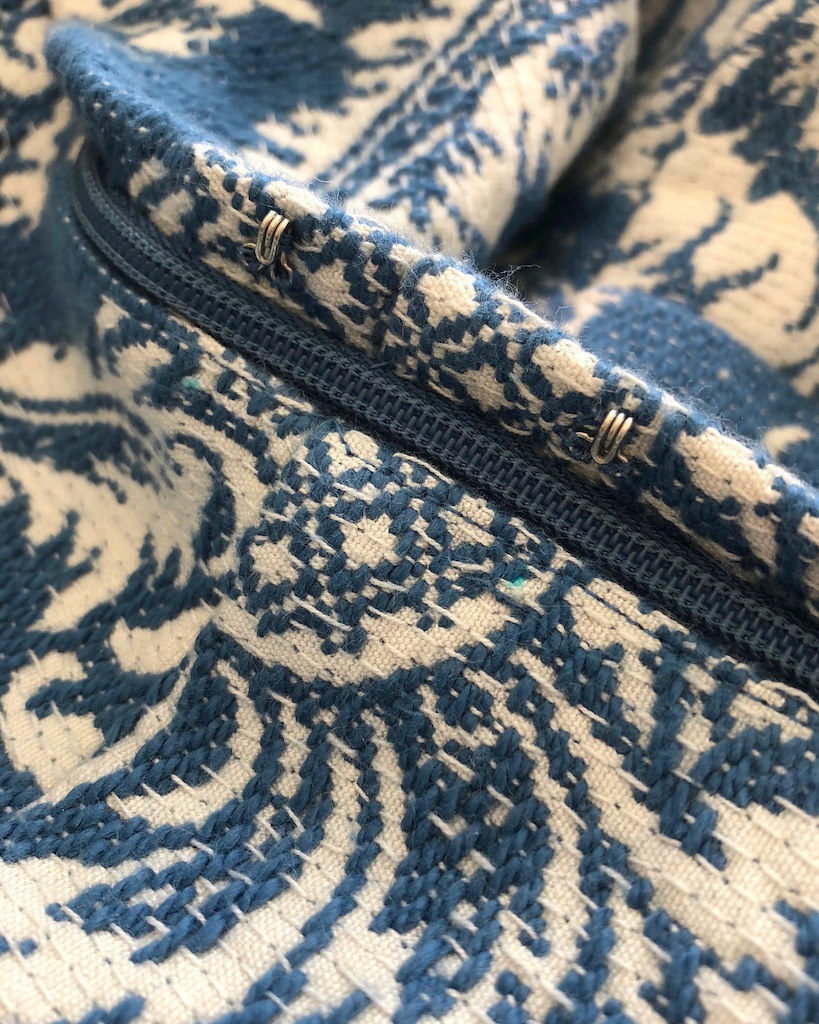
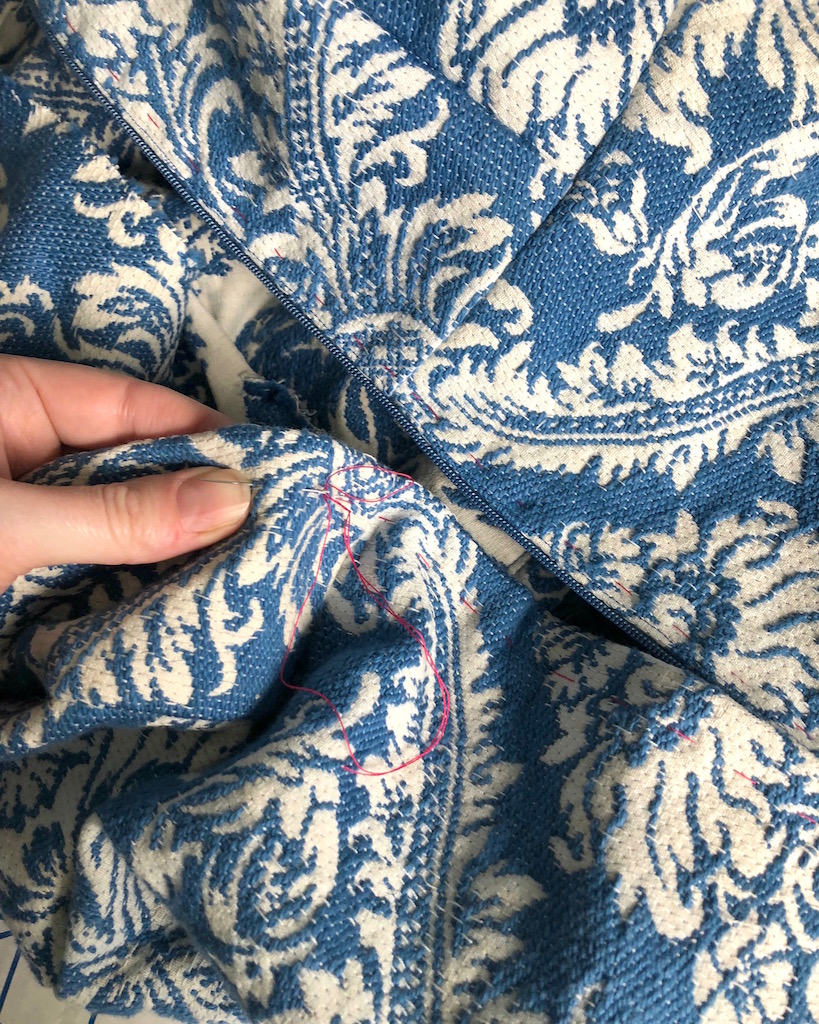
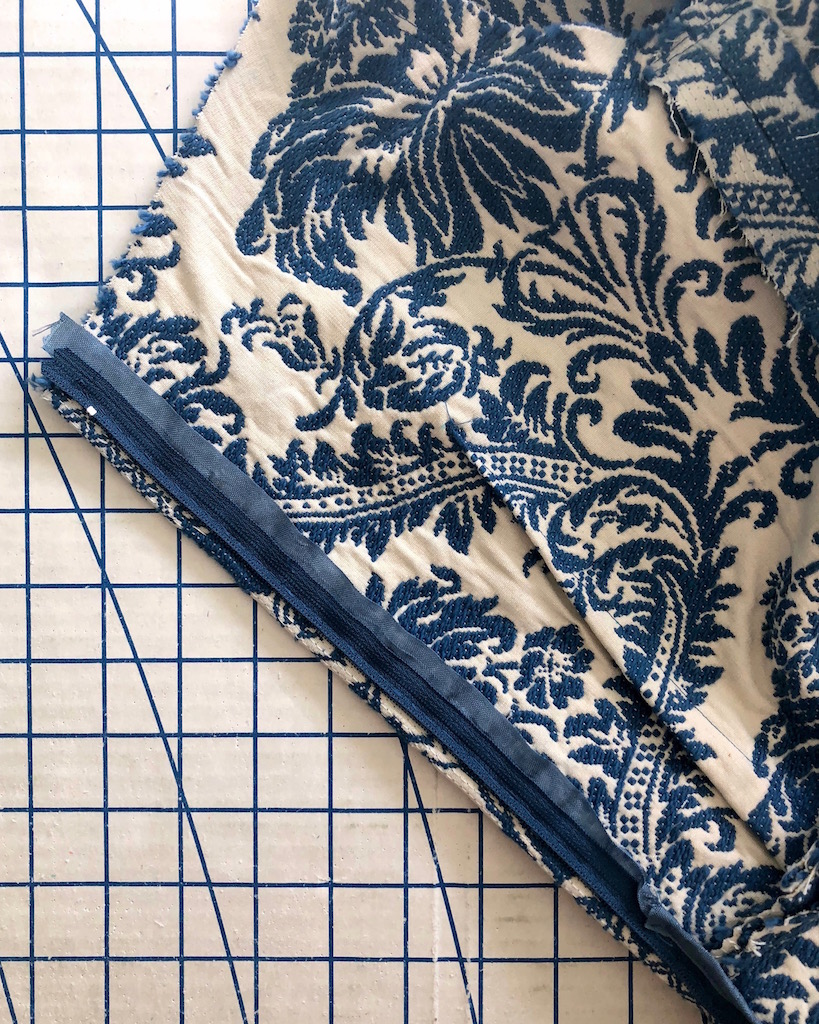
The zipper was an easy choice. There was no chance that an invisible zipper could handle this fabric, especially the waist seam bulk, so I used a standard zipper with a lapped application. I cheated and machine stitched the underlap. I kind of wish I pick stitched it like I did with the overlap, but since it isn't visible I am going to forgive myself. I was also on a bit of a deadline, so the machine stitches saved me some time.
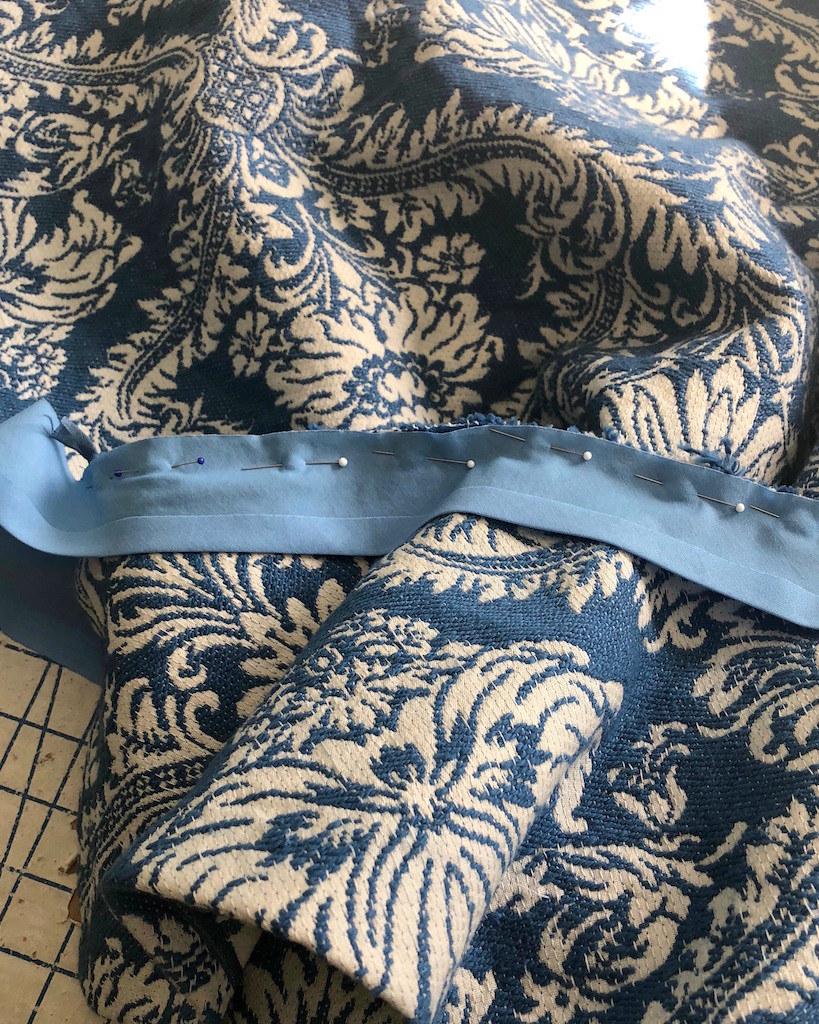
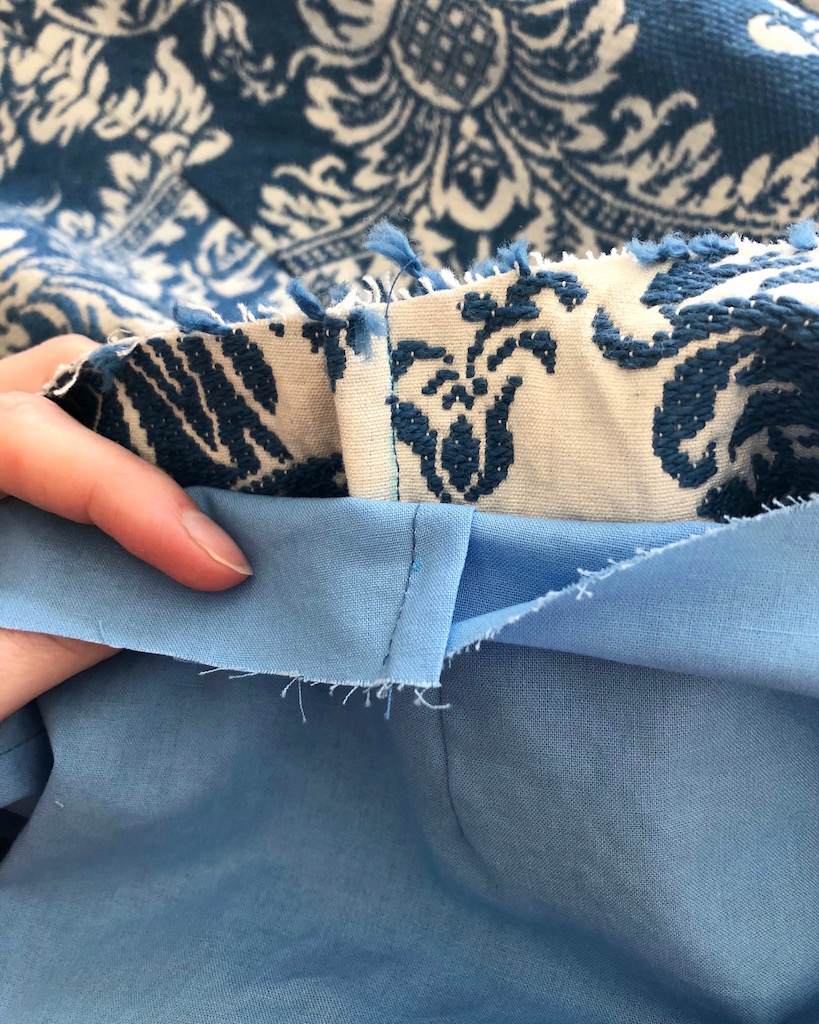
Because of the thickness of the textile, turn of cloth made the overlapped zipper seam allowance a little narrow for my taste (and this stuff likes to fray). In an act of desperation, I added a length of seam binding to the edge to give myself more wiggle room. It worked beautifully! I can't believe I haven't thought of this before, but I am sure the technique will come in handy in the future.
I always balance my darts by pressing the lining dart in the opposite direction to the bodice one. This time around, my cotton certainly did not fully balance the upholstery fabric, and I thought about adding a piece of fabric, but in the end, it was not necessary. I think the texture of the fabric was enough to keep things smooth.
And I am going to leave this here for now. There are a few finishing details to come, but from here on out, the most challenging part was hauling this heavy thing around the sewing room!