
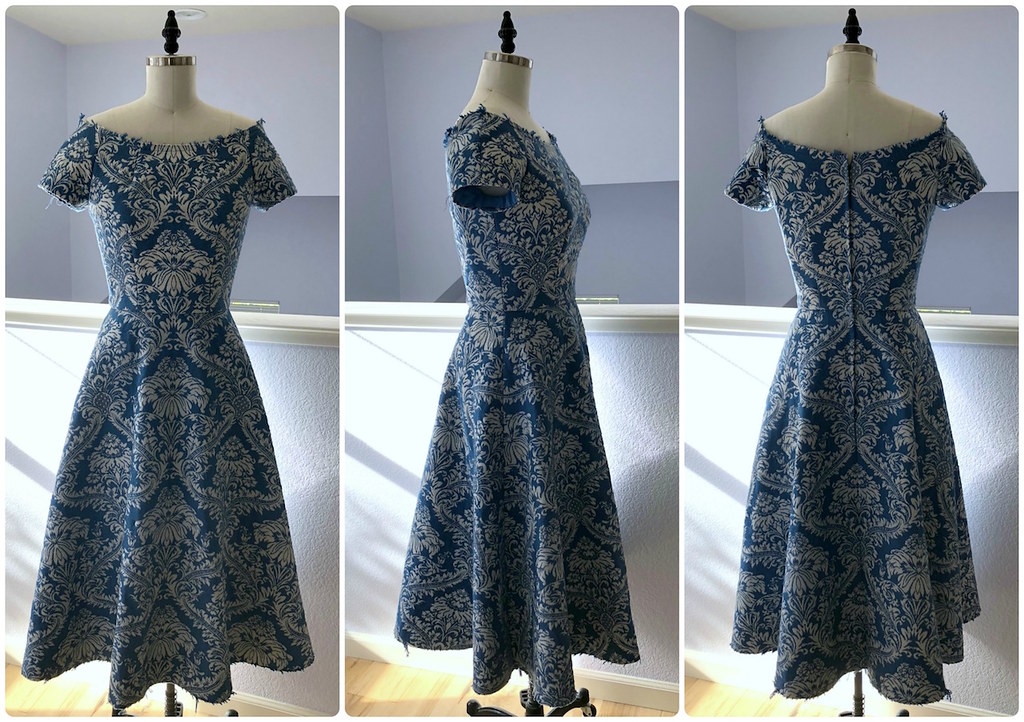
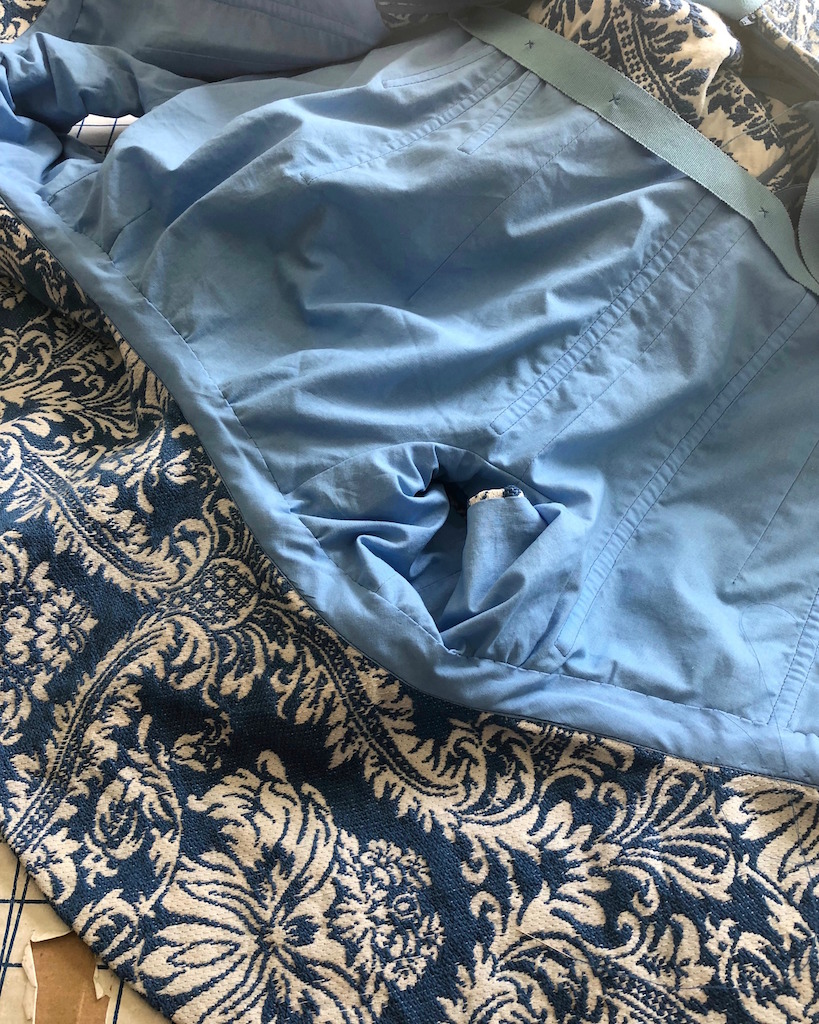
Continuing on with the saga of the upholstery fabric . . . once the boning channels were in, I decided it would be nice not to have to wear a strapless bra with this dress. So out came the bra cups. However, like many other dress projects, the cups do not extend far enough to reach a seam allowance, making it impossible to invisibly attach them to the dress.

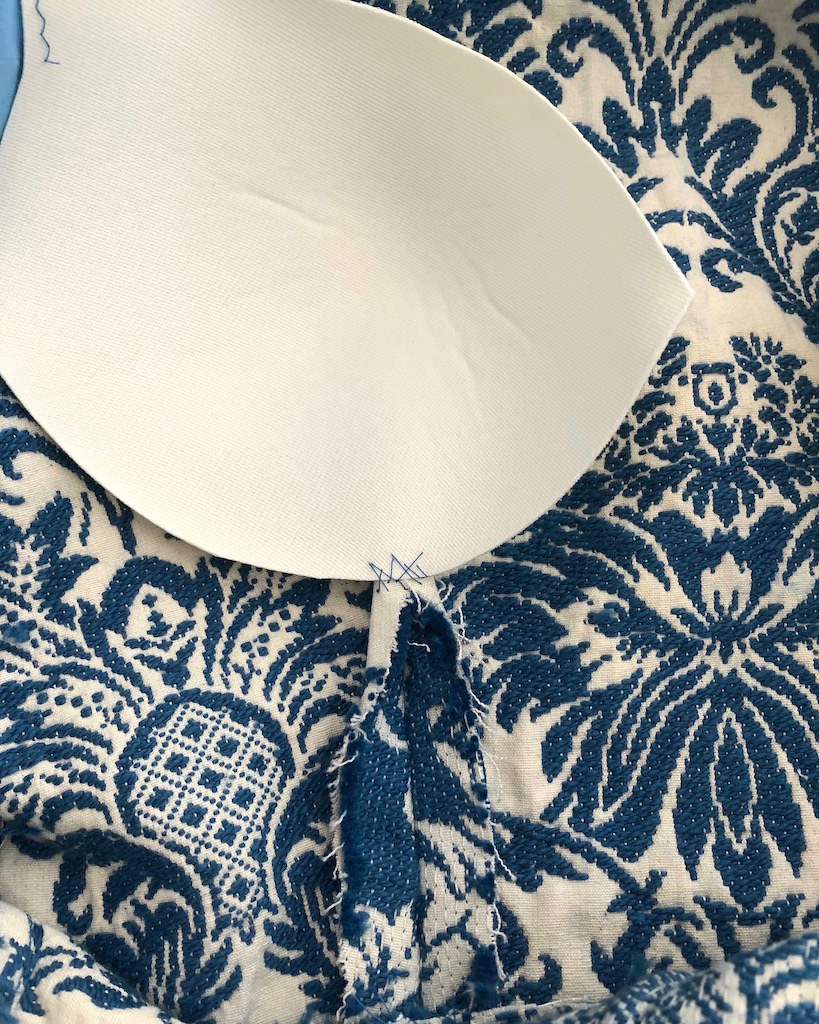
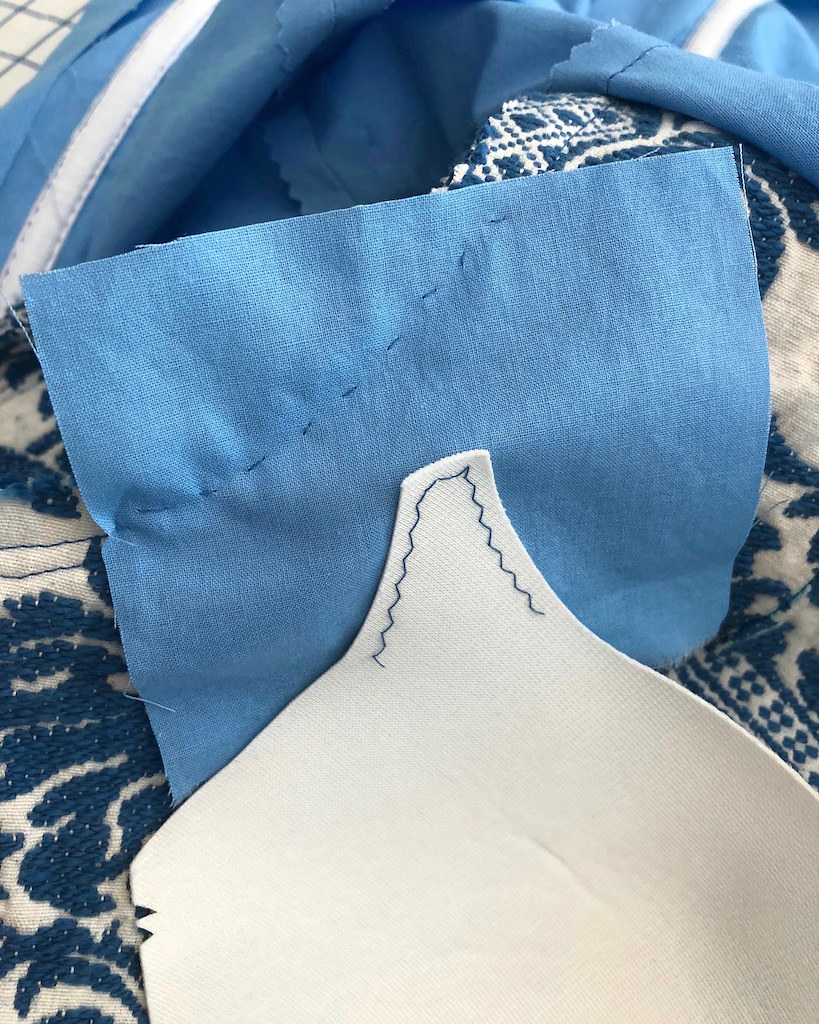
I have attached cups to the lining of a dress before, but I just don't think it works quite as well. So I extend the cups themselves with a scrap of fabric. This allows me to stitch them to the underarm seam. The excess fabric can then be trimmed away.
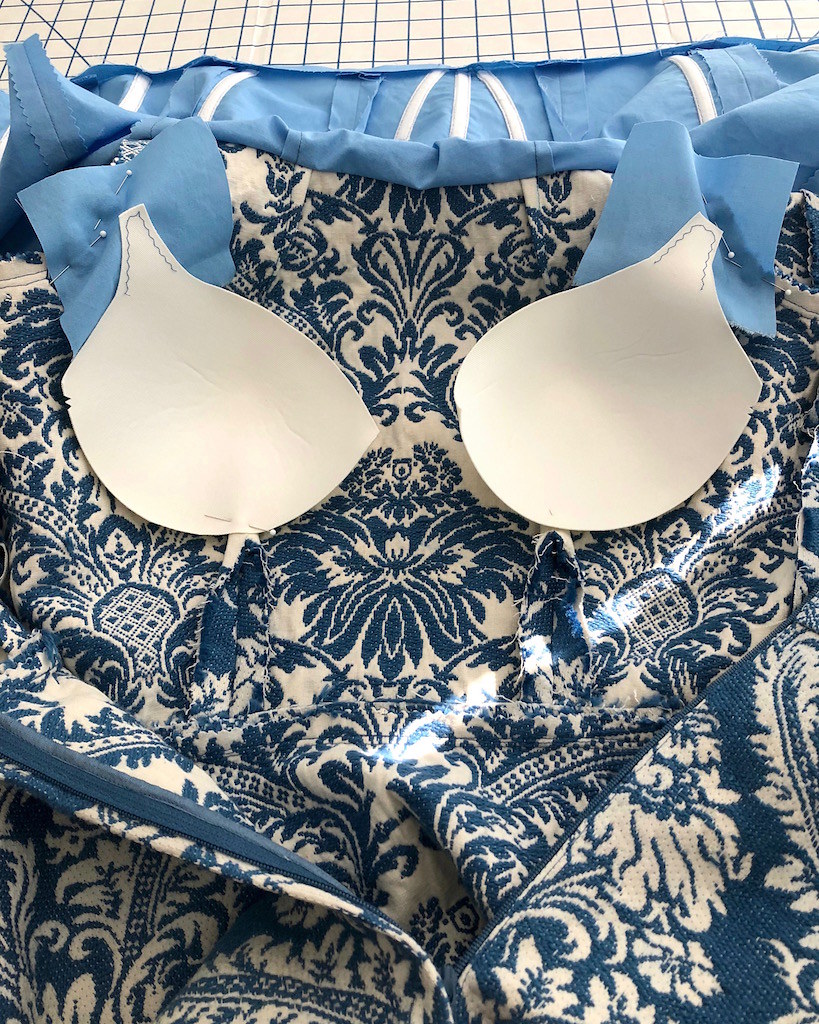
The cups also get stitched to the dart to keep them from rotating.
It's not the prettiest fix in the world, but it works. And the lining takes care of covering the mess!
For this project, I decided to use a piece of bias fabric to finish the neck edge. I thought it would be easier than fighting with the lining after the capelet was attached. Did I mention how heavy this thing is?!?
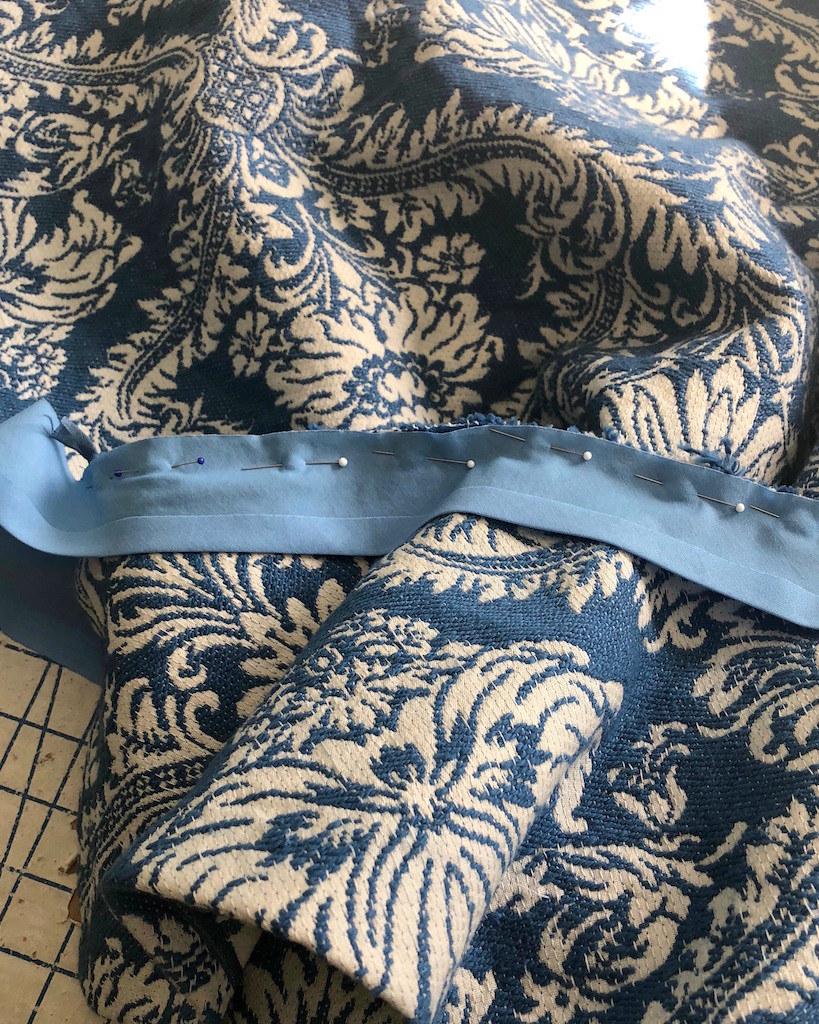
This is not my usual construction technique, but it did the job.
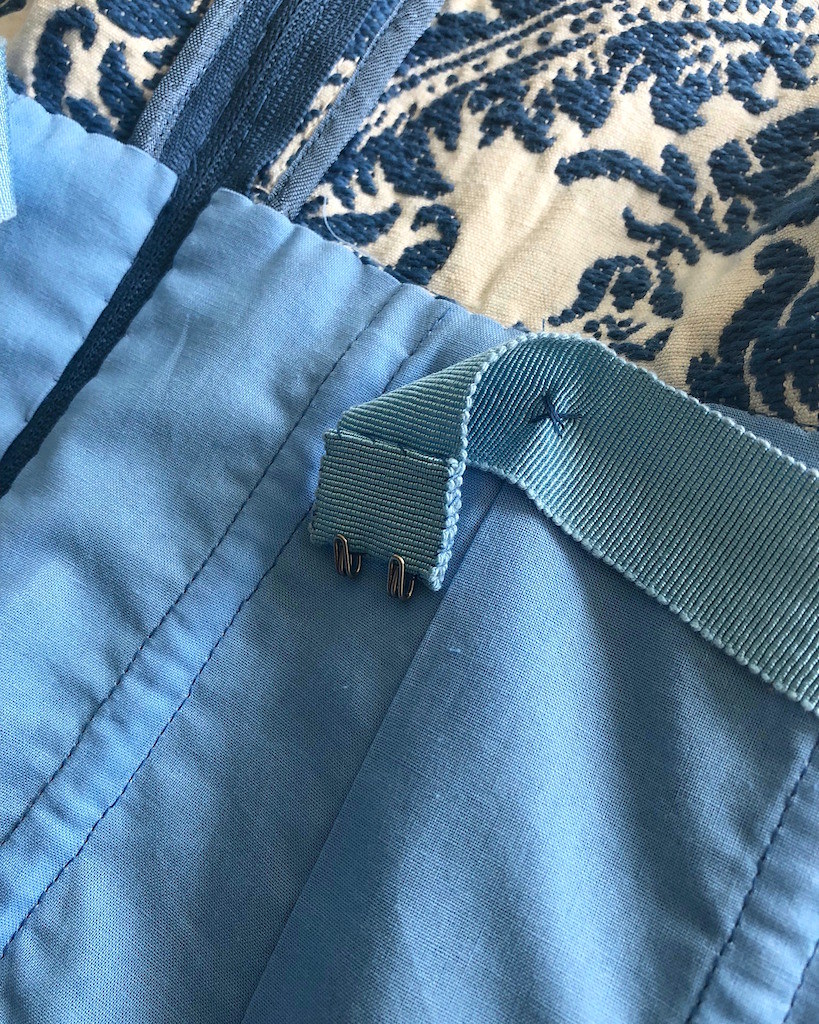
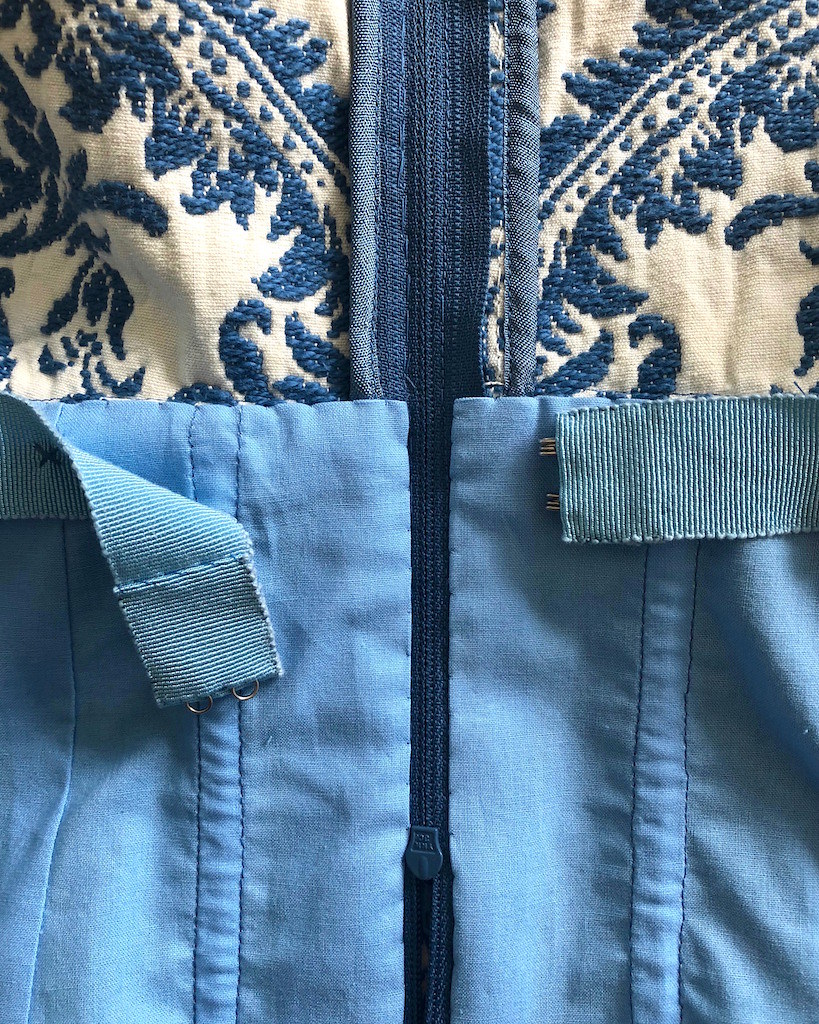
And, of course, I added a waist stay. A piece of petersham and a couple of hook & eyes makes all the difference.
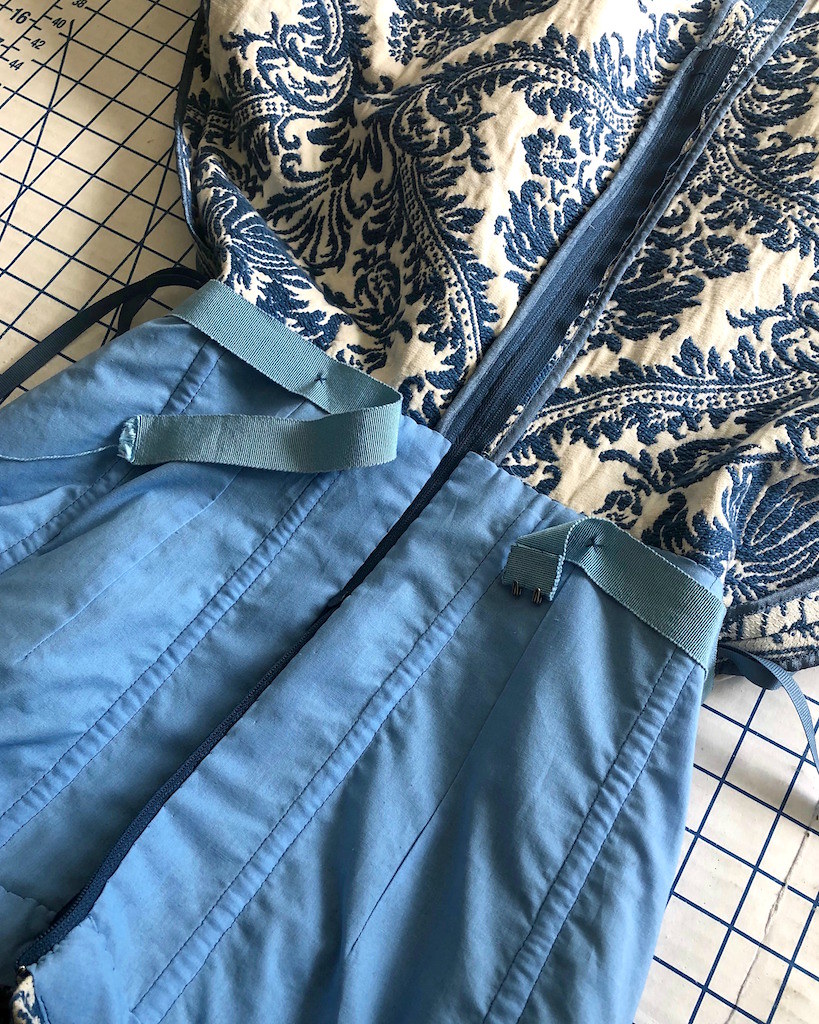
After doing quite a few of these, I have learned that offsetting the closure on the waist stay from the zipper is much more comfortable when wearing.
It means things are off center, but I think it's worth it!
And, of course, a strapless dress needs hanger loops so it won't fall of a hanger.
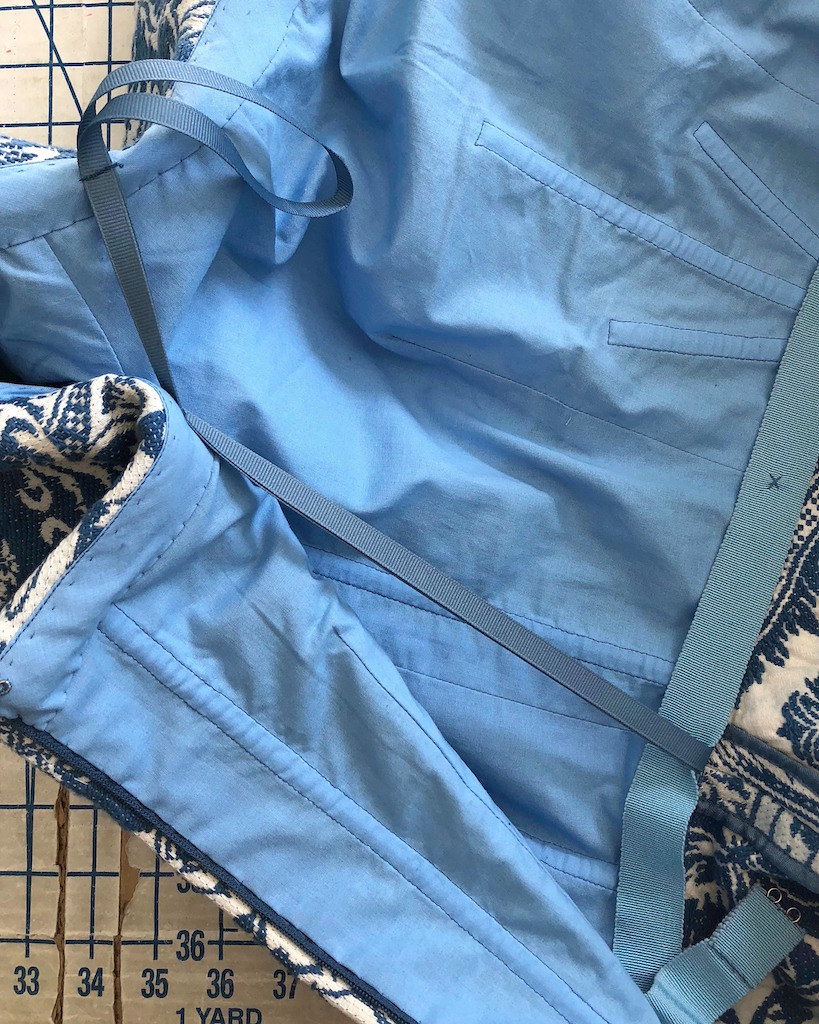
I like to add thread loops to front and back bodice so that the neckline does not gape open while on the hanger.
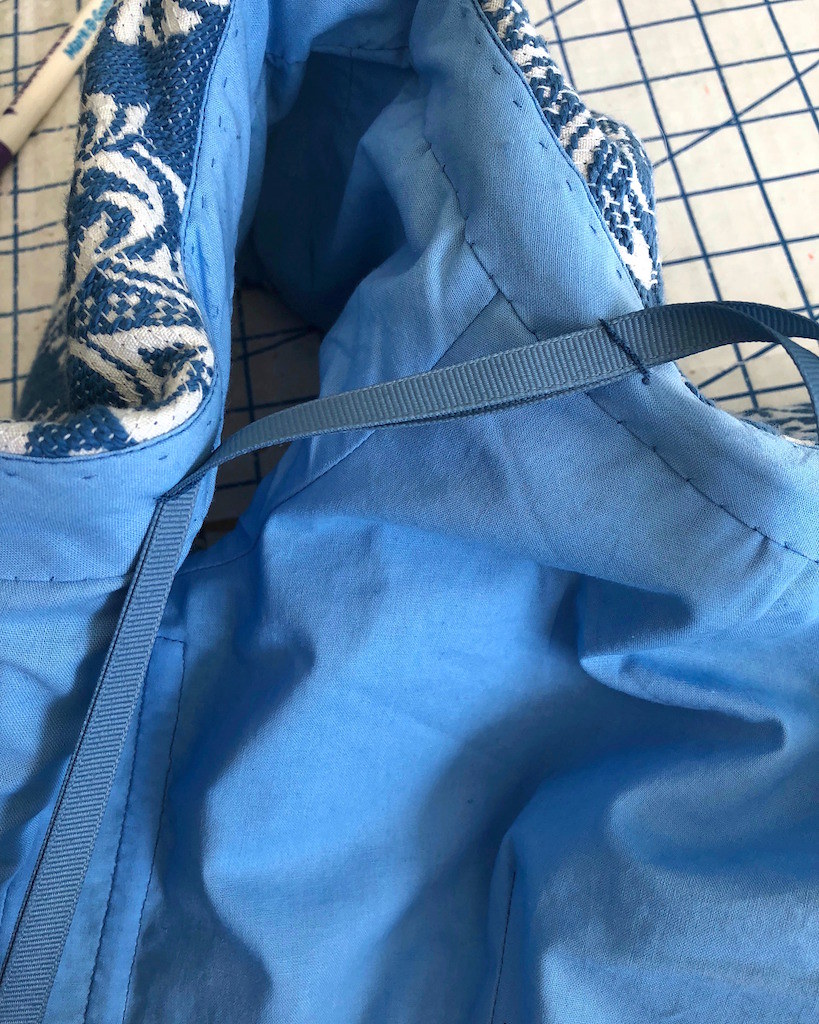
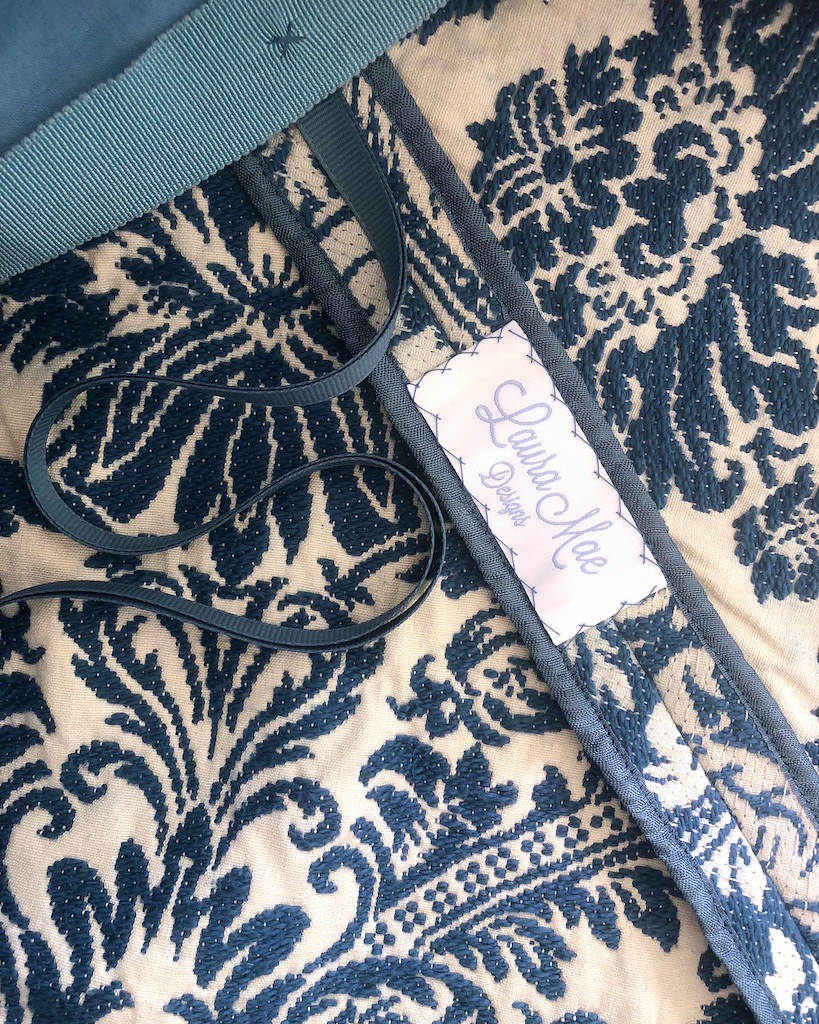
Just thread the ribbon through the thread loops at the front and back bodice, and they hold everything together nicely.

I just love it when I have matching ribbons stashed away!

She's all ready for a nice nap in the closet!

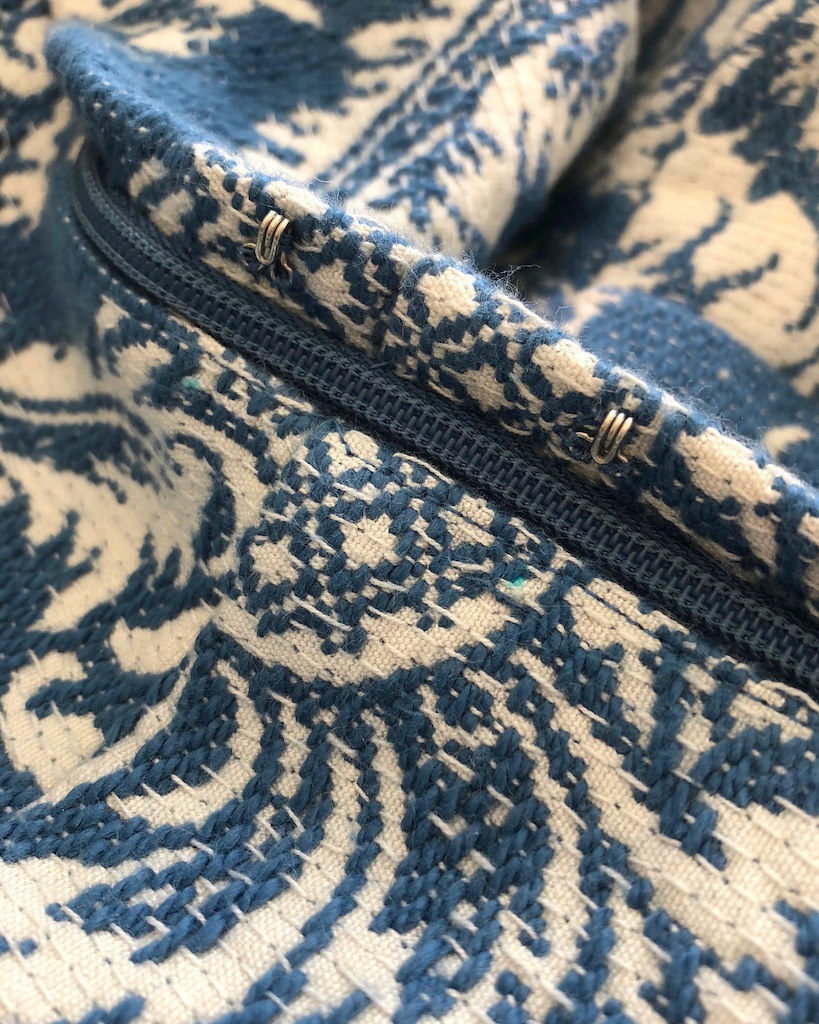
A lapped zipper application usually needs to be held flat, especially if it is fitted at the waist. It's hard to see in the photo, but across from the hook is a thread bar (it's right below the bright blue pen dot). With a textured fabric like this, it blends in nicely!
Finally, I added one of my new woven labels from The Dutch Label Shop - this is actually the first garment to get one.
And that, ladies and gentlemen, is how I finished a dress!
You are amazing! Now we need to see you model your creation!
ReplyDeleteGorgeous inside and out!
ReplyDeleteAnother beautiful piece. Thanks again for all the technical details, I learned a lot from this project.
ReplyDeleteI love the pattern matching in the back. Very impressive.
ReplyDeleteAmazing attention to detail. You have extraordinary patience.
ReplyDeleteStunning and the bra application is brilliant!
ReplyDeleteShe had me at off-setting the waist stay.
DeleteCan not wait for her to rock this frock. Will we get the local poses, or will she venture to a "destination"??? Laura Mae visits the Tenderloin? Laura Mae tours the Presidio? Laura Mae's random walk in Berkeley?
This dress has exponential travel potential!
Thank you for the waist stay link. This was just the idea I needed to see to solve a jumpsuit problem where all the weight is born on tiny spaghetti straps around my neck.
ReplyDeletePure genius to make thread loops for the hanger loops!! I've never seen these before but they make so much sense. Thank you for sharing the idea & the pictures.
ReplyDelete