Friday, November 29, 2013

Back in the Sewing Room


I must be crazy, because for my first project after the big one, I am cutting into velvet.  The other designs/fabric that I had in mind were just not motivating me, so I decided to go with the one that kept drawing me in, although I am quite sure there will be some grumpy moments while fiddling with velvet.


This will be the second Burda pattern I have worked with, and since it is a fitted skirt, I decided I needed a muslin.


I love the images on the front of vintage reproductions (and this is no exception), but the Burda line drawings leave me a bit cold.  For instance, the neckline on the fashion sketch looks fabulously high and chic, but the technical rendering looks like any other standard sheath dress.  I was, however, pleasantly surprised to find that the pattern tissue creates something much more akin to the dress the lady with the high hair is wearing. 


I have been feeling rather lazy these past few days, so it feels good to get back into creative mode.


And, of course, I have been knitting!  There is something about cold weather that lends itself to a pair of needles and wool yarn.  Tino has been super snuggly lately, and knitting is something that will not disturb the sleeping Chihuahua on my lap.


Sunday, November 24, 2013

Joining the Club


The Fall for Cotton Sew-Along was such fun, I just had to join the Knit for Victory Knit-Along currently in progress!


My pattern is one that I have worked with before - I love my Red Cabled Cardi so much that I thought I would make another! 


The navy yarn is proving difficult to photograph in the winter lighting, but I do love the color.  Instagram filters, however, make the texture stand out, even in dismal lighting.    


My drawers are filled with quite a few black sweaters and I always find myself wishing I had more deep blues to choose from.  So here we are!


The back is just about completed.  


I really have missed my knitting needles – this project is just what I needed, plus the motivation of a knit-along!   Happy knitting, everyone!

Friday, November 22, 2013

The Wedding Dress

A few months ago I was asked to alter a wedding dress.  The very idea was terrifying - what do you do if you make a mistake on someone's wedding dress?!  It was originally described to me as “beaded.”  I, of course, had visions of a dress completely covered in beads.  Thankfully, it was a little less embellished than I had imagined.  


There are, of course, many different ways to alter clothing.  But I wanted to accomplish this with as little back and forth as possible. 


I was hoping the initial fitting, some work in my sewing room, and one final fitting/hem check would do it.

The color white makes things even more tricky.  There are plenty of marking pencils/pens/chalk available, but they have a habit of sticking around where they are not wanted.  I brought grey silk thread to the first fitting, along with quite a few pins.

The dress was put on wrong-side-out, the excess ease taken up in the existing back darts and pinned into place.  Then the dress came off, and I quickly basted the new darts into place and put the dress back on with right-side-out to make sure everything was fitting properly.  (It really is crazy what a difference this minor change makes!)


I came home with the dress looking like the dart on the right side of the picture above.  Back in the sewing room, I used pink thread to baste around the new and improved dart to the left and right of the fold (as seen on the left dart).


Out came the grey thread holding everything together, along with the original dart stitching.  The most irritating part was seam ripping white thread on a white knit fabric.


Look at that twisted fabric in the original dart – tsk, tsk.  Although I have to say, it is always a relief to see that even professionals make mistakes!


After opening the original dart, it was time to remove the excess beads.  Some were holding on for dear life, and other just flew off with little to no coaxing.


Once the extra beads were removed, the remaining beads had to be secured.


The new dart was stitched by hand using white silk thread and very small back-stitches.


Thankfully, the altered fit was spot on (helped, of course, by the fact that the fabric had a bit of stretch).  And there you have it, a successful dress alteration – I survived the adventure!


Wednesday, November 20, 2013

Summer Dress Redux


In an attempt to get a bit more wear out of this summer frock, a couple of weeks ago I turned it into a jumper for the day and paired it with one of my favorite blouses.


This week it turned really COLD and rainy.  Now, if you live in a truly frigid climate, today was probably bikini weather, but here in the Bay Area, we are cold weather wimps.


Which means it is time to pull out the tights, and wear (and knit!) lots of sweaters.


I managed to burn the top of my hand baking dinner this evening – what a dummy.  Only last week I caught my arm on the edge of the iron.  I really have no idea what I was doing flailing my arms about, which is the only thing that explains how I got the top of my forearm with the iron edge.  When did I become such a klutz?


I think I will relax with a cup of tea, some knitting needles, and yummy wool yarn!


Dress:  Made by me, Simplicity 3224
Blouse:  Made by me, McCall 8358
Belt:  Made by me
Shoes:  Chelsea Crew


Sunday, November 17, 2013

Putting the Gala Gown to Bed

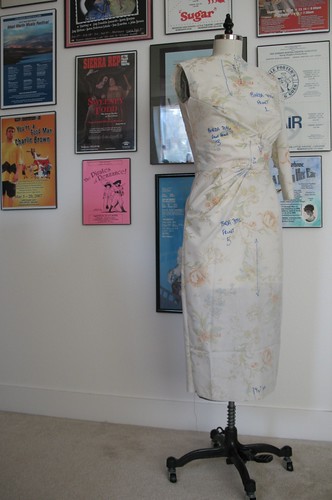
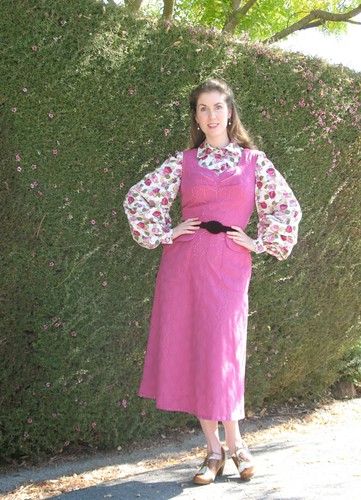
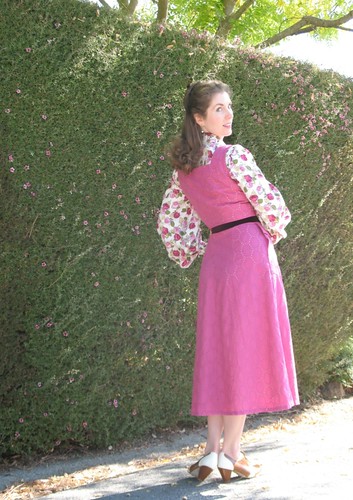
I have finally put this year's Gala Gown away! 


First off, I had to find a hanger that is strong enough, but plain plastic just seemed sacrilegious.  Once upon a time, I made myself a covered hanger for every hand-stitched dress.  Somewhere along the line I stopped – probably because I wanted to start sewing the next project and not worry about a silly hanger.  But it does look nice, and prevents things from slipping around.  
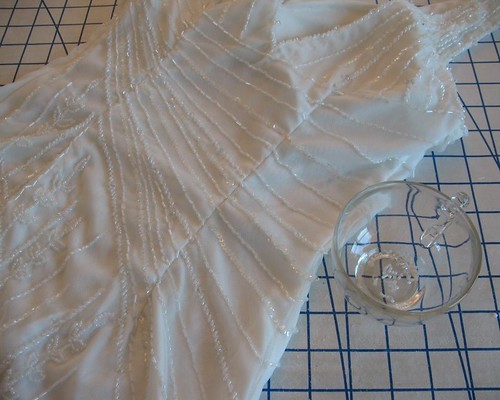
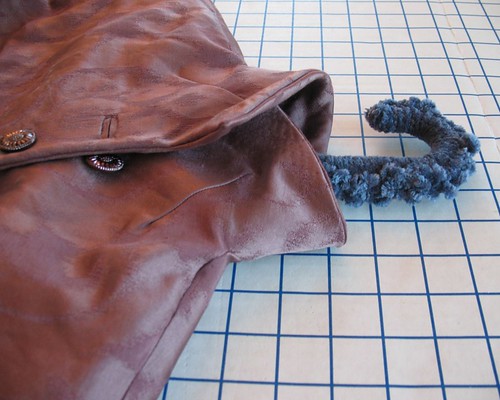
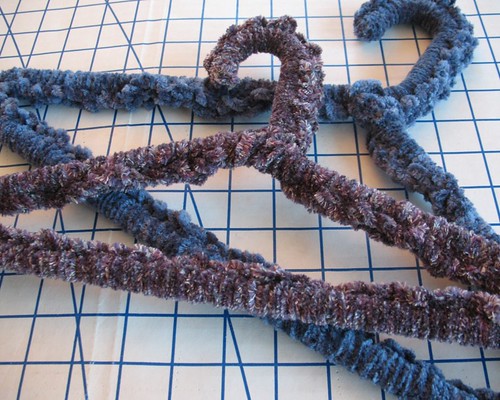
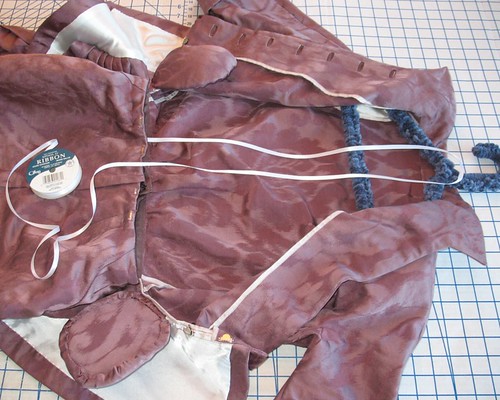
There was a bit of chenille yarn left in a drawer, so out it came, along with a sturdy plastic tube hanger.


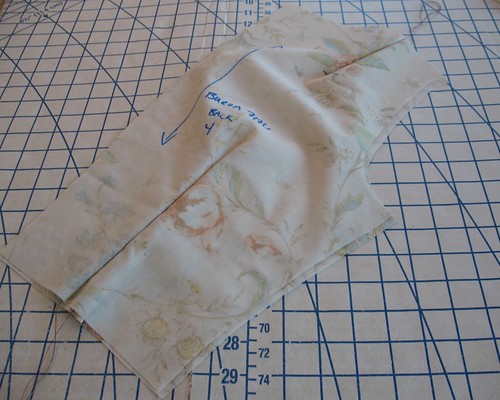
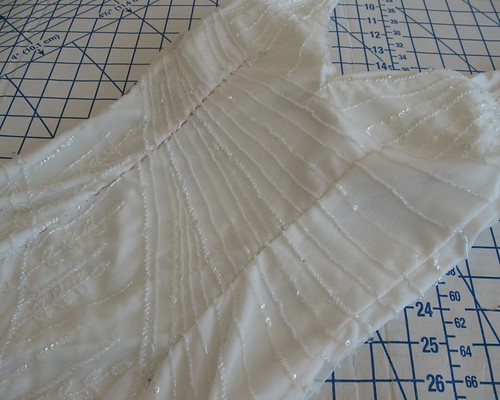
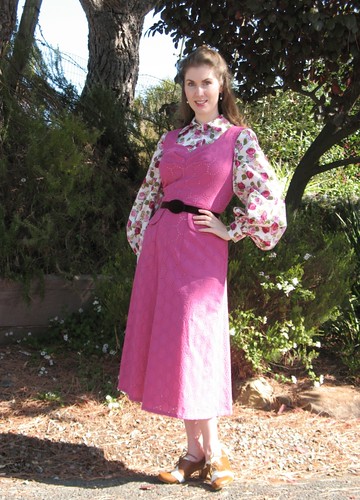
Because the front section of the skirt waist is not attached to the bodice, I needed to figure out how to hang the garment without creating unnecessary strain at the side seams.  
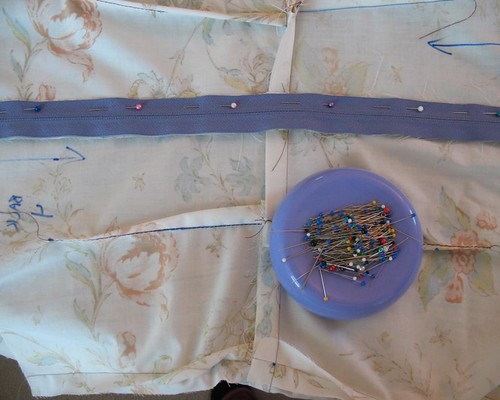
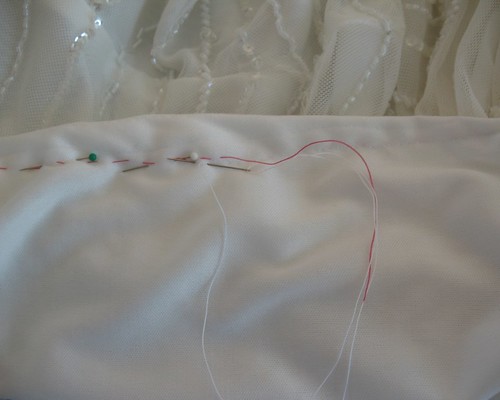
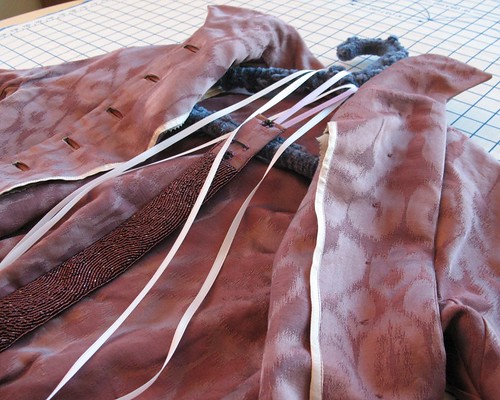

I ended up adding two ribbon loops to the skirt waist that loop over the hanger.  This helps to re-distribute the weight.  


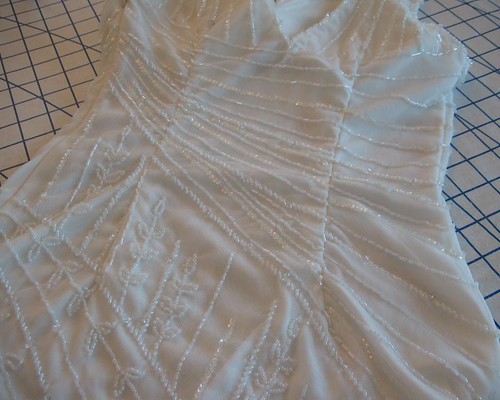
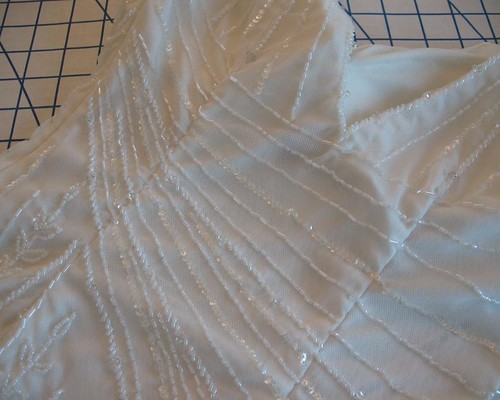
Most beaded items are not supposed to hang, but since this fabric is upholstery weight, very sturdy, interfaced with hair canvas, and the beads are not completely covering the dress, I think it will do just fine on a hanger.


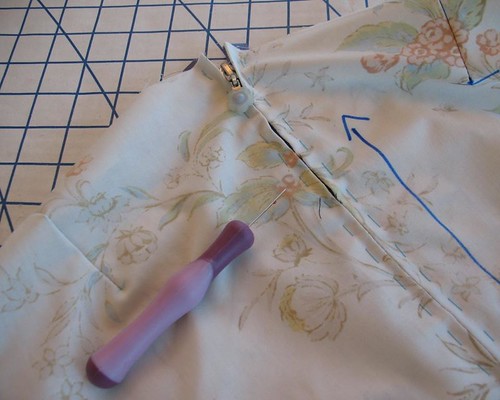
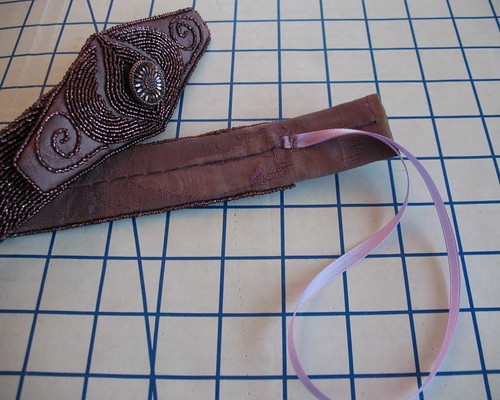
The belt also needed a ribbon loop so I could tuck it inside the dress.


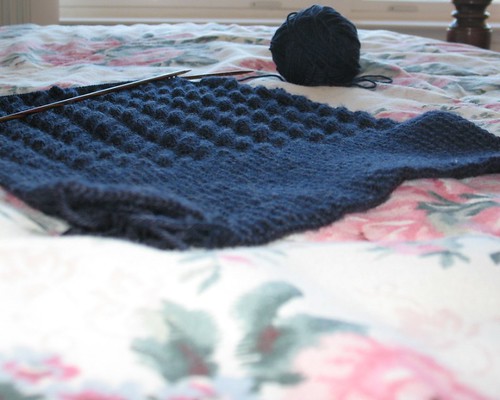
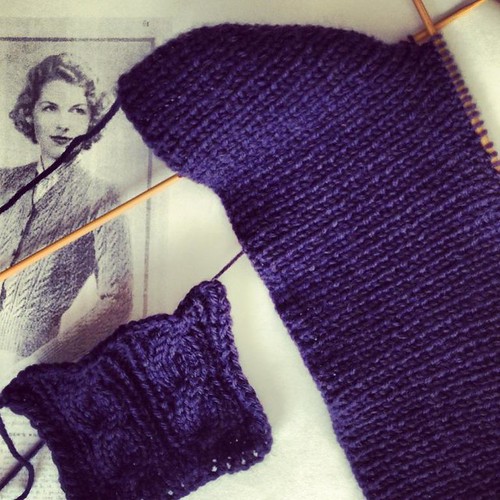
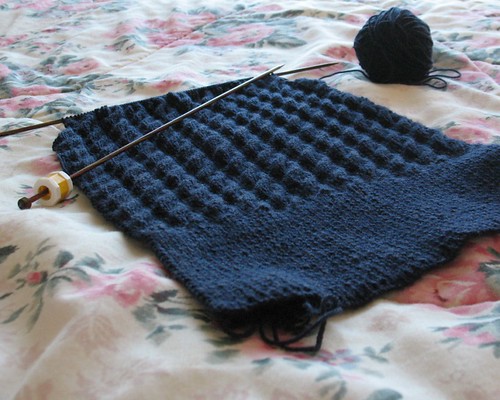
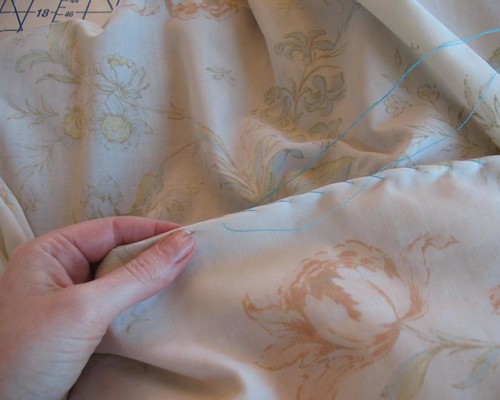
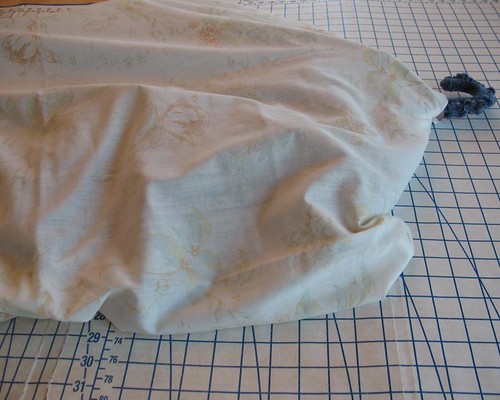
And, of course, I needed to make a cover to prevent snags, dust, and who know what else from marring my lovely lady.  My Ceil Chapman Gown from a couple of years ago was hanging on the back of the sewing room door waiting to be put away and narrowly missed being leaked on during the first big rainstorm of that season.  That will teach me to leave things unprotected (although, to be fair, having water come through a smoke detector was not something I could have foreseen).


Here are a few stats:
~ 6 yards of fabric (between the fashion fabric, lining, and hair canvas)
10 Buttons
~ 300 yards of silk thread (I went through at least 3 spools with all the beading and hand basting!)
~ 19,500 seed beads
Too many stab wounds to the fingertips to count
A whole bunch of Pad Stitching
~ 10 yards of Hug Snug
1 yard of horsehair braid for the peplums
1 yard grosgrain ribbon
1 yard belting
5 hook & eyes
3 snaps
1 zipper
Plastic Canvas (for belt "buckle")
Cotton Batting (for shoulder pads)
And that is just the dress!  There were also feathers, buckram, felt, purses and shoe clips to contend with.

Although I stopped keeping track of my time during that last week (and I know I missed some of the early tracing/fitting hours) my total time spent on this project over 2.5 months is . . . ~ 156 hours!! 

Actually, I am not sure I wanted to know that.  But the next time someone asks how long my projects take, I guess I know the answer!  Only taking into account my time, and paying myself minimum wage, would price the dress over $1,200.  Next time I hear of a red carpet gown that costs more than I make in an entire year, I will think twice about rolling my eyes.

I have to admit that this weekend was the first time I have used my sewing machine since the end of October, and now that I have done the math, I understand why.  But it feels good to be back!


Thursday, November 14, 2013

Symphony in Satin


Because the Gala was on a different day than the opening Marin Symphony concert, a second outfit was in order!  Extra opportunities to play dress up are always welcome!


This is Vogue 1011, another Vintage Vogue reproduction (and yes, I am still very cranky with Vogue for not releasing any new vintage designs).  


I have never managed to get photographs of the dress, even though it was finished over five years ago. 


The fabric is a rayon satin that I picked up from a Bella Notte warehouse sale.  They make super swanky linens, and while it would be lovely to have a bedroom full of coverlets and shams and duvets made from velvets and satins, I would rather have a chance to wear them out of the house!  To prove the point, I have even used one of their silk/cotton sheets to make a few dresses, as seen here and here, and their rayon satin is one of my favorite fabrics


This day was so bright and windy that I thought the photos might, once again, be a compete failure.  But now I have photographic evidence that the dress exists!


Because this was made quite a few years ago, I would change a few things about its construction were I making it today - the main reason being that this was before my discovery of Hug Snug Seam Binding!  And it would look excellent in a soft wool . . . maybe I need to pull the pattern out again!


What is really surprising to me is that I have only seen one other version of this made up – did no one purchase this pattern?  Or did everyone dread alterations?  I must admit that lengthening the bodice pieces was not as simple as it usually is, and I would imagine any significant changes would be complicated by all those points and lapped seams.  But it just might be worth it in the end!


Dress:  Made by me, Vogue 1011
Hat:  Made by me, Vogue 7657
Shoes:  Vince Camuto
Gloves:  Vintage, Dyed by me
Earrings:  Shadows

Tuesday, November 12, 2013

Dior Glamour: 1952-1962


Have you seen the glorious new book of Dior Couture as photographed by Mark Shaw!?  Dior Glamour: 1952-1962 looks spectacular!


Now if only they had a way to reach inside the photographs and look at the construction of each of these garments, it would be truly perfect.  But, for me, fashion doesn't get much better than this!


I know what I want for Christmas!


[click on images for source]