

Of course, this outfit NEEDED a hat of some kind.
I knew I was going to want something that said "1950s," so I
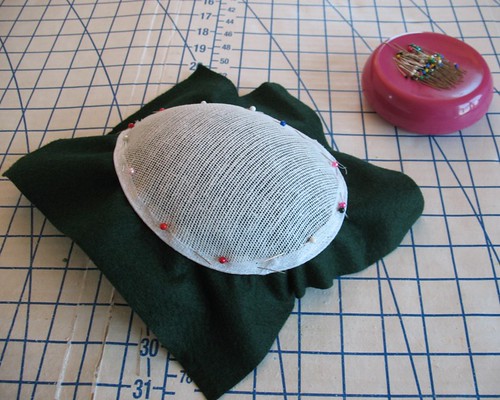
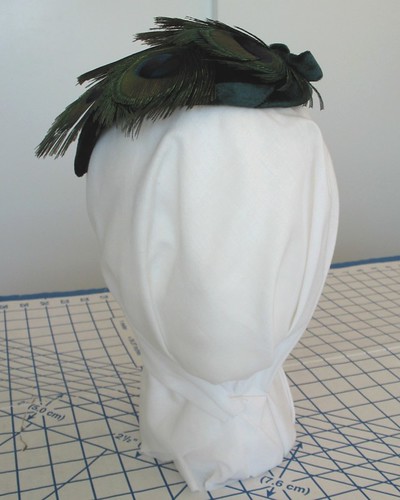
started with a buckram hat form from Britex since I am too lazy to make my own.

The form is meant to be worn with the point facing forward
or back, but I wanted it on the side of the head. This made the form a bit too large, so I
pinned it to a styrofoam wig head I have using t-pins, and carefully steamed
it. Thankfully, the buckram did not
stick to the styrofoam!

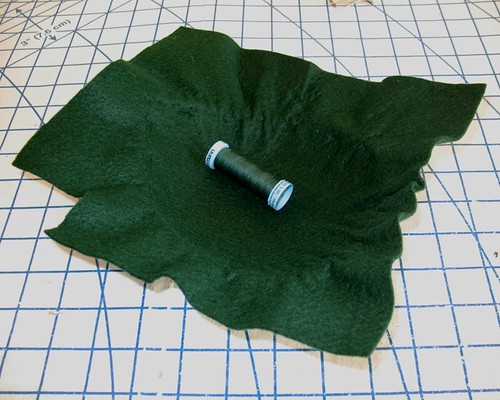
My hair is rather slick, so I like to use felt on the interior of a hat instead of silky lining material (I find that it is also much easier to add elastic holders to a thicker fabric like felt).
A square of felt was cut out and pinned to the inside of the form. To help the felt adjust to the concave surface, I pinned it back on the wig form and gave it a good steam.

After letting everything cool, the form was removed from the head and hand basted along the edges.

There were a few options for fabric, but in the end, the
velvet I found tucked away in a drawer seemed like the best match.
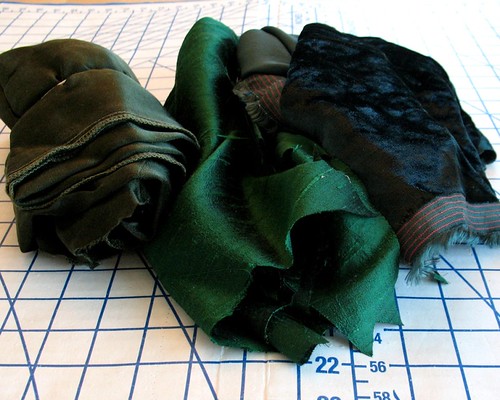
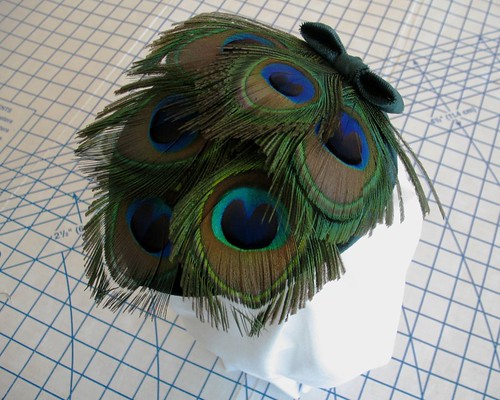
A piece of the velvet was draped over the top, hand basted
around the edges, and a bias strip of velvet
was used to bind the edges. (Most of
this work was done in the evening, so I have no photos - but the idea is to sandwich the buckram form with fabric and
then hide the raw edges.)
As I have mentioned before, I am not a fan of glue for
apparel and accessory projects.
Sometimes it cannot be avoided, but whenever possible, I stick with my
needle and thread.
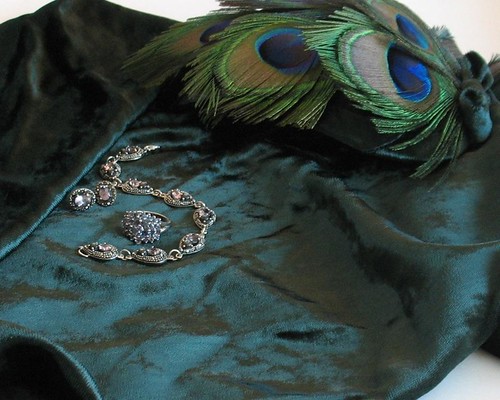
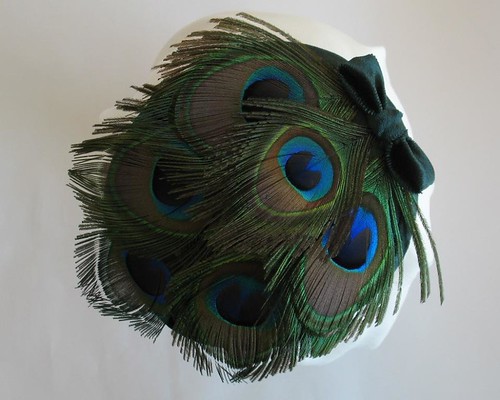
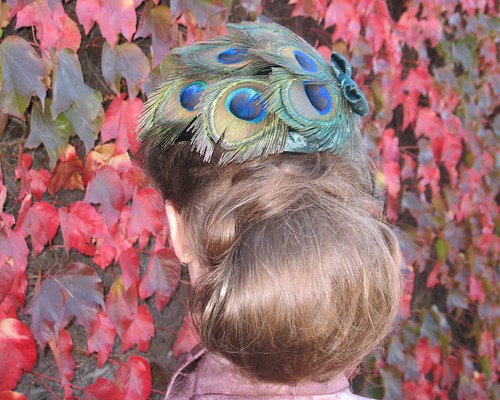
And, of course, it matches back to my brooch!

There are still quite a few peacock feathers left, so I may have to come up with another feathered project at some point!
Very nicely done :) It's gorgeous!
ReplyDeleteIt is so nice!!! Love your blog. Sorry, my english is not so good.
ReplyDeleteReally pretty!
ReplyDeleteLining the hat with felt to stop it slipping, what an excellent idea! And your fasinator is so pretty.
ReplyDeleteFor the first time ever last week I used a hot glue gun to assist in the anchoring of flowers to a fasinator that I needed to make in a hurry. I felt as though I cheated a bit, even though no-one knew, you couldn't tell anyway, and most RTW hats are all glued.
Beautiful! I love that little green bow!
ReplyDeleteAnd thank you so much for the work-in-progress-photos with the buckram, still something I desperately want to try myself.
Thank you! I wish I knew more about the art of millinery, but it would mean purchasing quite a few more pricey items for the sewing room that I am not quite prepared for . . . someday!
DeleteIncredibly lovely creation. I think the world needs more peacock feathered hats - and to rediscover a passion for peacock plumes in general. All the more so if they're a fraction as enchantingly, sophisticatedly gorgeous as yours is. I'm smitten with it, to say the least! :)
ReplyDelete♥ Jessica
It may be that I have peacock feathers on the brain, but I have been noticing quite a few of them in the fashion world these days. Hopefully they are making a comeback!
DeleteWonderful!
ReplyDelete