Sunday, July 27, 2014

Making a Petticoat: A Tutorial

I thought it was time to do a petticoat tutorial since I have had so many requests for one.  
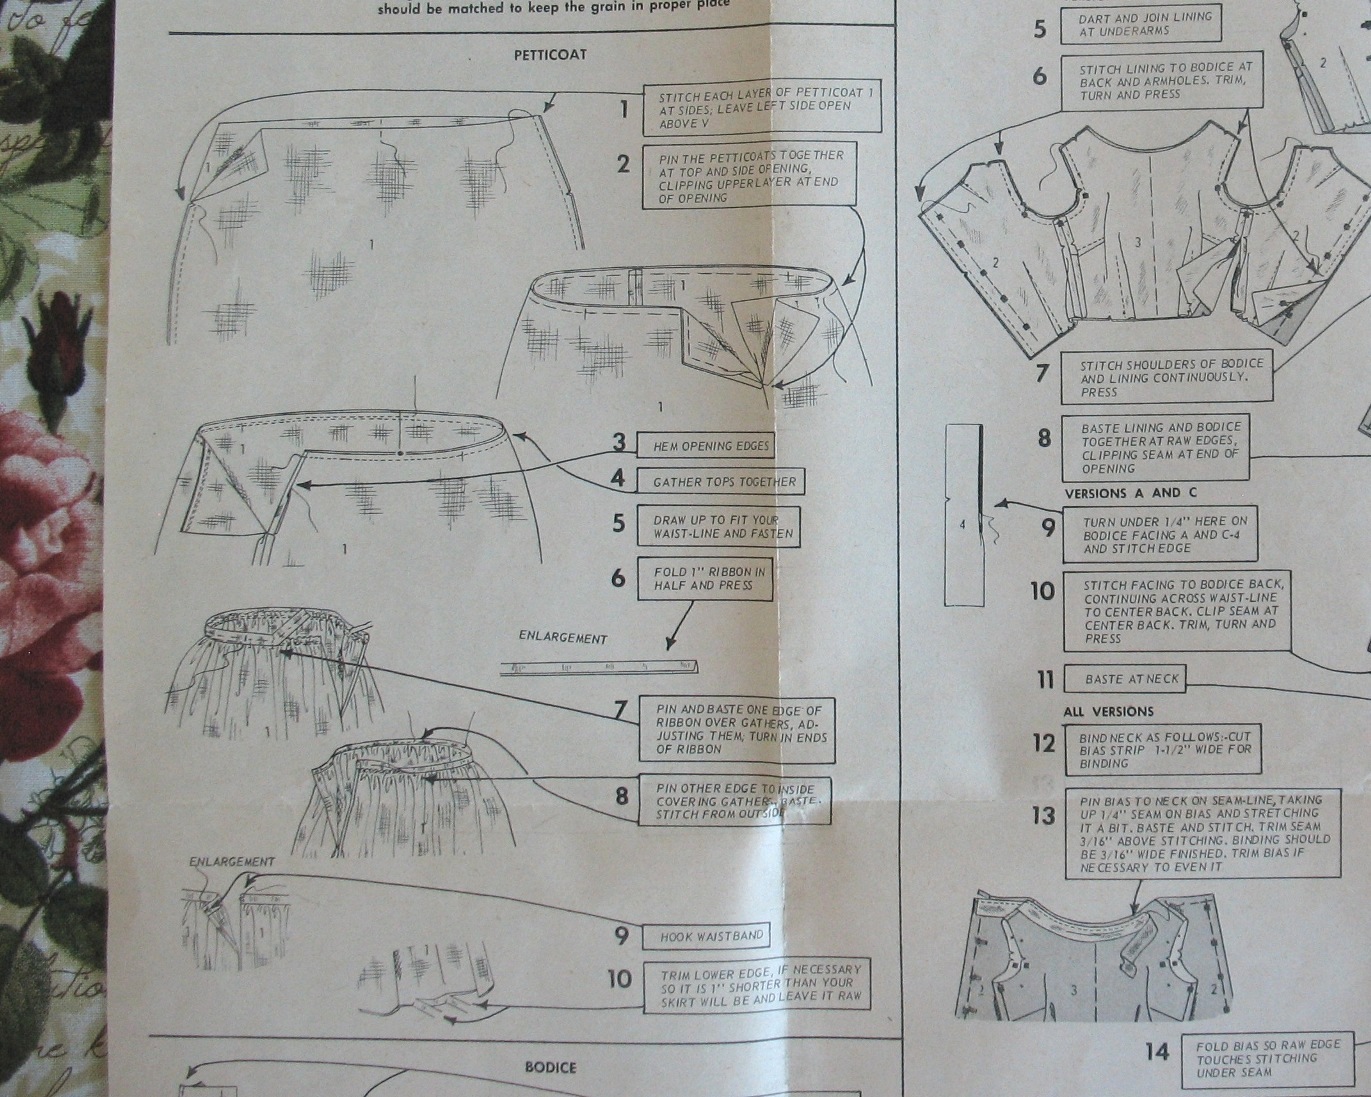
I should preface this by saying that there many, many different silhouette options; this is just one which happens to be very suitable for a 1960s bell shaped silhouette, which is what I am currently working on.  I did not take many in-process photos, so please bear with the line drawings.


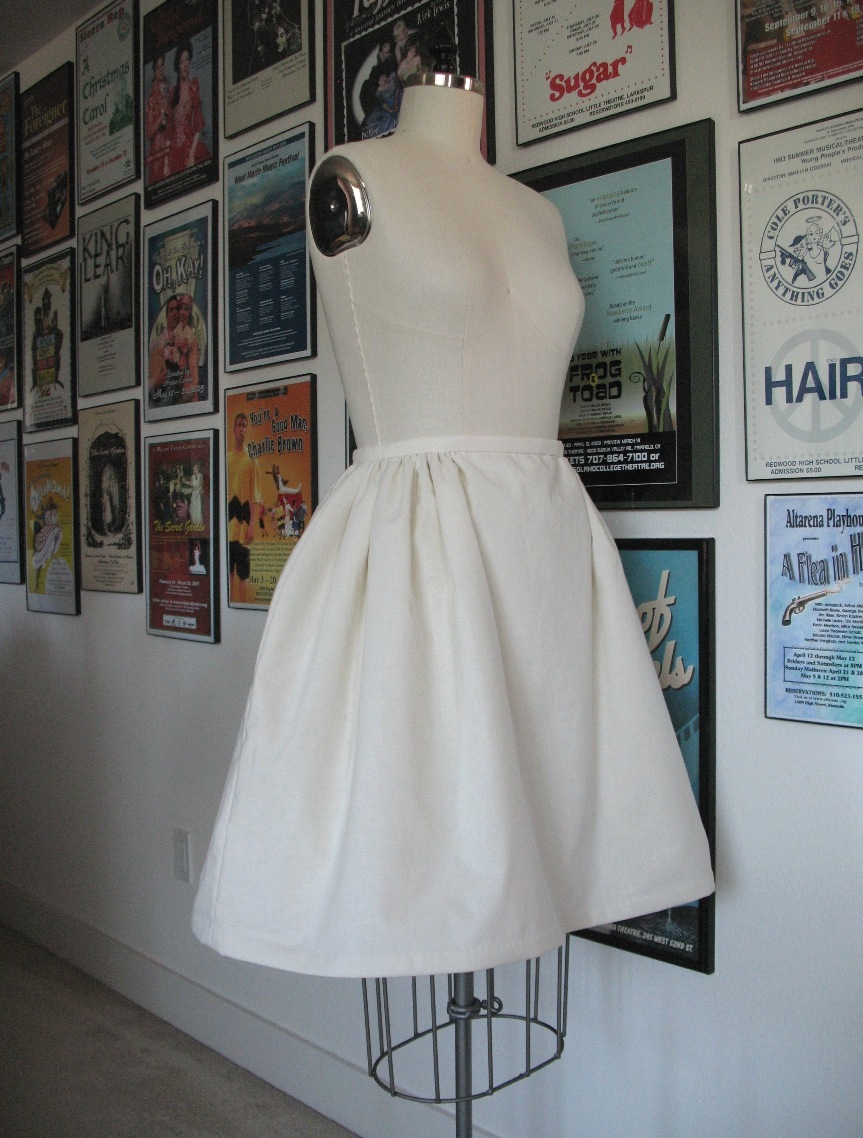
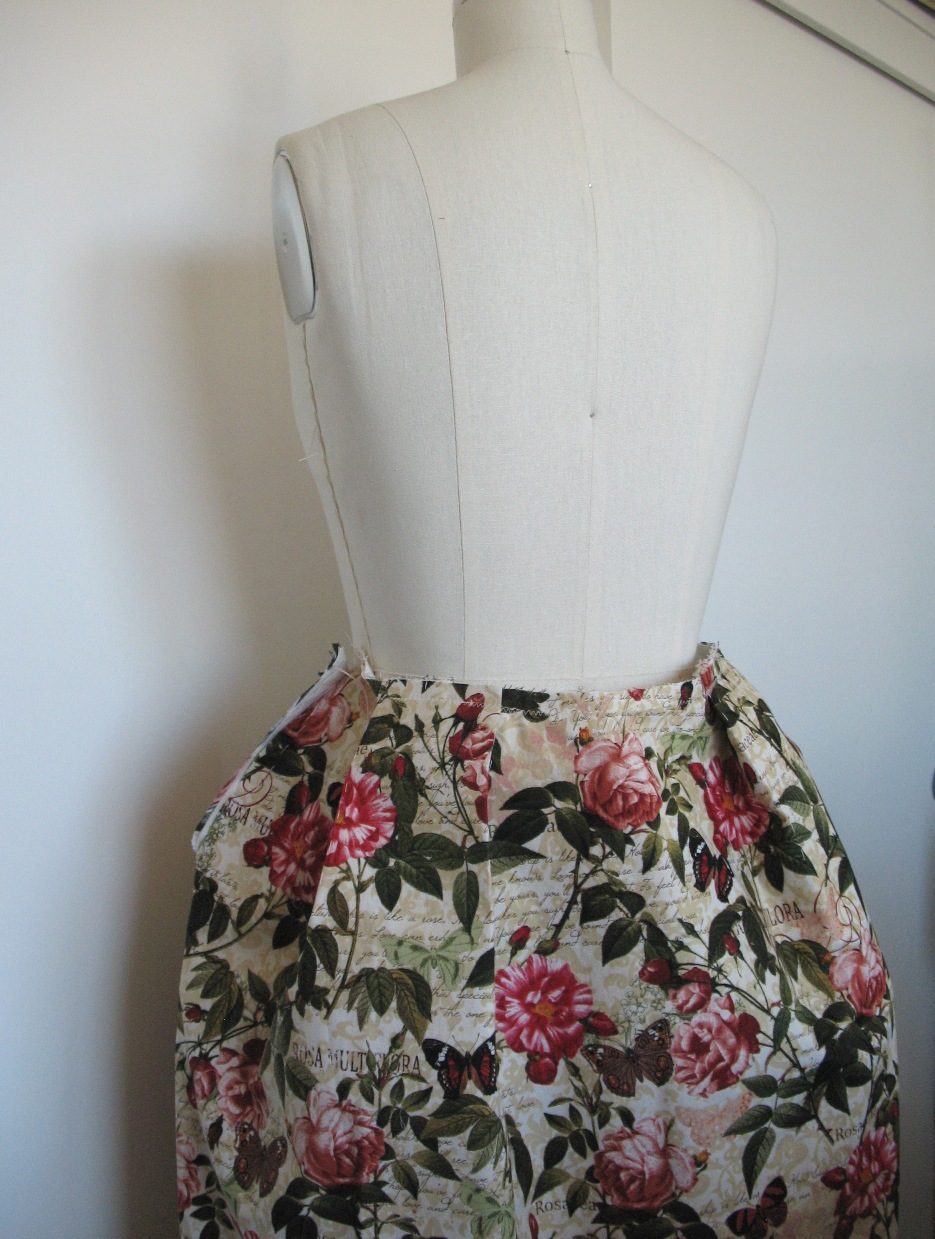
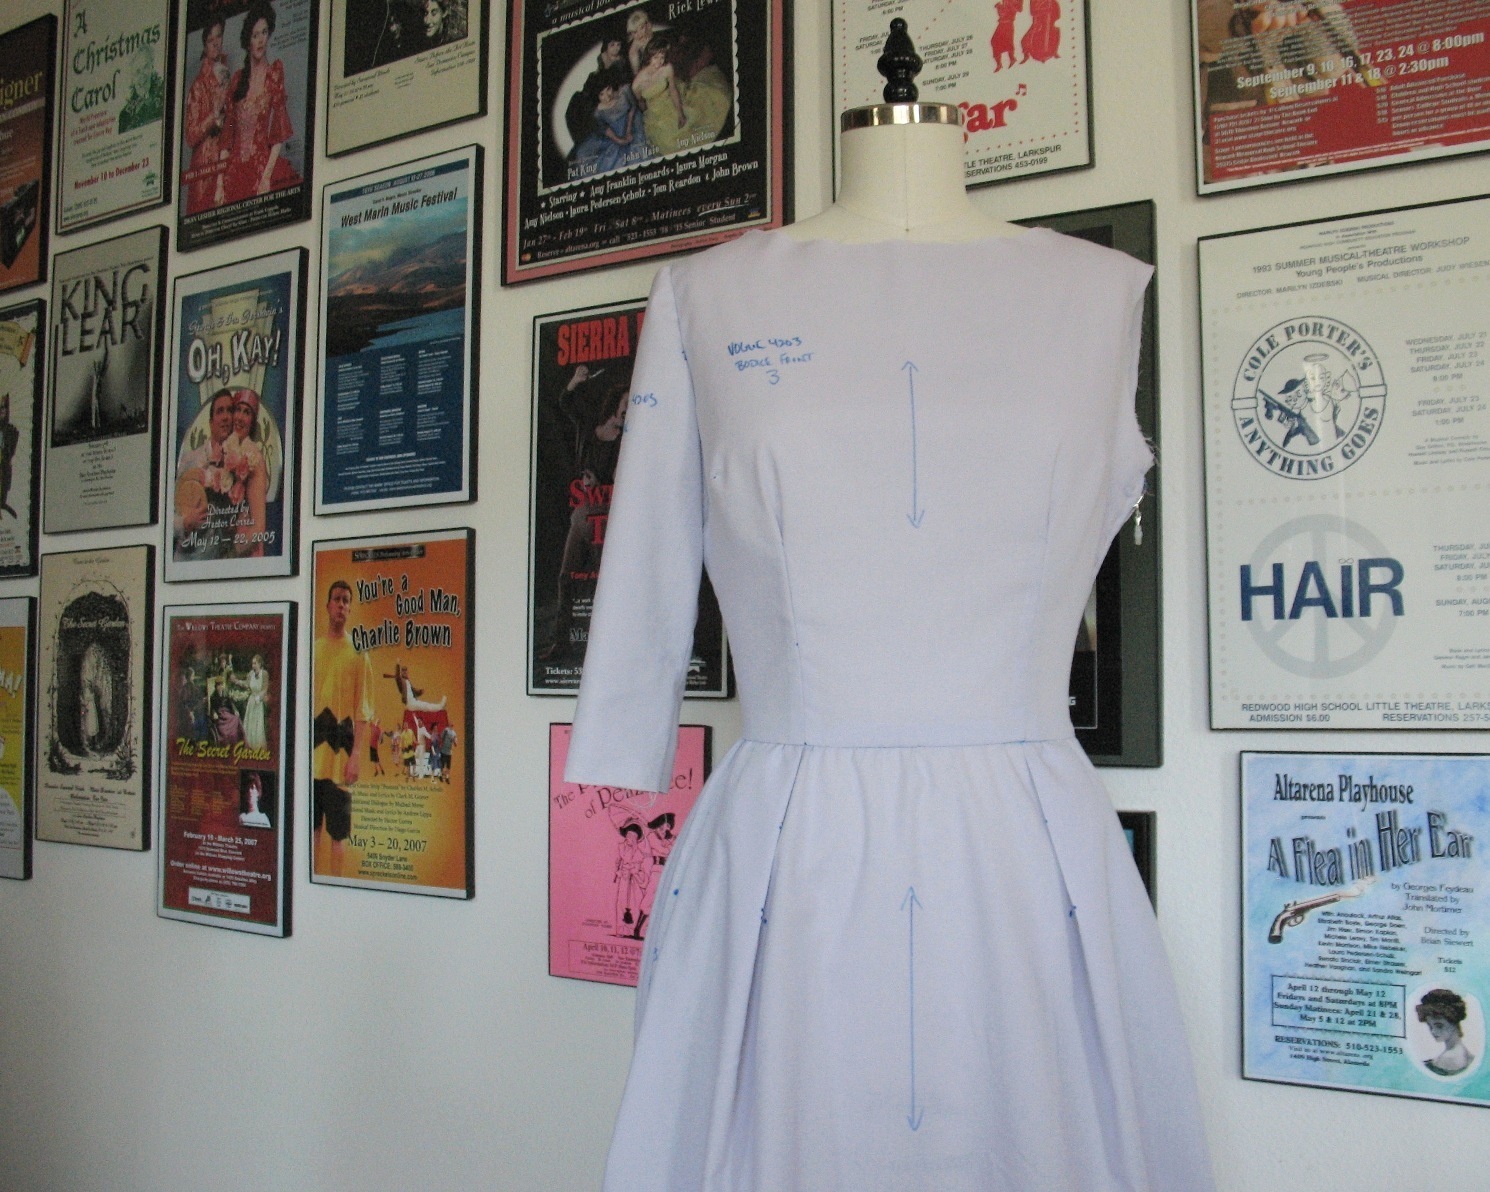
Generally, I prefer more of an a-line silhouette in a 
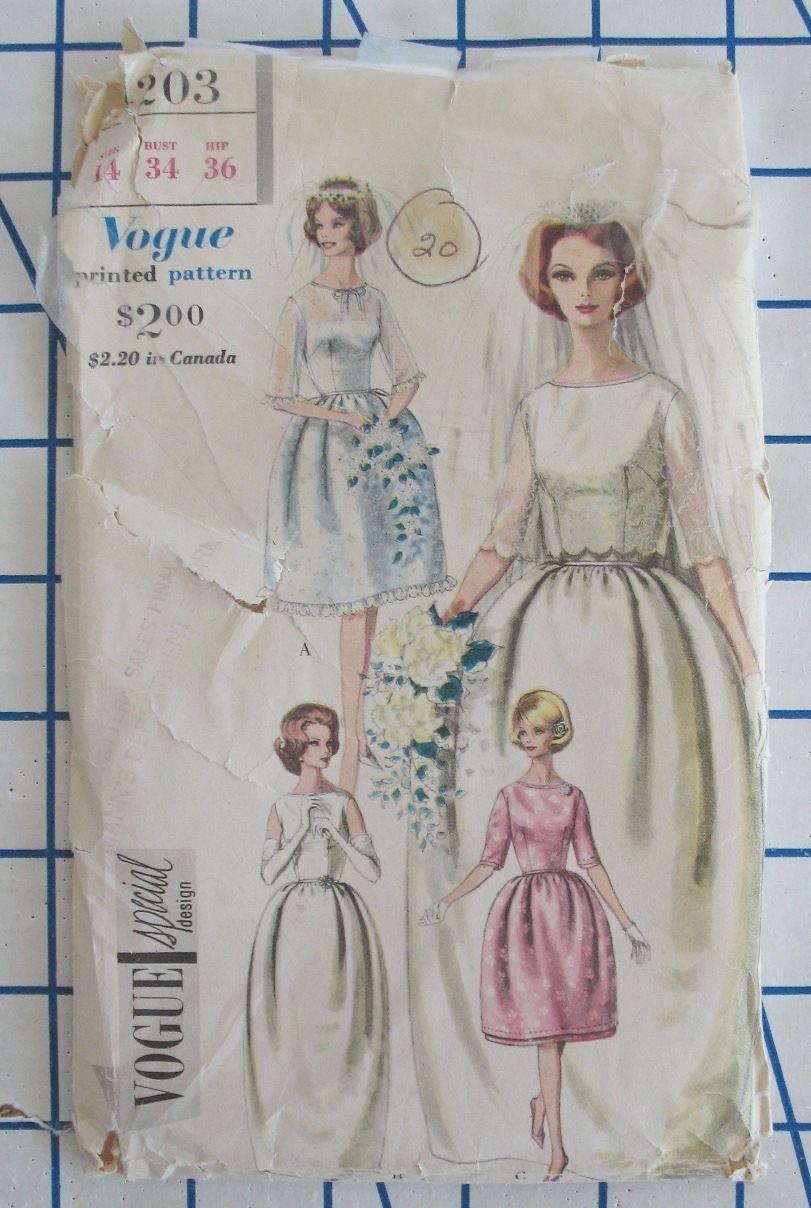
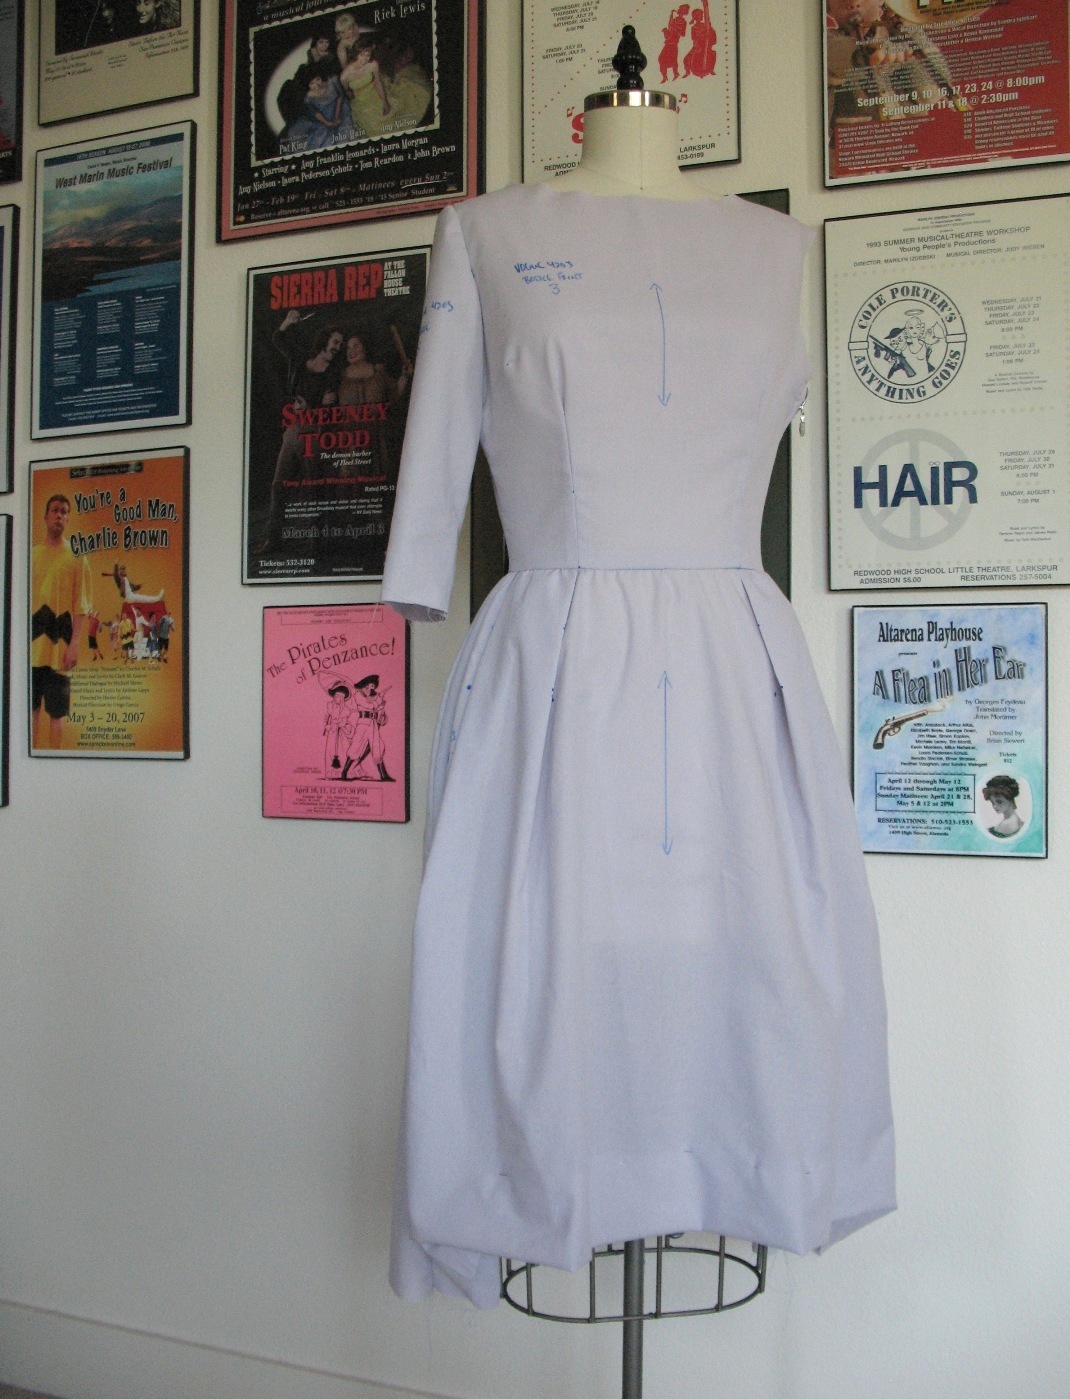
petticoat with the poof starting at mid-hip, but Vogue 4203 requires something different – something I do not currently have in my closet . . . and here we are.


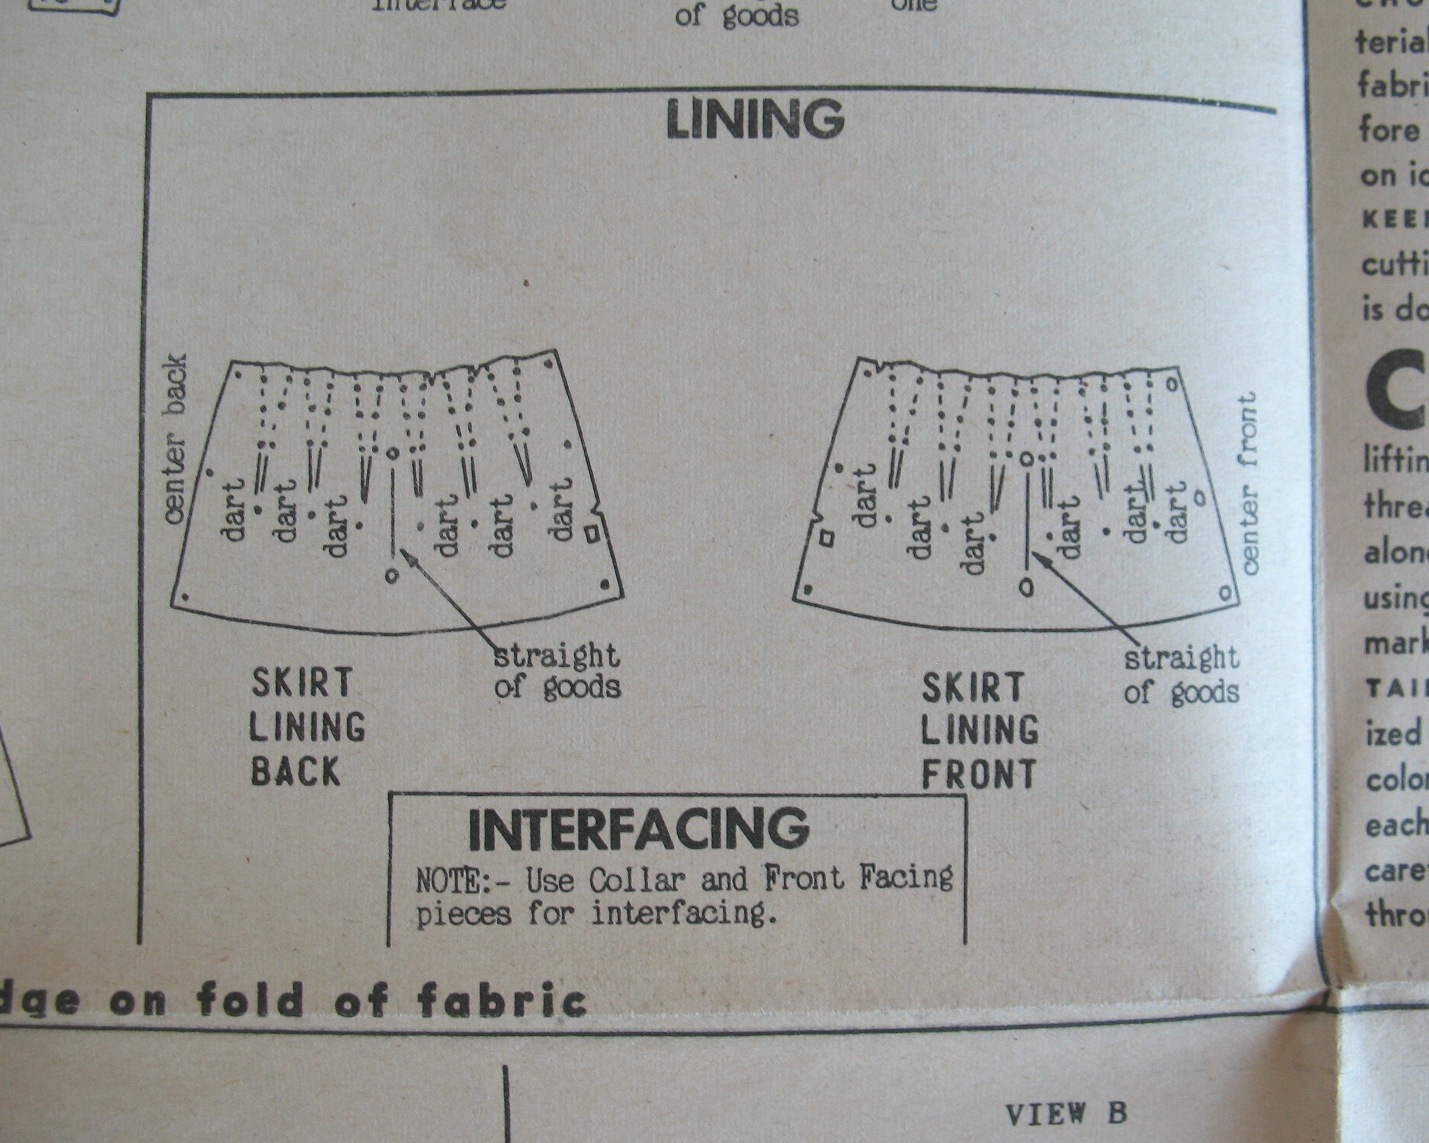
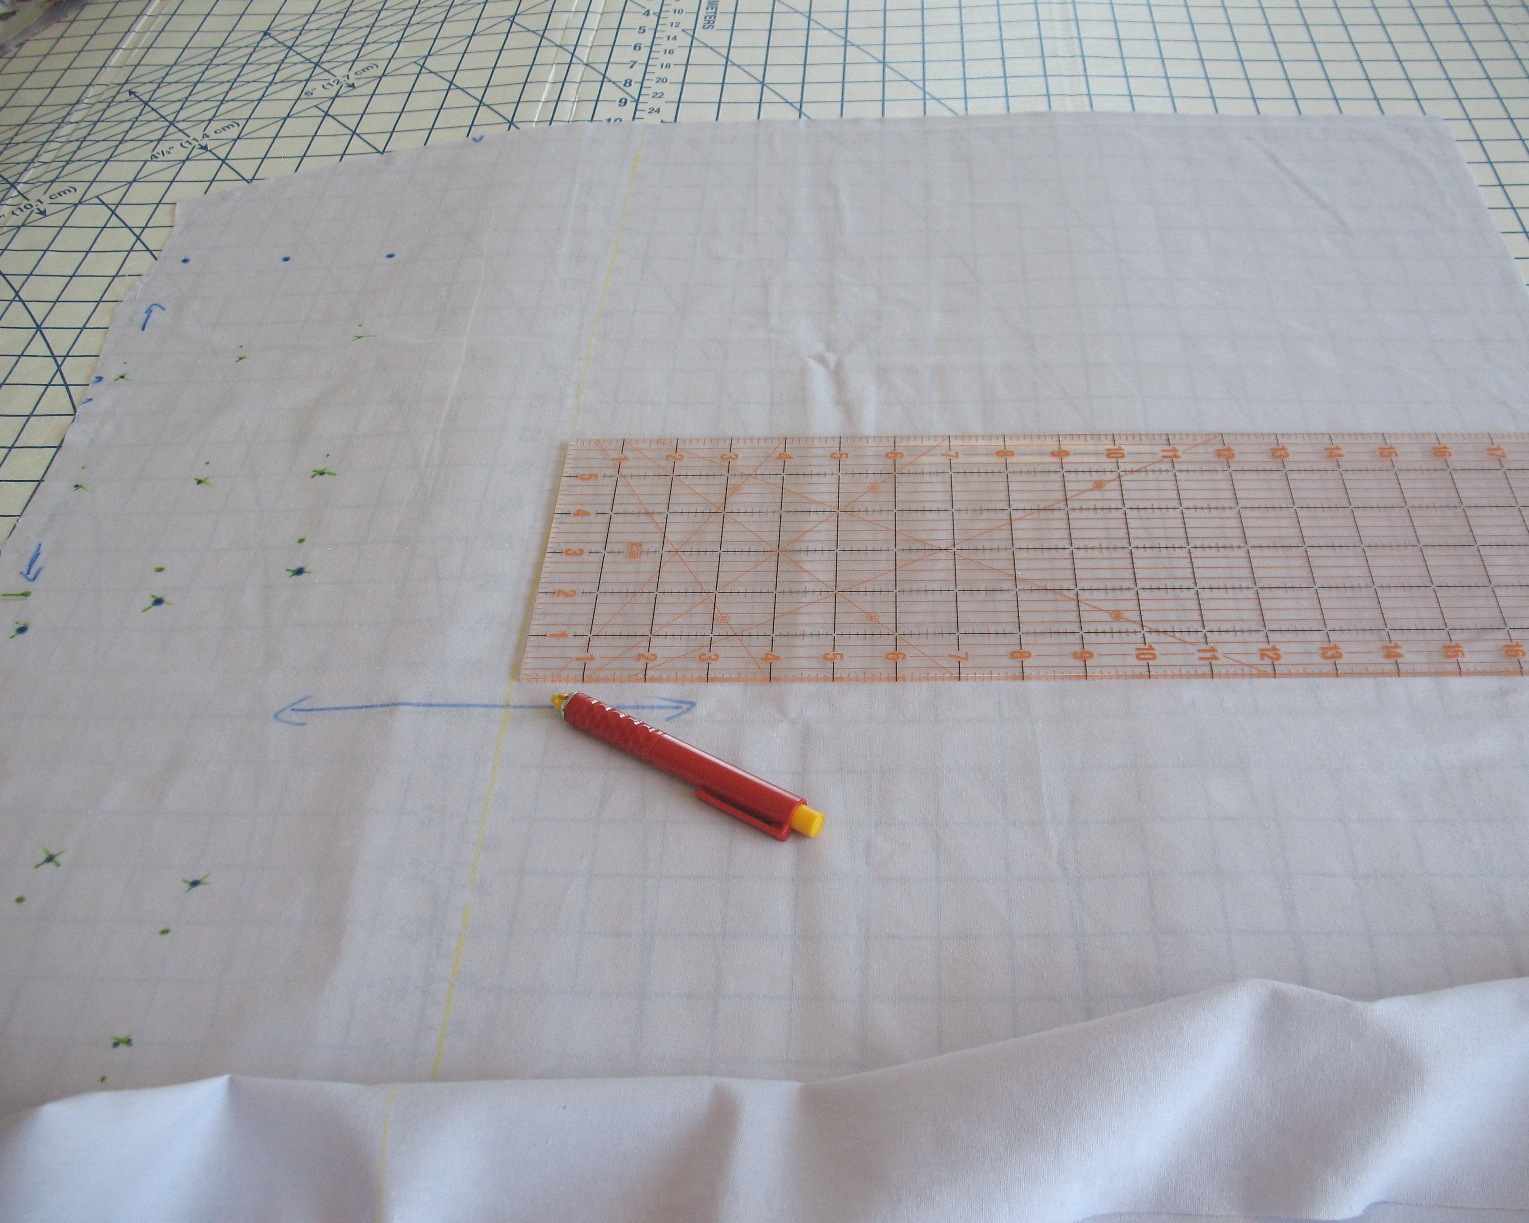
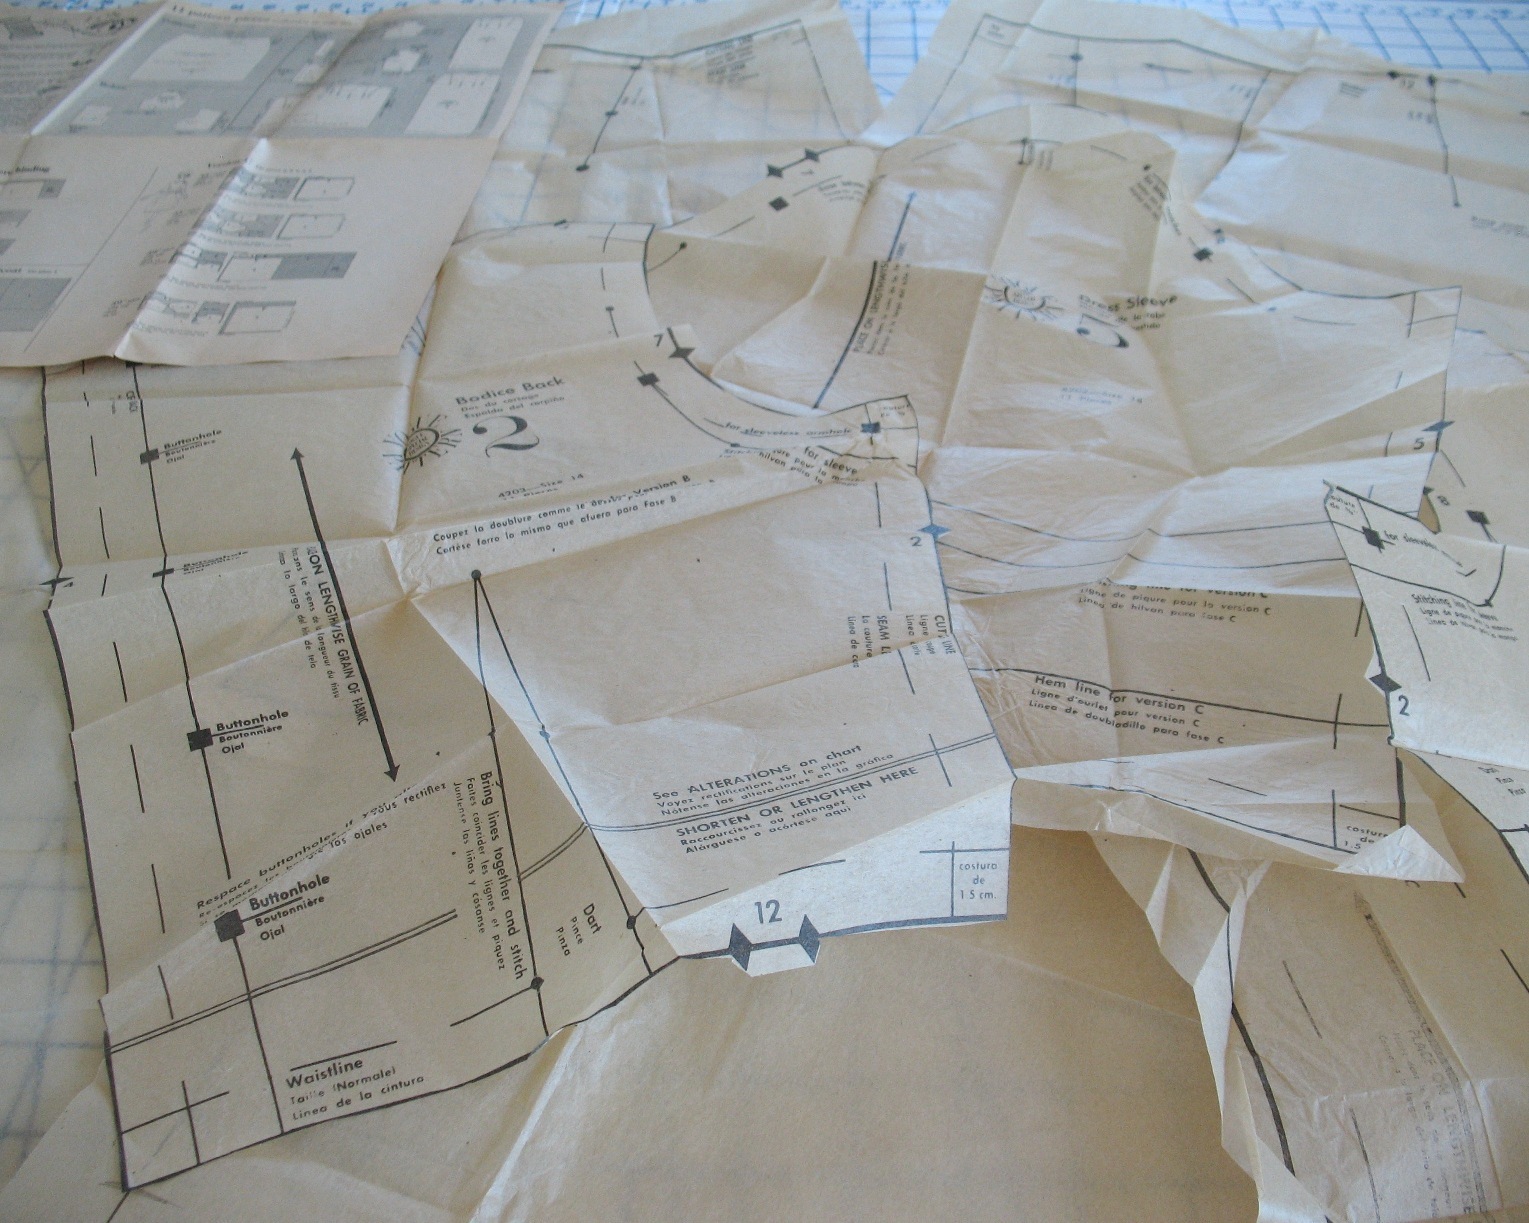
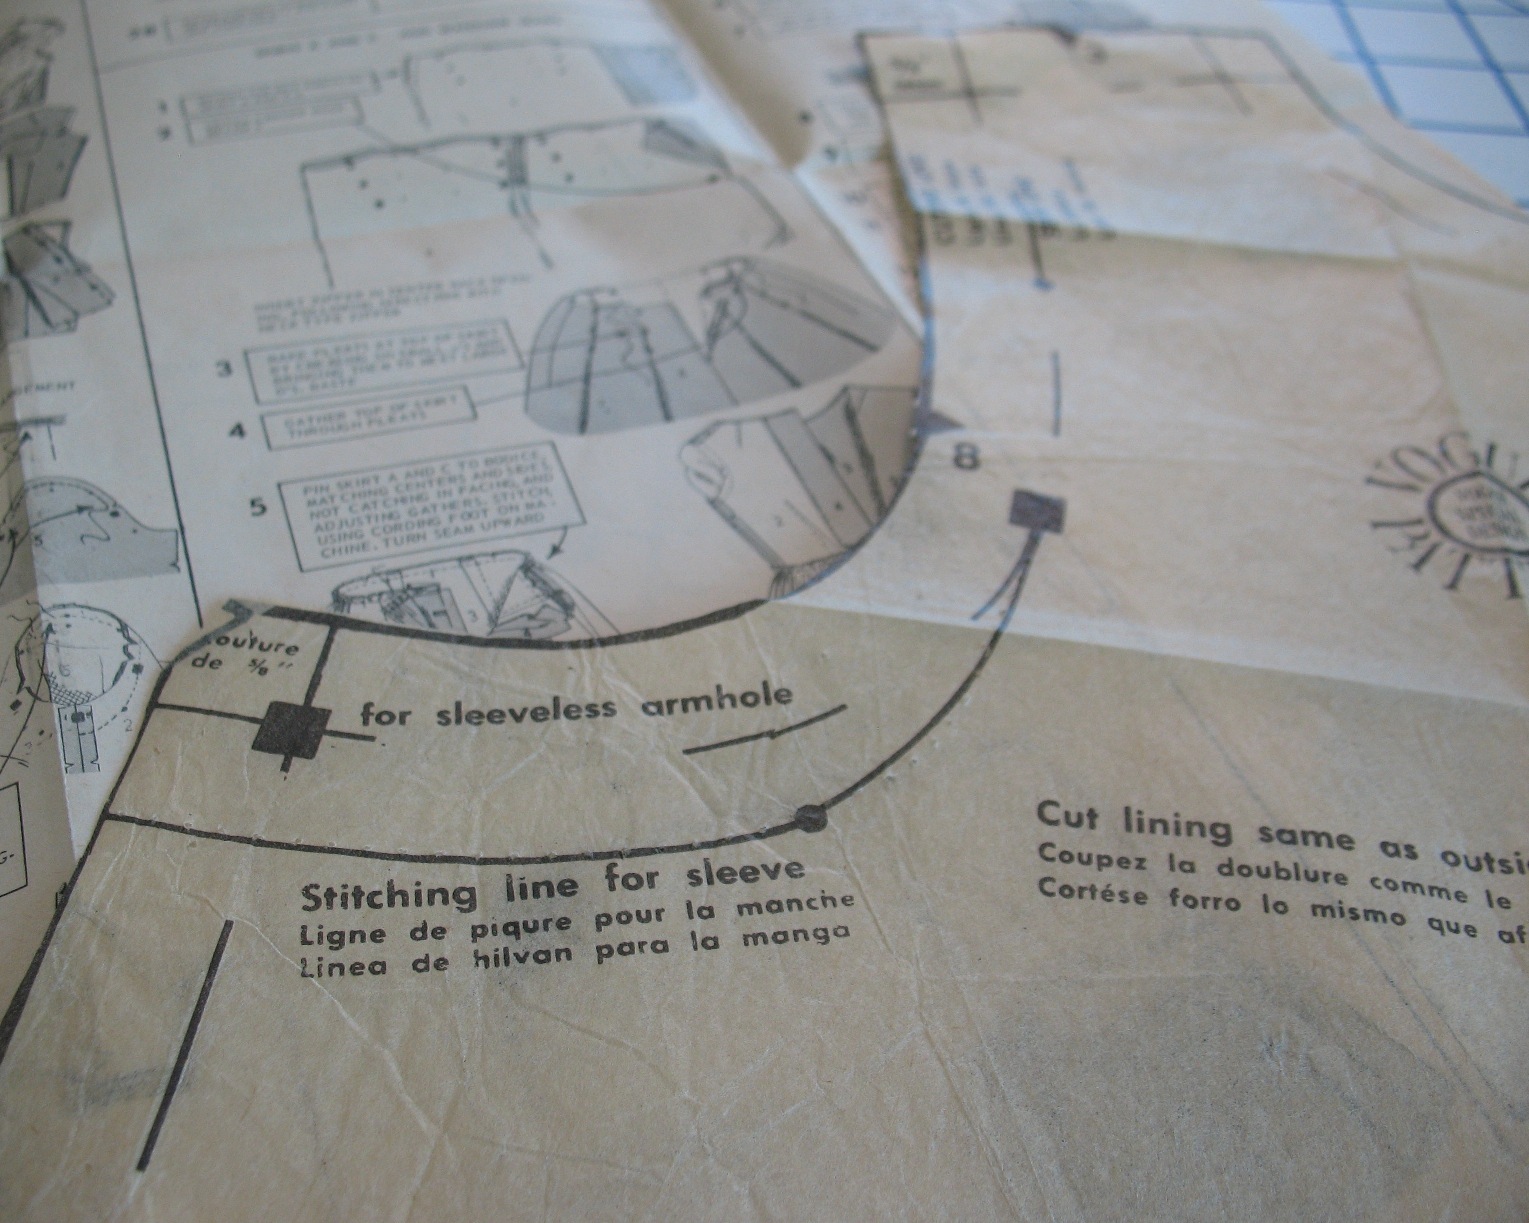
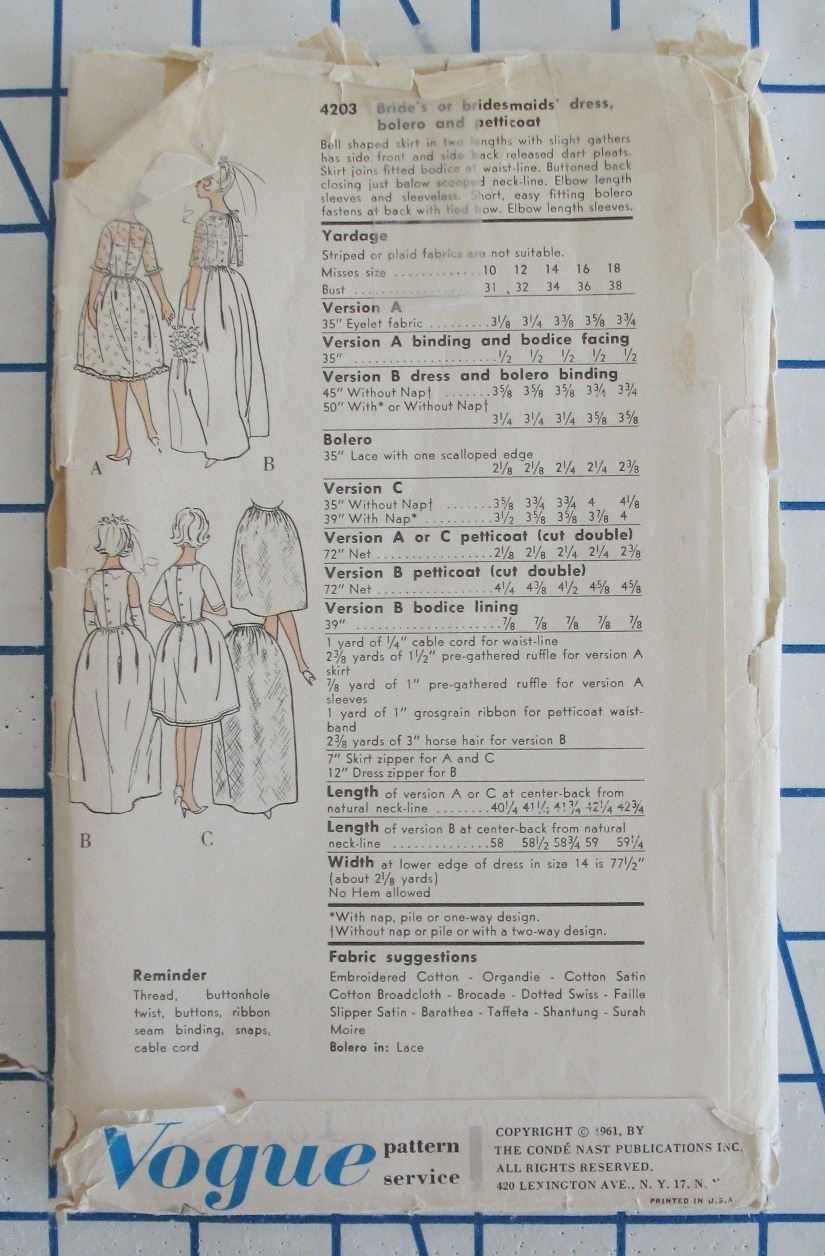
The pattern actually includes a petticoat made from a double layer of netting, although that 
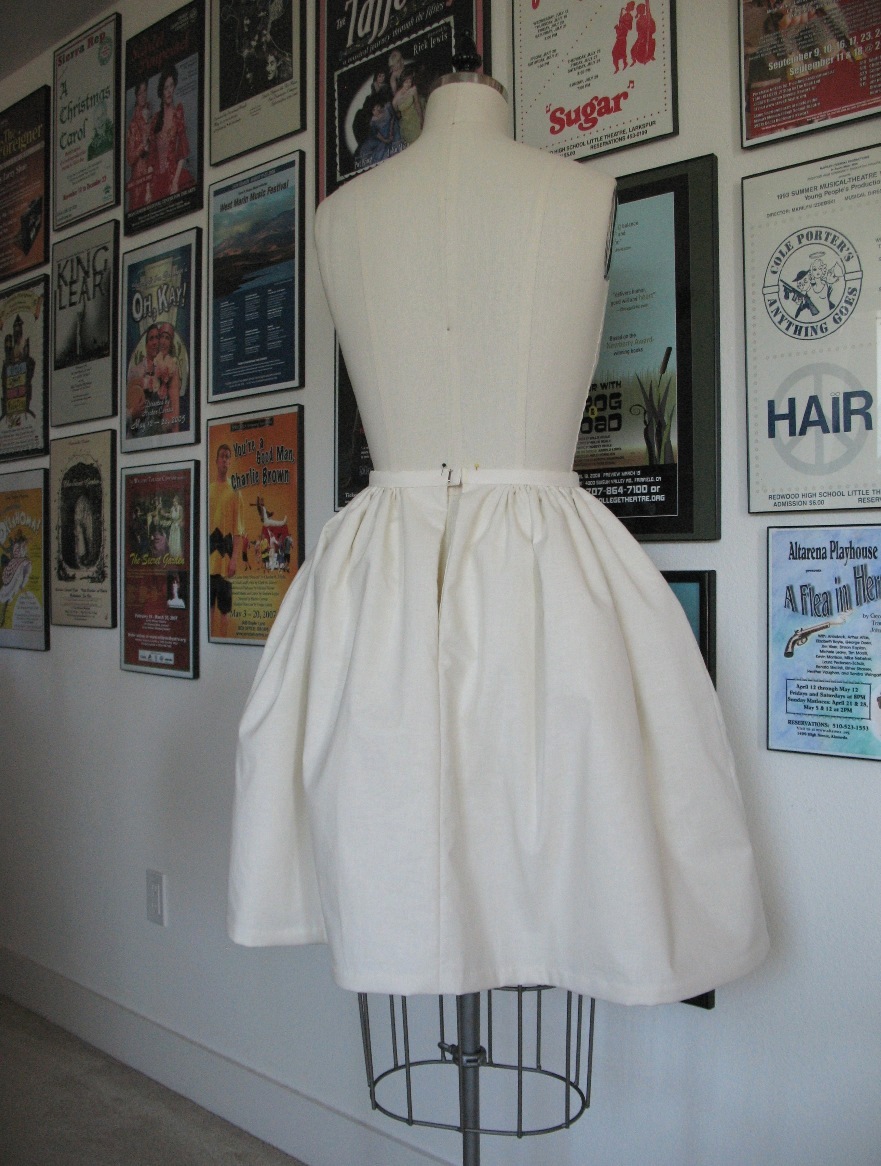
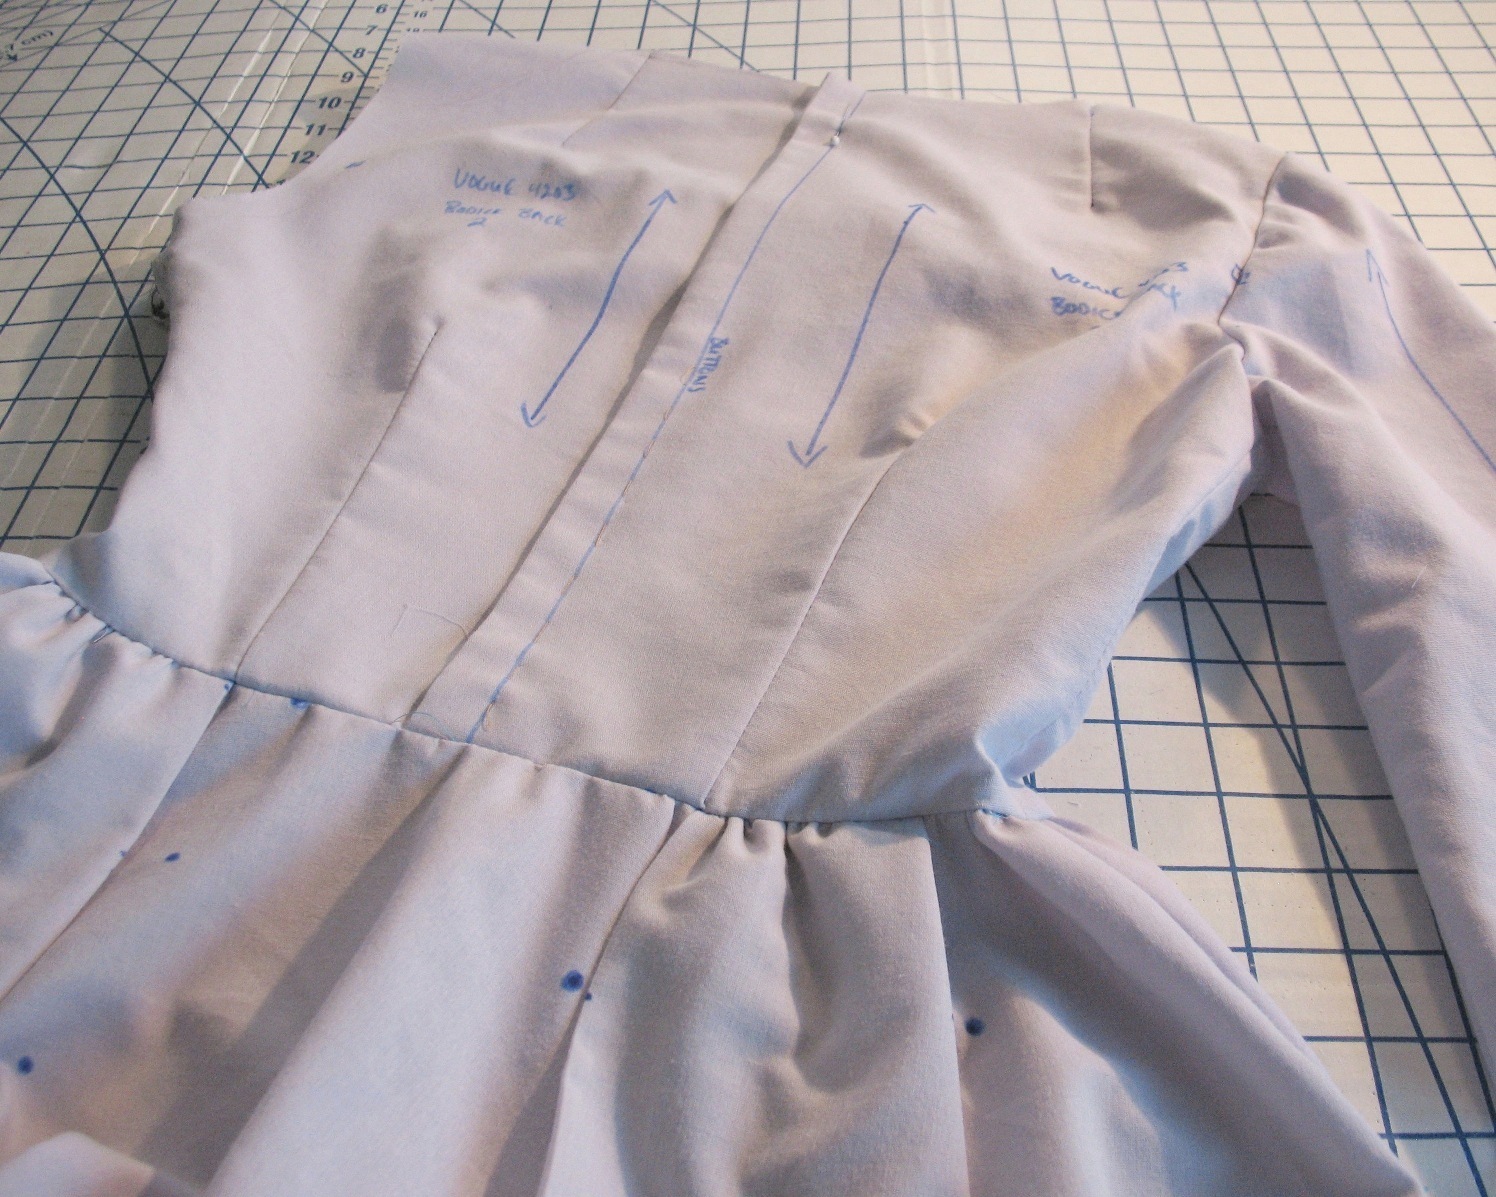
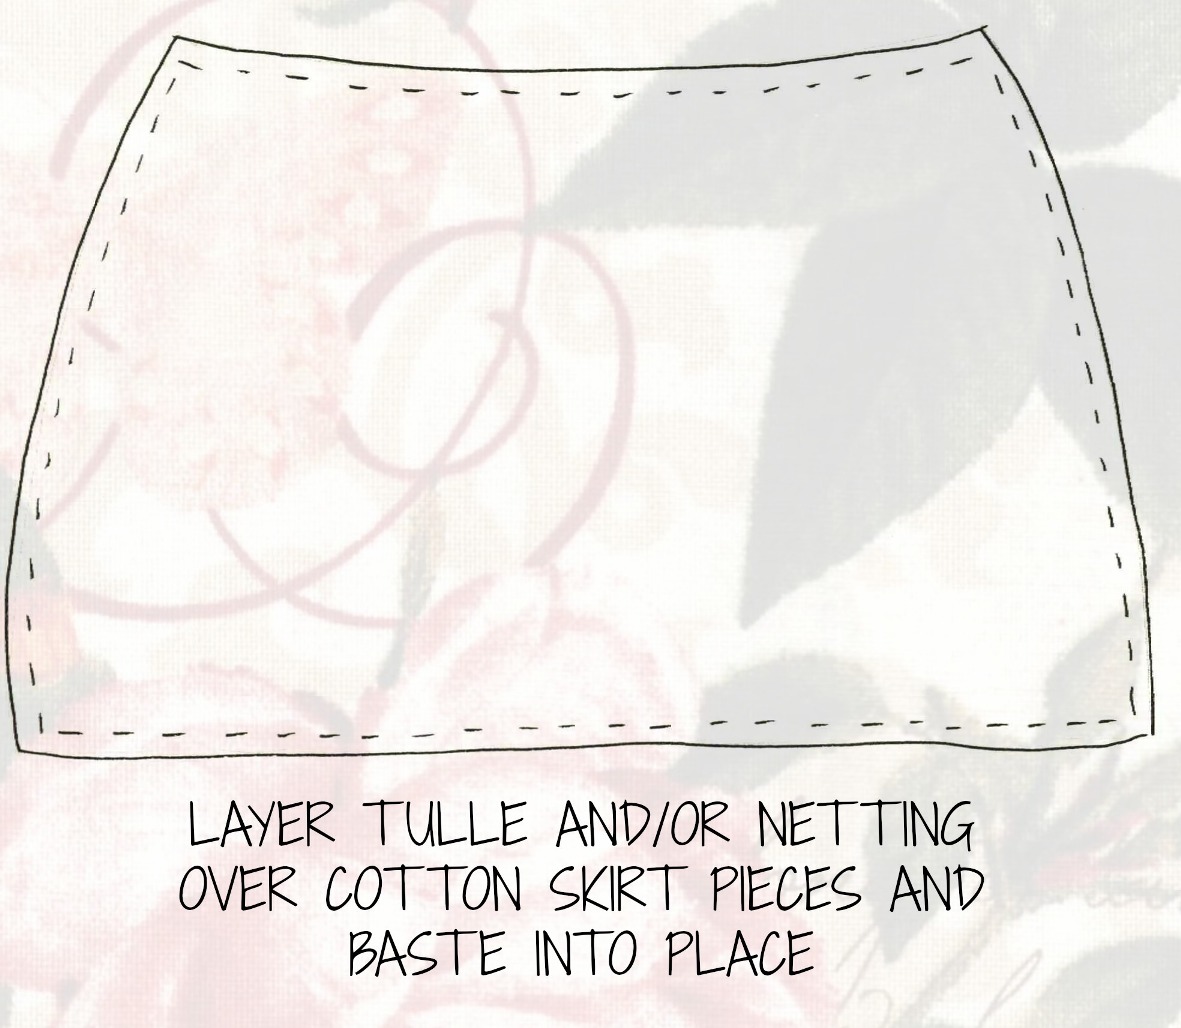
pattern piece is missing from my copy.  But never fear . . . I just used my front skirt piece to create the petticoat pattern by smoothing out the jagged upper pleated edge.  One was cut for the front of the petticoat, and one was cut out and then cut in half for the back (I prefer to have a center back opening so the side gathers are more even on both sides).  But really any gathered skirt pattern should work with minor modifications - just look for one that is similar to the silhouette you are looking to create.

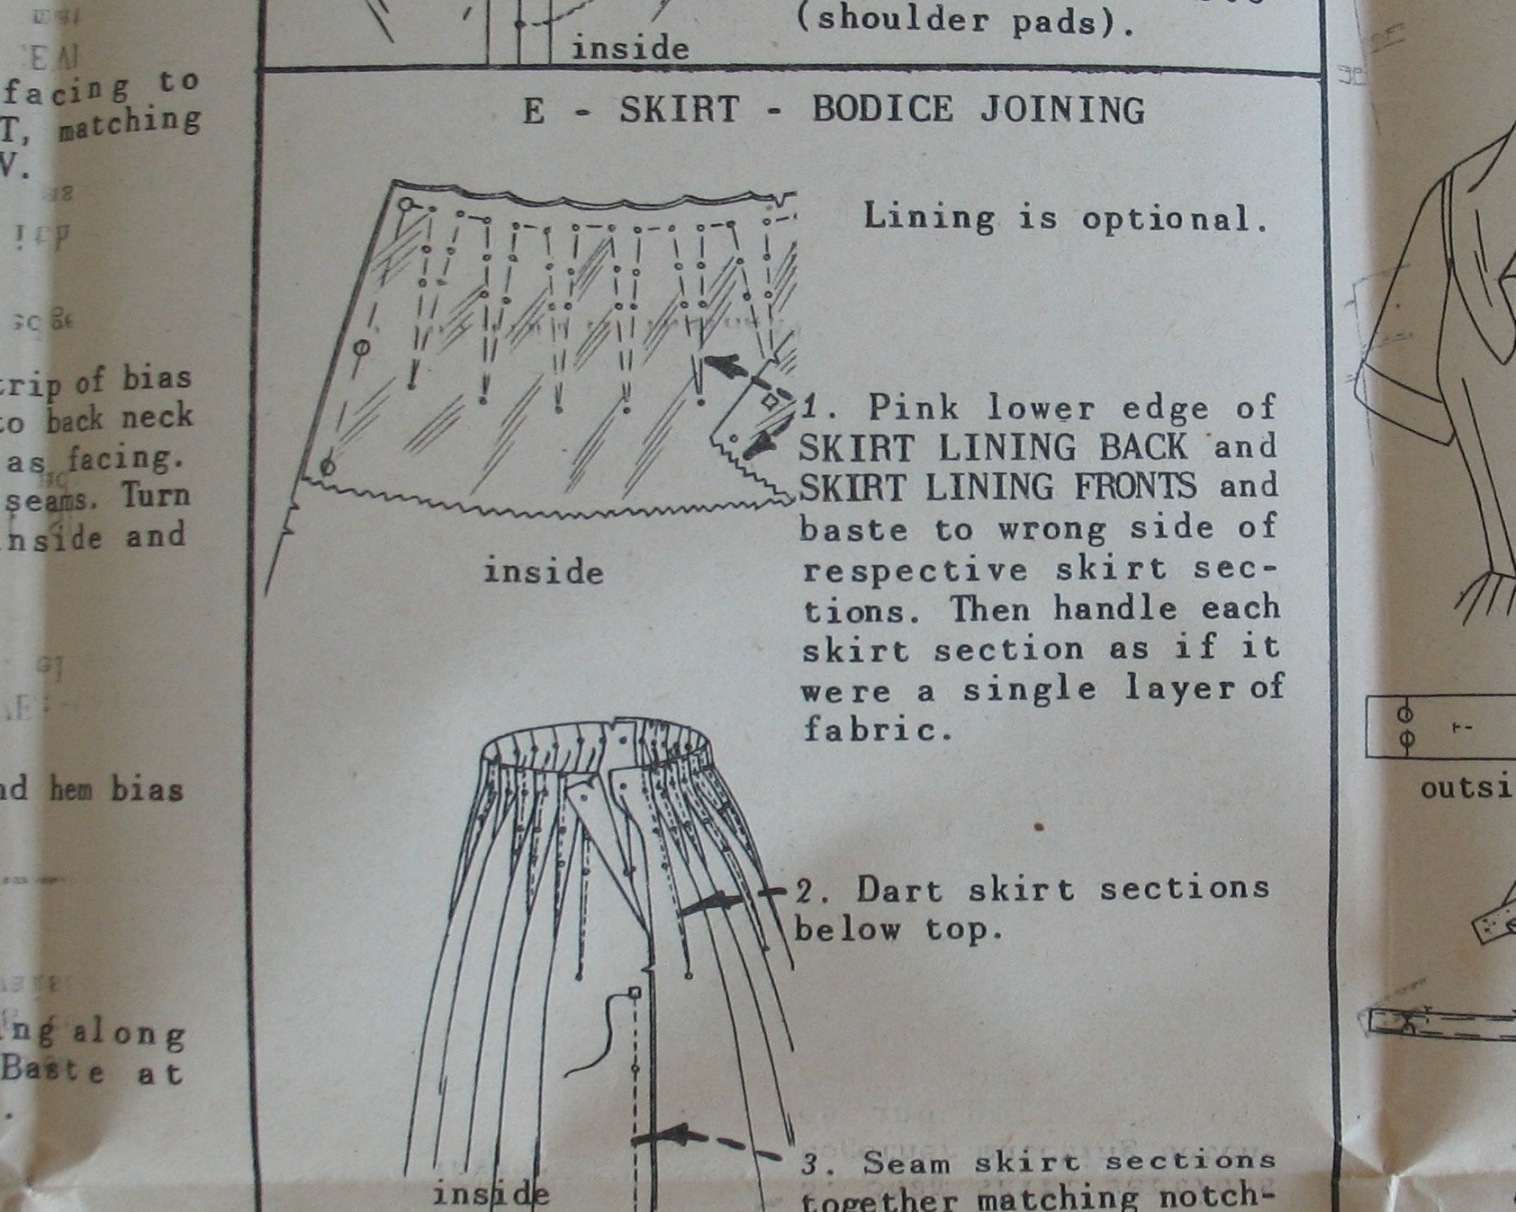
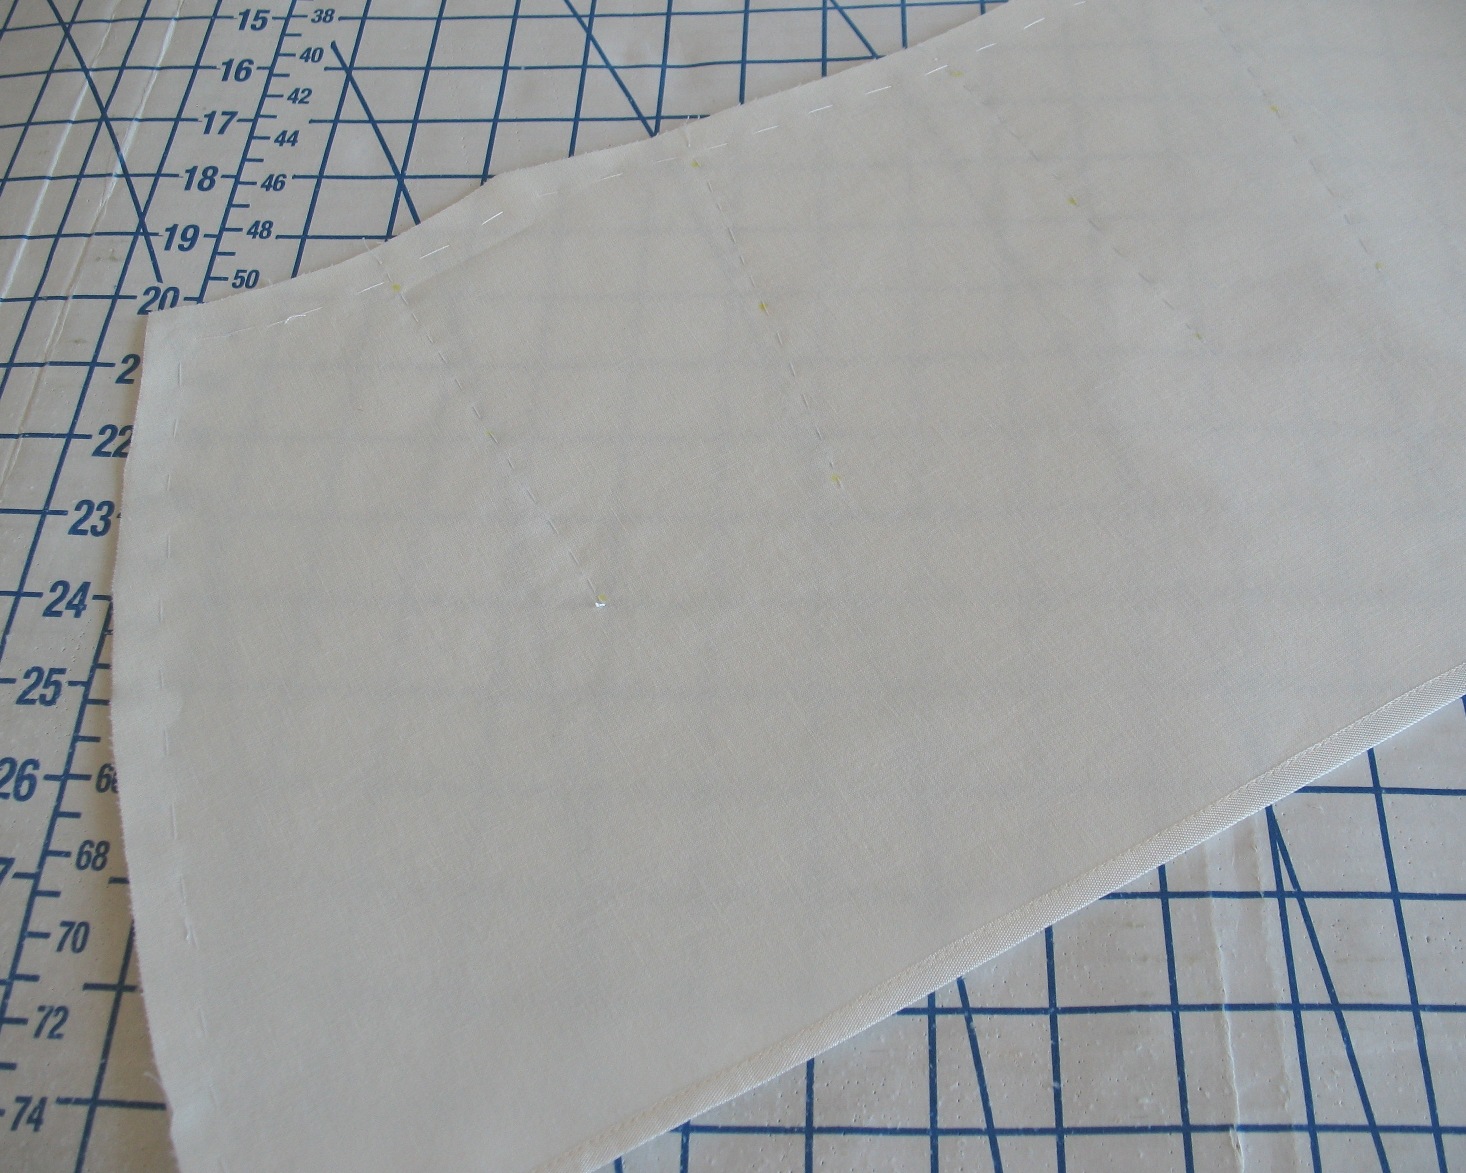
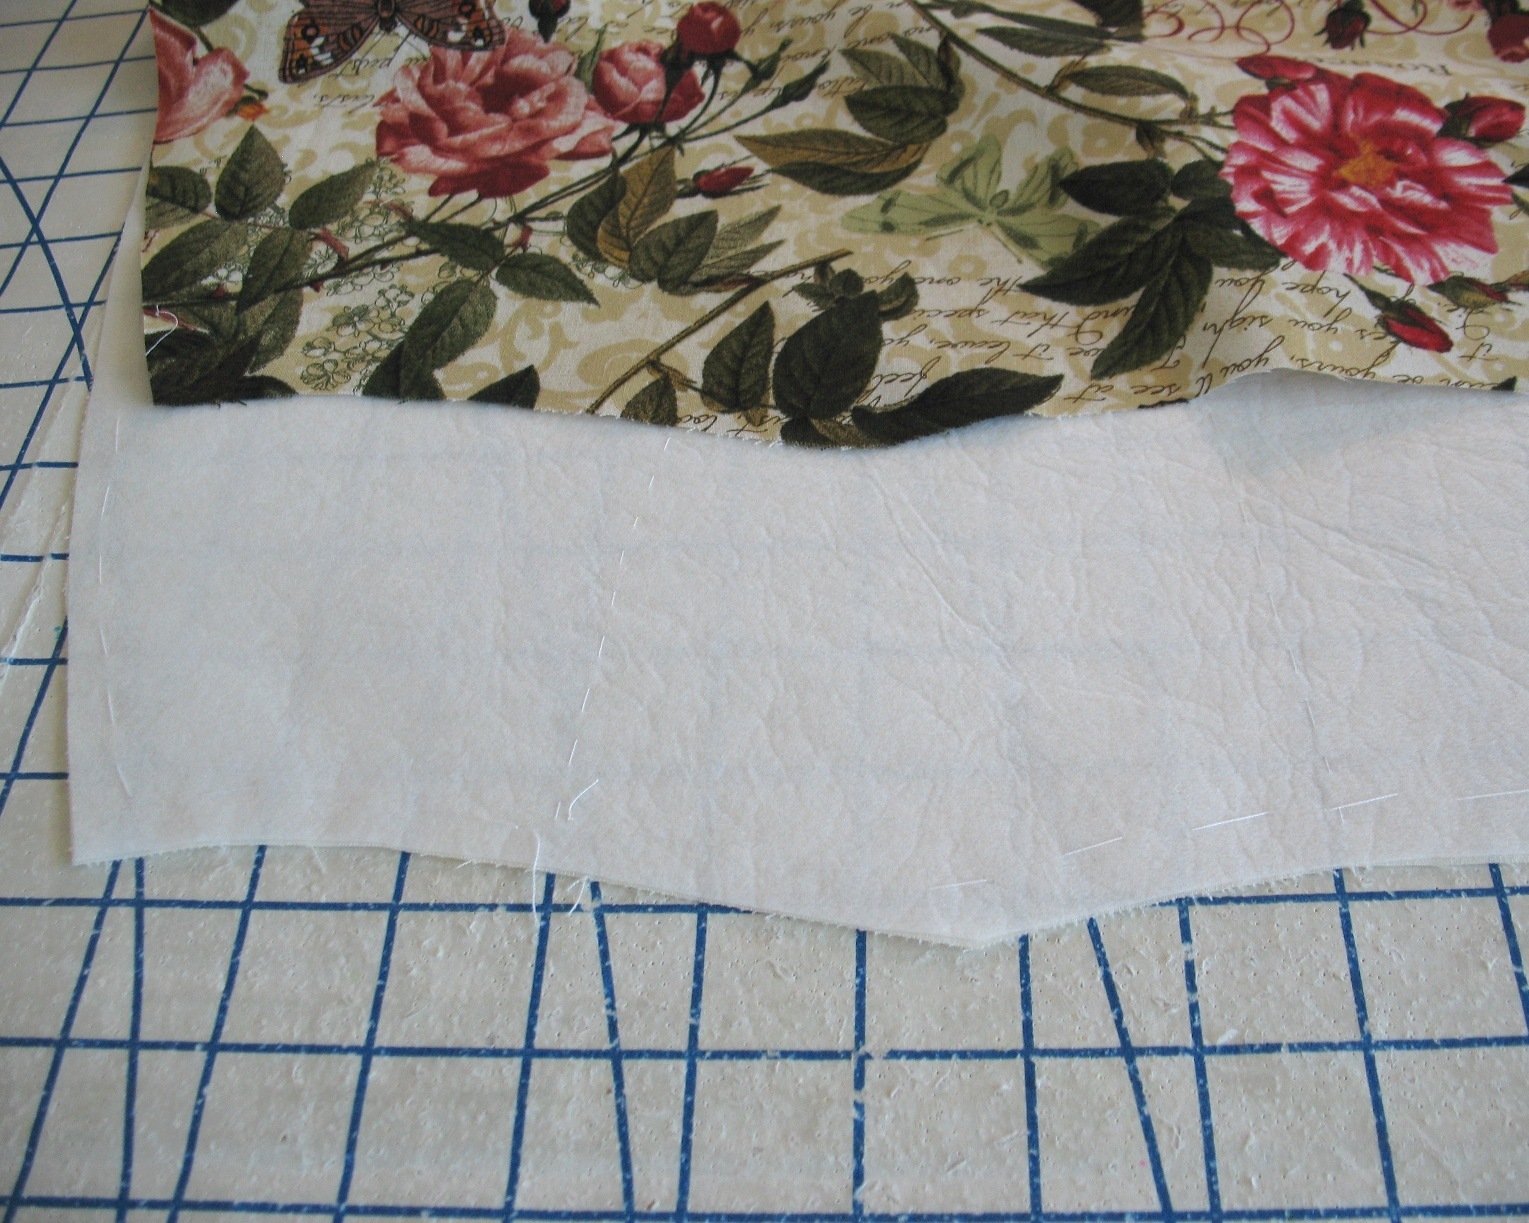
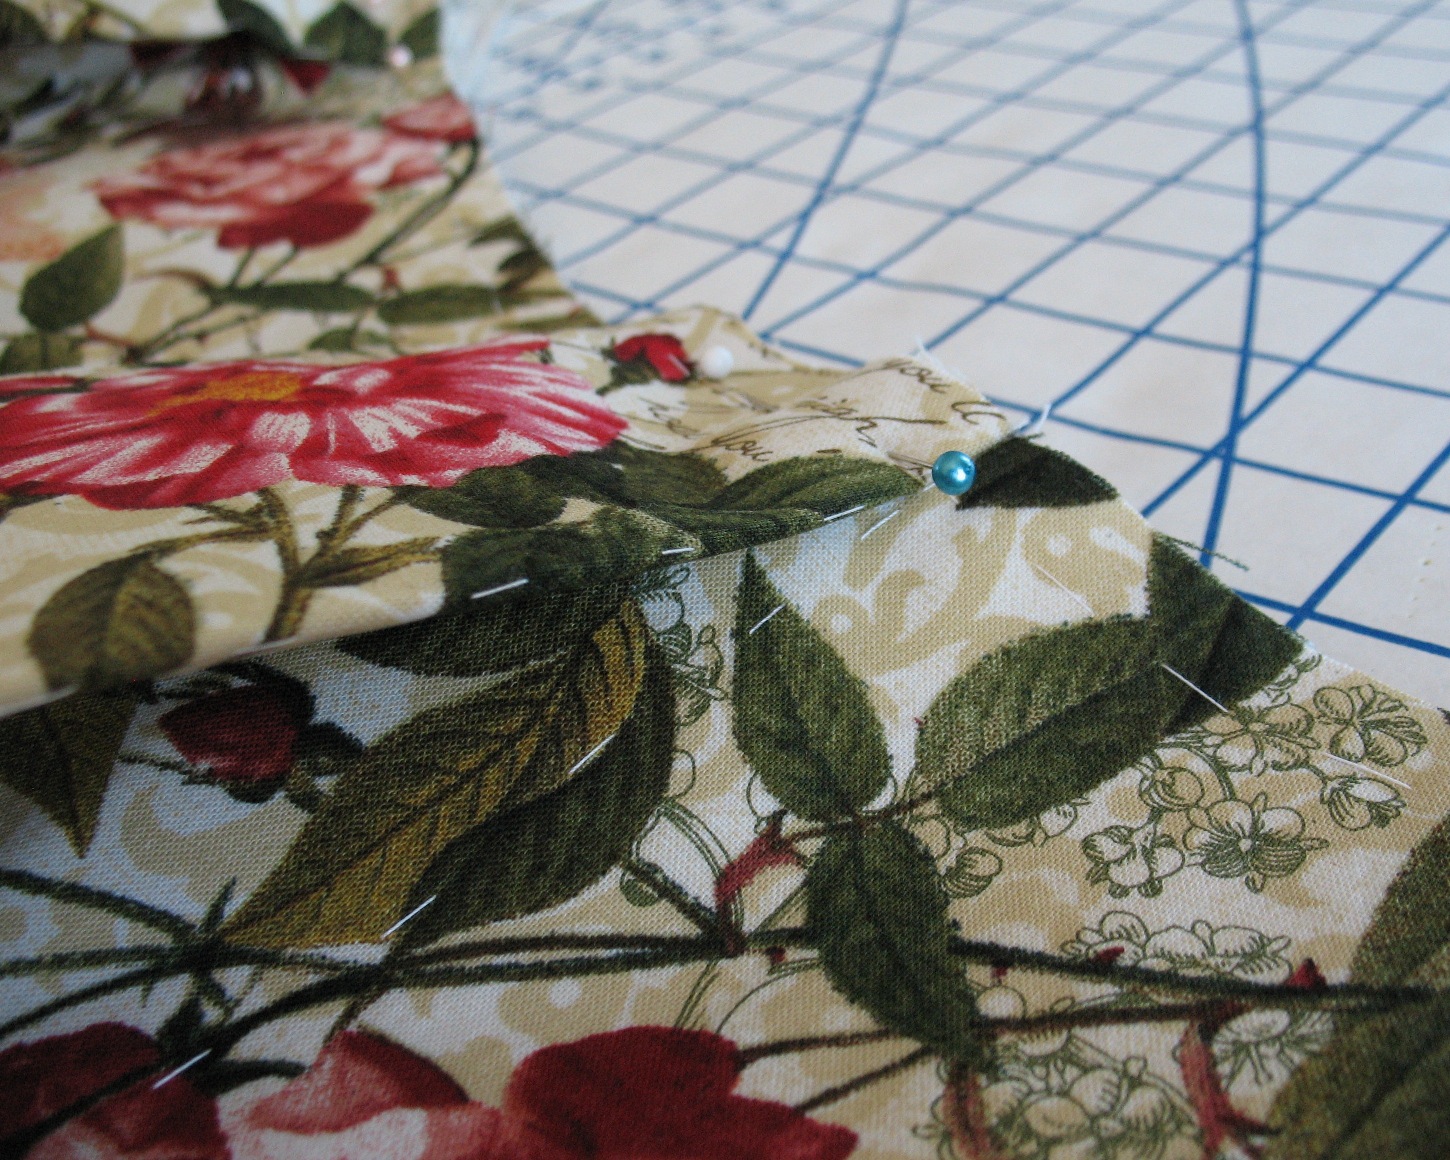
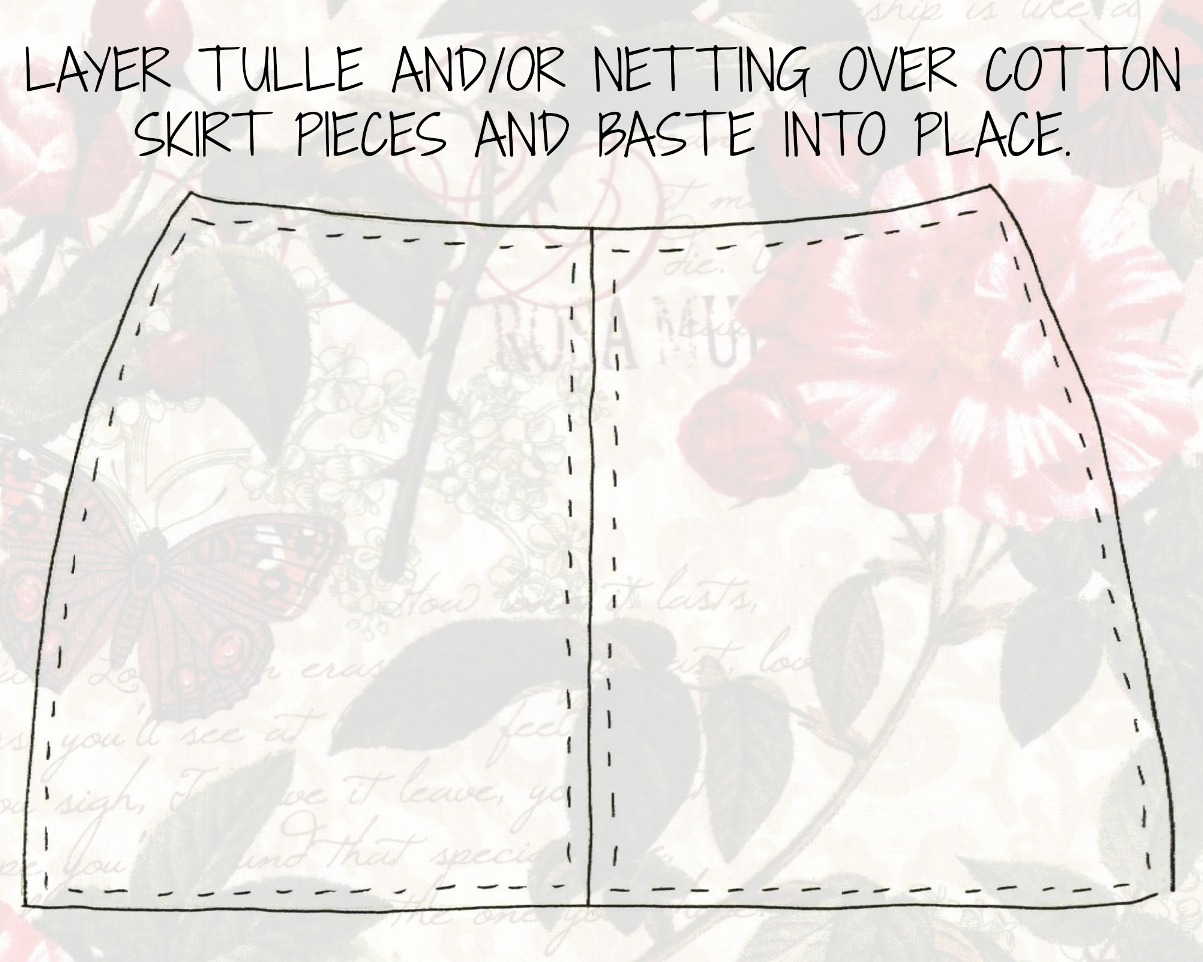
Layer your tulle and/or netting over a layer of cotton and baste into place along the edges.  Repeat for the back pieces.  


Many petticoats are made exclusively from netting.  I find this rather itchy.  Tulle is a less itchy option with less body than netting, but it can still irritate my skin.  My solution is to layer the itchiness between layers of cotton.


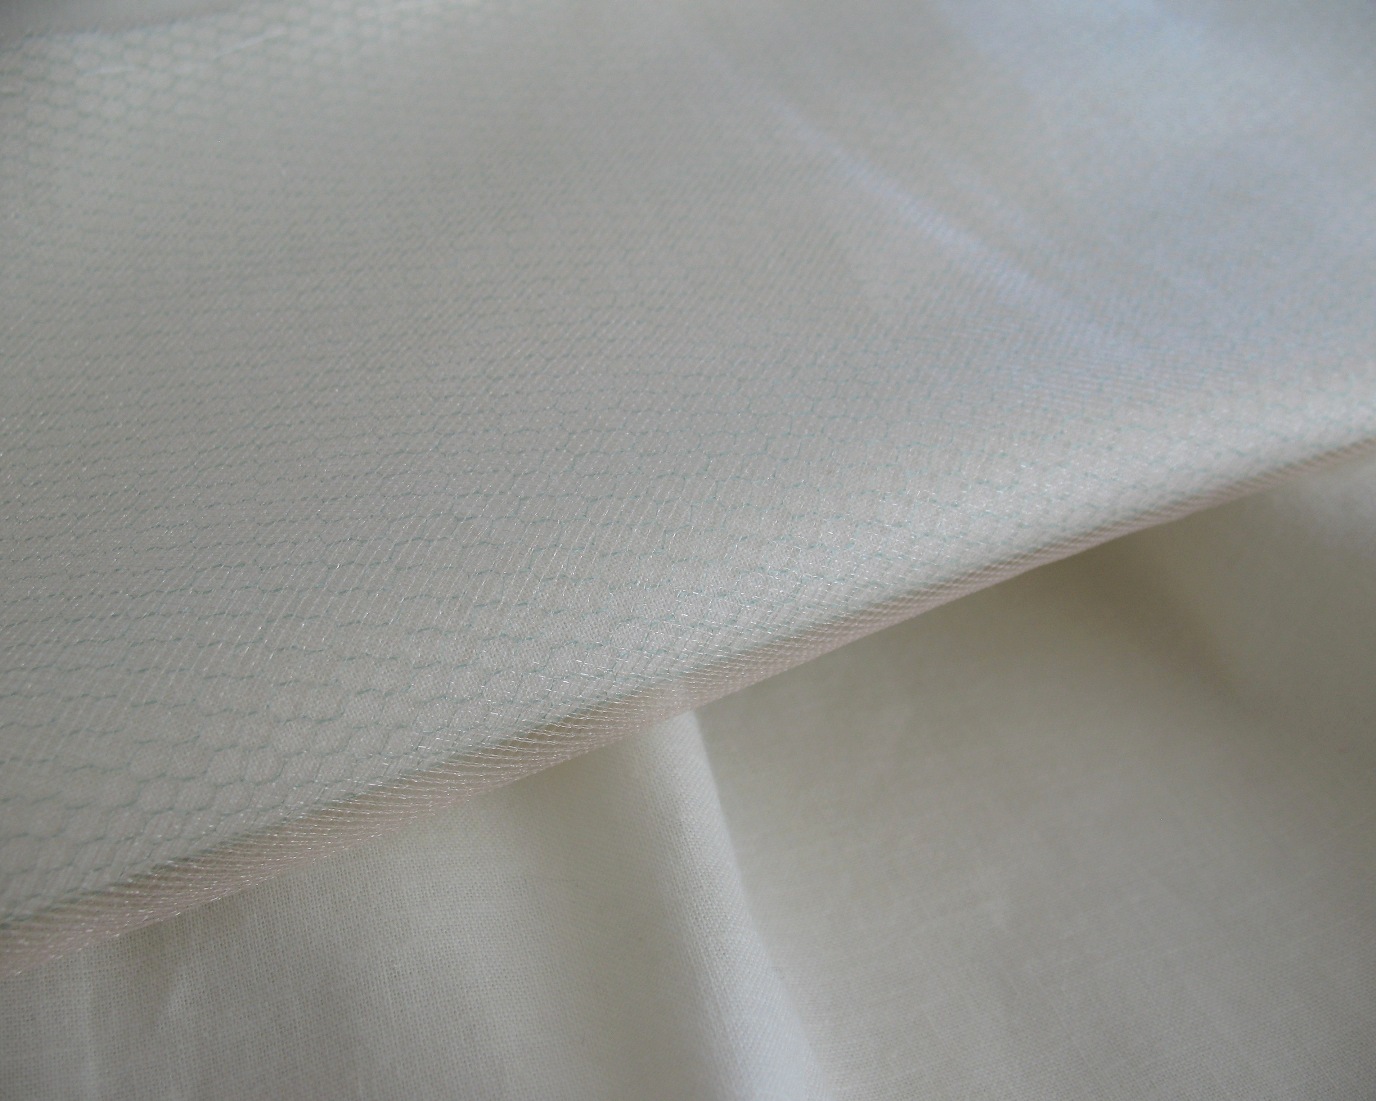
For this particular petticoat, I used a single layer of tulle (pink) over a single layer of netting (green) basted to a layer of cotton. 


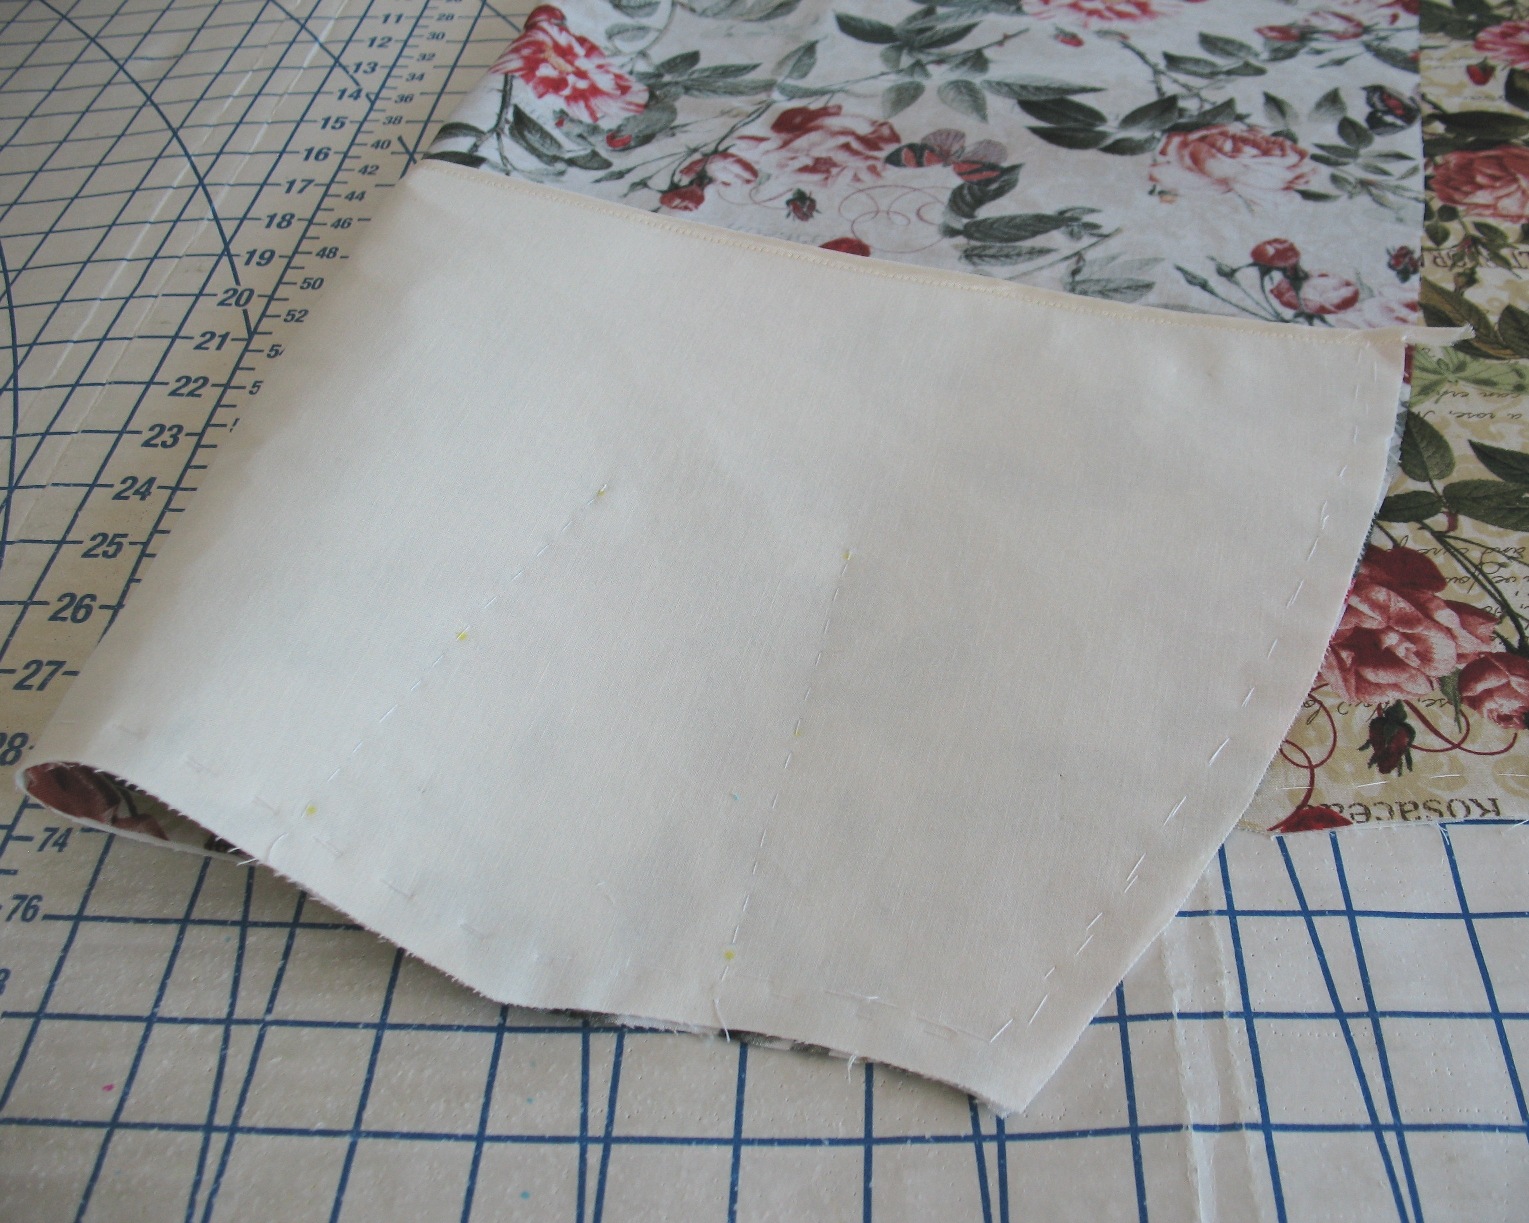
The tulle, netting, and cotton will now be treated as a single layer.  Stitch the side seams together and stitch the center back seam, leaving an opening at the top.


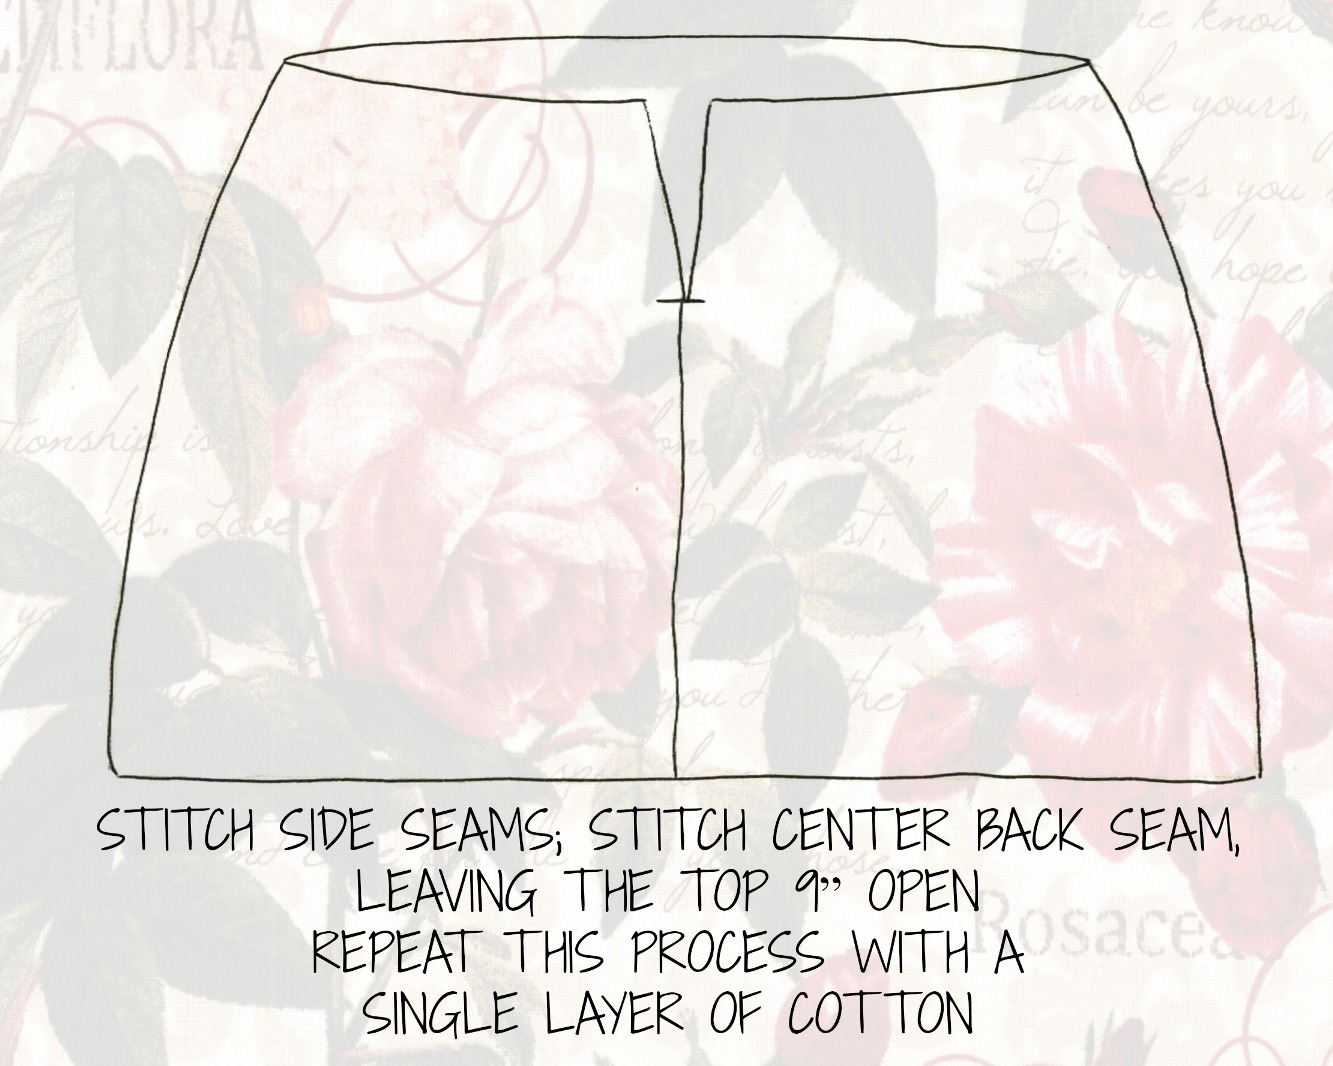
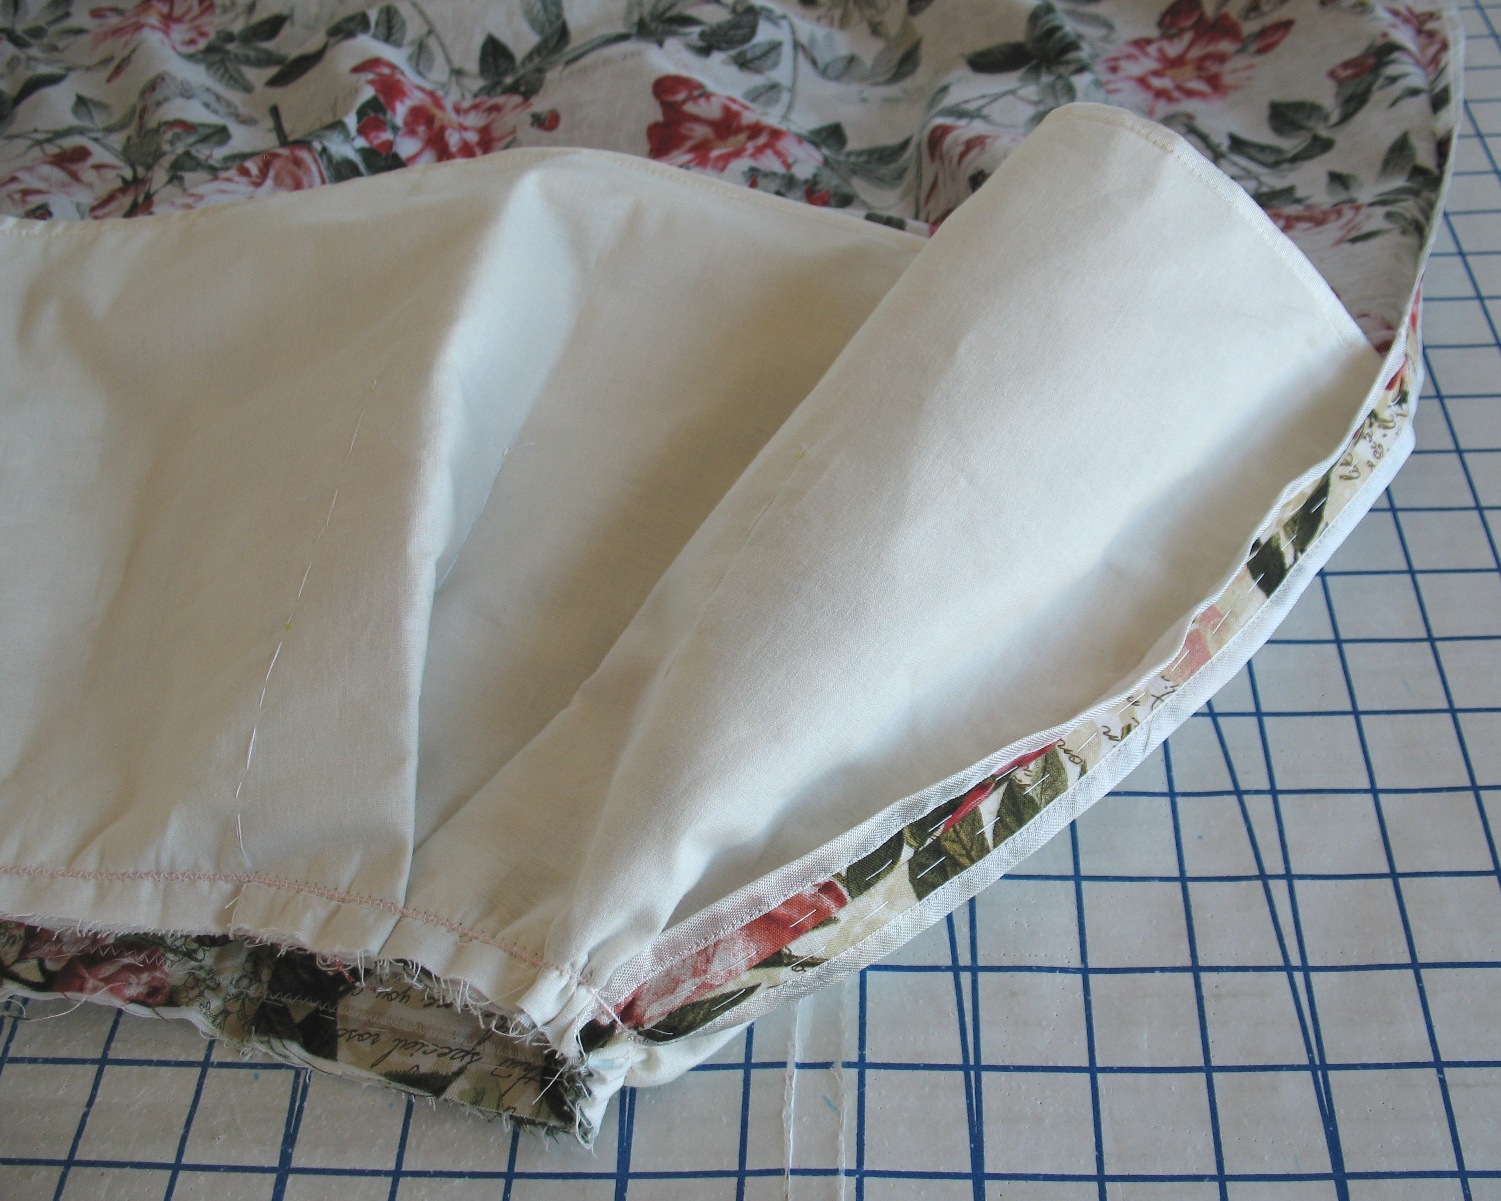
Repeat this process with a single layer of cotton.  Now you should have the beginnings of two separate skirts, one that contains layers of tulle, netting, and cotton, and a duplicate lining made of cotton.

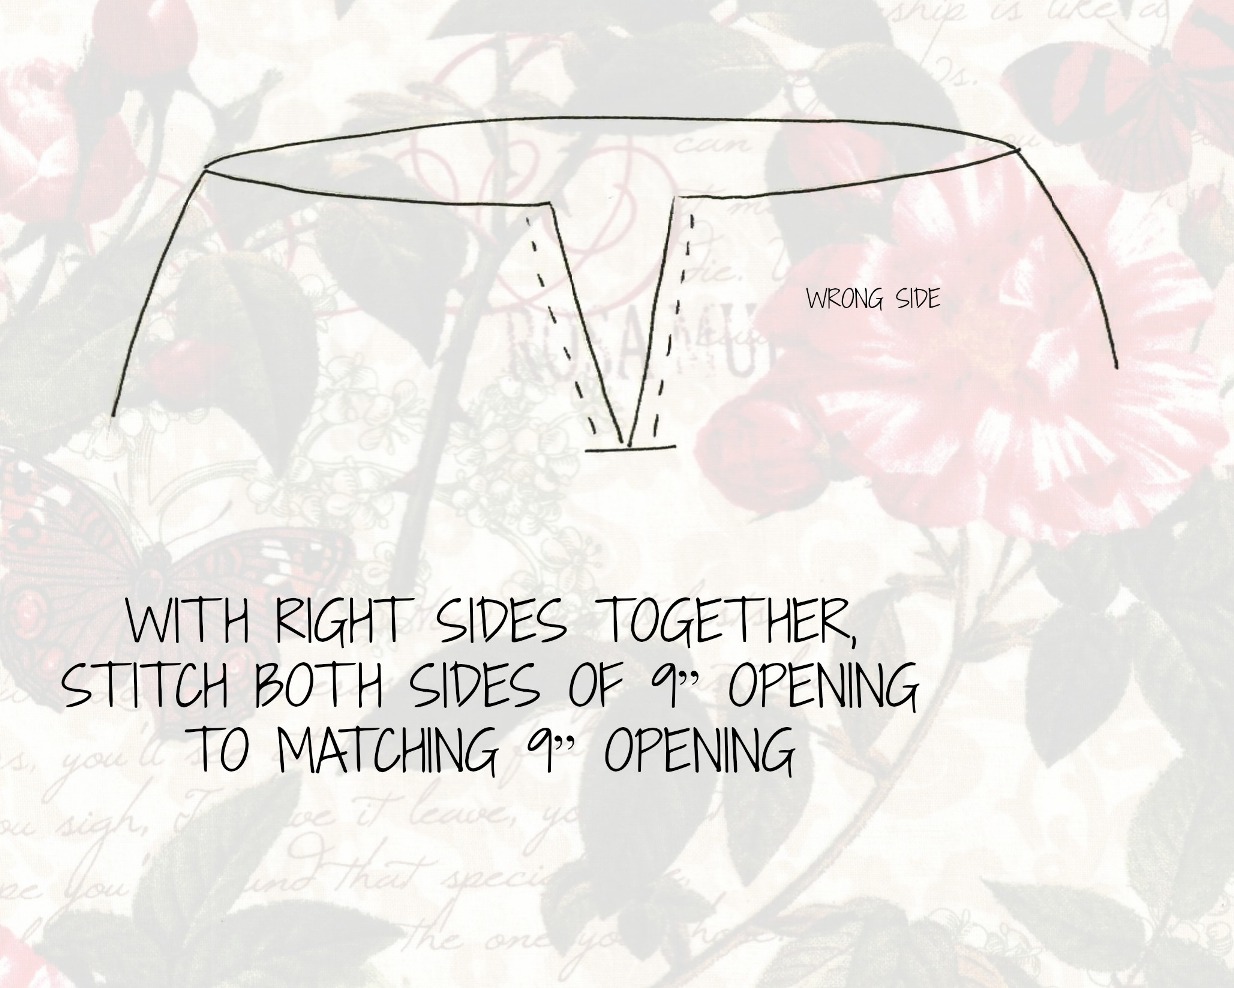
With right sides facing, join the two layers together along the center back opening.


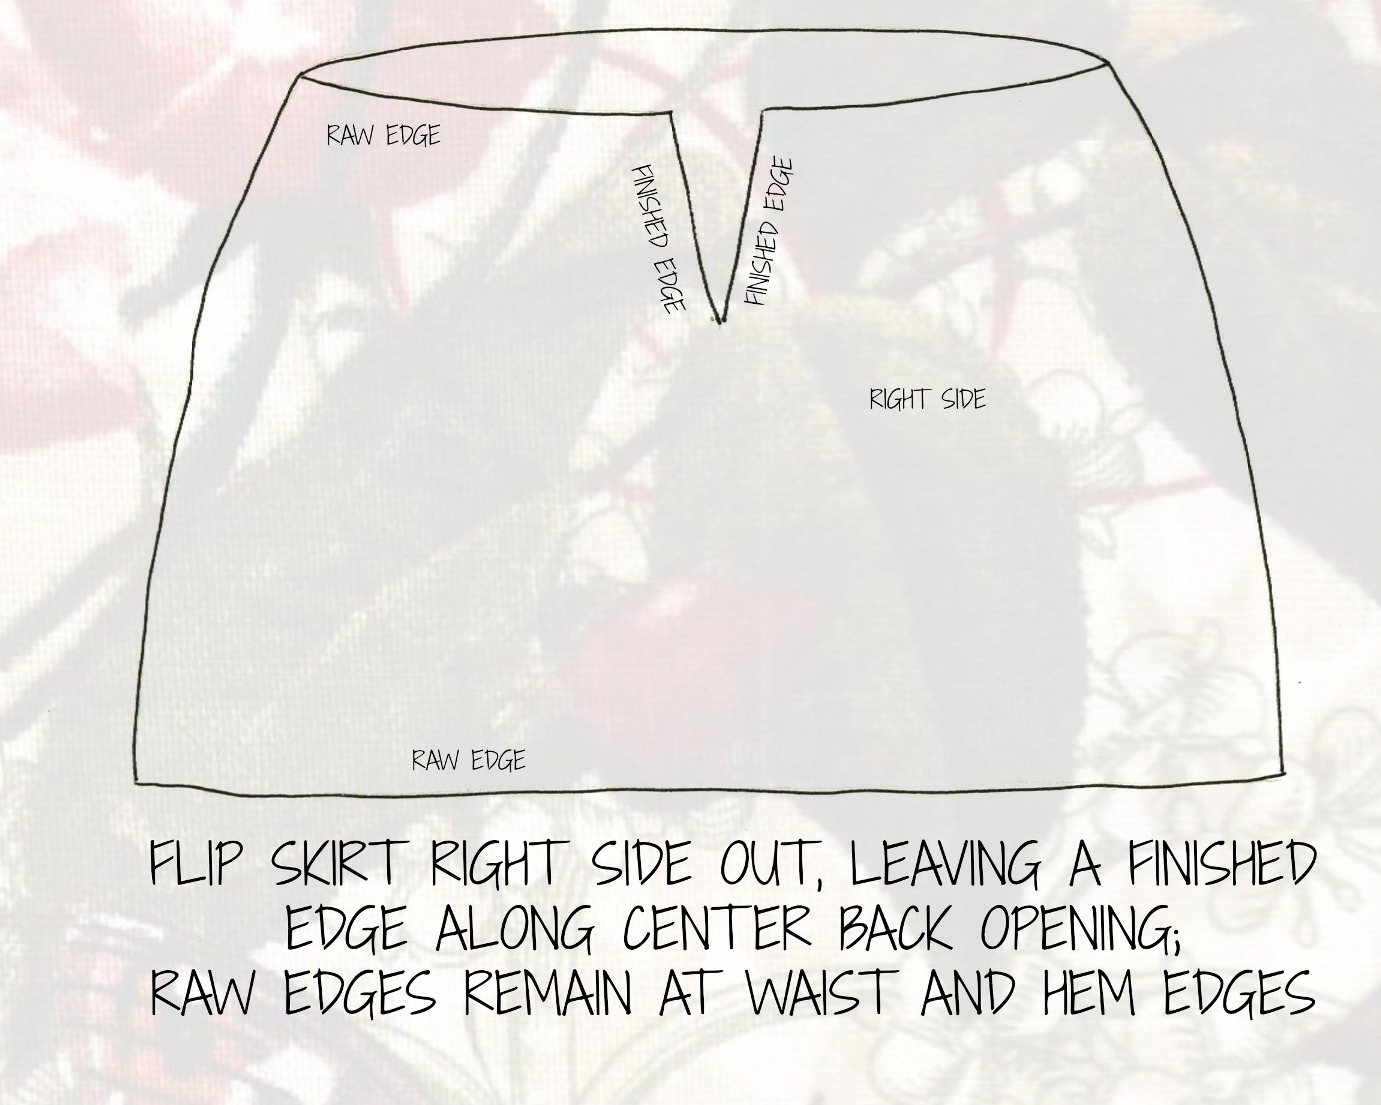
Flip the skirt right side out, leaving a finished edge along the center back opening; you will still have raw edges at the waist and hem edges.  You could certainly insert a zipper instead, but they are really not necessary for a petticoat.


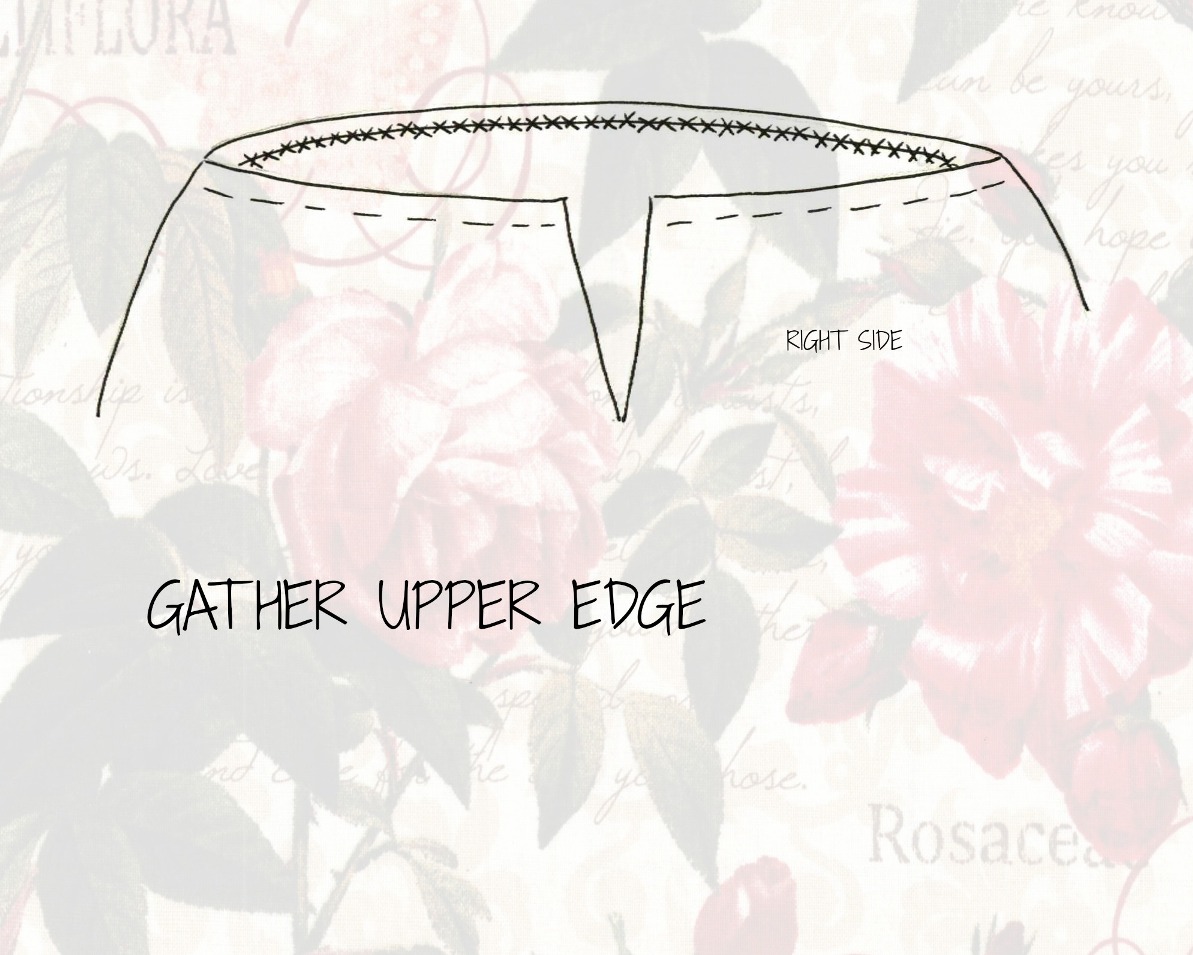
Baste the raw upper edges together. 


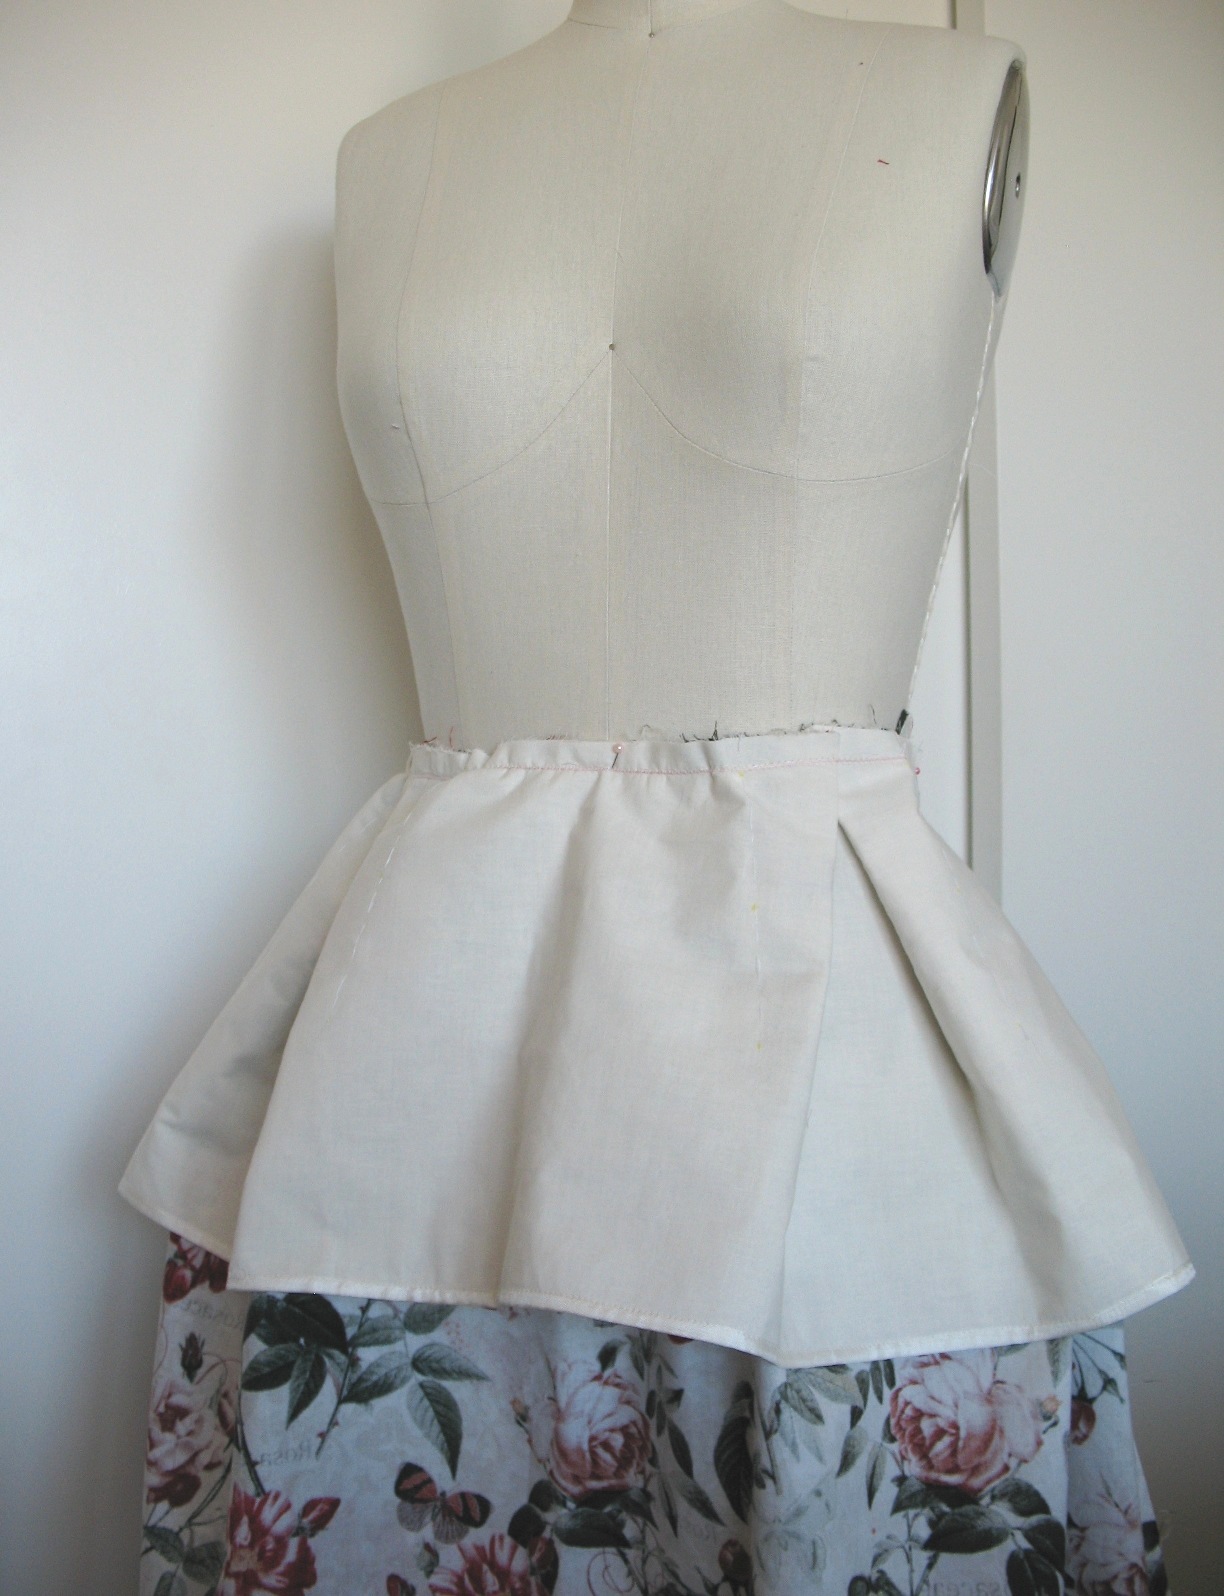
Gather the upper edge.  I prefer to push the majority of the gathers to the hips, leaving the center front and center back relatively flat.


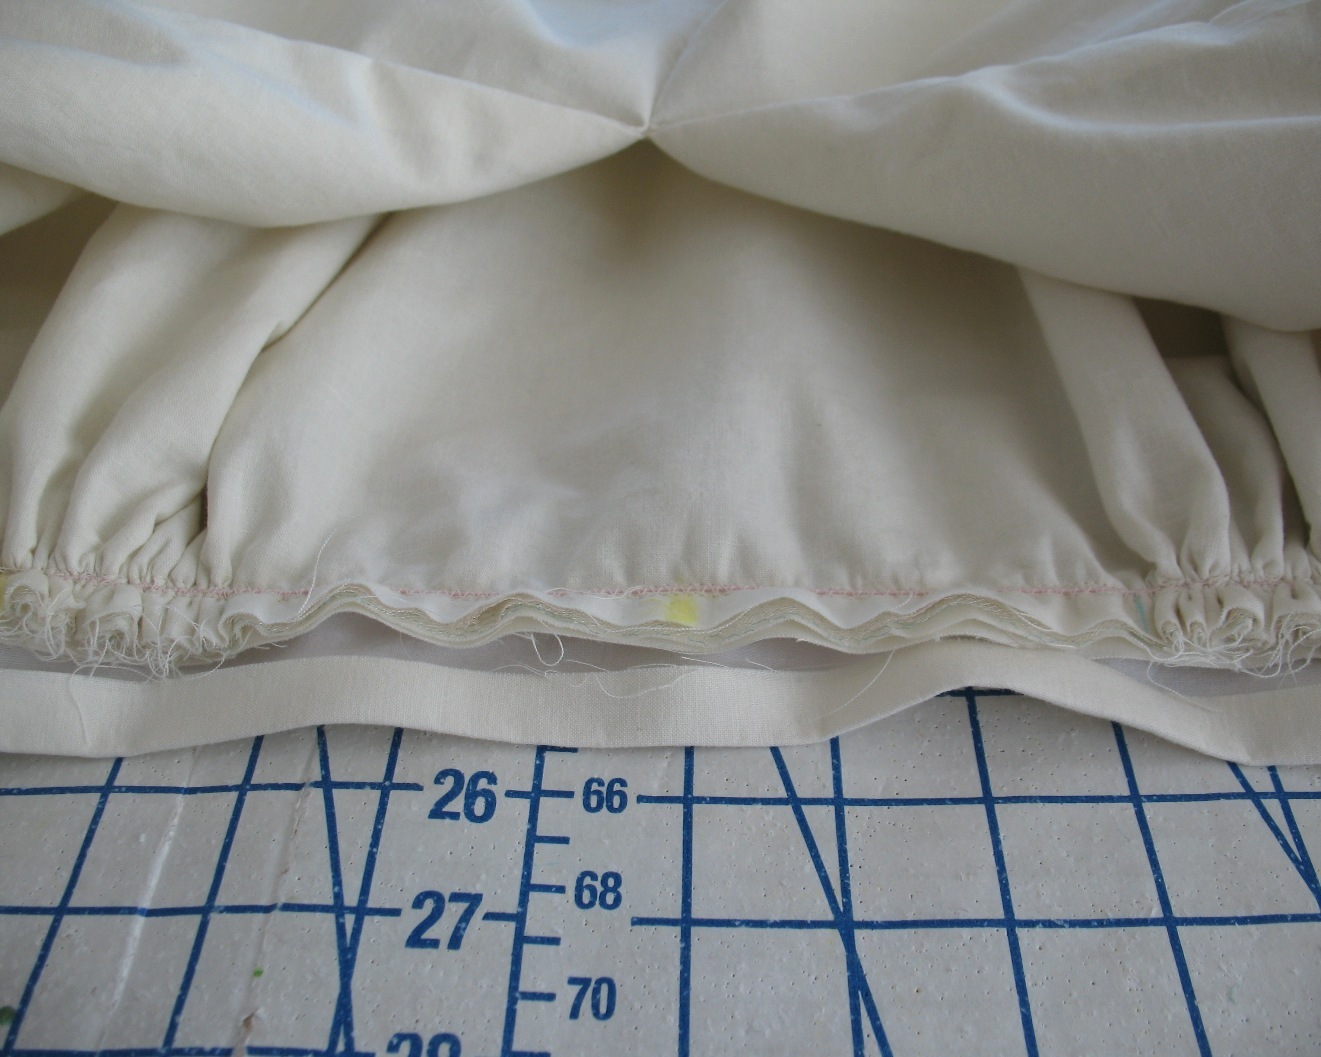
Because of the bulk created by two layers of cotton plus two layers of netting & tulle, I like to use a zig-zag stitch and a length of crochet thread to gather petticoats (and anything bulky, for that matter).  This saves on the frustration of snapped gathering threads.


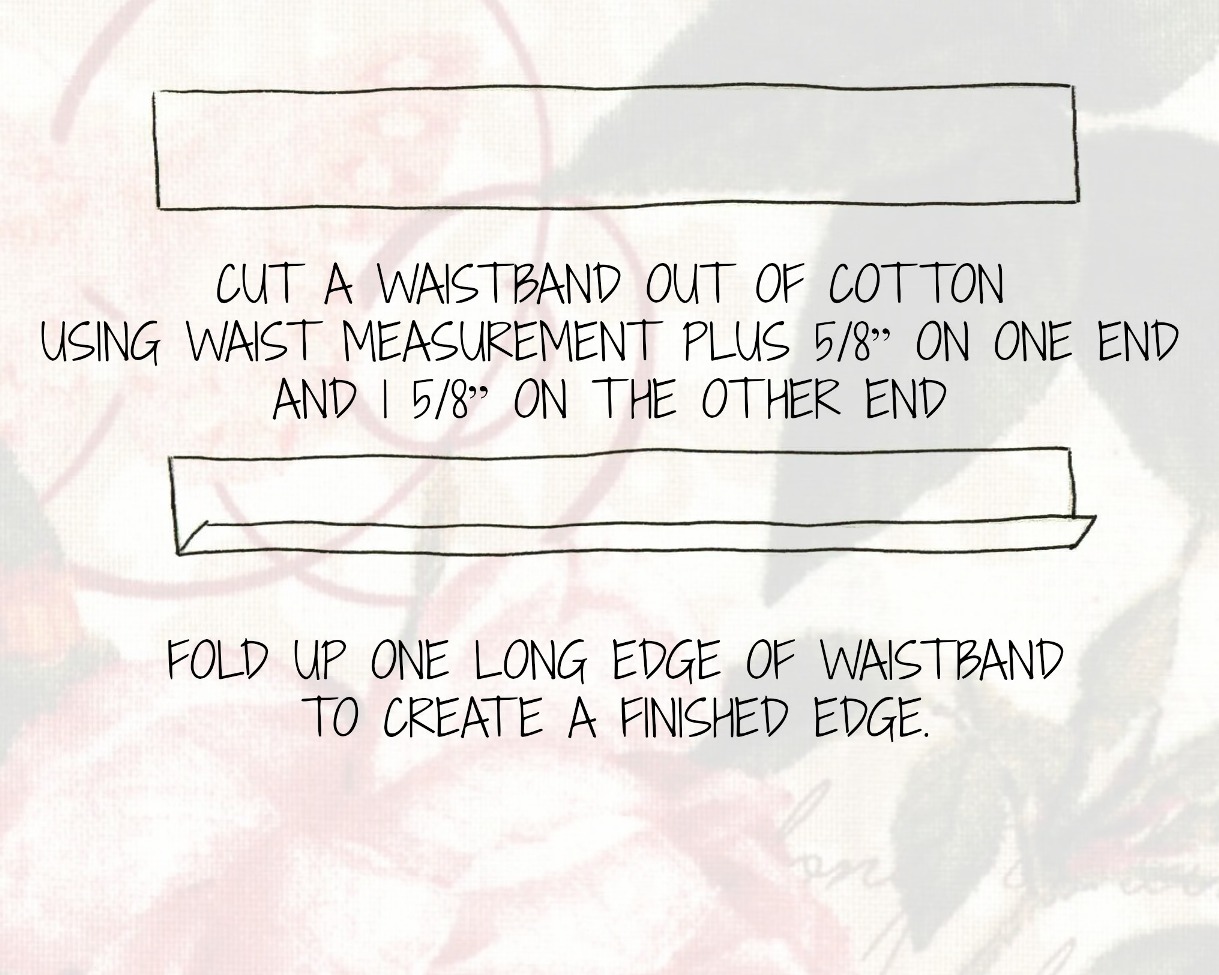
Cut a waistband out of cotton using the measurement of your waist plus 5/8” on one end and 1 5/8” on the other end (I like to interface this portion as with any other waistband).  I like my skirts to be snug at the waist, but you can certainly add extra ease into the waistband if you like.  Fold up one long edge of waistband to create a finished edge.


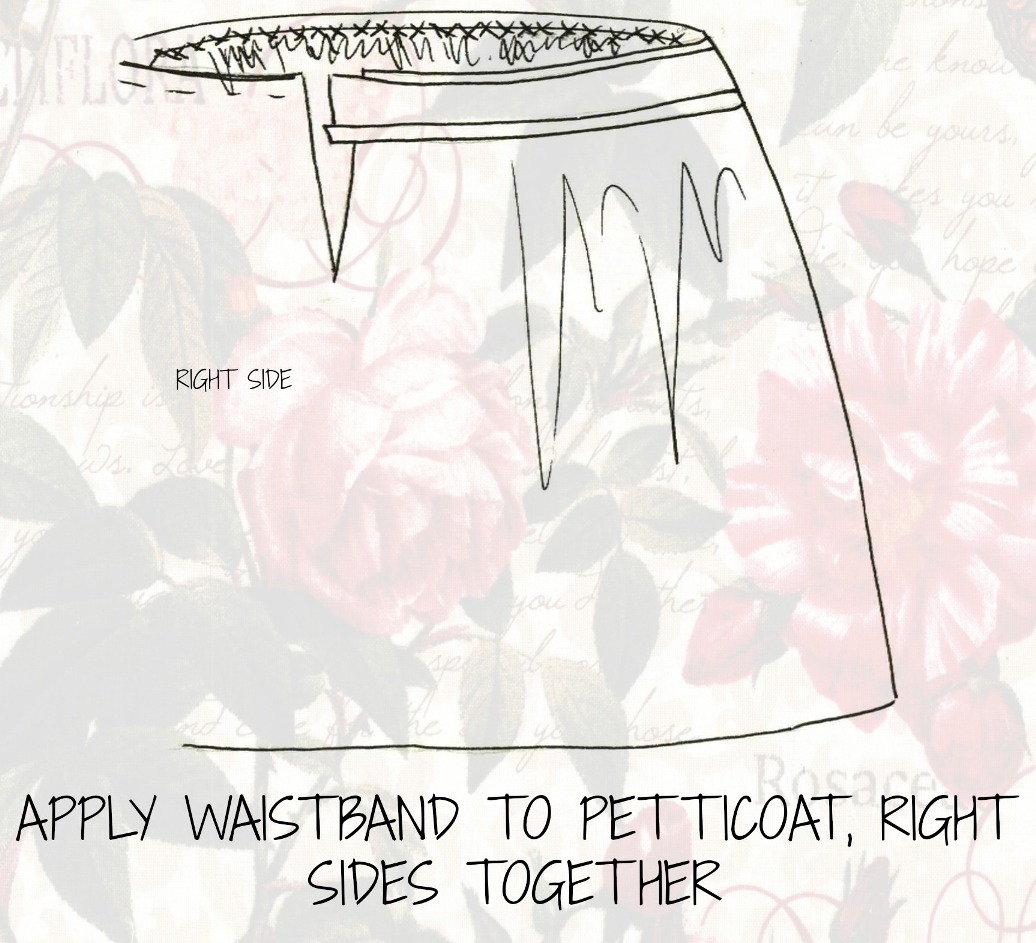
With right sides together, stitch the waistband to the gathered upper edge, making sure to leave the appropriate amount of overhang at each of the opening edges.


With the right side of skirt facing, fold waistband in half, right sides together.  Stitch the folded edge in place, trim, and turn waistband right side out.


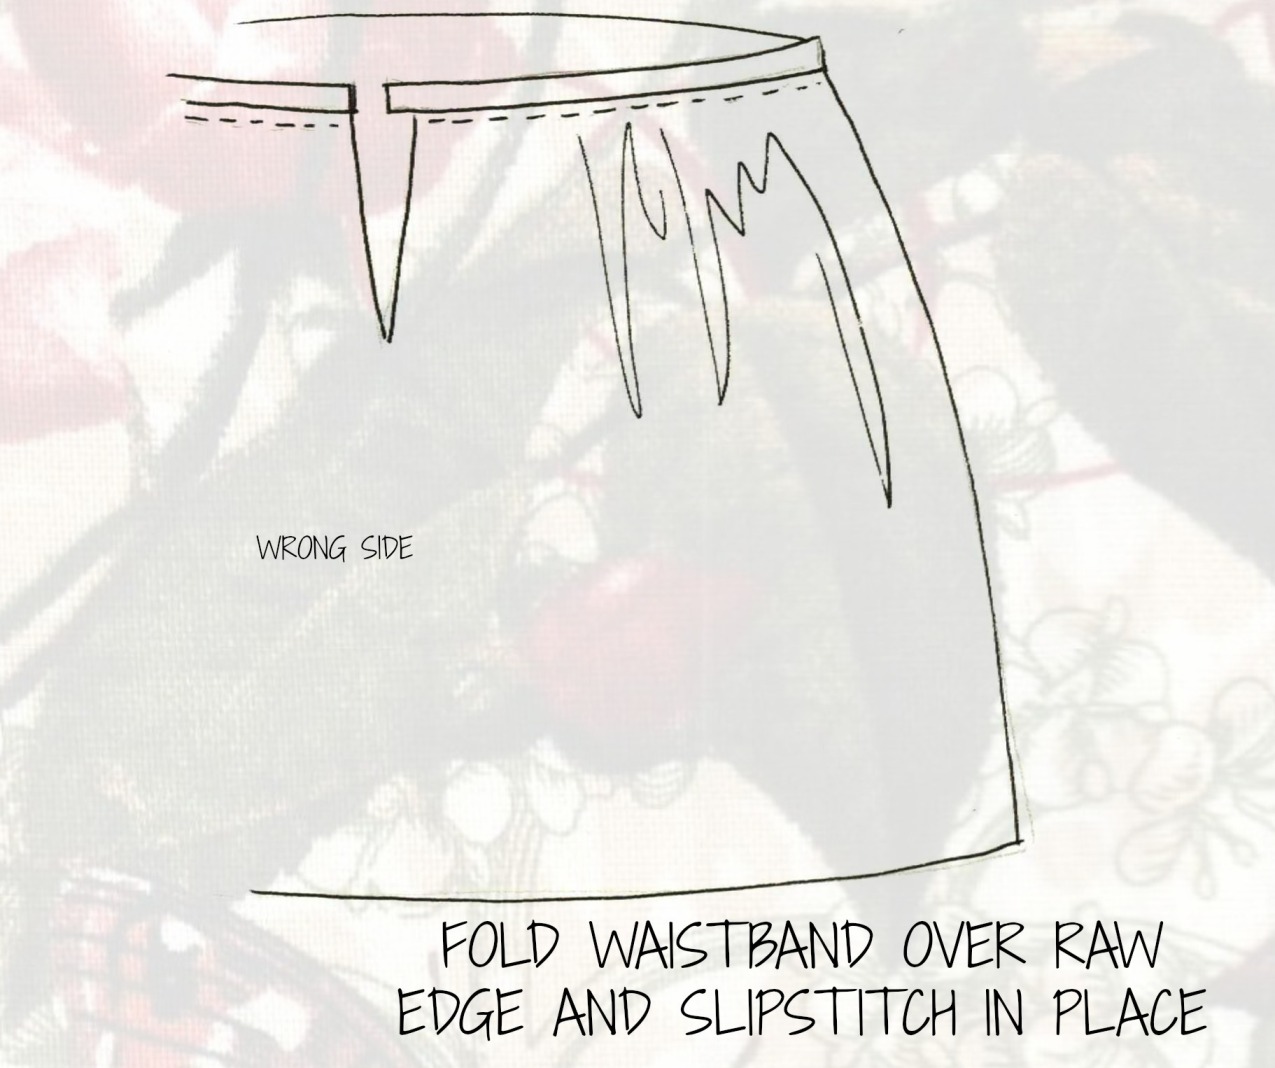
Fold the waistband over the raw skirt edge and slipstitch in place.    


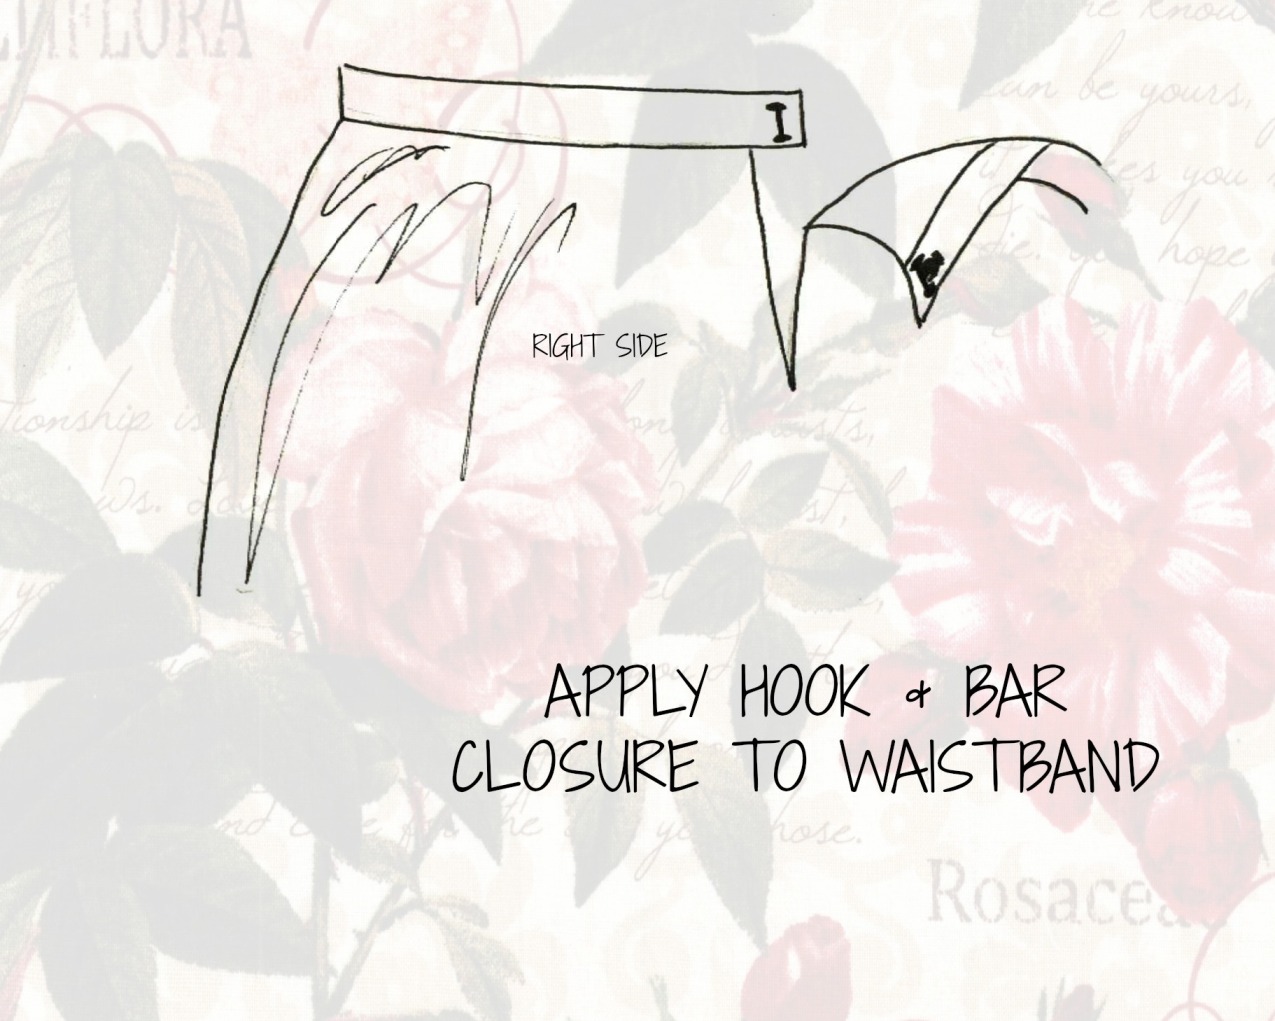
Apply a hook & bar closure to the waistband.  I believe these pictures actually depict the “wrong” way to close a woman’s skirt, but it has always been easier for me to reach around to my back and hook the right side over the left – and that is more important to me than following standard protocol.  If you are looking for a more standard application, you may want to make that alteration.


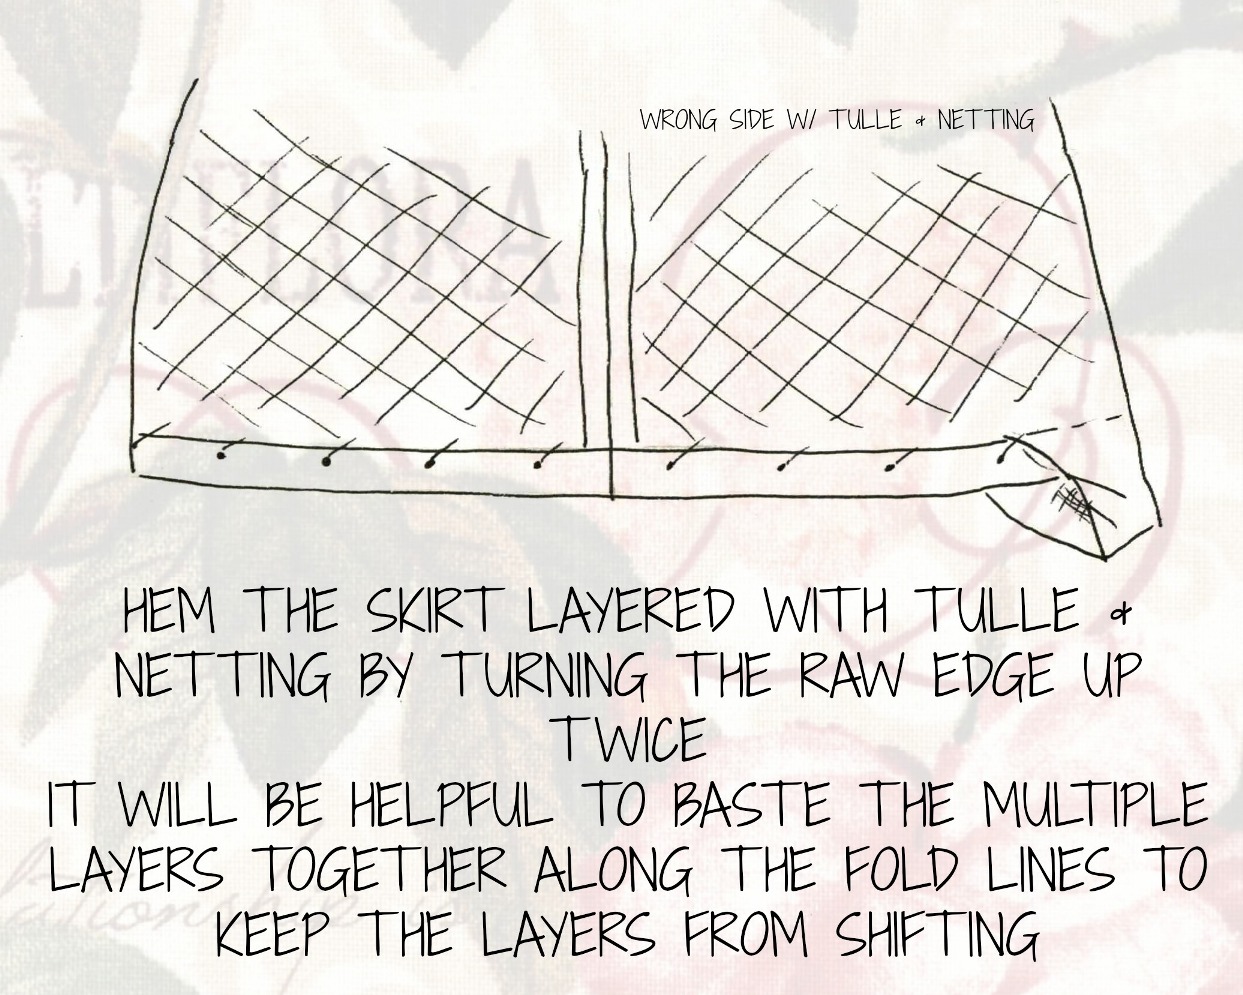
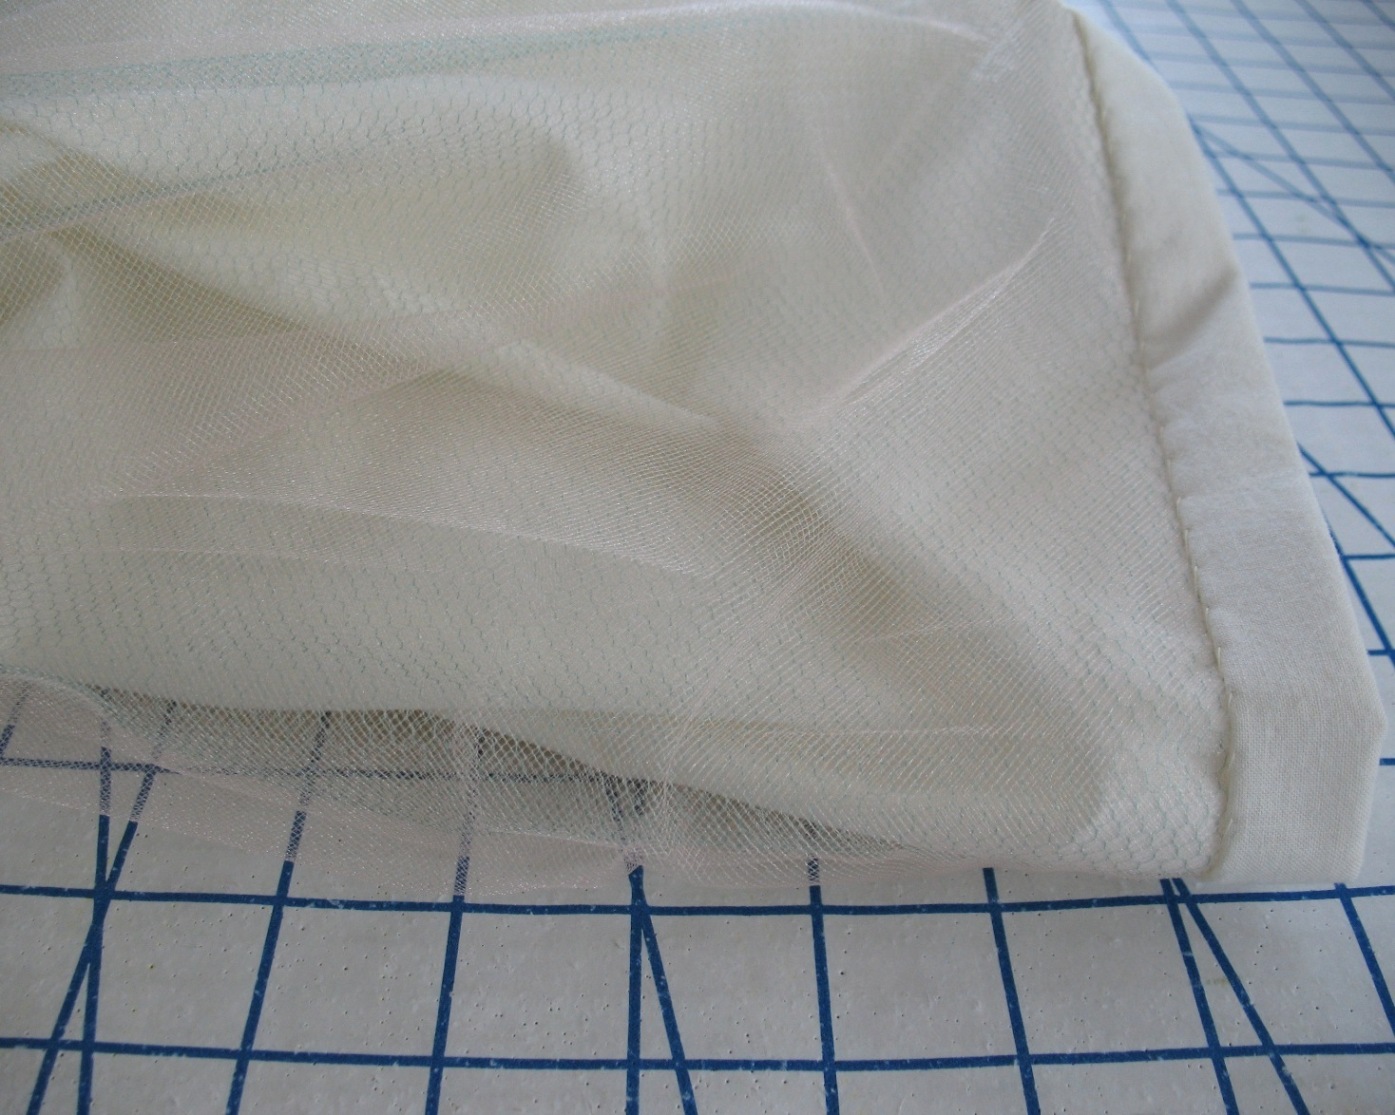
Hem the skirt layered with tulle & netting by turning the raw edge up twice.  It will be helpful to baste the multiple layers together along the fold lines so they cannot shift.  And make sure to use a presscloth when you iron over tulle & netting - it will make a huge mess if you don't!


Once everything is stitched into place, don't worry about the layers of tulle, netting, and cotton separating - that just adds to the poof!


Apply horsehair braid to the hemline of the petticoat lining (the single layer of cotton) and sew in place.


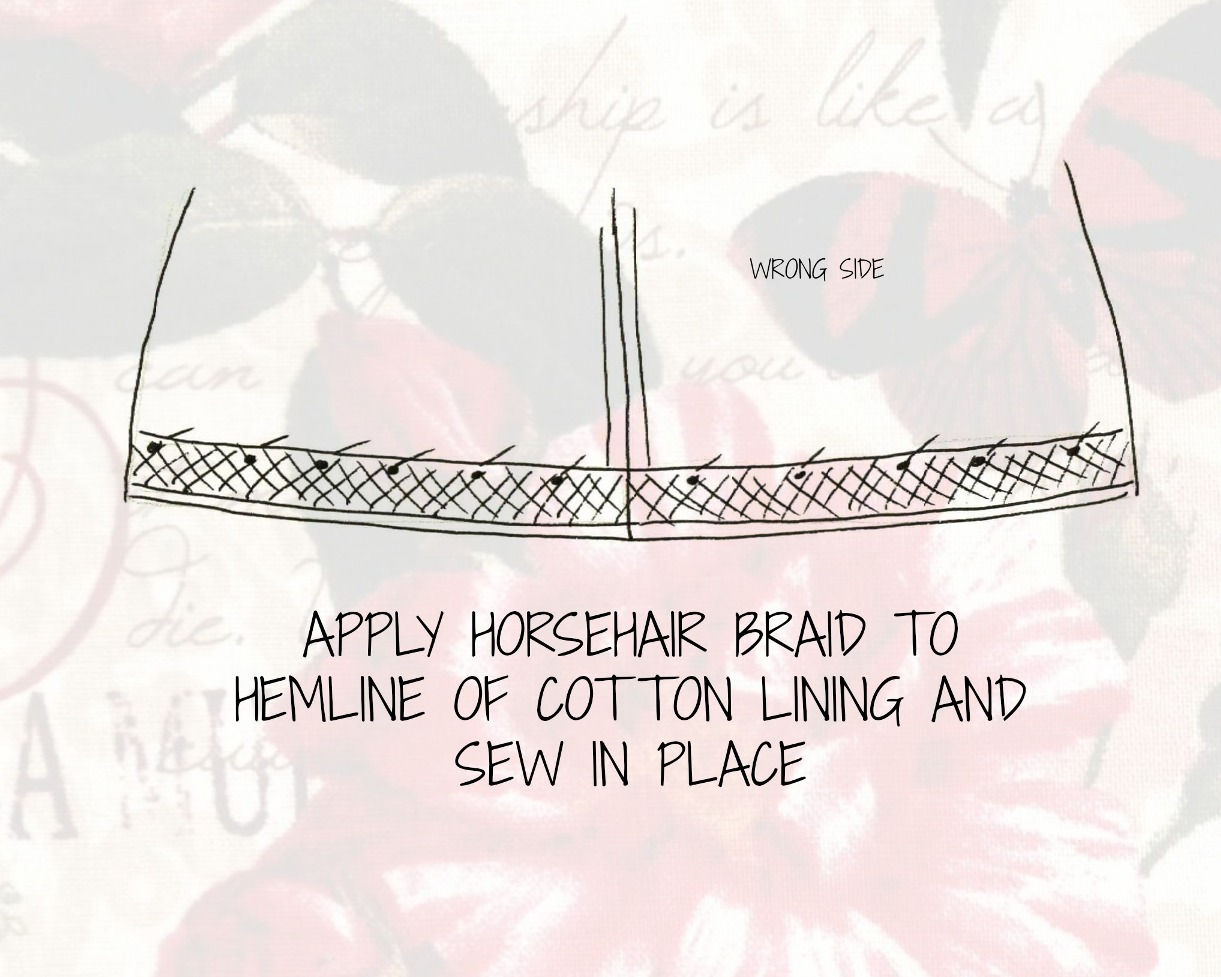
The first petticoat I made was not done this way, and the lining has a tendency to get caught between my legs when I walk – the horsehair will push that inner hemline away from the body and will stop that from happening.


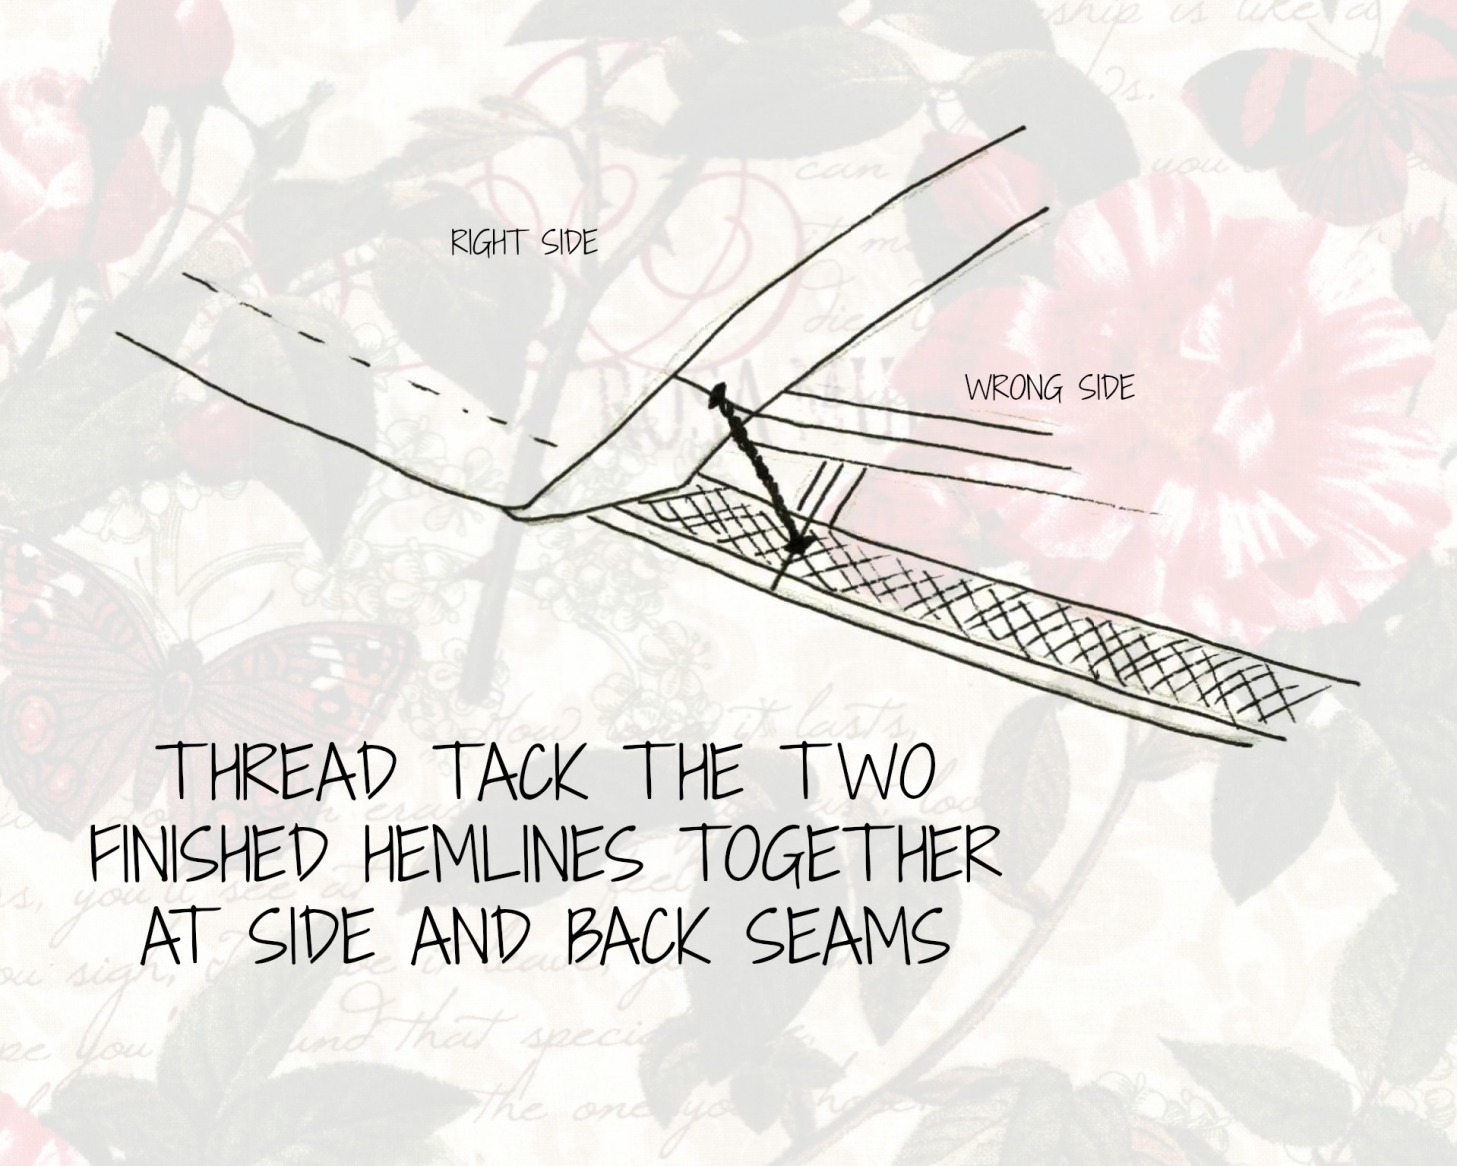
Thread tack the two finished hemlines together at the side and back seams.


Finished!  You are now the proud owner of your very own petticoat; a petticoat that will not scratch you and is quite cool to wear, even with all the added layers.


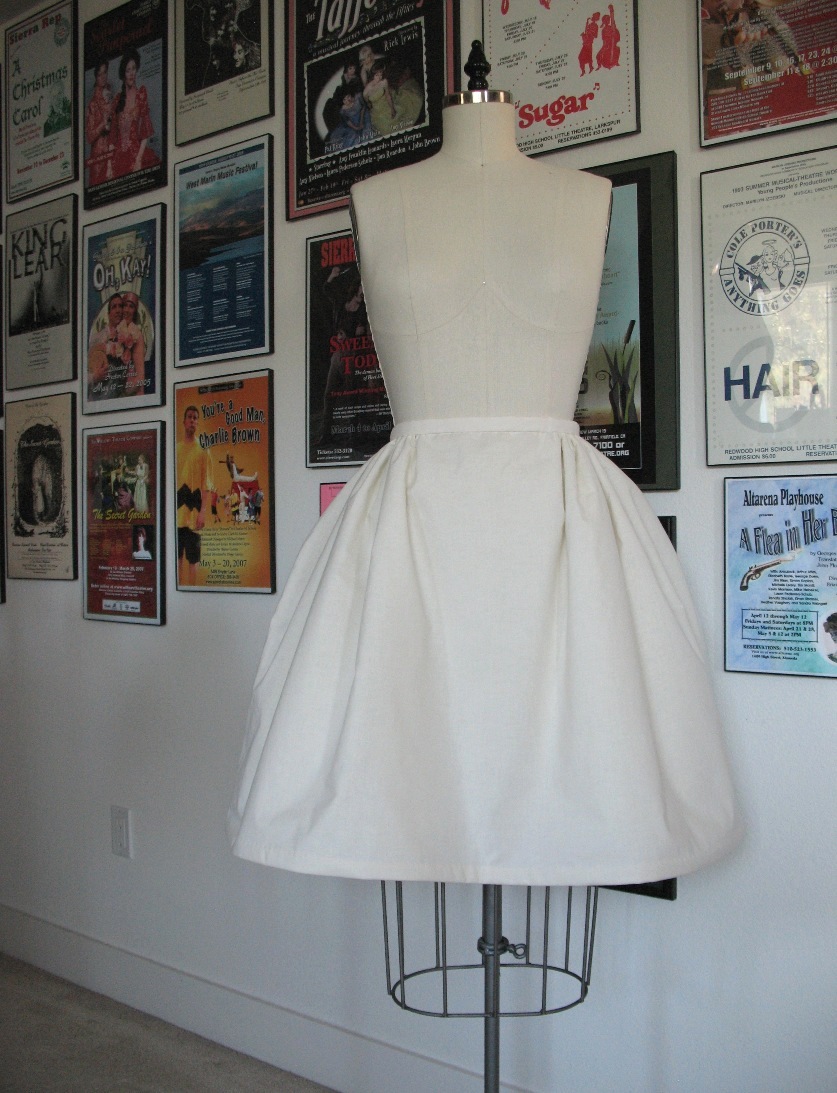
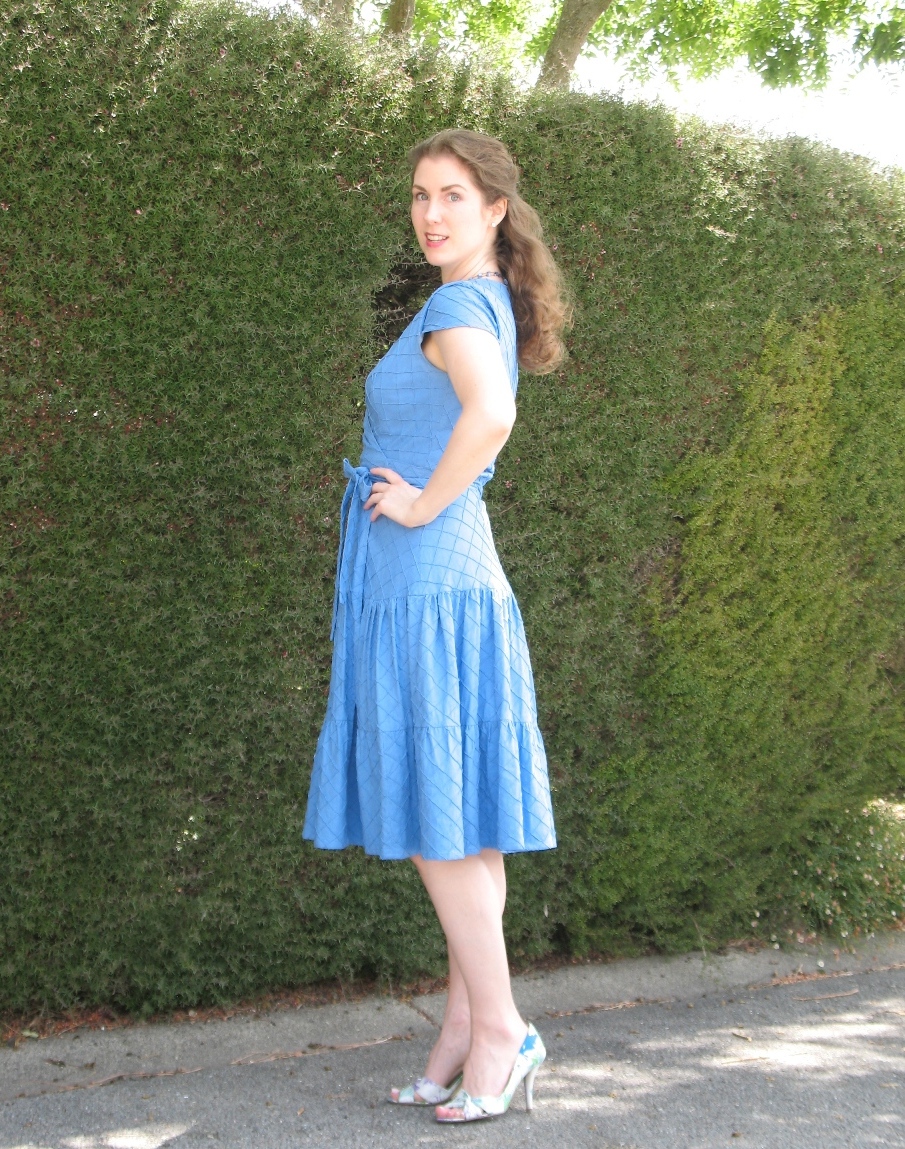
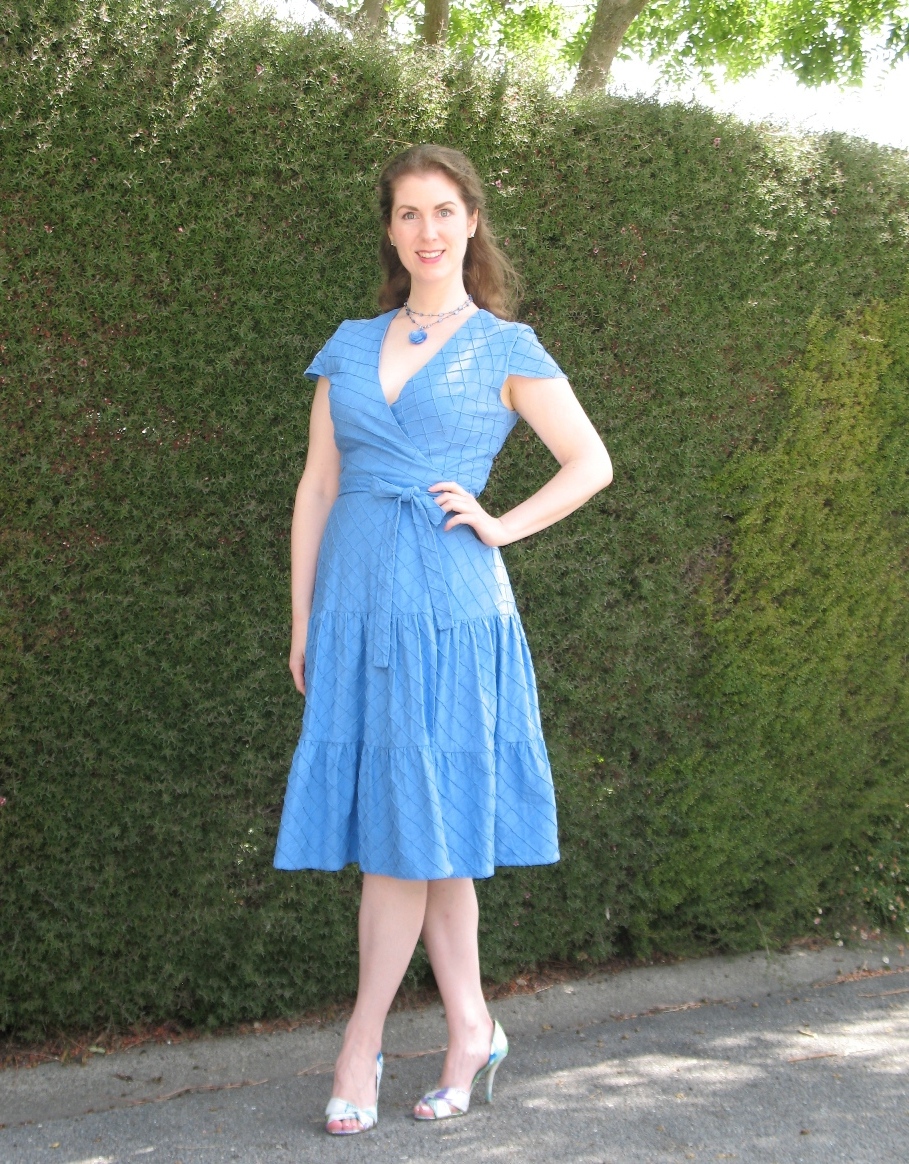
And they really are incredibly fun to wear - just know that you are going to take up more space than you are accustomed to!  Swing wide when maneuvering around coffee tables and the like, or you may clear the surface!  This is also an excellent choice if you wish to increase your own personal space in crowded areas - a built in buffer zone, if you will . . .


Thursday, July 24, 2014

Vacation in New York

It’s done – the plane tickets are purchased, and I am going to New York!!  Which might not seem like a big deal to many, but since I have never actually gone somewhere on vacation as an adult, this is going to be an awesome adventure (I hope!).


The confluence of the Charles James exhibit and Male Pattern Boldness Day happening in the same week was just too much of a coincidence to ignore.  I had been waffling back and forth for over a month, but finally had the courage to step off the ledge on Monday.

I did visit The Big Apple back in 1998 for a school theatre trip, but that was very regimented.  This is going to be much more of a free for all – I have five days to explore, and I plan to make the most of them!


A little Charles James here, a little Male Pattern Boldness there, and perhaps a little theatre outing, etc., etc.  Any tips or suggestions on not-to-be-missed sights would be most welcome.  And if you are local, I would love to meet-up!


Also, if you travel to New York often, I would appreciate feedback on Manhattan hotels – the good, the bad, and the ones to absolutely avoid.

By the way, does anyone know if bamboo knitting needles are allowed on a plane these days?  Inquiring minds need to know!  I have heard rumors they are a big no-no, but am not finding them on the list of verboten items.  What a  rube, right?!  I have not been on a plane since 2000, so any crafty traveling types with ideas for passing the time on a plane would be appreciated, especially if knitting is a no-no.


Hope to see you in New York!

Now I just need to figure out what I am going to wear . . .

Tuesday, July 22, 2014

Pellon as a Petticoat Substitute

My muslin made it clear that a bit of oomph was needed to make this dress resemble the pattern envelope.


And while I adore petticoats (and, to be honest, I will probably wear one with this dress, just because . . .) I thought I would try something different.


Using a shortened version of my skirt pieces, a layer of interfacing is layered on the upper portion of the skirt pieces, basted in place, and treated as a single layer.


This helps to give more body to the hip area that is later pleated, gathered, or tucked into the waist measurement.


As a bit of an experiment, I used a sew-in Pellon.  After all, this silhouette is supposed to look exaggerated!


I had the pleasure of examining the insides of this Ceil Chapman dress in person.   The entire skirt is underlined in Pellon, and was my original inspiration.


For a nicer finish, I layered cotton over the Pellon, and finished the lower edge with seam binding.


This particular skirt is pleated and gathered, so I basted the pleat lines to keep the interfaced Pellon yoke in place during construction.  Actually, the basting is still in the dress at the moment.  Until I am completely finished and do not have to keep turning the dress inside and out, I thought it was best to keep those layered pleats in place.


This is the skirt volume on a dress form (prior to gathering).  All in all, I would have to call this experiment a success.  And  yet another way to achieve an extreme vintage silhouette without the added layers of a petticoat - great for warmer climates, I think!


Sunday, July 20, 2014

It is a truth universally acknowledged . . .

. . . that a seamstress in possession of a pretty vintage pattern must be in want of a muslin.


When Marie emailed me about writing a guest post for her Vintage Sewing Pattern Pledge, I immediately knew I wanted to make this Vogue pattern.  My favorite vintage decades are definitely the 40s and 50s, and with the decidedly 1960s vibe of this pattern, it was just far enough outside my comfort zone that I needed something like the #vintagepledge to get started on this particular design.


Vogue 4203 is a Special Design from 1960 or 1961 (the instructions are dated 1960, but the pattern envelope is stamped 1961).  It is often impossible to find any mention of a copyright date, and here I have two for one!


This is yet another example of lovely vintage drafting . . . different armholes depending on whether or not a sleeve is added.


For fabric, I chose this floral quilting cotton.  If I could find a print like this in a silk/cotton brocade, I would be in heaven, but for now, the cotton will have to do!  And really, this particular cotton feels lovely and the weight is nicely suited to a silhouette like Vogue 4203.


First up, a muslin.  And, quite frankly, it does not look anywhere near as cute as the illustration.  Instead, it looks just like any other basic bodice and full skirt.  Since the cut-up sheet I used is a similar weight to the quilting cotton, clearly something had to be done.


The vintage silhouette is certainly helped by the addition of a petticoat, but I thought I would try something a bit different for this dress (more on that later!).


There is also something wonky with the pleat lines.  They should match back to the bodice darts, but this is impossible as drafted on the back bodice/skirt, so I did a bit of tweaking.  Yet another reason for a practice run!


Thursday, July 17, 2014

Hanging out with Marie of A Stitching Odyssey

Have you heard about the #vintagepledge organized by Marie of A Stitching Odyssey?  Have you pulled out your favorite vintage gems to join the party?  I do not need much of an excuse to play with my vintage patterns, but having community support is always a great motivator, right?!


So when Marie contacted me about writing a guest post, I was thrilled.  It was the perfect opportunity to stitch up a new dress with, you guessed it, a vintage sewing pattern.  Which includes a petticoat (more on that to come)!  For for a sneak peek of the dress, be sure to stop by A Stitching Odyssey!

Wednesday, July 16, 2014

Easy Options


Certain garments get lost in the back of the closet for a couple of years, even though I really love them.  This is one of the main reasons I do not subscribe to the notion of tossing clothing that has not been worn in a year or two.  Well, that, and the majority of my closet looks like it is over fifty years out of date – if you are never “in style” there is really not much reason to unload things that you love, even if they are neglected for a while.


This particular dress was made in 2007 (note to self: I should really start marking dates directly on my pattern envelopes again).  Not only is it easy and comfortable to wear, it is fun to see how far my sewing has come in the past seven years.


And another thing . . . I am easily distracted by the pretty vintage reproductions and designer Vogue offerings, but the Vogue Easy Options line has some hidden gems.


I may just have to make myself another wrap dress . . . yikes, that mental project list is getting out of hand!


Dress:  Made by me, Vogue 8233
Shoes:  Nine West
Necklace:  Dabby Reid