Wednesday, September 23, 2015

Test Run


I hope you are enjoying the Sewing Indie Month festivities!


My sewing project for this month was the 1940s Tea Dress from Sew Over It.  This was my first time working with one of their patterns, so a muslin was in order.


A mock-up is a great way to test a new pattern, but sometimes it does not tell the whole story.  First of all, a stable cotton will drape differently than a lightweight rayon.  But I was able to tell that the dress was a pretty good fit with a few minor tweaks.


In the case of PDF patterns, I love having my muslin pieces to use as pattern pieces.  I absolutely hate pinning into paper!  So once the pattern is traced onto muslin, I get to ditch the printed paper.


I never work through an entire project when I make a muslin - I eliminate facings, hemming, finishing, etc.  This saves time, but it can be nice to run through the entire process before working with a precious or difficult to work with fabric.


So before I cut into my precious velvet, I wanted to go a step further.


I never really know just how much I am going to love a garment until I have spent a day wearing it.


Does the length really work?  How much mobility do I have?  And most importantly, do I really want to use that fabric I have been hoarding for years on this particular design?


Sometimes a muslin is just not enough of a finished product to get a real idea of how much I will love a dress.


So I made myself a rayon dress!


I am going to live with this version of the pattern for a bit and decide if I want to make any other changes before I spend a lot of time basting pieces of silk velvet together.


And to be honest, I did not need much of an excuse to add more polka dots to my wardrobe!


Happy National Sewing Month, everyone!


[I received the pattern and the rayon fabric for this project because of my participation in Sewing Indie Month]

Tuesday, September 22, 2015

Multiples of Three


Last month I met up with Mari while she was in the Bay Area and she generously sent me home with this lovely cotton.  Thank you, Mari!  


My first thought was that this was a batik wax resist print.  Upon closer inspection, I found a few leftover threads that appear to have pinched and folded the fabric closed while it was dyed.  The pattern repeat is not exact or symmetrical which makes me think this was probably done by hand.  I suppose that makes this more of a tie dye?  I would love to hear if anyone knows exactly how this technique works!


Perhaps it had something to do with the fact that I was wearing this dress on my afternoon outing with Mari, but I could not get the idea of making another Butterick 5209 out of my mind whenever I looked at the yardage.  


There was not quite enough fabric to make this design, but I stubbornly went ahead with my original plan for it.


I ended up removing two inches of width in the skirt pieces and the back half of the bodice is lined in plain cotton voile because there was no way to squeeze it out of the fashion fabric.


The red dye bleeds a bit, so I am hopeful that the white cotton lining will turn a bit pink when I wash the garment.


This is my third version of the dress, and I still love it - in fact, the reason I wanted to make another is so that the others do not wear out too quickly!


I will be moving on from this pattern for a while, but I can imagine making another in the distant future because it is so easy and comfortable to wear.  Can you really ever have too many cotton day dresses!?!  My closet might disagree with me, but I say the answer is "no"!


Dress:  Made by me, Butterick 5209
Earrings:  Made by me
Shoes:  Banana Republic

Wednesday, September 16, 2015

Runway Inspiration


New York Fashion Week is upon us.  And while I get a bit disgusted with the fact that more attention is often paid to the people sitting in the front row than the actual clothing these days, runway collections are definitely a great starting point to find sewing inspiration.


I thought I would share a few of my favorite haute couture designs in honor of Sewing Indie Month and the Dressed to the Nines sew-a-long contest.


For pure fashion fantasy, it just doesn't get much better than this!


The garments may not be very practical, but they are certainly gorgeous.  And the details are just to die for!


In my opinion, everyone needs a velvet robe with train to swan about in the hydrangea garden.


If you do not have your own estate filled with floral delights, you can always wear them on your dress.


Molding a flower out of fabric is another option.


If florals are not your style, how about a two piece ensemble complete with pockets.  (Oh how i would love to study the interior of that top!)


If I ever get my hands on twenty or more yards of gorgeous fabric, this is what I plan on doing with it!


Because every girl needs a ball gown (and the opportunity to wear one)!


[Click on image for source]

Wednesday, September 9, 2015

Tips & Tricks: Working with Velvet

I hope everyone is enjoying Sewing Indie Month!  Today I thought I would share some tips for working with velvet - definitely a Dressed to the Nines kind of fabric.

Velvet has a reputation for being tricky to sew, but it is such a beautiful textile that any extra care it requires is worth it!  


At its most basic, velvet is a woven fabric with a secondary yarn that is cut open to create a pile.  That pile has a nap or directionality which creates incredible dimension and texture to the fabric.  In fact, velvet fabric often changes color depending on how it is draped - pretty spectacular, and something that needs to be taken into account when constructing a garment. 
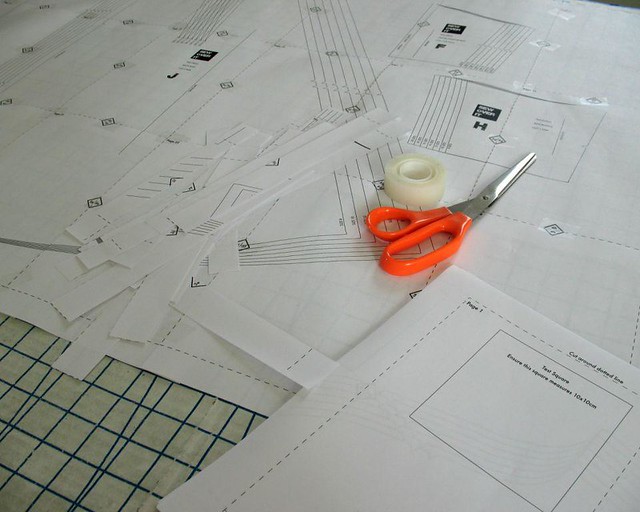
CUTTING

The first thing to be aware of is your cutting layout.  All pieces for a project should be cut in a single direction (when determining yardage requirements make sure to keep this in mind - multi-directional layouts may save on yardage, but they will not work for velvet).  


Cutting the fabric with the nap running in an upward 
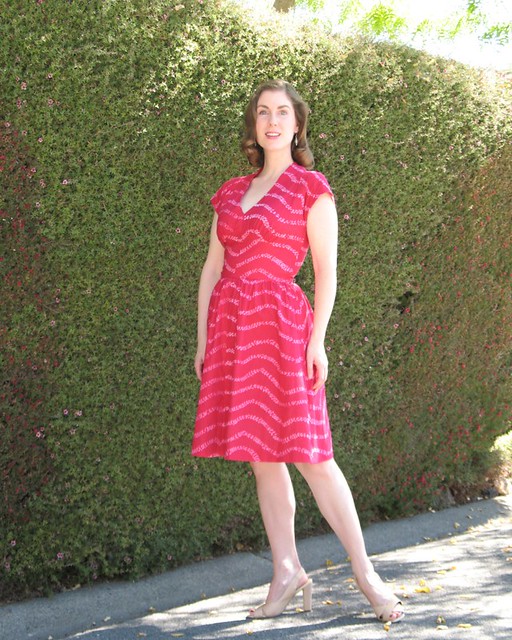
direction on the body creates a rich and deep color.  When the nap lays in a downward direction, the color tends to be lighter in shade.  There really is no right or wrong direction, just so long as it is consistent throughout the garment.  For a dark printed velvet, it might be wise to keep the nap facing downward in order to see more of the print.  I feel that most solid colors look better when the nap faces in an upward direction to take advantage of the incredible colors.  


Be aware that cutting into any velvet fabric is going to make a mess.  Tiny little pieces of pile will end up all over your cutting surface (and probably your clothing as well).  Keep a vacuum nearby, or at the very least, a lint roller!

MARKING

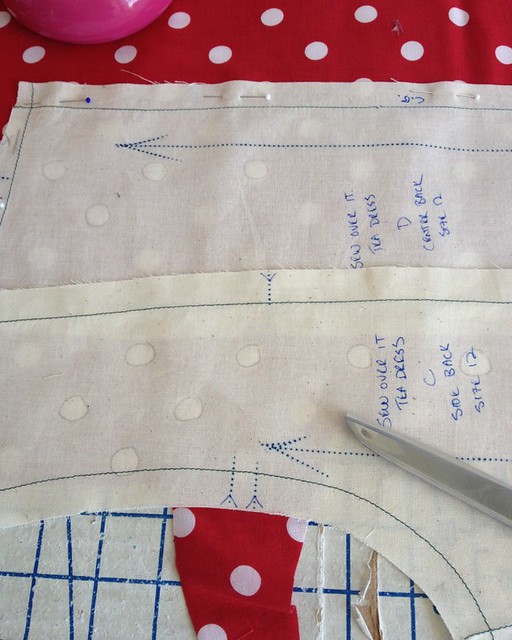
Velvet fabrics can be irritating to mark.  Many fabric markers and chalks will not show up, or will brush off with minimal handling.  Thread tracing and tailors tacks are an excellent way to mark darts and notches on the fabric.
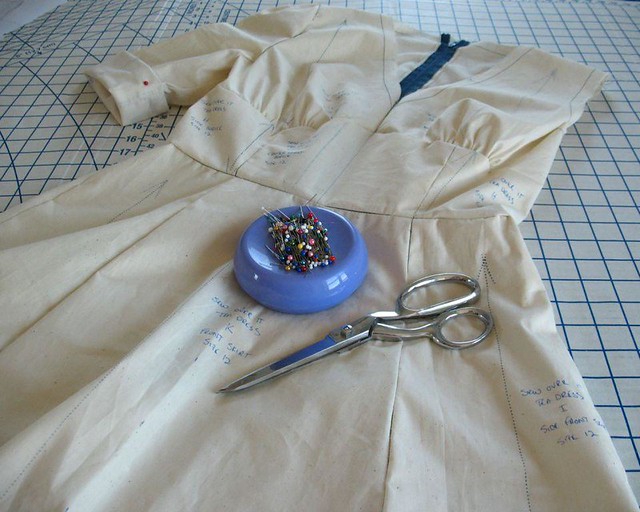
SEWING

Basting is extremely important with velvet fabrics.  I would recommend one line of hand basting just inside the stitching line and another just outside the stitching line.  This will keep the two fabric layers from shifting under the sewing machine.


My favorite hand basting thread is Gutermann silk (the blue spool).  Ten years ago I had never worked with silk thread and did not see the point . . . now I cannot live without it.  The silk will slide right out of your fabric without catching or pulling on the fabric.  This is especially important with a textile like velvet.  It is possible to pull the pile right out of the fabric while trying to remove machine stitching, so it should be avoided at all costs.  

A walking foot can be helpful when working with velvet.  I have had some luck with a roller foot which eliminates drag on the fabric.  Lowering the tension on your machine is also something to try.  Stitch length should be increased to account for the thickness of your fabric.  Pull slightly with both hands on either side of the presser foot to maintain an even tension.


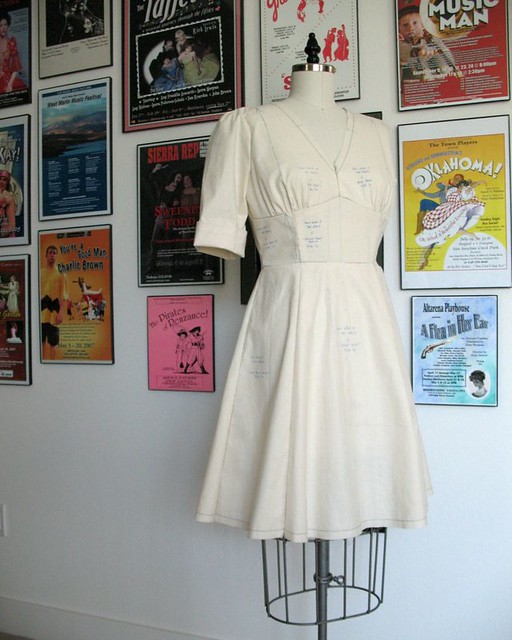
Most importantly, take your time.  Velvet is a special fabric and requires a bit of finesse.  A muslin is a good idea - velvet is not a fabric that plays well with a seam ripper, so it would be wise to take care of any fitting issues beforehand - your fabric will thank you!

IRONING

Many fabrics thrive under a hot iron . . . velvet is not one of them.  An iron will flatten the pile, so an iron should never be used directly on the fabric.  Hover your iron just above the fabric and use steam to control seam allowances.  


Special needle boards are made for the task of ironing velvet fabric without affecting the pile, but they can be rather expensive.  A fluffy folded towel does an excellent imitation of a needle board, as does an extra scrap of your velvet fabric.  Testing your pressing method with a scrap of fabric is definitely recommended!

CARE

Most velvets come with a “dry clean only” care option.  As someone who hates taking things to the dry cleaner, I generally hand wash my fabric, velvet included.  


I have found that a quick adventure in the dryer often helps to fluff up the wet pile and even out the texture of a smooth velvet after a dunk in a basin of water.  As with any fabric, I would rather know what the outcome will be post-cleaning before I spend hours constructing a garment.  If you are unsure if your fabric will survive the wash, testing a scrap is always a good idea.  

Something to be aware of is that over time, the pile may flatten.  This generally happens on parts of the garment that see the most wear (often the back of a skirt).   The fibers can sometimes be steamed back into shape, but this is not always the case.  Crushed and panne velvets are less likely to show this type of wear because the pile has already been crushed throughout the fabric.


When Autumn comes around every year, I am ready to pull out my velvet fabric.  As George Costanza says, "I would drape myself in velvet if it were socially acceptable."  And gosh darn it, being ensconced in velvet sounds like heaven to me!

[Click on image for source]

Tuesday, September 8, 2015

The Ten Year WIP


For all the time it took, the dress is not all that exciting.  But I have to say, I am thrilled to finally call this one done!  (My reward to myself was starting another dress.)


Simplicity 4070 has a copyright date of 2006, so this dress has been not quite complete for about ten years.  I may have another work in progress that is even older, but I cannot think of one.


And this is certainly proof that personal sewing techniques change over the years as there are quite a few things I would have done differently today.


After pulling the whole thing out of the bag it was living in, all that was left to do was cut out and construct the belt and some bits of finishing on the back.  At least I did myself the favor of keeping the pattern and fabric together all these years!


I went ahead and added a waist stay to the dress because of the invisible zipper.


The hook & eye at the back neck is a bit of a fail.  There just is not enough tension to keep it closed with normal movement.  At some point, I will replace it with a button and thread loop.  


This is a minor issue, but I do hate anything that remotely smacks of mending.  Once a garment is finished, I want it to stay finished!


The fabric is a linen blend (the flowers have some nylon or poly in them).  I still remember looking for a suitable underlining color.  Turns out a deep green made those burnout sections pop.


The linen is very lightweight so in the wind the green cotton shows at the hem.  I suppose I could shorten the length, but again, alterations are not my favorite thing to do.  Overall, I am going to call this one a success!


Dress & Belt:  Made by me, Simplicity 4070
Shoes:  Jennifer Moore
Cardigan:  Banana Republic