Saturday, December 31, 2022

Tiki Queen

I think it's safe to say that 2022 was the year of the sequins as far as my sewing adventures are concerned.

I finally finished my spangled circle skirt, made a matching top, encrusted a belt with super sparkly stuff, and finished a second top, sans peplum (even if I still haven't gotten around to blogging about it).

There were also a fair amount of novelty prints sprinkled in there for good measure.  So as a final post for the year, this project seemed like a good choice.

In fact, a large part of the inspiration behind this dress and bolero was the fact that I thought that applying a metric ton of sequins to the hip drape was a great idea.  After snagging the pattern at an estate sale, I left it out on the sewing table for quite some time, just within sight should the right fabric and/or inspiration come along.

Right around that time I was invited to a party with a Tiki theme, and I just knew that the combination of a fabulously kitchy novelty print, and my vintage pattern, plus those gorgeous sequins that I came across at the very same estate sale where said pattern was found would make the perfect outfit for the party.  Not to mention that it was an excellent excuse to make myself a new dress.

This project had a mind of its own, and it grew into an entire outfit.  The Dorothy Bolero was a perfect coverup, and I knew that I would need to pull in the sequin theme somehow.  The obvious solution was the collar.

I am also particularly proud of the fact that I managed to match the print motifs from the bolero to the dress.  Because I cut my pattern pieces out of Pellon interfacing, they were somewhat see-through.  This allowed me to draw directly onto the bolero pattern pieces while the dress was on the dress form.  I then matched those pencil markings with my yardage.  It may have be a slightly questionable tactic, but it did the job!

Thankfully, I had enough fabric to make the matches work.  With such an oversized print, I was concerned about running out of yardage, but in the end, I had just enough!

I can't quite decide which I prefer . . . with or without the coverup.

But no matter, now I always have both options.

Either way, I love the way this project turned out.  And don't think that I am through with sequins . . . I have a feeling they will be sneaking back into my sewing adventures in the New Year.

Dress:  Made by me, McCalls 4425
Bolero Jacket:  Made by me, "Dorothy Bolero" from Charm Patterns
Shoes:  Remix "Miranda"
Hair Flowers: Made by me
Earrings:  Etsy
Bracelet:  Etsy, Mrs. Polly's Lucite

Friday, December 30, 2022

Winter Foliage

The verdict is in . . . I love my new blouse!

Honestly, the choice of a polka dot illustration on the pattern cover drew me right in.  Because, in my opinion, one can never have enough dotted fabric in one's closet and/or fabric stash!  Alas, I do not have three yards of blue and white polka dot fabric laying around.  But I did have other options.

And I had to have that beautifully draped collar in my closet.

So it was a sure thing that I would make the pattern, the only question was . . . when will I get around to it.  I have been trying to cut right into newly purchased patterns while they are fresh in my memory instead of letting them drop out of sight and letting them languish in a pile with all of the other patterns I keep meaning to try.

I have been making quite a few vintage patterns as of late, so I decided to take a break from delicate pattern tissue and go for the tried and true Vintage Vogue series from Vogue Patterns.   With those parameters,  Vogue 1863 was an obvious choice.  Because who could forgot those polka dots!  That, and the pattern was still sitting on my sewing table.

At this point, I generally feel quite secure with Vogue Patterns and know what to expect from their sizing, directions, etc.

This pattern proved to be as easy to follow as one could expect.  With the exception of a mis-drafted dart edge, this pattern was very straight forward.  And with my choice of quilting cotton, it was very easy to piece together.

I would be interested to see how this would look in a more drapey fabric.  I suspect it would look quite lovely.

And I would not be opposed to making another, so I may have to test that theory!

Now I just have to decide if this print goes beyond holiday appropriate garb.  I am thinking it might.  Sure, it's red and green, but who's to say it's not just berries with pretty green leaves . . . and those are around all year long.  Perhaps pairing it with a black skirt would tone down the Christmas theme?!

Blouse:  Made by me, Vogue 1863
Skirt:  Made by me, Charm Patterns "Stanwyck Skirt"
Earrings:  Made by Cousin Carol
Necklace:  Vintage
Shoes:  Anne Klein "Foxie"

Wednesday, December 28, 2022

Classic Styling

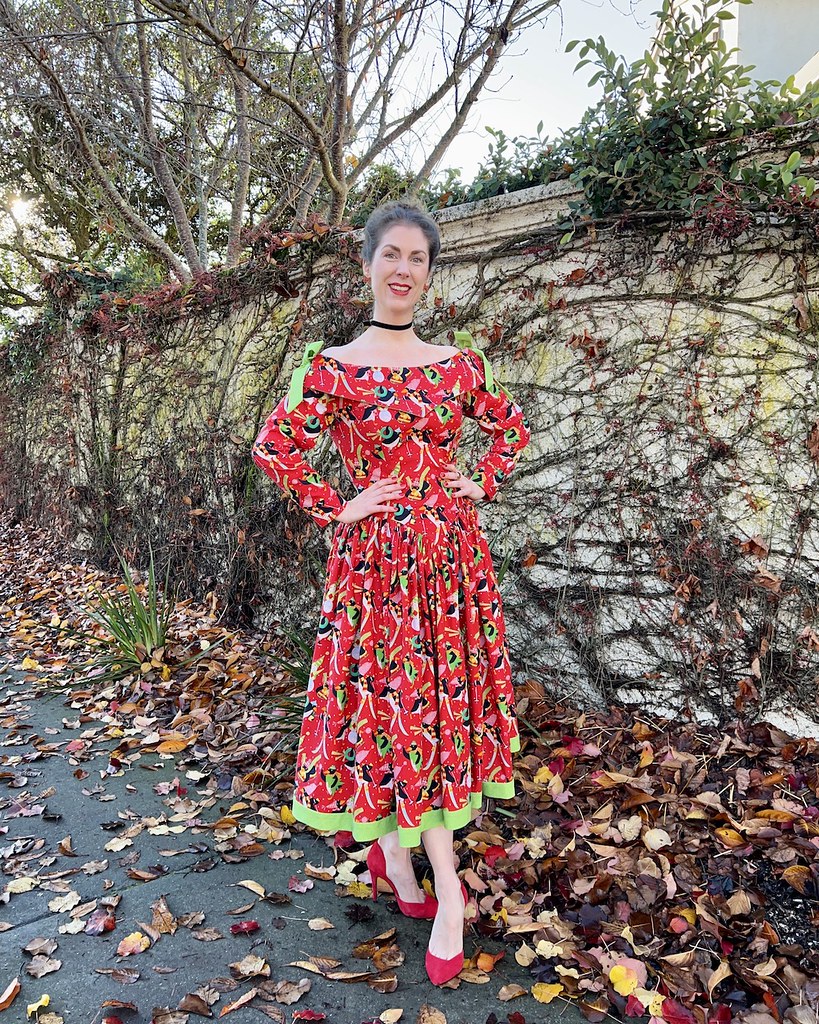
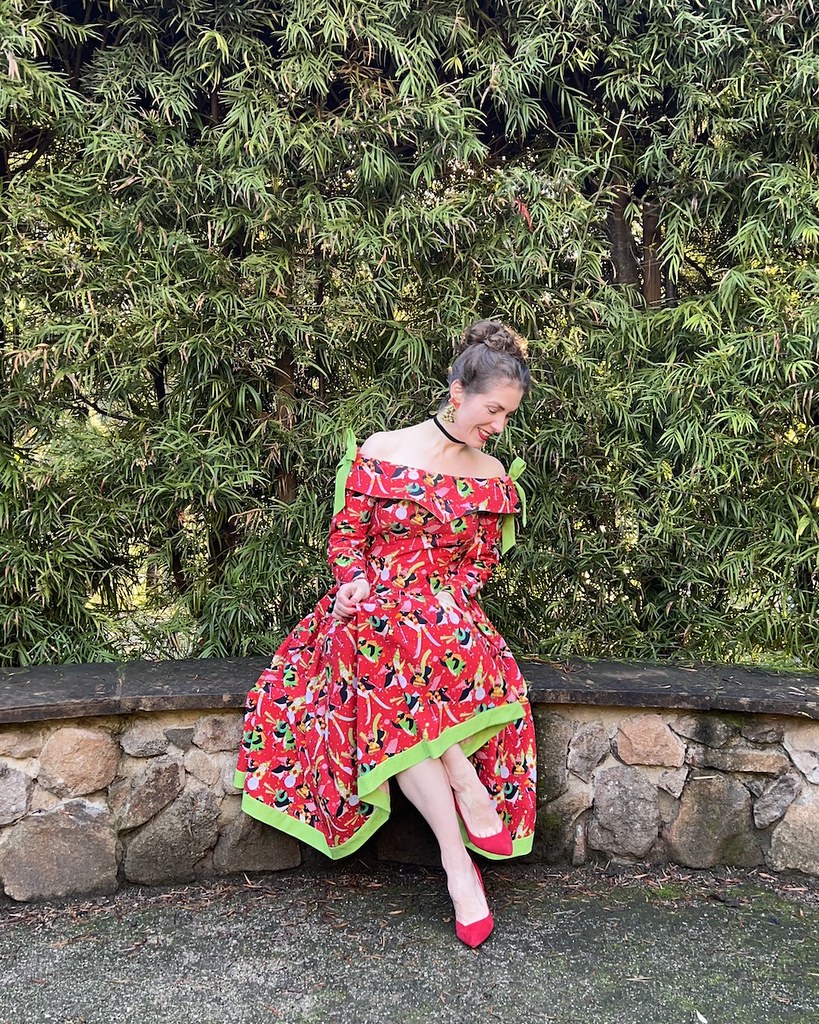
I managed to finish my Christmas frock with plenty of time to spare, so it seemed like the perfect opportunity to make another holiday themed item.  Vogue 1863 came out earlier this year, and I was very excited to see another vintage reproduction released with some lovely details.

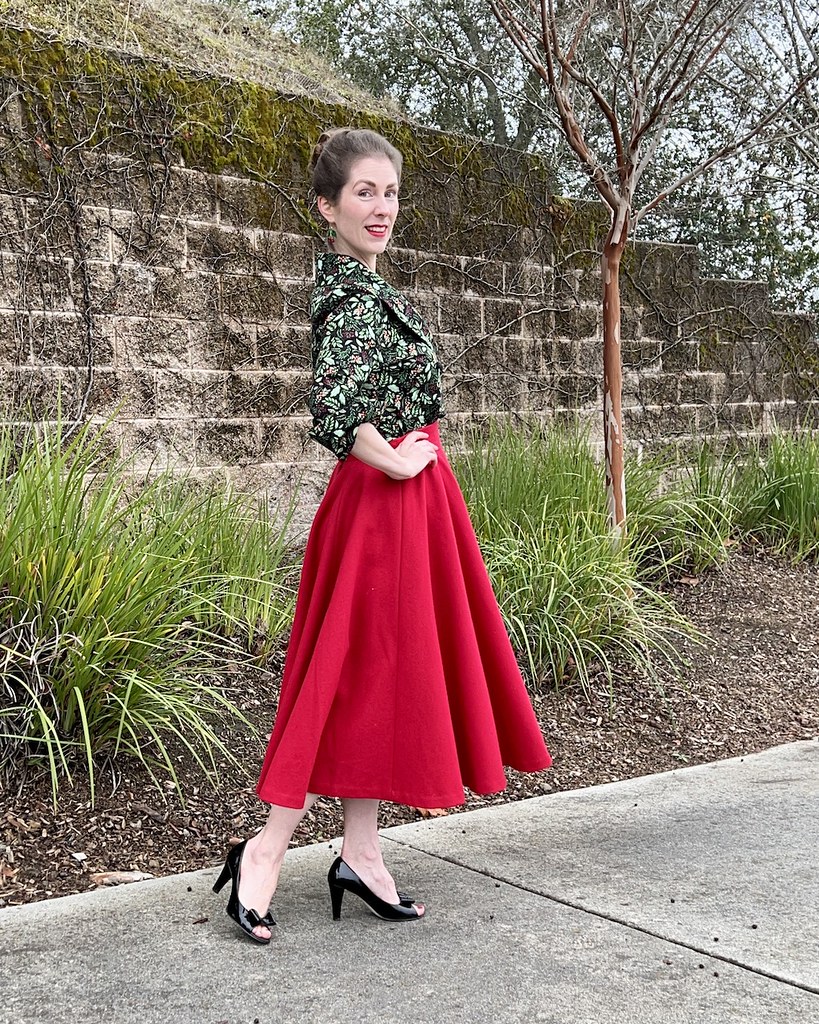
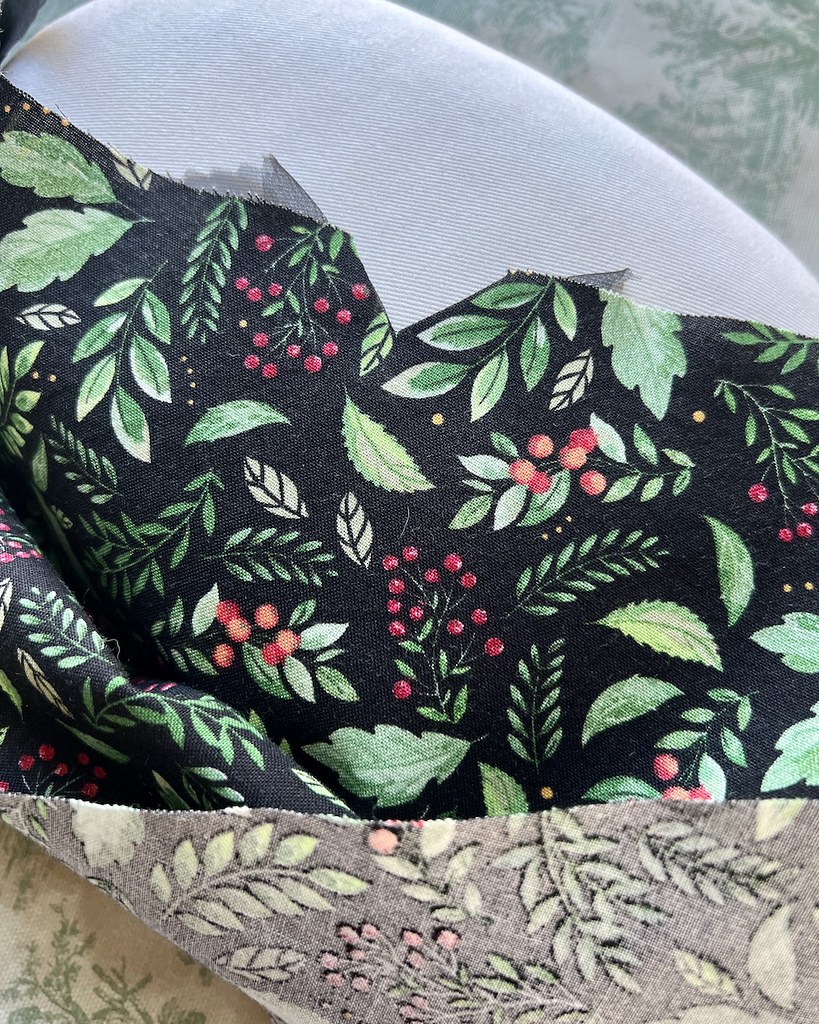
The collared blouse takes quite a bit of yardage, which I only realized after deciding that it was the pattern that I had my heart set on making.  Fortunately, I had enough of this berry print stashed away with my Christmas cottons, which seemed like a sign that they were meant to be paired together.

I haven't make a black floral print in some time, and I really do love them.  And this is a reminder to myself that I need to restock my black interfacing stock.  I had to piece the facing in order to get everything cut out of my scraps.

I also noted a drafting problem with this particular view.  The diagonal dart is supposed to be ironed down, not up (which is standard).  But as you can see, the cutouts for the pattern do not allow for the dart to be folded down, but instead, it must be folded up.  It's not a huge deal, just slightly aggravating, and not something I would think to check on a Vogue pattern.

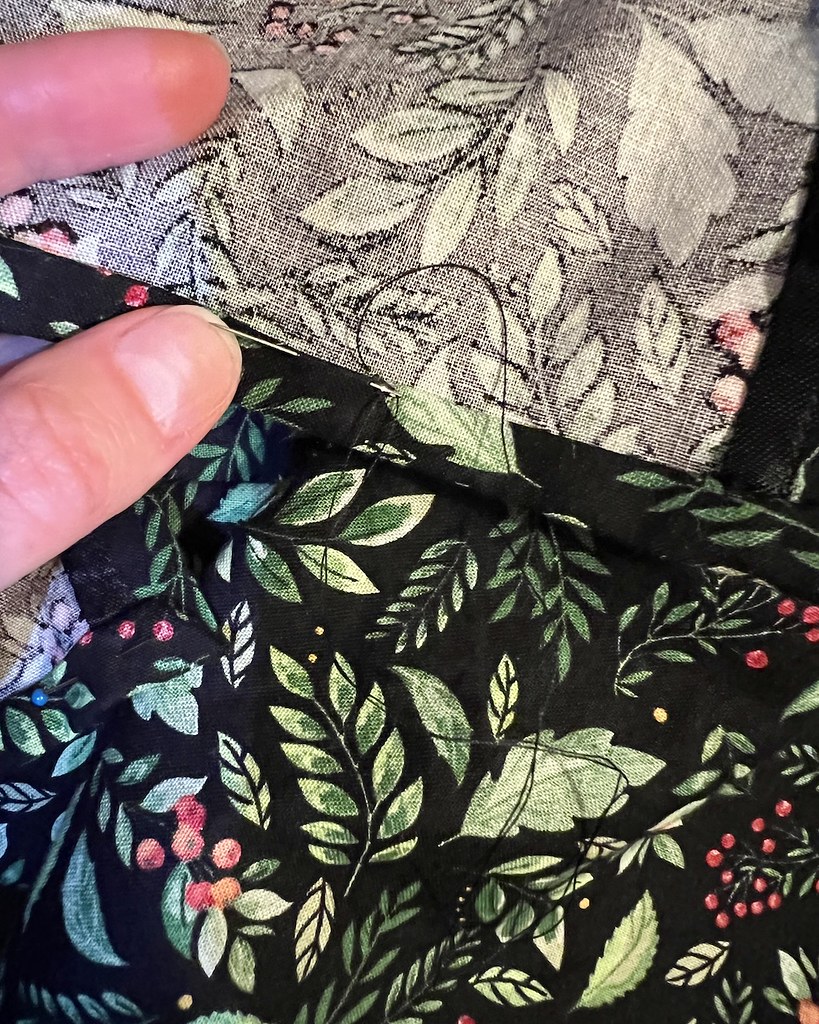
My favorite method for clipping into corners is to face them with a scrap of silk organza.  This is commonly used for underarm gussets, but it also comes in handy at other moments.  In this case, the collar calls for two cuts to be made at the center back in order to attach it to the neckline.

This gives a nice clean corner without having to worry about raw edges extending beyond a line of stitching (which is what this pattern suggests, and is the most common technique that I see).

All raw edges were finished with rayon seam binding, which I'm sure comes as no surprise to anyone who has followed me on this blog for an length of time!

This is the only blouse that I have made or possibly even seen that is double breasted.  I love a double breasted suit jacket, so I decided that this would be a fun thing to try with a blouse.

And, of course, one of the best things about this design is the cuffs.

There is a fair amount of bulk between the double layered cuff, the knot, and the facing, so this pattern is going to work best with a textile that is not too thick.  Or maybe you could get away with substituting a thinner facing material . . . because I think this would be really lovely in wool.

Although not suggested by the pattern, I reinforced the places where the buttons/snaps were going to be stitched on the bodice front.

And the hemline and side seam slits were hand stitched instead of the suggested top-stitching.  The only alteration I made to this pattern was to eliminate a wedge from the back bodice, which is standard for me.  I did not bother to extend the torso length because I didn't think it would be necessary.  If I make this again, I would probably lower the opening slits at the side seams.  As the are drafted, the slits are just covered by a skirt waistband.  I could go back and change this, but I probably won't!  It works as-is, and I am not a fan of mending - in fact, I will do just about anything to avoid it.

One other addition that I made was a scrap of fabric placed at the back of the snaps.  The interfacing was probably enough stability, but I don't want the snaps to pull too hard on the mid-weight cotton.  

This double breasted design utilizes two buttonholes and two snaps which are then covered with buttons.  I suspect that the reason that this design is constructed with snaps is because the instructions have you make bound buttonholes.  The best method for finishing the interior of a bound buttonhole is to cover it with a facing.  But since two of the four buttons are placed outside of the facing (hello, double breasted design) that is not possible, so they have substituted snaps.  Interestingly enough, the instructions suggest finishing the square of fabric that binds the bound buttonhole.  I was confused by the instruction, but now I am wondering if the original vintage design or Vogue was going to suggest making four bound buttonholes instead of two.  That would mean that two of the four buttonholes would be exposed on the interior of the garment, and therefore would need to have finished edges.

Here is my attempt to show those pretty cuffs.  The dark fabric and the overcast Winter weather make it difficult to see, but they really are lovely.  The knot seems like it could be slightly shorter, but I do like the gentle drape of the cuff with the extra room.

I was excited about this pattern as soon as I saw it, and it hasn't let me down now that I have made my own version.  The other blouse included with this design has also caught my attention, and that skirt is gorgeous, as well.  And I wouldn't put it past me to make another version of this exact blouse.  Maybe I can even stomach a solid colored fabric if I am making such a lovely design.

But I will definitely enjoy wearing this blouse!  It's a keeper.


Saturday, December 24, 2022

Festive Christmas Penguins

At this point, I have quite a few Christmas or Christmas themed outfits that I have made for myself.  As the years go by, they seem to get more and more outlandish, or perhaps a better word is obnoxious!  And this year, I took the opportunity to find some equally festive earrings. Because why not go all in!

When I found this penguin print at the last fabric swap I attended, I knew it was destined for great things.

There was also a whole lot of it, although I do wonder what the original purchaser of this fabulous print was planning on doing with five yards of fabric?!

For me, it was the perfect excuse to make a very full skirted frock.  The fact that it was just under the amount required for New Look 6486 which Michelle sent me from Old Patterns was not going to stop me.  I shortened the skirt length and then had the brilliant idea to add a bright green border to add back a bit of length, and to match those shoulder bows, of course.

There is a more traditional Christmas green included in this print, but I thought it would be a fun change to use a bright grass green as a more surprising choice.  It's not normally a color that I can wear, but using it sparingly works, especially when it matches Mr. Pengiun's scarf so nicely.

As I mentioned in my construction post, I am a huge fan of the basque waist.  I am not sure why this silhouette fell out of favor, but you really don't see it come up much after the 1980s.  

But I am definitely going to be on the lookout for more patterns that include this design feature.

With the basque waist and the off the shoulder collar, I just couldn't resist this pattern even though I tend to avoid the late 1980s/early 1990s designs.

I don't have a lot of familiarity with New Look patterns, and so I went with one size larger than I normally do with Big4 Patterns.  I did take cursory measurements of the bodice, but was slightly nervous about the sizing.  In the end, I probably should have sized down.  But since this is a Christmas dress, it may end up being the perfect outfit for eating a larger than normal sized meal.  So perhaps it was meant to be.

I am already contemplating making another version, so I will have another opportunity to take on the sizing issue.  And I will remember to remove a wedge of fabric from the back bodice.  This is an alteration that I make on every bodice, and I got distracted in the middle of cutting this out and forgot the adjustment.  Aaarrrgh!  I doubt that most people would notice the issue, but it drives me crazy that I let myself skip that step.  This year has been a whirlwind, and it's a symptom of being way too busy and needing to take a deep breath and SLOW DOWN!

But overall, I am very, very happy with my festive frock.  And it was very well received at the Symphony, so that festive novelty print was definitely an audience favorite.  After all, who can resist a cute little penguin enjoying all sorts of Winter activities!  Happy Christmas, everyone!

Dress:  Made by me, New Look 6486
Earrings:  Etsy, Arely Designs
Ring:  Grandfather's high school ring
Shoes:  Kristin Cavallari for Chinese Laundry "Copertina"