Showing posts with label Novelty Print. Show all posts

Sunday, July 27, 2025

Strawberry Blossom

While this project was a long time coming (I've been wanting to make this dress for about 20 years now) I am so happy that I finally found the right fabric and the time to get started.

While the construction of the bodice front did give me a bit of grief, I am happy to report that the changes that I made were successful, and the extra work was definitely worth any added aggravation.

But the most obvious part of the dress is the print!  I actually found this yardage on Poshmark a couple of years ago for a great deal.  I've already made a skirt and top with the combination of the larger and smaller sized print, and I will have enough left over to make another item when the right design comes along.

There is just something about a novelty print with the added whimsey of using fruit as the main design element.

Dolce & Gabbana are probably the best at creating amazing fruit and vegetable themed fabric prints, but the companies creating motifs for quilting cotton are also doing a great job.

This particular print is older, I believe.  If i had to guess, I would say it's from the late 1980s or early 1990s.

And it gave me a chance to pull out my strawberry earrings.

Perhaps best of all, the added fullness created by the skirt godets is really fun to wear and walk in.

I am thinking that the pattern pieces would also make a great skirt.

Then again, all of that top-stitching was a lot of work . . . but it just might be worth it!


Dress:  Made by me, Vogue 2785
Earrings:  Etsy
Shoes:  Kate Spade

Tuesday, November 12, 2024

A Novel Idea

This was one of those last minute sewing projects as the Summer weather was threatening to disappear but I felt the need to make just one more sundress.  

I knew that I wanted to try a new pattern as I have a huge amount of warm weather dress patterns hanging around making me feel slightly guilty for not using them.  

McCalls 7950 fit the bill, and I don't need much of an excuse to work with a fun novelty print, so that was an easy choice once I came across the cotton stashed away in a bin.

One thing I will say about this pattern is that the instructions/construction is rather lacking.  I am not sure how many people would be comfortable wearing the tie front versions without the addition of some kind of closure.

Looking at the pattern itself, I suspect that this view was added in last minute as a second bodice option to give a different look rather than the standard button front, princess seamed bodice.

And certainly, the cute tie front was what drew me in.  I probably wouldn't have given this pattern a second look had it not been for View A.

The dress itself is rather loose fitting, and there is no additional shaping to the lower half of the bodice, which would be fine for Views C & D.  

I didn't think much of it until I had an almost completed dress, only to realize that it wasn't very wearable as it was drafted.  Darn it!

But I loved the print too much to give up on the dress, so I added a pair of bust pads to hopefully give the bodice a bit more shape.  That definitely helped, but the ties still didn't make the situation feel all that secure.

In the end, a simple hook & bar stitched just under each tie extension did the trick.  And with those small changes, I now have an easy to wear dress perfect for the warm weather which has most definitely disappeared!  Oh well, there is always next year . . .


Dress:  Made by me, McCalls 7950
Earrings:  Made by me
Shoes:  Bernardo "Veronika"

Monday, October 7, 2024

Patterns Illustrations

This is one of those patterns that I purchased soon after it was released with the thought that I would make it right up.  I was intrigued by View A (I love a tie front!) and thought it would make a lovely summer frock.

Of course, time got away from me, and a few years later I finally decided that I wanted to make something with a novelty print, and this pattern seemed like a good choice.  I had slightly more yardage than needed, so instead of the knee length dress I had originally intended, I thought that the longer skirt with the patch pockets would be a nice way to use up the majority of this wonderful novelty print.

And to make those pockets stand out a bit more amongst the crazy colors and designs, I added some rick-rack.  To tie everything together, I also added a length of the rick-rack to my straps.  One happy result of this is that those straps will not be stretching at all.  As a note on construction, I did have to shorten the length of the straps considerably compared to the original draft.

While I would have had enough fabric left to cut my bodice back pieces out, I decided to save the scraps for something more interesting than a simple lining.  And, of course, a tie front does require that the front lining matches unless you want the contrast to show, and in this instance, I did not want that look.

I went ahead and made bound buttonholes on the skirt front instead of pulling out my vintage buttonholer.

This is a stable cotton, so it's easy to work with, and if a fabric is anything but super sheer, I do prefer a bound buttonhole to one that is machine made.

Honestly, I find the process to be less stressful and requiring less "practice" before I get to making the buttonholes on the actual garment.

The only visible seams were the skirt side seams, so I finished those with rayon seam binding.

And while I didn't manage to take any photos of the process, I did make an Instagram reel about adding bust pads to the bodice of this dress.

And to make the bodice feel more secure, a hook & eye was added just under the ties to keep the bodice closed.

This is one of those designs that looks great in the technical drawing, but in reality, could use a bit more finesse when it comes to the instructions that come in the pattern envelope in order to make it a more wearable item of clothing.  For this particular dress, I do not think it would have been very wearable without the addition of that hook & eye to keep the bodice closed.  Obviously, every body is different, but I would definitely recommend an extra closure option rather than relying solely on the wide fabric ties that are part of the bodice front.

That being said, it's a very cute sundress, and I am happy with the finished product.  I am especially pleased with the fabric pattern/design pairing which I think looks rather 1980s does 1950s in the best way possible!


Saturday, December 24, 2022

Festive Christmas Penguins

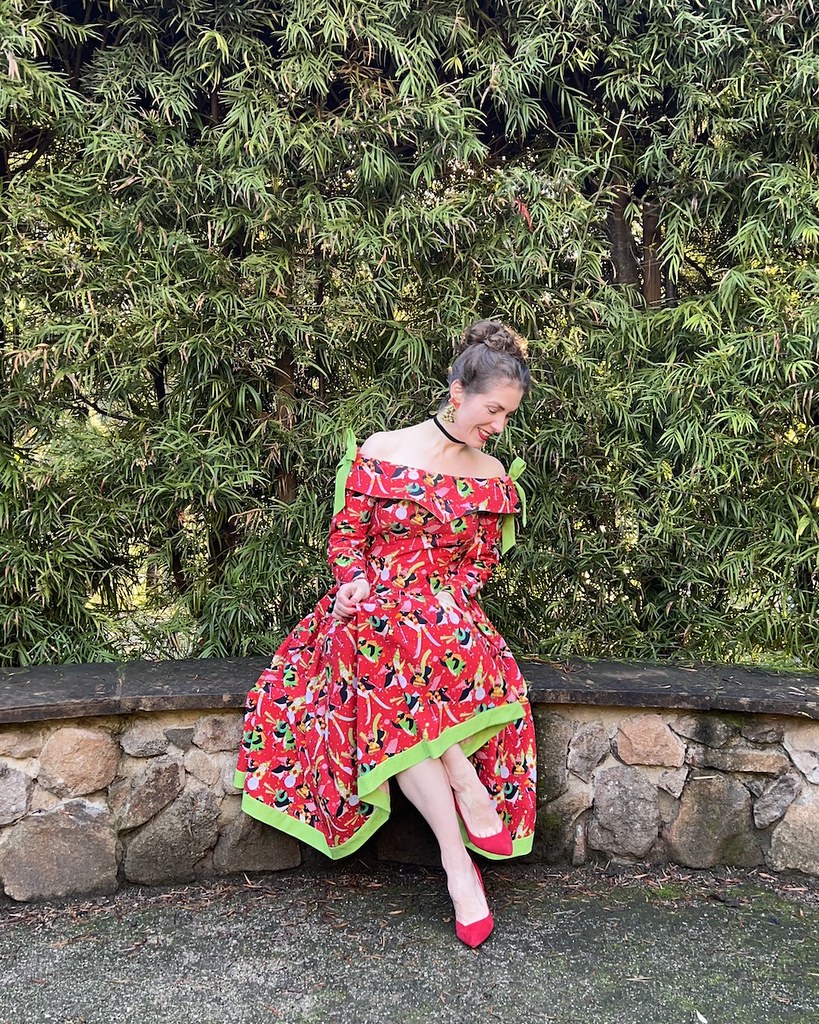
At this point, I have quite a few Christmas or Christmas themed outfits that I have made for myself.  As the years go by, they seem to get more and more outlandish, or perhaps a better word is obnoxious!  And this year, I took the opportunity to find some equally festive earrings. Because why not go all in!
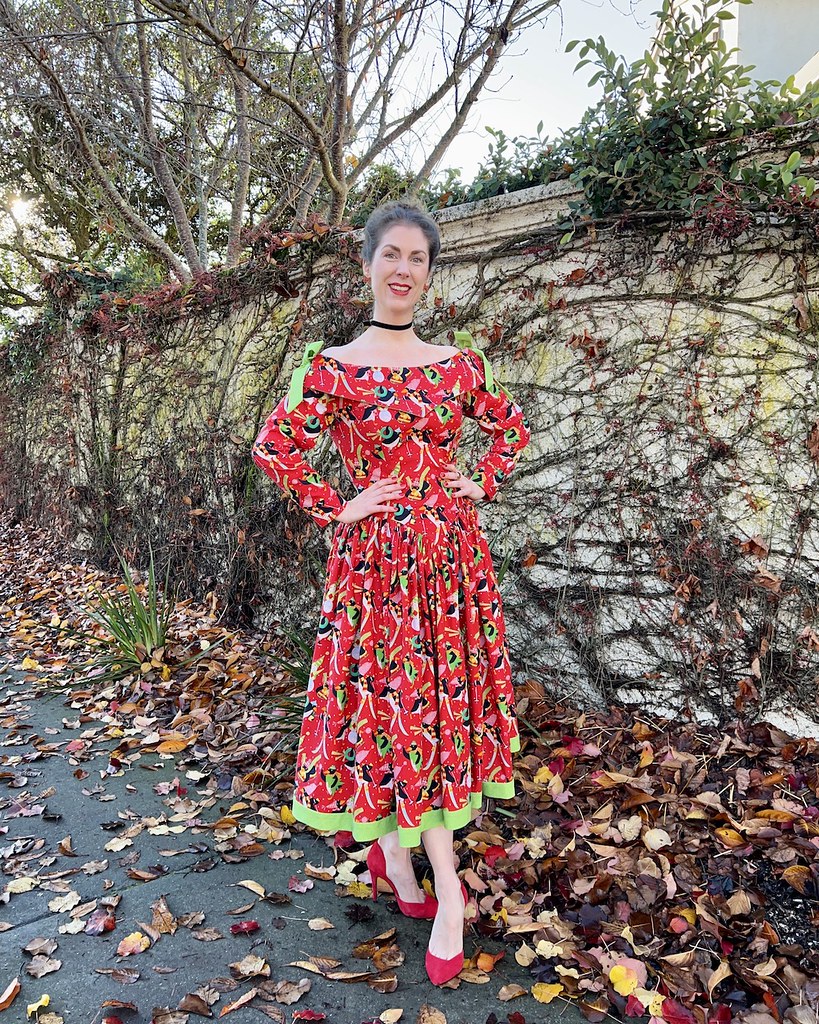
When I found this penguin print at the last fabric swap I attended, I knew it was destined for great things.

There was also a whole lot of it, although I do wonder what the original purchaser of this fabulous print was planning on doing with five yards of fabric?!

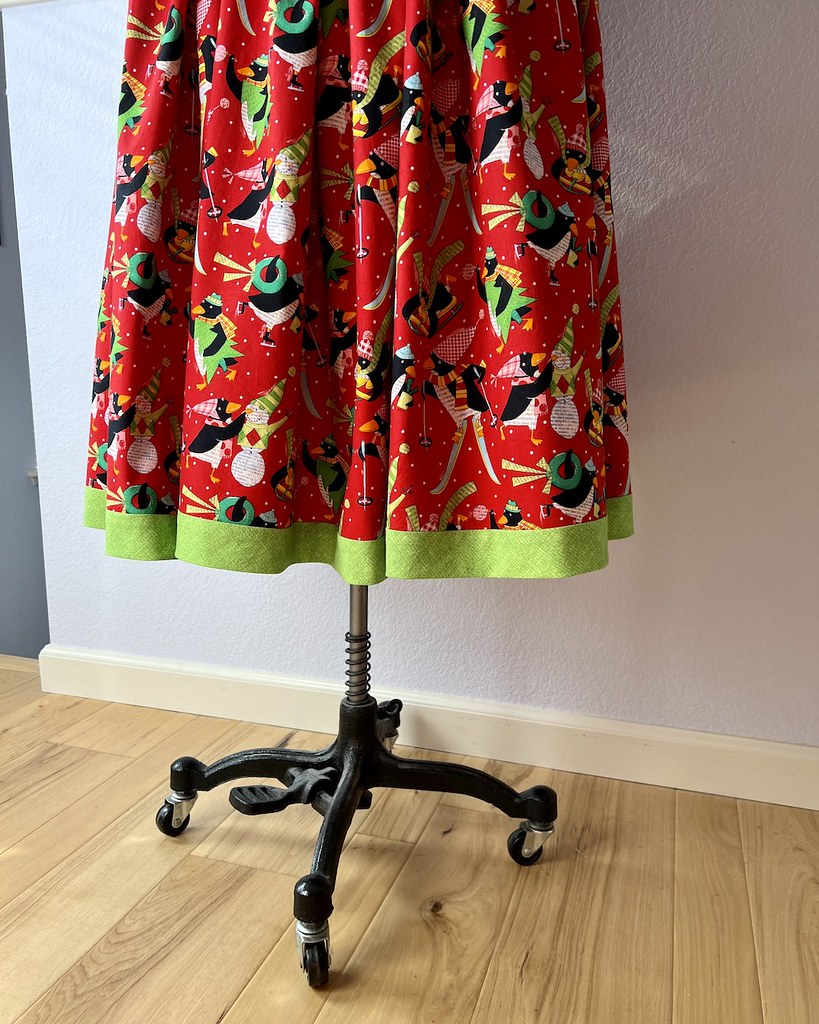
For me, it was the perfect excuse to make a very full skirted frock.  The fact that it was just under the amount required for New Look 6486 which Michelle sent me from Old Patterns was not going to stop me.  I shortened the skirt length and then had the brilliant idea to add a bright green border to add back a bit of length, and to match those shoulder bows, of course.

There is a more traditional Christmas green included in this print, but I thought it would be a fun change to use a bright grass green as a more surprising choice.  It's not normally a color that I can wear, but using it sparingly works, especially when it matches Mr. Pengiun's scarf so nicely.

As I mentioned in my construction post, I am a huge fan of the basque waist.  I am not sure why this silhouette fell out of favor, but you really don't see it come up much after the 1980s.  

But I am definitely going to be on the lookout for more patterns that include this design feature.

With the basque waist and the off the shoulder collar, I just couldn't resist this pattern even though I tend to avoid the late 1980s/early 1990s designs.

I don't have a lot of familiarity with New Look patterns, and so I went with one size larger than I normally do with Big4 Patterns.  I did take cursory measurements of the bodice, but was slightly nervous about the sizing.  In the end, I probably should have sized down.  But since this is a Christmas dress, it may end up being the perfect outfit for eating a larger than normal sized meal.  So perhaps it was meant to be.

I am already contemplating making another version, so I will have another opportunity to take on the sizing issue.  And I will remember to remove a wedge of fabric from the back bodice.  This is an alteration that I make on every bodice, and I got distracted in the middle of cutting this out and forgot the adjustment.  Aaarrrgh!  I doubt that most people would notice the issue, but it drives me crazy that I let myself skip that step.  This year has been a whirlwind, and it's a symptom of being way too busy and needing to take a deep breath and SLOW DOWN!

But overall, I am very, very happy with my festive frock.  And it was very well received at the Symphony, so that festive novelty print was definitely an audience favorite.  After all, who can resist a cute little penguin enjoying all sorts of Winter activities!  Happy Christmas, everyone!

Dress:  Made by me, New Look 6486
Earrings:  Etsy, Arely Designs
Ring:  Grandfather's high school ring
Shoes:  Kristin Cavallari for Chinese Laundry "Copertina"

Tuesday, December 20, 2022

A Christmas Novelty

And now it's time for the annual novelty print Christmas themed dress.

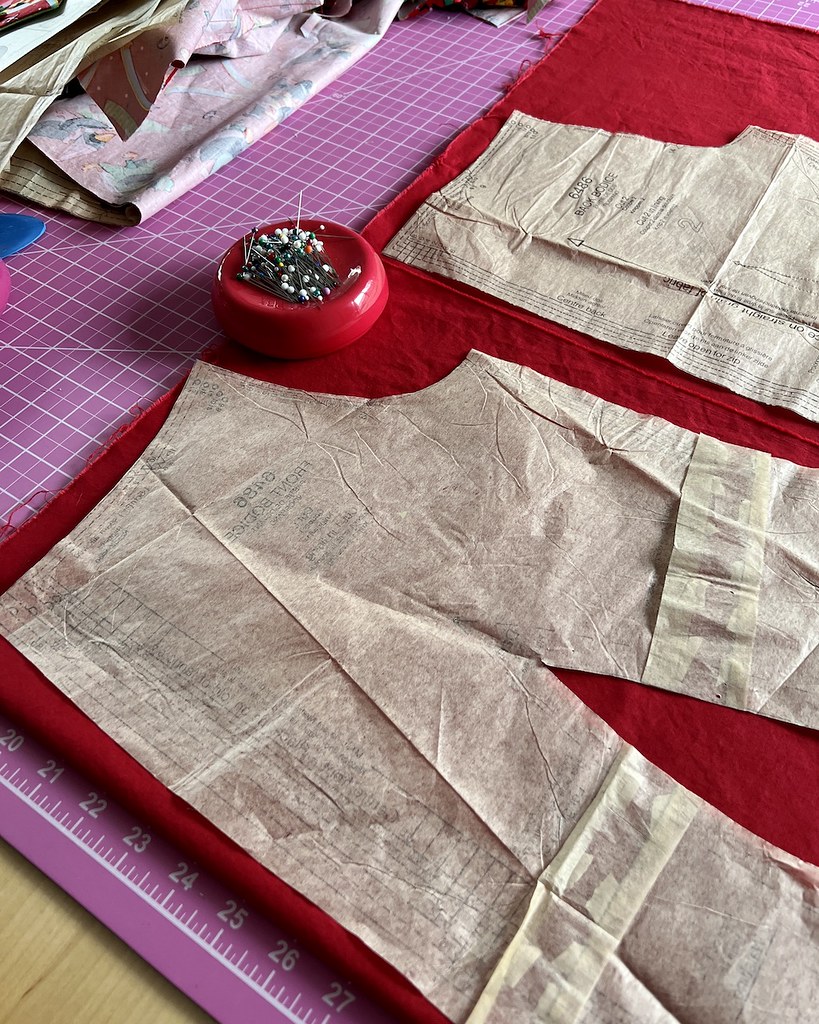
This has become somewhat of an annual tradition, and this year, I knew the exact dress pattern that I wanted to make, which is one that Michelle from Old Patterns sent me.  It uses a massive amount of yardage, but I found this novelty print at the last fabric swap I attended and it was just under the required amount of fabric needed.  Which means I had the perfect opportunity to make a wearable muslin.

I did have to shorten the skirt pieces by 2.75" to get everything to fit, and cut the collar facings out of a contrasting fabric, but I made it work.

One of my favorite features of this design is the basque waist.  Not enough patterns include this style, and I don't know why.  It's so flattering.

The pattern calls for the entire dress to be lined, skirt included.  Well, that was too much fabric to deal with, especially since I didn't have enough solid red cotton on hand.

But the mid-weight cotton seemed sufficiently sturdy without a lining for the skirt and sleeves, so I just cut out duplicate bodice pieces in the red cotton.

My second favorite part of the dress is that collar.  Does it get much better than an off the shoulder collar?  Not in my opinion!

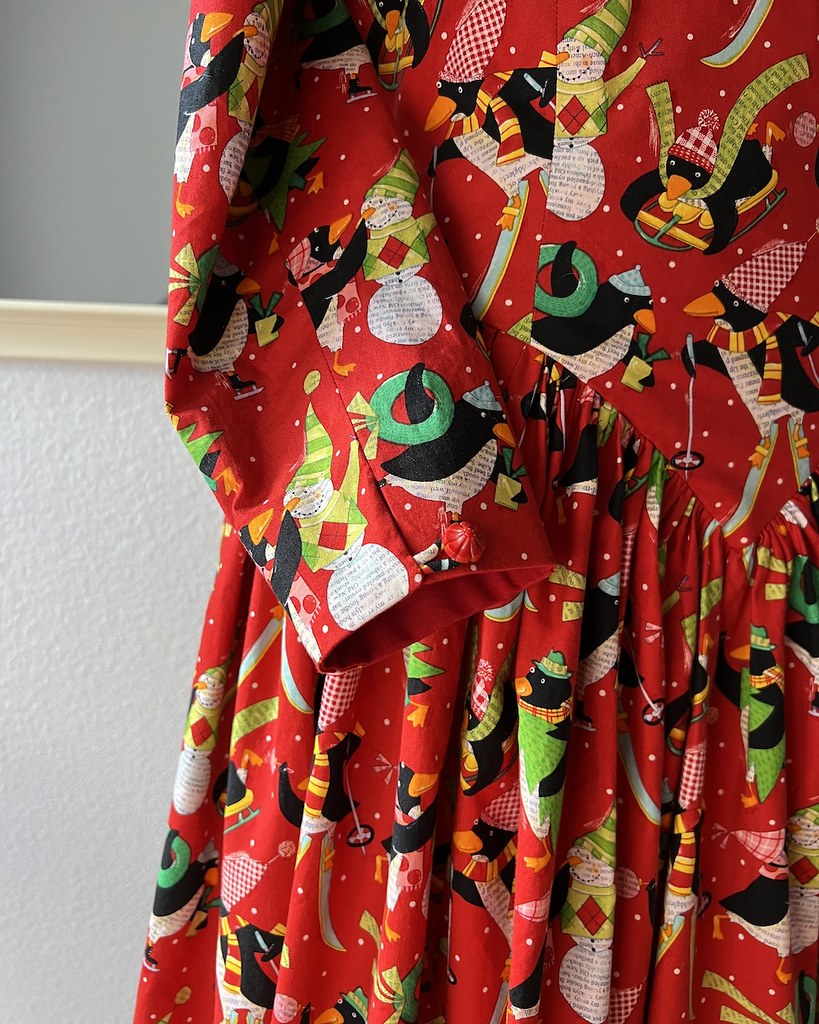
The one oddity was the sleeves.  

I saw the facing pattern piece and didn't think much of it at the time, but once I opened the instructions, I was perplexed.  Why did this sleeve need a button and loop closure?

That button isn't treated as a design feature since the opening is on the inside of the wrist, and is therefore essentially invisible while worn.  And the opening is plenty wide for a standard sized hand to fit through.  I even removed some width from the sleeve because it seemed excessively wide (and that's not a standard adjustment for me), but still did not have an issue with fitting my hand.  So for now, the mystery of the sleeve opening will live on.  Thankfully, I managed to scrounge up two red buttons from the stash that were a fairly good match.  If I use this pattern in the future, I suspect that I will make a standard sleeve and ignore the button and loop addition.

And here is your reminder that basting is your friend!  

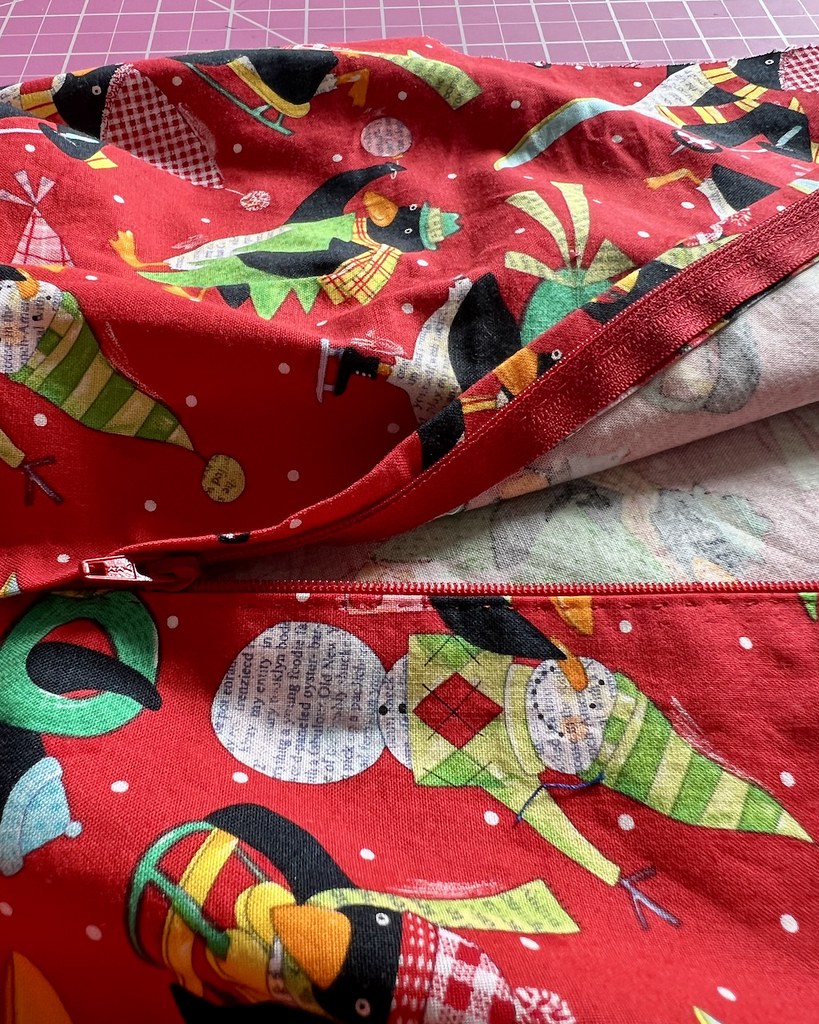
Could I apply the zipper with pins in place?  Of course I could.  But do I really want to get poked and have the thread tangle up around said pins?  Not so much.  I have become much better about my fear of installing a zipper with machine stitches, but I believe that I will always prefer a hand picked zip.

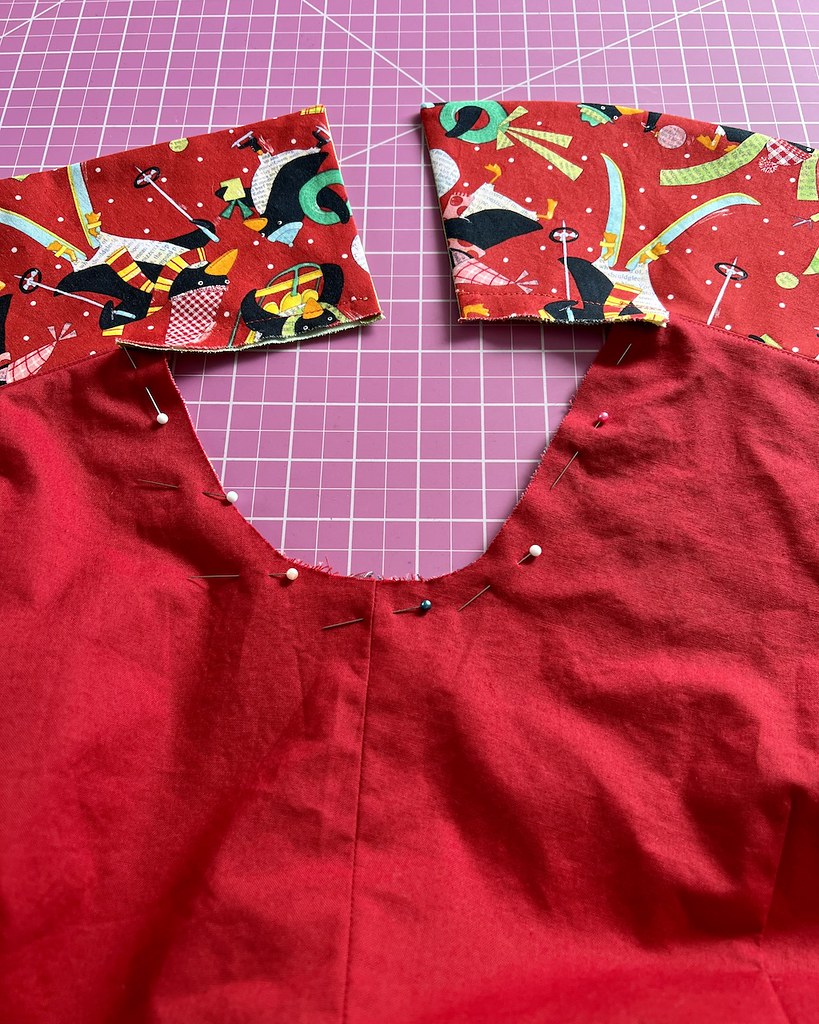
I was slightly skeptical about the construction of the armscye seam and collar, but it all worked out okay.

And while I did not have enough fabric to use the print as a facing, I really like that the green breaks up that crazy print slightly.

The collar is attached to the upper portion of the sleeve and a channel of bias fabric finishes the edge, also allowing for a piece of elastic to secure the off the shoulder treatment.

The pattern calls for two pieces of boning, one at each side seam.

Using the technique that I discovered in my recent sarong style vintage pattern, I added four additional pieces of boning:  two on the back bodice, and two at the upper edge of the bodice front.

The only additional finishing detail was to stitch the lining in place along the zipper tape and lower bodice seam.

But what about those shoulder bows?  

I had plenty of the contrasting green cotton, and this was a crazy print, so I figured that I might as well go for it.  But what if I added some of the length that I lost because of my limited yardage back to the hemline with the contrasting fabric?

First I started by cutting out the bow pattern piece.  This gave me a finished strip which I pinned in place at the hemline.

I liked how that looked, so I cut bias strips that would match the width of the finished bow when it was wrapped around the hemline edge.

Ironically, I removed another inch of fabric from my skirt piece before applying the contrasting bias because I thought it would end up looking slightly long with the proportions of the dress.

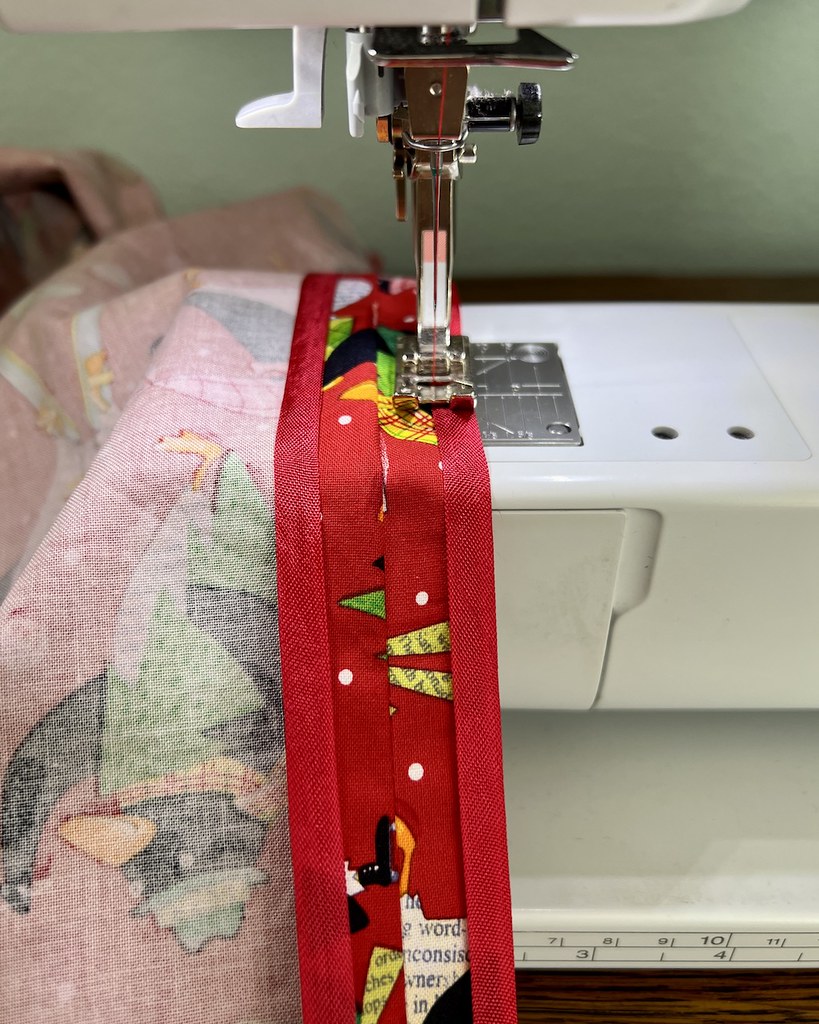
The bias strip was applied to the hem, stitched into place, and then wrapped around the raw edge.

And those quilters know what they are doing when it comes to bias binding!  I did a quick google search and solved that problem of how top neatly finish that edge. 

I was slightly unsure about the bright contrast when I began, but I really love how it turned out.

And the shoulder bows are pretty cute, too.

The print has so much going on and the green breaks it up.

My little helper has been determined to be involved in all of my projects these days, and this dress was no different.

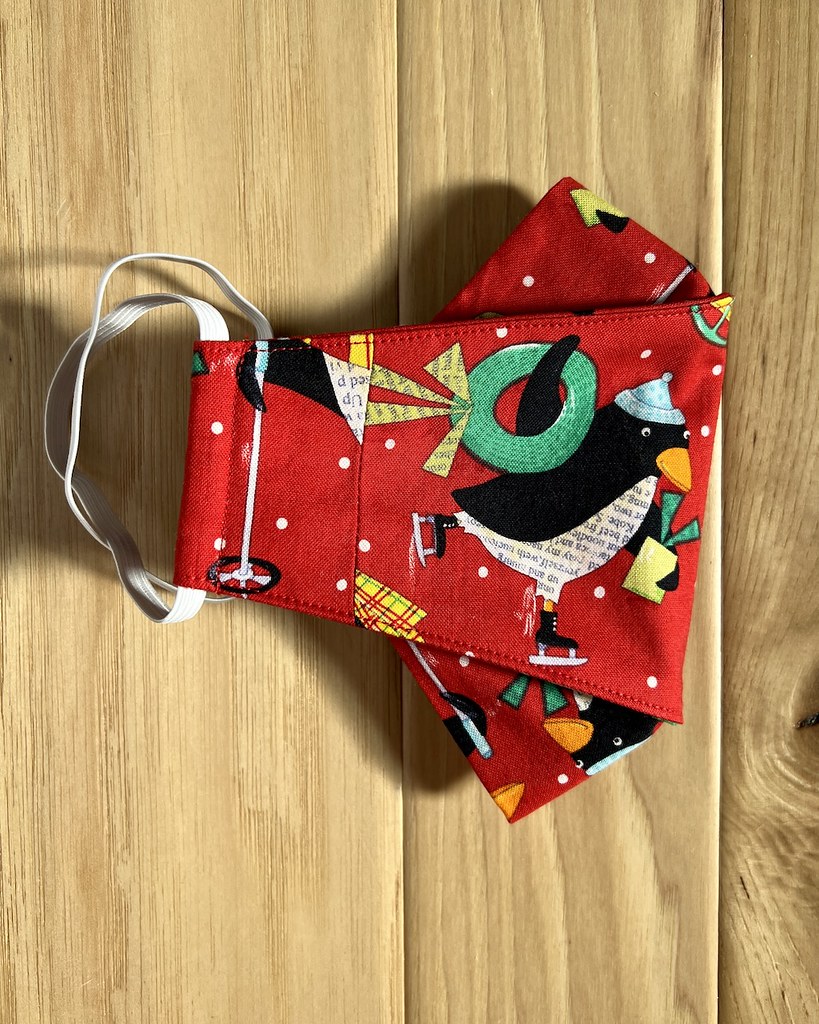
And because I knew that I would be attending a Christmas concert in this outfit, I made myself a matching mask.

When I said that I was cutting it close with my fabric yardage, I meant it!  You can see that it was necessary to piece my mask, so that gives you an idea of the small amount of fabric scraps that I was left with!

I just love when that happens!  If I have leftovers, I want to be able to make myself another project, so a half yard or less ends up being almost worthless.  But there is something very satisfying about mere scraps remaining after a project is cut out.

And that's about all there is to say for this dress.  I am very pleased with the outcome, and I would definitely think about making the pattern again . . . although it would be in a more subdued fabric choice and perhaps without the shoulder bows!