Monday, December 31, 2018

Christmas Cardinals


Although I am not making any formal New Year's resolutions, I am going to try to keep up with this blog a bit more in the coming year.


To that end, here is one final finished project from 2018.


It's the Christmas dress that I was convinced would not be finished in time!  But I managed it just in the nick of time!


There are quite a few more projects out there, pictures to be gone through, and posts to write.  But a project never really feels truly complete until I post it to the blog.  Silly, yes, but it's just the way it is.


And as far as new projects go, I have so many ideas.


I am going to do my best to get to a few WIPs that have been languishing in boxes for far too long.


And before Spring arrives, I am determined to use one of my lengths of wool coating.


Which color wool and which pattern shall it be . . .


I haven't a clue at this point.  But I am excited to jump in and get started!  


Have a Happy New Year, and, as always, Happy Sewing!!


Dress & Belt:  Made by me, Simplicity 1459
Petticoat:  Made by me
Shoes:  Royal Vintage "Marilyn
Hair Bow:  Made by me
Earrings:  Vintage

Saturday, December 29, 2018

The Christmas Dress


I was not planning to make myself a Christmas dress this year - to be honest, I just didn't think I would have the time.


But then I happened across this wonderful cardinal print at JoAnns, and I felt the need to cut right into something new.  I just love the Susan Winget prints.  In fact, I did not see the selvedge on this print until I got it home, but this was the design that caught my eye.  These two are also her designs, and I love the garments I made with them!  I also love the cotton they are printed on.


Then there was the question of a pattern, and, of course, the issue of buttons.


I had one vintage Prims buckle and a couple of Prims covered buttons, along with a red velvet scrap or two that was the perfect color to match those lovely little birds.


The pattern is Simplicity 1459, one of their vintage reproductions from a few years back.  I have made similar frocks (got to love a notched collar!), but decided to give this one a try and see how it turned out.


And then, of course, there was the matter of bound buttonholes.


Yes, they take a little preparation, but I can count on them . . . unlike the ones made with a machine.


There was also a little seam binding added to the mix.  I have a lovely deep garnet color in my stash that would have looked lovely, but I was afraid that it might show through the cream colored portions of the fabric, so I went with a pale pink.


See what I told you about the bound buttonholes!  They are always there for me!


Where I strayed from the pattern was the skirt.  This reproduction gathers the entire skirt waist to the bodice.  However, a look at the vintage illustration on the pattern envelope clearly shows that the front portion of the skirt is not gathered.  Not sure why they omitted this in the reproduction.  I find that keeping the gathers to the sides of the dress is very flattering.  I also added a few pleats to tame the extra fabric before gathering right over those sections.


And there she is, all finished, with only a couple of hours left before leaving for L.A. - just enough time to pack a suitcase, or two!


Tuesday, December 18, 2018

Christmas in La La Land

I will be traveling to Los Angeles over the holiday weekend, and was hoping to get some suggestions from locals or anyone familiar with the area, and thought that the old blog might be a good place to start.


Specifically, are there any fabric stores that cannot be missed?  Or vintage stores and antique malls, or fashion museums, or really anything fabulous to see while in the vicinity.  I suspect that many places are going to have limited holiday hours, but if you have any suggestions, I would love to hear them!
Thanks!  And now it's back to the sewing room . . . I am trying to make myself a Christmas themed dress, but time is quickly running out!

Monday, December 17, 2018

A Very Plaid Christmas


Last year, I finally decided what to do with this heavy plaid wool coating - make a skirt.  And so I did just that.  


Turns out, it feels like wearing a super warm and cozy blanket.


And while is was not possible to match the plaid at the side seams (a huge repeat like this just takes way too much fabric), I am extremely pleased with the outcome.


The thing weighs a ton, but it is so very comfy and warm to wear.


I wore this for Christmas 2017, and the after dinner walk we always take in the brisk weather was no match for the wooly skirt.


I have also decided that I need more plaid in my life. 


It can be aggravating to cut out and match, but the finished look is well worth the effort.


And even in a situation such as this one where matching is an impossibility, the finished effect is really lovely.


And let's be honest  . . . this skirt is going to get a whole lot more wear as a skirt than as a coat, seeing as most of my dresses are prints and would clash terribly with such a textile.  


So all's well that ends well!


Skirt:  Made by me, Vogue 2902
Earrings:  Vintage
Shoes:  Kristin Cavallari "Copertina"

Thursday, December 13, 2018

New Holiday Patterns from Simplicity for 2018

Simplicity thinks The Puffy Shirt has returned . . . 


To which I say . . . "But I don't wanna be a pirate!"

Other than that interesting design choice, there really are not many new patterns that interest me.  Which, to be honest, does not surprise me.  There were way too many vintage beauties in the last couple of catalogs for the trend to continue.  

Last release, I mentioned the inordinate amount of apron patterns that this company produces.  Well, we have yet another.  Personally, I like to wear my dresses in dress form, however, this is a cute idea.  I am not sure about that model pic, though . . . are you supposed to remove all of your clothes when wearing such an apron?


I was going to look right past this wardrobe pattern, but I have learned that can be a mistake.


Take a look at the line drawing for the dress and skirt.  This is pretty cute!  Love those oversized pockets!!

That is about all that caught my attention, although I do eagerly await the next round of vintage reproductions.  

How to you feel about the new designs?

[Click on image for source]

Monday, December 10, 2018

Adding the Lining


Back in December of last year, I made up my first version of Simplicity 8509.  It was really a test run for this wool swing coat.  The successful wearable muslin just confirmed that I should move forward with the wool.


I started 
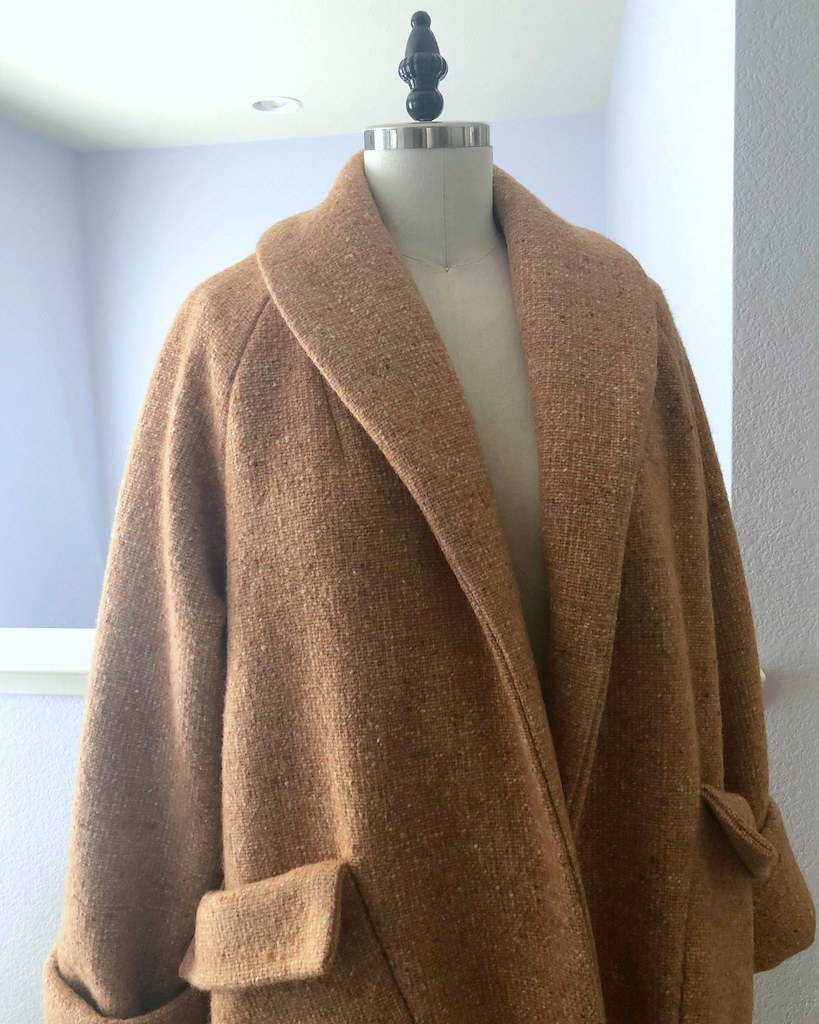
blogging about the process of making a second coat with this crazy thick wool coating fabric back in March of this year, and somewhere along the way, I lost steam.  It probably had something to do with the weather getting warm, and the thought of this heavy wool was too much to take!  But anyway . . . where I left the project here on the blog was with 
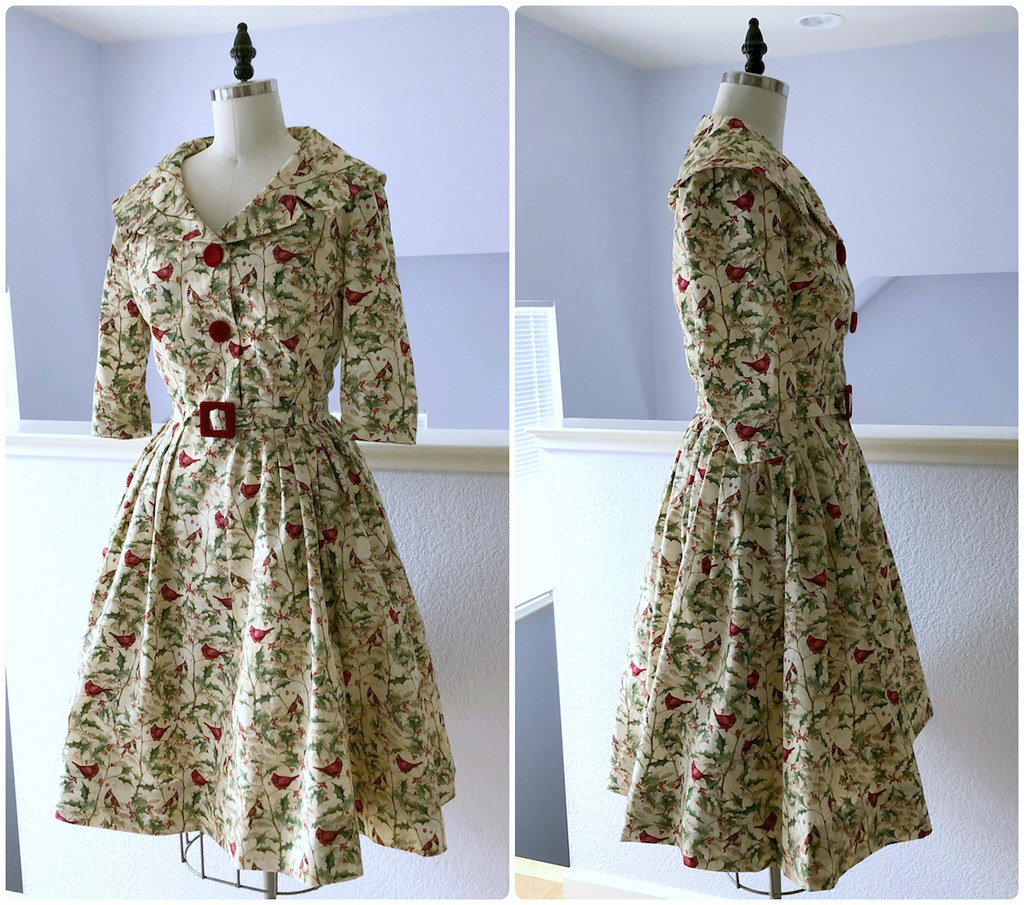
a finished outer shell.


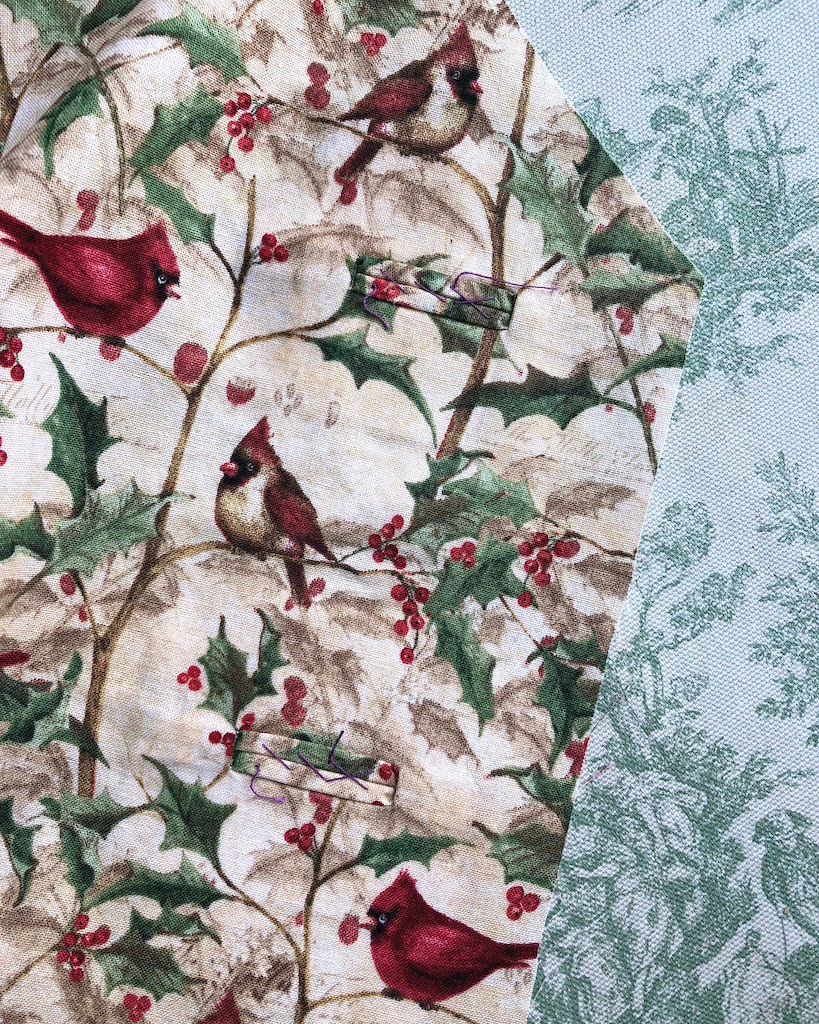
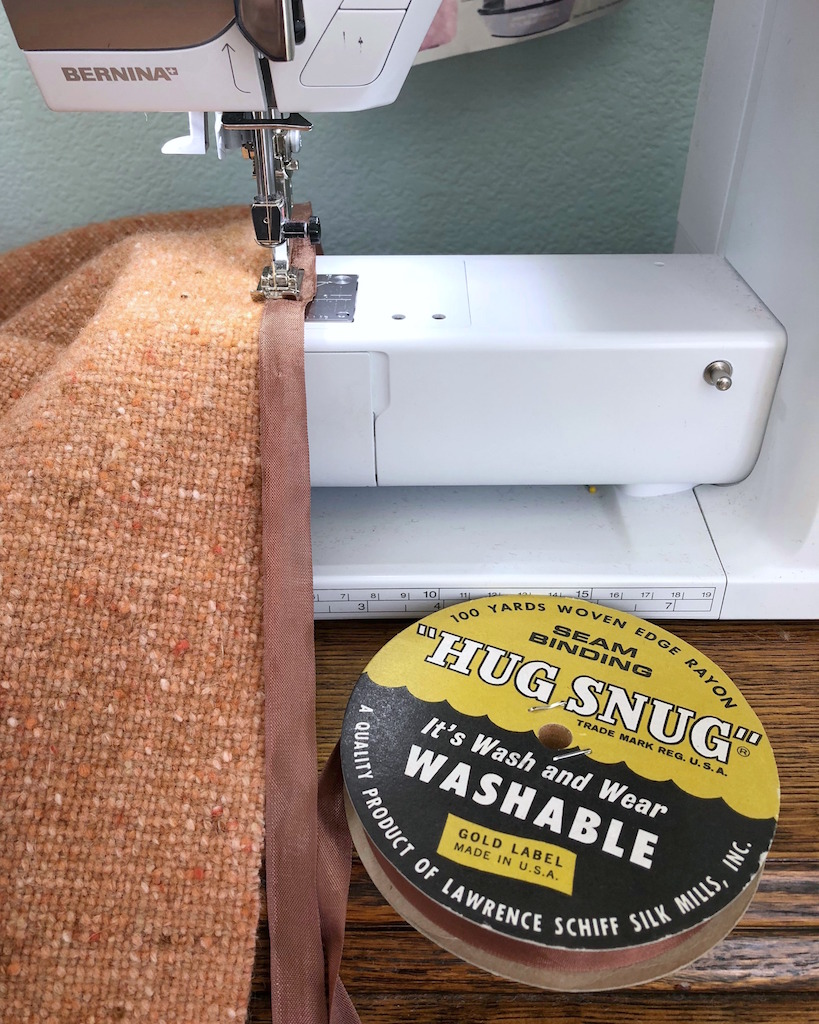
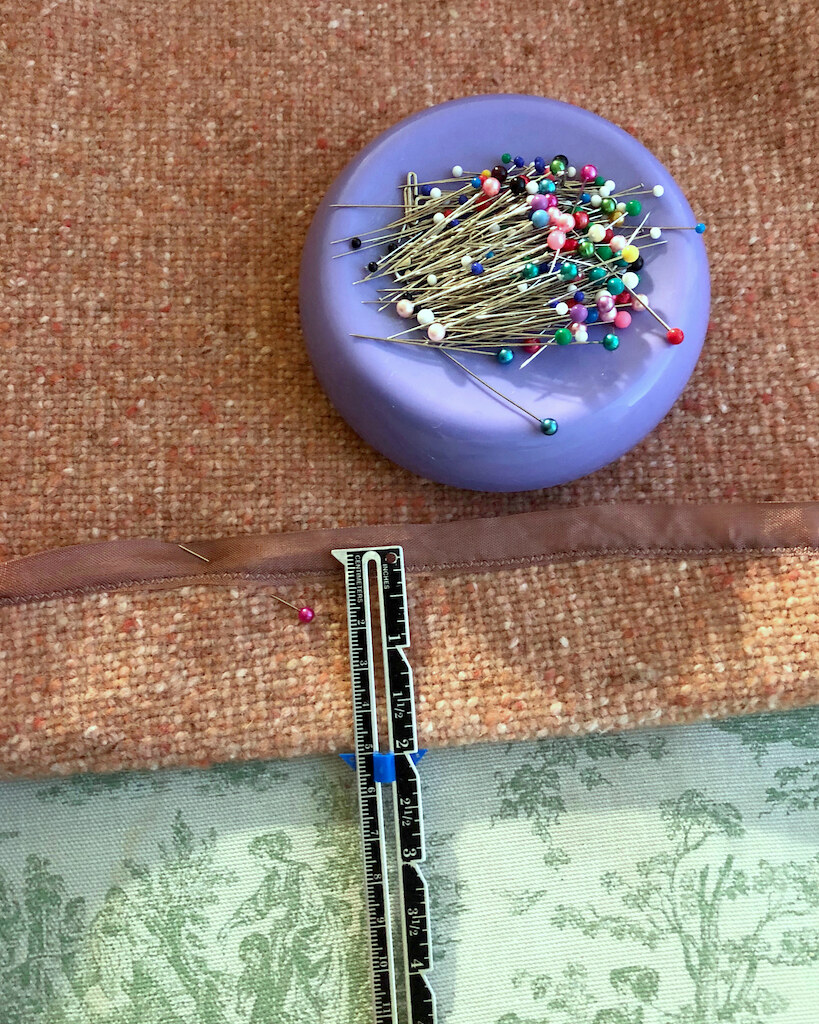
I added a strip of seam binding to the bottom edge of of the facing where it joins the lining.  In ready-to-wear coats, this bit is often left unfinished or serged.  I am not a huge fan of the serged look, and there was no way I was going to leave this "fray as soon as you look at it" coating raw for an inch along the bottom of the coat.  Once again, my Hug Snug saved the day!


The most challenging part of this process was certainly dragging this heavy thing back and forth from sewing table to sewing machine.


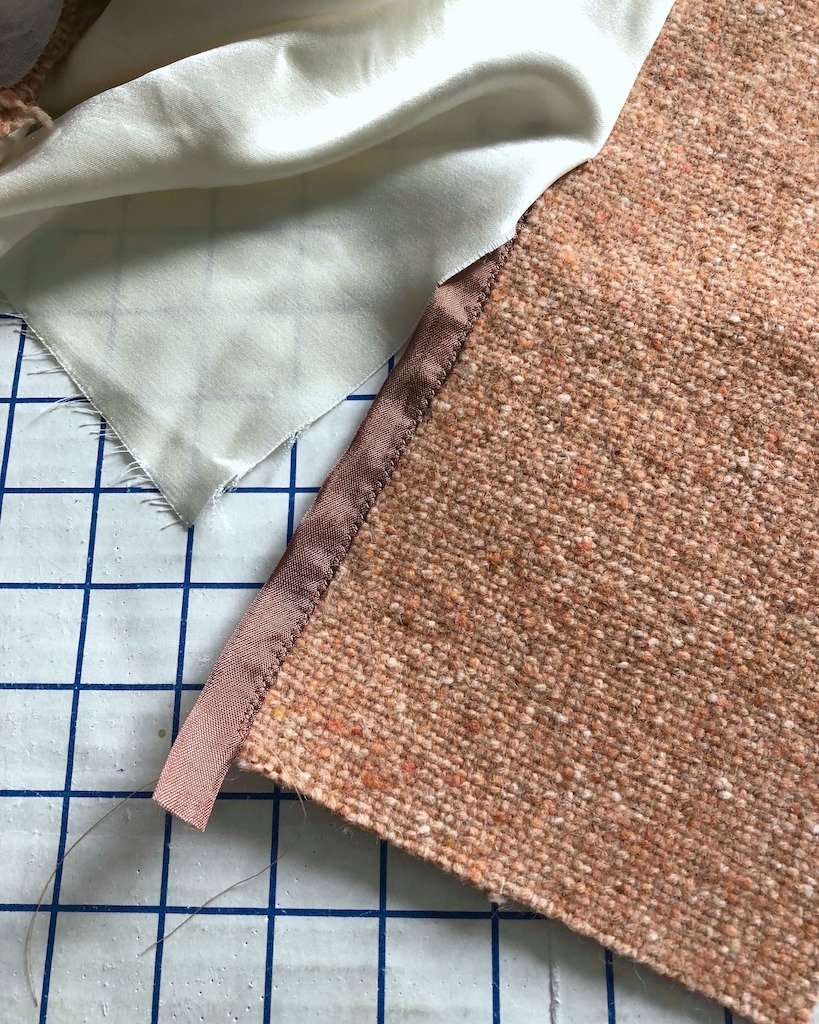
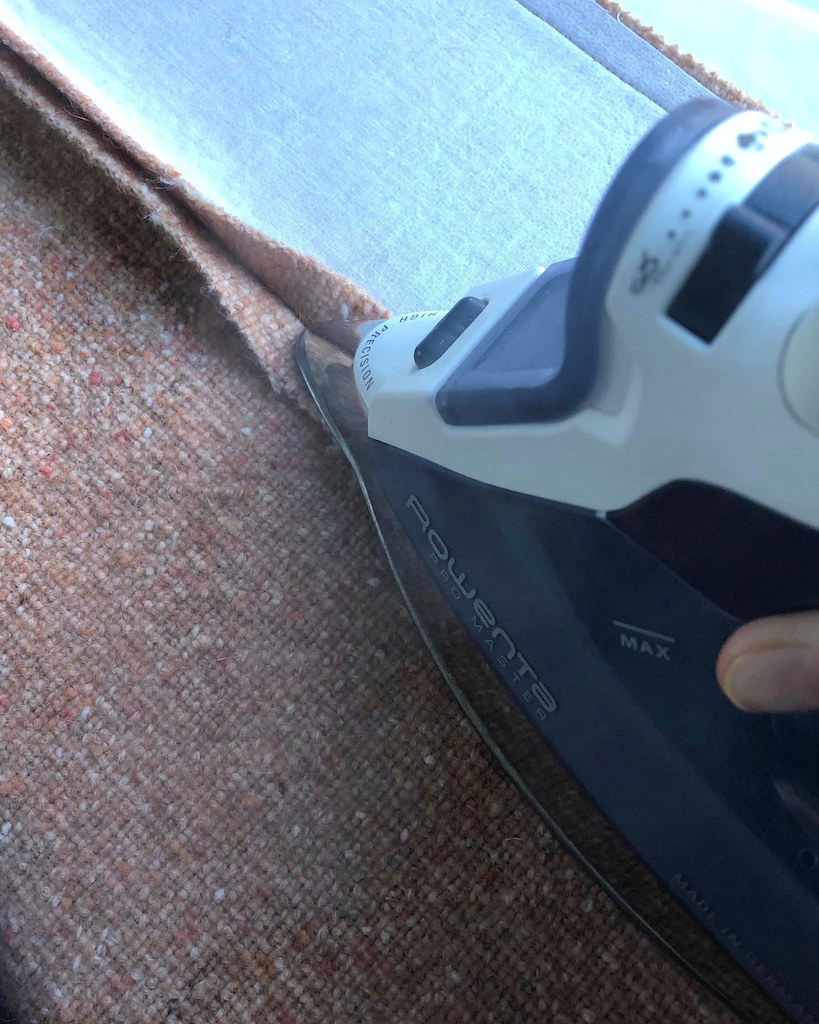
I stabilized the front edge with some twill tape.


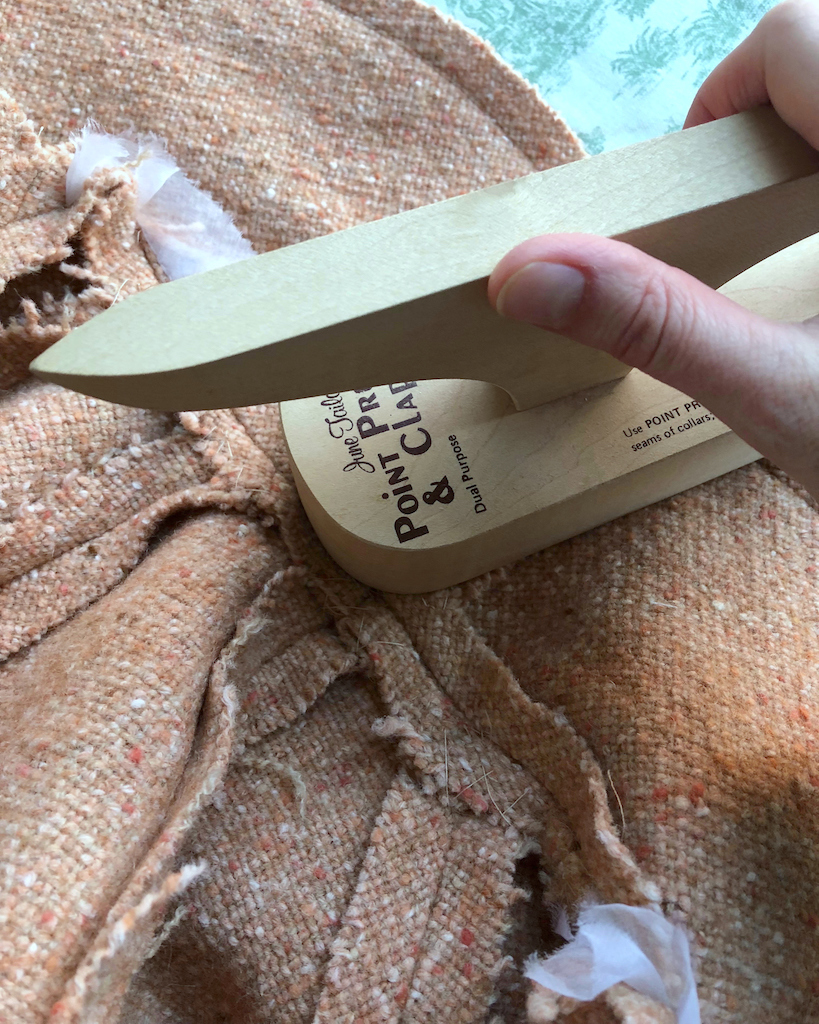
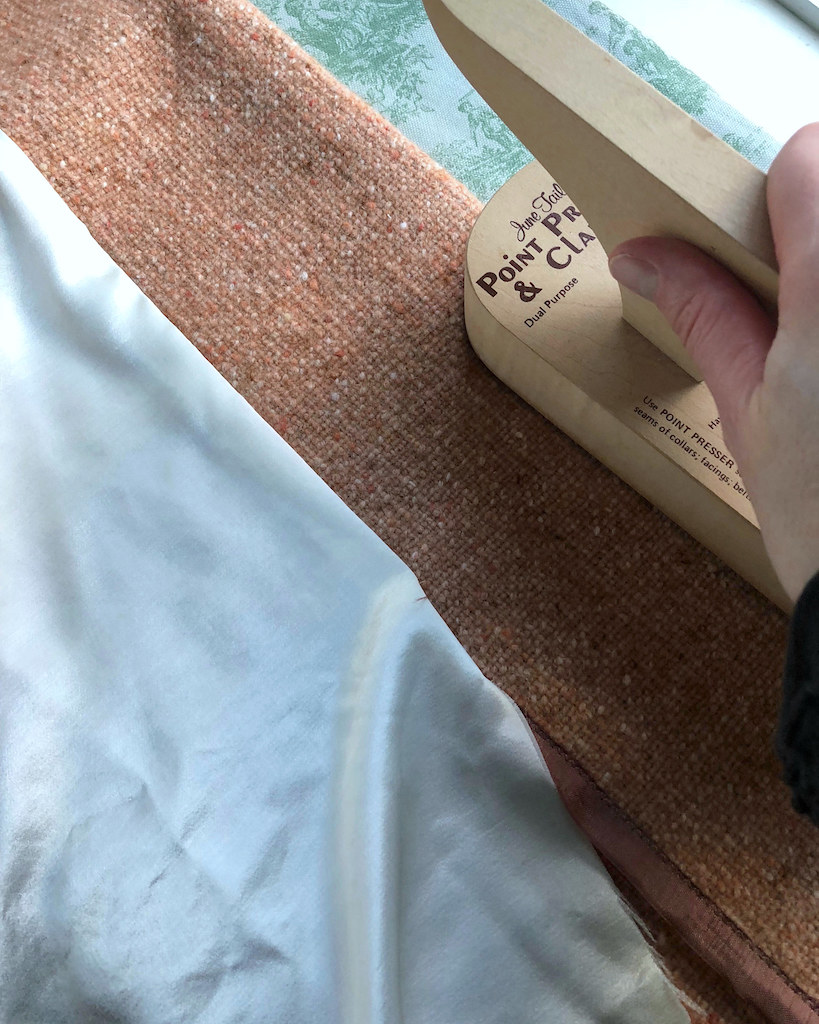
And then pressed . . .


and pressed . . .


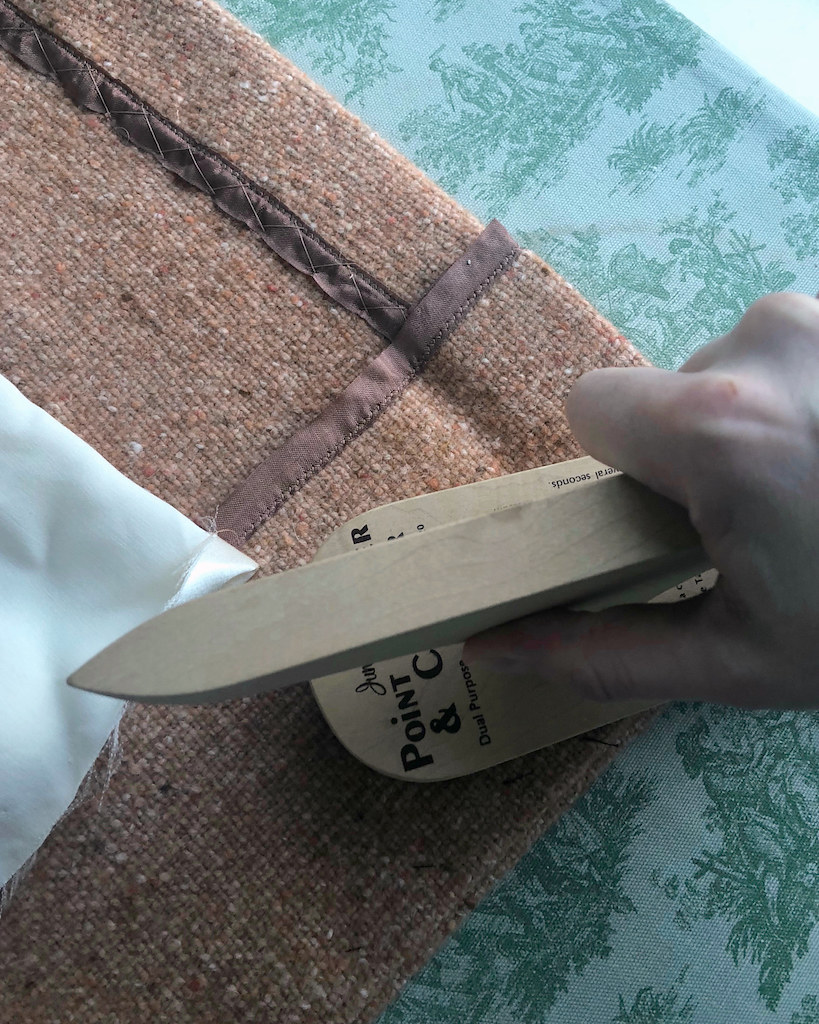
and went to town with the clapper.


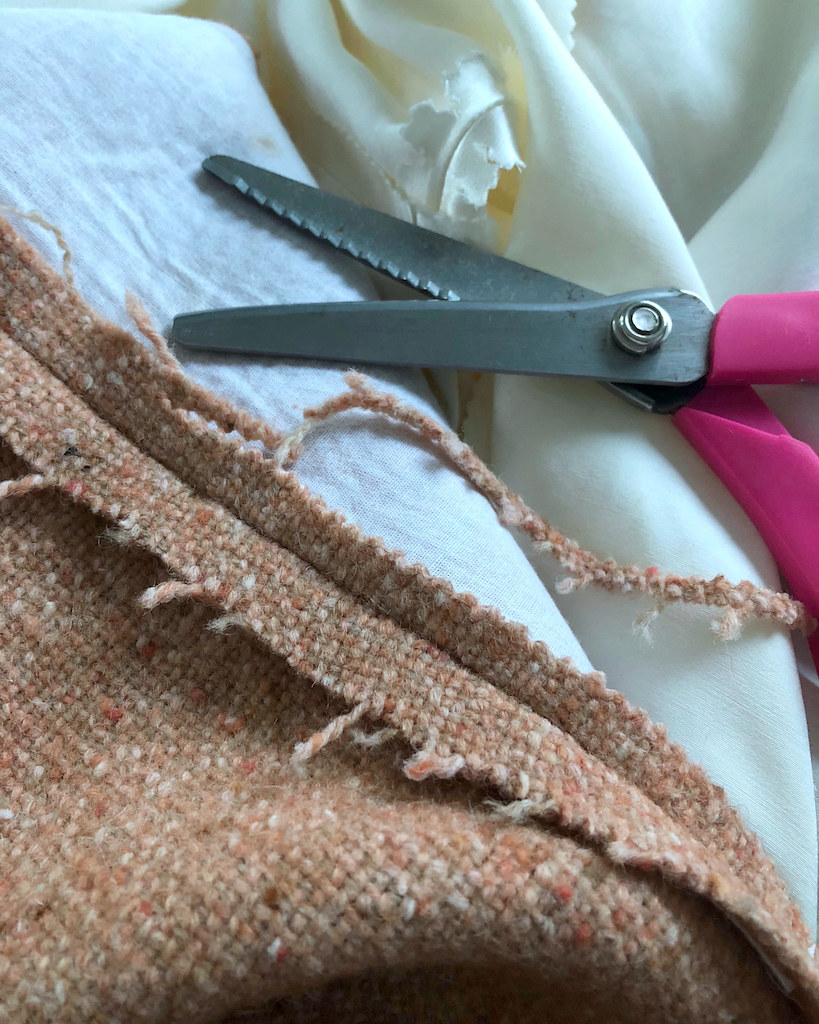
And, of course, there were plenty of seam allowances to be trimmed and graded.


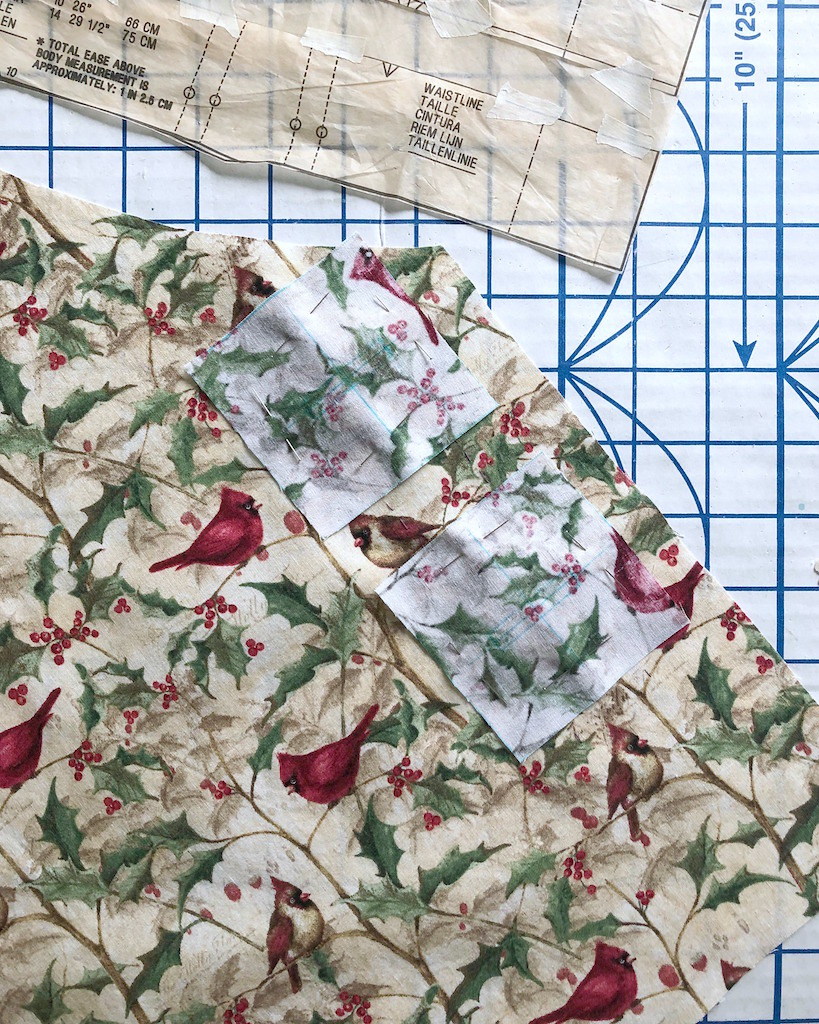
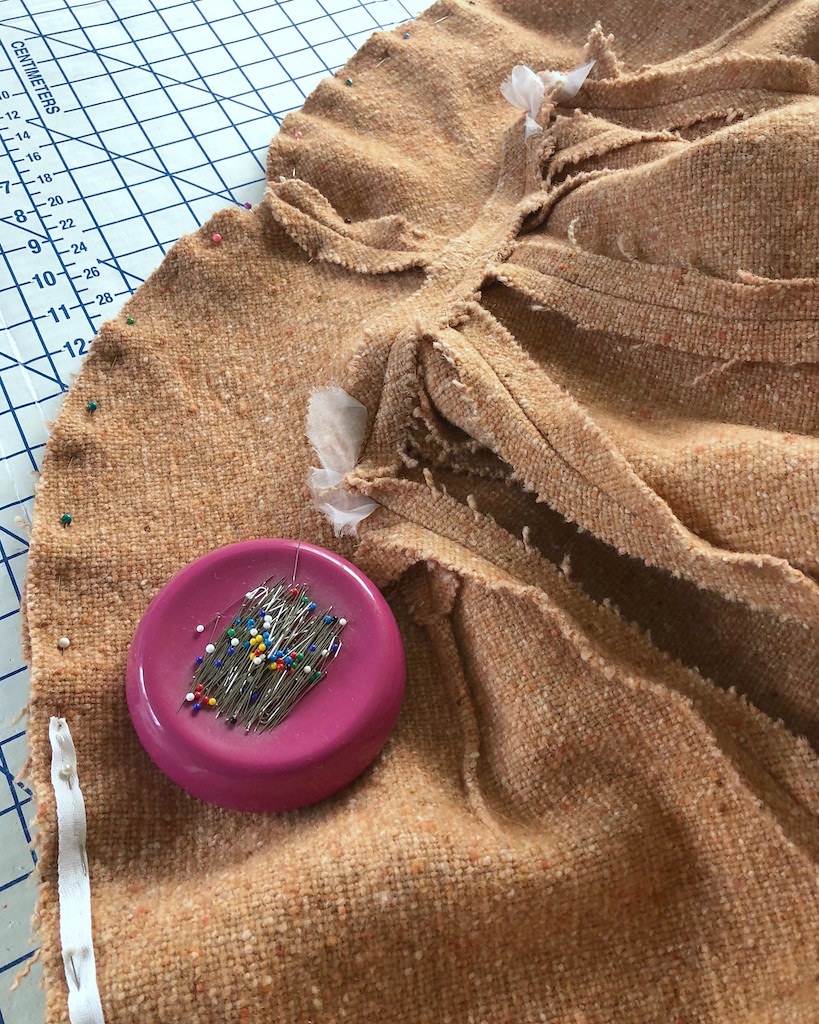
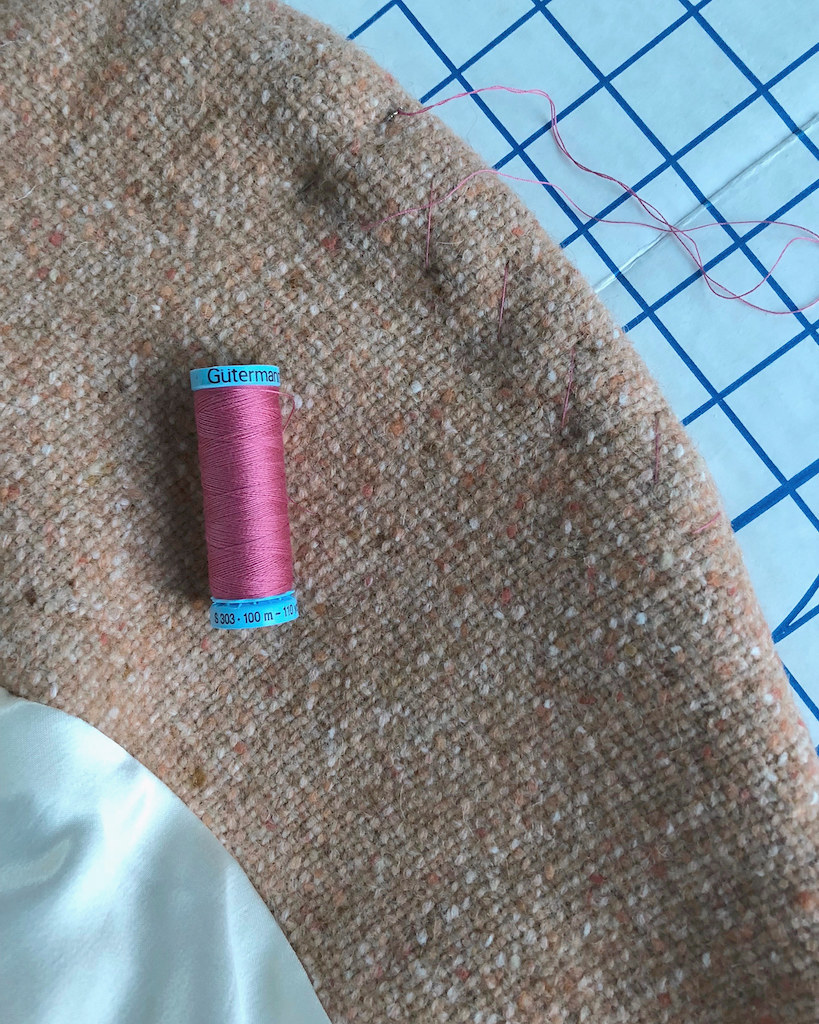
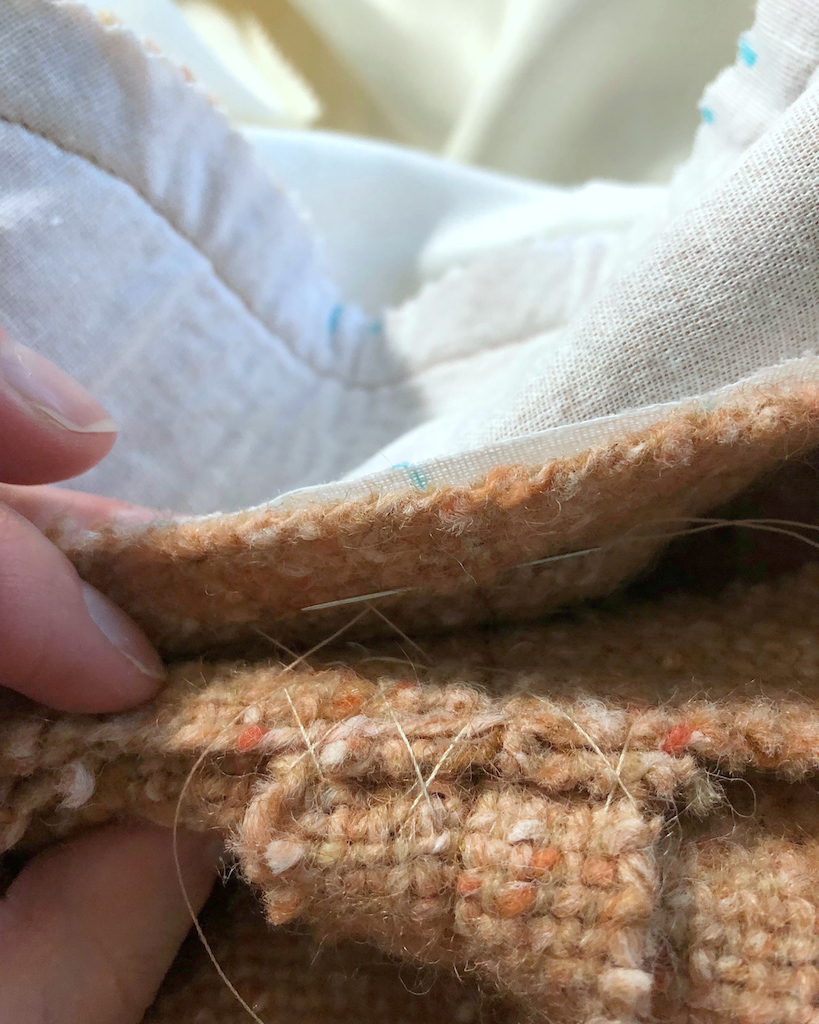
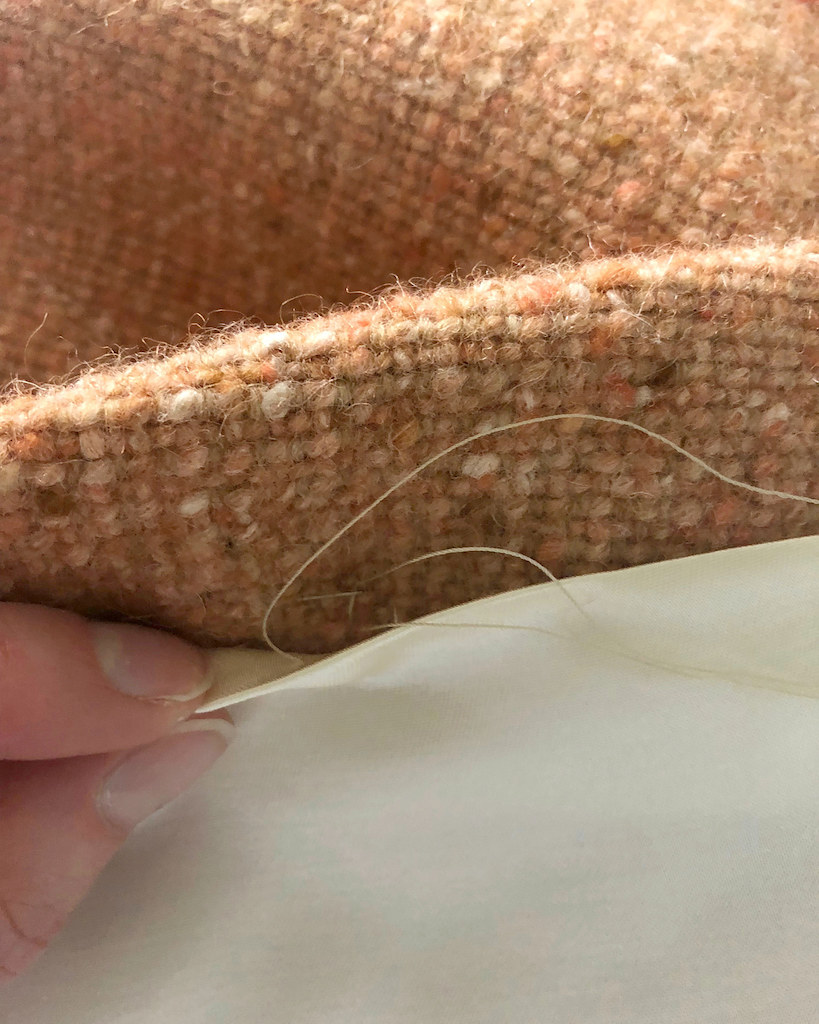
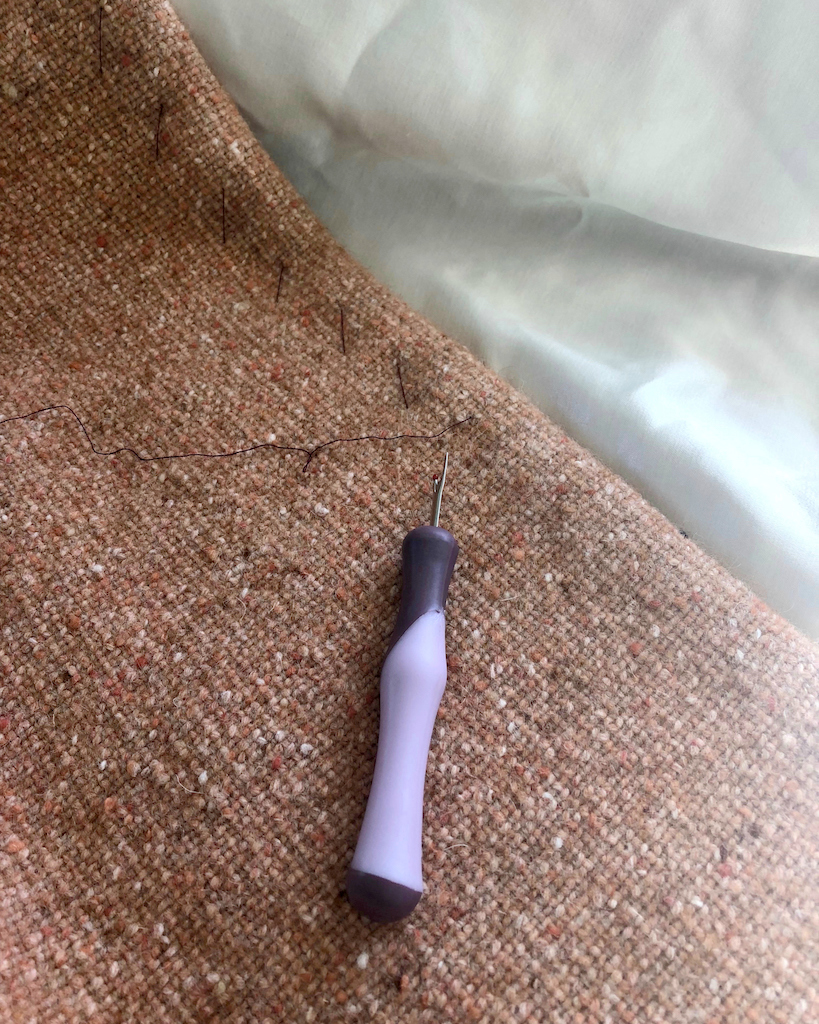
Because of the thickness of the coat, and the weight, I needed to stabilize the turn of cloth (the collar is shown below).  I love silk thread for basting because it is so easy to remove.  I probably could have used a color with a little more contrast, but this was the first spool I grabbed.


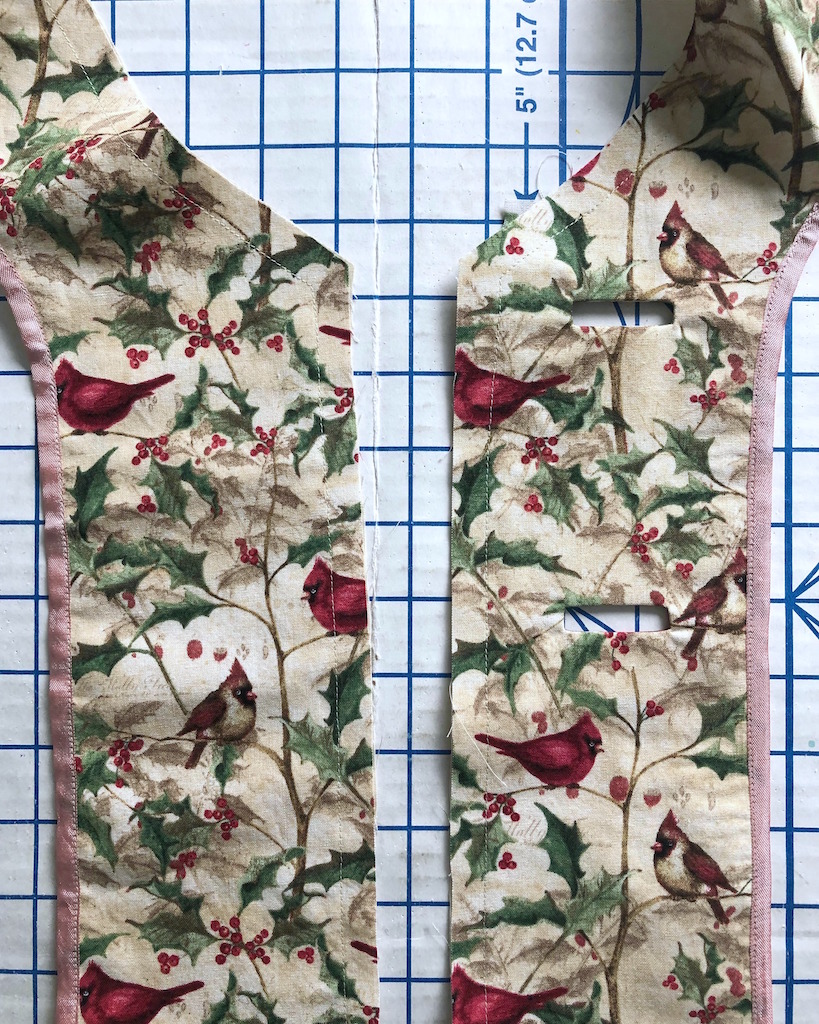
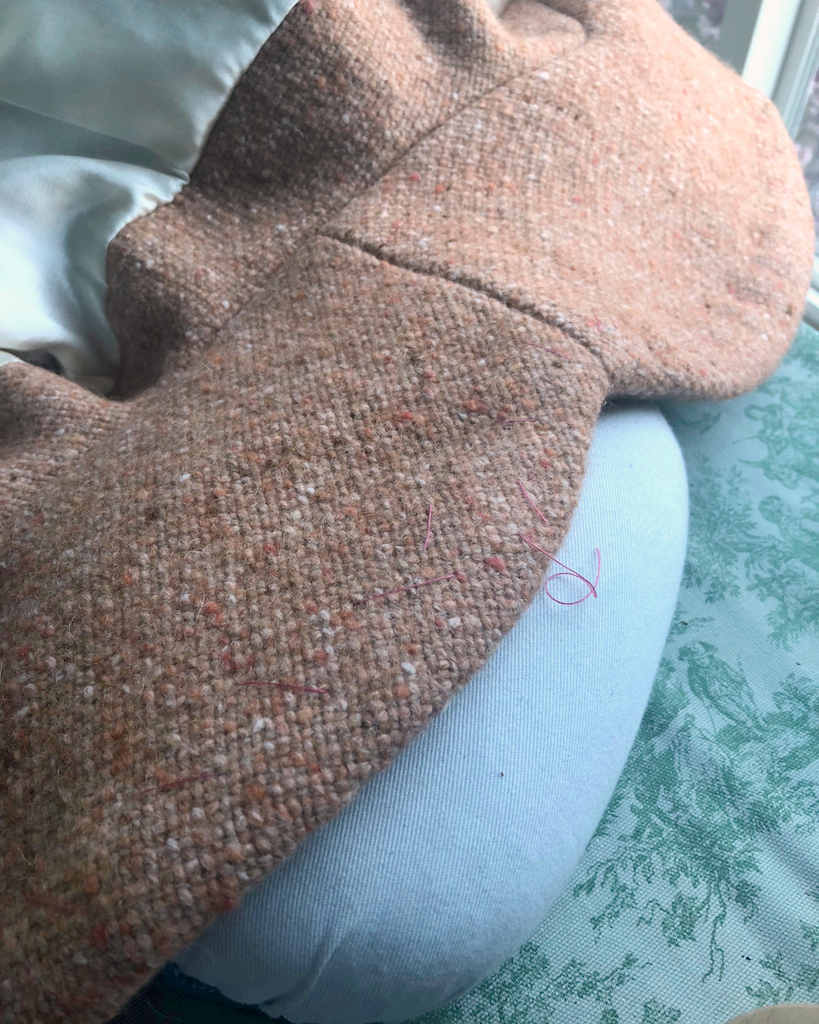
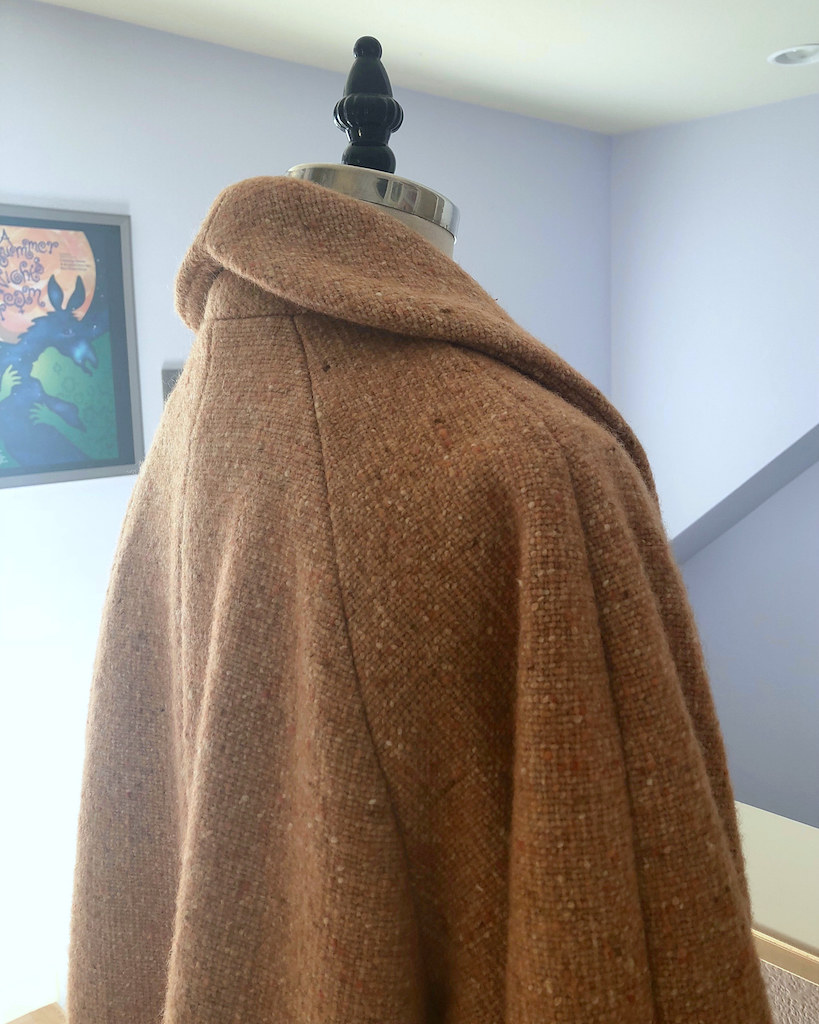
Once that collar was pressed into submission, I catch-stitched the collar facing and collar together using the seam allowances.


Which should keep that collar in place nicely.


No facing visible from the front!


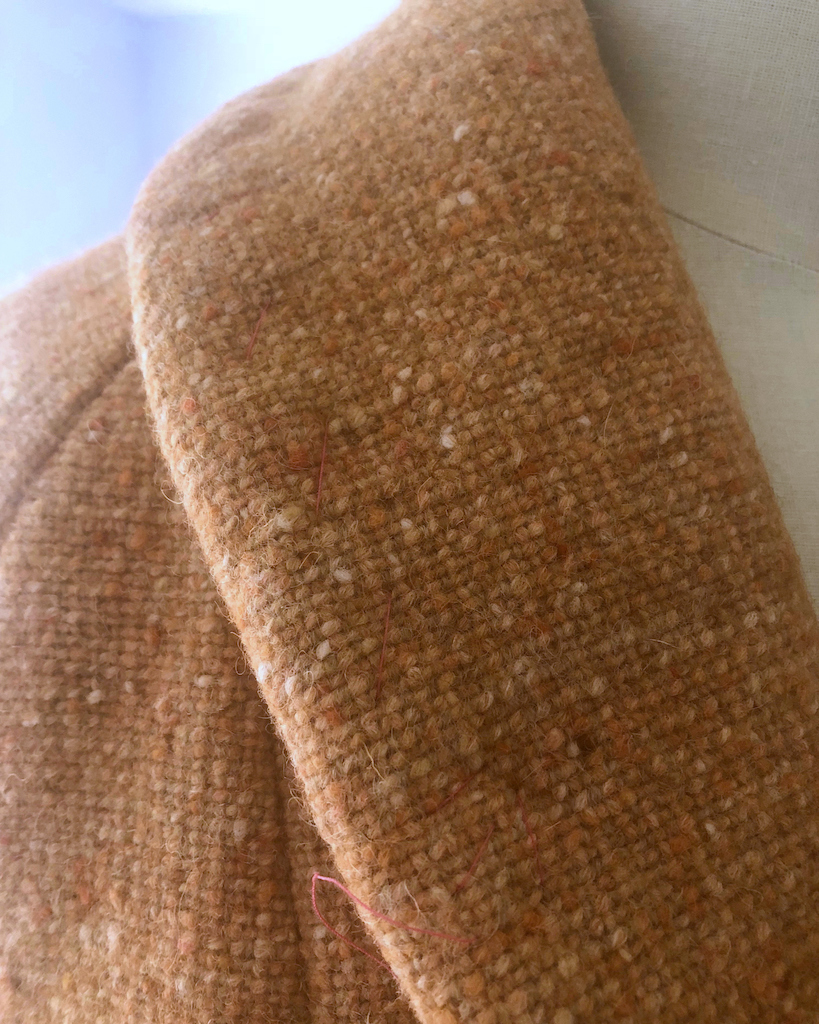
And then I did the same with front opening edges.


And I once again pressed the heck out of this portion of the coat.


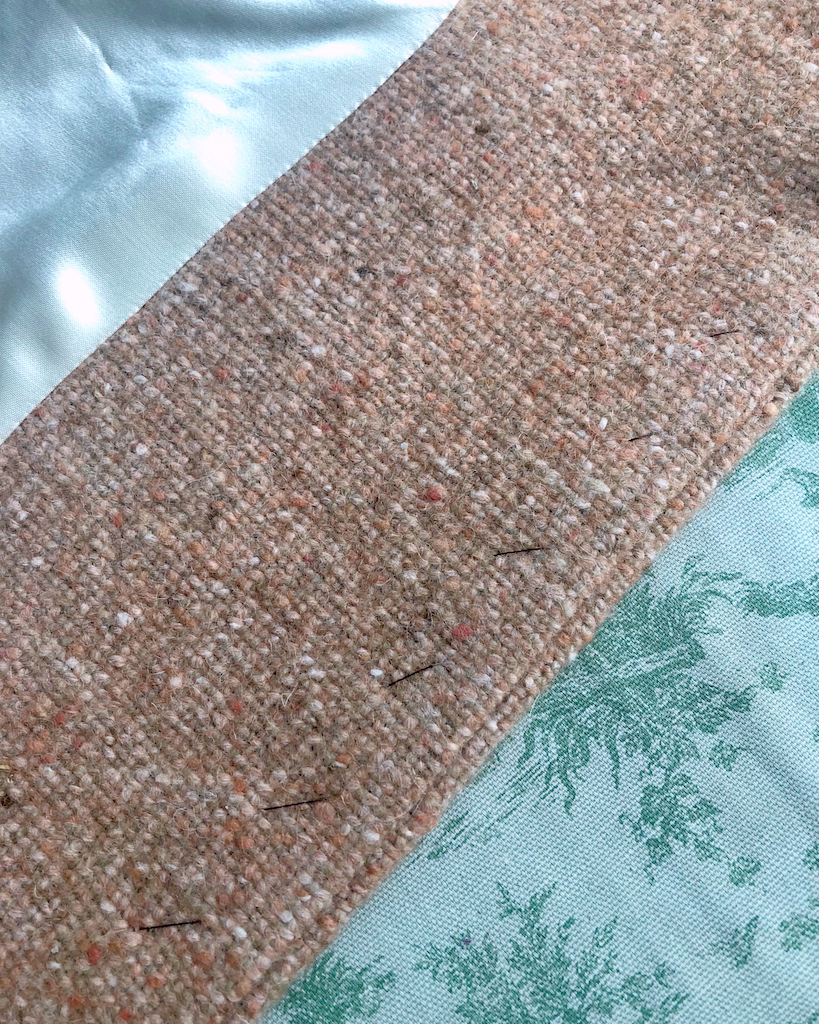
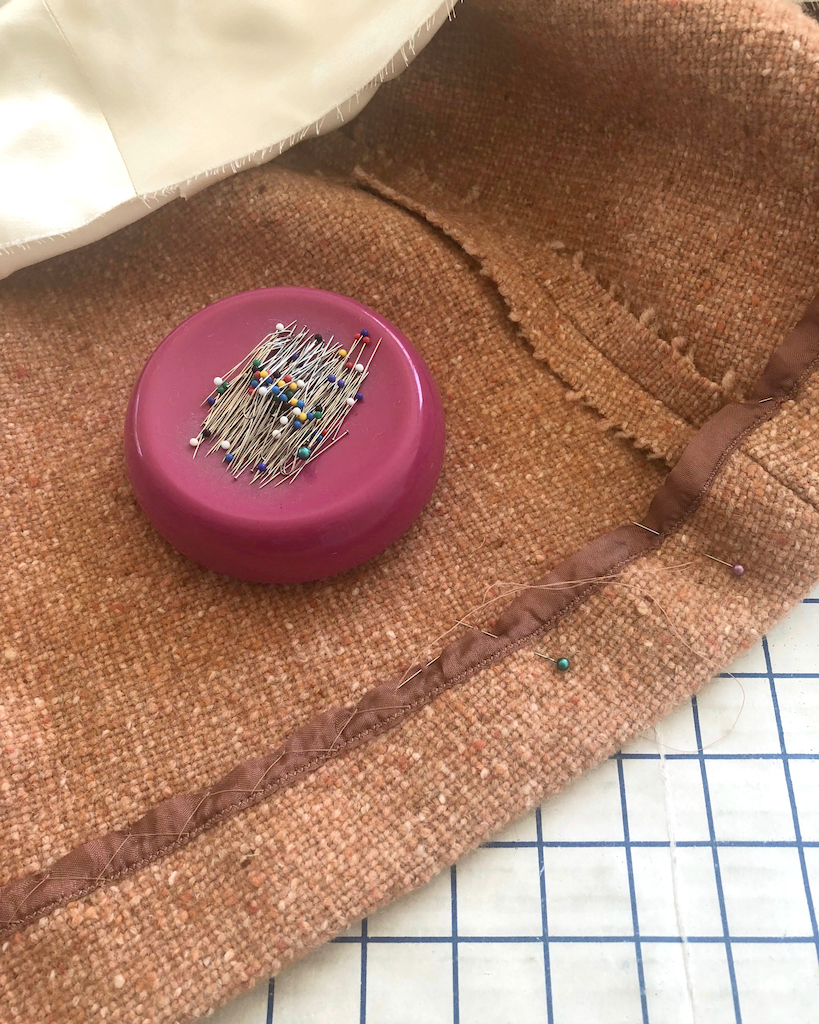
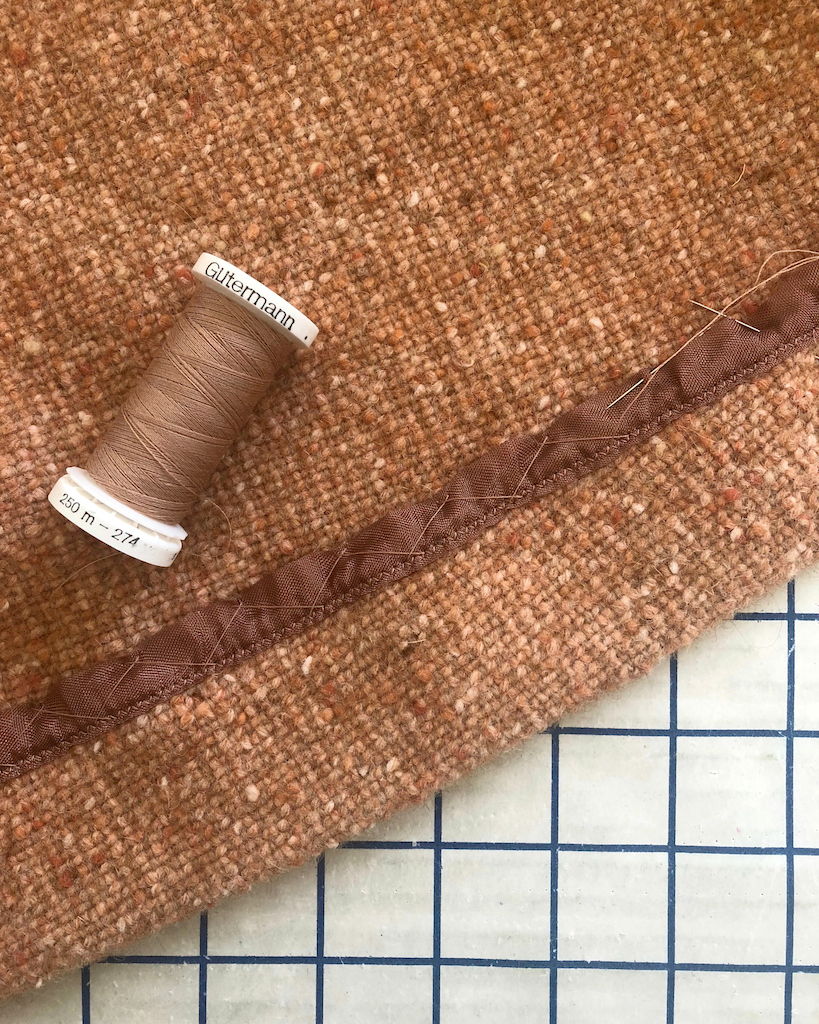
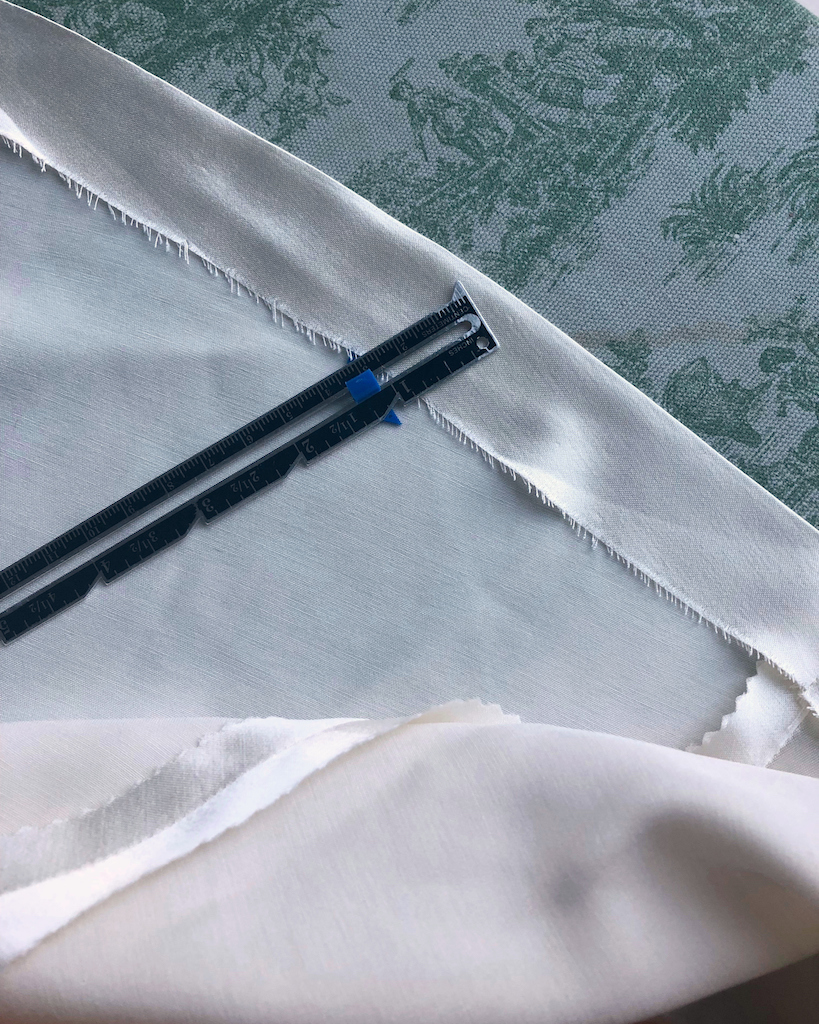
Next up was the hemline.  I used seam binding on the raw edges.


The hemline was catch-stitched in place.


This is becoming my favorite hemming method!


In this particular case, the stitches will be covered by a lining, but the seam binding is much easier to work with than the loosely woven wool.


And then there was more pressing.


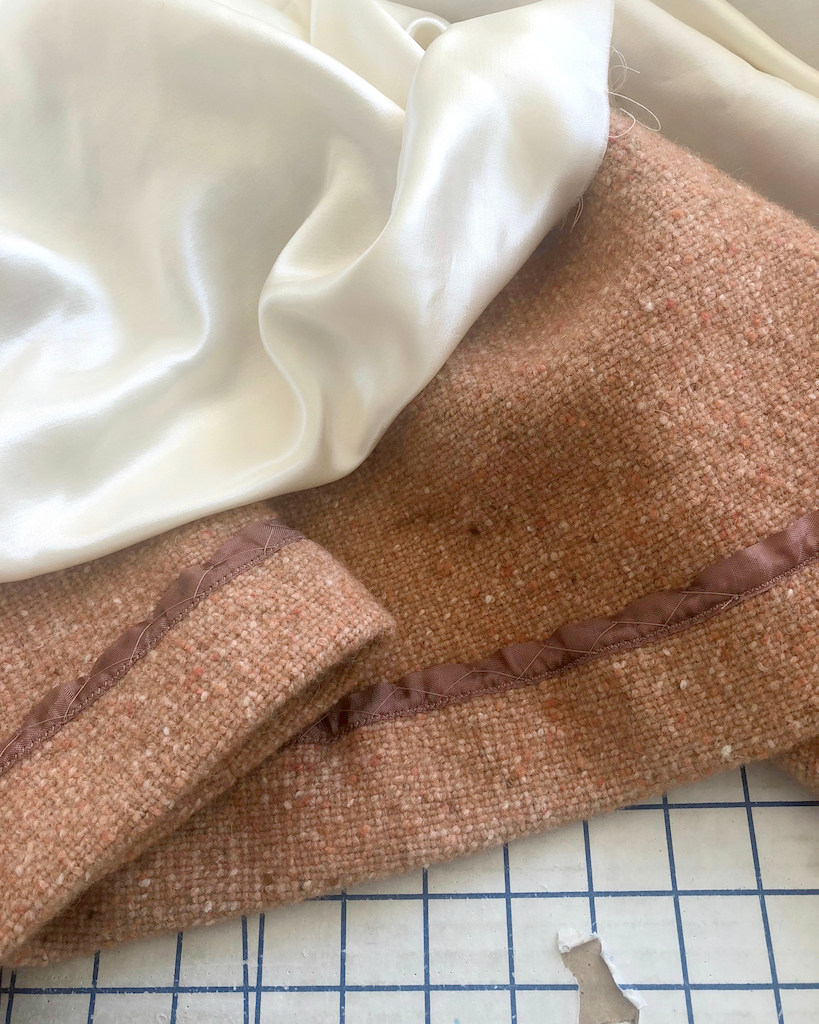
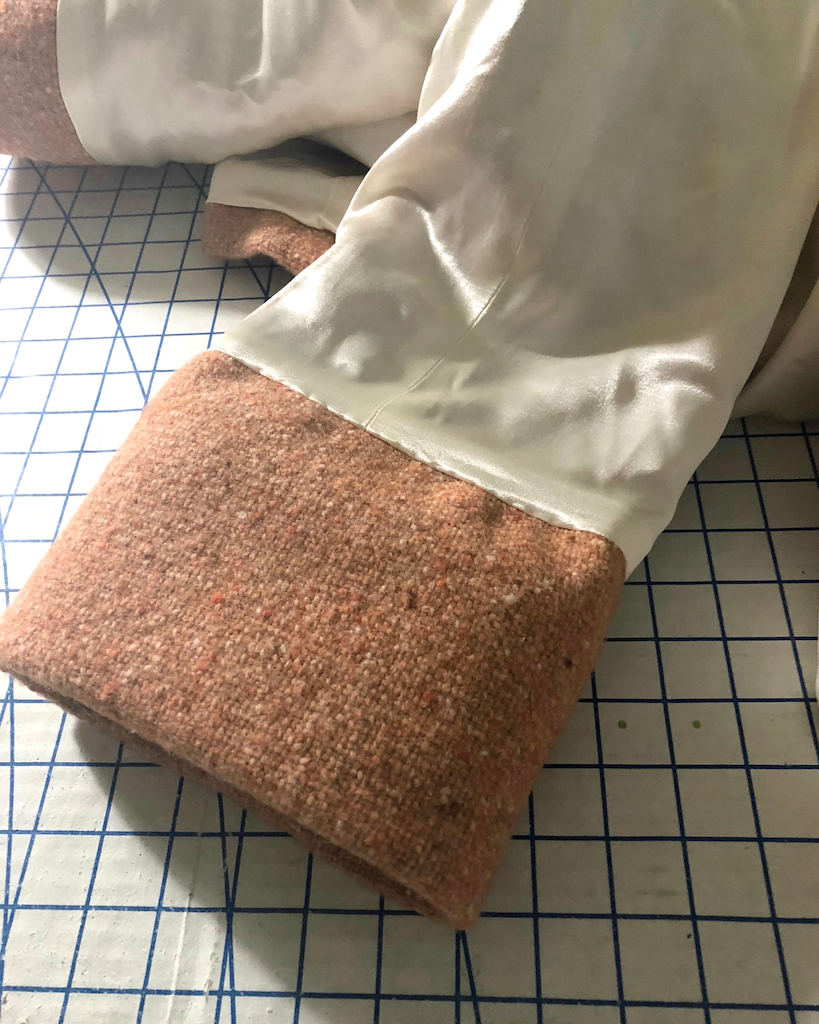
The raw edge of the lining hem was folded up and pressed.


It was then hand stitched to the coat.


The sleeve lining was also stitched in place.


And then it was time to remove the visible basting stitches.


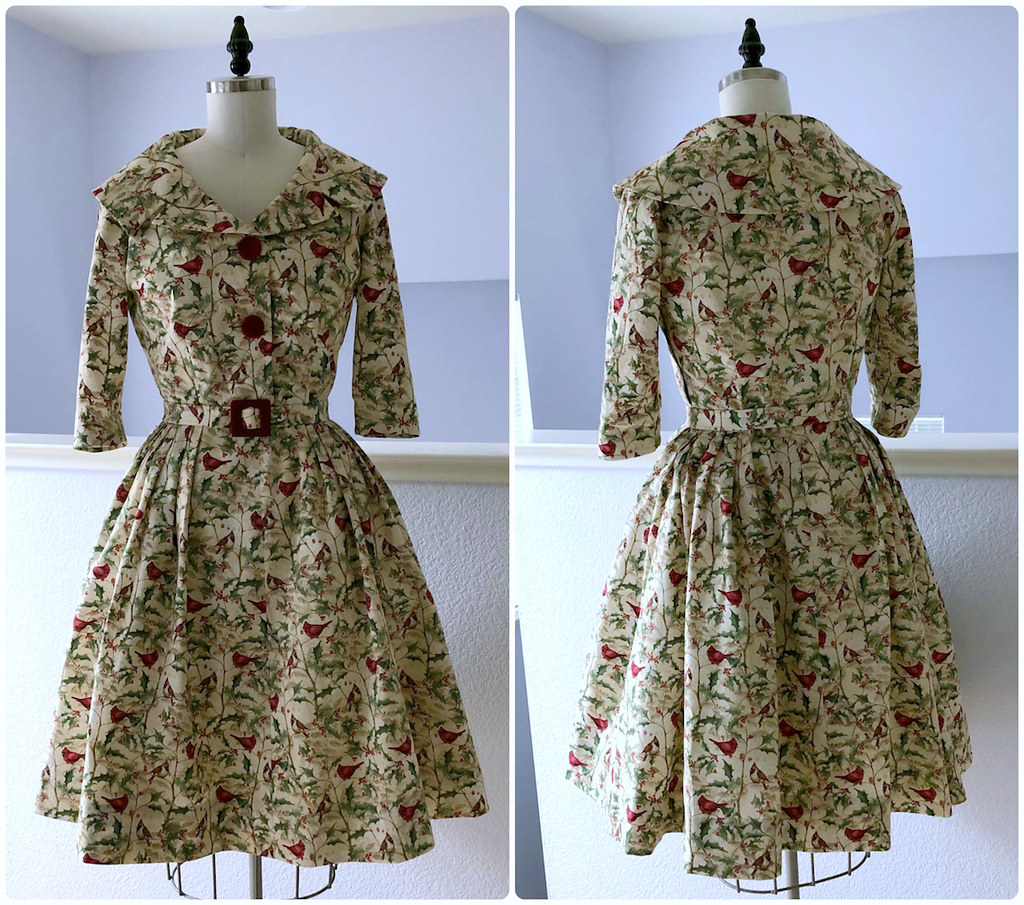
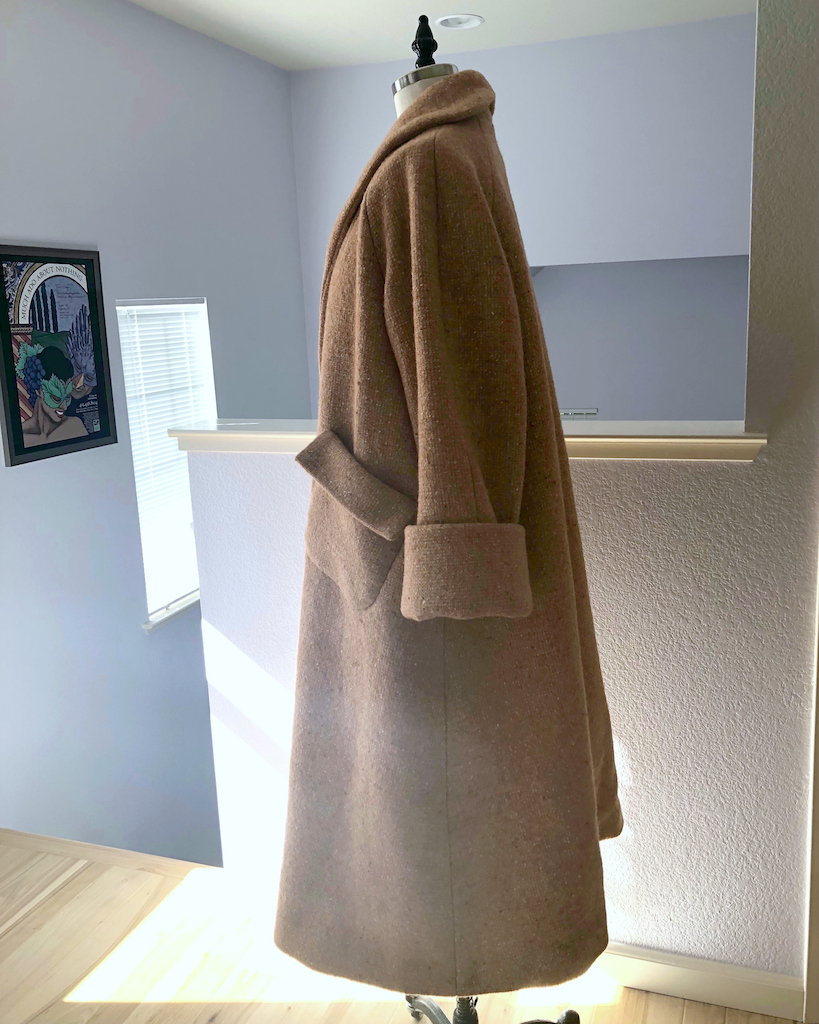
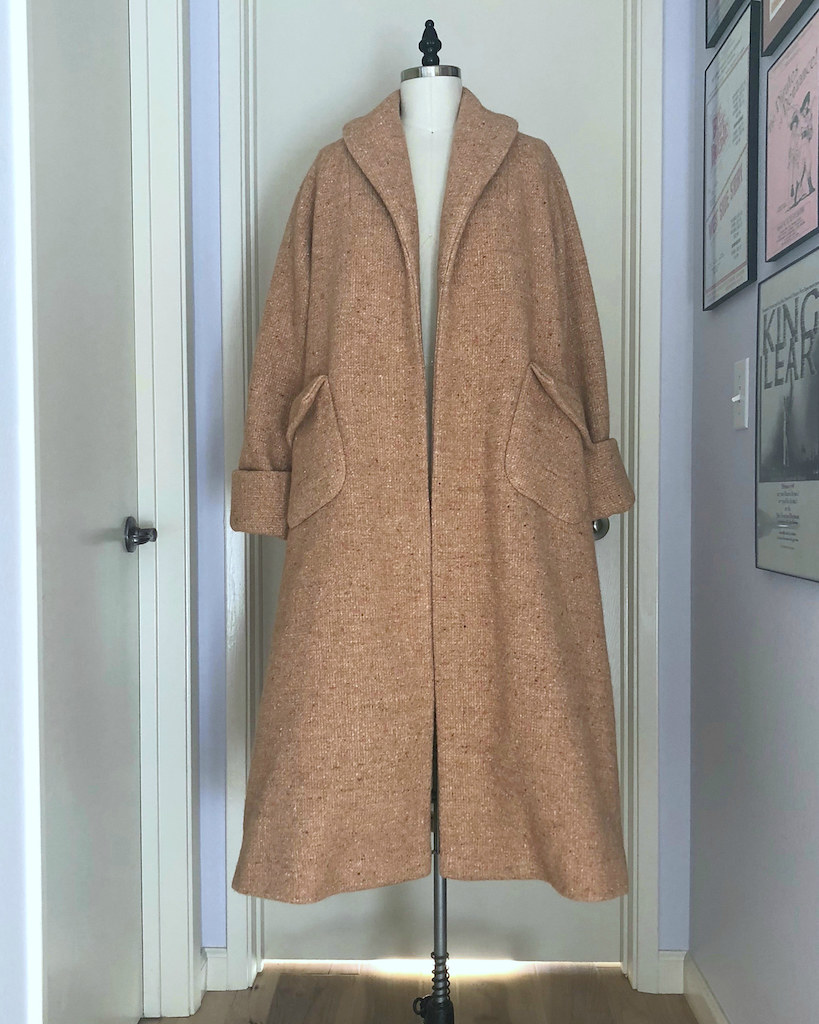
Which means the coat is finished!


This lady is heavy duty!


So I am all ready for the cold weather!


Well, not really . . . I hate the cold (not that we have real cold weather in the Bay Area, but I am a baby about it anyway), but this coat will make the temperatures slightly more bearable.