Showing posts with label Simplicity 8509. Show all posts

Wednesday, January 9, 2019

A Very Warm Wool Coat


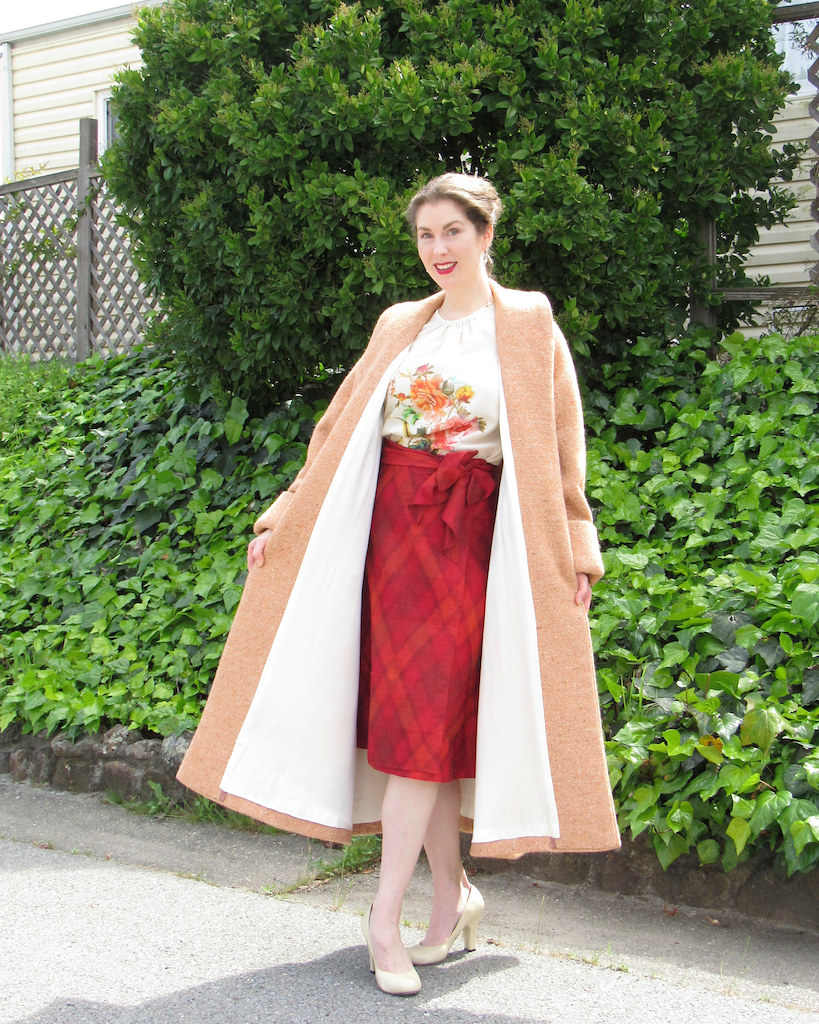
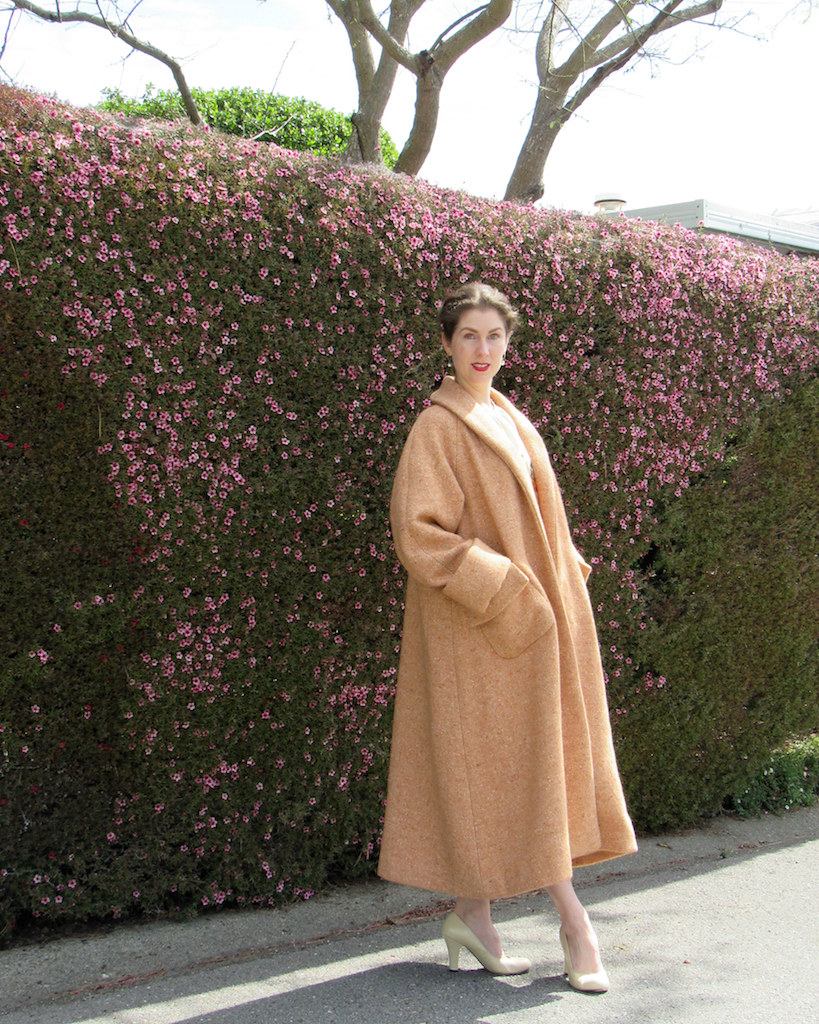
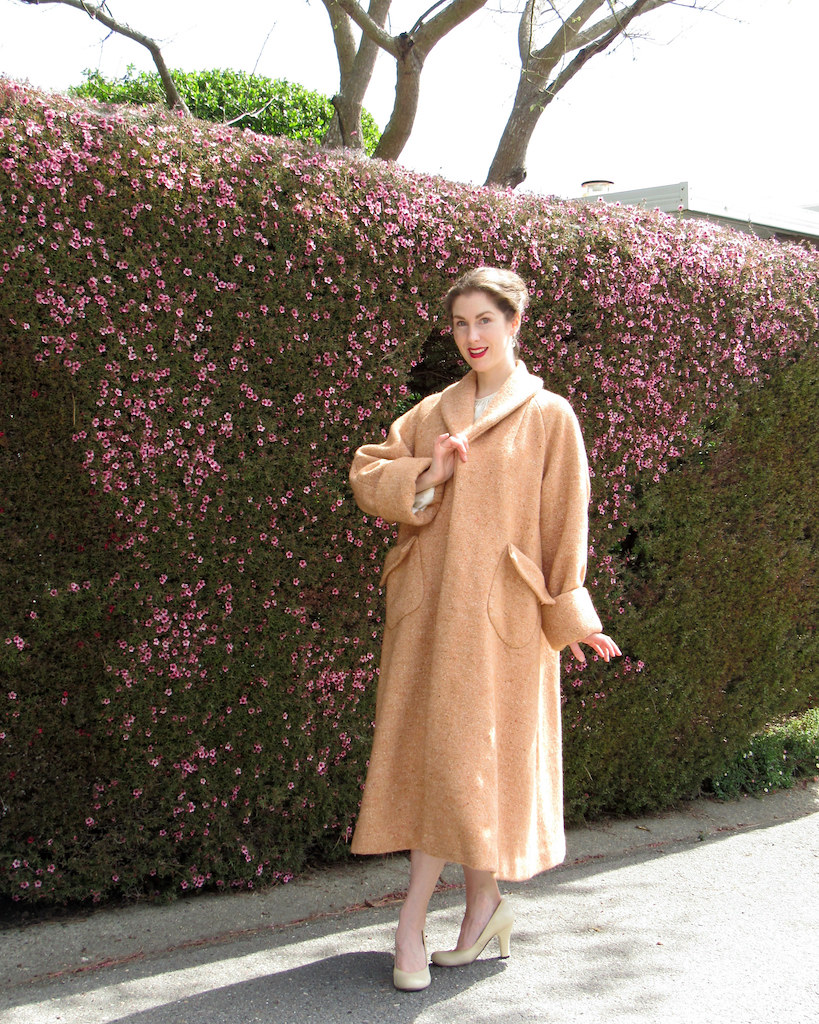
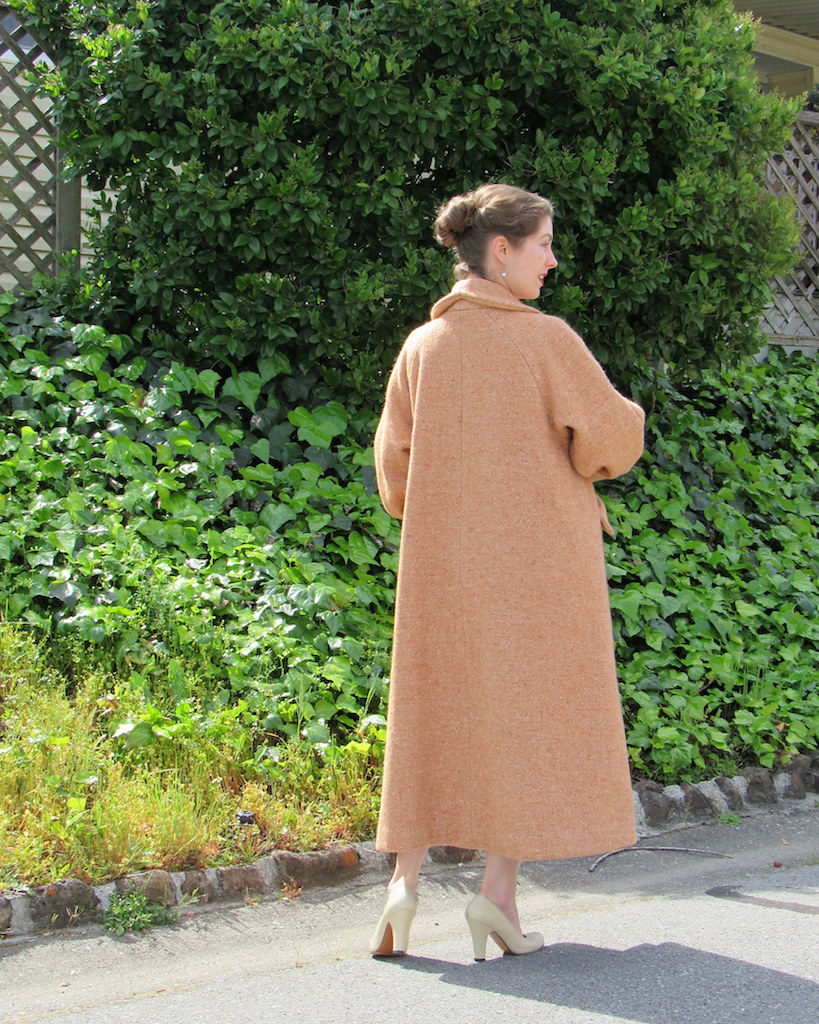
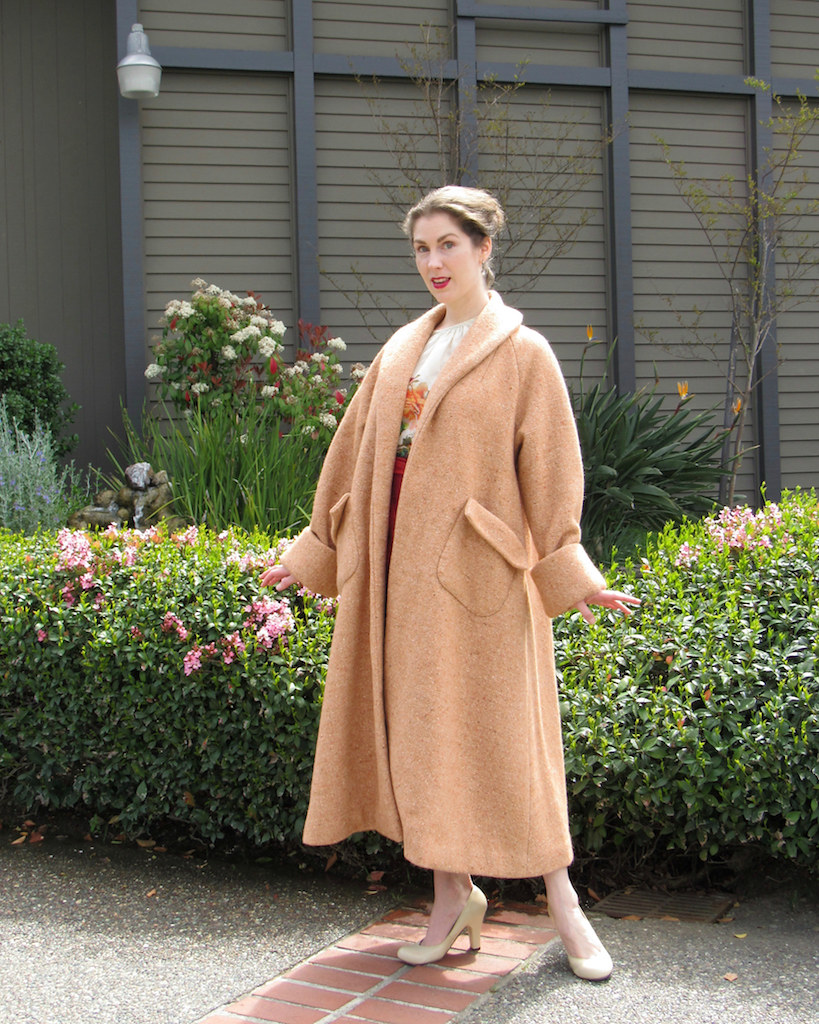
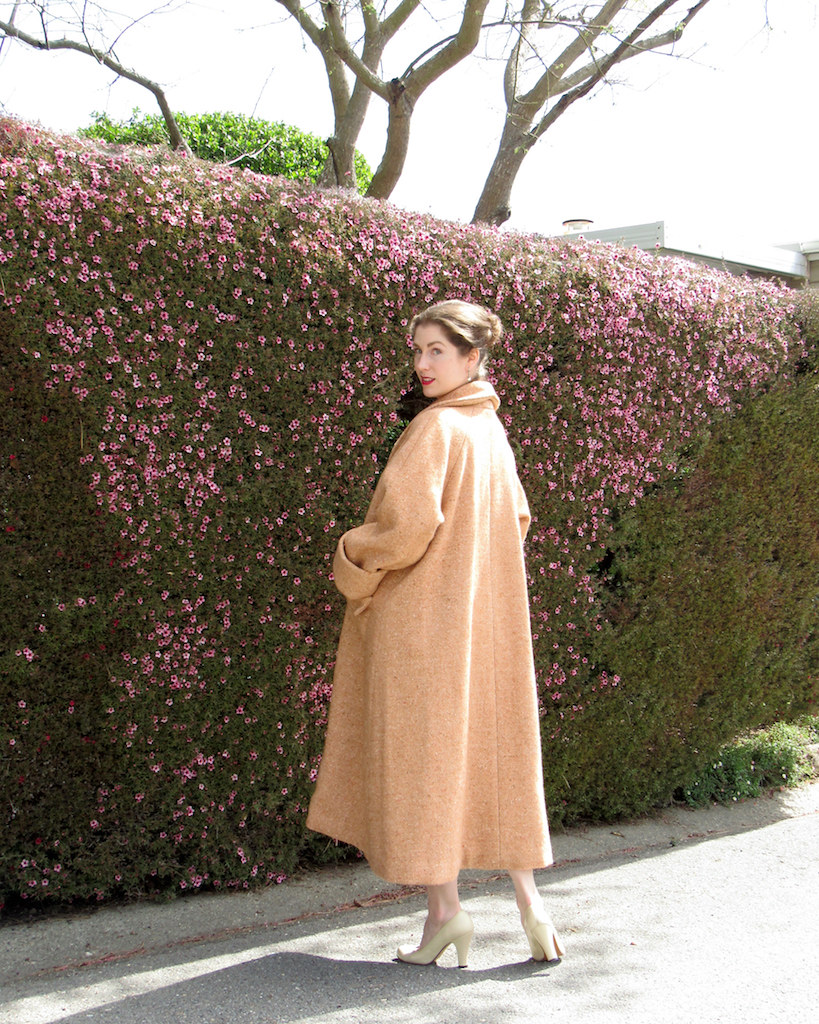
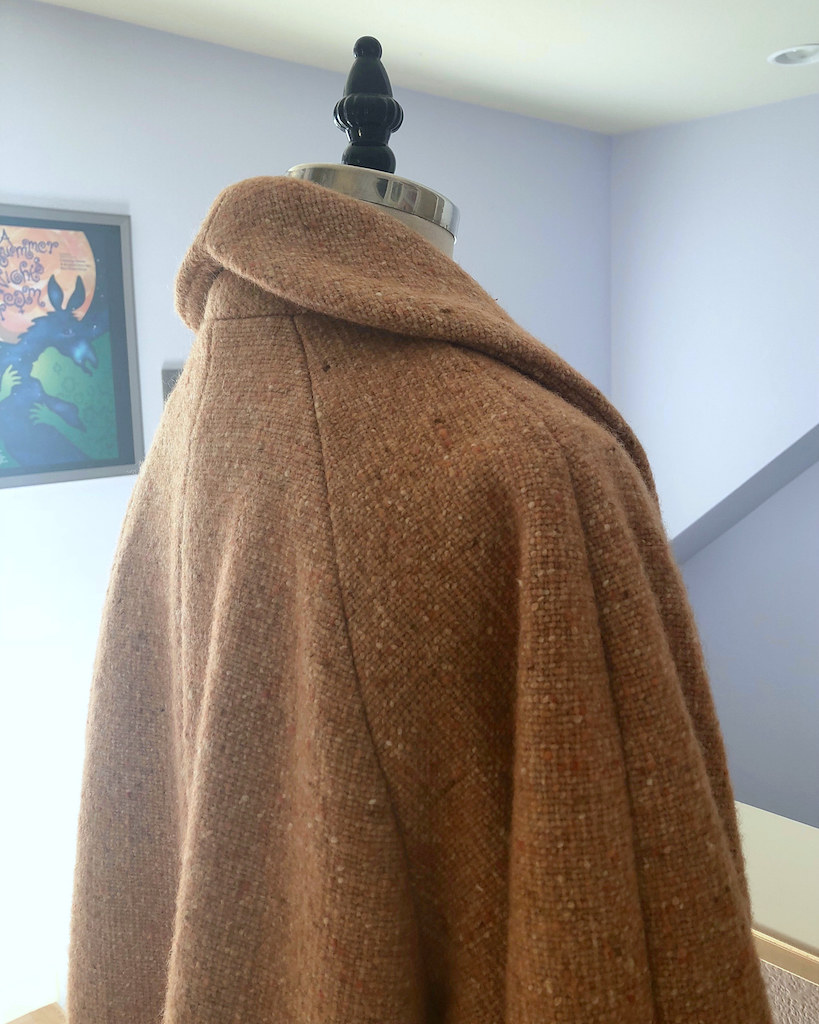
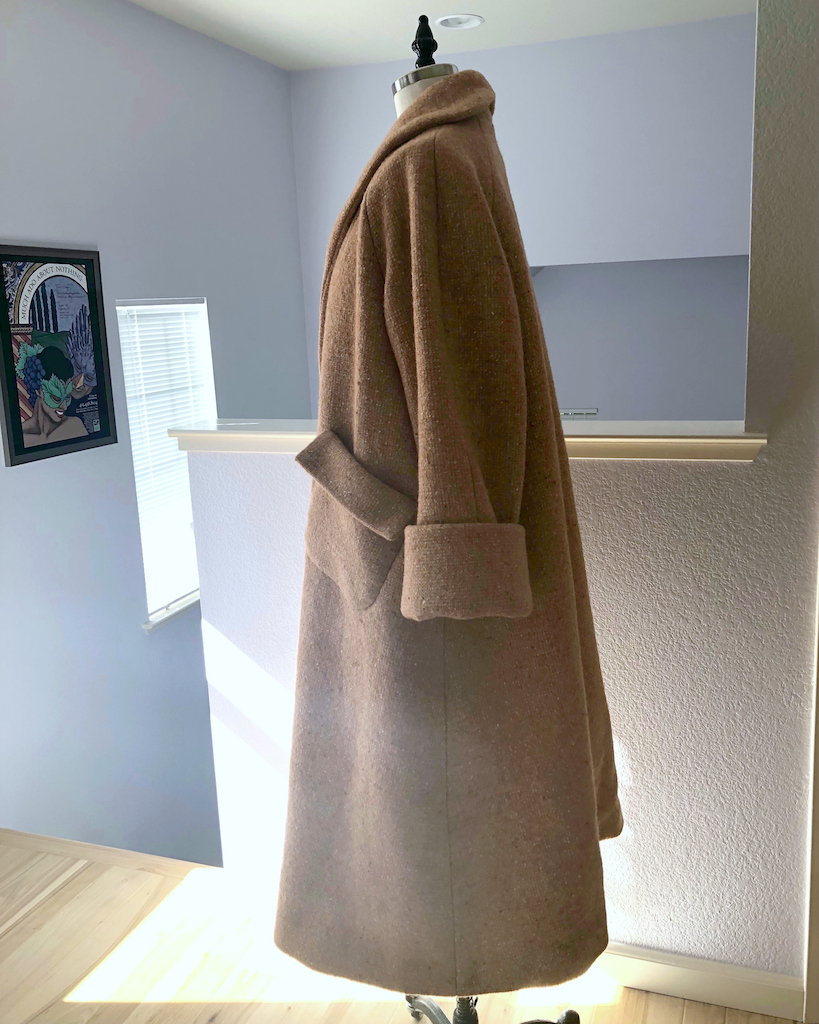
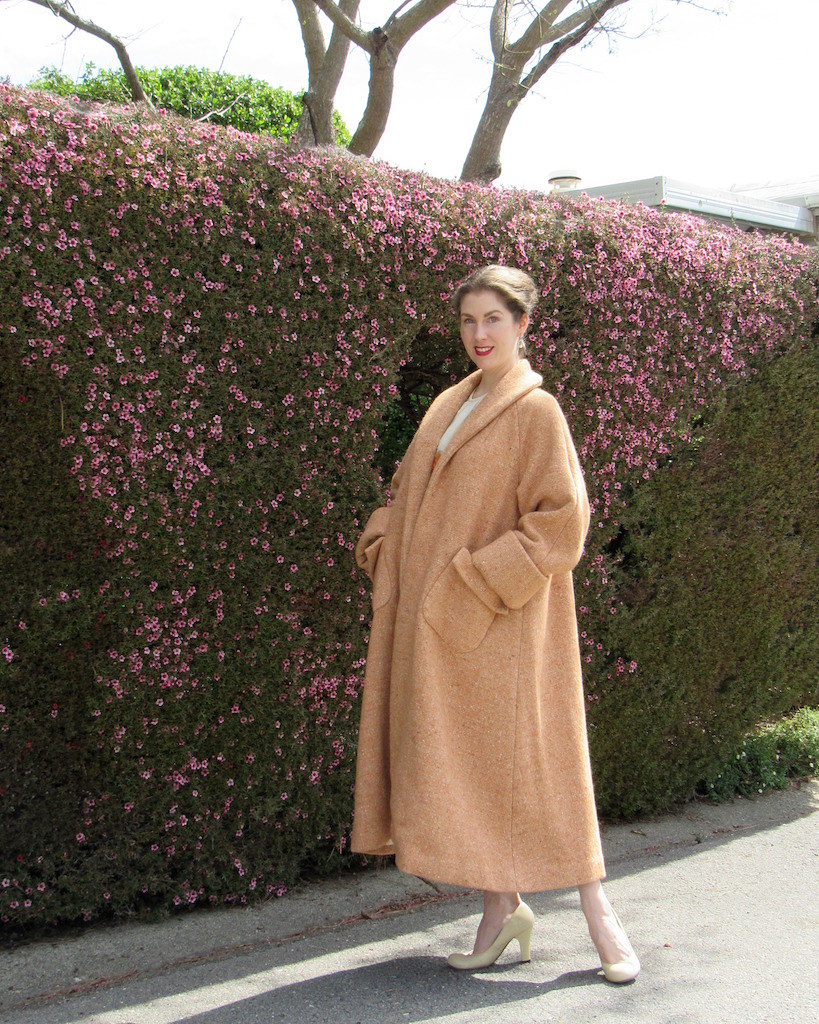
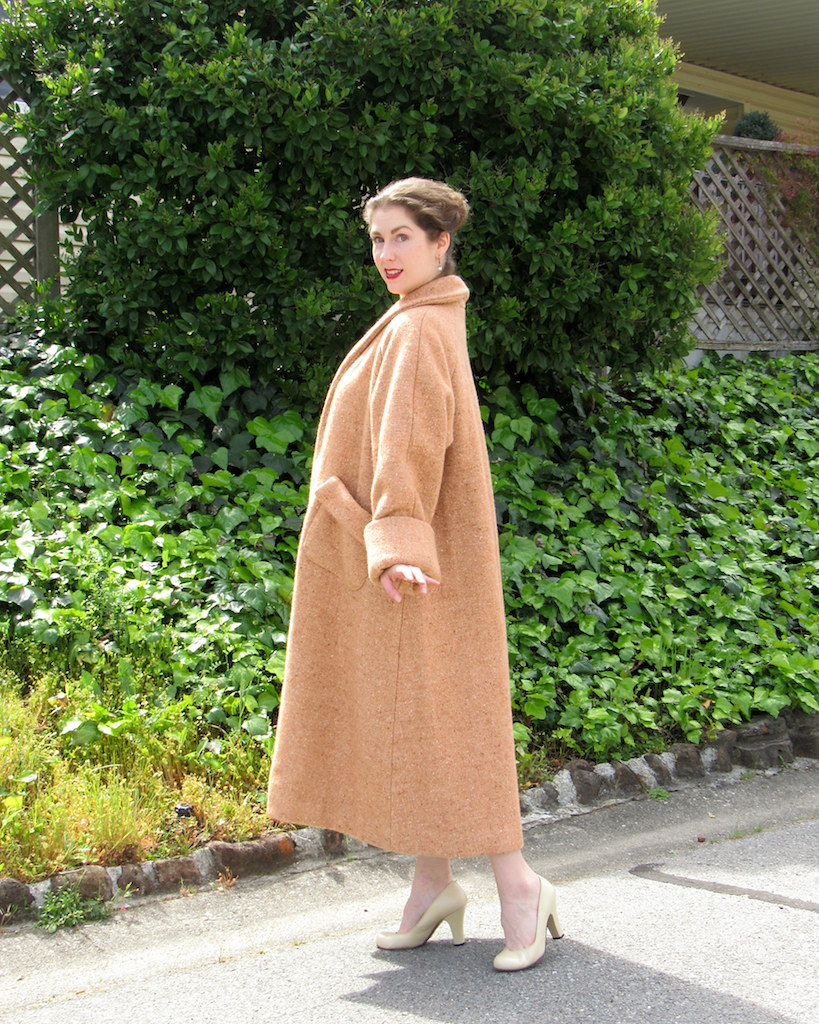
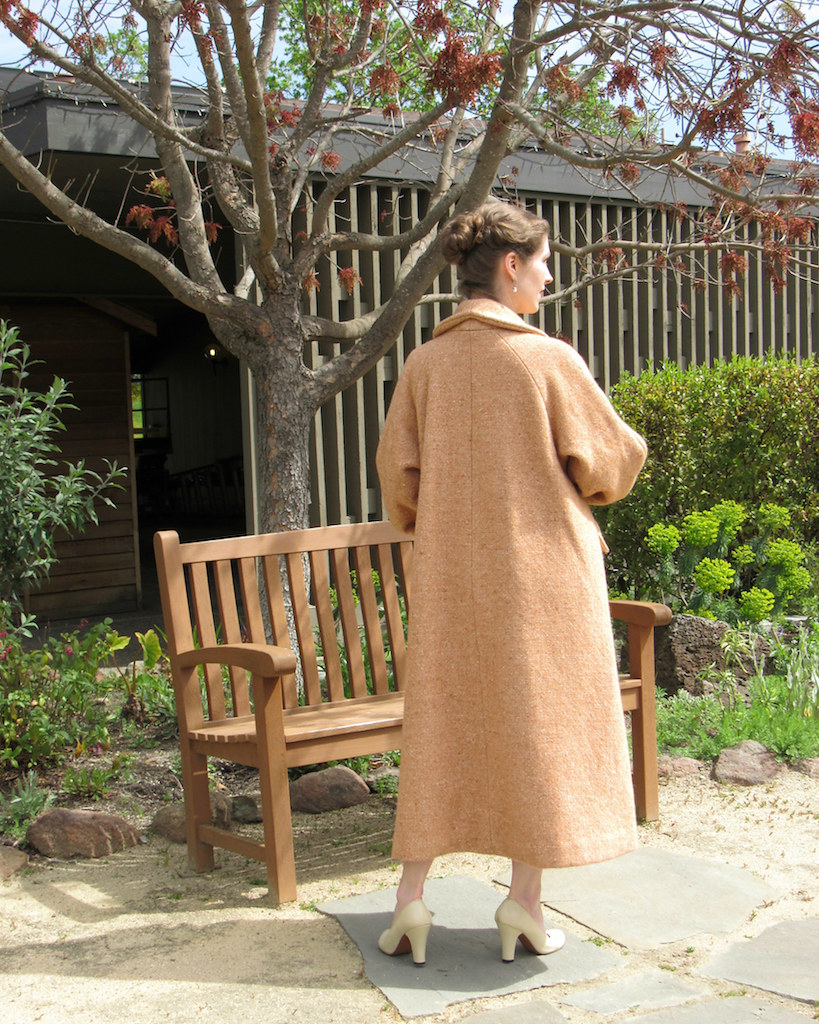
In an effort to keep my resolution of posting more of my finished projects on the blog, here is Simplicity 8509.  This is actually the second version of this design that I have made.


The first was a bit of an experiment, and when it came out even better than I expected, I jumped right into this wool version.  And adding another swing coat to the collection could never be a bad thing!


I shared quite a bit of my construction work on this garment from wresting with the heavy fabric, to the lining, making the most of sewing tools, to adding some patch pockets, and finally, the finishing touches.


The extra work and time was definitely worth it.


And while I finished the sewing on this coat last winter, it has taken me this long to post finished photos.


I am currently working with wool in the sewing room, in the beginning stages of making another wool coat (this time with a 1940s flair).


I am going to do my best to finish this one before the weather turns.


They definitely take some time, but finishing a lined coat is so fulfilling.  And getting the bulky wool out of sewing room bureau and into the coat closet creates lots of room for more new fabric treasures.  (Although that can be a rather dangerous situation!)


Coat:  Made by me, Simplicity 8509
Blouse:  Made by me, Simplicity 1692
Skirt:  Banana Republic
Shoes:  ReMix “Babydoll

Monday, December 10, 2018

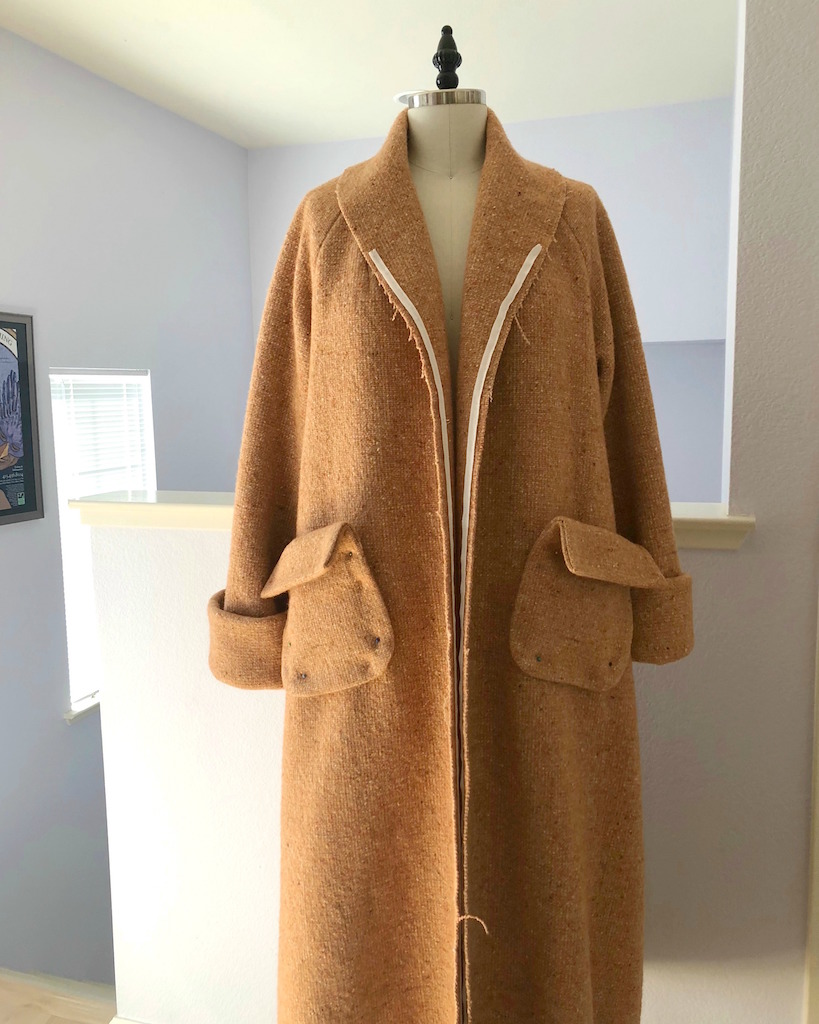
Adding the Lining


Back in December of last year, I made up my first version of Simplicity 8509.  It was really a test run for this wool swing coat.  The successful wearable muslin just confirmed that I should move forward with the wool.


I started blogging about the process of making a second coat with this crazy thick wool coating fabric back in March of this year, and somewhere along the way, I lost steam.  It probably had something to do with the weather getting warm, and the thought of this heavy wool was too much to take!  But anyway . . . where I left the project here on the blog was with a finished outer shell.


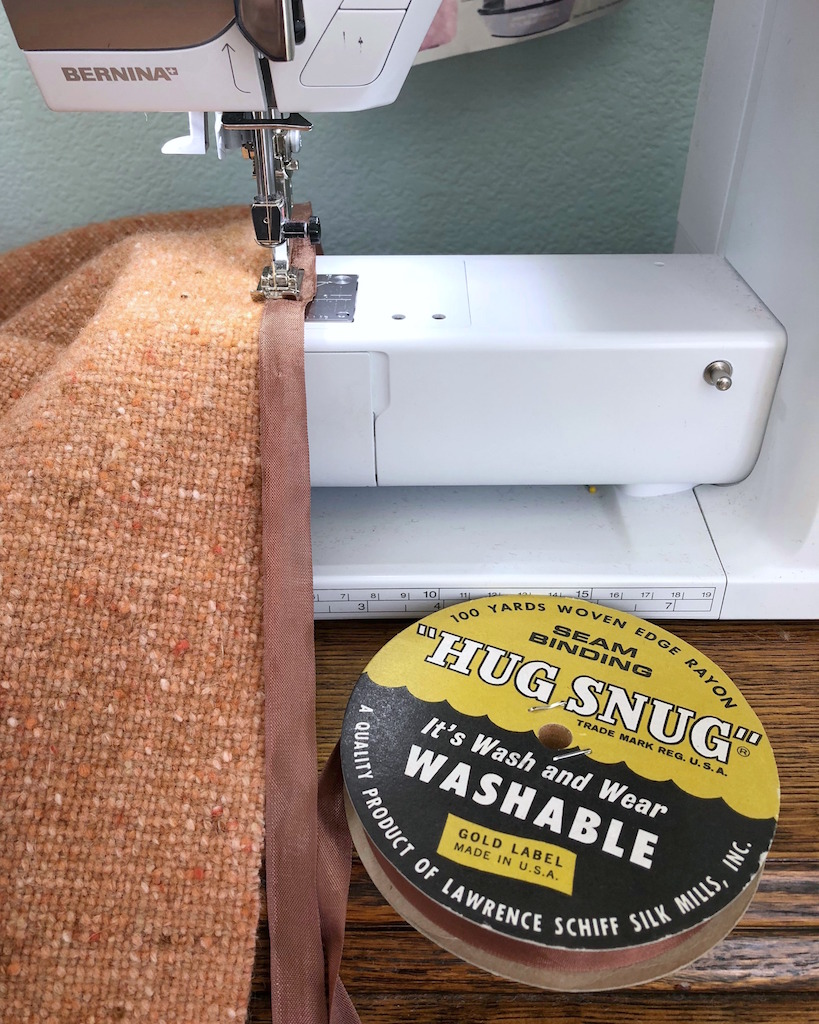
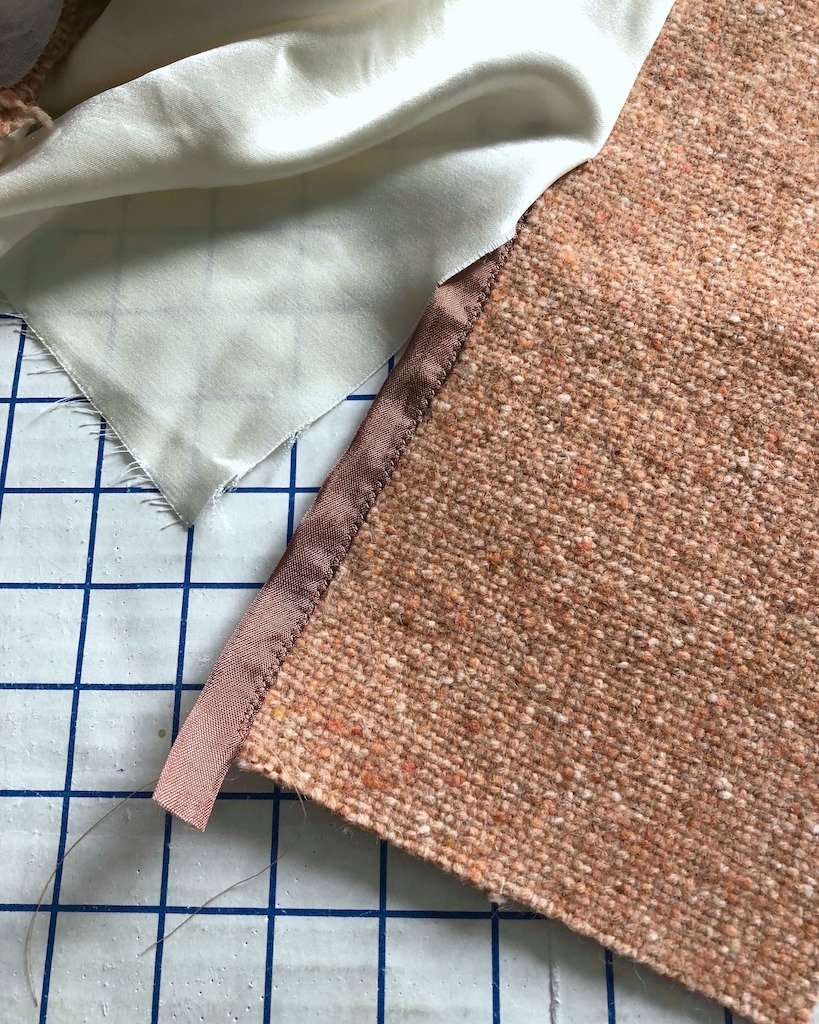
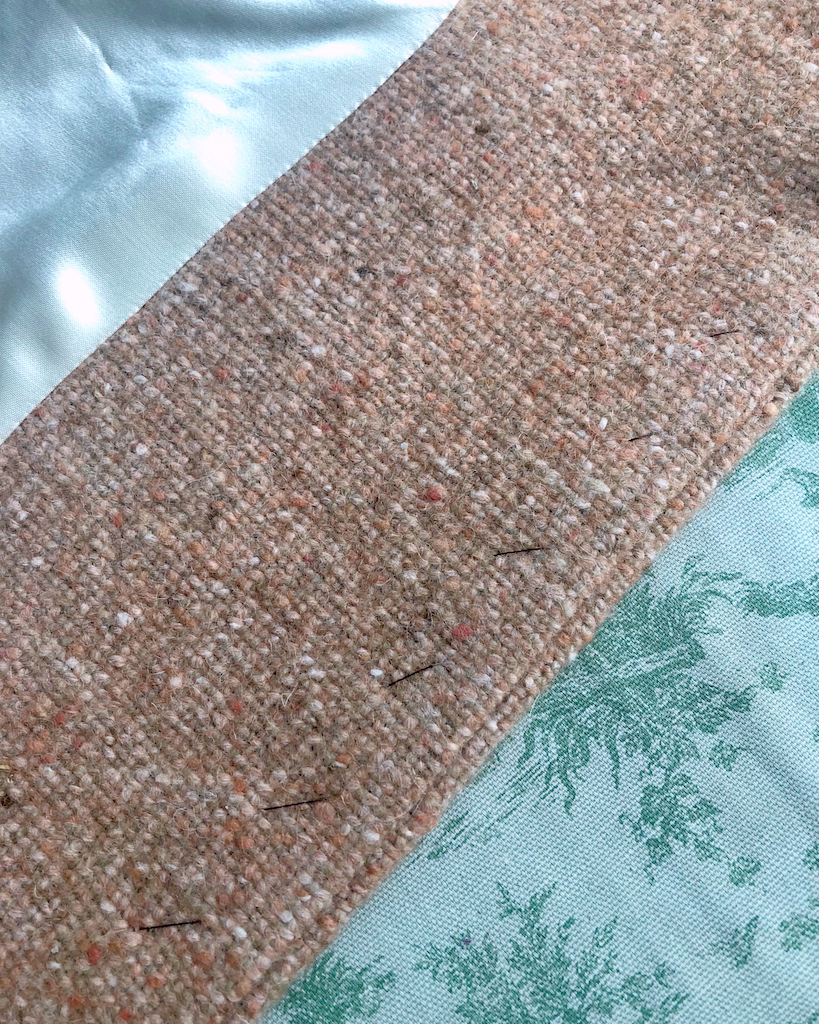
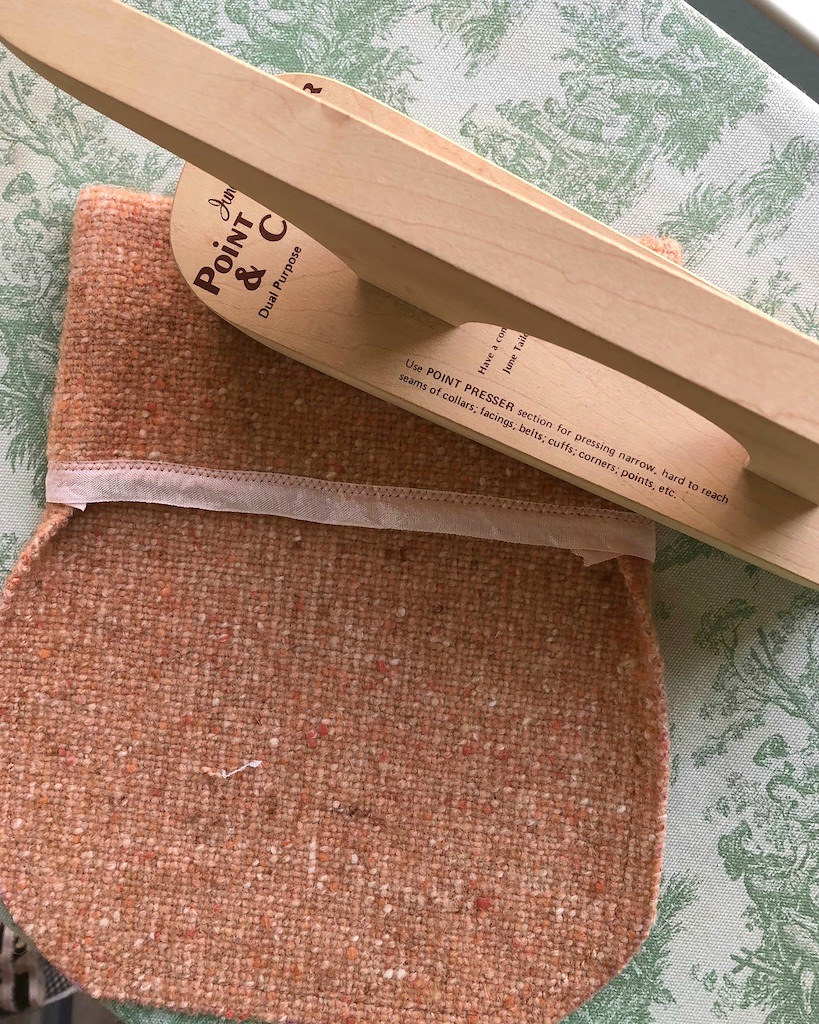
I added a strip of seam binding to the bottom edge of of the facing where it joins the lining.  In ready-to-wear coats, this bit is often left unfinished or serged.  I am not a huge fan of the serged look, and there was no way I was going to leave this "fray as soon as you look at it" coating raw for an inch along the bottom of the coat.  Once again, my Hug Snug saved the day!


The most challenging part of this process was certainly dragging this heavy thing back and forth from sewing table to sewing machine.


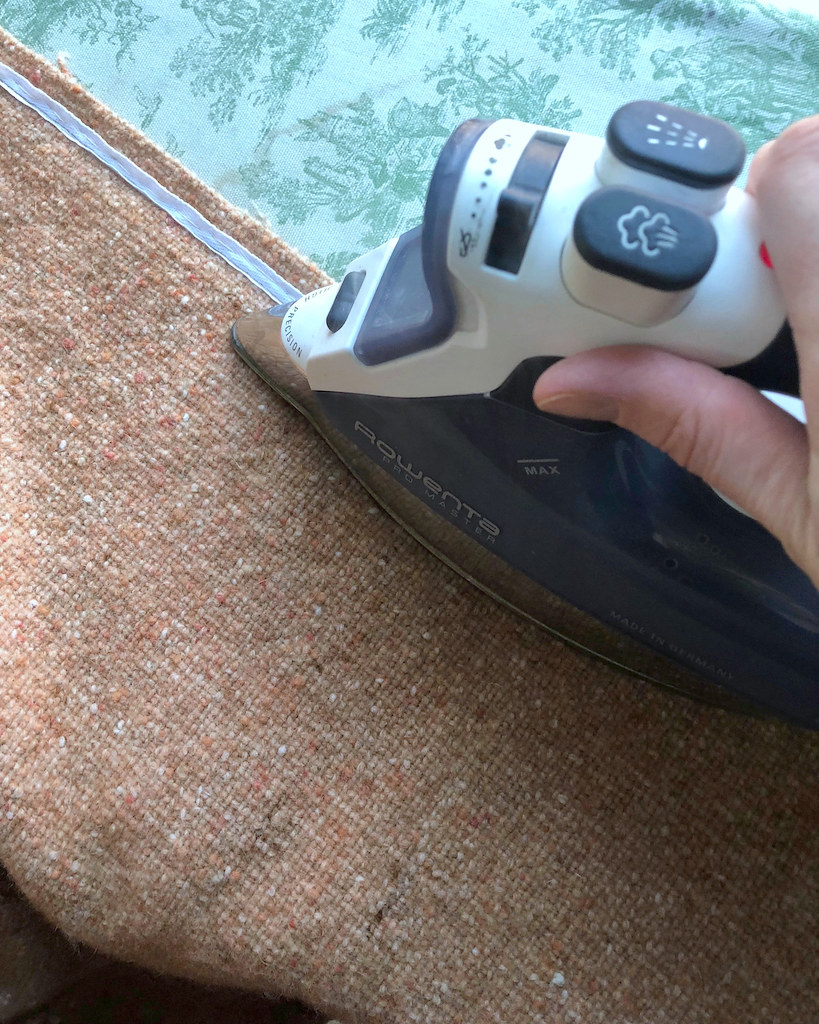
I stabilized the front edge with some twill tape.


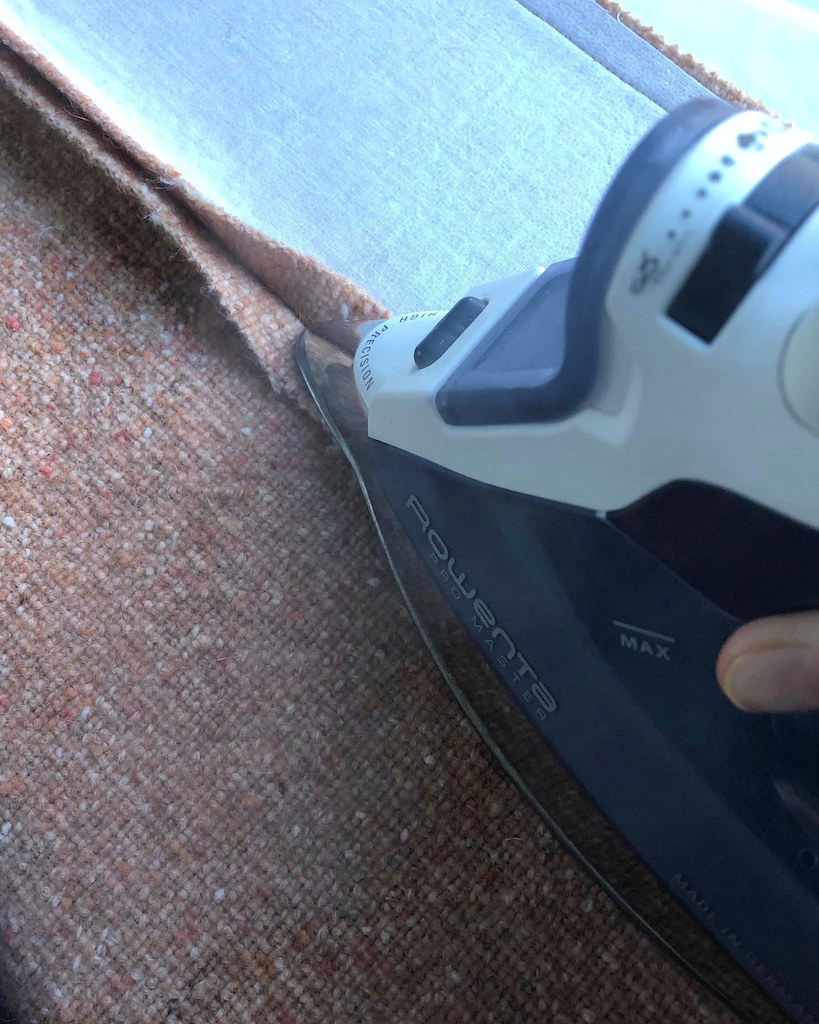
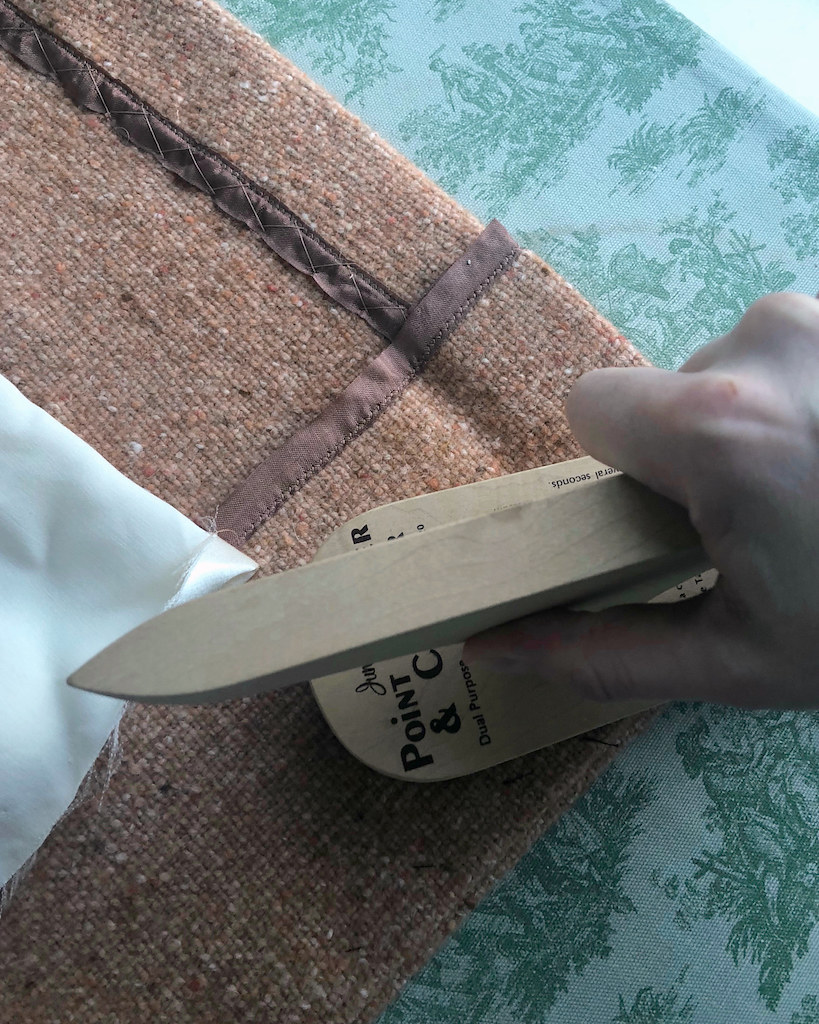
And then pressed . . .


and pressed . . .


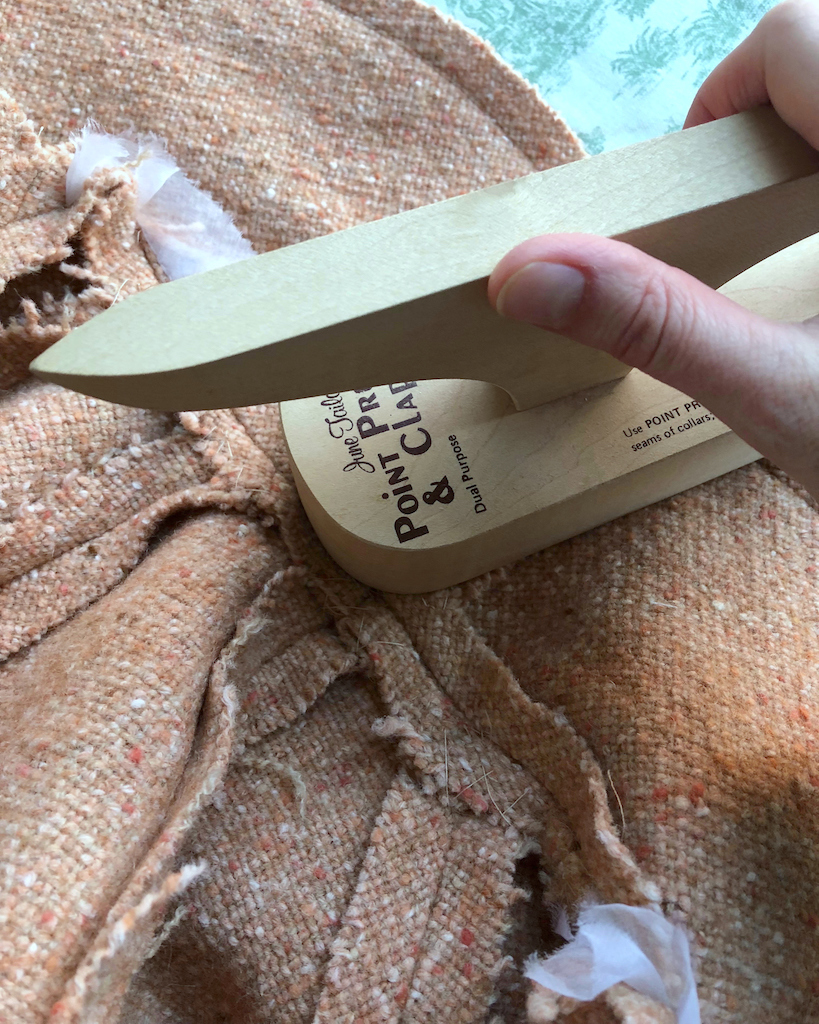
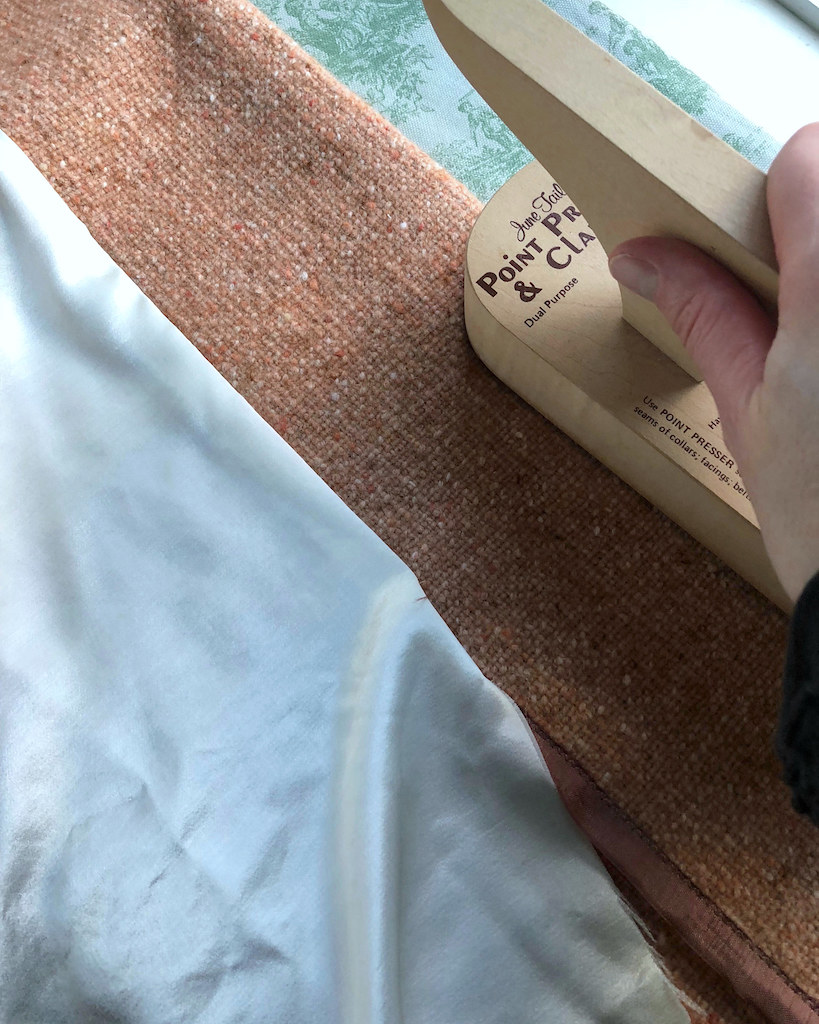
and went to town with the clapper.


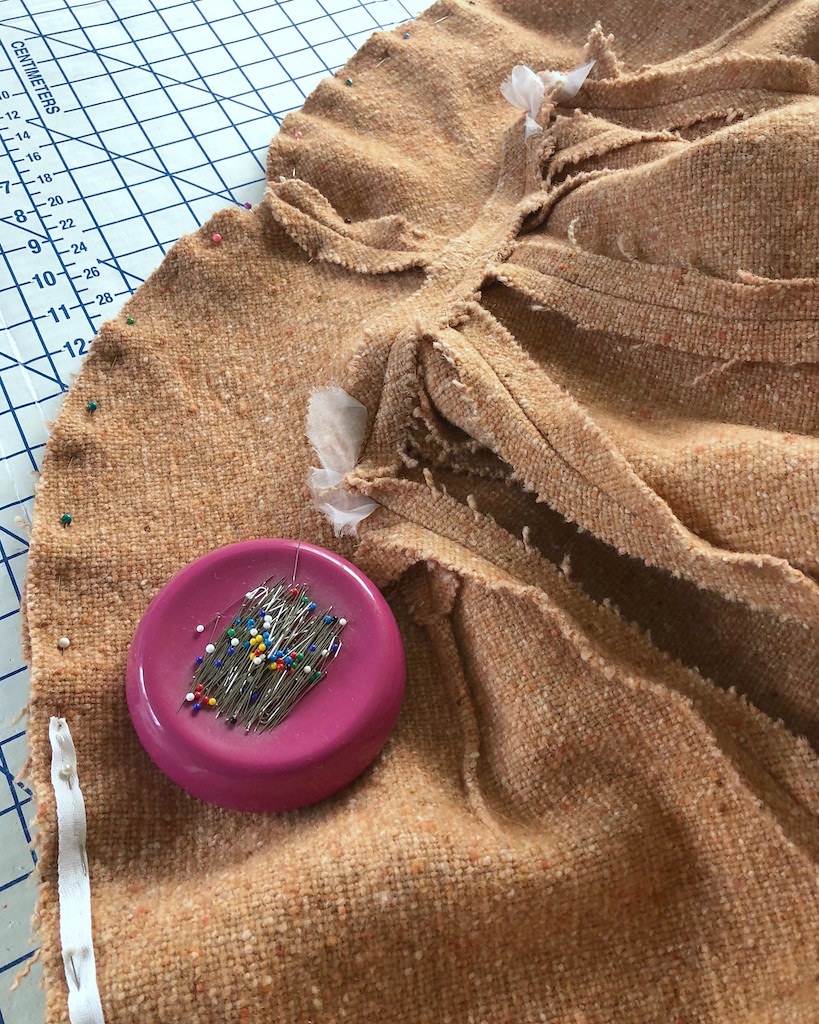
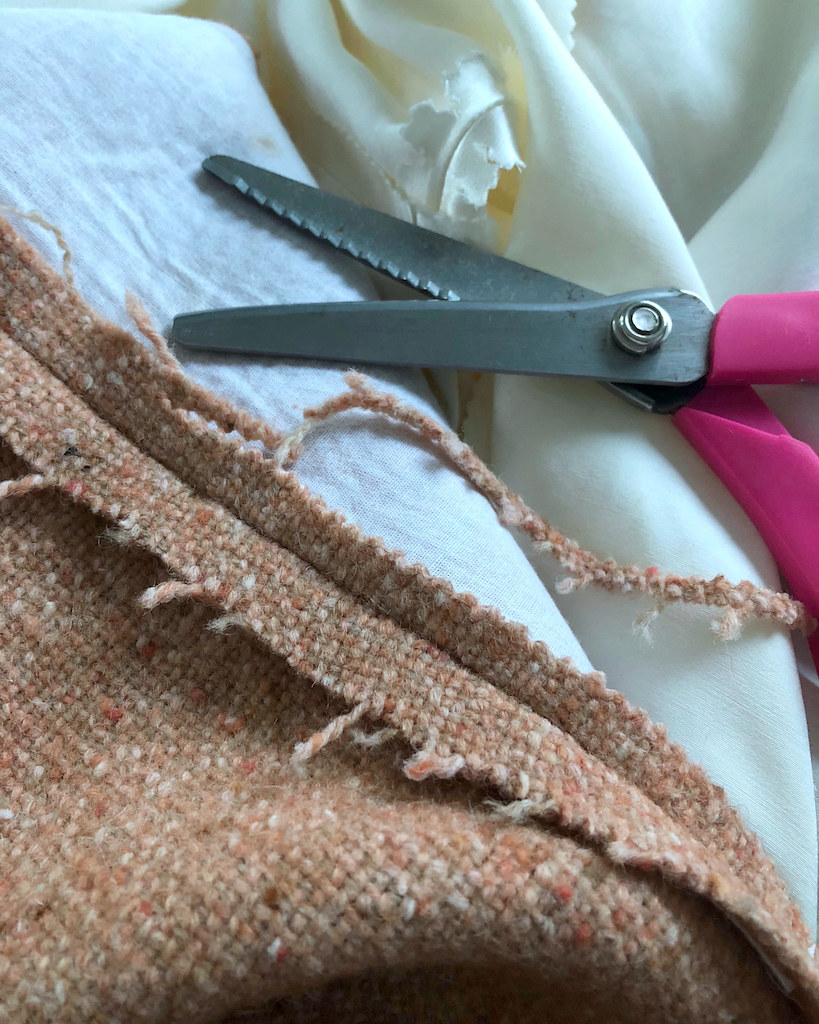
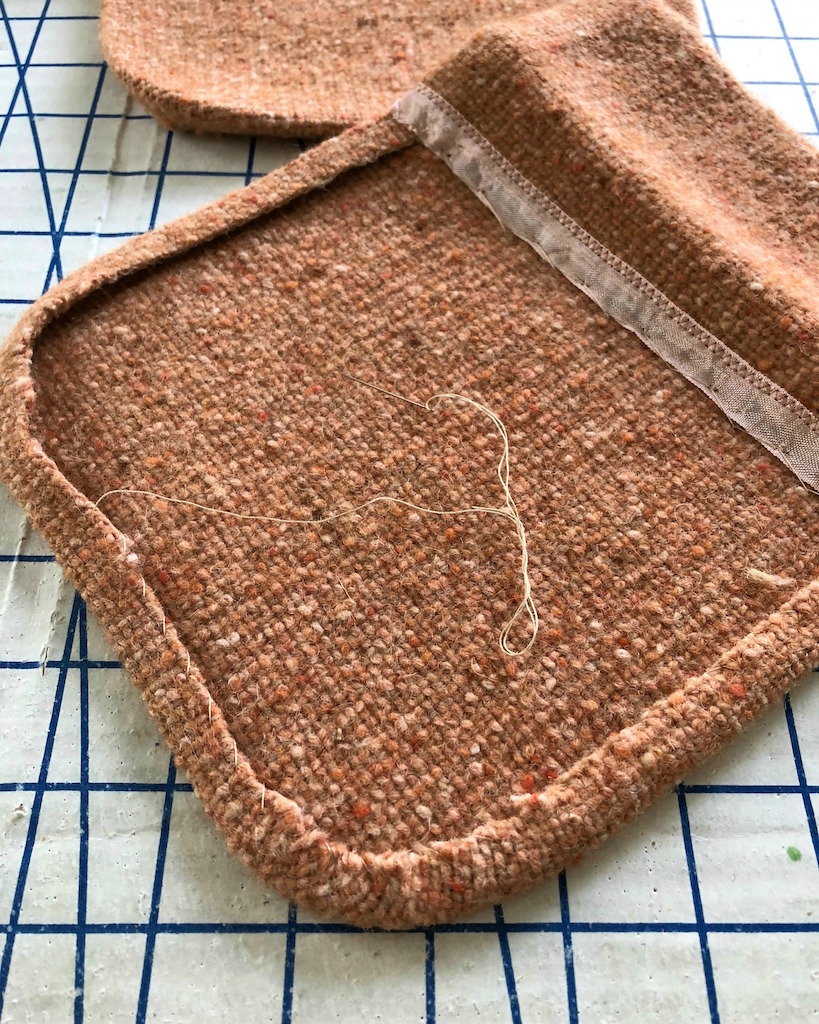
And, of course, there were plenty of seam allowances to be trimmed and graded.


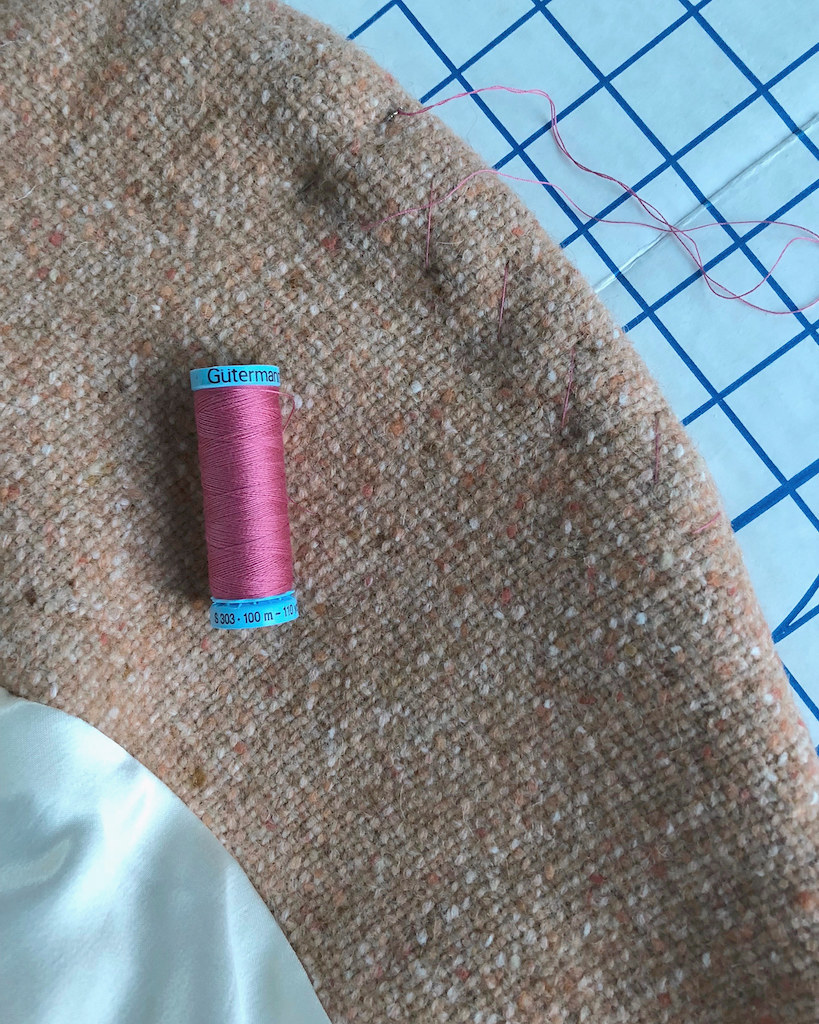
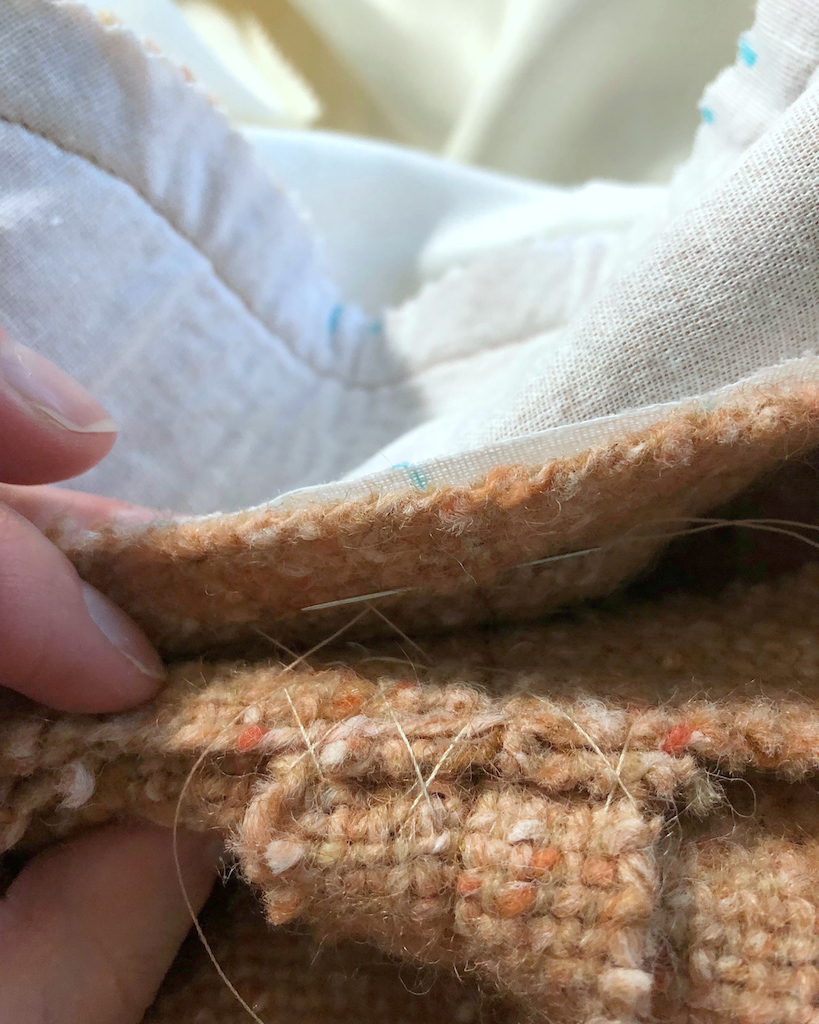
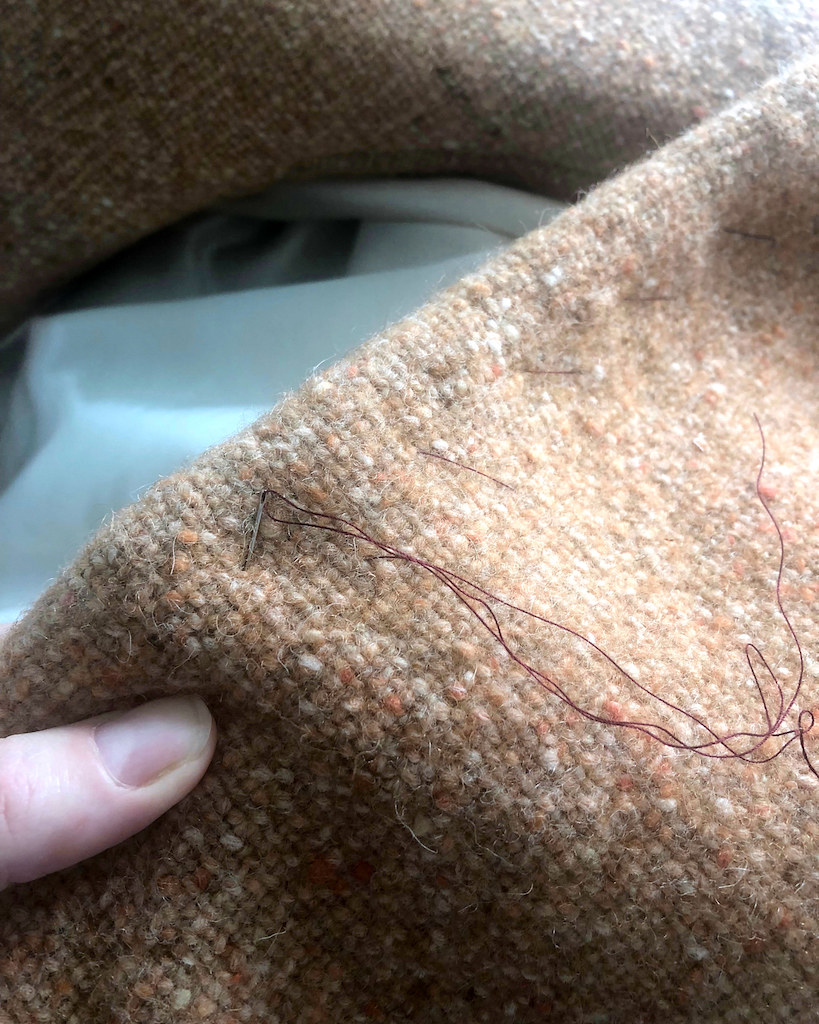
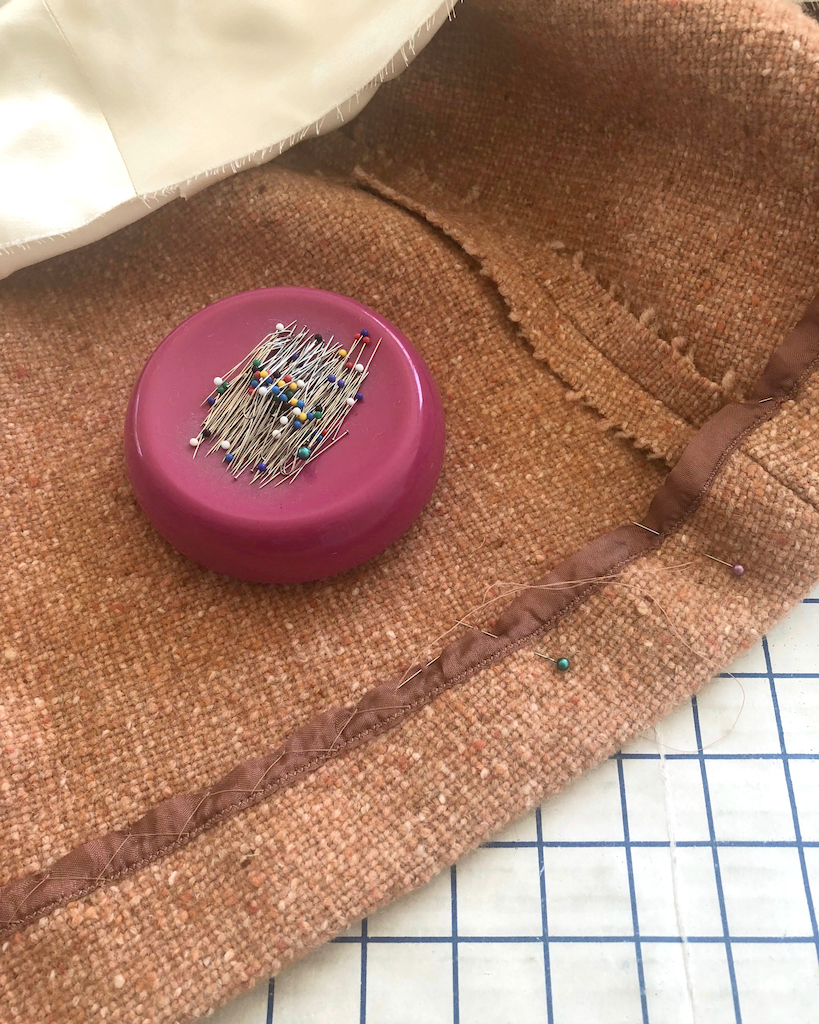
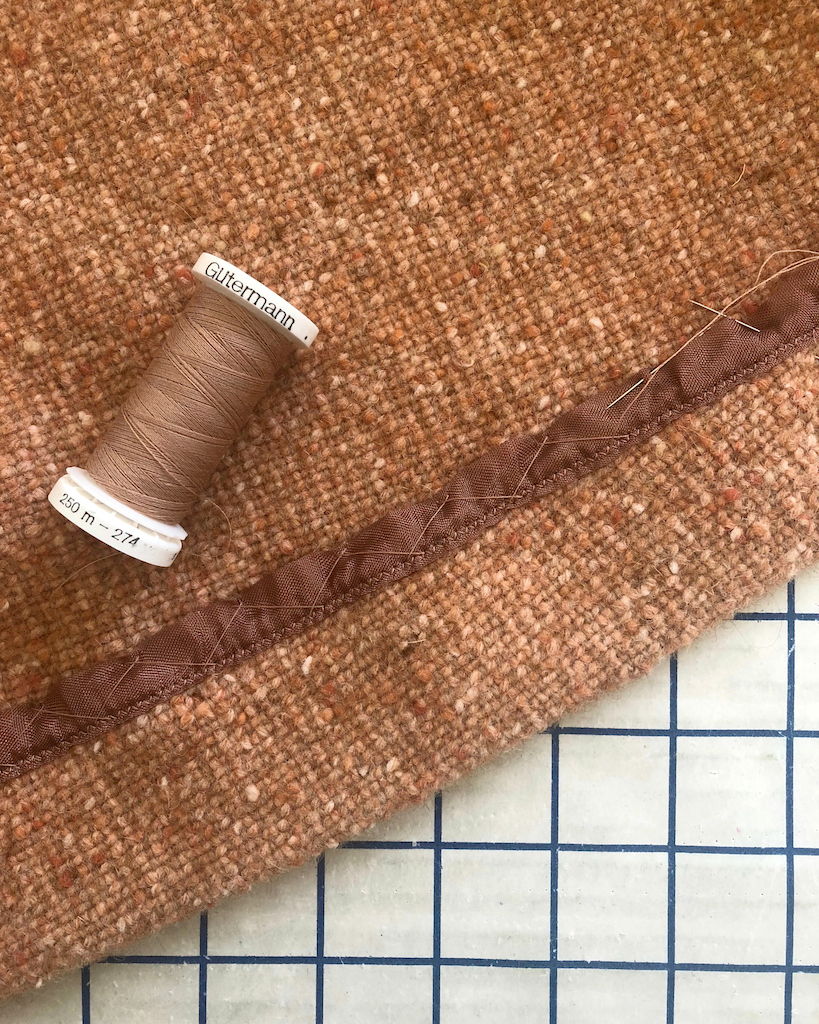
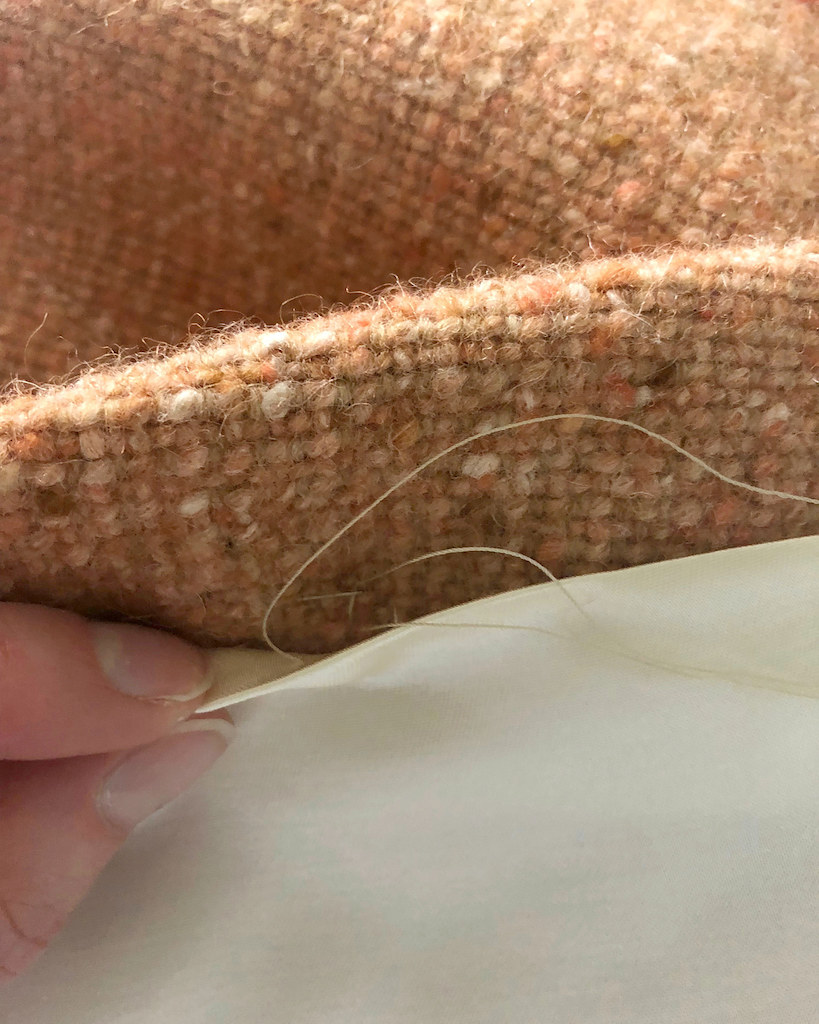
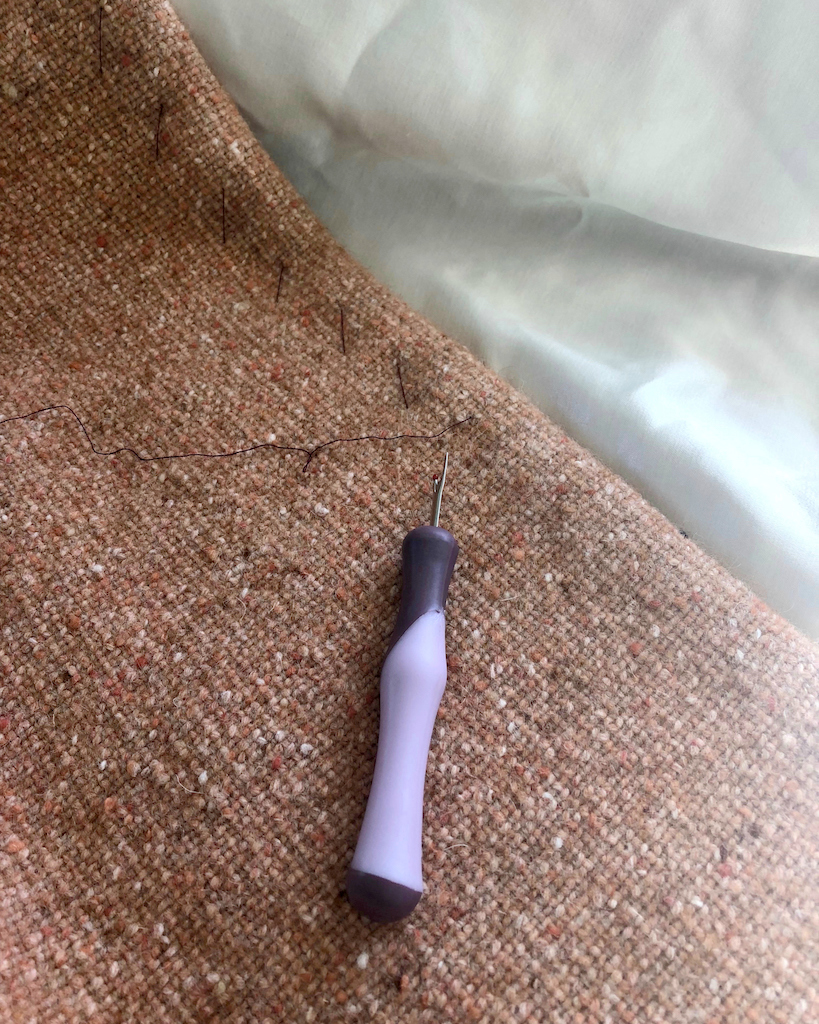
Because of the thickness of the coat, and the weight, I needed to stabilize the turn of cloth (the collar is shown below).  I love silk thread for basting because it is so easy to remove.  I probably could have used a color with a little more contrast, but this was the first spool I grabbed.


Once that collar was pressed into submission, I catch-stitched the collar facing and collar together using the seam allowances.


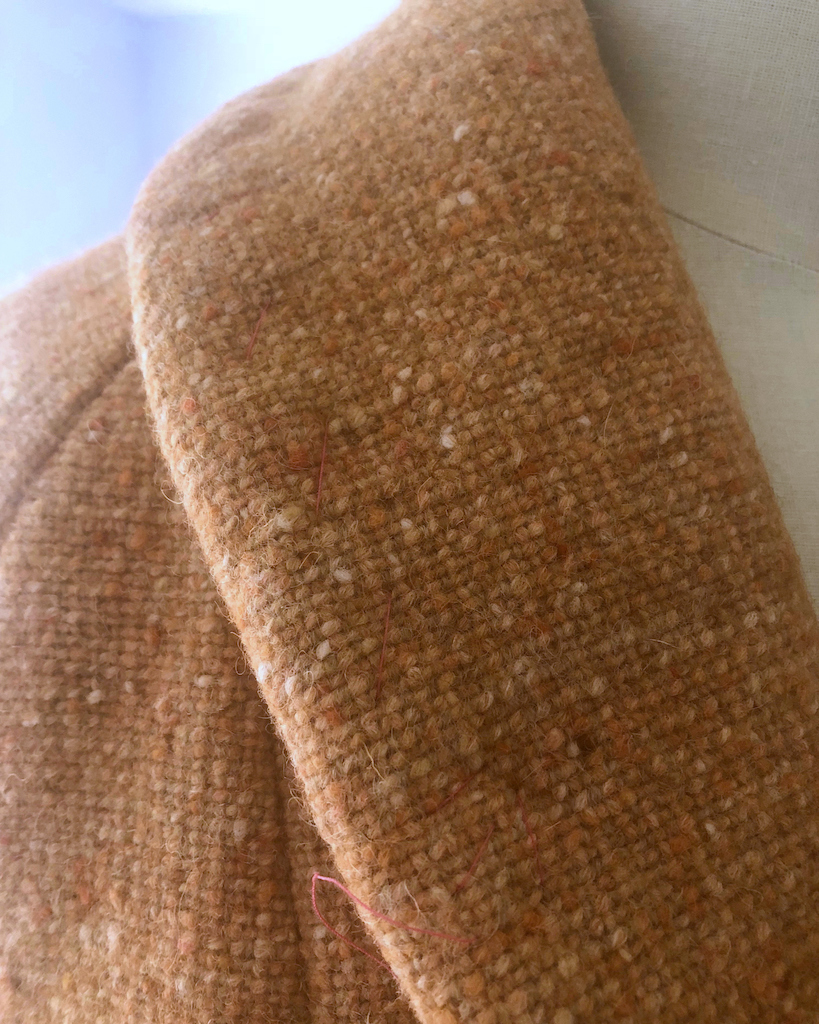
Which should keep that collar in place nicely.


No facing visible from the front!


And then I did the same with front opening edges.


And I once again pressed the heck out of this portion of the coat.


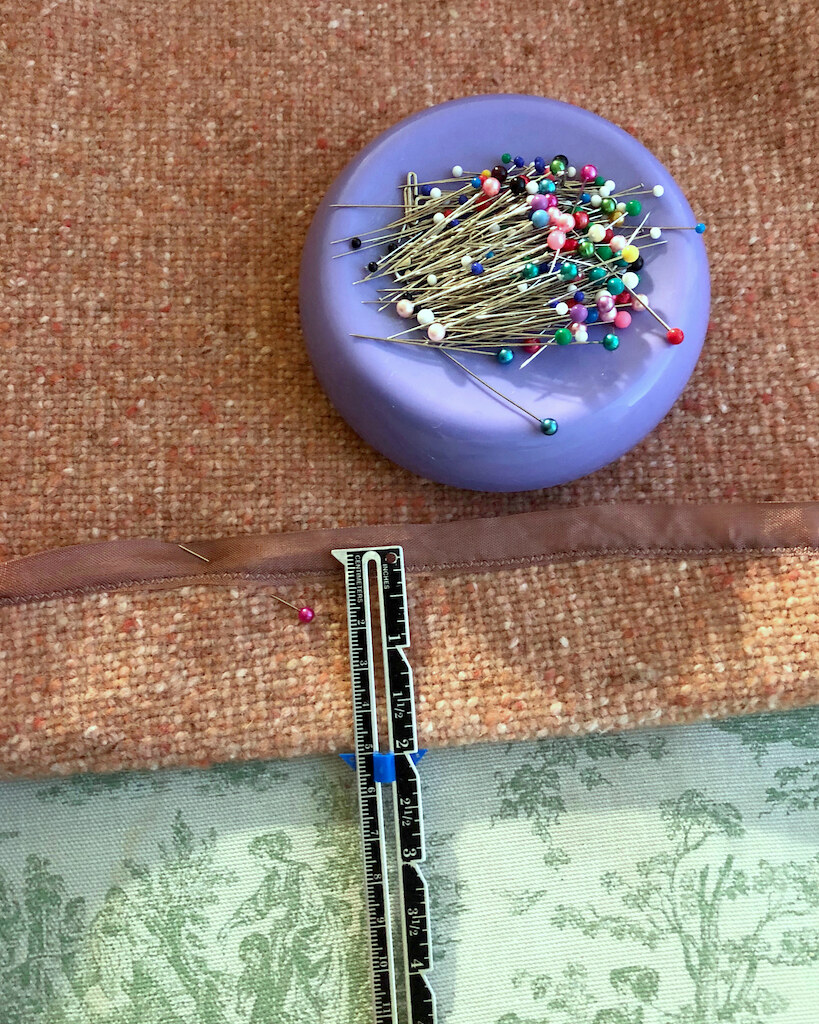
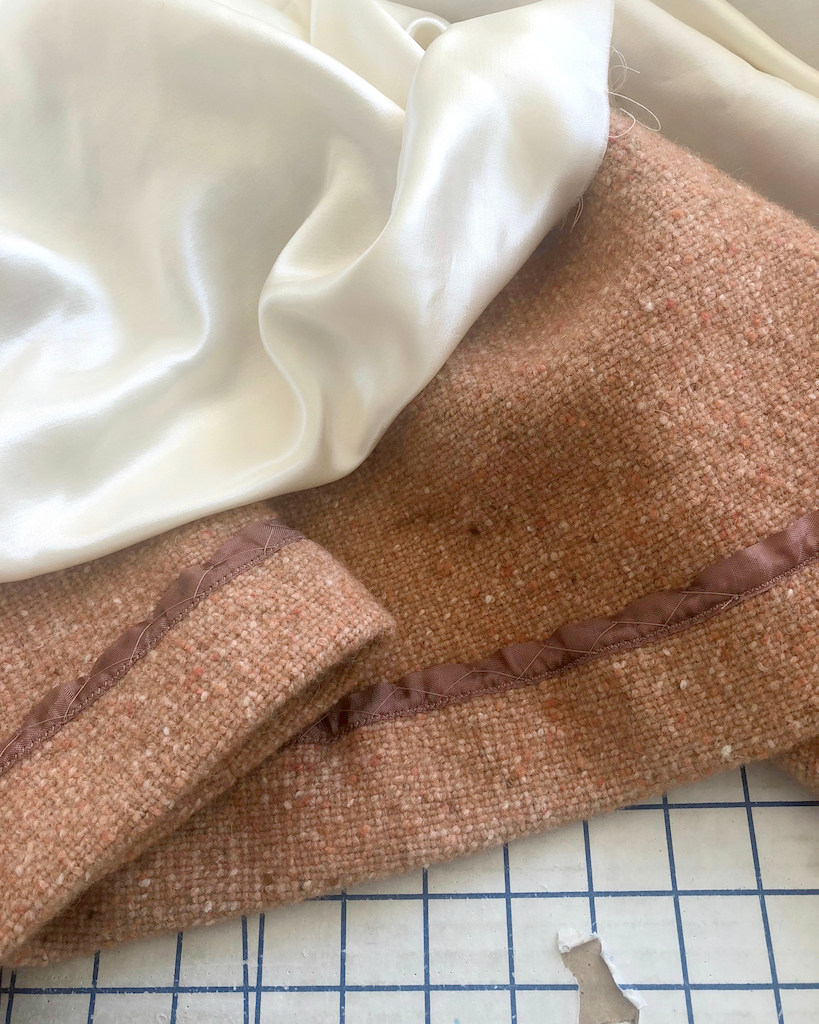
Next up was the hemline.  I used seam binding on the raw edges.


The hemline was catch-stitched in place.


This is becoming my favorite hemming method!


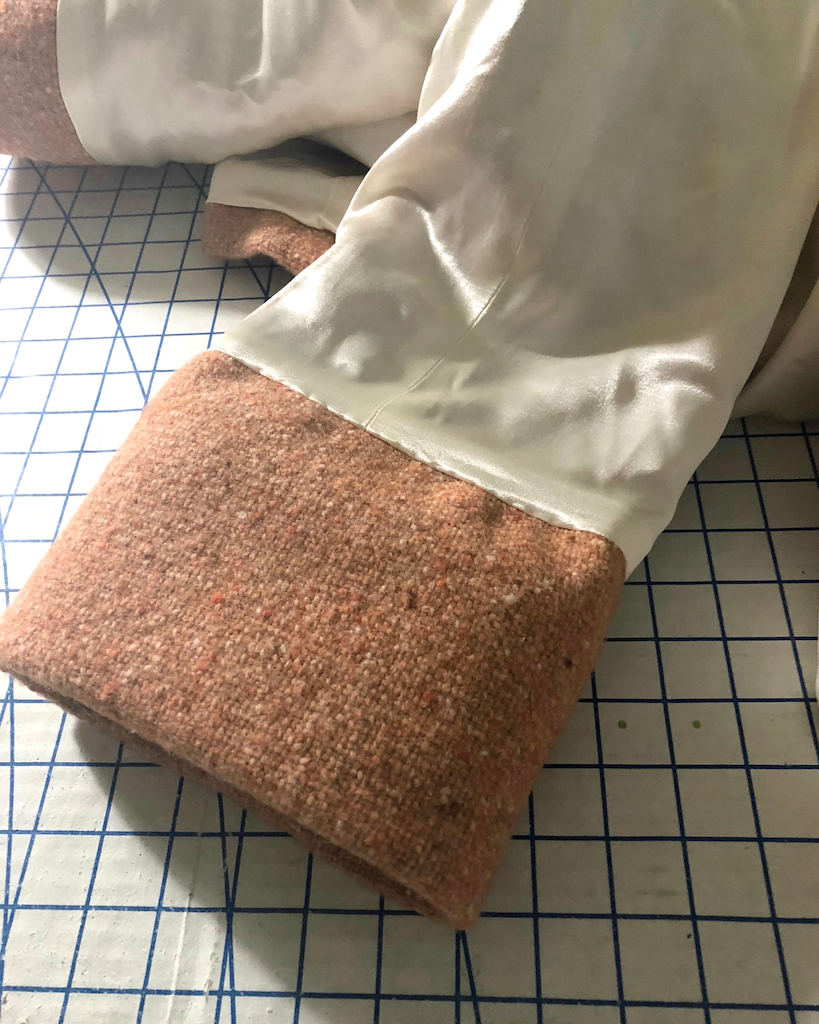
In this particular case, the stitches will be covered by a lining, but the seam binding is much easier to work with than the loosely woven wool.


And then there was more pressing.


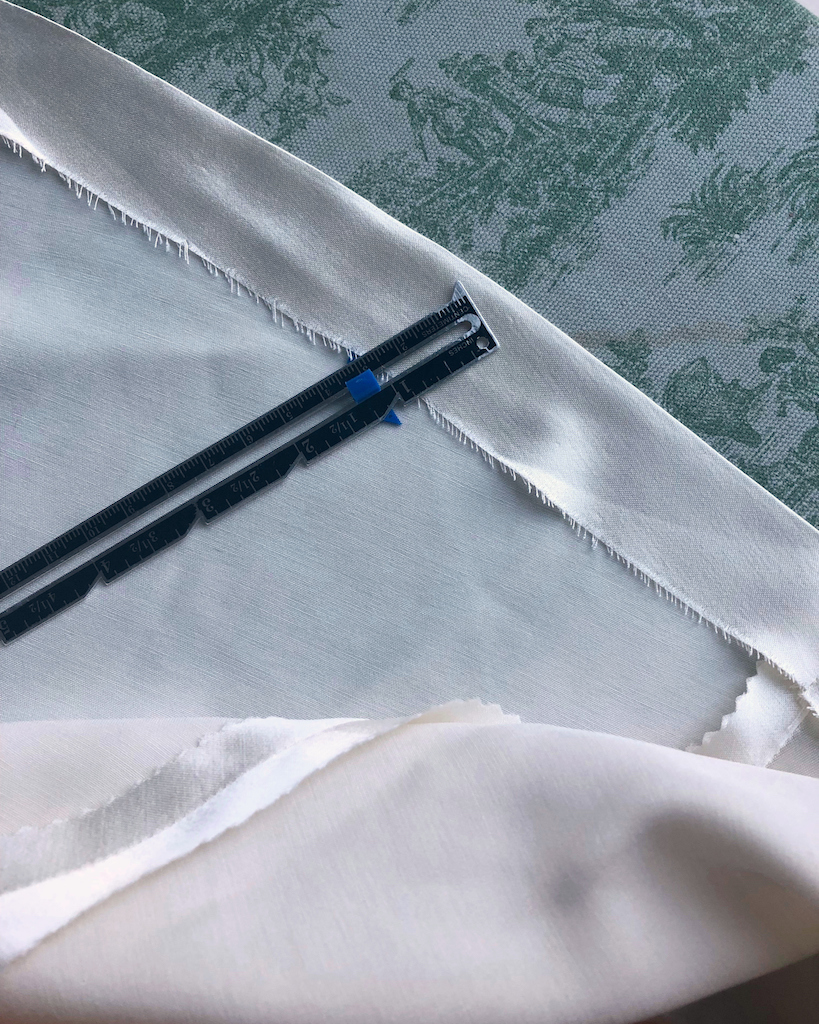
The raw edge of the lining hem was folded up and pressed.


It was then hand stitched to the coat.


The sleeve lining was also stitched in place.


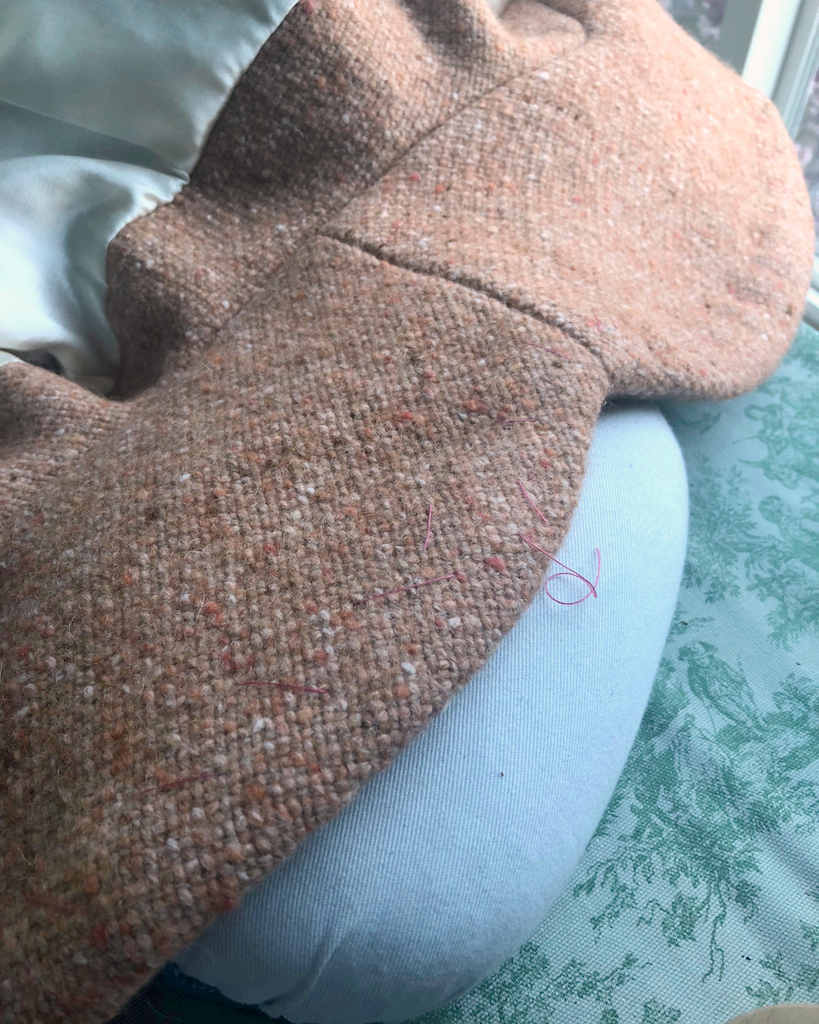
And then it was time to remove the visible basting stitches.


Which means the coat is finished!


This lady is heavy duty!


So I am all ready for the cold weather!


Well, not really . . . I hate the cold (not that we have real cold weather in the Bay Area, but I am a baby about it anyway), but this coat will make the temperatures slightly more bearable.

Friday, March 23, 2018

A Pocketful of Wool


It's back to working with wool for me, although Spring weather is just around the corner (I hope!).  
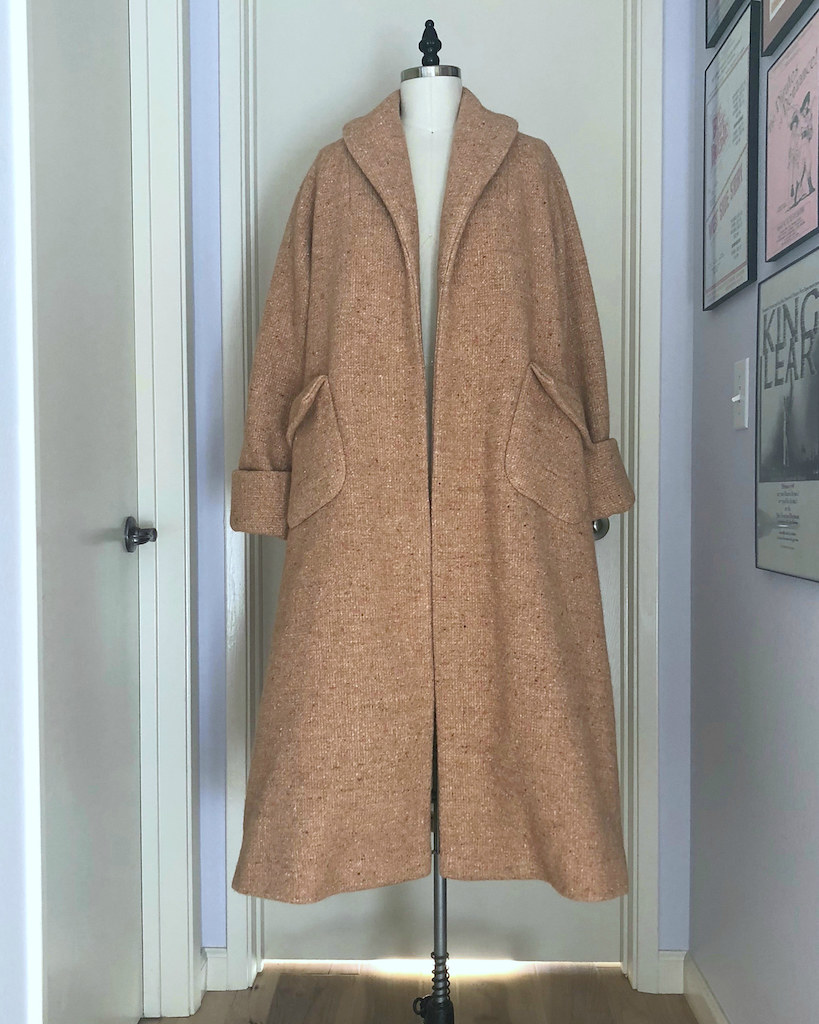


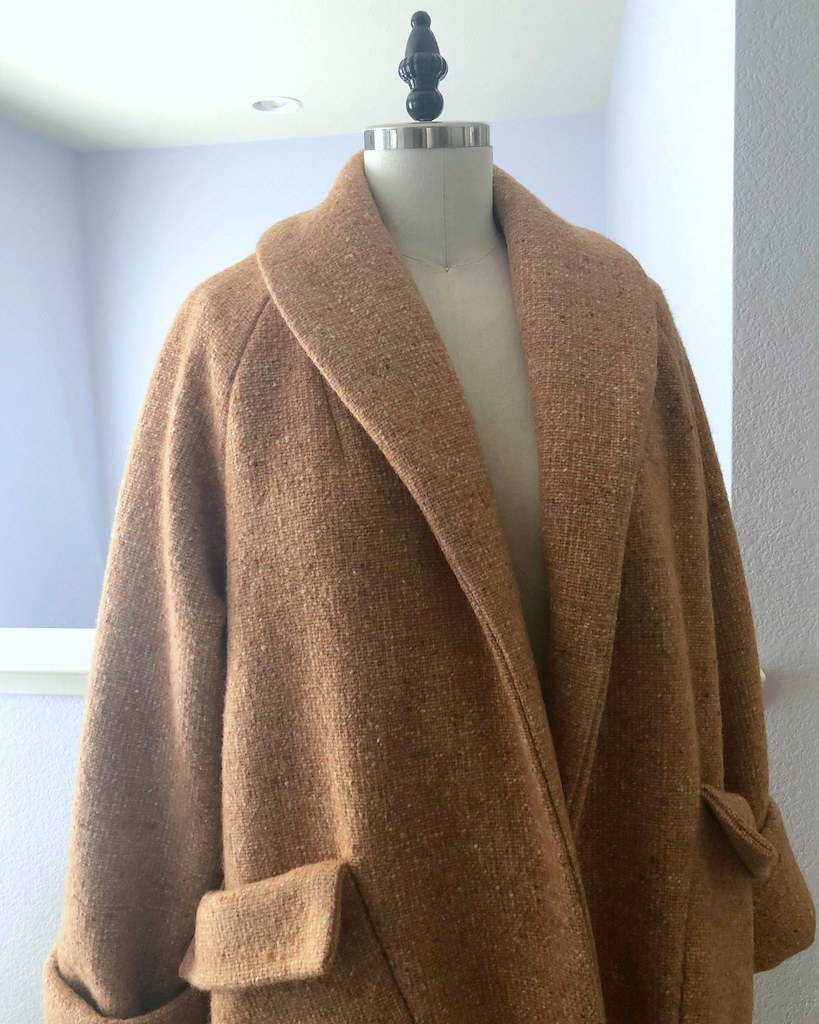
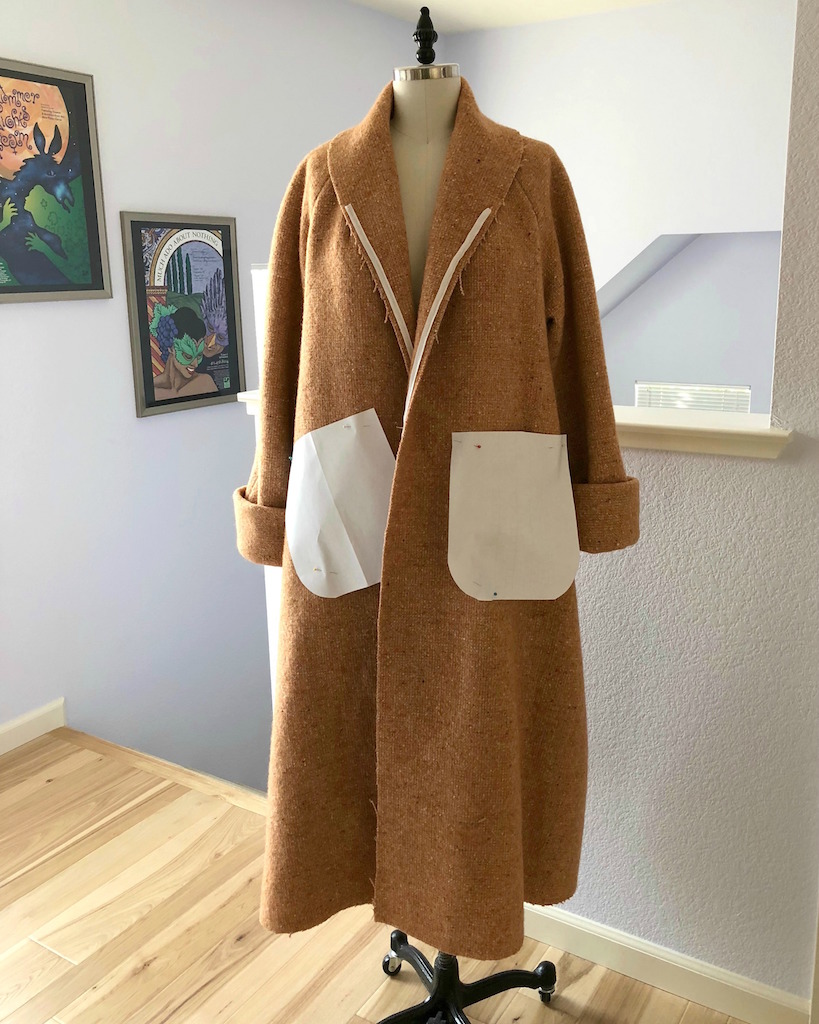
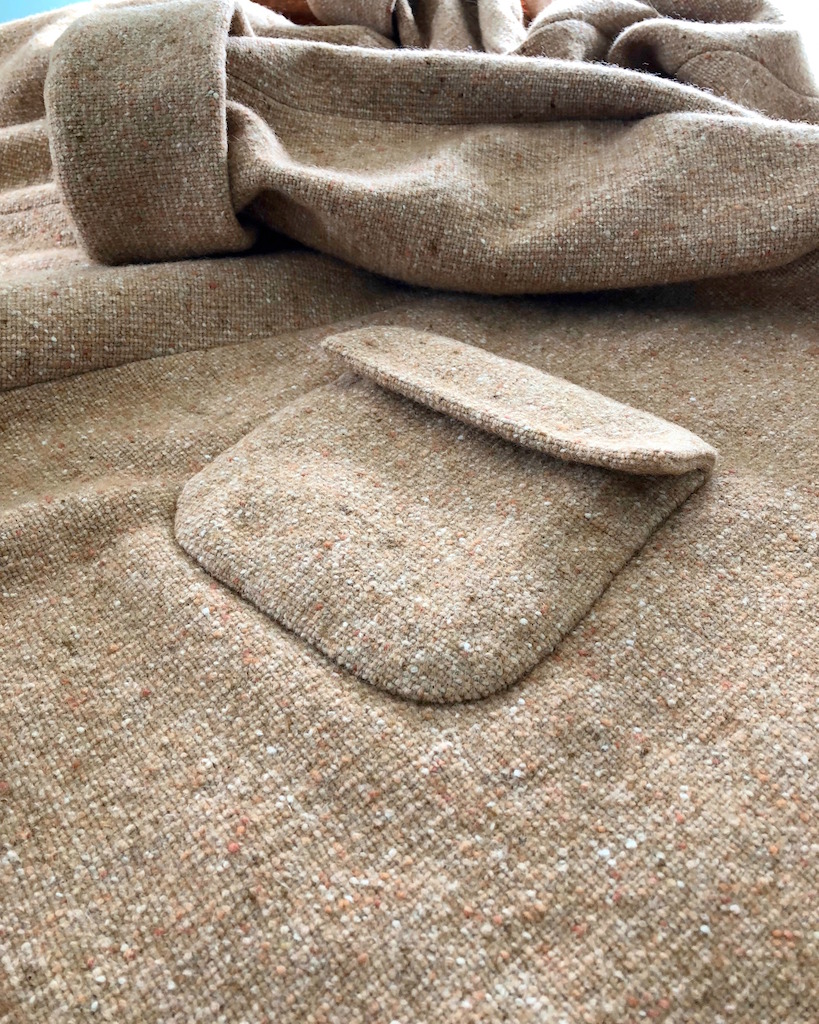
The one thing I am not completely in love with on my blue swing coat is the in-seam pockets I added to the design.  They work just fine, as pockets go, but I wanted to go with something a bit different for the wool version.  I knew I wanted pockets of some kind, but I was not going to deal with a welt on this incredibly thick wool.  Instead, I decided to go for patch pockets.


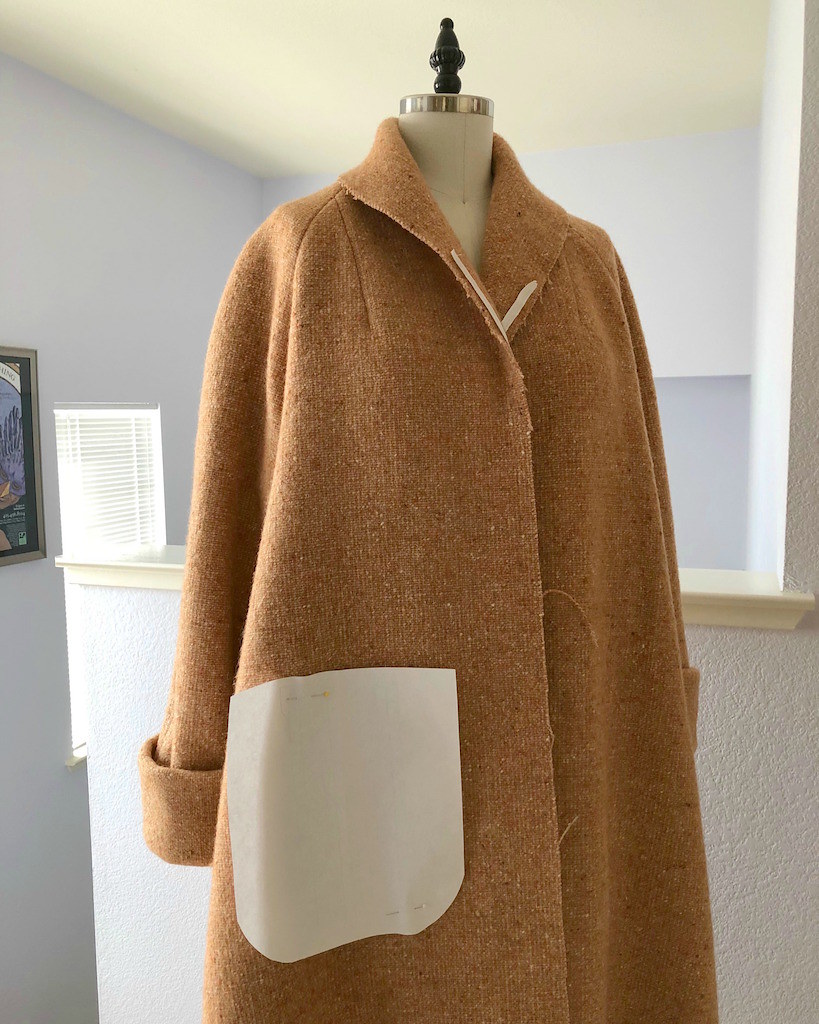
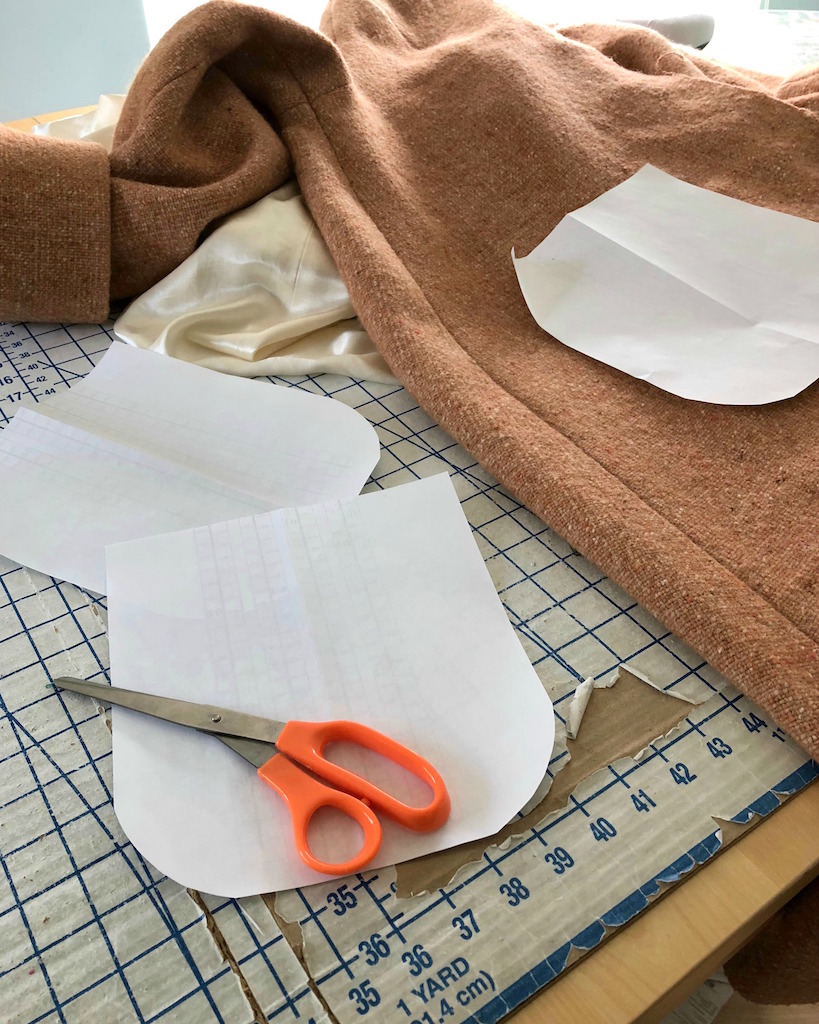
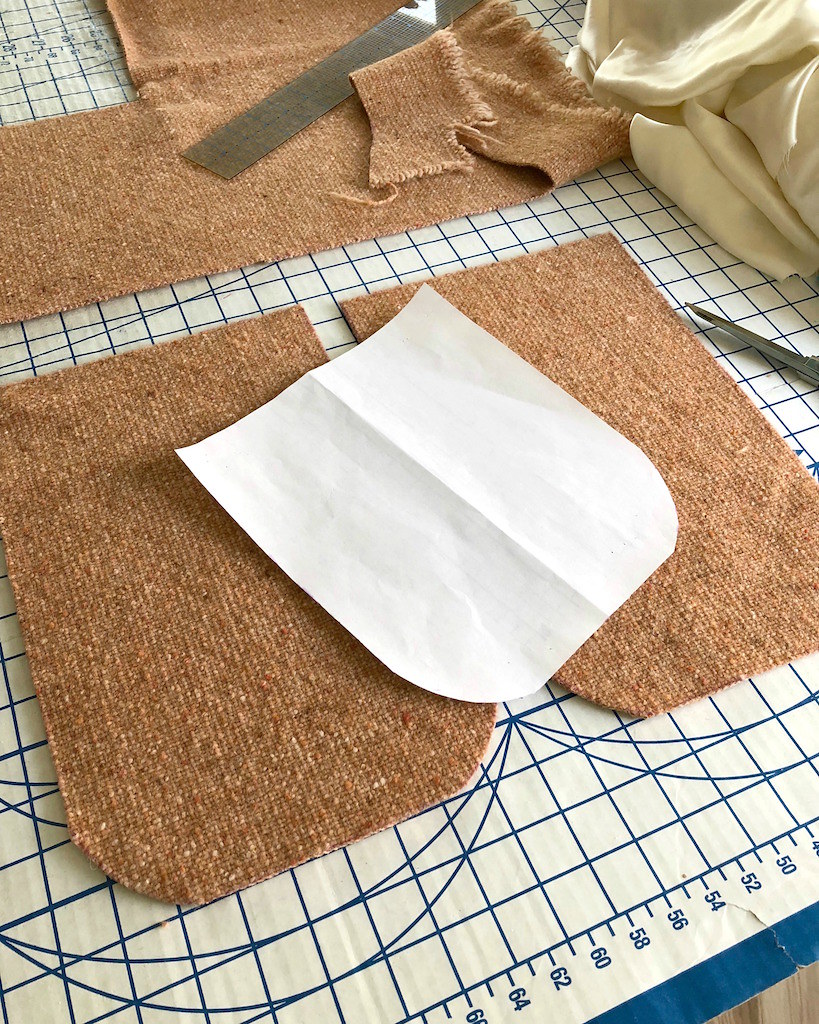
What I didn't know was just how large I wanted them to be, so I made a few mock-ups with some typing paper.  This is an incredibly cheap and yet effective way to play with size, placement, style, etc.


I originally thought I would go with a really over-sized pocket.


In the end, I kept trimming that paper down, and went with something a little more proportional.


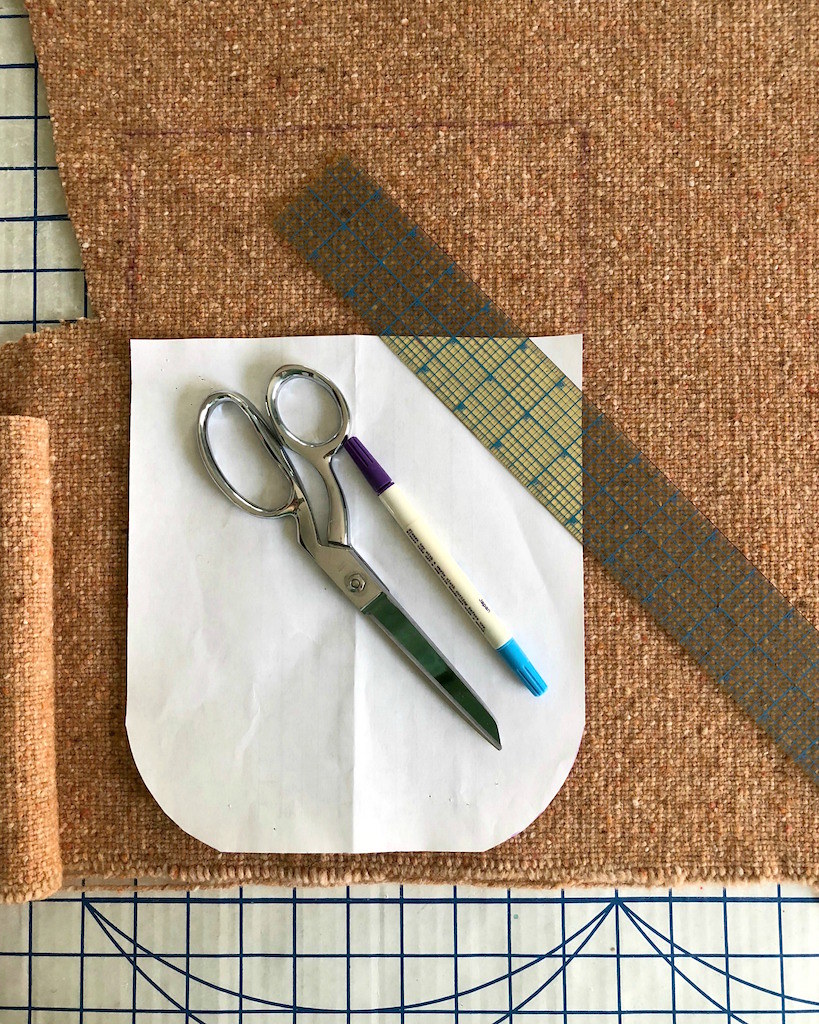
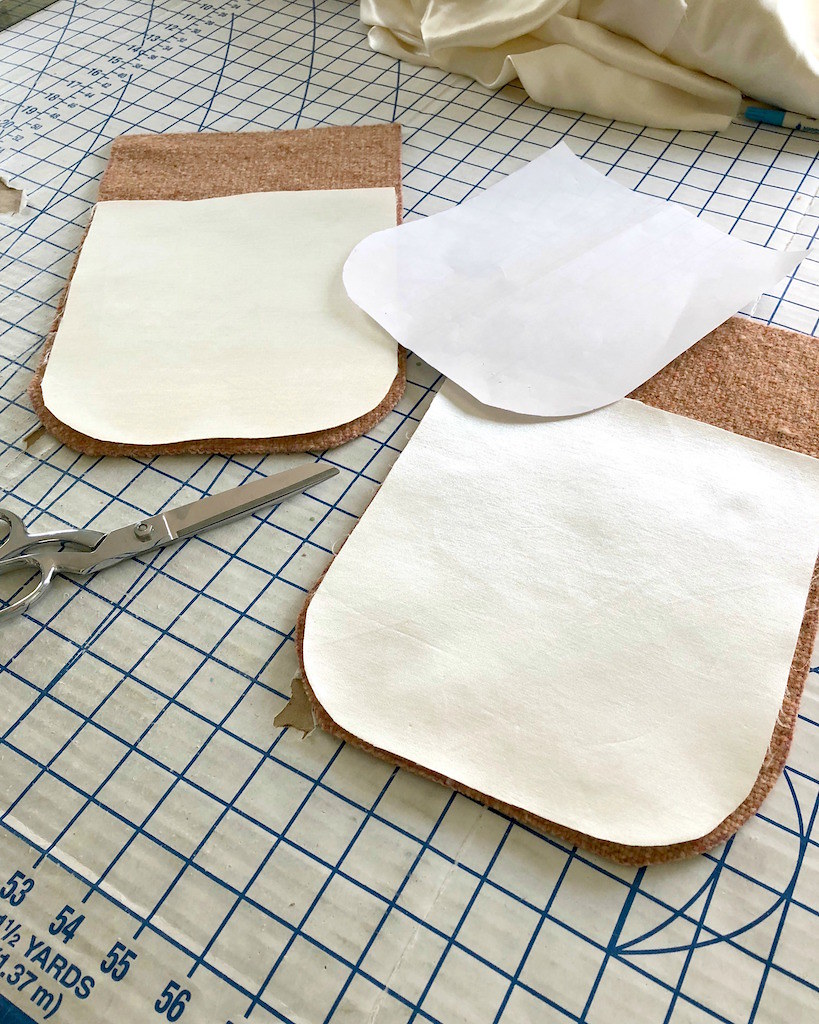
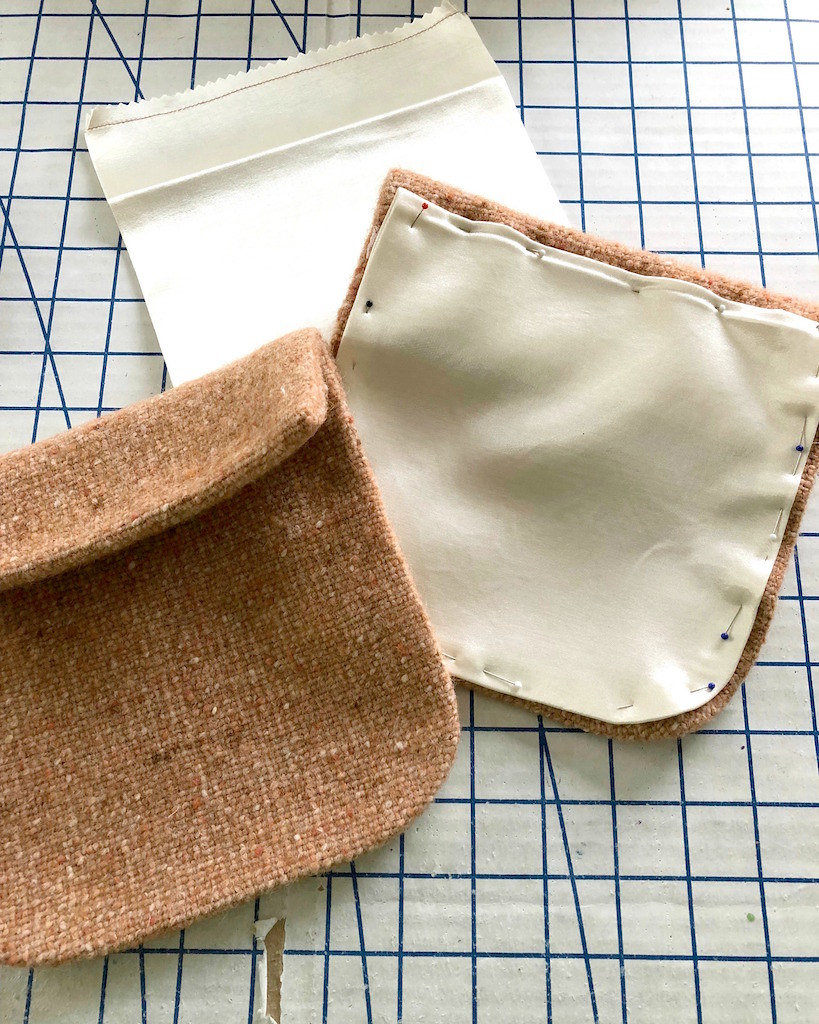
I added a fold over flap to the top edge and cut two of my new pockets out of wool, and two out of the lining (minus the flap)


I did throw a bit of Hug Snug in there, just for fun.


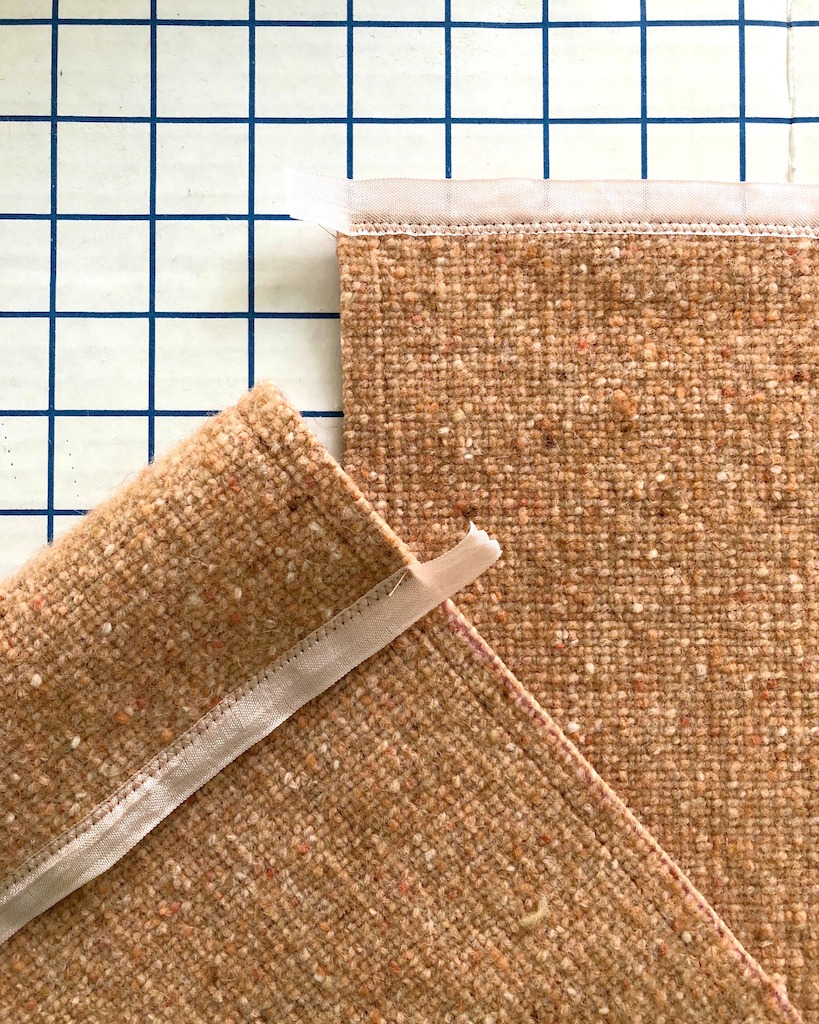
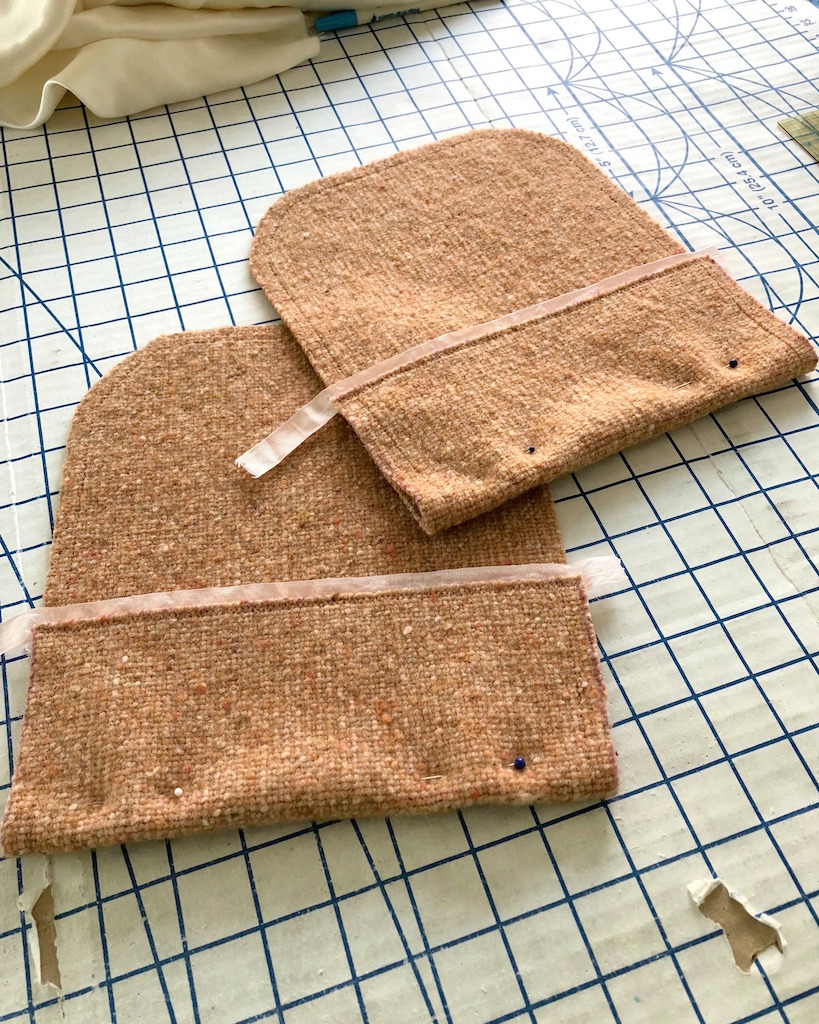
The flap gets stitched, right sides together, as far as the folded over bit.  A bit of pressing . . .


and a bit more pressing . . .


And the lining is ready to stitch to the wool.


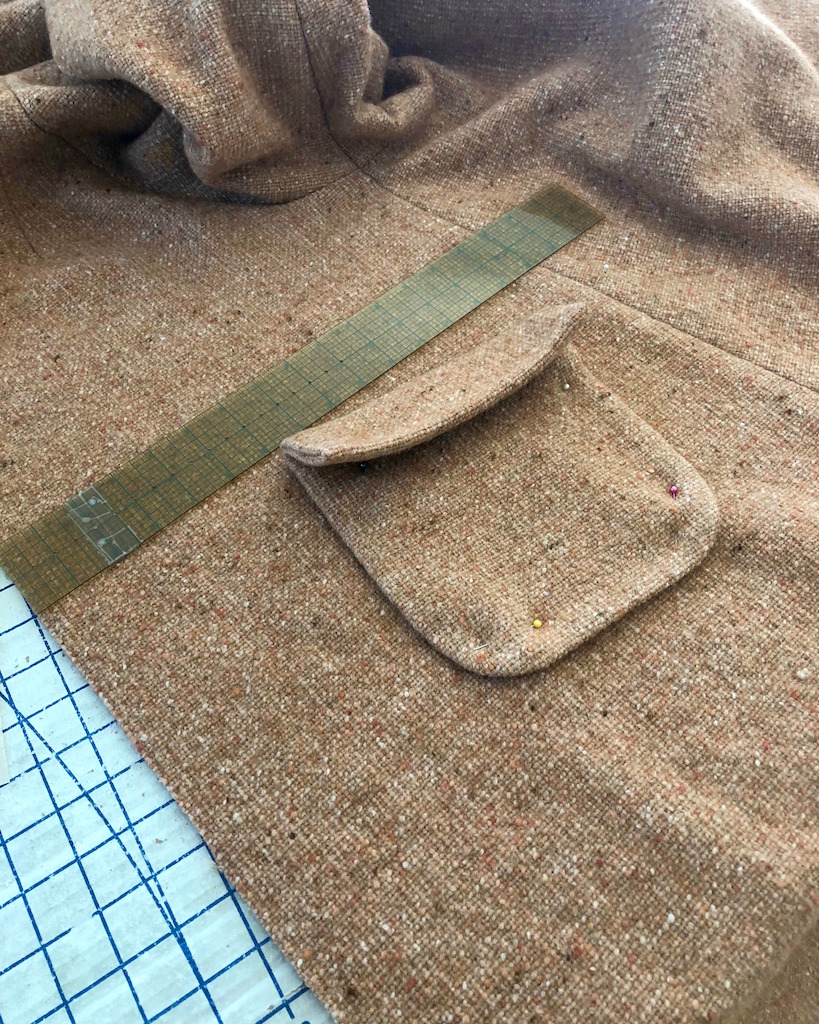
The worst part was making sure that the two pockets were placed in the same place on the right and left fronts.


But once that chore was done, it was smooth sailing.


And I think I actually like these more than I would have liked the welt pocket on this length coat!