
I am making progress with my wool coat!
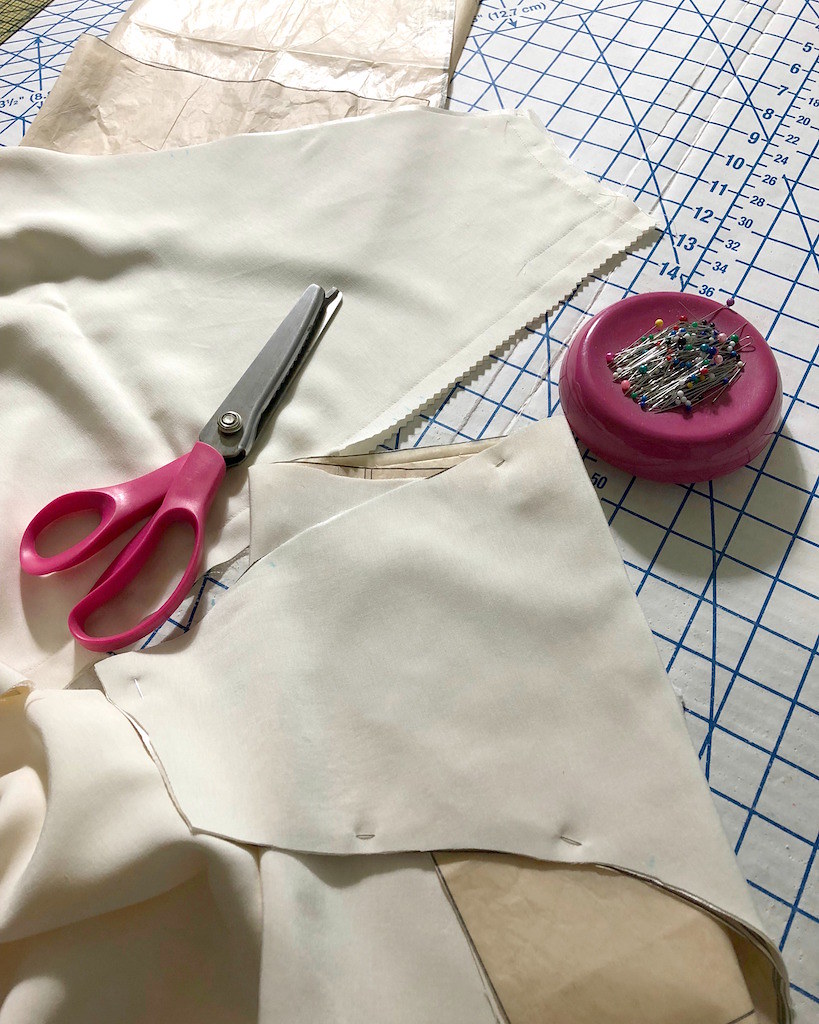
Sometimes I like to start by constructing the lining of a coat. If I wait until the instructions mention the lining, I have a tendency to get grumpy when I have almost completed the wool shell and realize I have to pull out my pattern and cut more fabric and basically construct another coat when I thought I was almost done! If I start with the lining, however, when I come to the end of the wool shell the project is almost complete - all that remains is stitching the two together, a little hemming, and perhaps some other finishing bits.
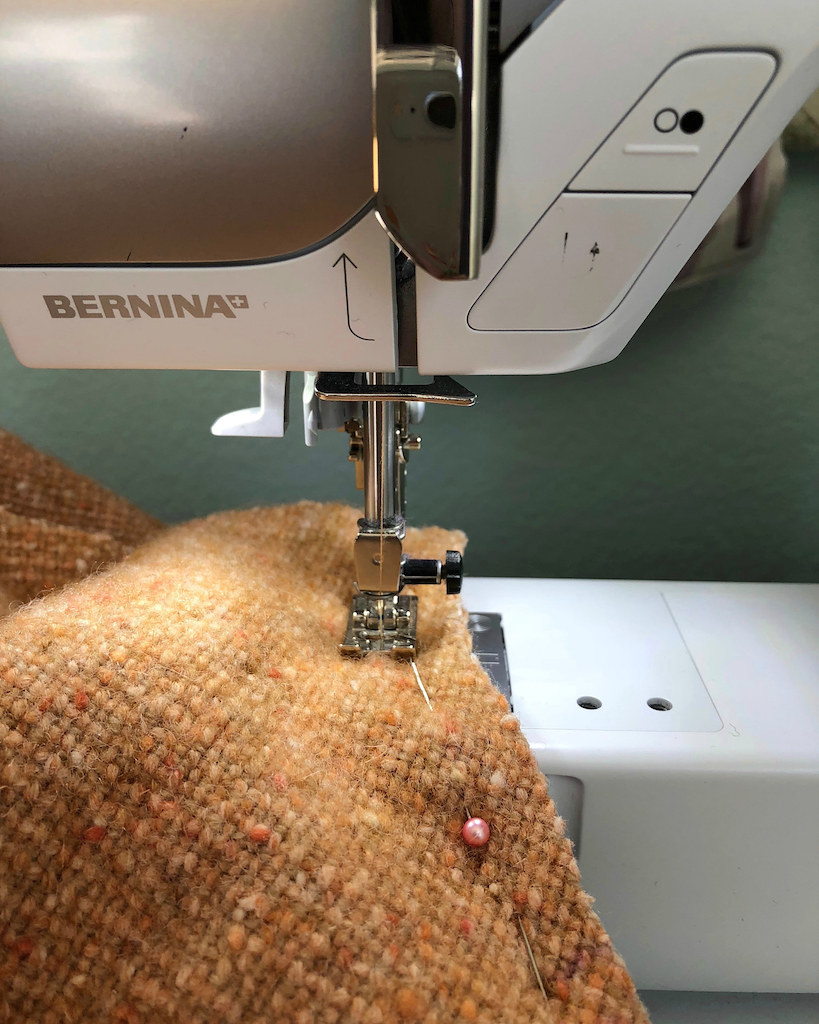
But first I had to figure out how well my machine was going to handle the thick wool. A couple of scraps convinced me this was going to work . . . and that I would be spending a lot of time at the ironing board!
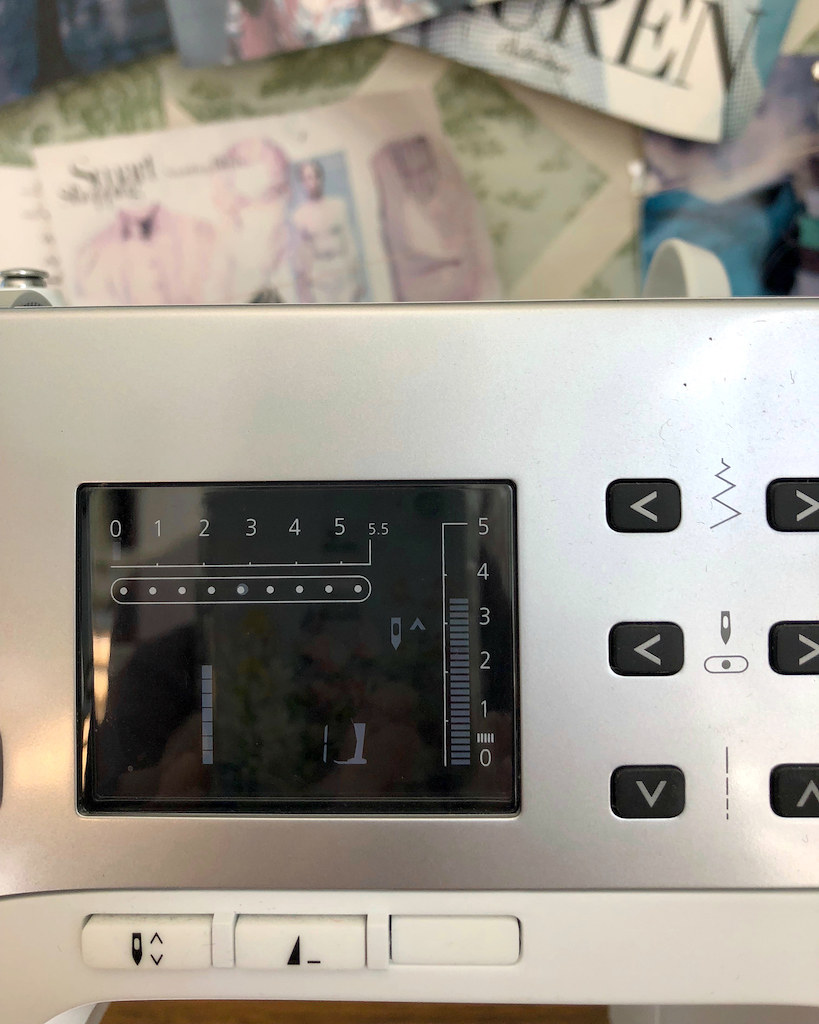
Really, the only thing that I changed on the machine was my stitch length.
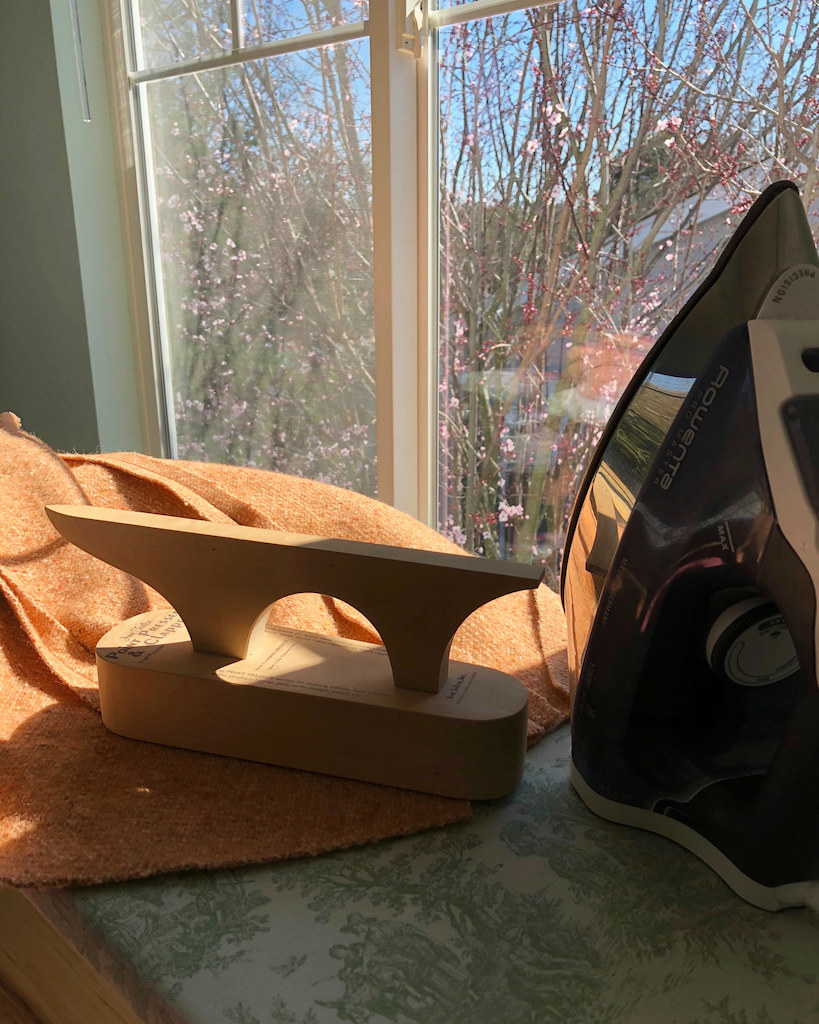
My clapper got a workout with this wool.
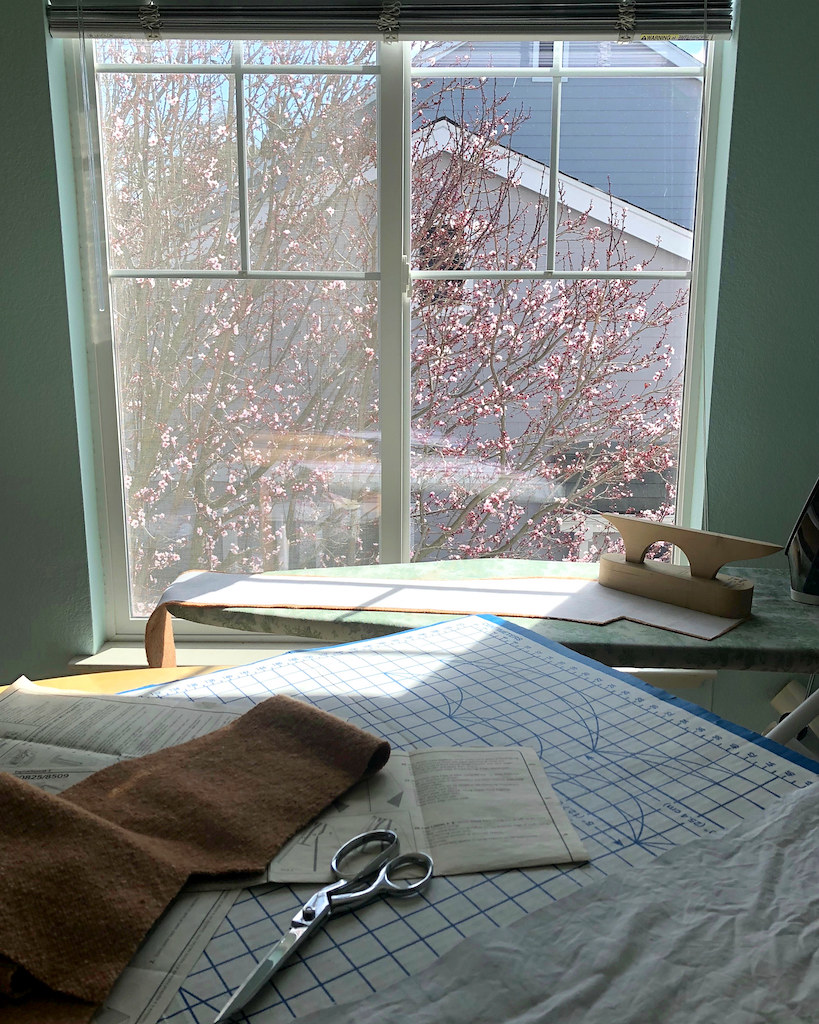
After each seam was put through the sewing machine, I lugged the growing coat to the ironing board and put my iron through its paces. The clapper came through like a champ. My iron, on the other hand, had a bit of a fit. It has always spit sporadically, but it is getting rather obnoxious as of late.
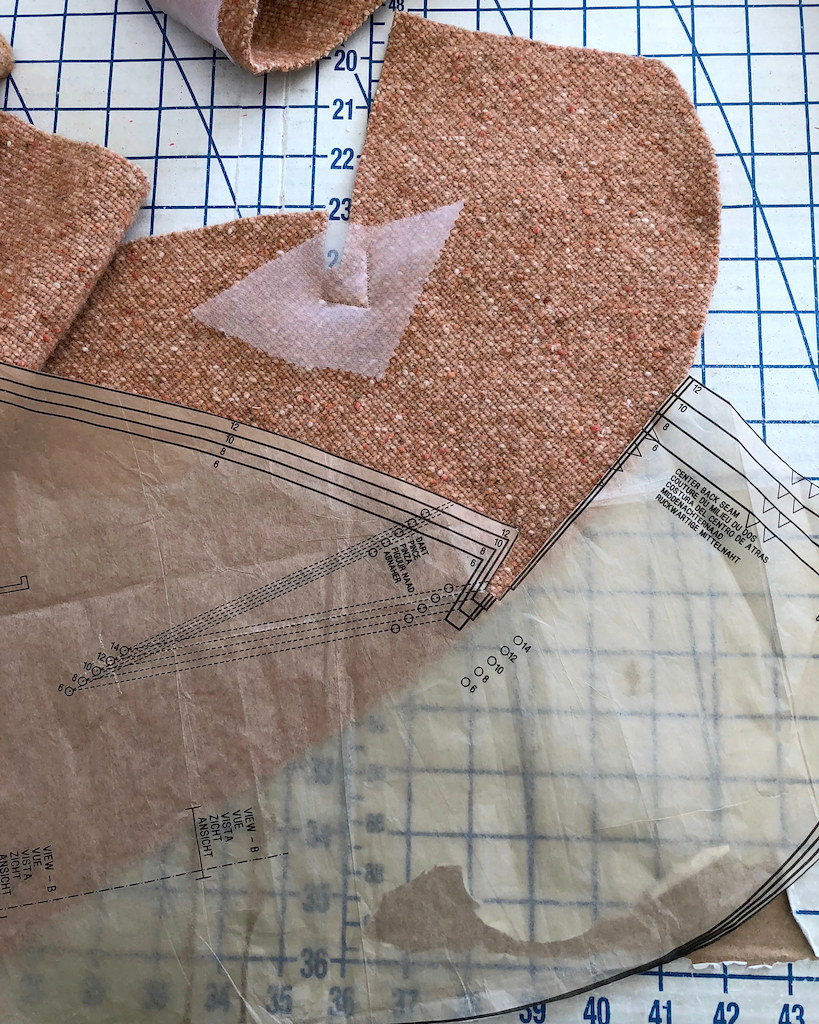
I also decided to go with an iron-on interfacing. I have not had a whole lot of luck with this stuff, but I did not think that a sew-in would work very well with this kind of wool weight.
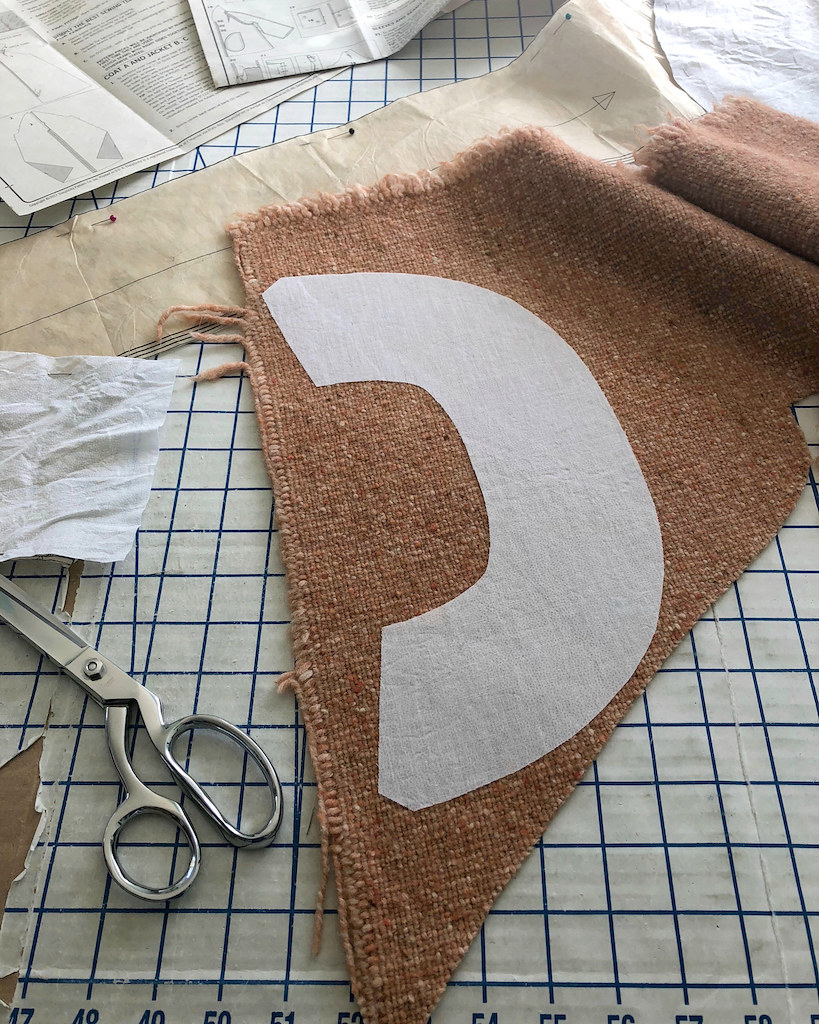
So, more time with that spitting iron. Lucky me! There is a portion of white interfacing that has been stained, but thankfully, it did not happen on the wool.
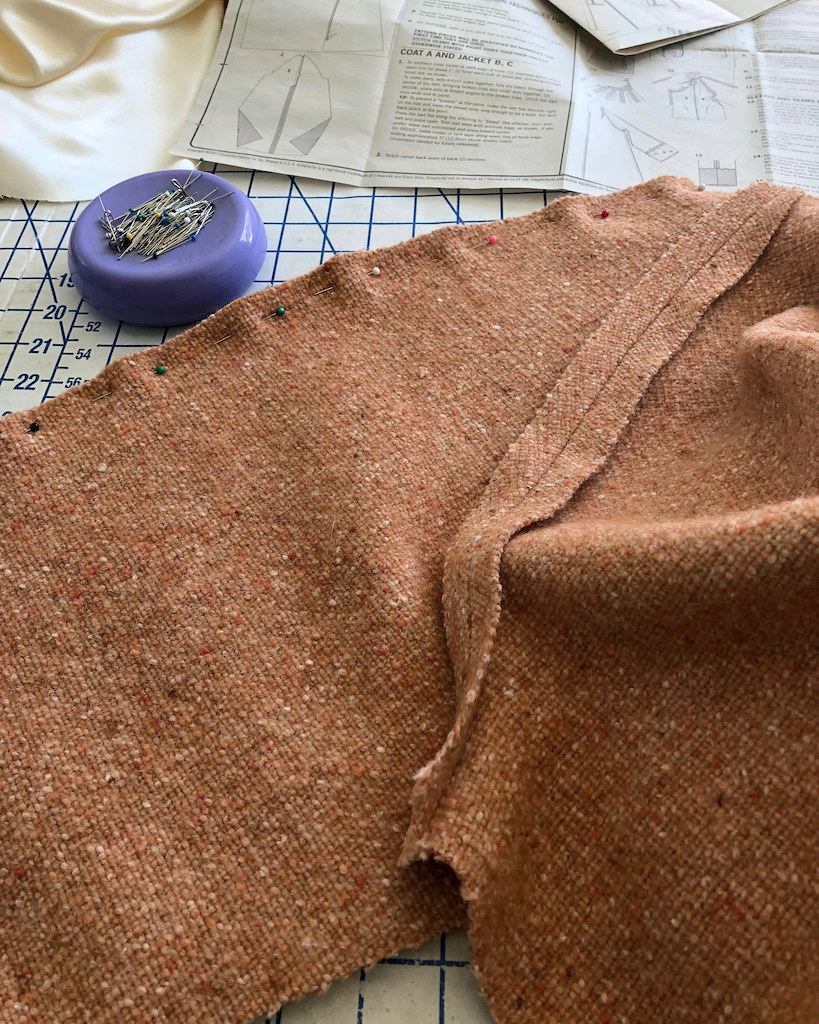
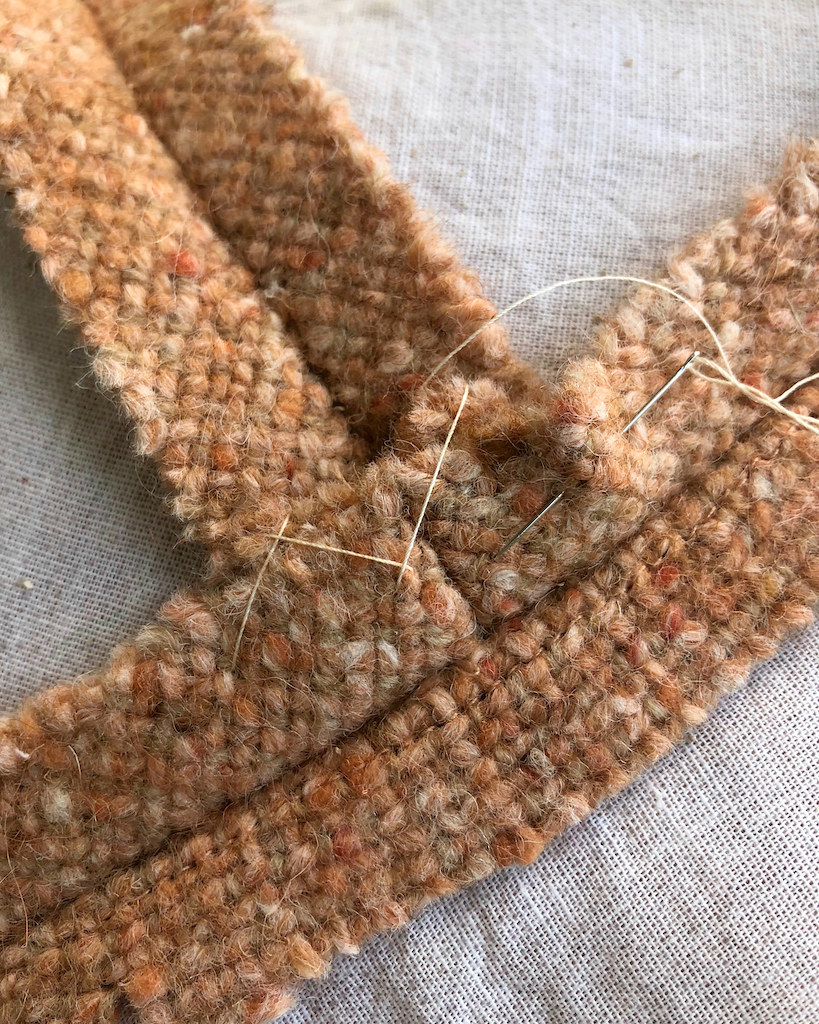
To help keep seam allowances in place, I catch-stitched edges to opposing seam allowances where possible. This, along with a bunch of steam and clappering, should keep everything nice and flat (I hope!).
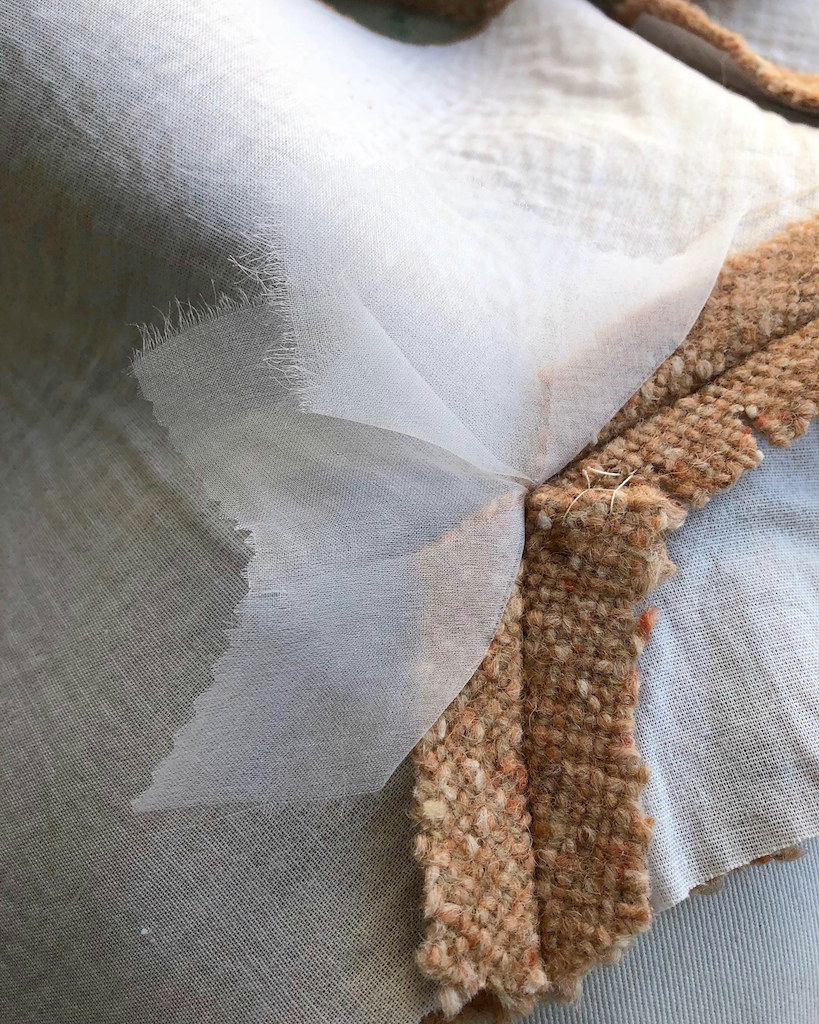
And then there are the two darts on the coat front pieces that require clipping corners. I used my trusty silk organza scraps to keep things from raveling.
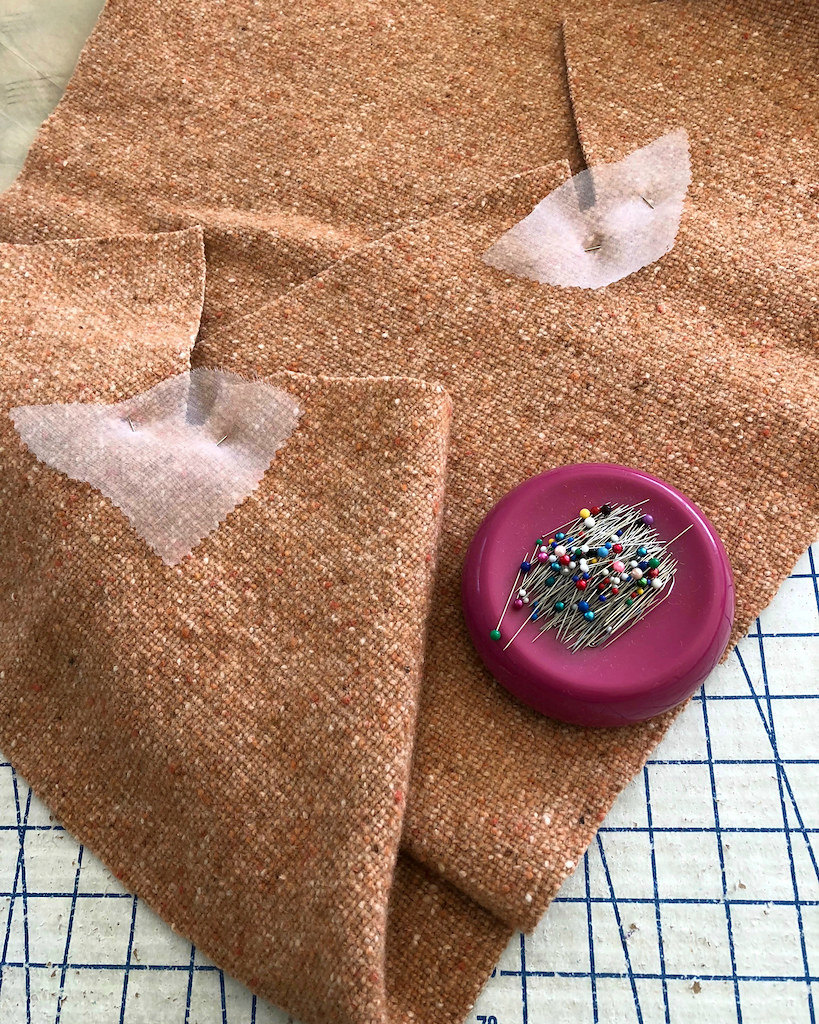
This technique continues to come in handy.
I was really worried that this thick weave was going to shred as soon as the pieces were cut out. Luckily, it is a very dense weave and does not want to come apart as much as I expected it to.
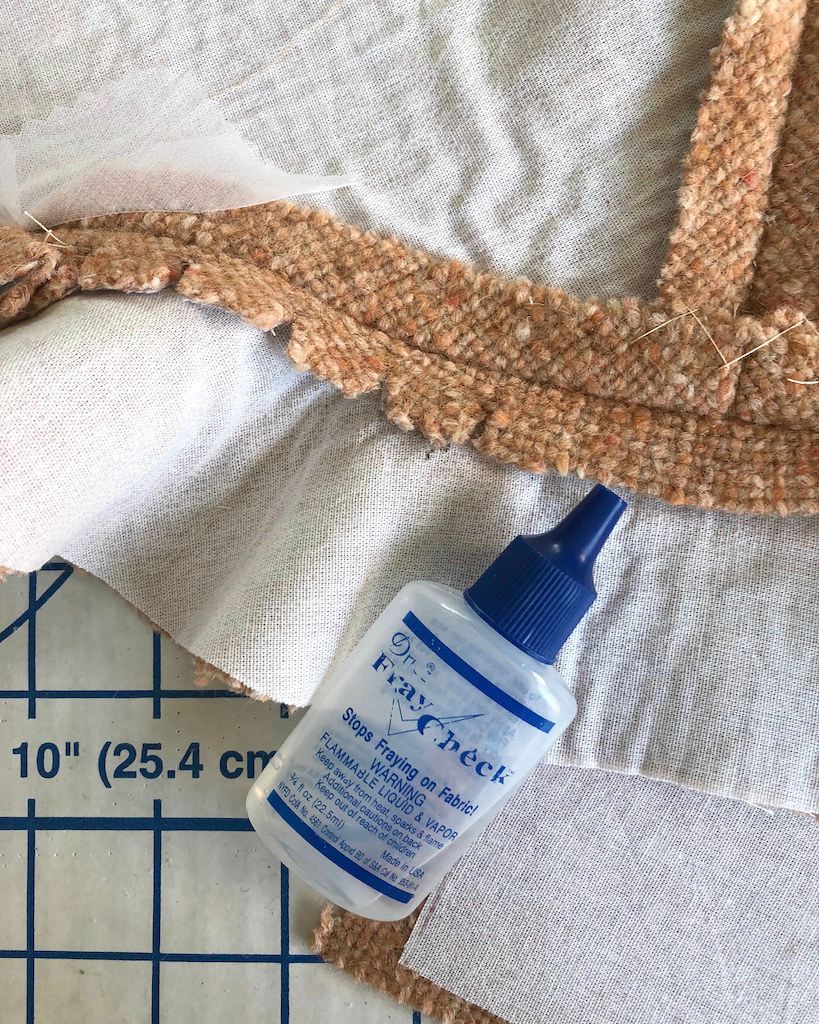
But even so, I was not going to trust a line of stay-stitching to keep a clipped corner from extending too far. I also added a dab of Fray Check to those clipped seam allowances. I just don't want the weight of the coat to pull anything to the point of exposing raw of fraying edges. Is this overkill? Probably . . . but I figured better safe than sorry.
And here my interfacing starts to bubble. Grrrr. I hate when this happens.
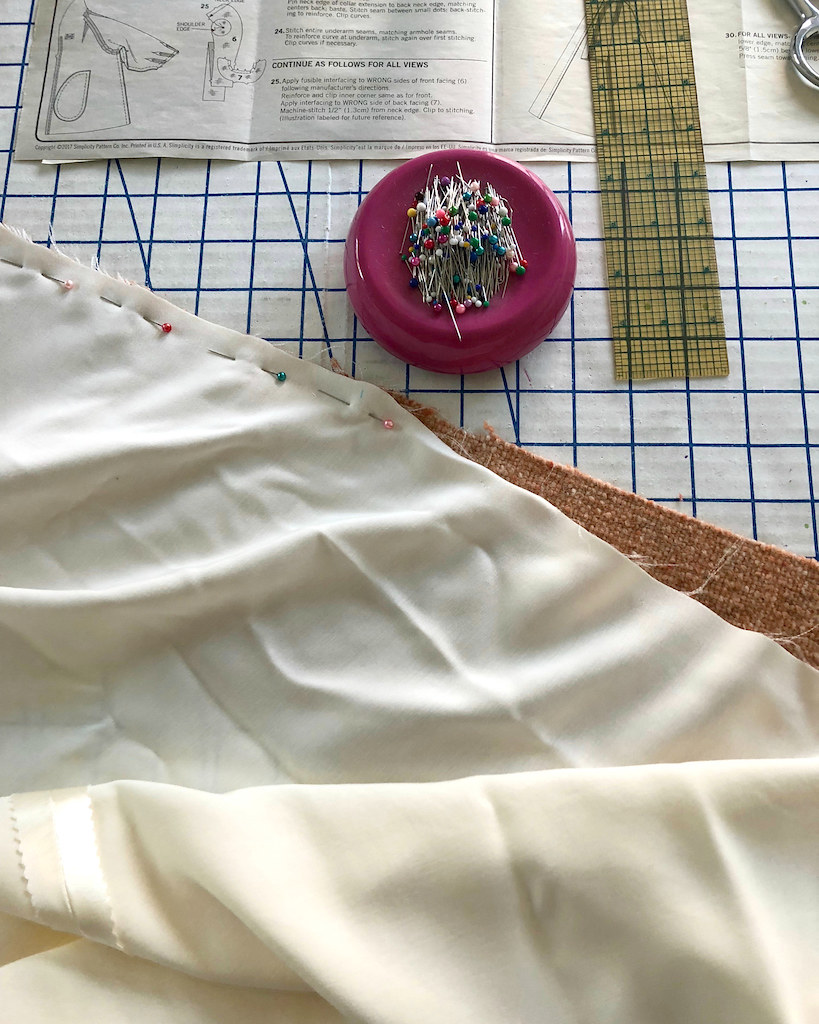
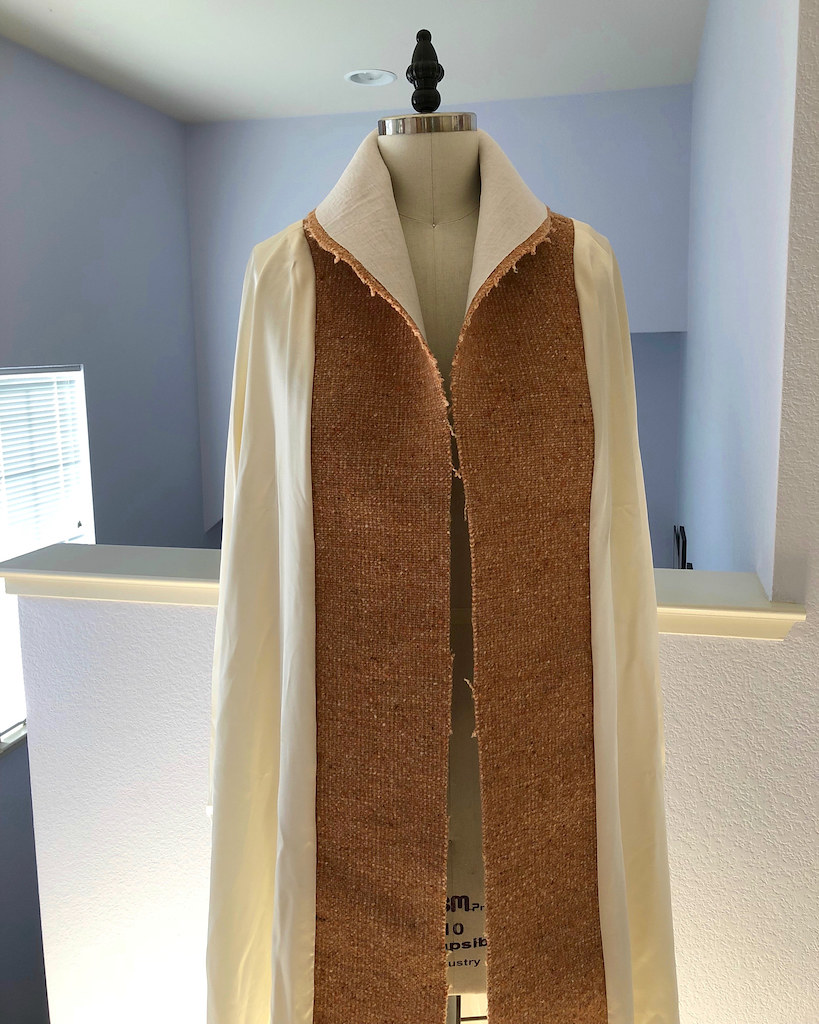
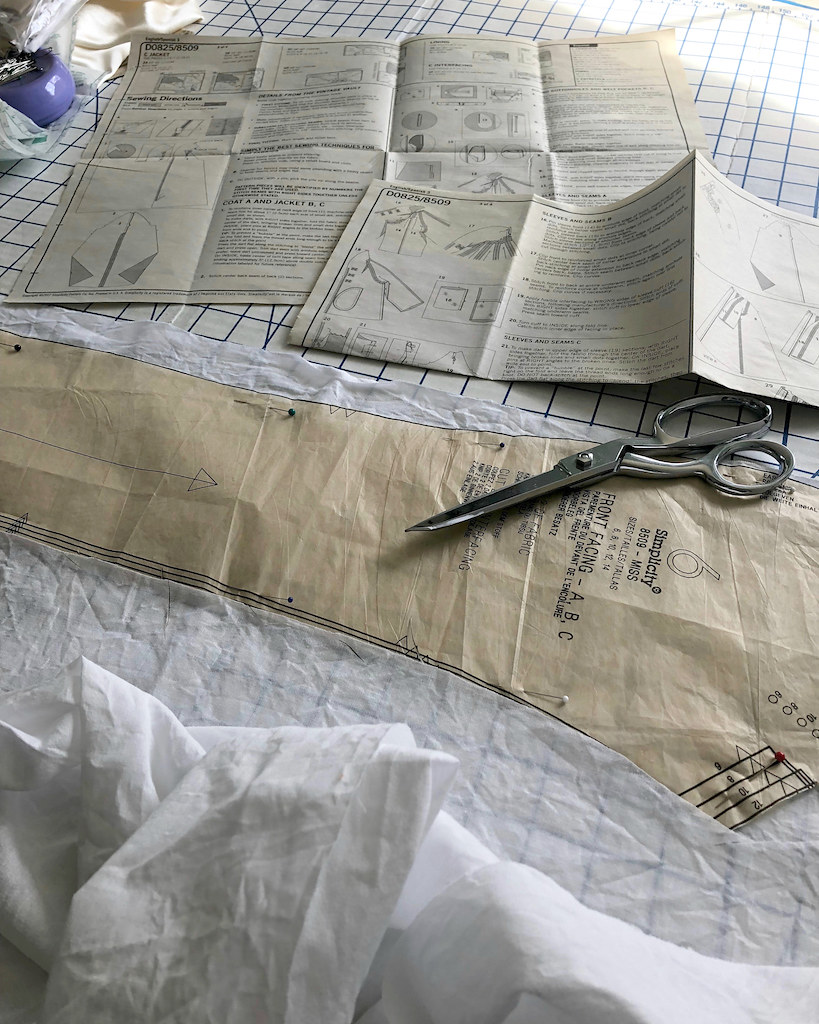
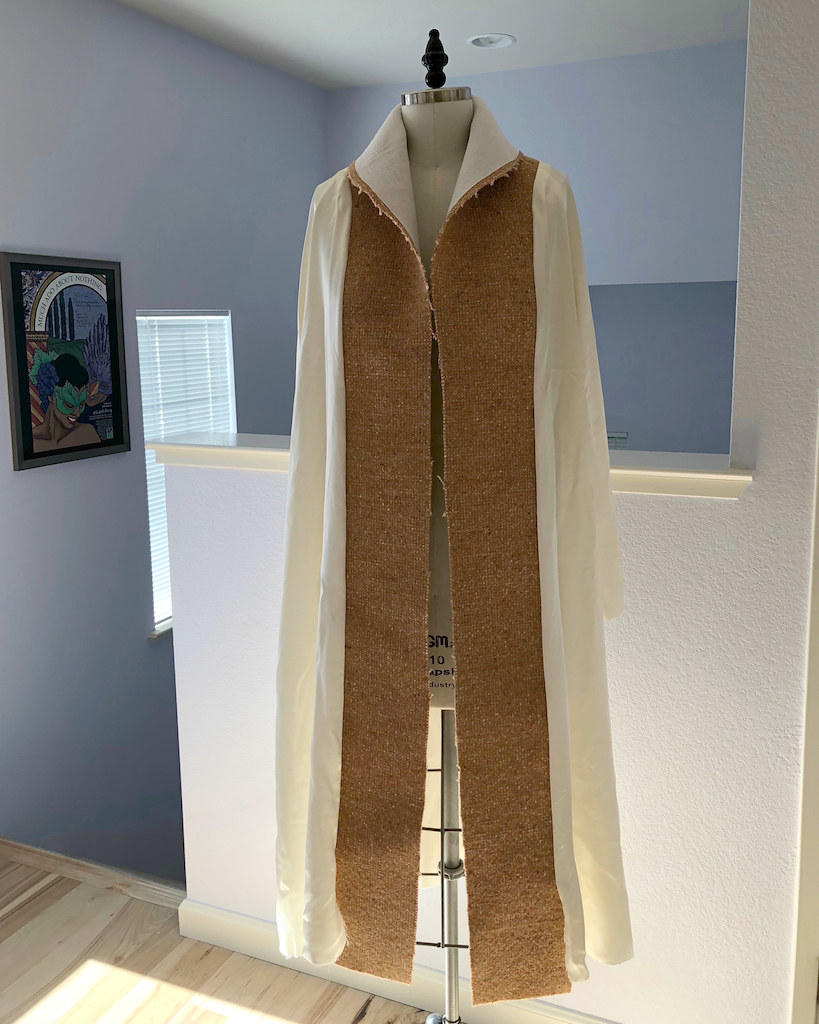
And then the lining gets attached to the facing pieces.
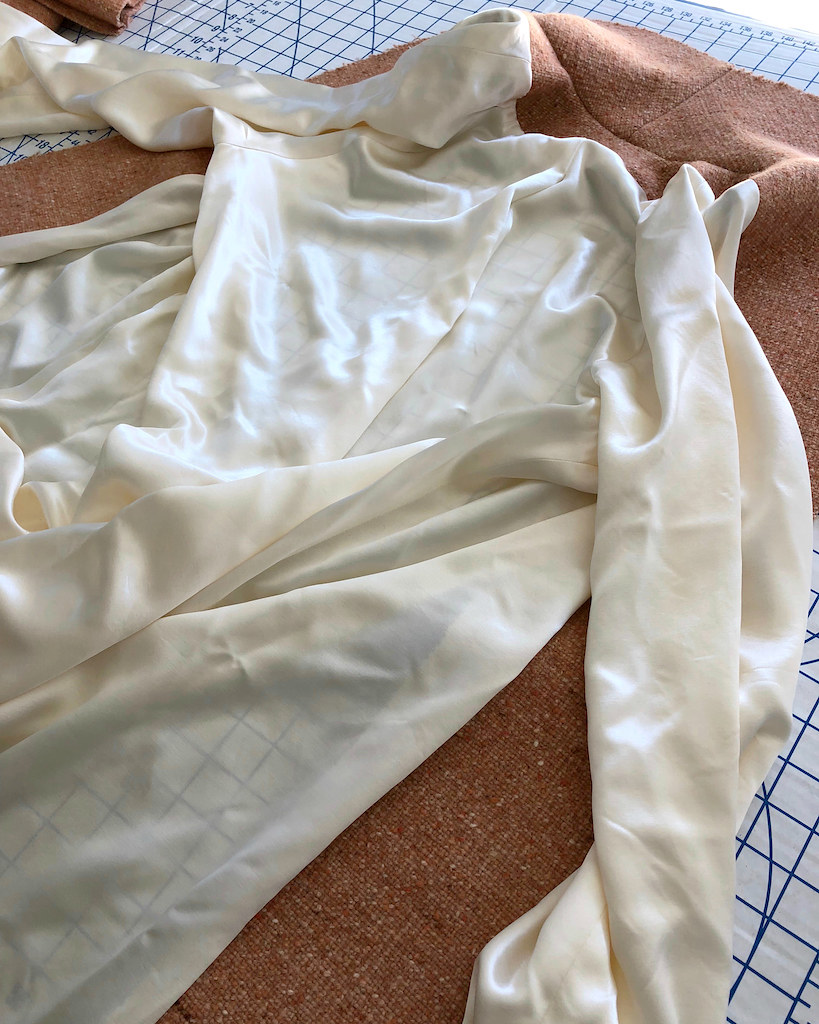
Look, it's half of a coat!
Thank you I love watching your 'makes' especially this coat. I read a hint on a sewing blog - maybe 'sewing fanatic'- to "dip" wash iron on interfacing and hang to dry. I haven't used this tip yet but it is supposed to prevent that bubbling that can occur. Sam the Aussie
ReplyDeleteYour new sewing area looks "lofty"; sunny, open, and brimming with Sew-jo.
ReplyDeleteLaura Mae, this project is fun to watch, having seen the wearable muslin you made. May we request (note: a mannered and polite tone), a side-by-side comparison when you post this completed coat?
I love the tip on catch-stitching those adjoining seams - thank you! Can't wait to see the finished coat. And I would like to politely chime in with Testosterone on the side-by-side comparison request! :-)
ReplyDeleteI eagerly await updates on this project, and your fashion review of the Academy Awards!
ReplyDelete