Thursday, April 28, 2016

Extreme Netting


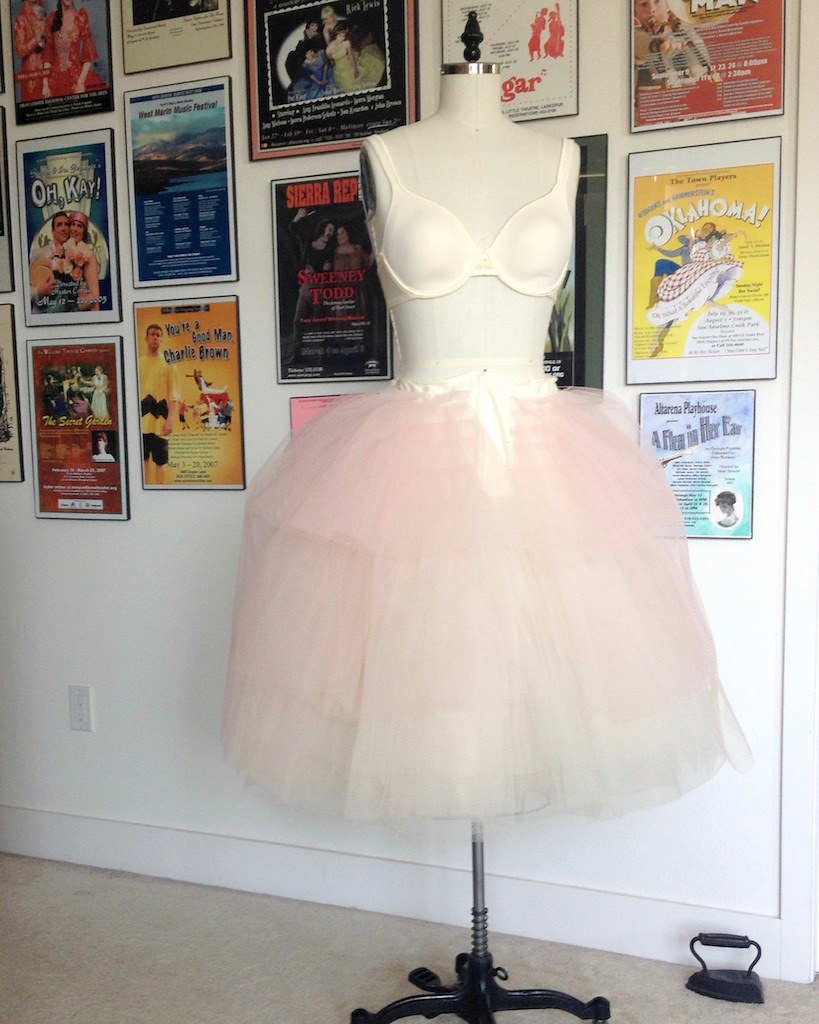
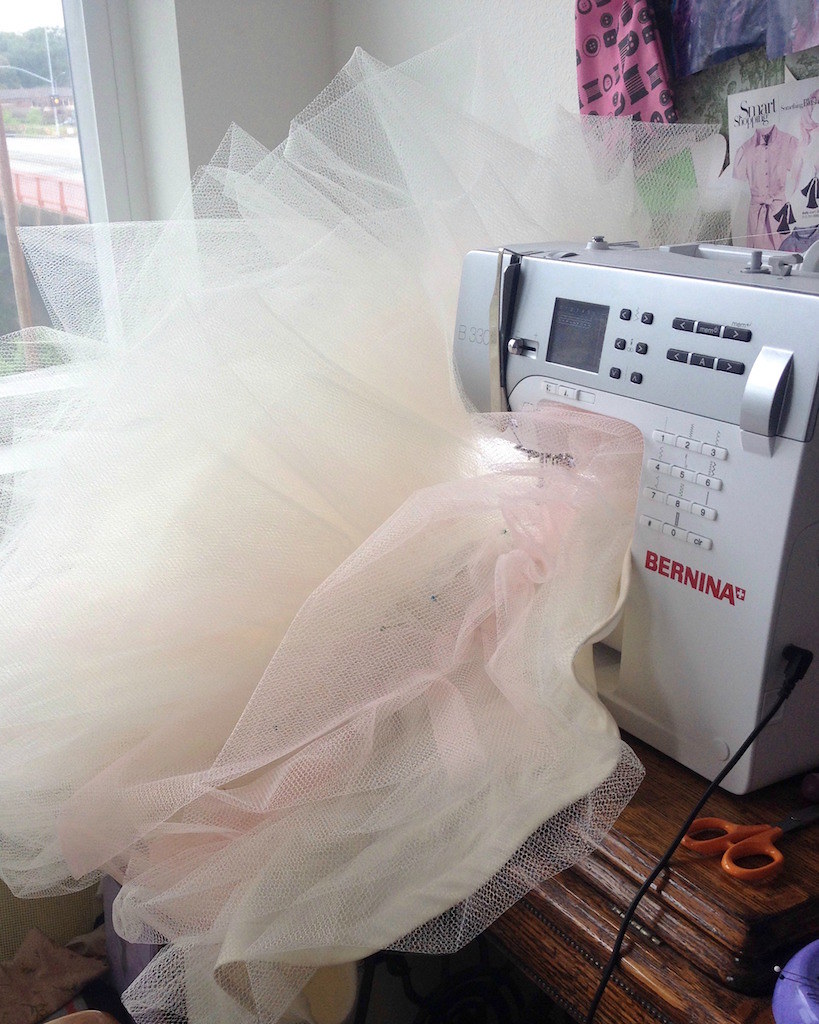
So I couldn’t leave well enough alone.  This petticoat needed to be over the top!


And so I just kept adding more and more netting . . .


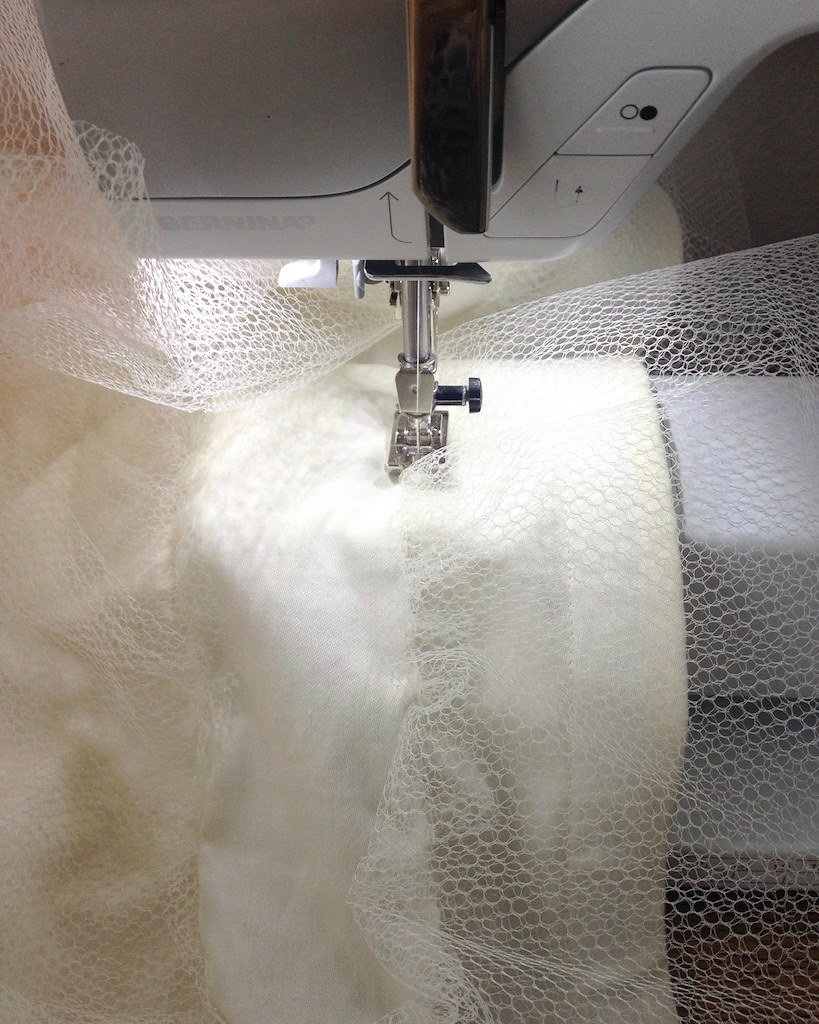
and then some more . . . 


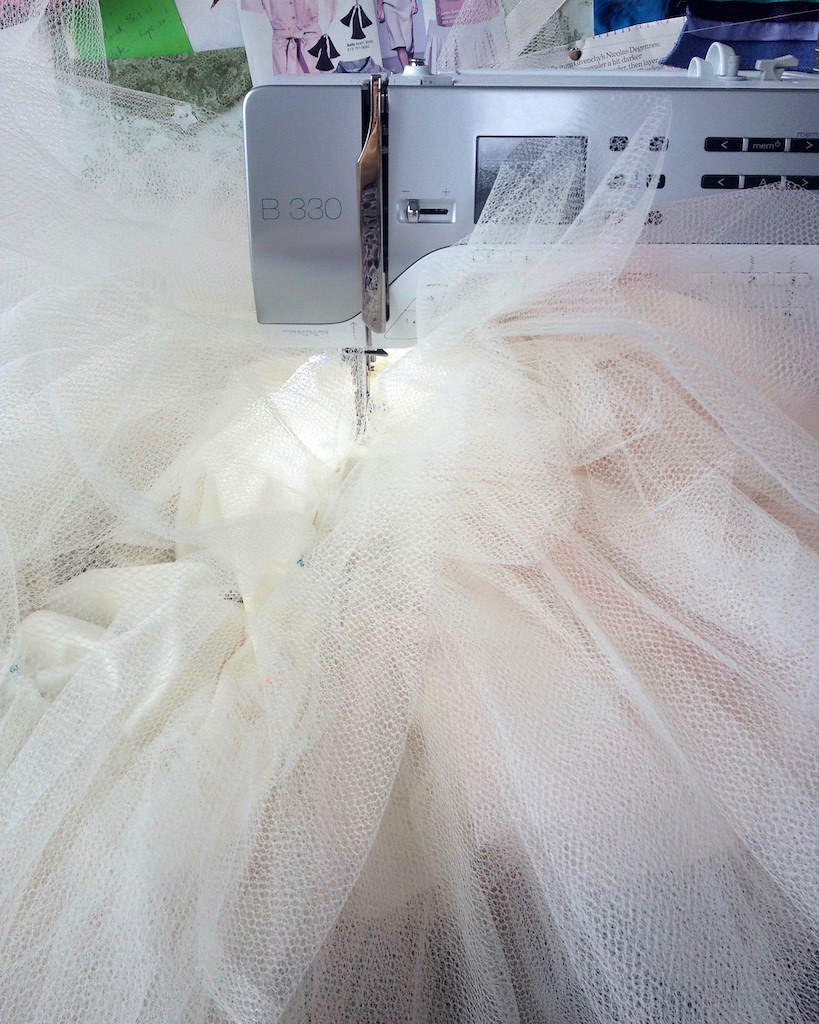
until there was a mountain of netting.


This is what 20 yards of the stuff looks like.  


I am not sure any more bulk would fit through my sewing machine!


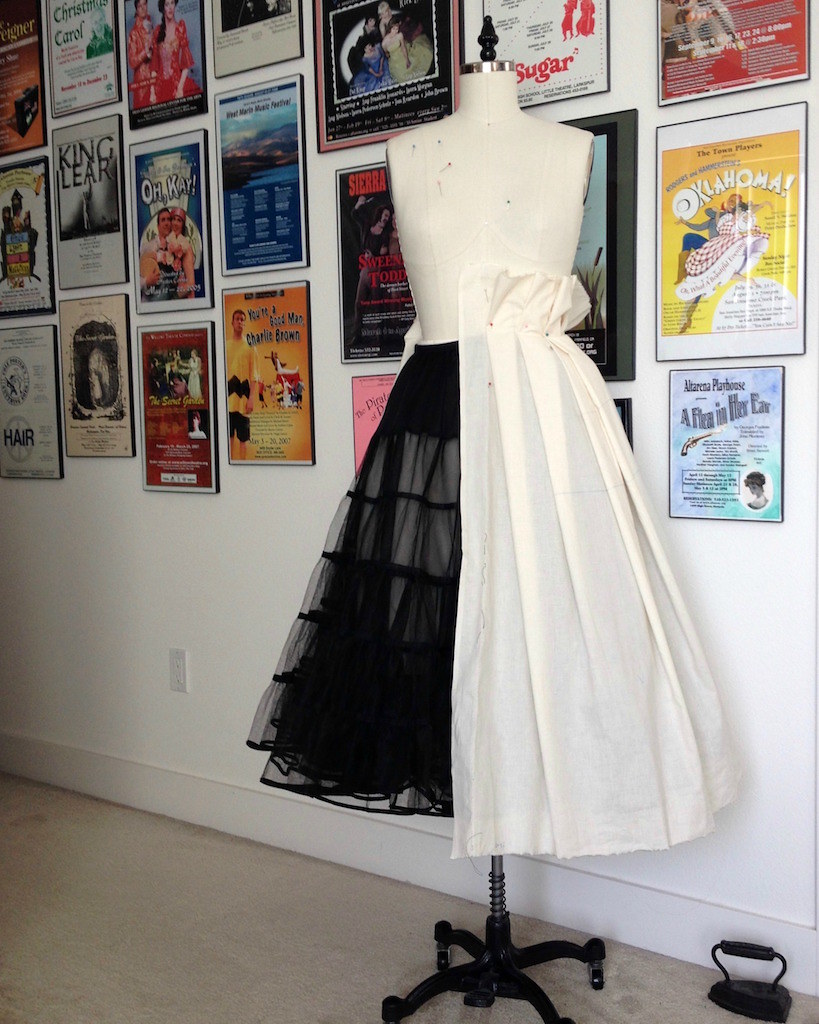
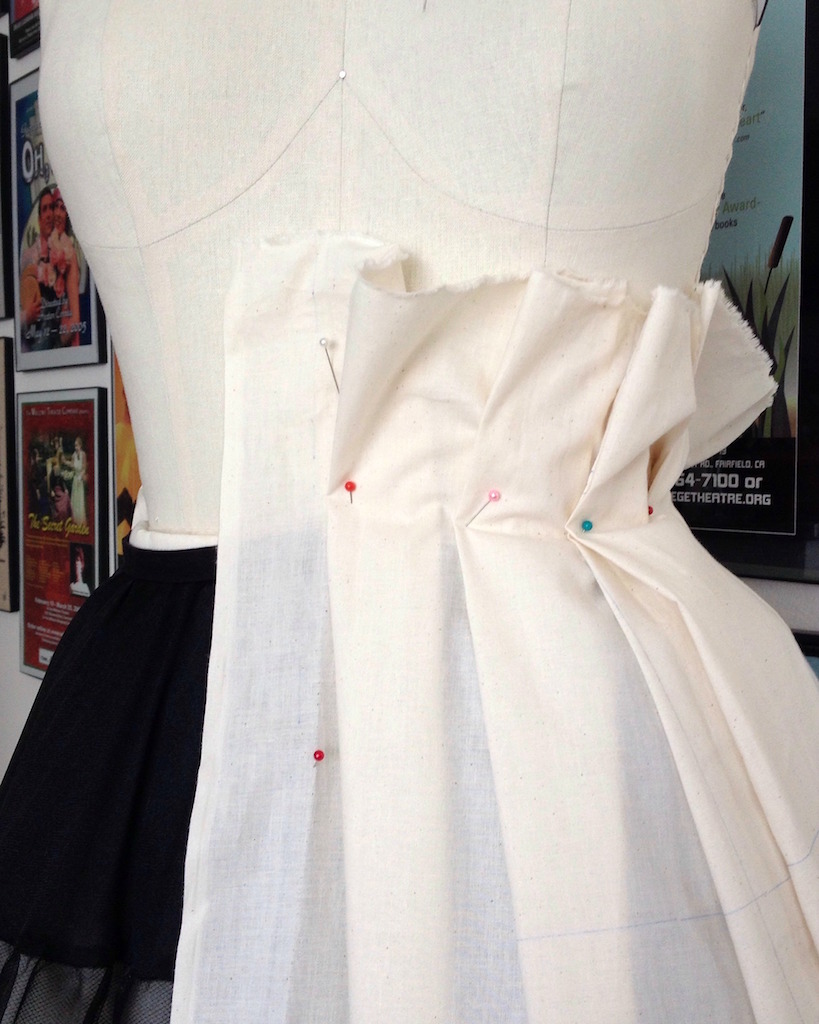
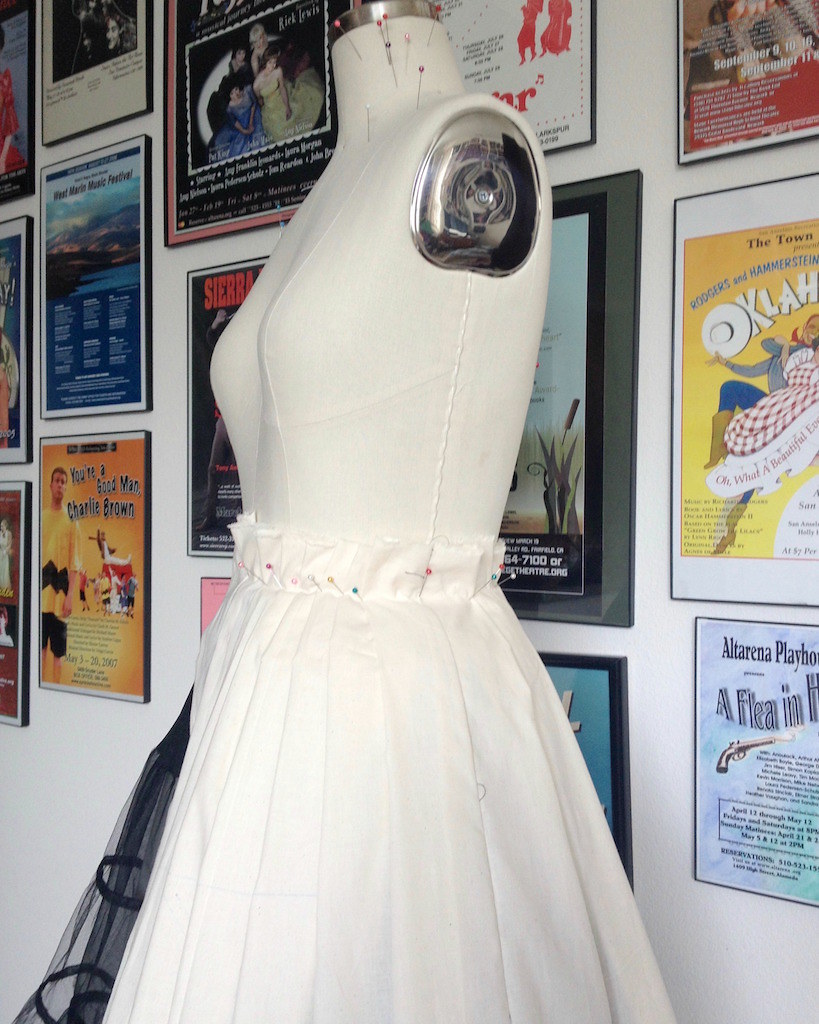
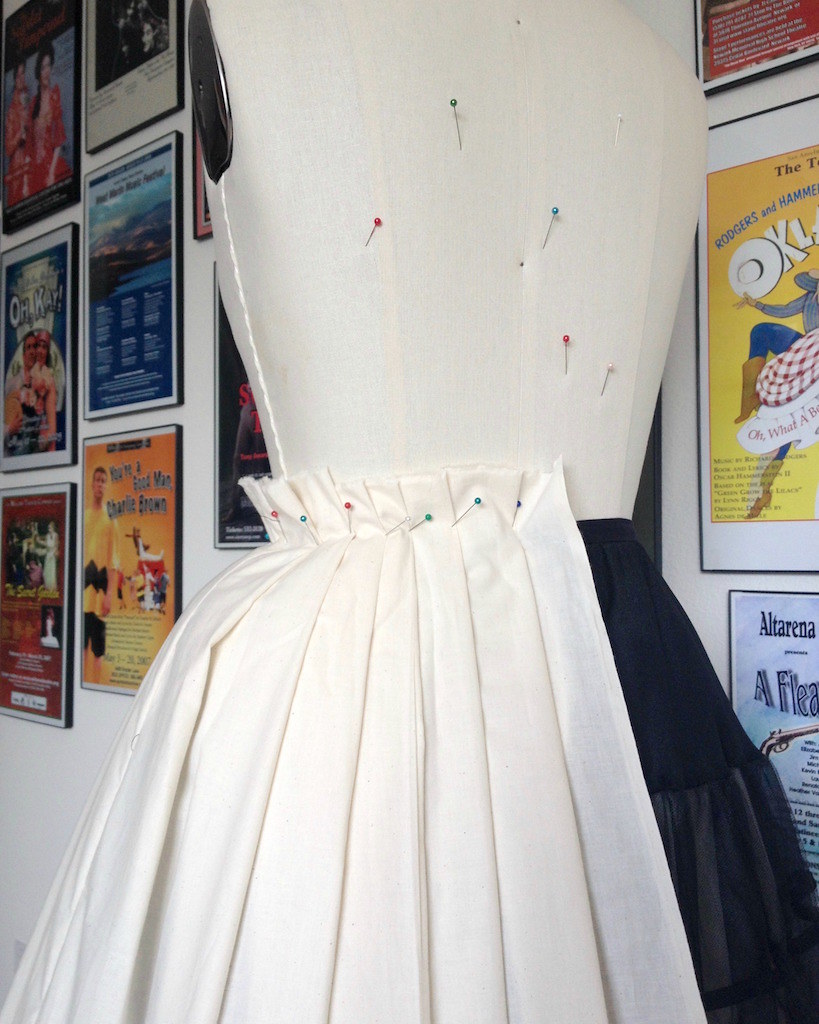
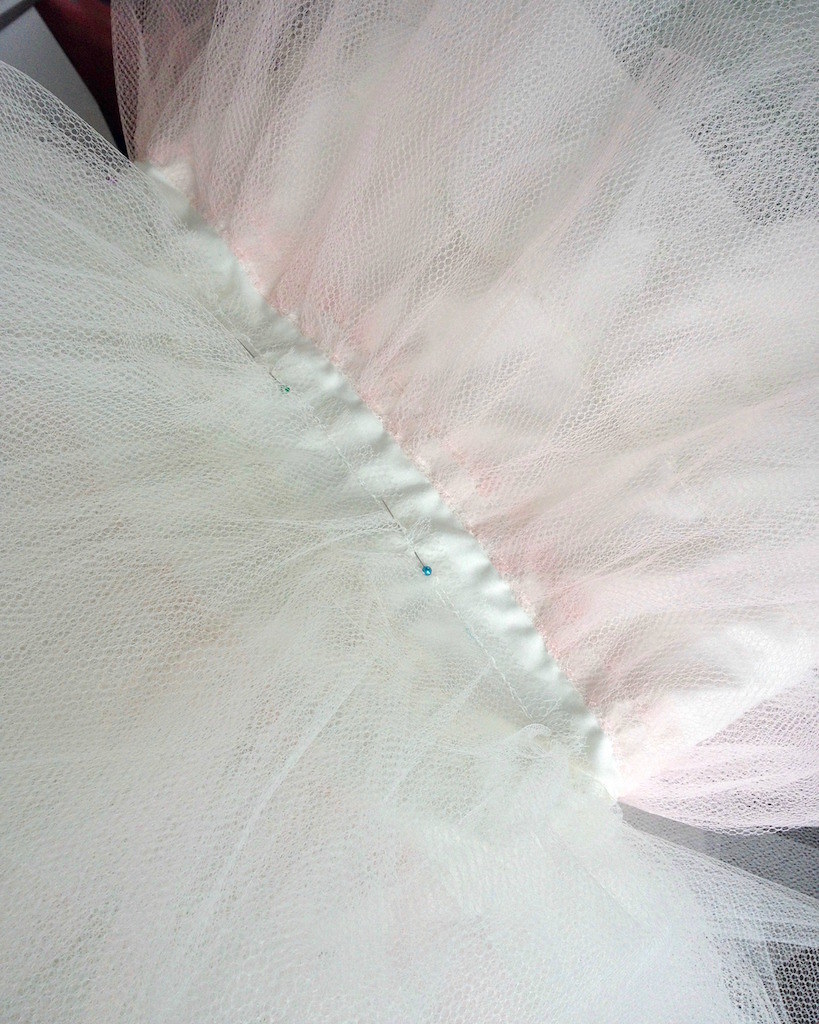
Then I hemmed the cotton lining with a one inch horsehair braid.  


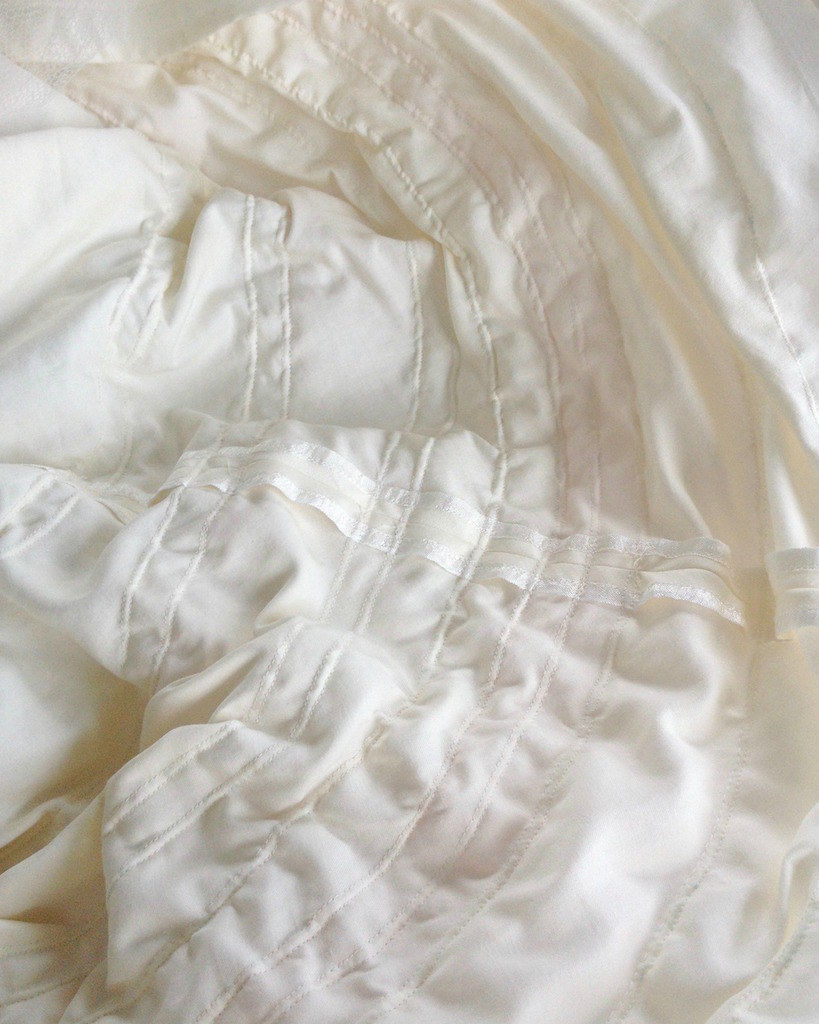
This will help to keep the cotton skirt hem from collapsing and/or getting caught between my legs when I walk.


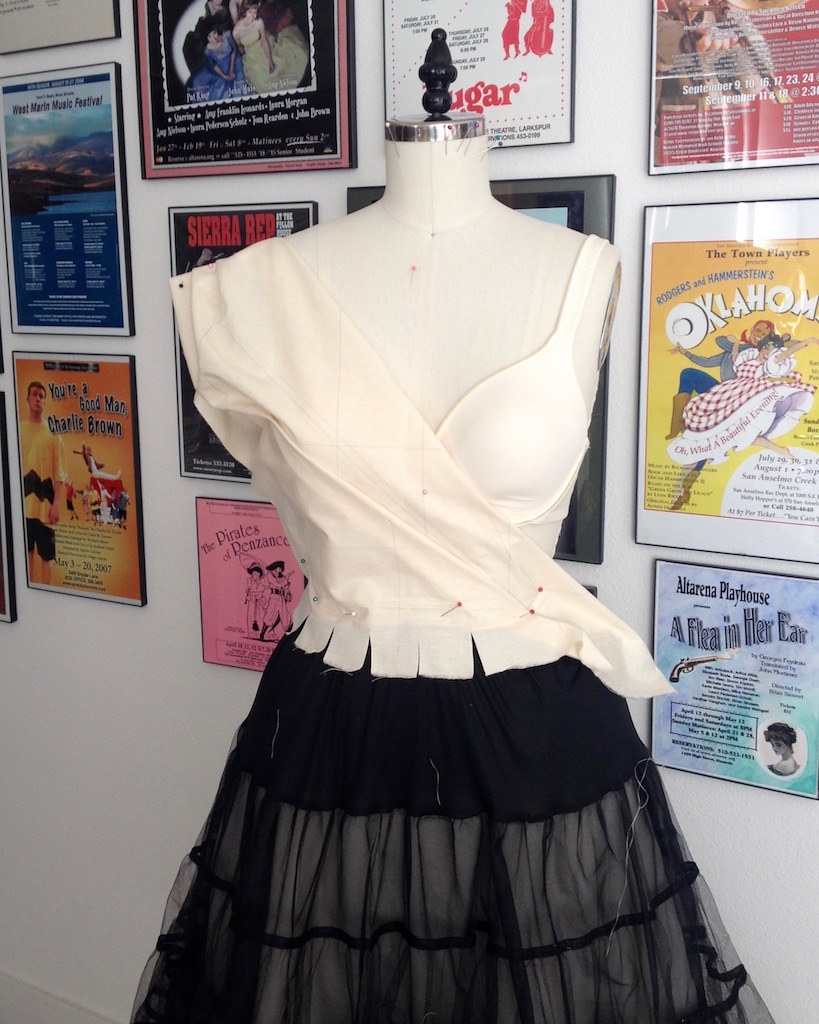
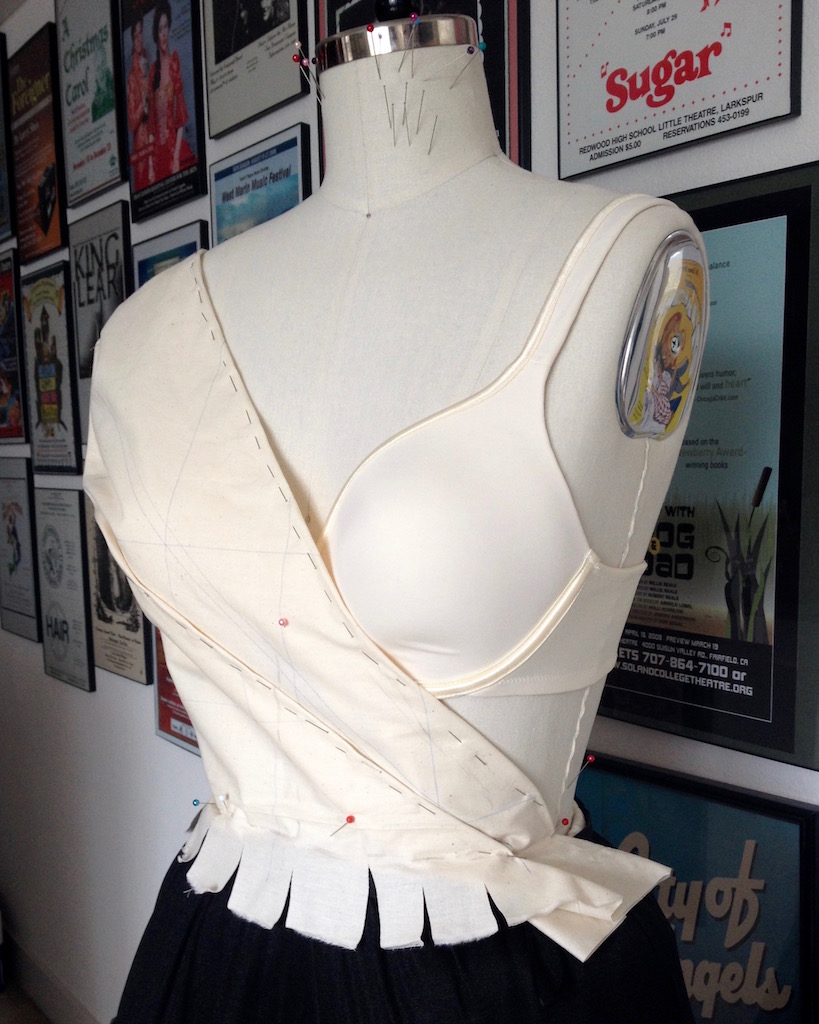
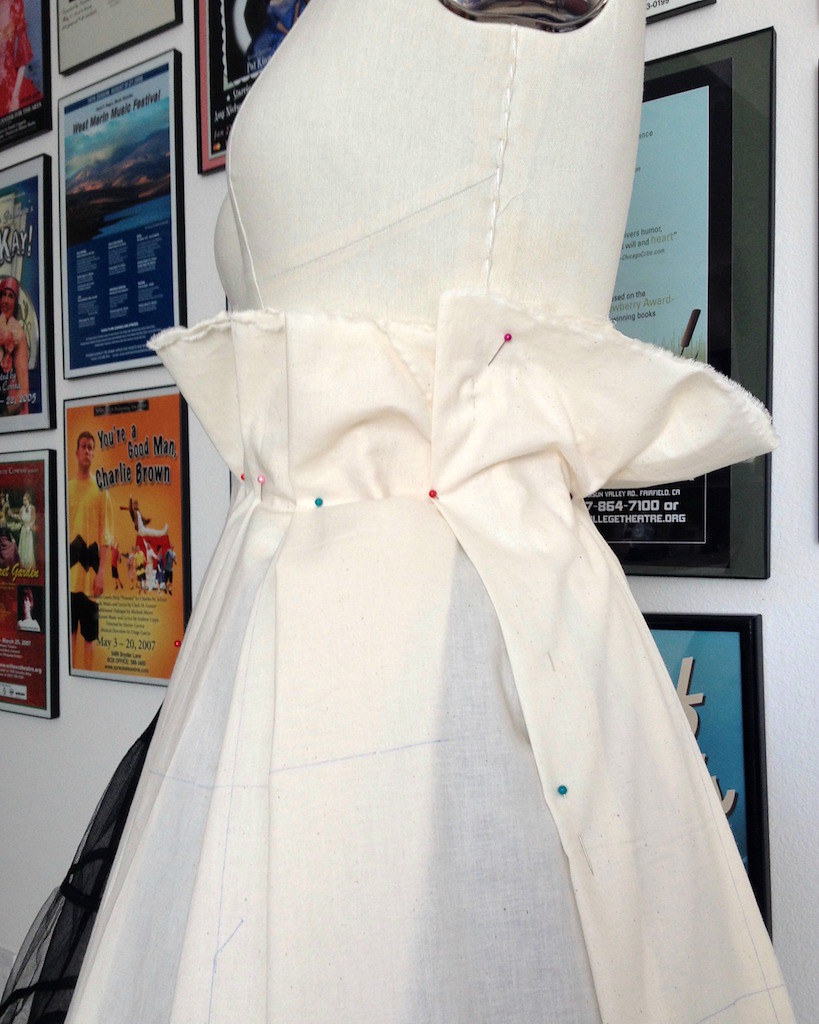
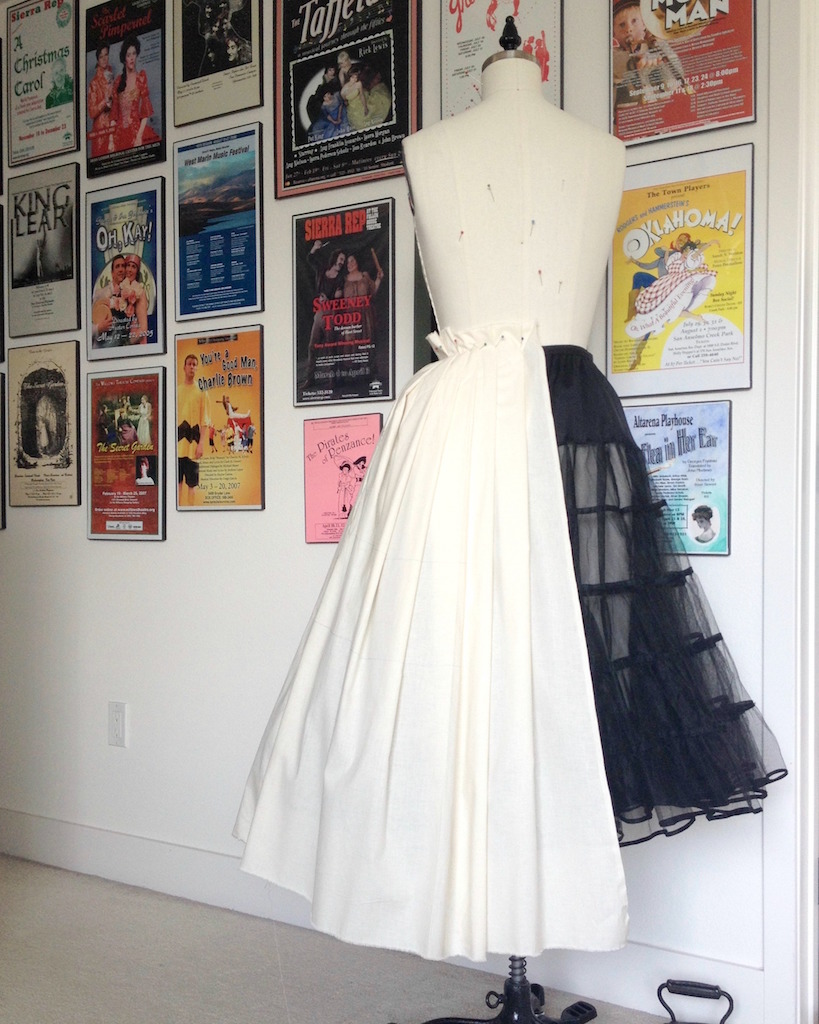
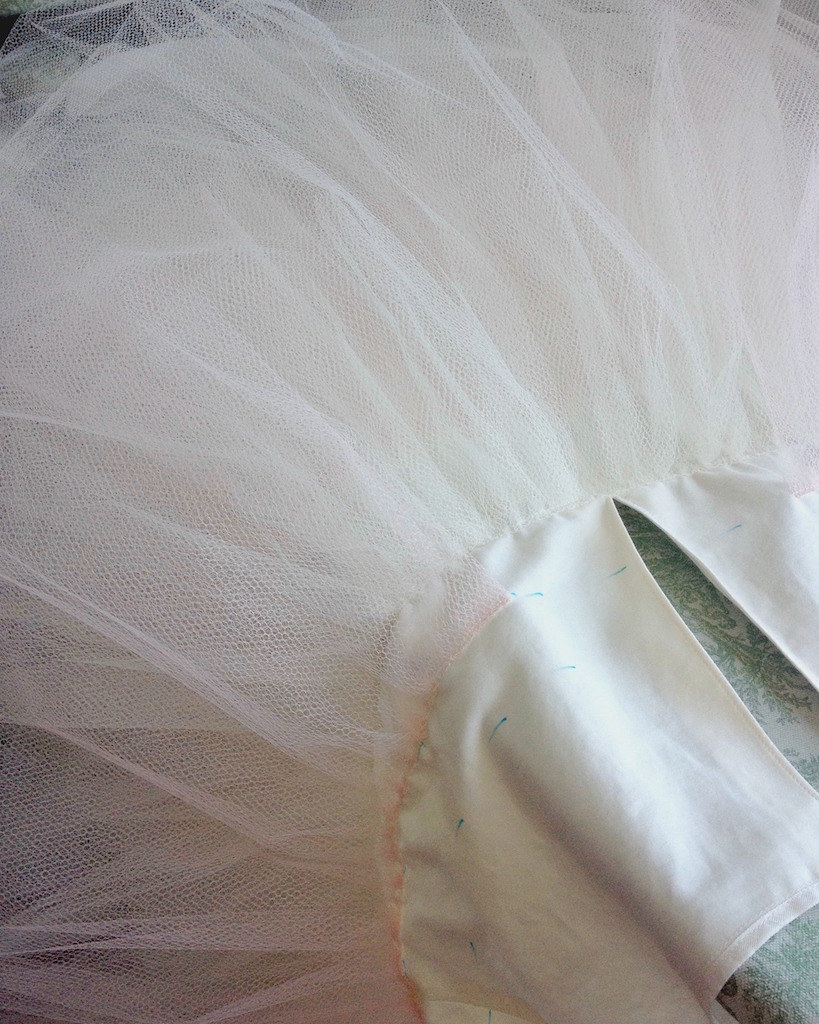
My initial thought was that I would attach this piece to the corselette.  However, with the amount of netting on this skirt, it suddenly did not seem like such a great idea.  That, and trying to pin the two together was getting on my last nerve.


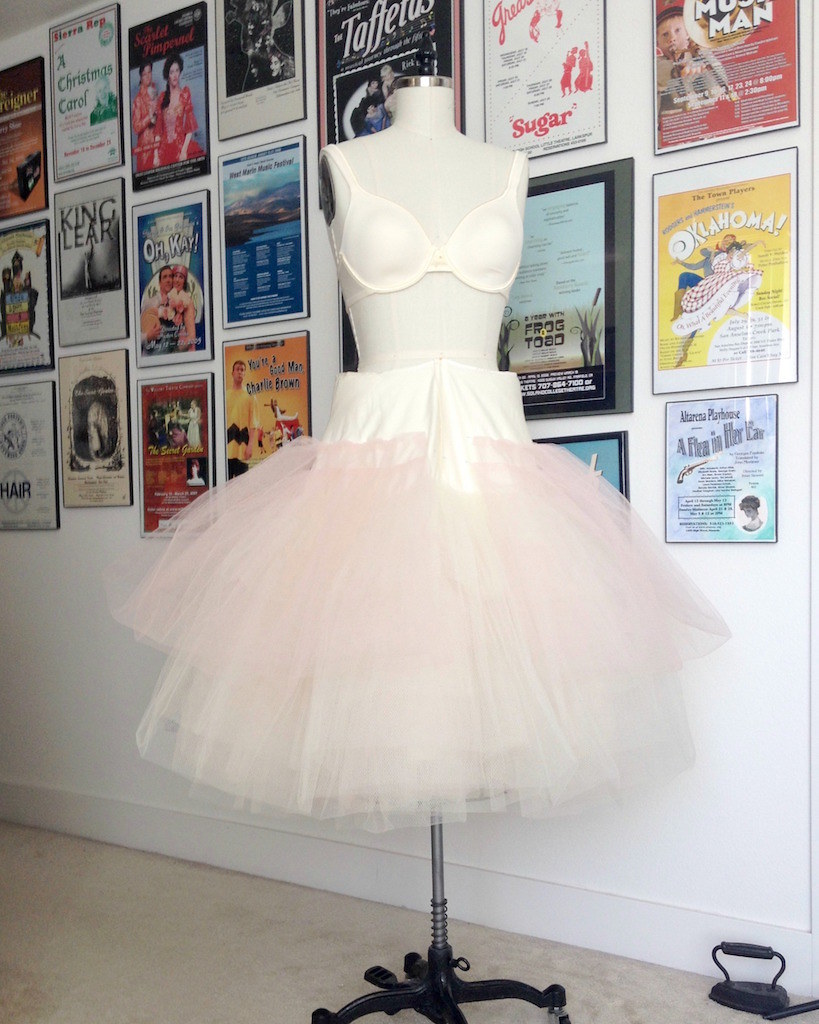
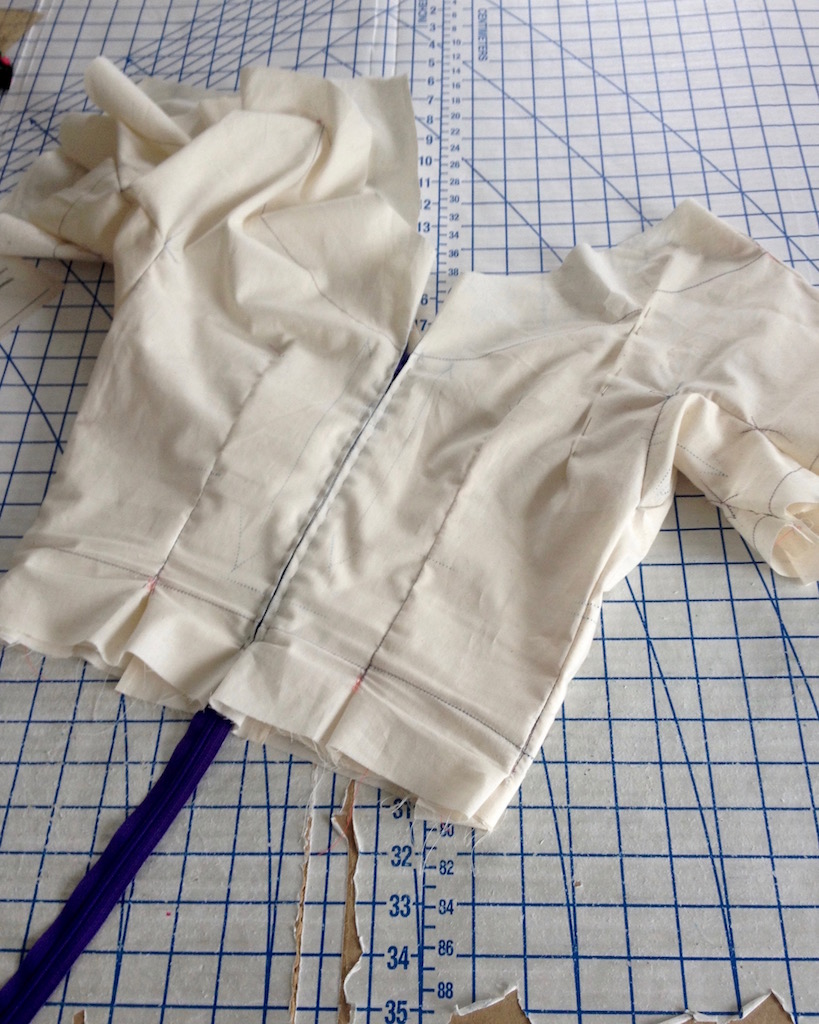
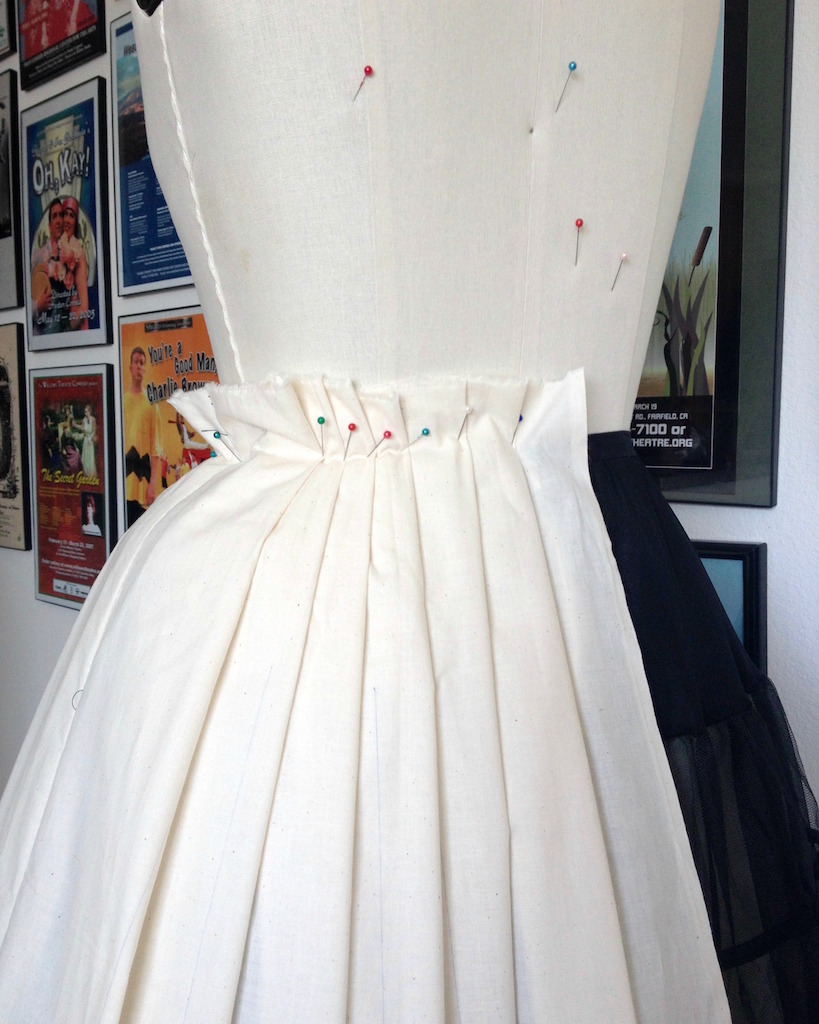
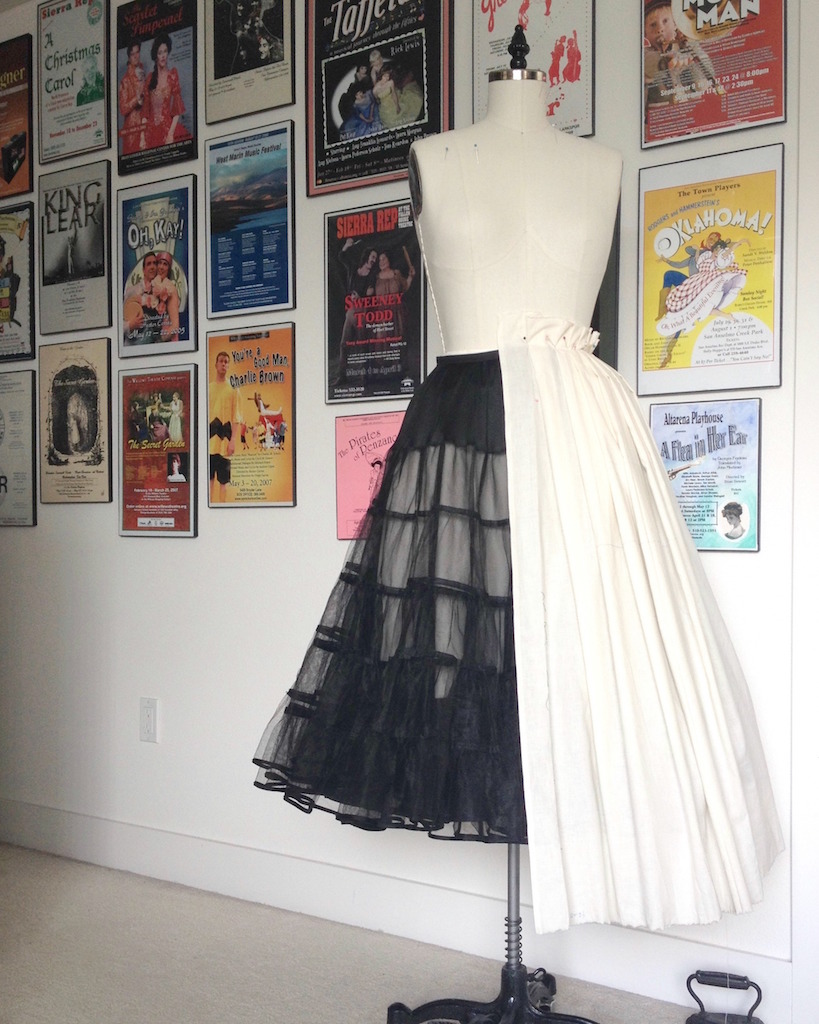
With time running out, I found some grosgrain ribbon in my stash and attached it to the cotton portion of the garment.  It is not pretty, but it does the job.  A skirt hook & bar closes the waistband just off of center front.


And that is one fluffy petticoat.  Only time will tell if I can fit in my car while wearing this!


Finalizing the Muslin


I often get impatient when working on a muslin - the actual garment is so much more interesting to stitch together, so I tend to plow right through the practice round.  But in this case, I did not have my fabric in hand because it was being printed!  So in order to perfect my design, and to make sure things were headed in the right direction, I decided to make a second muslin in a slightly crisper cotton.


After playing around with pleats for way too long, I finally settled on the skirt.  


Once everything was marked, I cut out a brand new version, this time with one set of clear markings.


That went together fairly easily.


And soon enough, I had my skirt.


It was a relief to see that things were looking good!


A second bodice was also basted together.   The sleeves were slightly wide, so I narrowed the gusset pieces which fixed that issue.


As a foundation for the bodice, I pulled out Simplicity 4070.  If I need to tack the bodice fronts in place, I will have that option.  This layer will also have one or two sets of boning channels stitched in for added stability since the neckline is going to sit very wide on the shoulders.


The sweetheart neckline of this layer required a bit of reshaping to keep it from showing, and the princess seams were taken in at the waist, but other than that, everything matched up nicely.


Then I put the two parts together, basted a zipper in, and tried the darn thing on!  For my first self-drafted garment, I am very pleased.


There is some bulk at the waistline seam, but with my fabric choice, I think everything should work okay.


After some minor alterations (the back dart did not match up with the skirt pleats, for instance), it was time to rip the whole thing apart.


Which looked something like this.


And after a quick press, I had my pattern pieces ready to go for when my fabric arrived.


Tuesday, April 19, 2016

Draping the Bodice


And now for the bodice portion of this project . . .


This was actually much easier than the skirt!


Most of the shaping was accomplished with pleats.


I cannot be sure exactly how the inspiration for this dress was drafted, but I rather like what I came up with.


So the muslin came off the dress form and was marked up.


Then I pulled out Vogue 1043 to see how the gussets on that design work.


Using tracing paper, I transferred those lines onto my bodice piece.


For the back bodice, I traced Vogue 1043 and Vogue 8701 on the same piece of muslin, doing my best to match up important points like waistlines and side seams, etc.


And then I put the whole thing together.


My first attempt was not terrible, but there were a few things that needed to be fixed.


The only major problem was that the back neckline was too wide.  And I also had to straighten out the side seam so it sits straight on the body.  (When I look at the corrections on the flat pattern, the errors are rather obvious, but that did not keep me from missing them the first time around.)


And then, because all of those lines were starting to make my eyes cross, I made a second version.


This actually works quite well, so I am going to rip out the zipper, attach the skirt to the bodice, and hope for the best!

Saturday, April 16, 2016

One dress form, some muslin yardage, and a whole lot of pins . . .

After quite a few years sewing, I am quite comfortable working with a pattern, but draping is a whole other story.  While the idea of creating my own designs by manipulating fabric on a dress form is appealing, it just seems like so much work.  Another issue is the fact that my body is not shaped exactly like my dress form - but a full skirt seemed like a good place to start.


My first thought was to get an idea of how far three yards of fabric would stretch.  Would I be happy with the hem circumference from that amount of yardage?  I dressed my form with a full petticoat, pinned a couple of shoulder pads in place to fill out the hips, and jumped right in.


From looking at the images of the Dior dress, it is clear to me that the skirt is not a circle skirt.  Instead, the hemline looks relatively level with the cross grain of the fabric.  I also think I spy a seamline a few inches in from the left side where the rose repeat is slightly off.


Working with all that fabric proved to be rather frustrating.  There is a reason draping books tell you to work with half of a pattern piece!  And some attempts looked better than others. 


What I discovered was that I was not happy with the fullness created by a mere three yards of fabric, and that even with only 126” to contend with, pleating that much fabric down to a waistband measurement was a real challenge.  Given my choice to work with four yards, that means I have to take 168” and pleat it down to match the bodice waist.  (And no, cartridge pleats are not an option here, though I certainly can see how that would be a very efficient way to work!)


This dress will have a center back opening, so I ended up with one 42” wide piece at center front, two on either side, and a third which is cut in half to create a center back seam.


Then it was back to the dress form.


I ended up shaping the fabric pieces, maintaining the full width at the hem, and cutting away from the waistline slightly.  Okay, now that I think about it, it is rather obvious that a straight rectangle was going to be problematic, but mistakes are how you learn, right?


And eventually I came up with a version that I think will work.


I made a few marks at the waistline and along the edges of each pleat and removed the fabric from the dress form.


A few more notes were scribbled on the fabric to help me remember how to sew this all back together.  And then it was time for the bodice!