One of my favorite wardrobe pieces is my red wool circle skirt. When it is weather appropriate, I take every opportunity I can to wear the darn thing. Of course, it's not exactly Summer heat friendly.
I have been meaning to make a lighter weight version for the warmer months ever since I made the wool one. Of course, finding solid colored fabrics that I like is an issue. But add in a bit of texture (enter this cotton piqué from Mood Fabrics) and it becomes more palatable to me.
At some point as I was dreaming up a cotton version of a circle skirt, I came across this vintage pattern. Isn't she marvelous?!
Those style lines look familiar, right? The first thing that caught my eye was that shaped waistband that comes to a point at center front. That was a super easy alteration.
The back panels were stitched together.
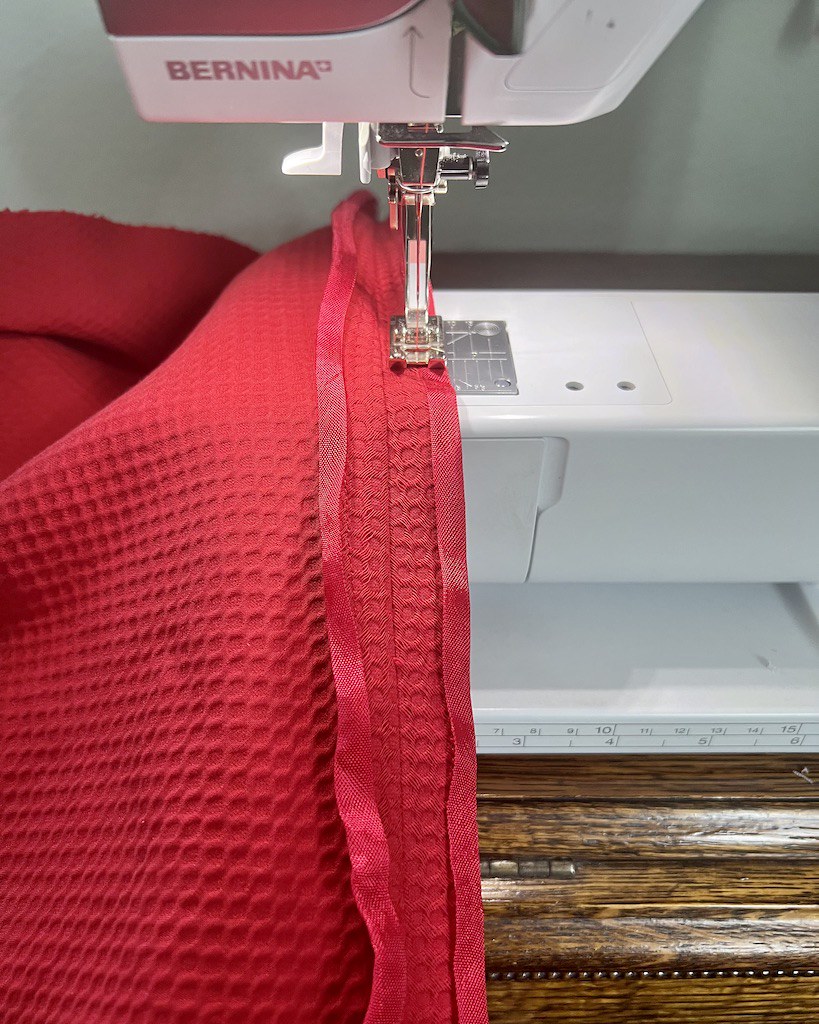
Any guesses as to how I finished my raw edges? If you have been around these parts for any length of time, I'm sure you have heard me extol the virtues of rayon seam binding. And I happened to have the perfect red on hand.
A lapped zipper was installed at center back.
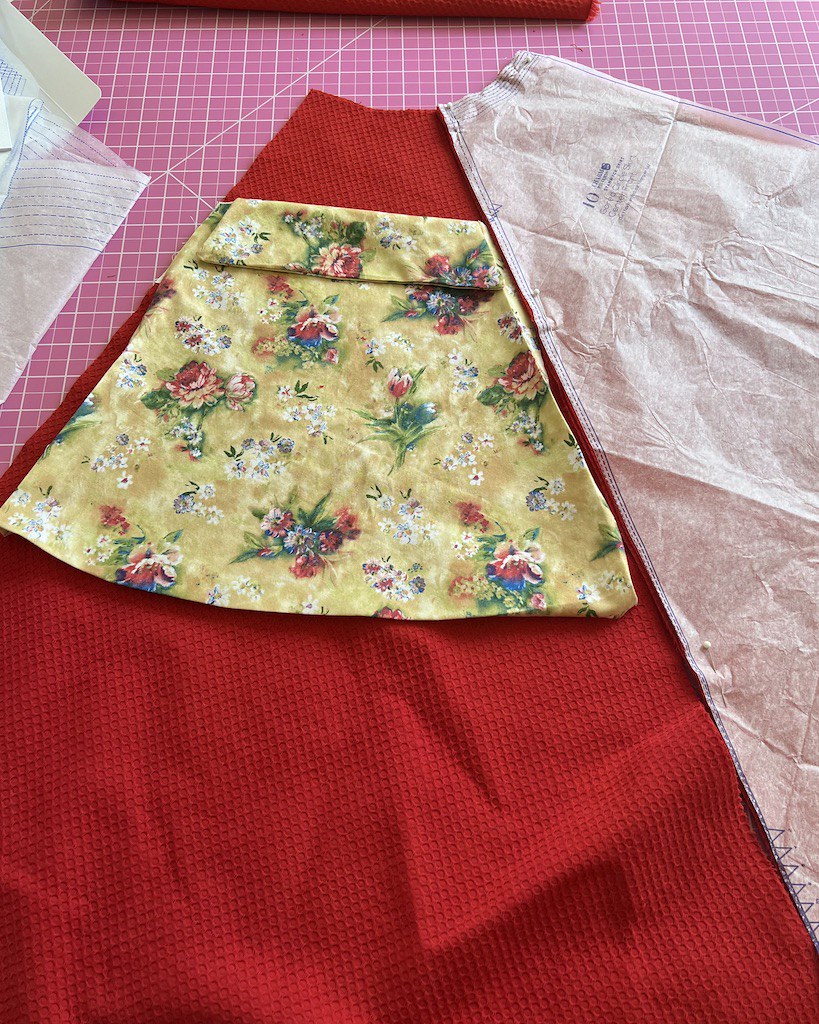
And then it was time to decide on my pockets. The drafted Stanwyck pockets are really oversized and not exactly what I wanted. My search for a vintage circle skirt with oversized pockets brought me to that fabulous vintage pattern, which was exactly the look that I wanted.
Now armed with an image of what is perhaps the perfect circle skirt/oversized pocket combo, I had some work to do.
I mocked up a version of my newly drafted pocket in some scrap fabric because I only had scraps of fabric left with no room for errors.
Once I was happy with the size, I made myself a pattern and cut out two pockets and two facings for the folding portion of the pocket.
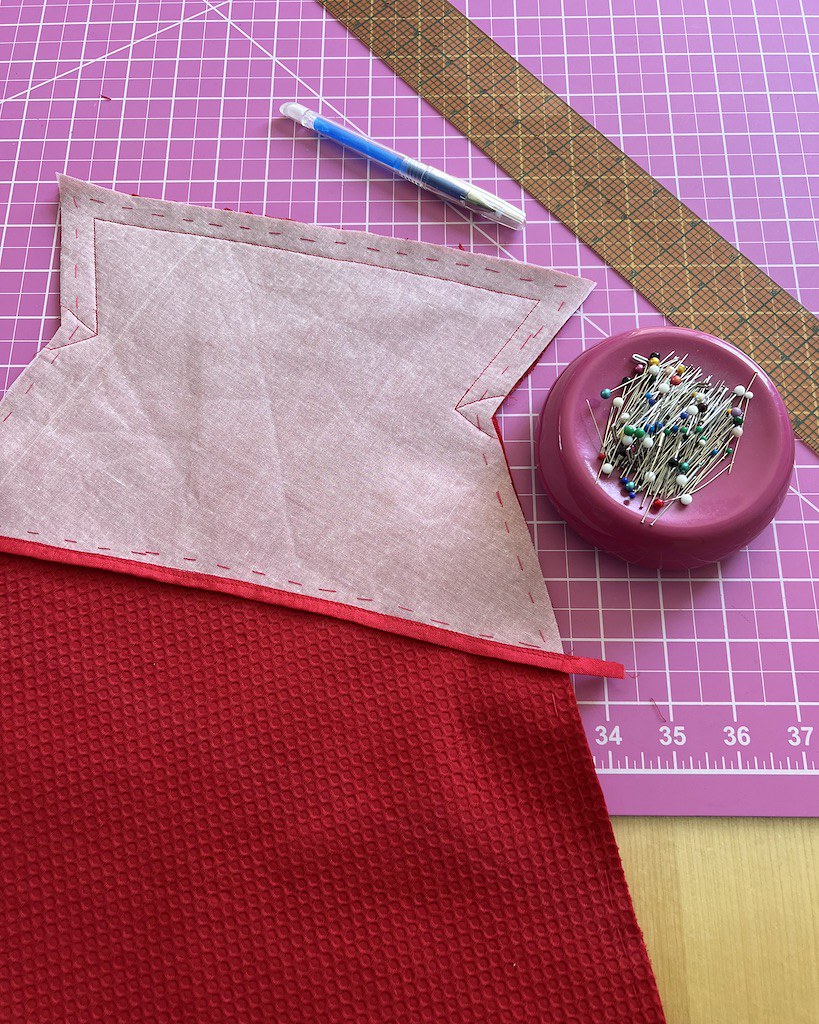
The facing finishes the upper edge, and the two side seams are incorporated into the seamlines, but I needed to finish the bottom of the pocket.
This cotton has a lovely drape, so I thought that it would be a good idea to add a bit of stability to the folded portion of the pocket.
I pondered the idea of adding an underlining to the entire pocket, but decided it would mess with the beautiful drape of the circle skirt, so I left it out.
Here is the way I finished the flap while leaving myself two side edges that were applied to the skirt side front pieces.
It worked out very nicely.
I would say that nine times out of ten, I look at pattern instructions, whether or not I intend to use them during the construction of my garment. This many years into garment sewing I feel fairly confident about the ins and outs of putting things together, but I still hold my breath when I am winging it with no pattern pieces and directions to fall back on.
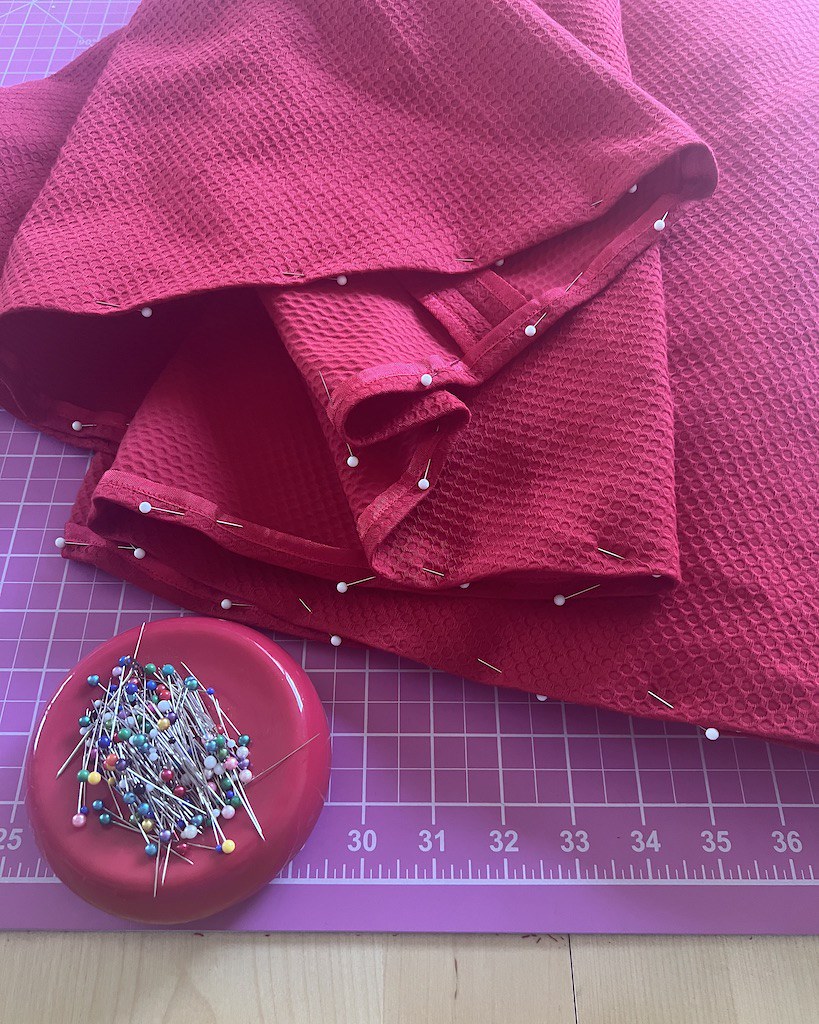
Once the pockets were in place, the front sections of the skirt were stitched together.
Once all of the seams were finished, it was time to get back to that waistband!
As with all of my wider waistbands, I add pieces of boning to keep it from collapsing during a day of wear.
The boning is installed in the lining section of the waistband.
And I just love that shape!
Which brings us to the worst part of the project . . . evening out the hemline.
Okay, so it's not all that bad. It's just not something that thrills me, and I don't believe that it ever will be.
This cotton did not drop as much as I had expected, but it did need some trimming.
To maintain as much length as possible, I used a fairly narrow hem; the raw edge was finished with my seam binding.
And after evening out that hemline, I get rewarded with some hand sewing!
The waistband was hand stitched in place.
It can be a little bit awkward working around the longer lengths of plastic boning, but it works.
And here is the finished look.
This skirt turned out even better than I expected.
It has already become a wardrobe staple, so I am going to call this one a resounding success!