
Embellishments can really add to a garment. I knew I wanted to add beads on the peplum portion of this dress, and I assumed that I would be happy with a straight border. But that just looked blah to me after
perusing Pinterest for inspiration.

The first step was coming up with a motif that would work
with the fabric and overall garment design.
I am always drawn to florals, but they did not seem quite right for
this. If there were 48 hours in a day, and I could bead at super
human speed, I would have encrusted the entire peplum, à la this Dior
creation (but would probably skip the eye makeup!).

But that would take years!!

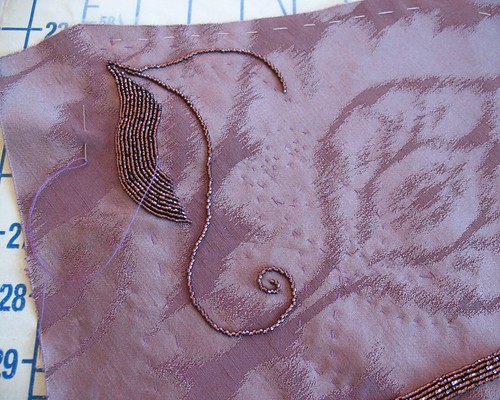
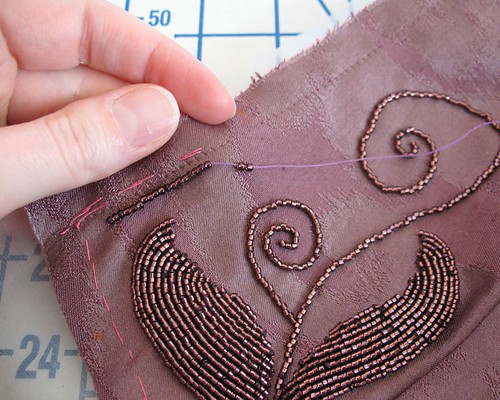
After doing a search for vintage beaded garments, I came
across this dress. The leaf motif was
beautiful, sophisticated, and also had curlicues that match back to the damask
pattern. Perfect!

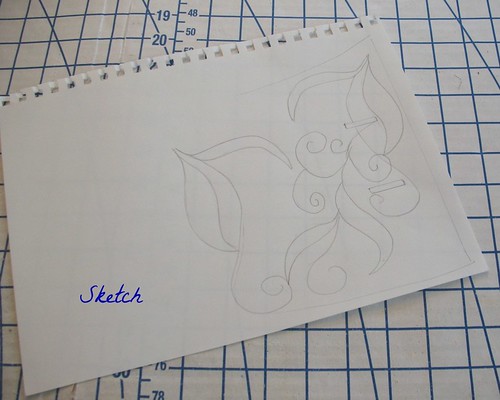
Using all of the above as a starting point,
I sketched out a few ideas that would fit on the front peplums.
The issue of how to transfer the sketch to fabric was my
first challenge (on top of that, a mirror image was needed for the opposite
side).
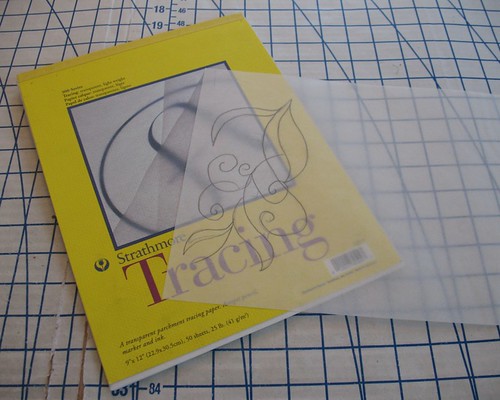
And that was when I remembered my tracing paper.
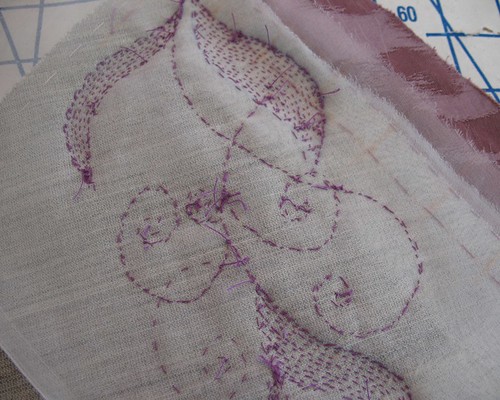
After finalizing the design with paper and pencil, it was
transferred to the tracing paper, and then to a scrap of sheer muslin with a
fabric pen. But then what?
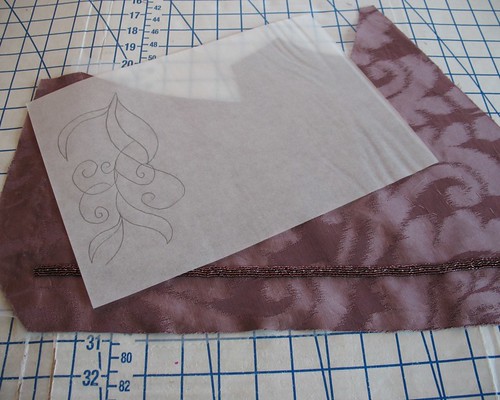
My first inclination was to stitch directly through that muslin.
Since I was going to add a layer of silk organza to
stabilize the extra weight created by all those beads, I decided to place the
design directly onto the silk. Because
it is so sheer, tracing the image was easy.
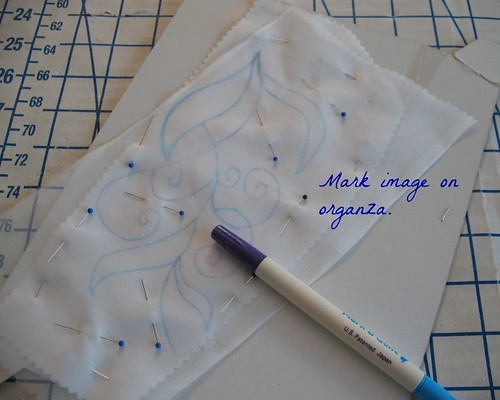
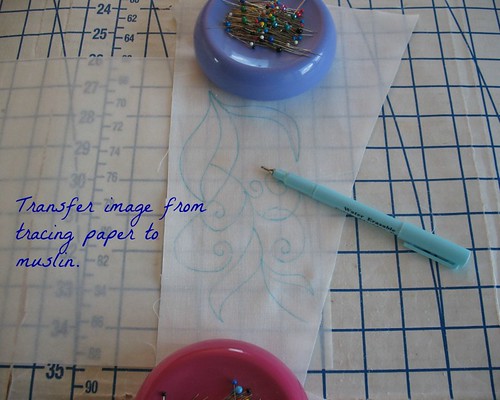
Curves are a bit of a bother to transfer onto woven fabric
because the pen is dragging through the bias.
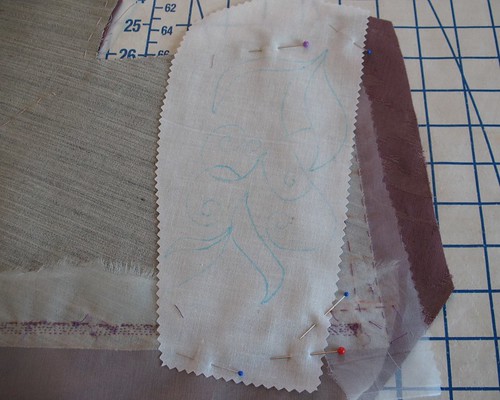
To keep things from sliding around, I used quite a few pins!
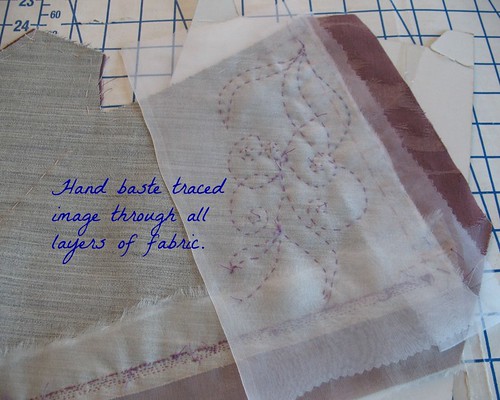
After pinning the design into place, I hand basted through
all the layers (organza, hair canvas, & fabric) which allowed me to see the
design from the right side without worrying that chalk or pen marks might not permanently
disappear after the beading was finished.
I chose a thread color for basting that was different enough
to be visible, but not so jarring that I would have to remove every last bit of
it.
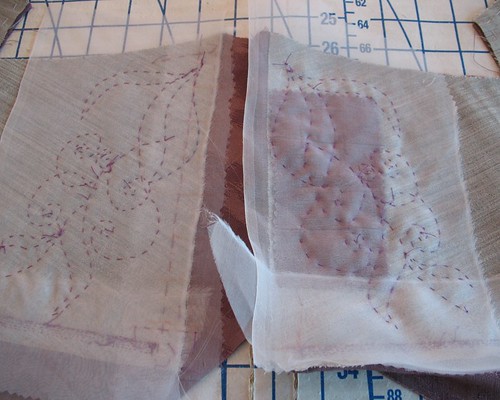
When the lighting was not so great, I could turn the piece
over to check for the original basted design lines.

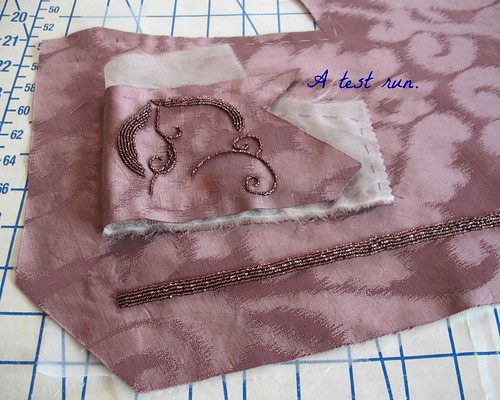
I should also mention that before beading the actual peplum, I tested the design
out on a scrap of material. If it turned
out to be a big mess, I did not want to have a ton of pin pricks marring my
peplum pieces.
For the actual beading, I used a single strand of silk
thread. Beading needles are super long
and they would have been awkward for this project, so I found a tiny sharp that fit through the beads.
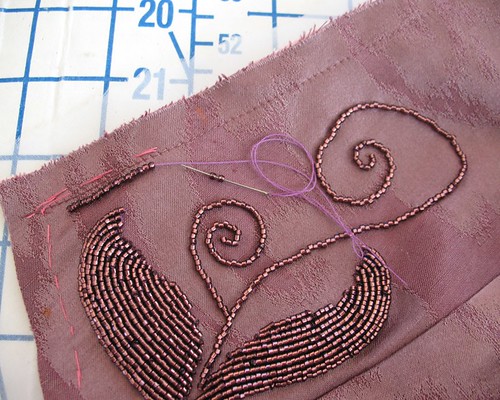
The beads are applied with a basic back-stitch. With the needle and thread on the right side
of the fabric, I pick up two beads and let them drop the length of the thread
to towards the fabric.
The needle is
pushed through the fabric, right to left, and pulled through to the previous bead
on that row.
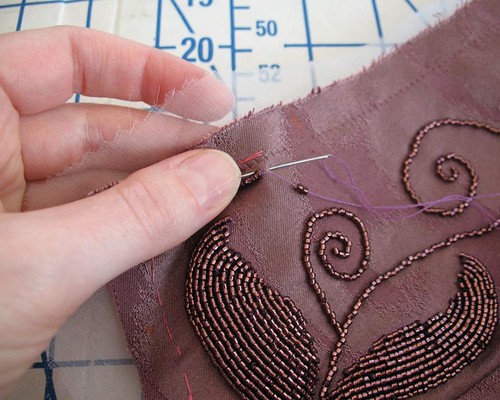
Next the needle is pushed
through the two beads, left to right, and the thread is pulled taught. That repeats, following the line of basting stitches.

It was a lot of work, but the end is almost in sight!
[Britex has generously provided the fabric and sewing
supplies for a dress I will be wearing to a formal event in October. I will be
sharing some of the steps and construction techniques with you as I work on
this project over the next couple of months.]
FABulous beadwork! *loud enthusiastic applause".
ReplyDelete... That coming from a bead fiend...You can try using 3 beads instead of two; it goes a bit faster that way! Also, running an extra strand (or two, if the beads have big holes) of thread through the beadlines on the curlicues to 'fill" them up" inside helps keep them lined up with each other and prevents them "flopping about" from side to side so much, as you can see is happening in the centre of the curlicue. A little extra thread inside (it doesn't take long at all) will put paid to that very quickly and bring them all back "into line"!
Thanks for this tutorial, I am thinking of adding some beads to the shoulder of a simple jacket to dress it up for a wedding and this is a great resource.
ReplyDeleteI am SO IMPRESSED. I can hardly wait for this outfit post--it's going to be monumental...I just love your bigger gown projects!
ReplyDeleteThank you SO much for this tutorial! I have been desperate to start beading my garments but just didn't know where to start or how.
ReplyDeleteYou are so welcome! I don’t know if it is the “proper” way to apply beads, but it worked quite well for me! And starting can be the hardest part . . .
DeleteI have done a lot of bead embroidery in the past. It is the proper way to backstitch them on. You can do it in any number of beads you feel comfortable with, but most stop at increments of 3. It is easier to repair small portions if they get damaged. Small turns it is easier to do one at a time. And, I agree with the earlier comment about running extra thread thru areas that aren't lining up how you like. It works fairly well as long as the beads weren't crowded.
DeleteOh Laura, ever the inspiration! I was getting stressed out about finding a gown for our holiday event, and this post inspired me to just find something and then add beading to make it appear evening appropriate. I can't wait to see how your project has turned out!
ReplyDeleteYour work is beautiful and so inspiring. I am in the process of making a ball gown for Mardi Gras and will post on my blog shirleymckellar.blogspot.com sometime between now and February 2014. I am doing other sewing projects for clients so I will continue to work it in between those jobls
ReplyDeleteThank you ever so much for this! To even say I am a beading 'novice' seems an overstatement..although I HAVE purchased them...But, you have given such a wonderful demonstration, I feel more empowered to embark upon this insane project for which I have volunteered!
ReplyDeleteThis is beautiful! I'm now inspired to try this on one of my sewing projects! I love your blog!
ReplyDeleteThis is beautiful! I'm now inspired to try this on one of my sewing projects! I love your blog!
ReplyDeleteThese are super cute! I really love the colors and fabrics you chose - just the right combination!
ReplyDeleteThanks so much for this! I'm trying to make some plushy toys but I really hate eye beads, and being inexperienced with stitching I didn't know what to look for ^^ this is a great tutorial, thank you! <3
ReplyDeleteThese are super cute! I really love the colors and fabrics you chose - just the right combination!
ReplyDeleteLooks great, I beaded a simple line of beads along a hem for a dress - before I came across your blog - and the tricky part was getting the beads straight. I think I did something similar but don't remember anymore!
ReplyDeleteWhat happens with the muslin when your design is finished?
ReplyDeleteJe ne sais pas lire l'anglais mais les photos sont très expressives, merci pour le partage, un très joli modèle, bonne continuation.
ReplyDeleteBiz Gisèle
thanks, I've always done the transfers with ink and worried about not being able to cover them. this is great.
ReplyDeleteHow best to apply beading to an already finished coverlet made of silk squares. Is there a 'pencil' or other tool for marking the design that works best? I do not want to penetrate all layers, just the top.
ReplyDeleteJust Perfect Beading!
ReplyDeleteGreat Tutorial!