
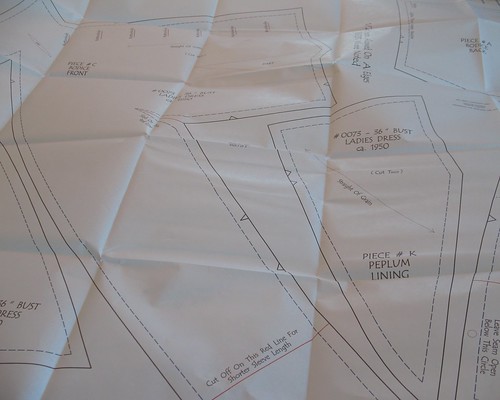
The pattern for my gala dress is a vintage reproduction. Many reproductions, mine included, are
printed on bond paper. And these days
there are quite a few print-it-yourself pattern options as well. This means that pattern pieces are made of
rather thick paper. No matter how thick
my fabric, I have never come across any that feel or behave like paper. I would much rather use fabric!
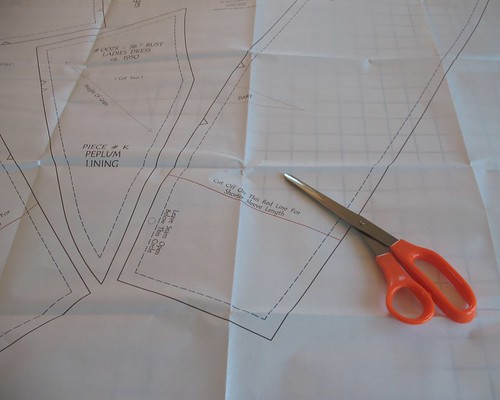
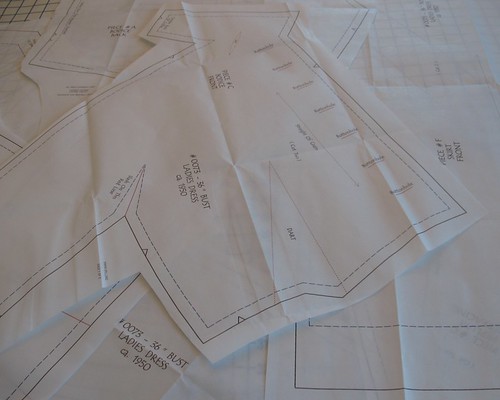
To begin, I unfold the massive sheets of bond paper, and
separate each individual piece with paper scissors – no reason to dull my
sewing shears! Cutting everything apart into
smaller pieces makes things much more manageable in my crowded sewing room.
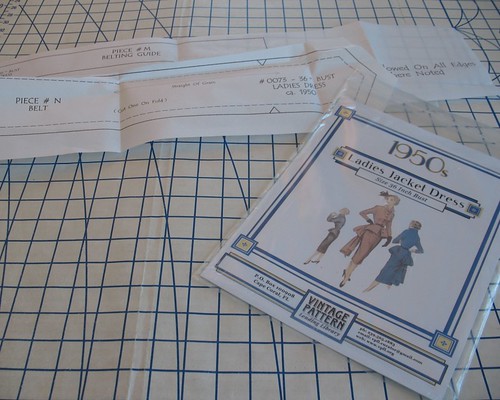
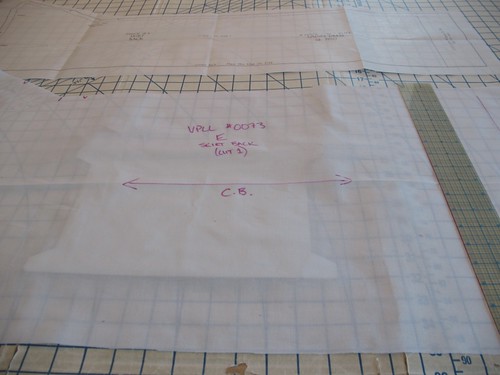
I always like to check that all pieces are accounted for,
and re-fold and put aside anything that will not be needed (such as alternate
sleeve options, or a belt pattern that will not be used).

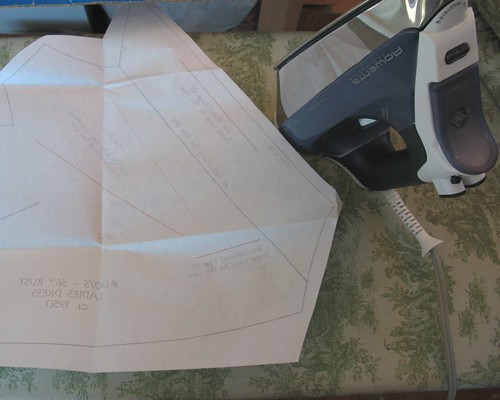
Next up is a quick iron.
Just like pattern tissue, I like to iron my paper pattern pieces from
the non-printed side to flatten everything out.
(I once made the mistake of ironing over printing and the face plate of
my iron was not pleased.)
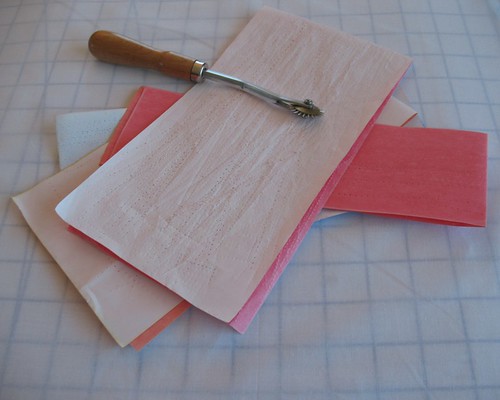
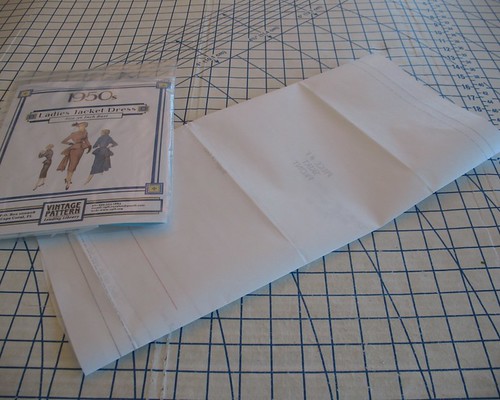
Using inexpensive muslin, tracing paper, and a tracing
wheel, I make a pliable and re-usable pattern piece. (An old sheet or fabric remnant will work just
as well. A solid and light-colored fabric
that can be marked up will be easier to work with than a busy print that
camouflages all of the darts, grainlines and notches you so carefully transfer
to the fabric!)
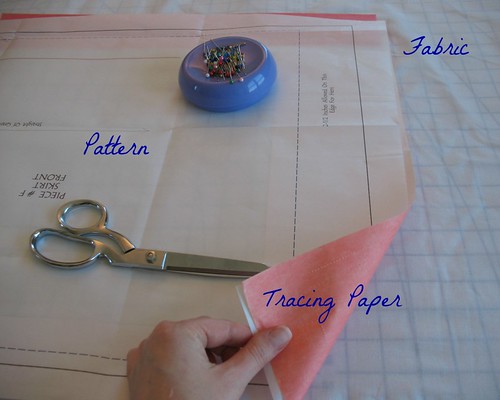
I grab whatever I have handy for pattern weights, and slip
pieces of my tracing paper between the paper pattern and my fabric.

Once the fabric is cut, I lay it on top of the paper pattern
to make sure they match.

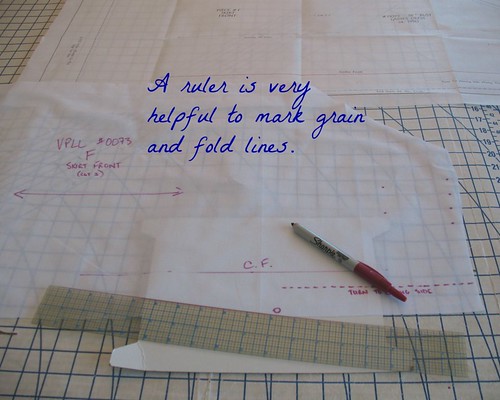
At this point,
I use a Sharpie pen to mark notches, darts, grainlines, etc.
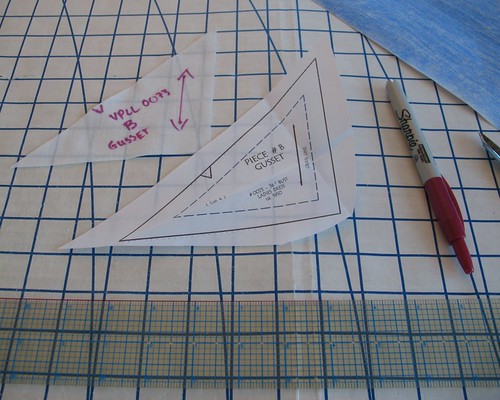
Once the piece is traced, and all the markings transferred,
the original paper pattern gets folded and put away. If I am being perfectly honest, a few of them
will be pulled out again when I have questions, and to check on that notch that
I forgot to mark! But for now, I clear
them off the table.
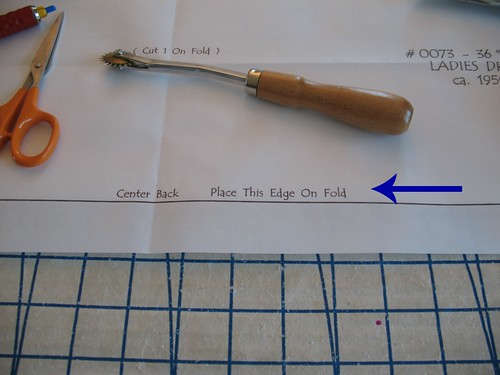
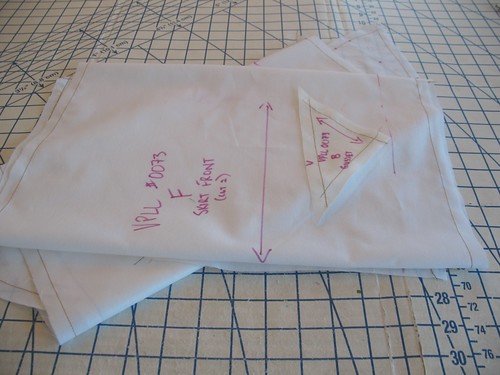
Some pattern pieces are cut on the fold. The more projects I complete, the more I
realize how much I prefer to cut a single layer of fabric. I will cut those pieces on a folded length of
muslin, so I have a complete piece to work with and do not have to fold my
fashion fabric.
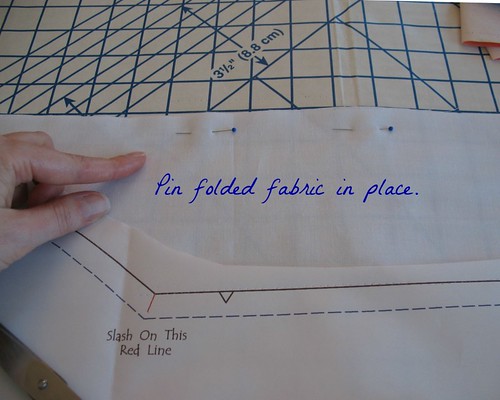
Before tracing the edges, I pin the folded fabric in place
to make sure it will not shift.
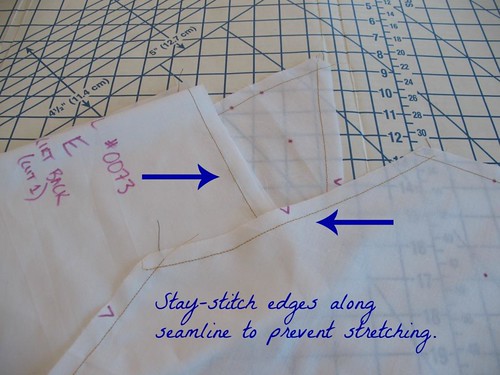
As a final step, I stitch a line of stay-stitching along
each edge of my new fabric pattern pieces.
This ensures that the edges will not stretch or distort.
Now, instead of stiff paper, I have a lovely fabric pattern
that will lay beautifully on my fashion fabric and make cutting so much easier!
[Britex has generously provided the fabric and sewing
supplies for a dress I will be wearing to a formal event in October. I will be sharing some of the steps and
construction techniques with you as I work on this project over the next couple
of months.]
I'm not a fan of the thick paper patterns either. I've either used the plain Burda pattern tissue (expensive - I usually waited until my fabric store had notions on sale for 50% off) or now I use what is usually called Swedish Tracing Paper. It's thicker than tissue, but semi-transparent, so you can place your pattern pieces under the paper and trace. Also, it's a fibre, so you can sew it. It has the weight of a woven interfacing, so if your project fabric has drape, you wouldn't be able to determine how parts of it would hang. You can press it after you pull out your stitching (I just baste the pieces together) and make your alterations. I love it!
ReplyDeleteThanks so much for this! I also have one of those repro patterns that I periodically take out of the envelope, but I was dreading cutting and pinning it. This is the perfect solution!
ReplyDeleteI will have to try this Thanks so much for this
ReplyDeleteThis so wonderfully detailed and fascinating, thank you very much for another awesome tutorial, dear lady,
ReplyDelete♥ Jessica