
As previously mentioned, fabric matching ate up less fabric
than anticipated, so I had some leftovers to play with. The design does not call for cuffs, but I thought they would
add something to the look.
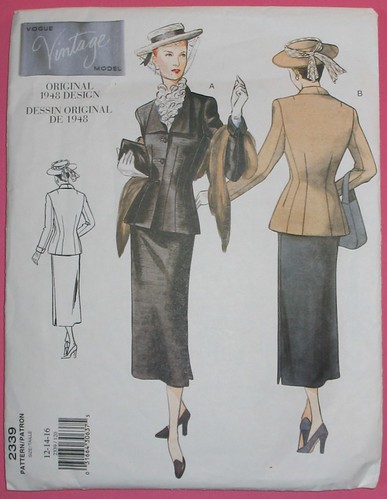
I pulled out Vintage Vogue 2399 to help me figure things
out. The cuffs were going to be a bit small,
since they are meant for the wrists and not the elbow, but the shape was
exactly what I was looking for.
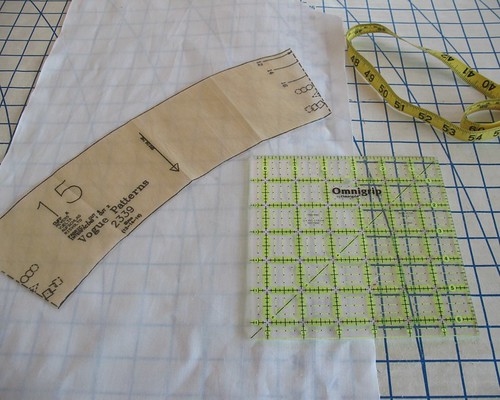
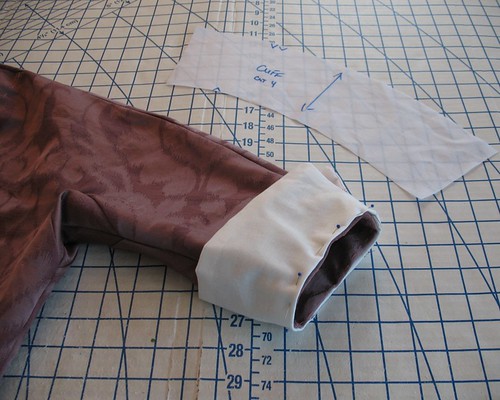
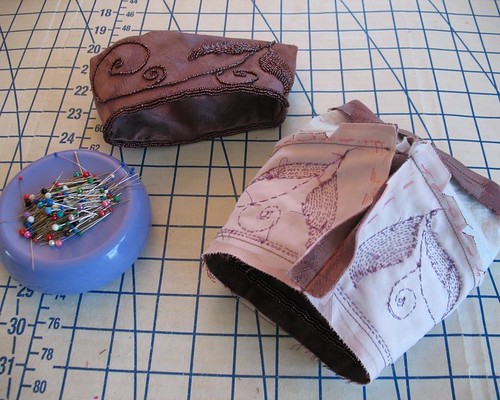
Time to muslin! After
a few measurements, I cut and stitched one side together and pinned the cuff
into place. The white muslin sure looks silly
on the bodice!
I added a bit of width to the cuff, thinking I might want a
bolder look, but ended up taking most of that out once I saw the proportions in
relation to the whole dress.
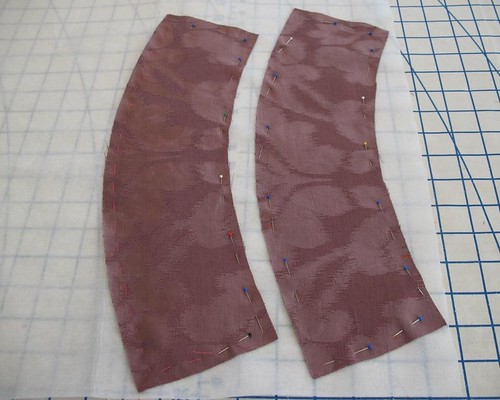
I underlined the facing pieces with a layer of sturdy interfacing, and the cuffs with an extra layer of crisp cotton. I have a habit of assuming fabric has more body or is more crisp than it really is, and some of my cuffs and collars have turned out a little floppy in the past. But not this time!
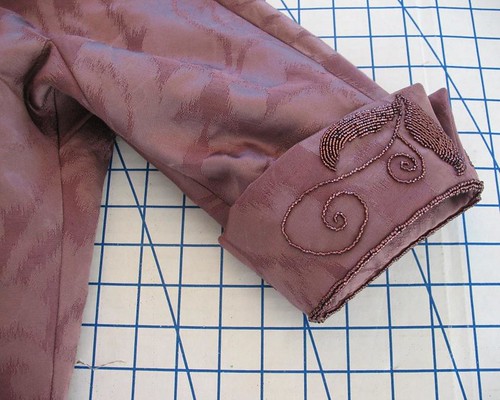
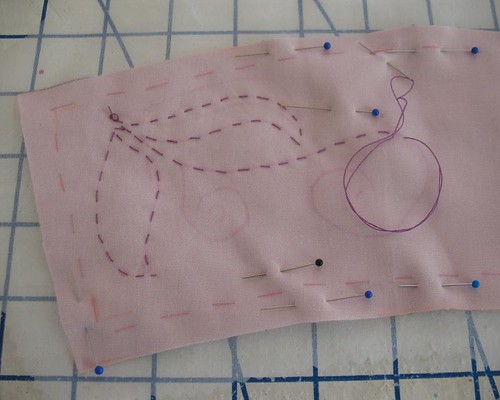
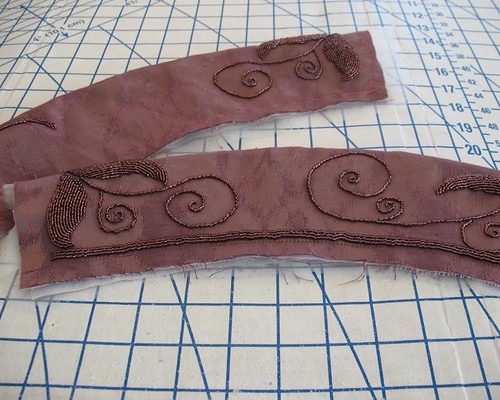
Of course, plain cuffs would have been too easy, so out came
the beading needle and lots of silk thread.
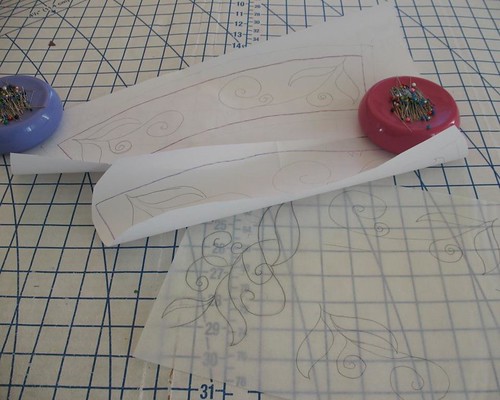
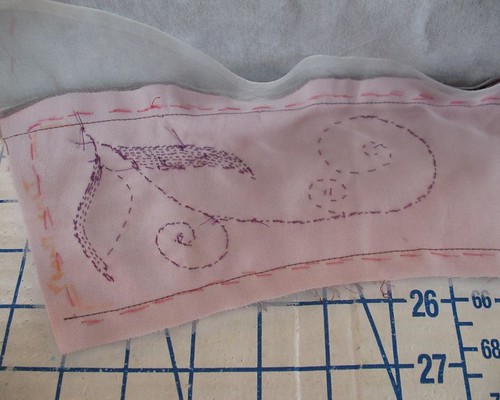
The design started on paper, was transferred to organza, and
basted into place.
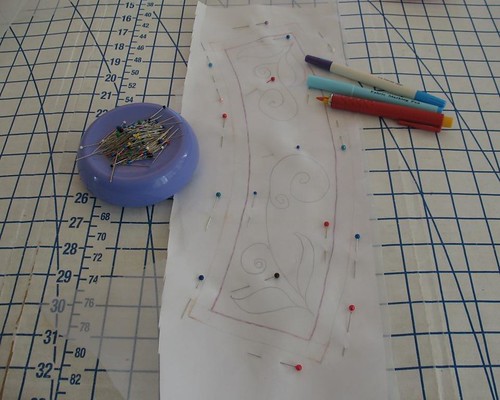
The pen that worked best for me was a disappearing ink.
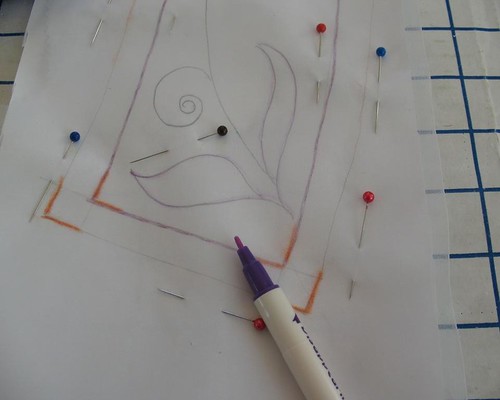
I basted my design right on, and eight hours
later the marks had completely disappeared!
I have never had that happen on cotton, but it is something to be aware
of – disappearing pens actually disappear; sometimes sooner than expected!
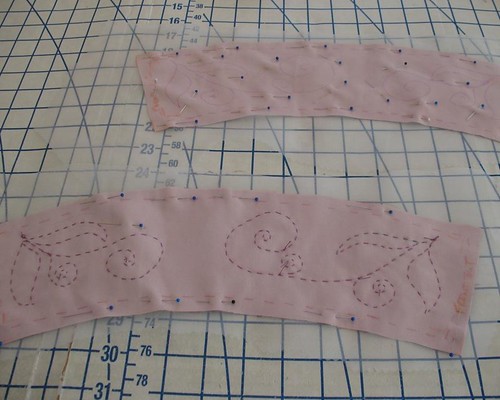
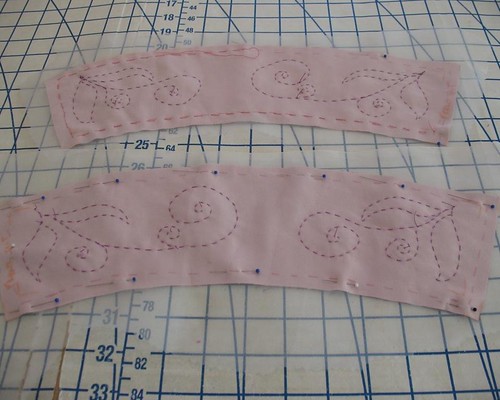
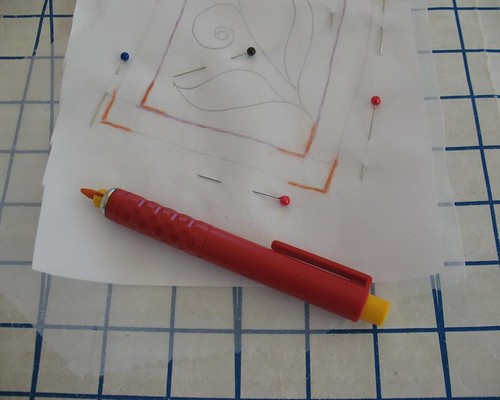
Because I was not sure how much of a bother it was going to
be to sew the cuff together with all those embellishments, I went ahead and stitched the
top edge before beading.
This had the added benefit of giving me something extra to hold while hand
stitching.
[Britex has generously provided the fabric and sewing
supplies for a dress I will be wearing to a formal event in October. I will be
sharing some of the steps and construction techniques with you as I work on
this project over the next couple of months.]
Gorgeous! I can't wait to see the whole thing together.
ReplyDeleteFabulous!
ReplyDeleteThis is going to be an amazing dress! Your work is marvelous.
ReplyDeleteIt's always an inspiration to see what you are sewing. Really looking forward to the final reveal!
ReplyDeleteSuch a fabulous journey you are taking us on!! Each new post is more fascinating than the previous one!!
ReplyDeleteYour attention to detail is insane! I love it. I might have another go at beading this fall now that I have a better idea of how to do it. I bought a tambour hook some time ago, but I never practiced enough to get good at it. I may need to dig it out again.
ReplyDeleteI love that it started with the belt and now the beading has SPREAD EVERYWHERE (said in a suitably creepy Halloween voice). Can't wait to see the finished gown. And I am still in awe of your skills.
ReplyDeleteIncredible! *jaw drops*
ReplyDelete*thud* (the sound of another jaw dropping)
ReplyDelete