
You didn’t think I was going to miss an opportunity to play
with bound buttonholes, did you?!
I generally like to do these before construction
of any kind begins. This way there is
less fabric to manipulate. Rotating an almost-finished-garment 360 degrees through a sewing machine is not very much fun! And if, heaven forbid, something terrible happens, only one piece has been destroyed (not an entire garment).
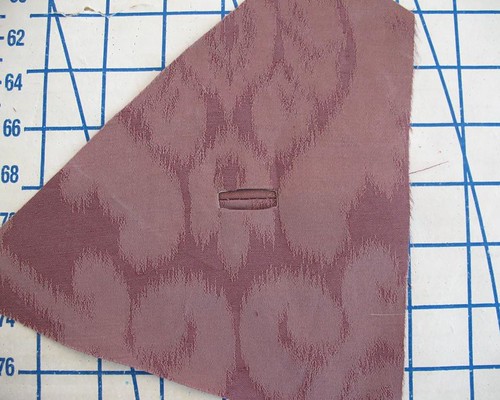
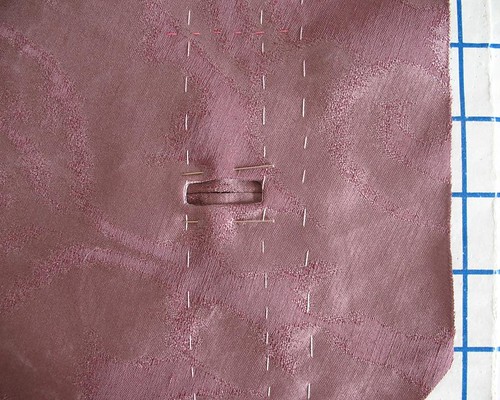
Before working on the bodice, I made myself a test
buttonhole.
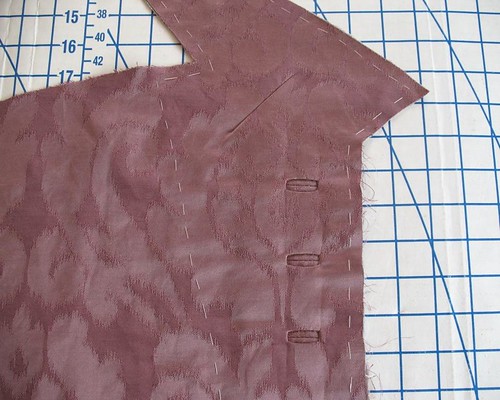
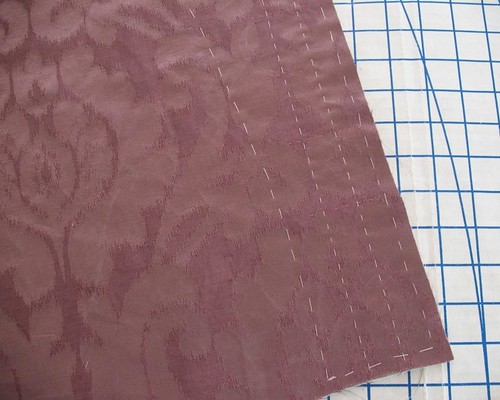
Hair canvas was basted to each bodice front as an interfacing.

This step always reminds me of the Dior 2005 Couture collection . . .

and this Hermes dress from the 50s.

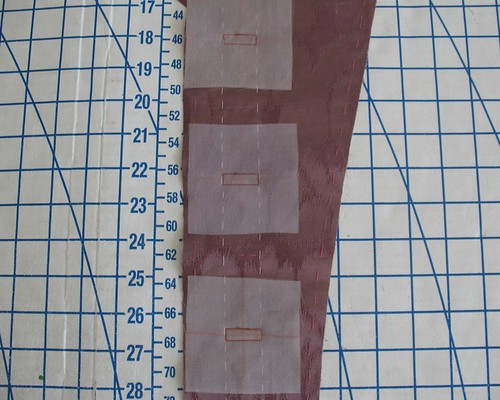
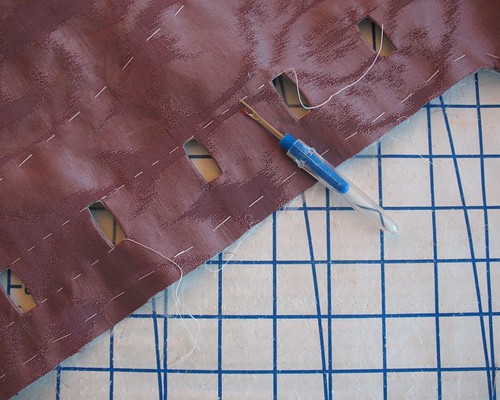
The same thing is done on the facings (although I faced
those with silk organza). And just for fun, I went ahead and started with the buttonhole
windows on the facing before the actual bodice buttonholes for extra practice.
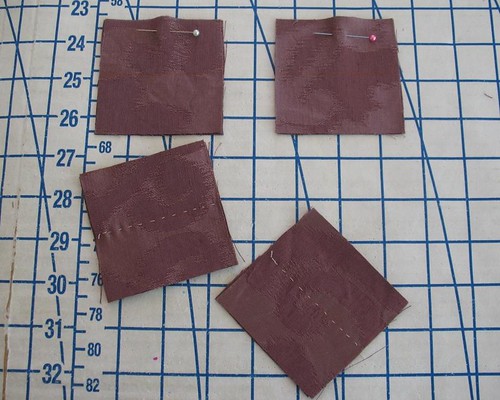
There have been lots and lots of squares cut out.
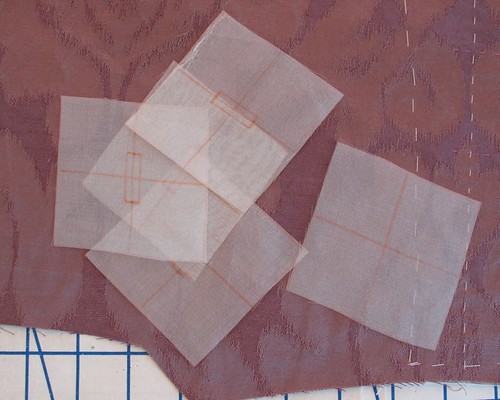

Everything looks like it matches up!

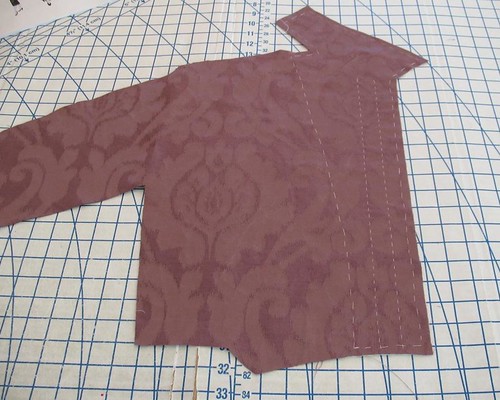
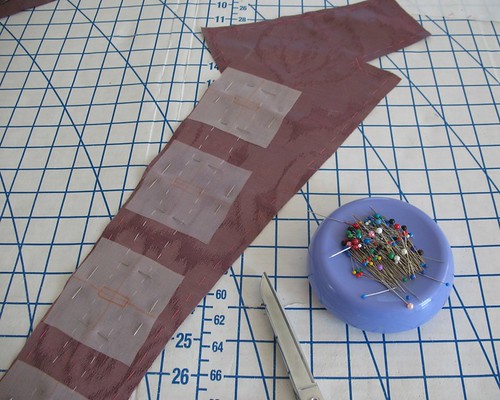
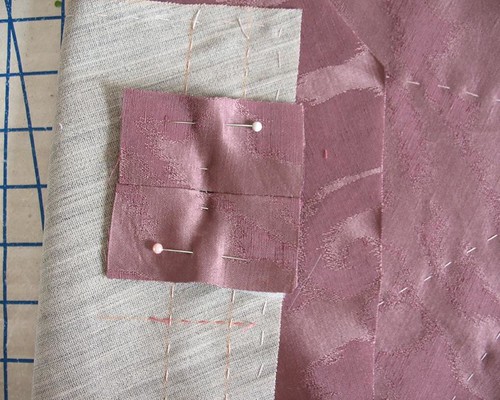
The same process is repeated on the bodice front.
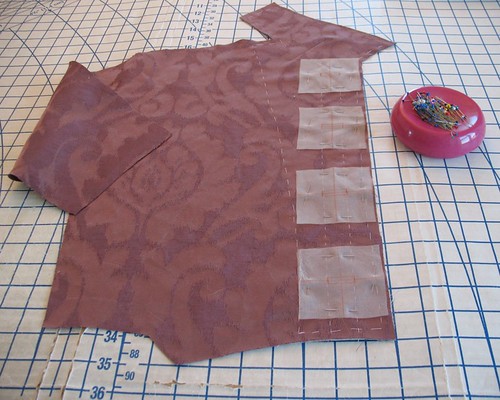


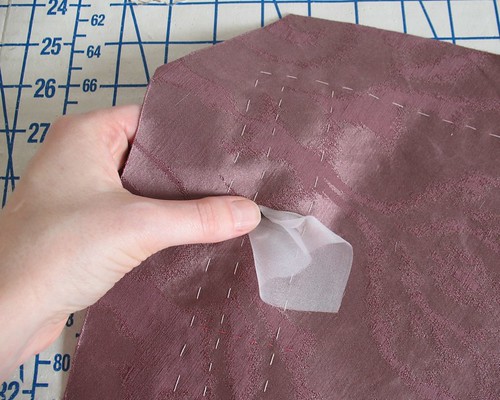
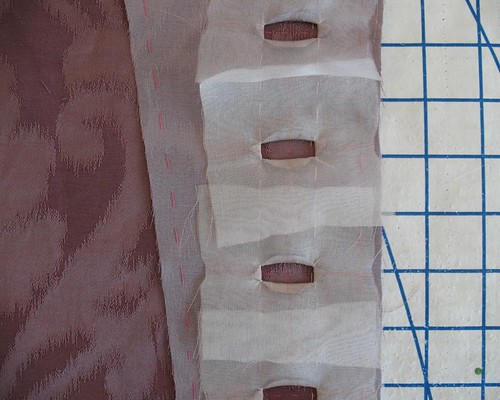
More squares of fabric!
Pins hold the fabric squares in place over the organza window.
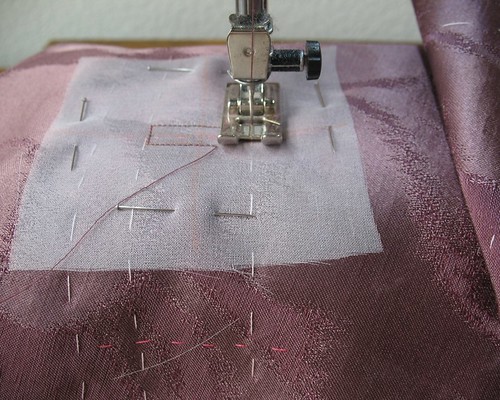
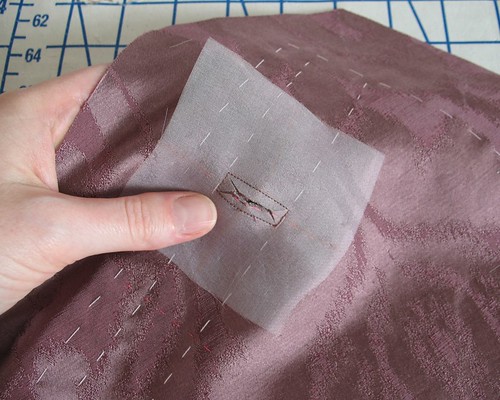
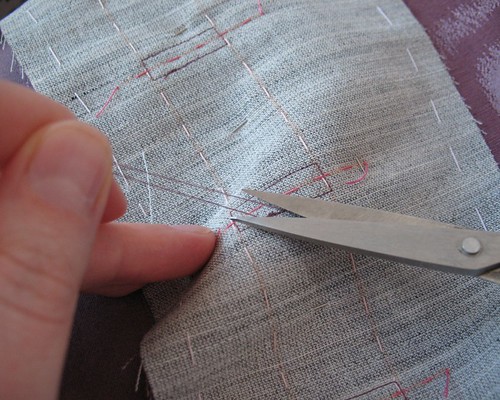
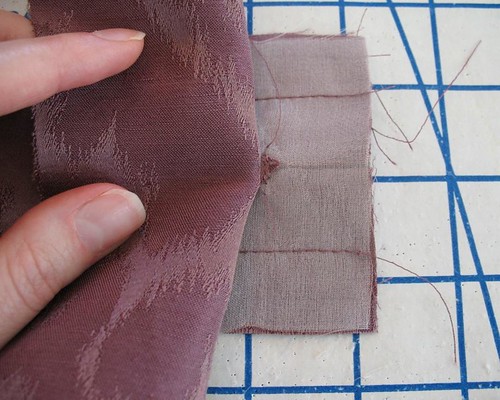
The one step that baffled me when I started messing around with bound buttonholes is securing the squares to the garment. Push the fabric to one side to reveal those
tiny triangles. Secure by basting
through the fabric, organza, and triangle. This keeps everything from shifting about.

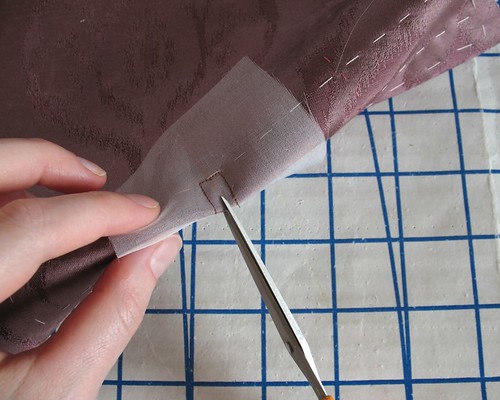
Because I always cut my squares with room to spare, I have to trim and grade them down where they overlap. Then I like to catch-stitch the
flaps to the interfacing (this helps to keep everything in place).

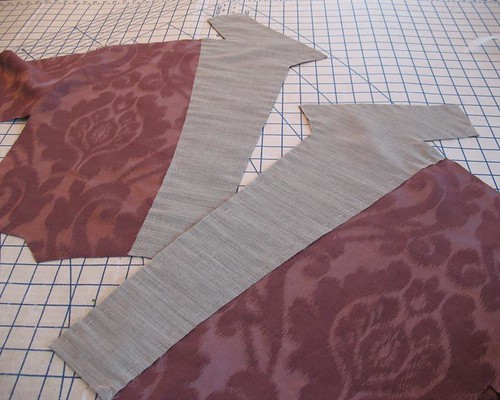
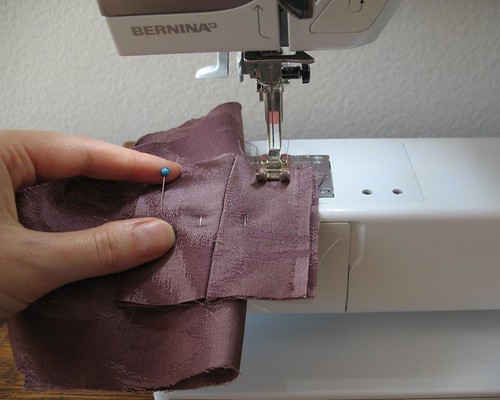
Now it is time to start the bodice construction! Well, actually, there are underarm gussets to contend
with first . . .
[Britex has generously provided the fabric and sewing
supplies for a dress I will be wearing to a formal event in October. I will be sharing some of the steps and
construction techniques with you as I work on this project over the next couple
of months.]
Thank you so much for sharing this process. I have learned so much from your photos
ReplyDeleteWhat an amazing tutorial!! It's so very timely that you should do this as I was just reading up all about them yesterday on the internet. I'm also looking for one of those nifty button hole tools. Thanks for posting this.
ReplyDeleteExcelent, great tutorial. Thank you
ReplyDelete