

If I had to choose a ready to wear item in my closet that gets the most wear, it would be a gored denim skirt from the late 1980s or early 1990s. It was my Mom's skirt, but after wearing it as a costume in a play approximately 20 year ago, it ended up in my closet. It now gets a fair amount of play during the winter months on days when I really don't feel like getting dressed but still want to look put together.

I also rediscovered this Hollyburn Skirt in the last couple of months, and decided that adding another classic denim skirt to the wardrobe was a good idea. This 100% cotton denim was found at JoAnn Fabrics, and I really liked the color and weight of it, so it came home with me. And since I love every version of Simplicity 8458 that I have already made, I decided that I could always use another.

It isn't the heaviest denim that I have ever encountered, but it isn't lightweight, either, so a few tests were in order to figure out exactly what I was going to do with the seam finishes. After playing around with some scraps, it was time to get started.

I didn't really want to do a full on felled seam, but I did want to add some kind of top stitching to control the seam allowances and make it look more like a typical denim garment.
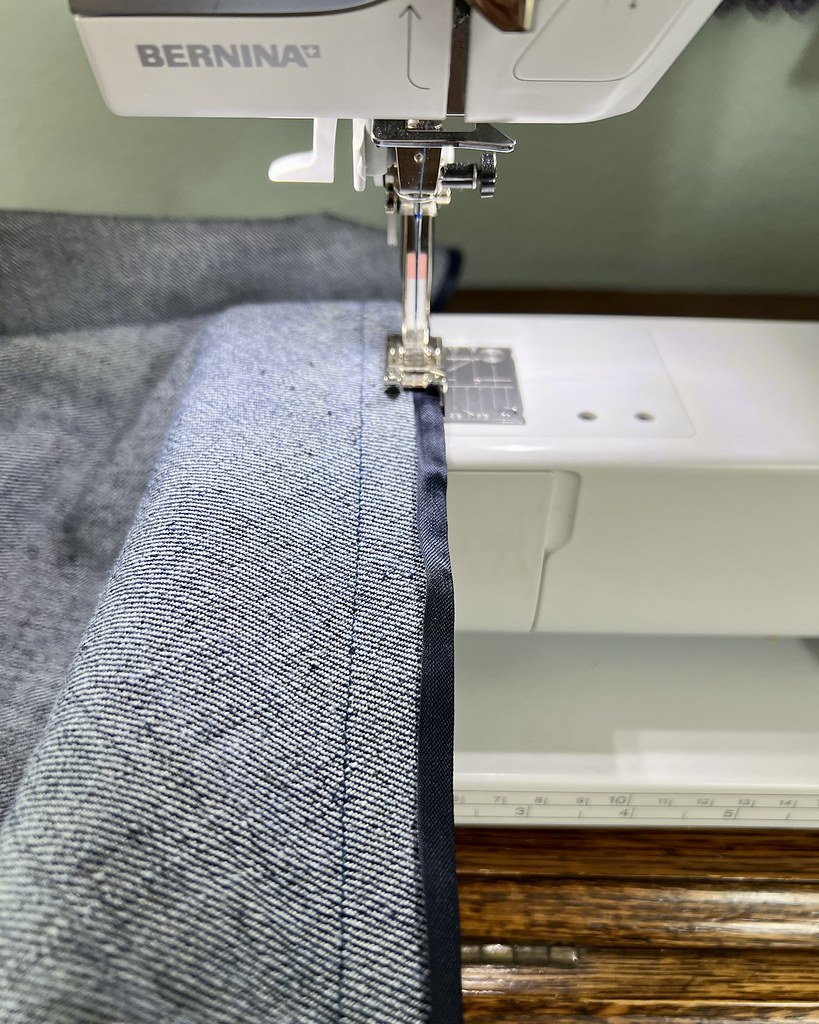
Instead of pressing the seams open, I pressed them to one side, and finished the edges with seam binding.

Using an edge stitch foot, I stitched a line of top-stitching thread (regular thread in the bobbin) right next to the seam. It's an understated blue thread that blends in with the fabric, but I like the texture that it adds.

Perhaps there will be contrasting stitching on another denim project in the future, but for now, I'm taking baby steps towards getting comfortable with top stitching!

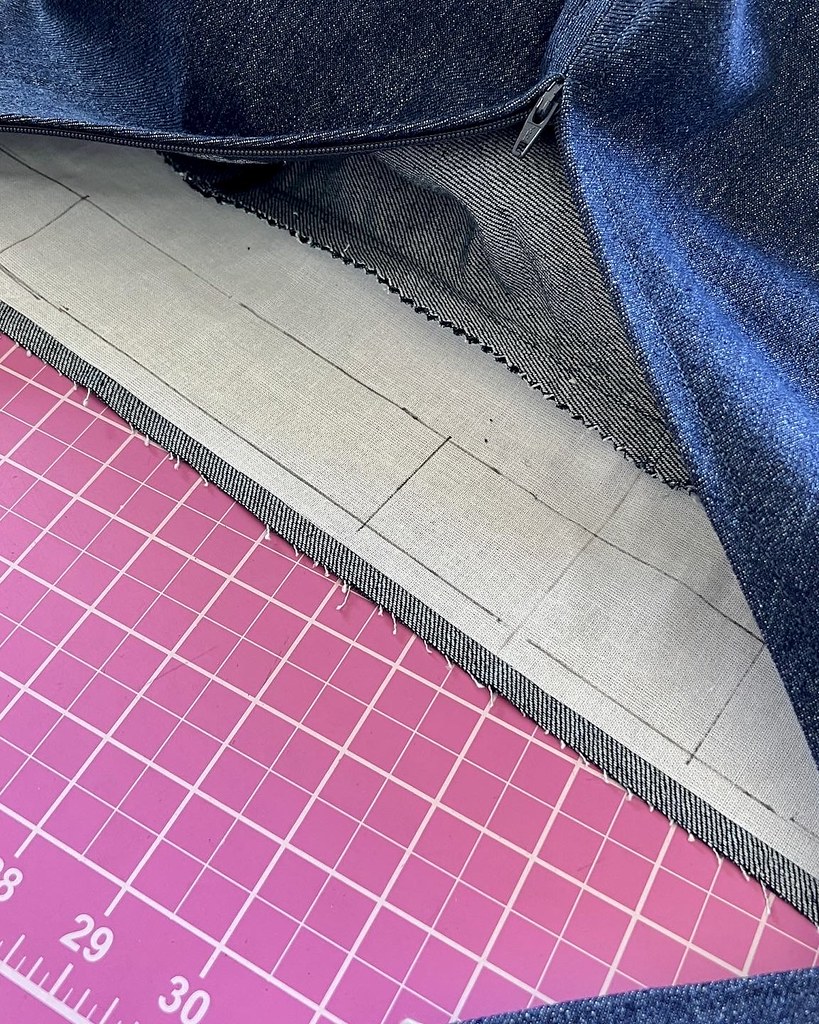
The one exception to this finish was the center back seam where the zipper is installed. This seam was pressed open.

Both edges were finished with seam binding, and the zipper was installed.

To continue the theme of top stitching consistent with the zipper, I continued a line all the way down both sides of the center back seam.

This wax is one of my favorite notions. It disappears under a bit of steam, but makes an easy to see mark on darker fabrics.

The zipper itself went in easily.

Hooray for stable fabrics!

The skirt was placed on the dress form to see if any of the bias was going to drop. I was doubtful that it would, but better safe than sorry.

And now it was time for a waistband.

I decided to go for a basic waistband made from a single rectangle of fabric. Perhaps a boring choice, but I've done so many shaped waistbands lately, that I decided to change it up for this skirt.

Fusible interfacing continues to give me grief, but there isn't much of this kind left, so I continue to use it and get frustrated.

I had assumed that a double layer of mid weight twill and interfacing would be sturdy, but once I had stitched that piece to the skirt, I decided that I would be happier with the addition of a few pieces of boning to make sure the waistband doesn't fold. And it would keep that interfacing in place!
It is infinitely easier to install boning channels in a single piece of flat fabric, so I made more work for myself at this stage of the project, but it is what it is.

This means that I had to rotate an entire garment through the sewing machine; slightly aggravating, but not impossible.

This has become something I do on most of my waistbands and I find that it makes a huge difference.

And, of course, I added two ribbon hangers. I will do just about anything to avoid skirt hangers in my closet!

I also added some top stitching to the waistband to keep things consistent.

I was unsure whether or not my machine was going to like all of those layers, but it did just fine.

The other issue that I thought might cause me some grief was the hemline. I trimmed away the majority of the seam allowance before folding up the hem.

Again with the top stitching!

It was questionable whether or not my machine was going to like the multiple layers of denim at the seamlines, even with some of the bulk removed, but I was going to try!

And thankfully, there were no broken needles involved. The hump jumper was absolutely utilized, but other than that, the hemline stitching went swimmingly.

Thank goodness for small favors!

I think that many of the details will be lost in the dark colored denim, but I will know that they exist.
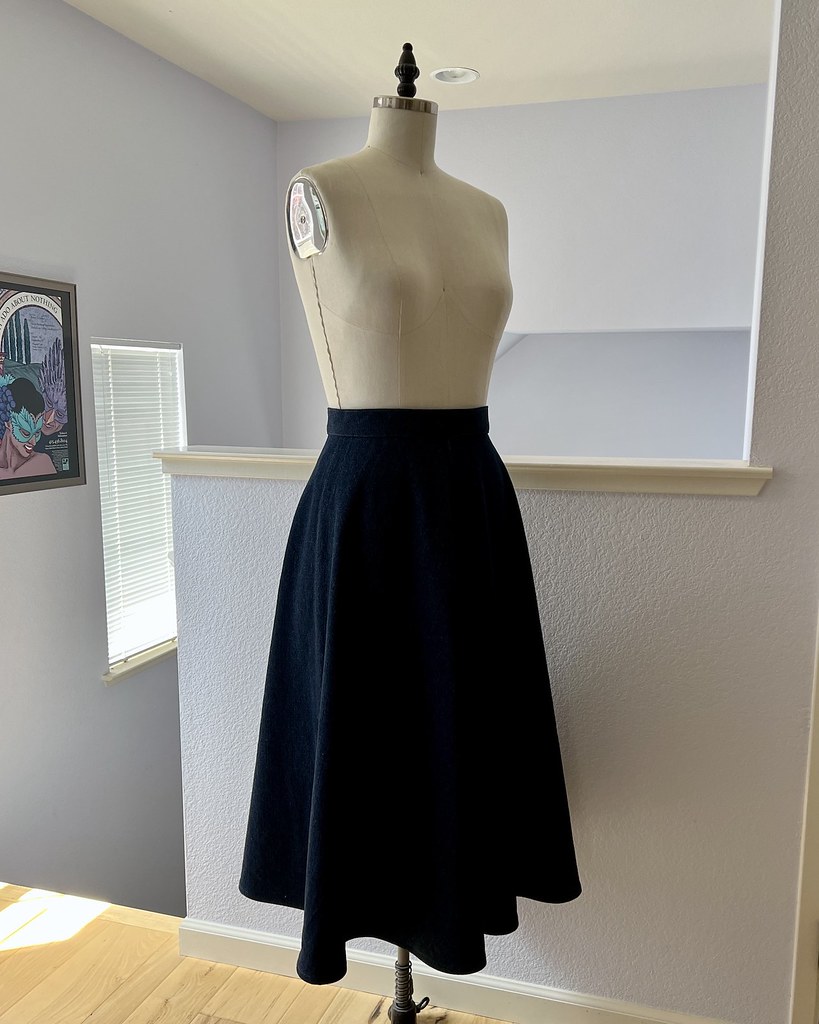
Now I have another classic denim skirt in my wardrobe.

And I am very pleased with my new addition; I suspect this one will get a lot of wear.

I always look forward to reading new posts from you. Your projects are such an inspiration!
ReplyDelete