

I purchased a black tea length petticoat a few years ago for
this dress. It has come in handy, let me
tell you! But for this gown, I wanted
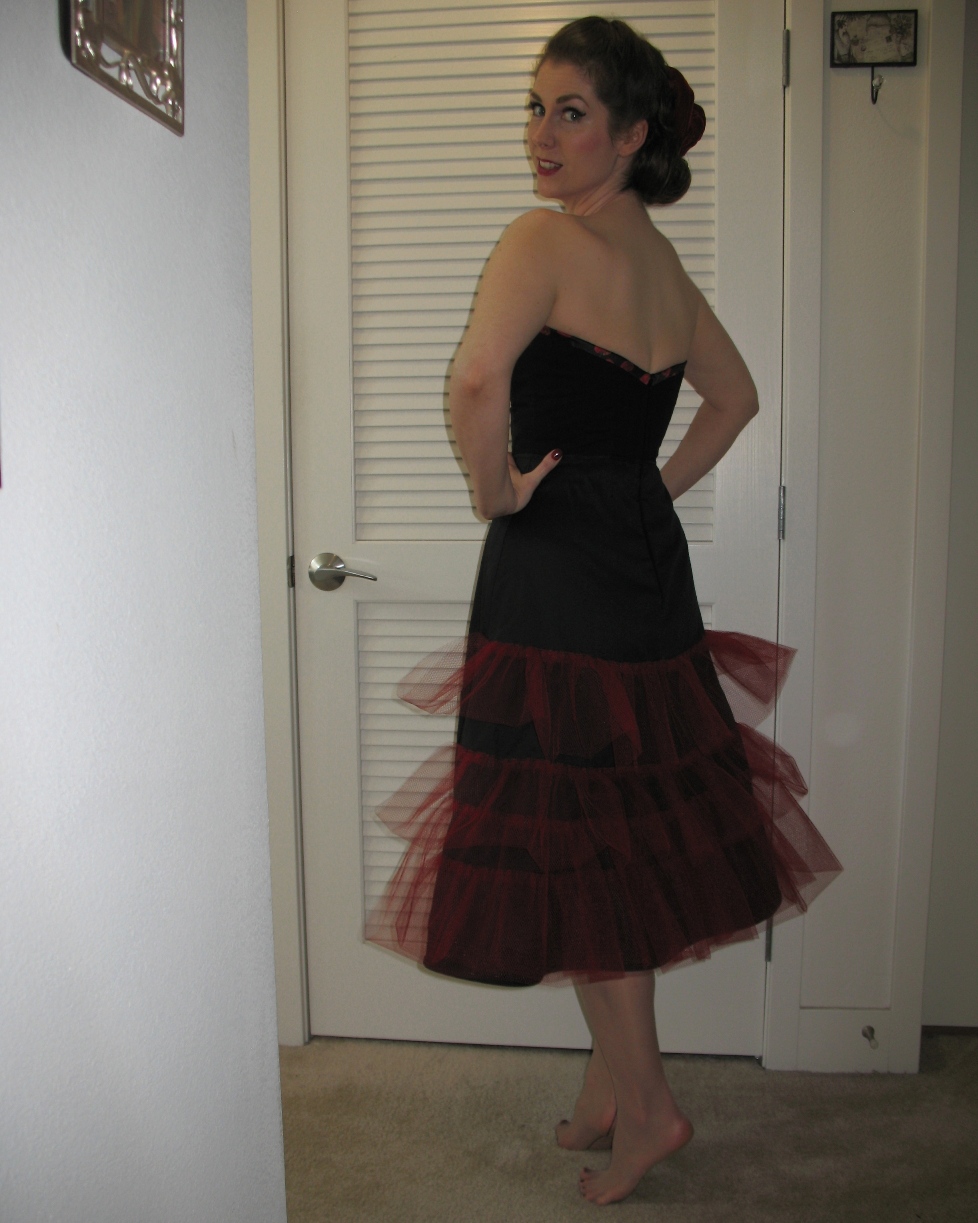
something extra to help fill out the back half of the skirt and all of those pleats. An added bonus would be to keep all of that itchy nylon netting away from my skin!
To accomplish this, I added a cotton petticoat to the corselette.
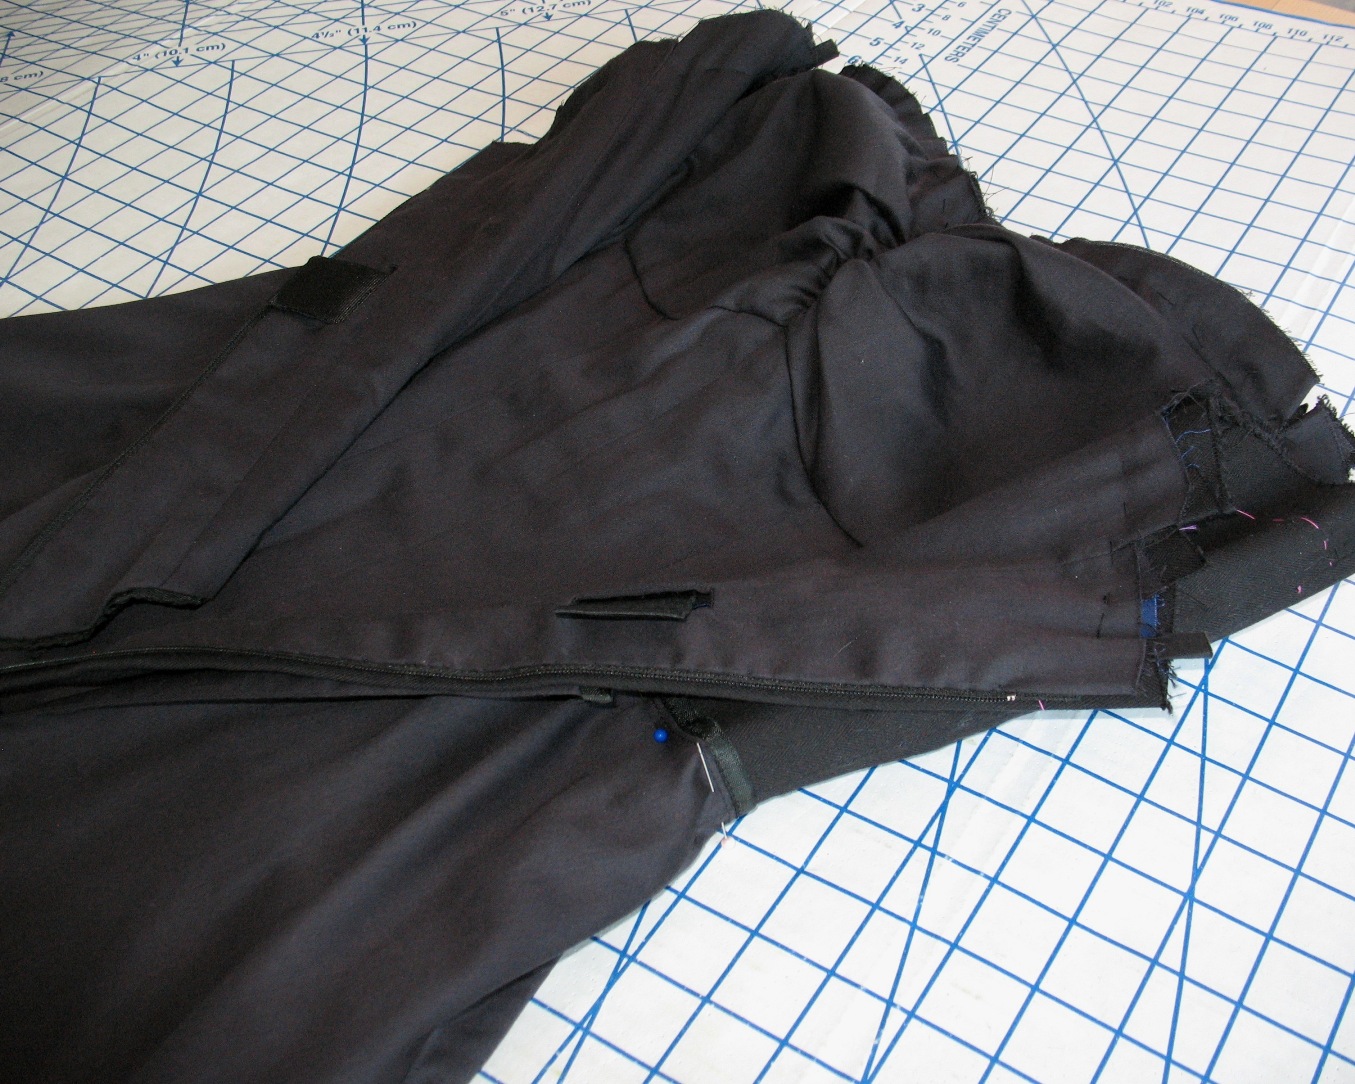
I cut two of the front skirt pattern pieces to use as a petticoat. To create a center back opening, I
made a simple fabric placket that could be stitched to the zipper opening of the corselette.
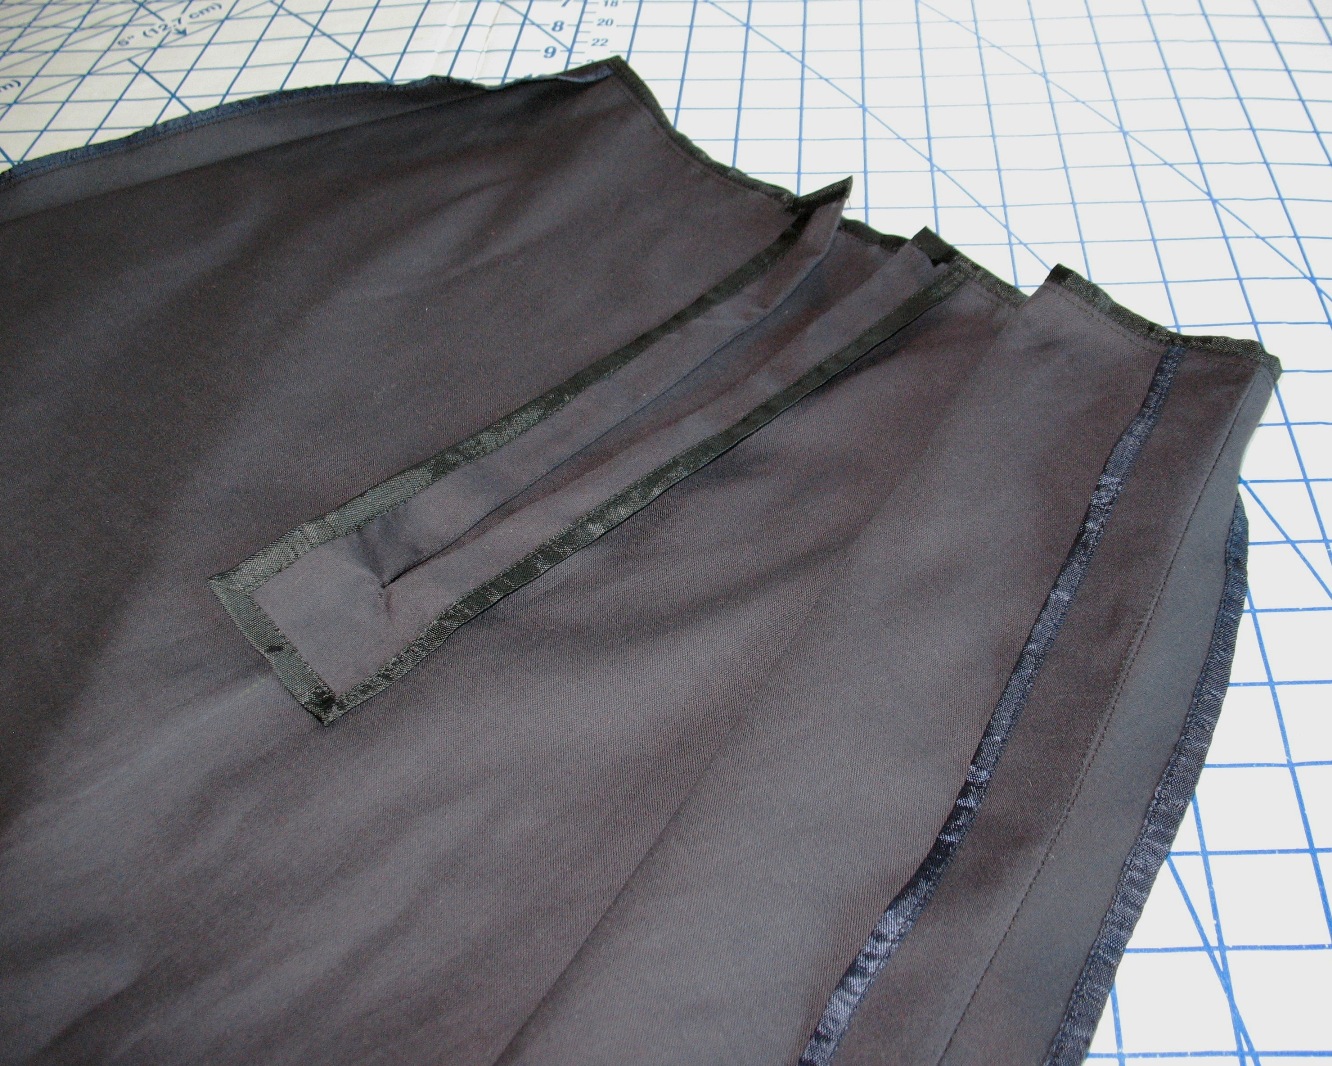
Basically, the corselette/petticoat you see here goes on first, the purchased petticoat sits on top of that, which is finally topped with the dress!
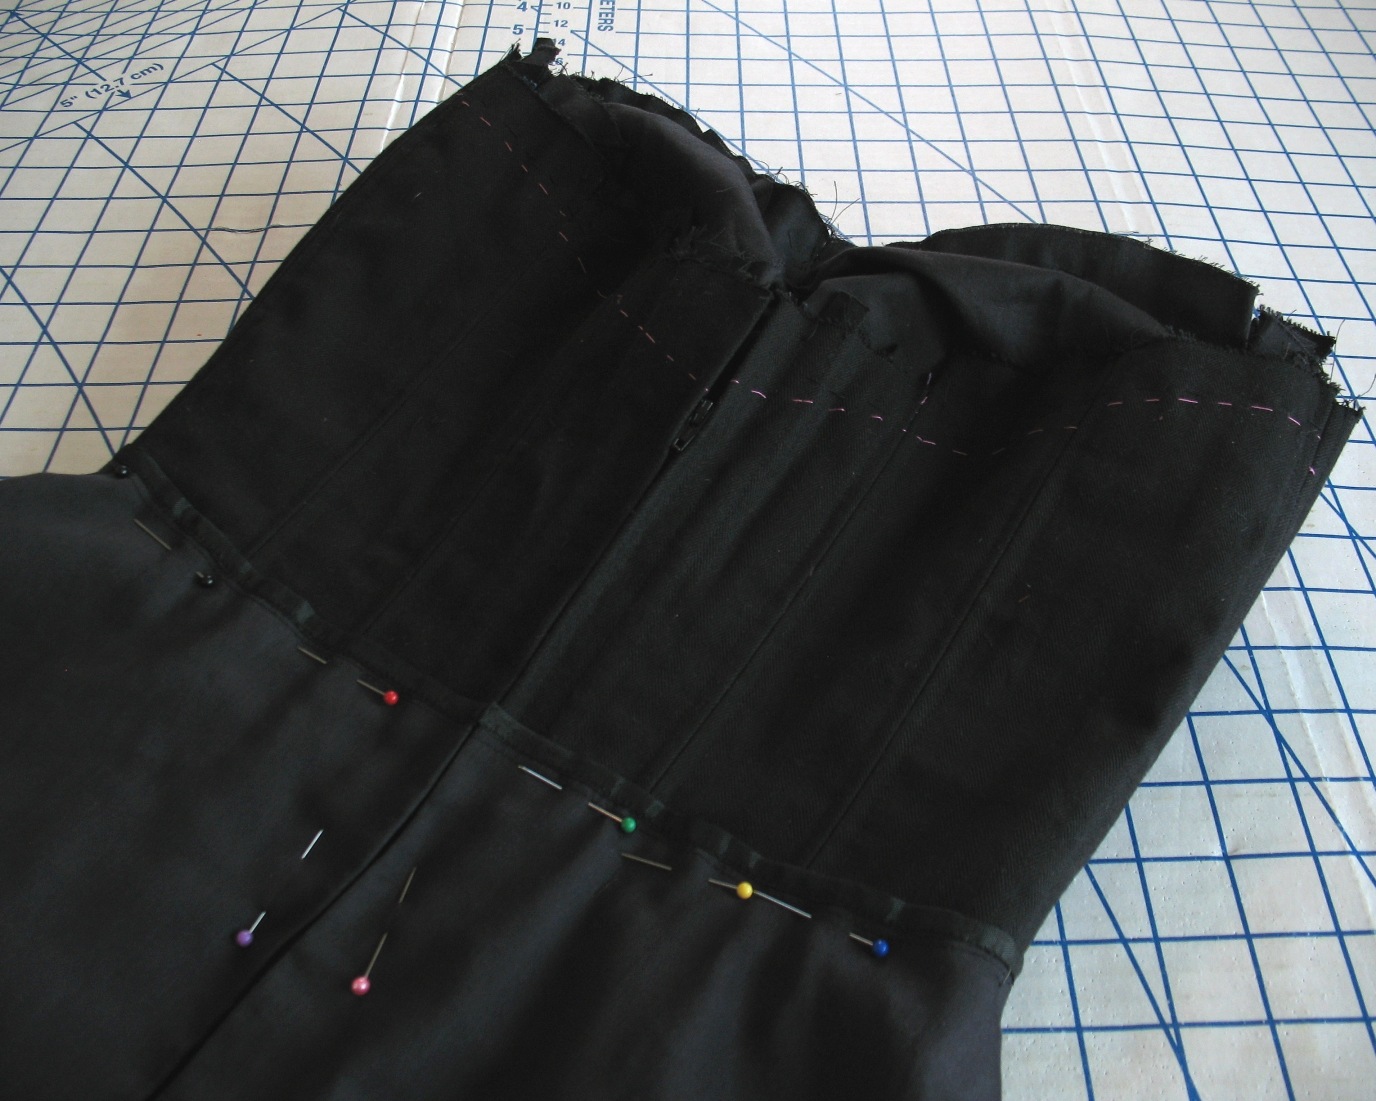
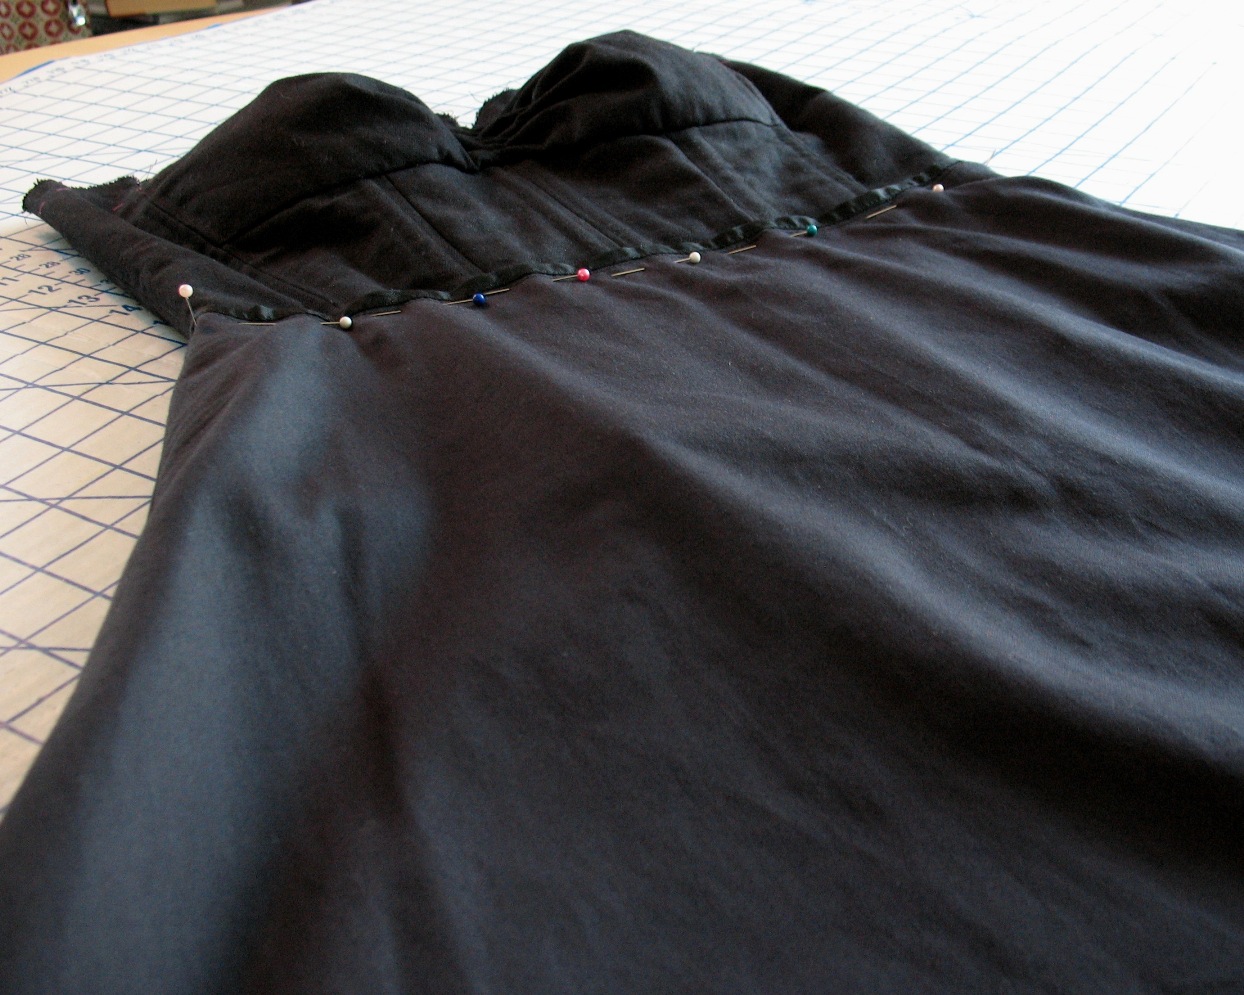
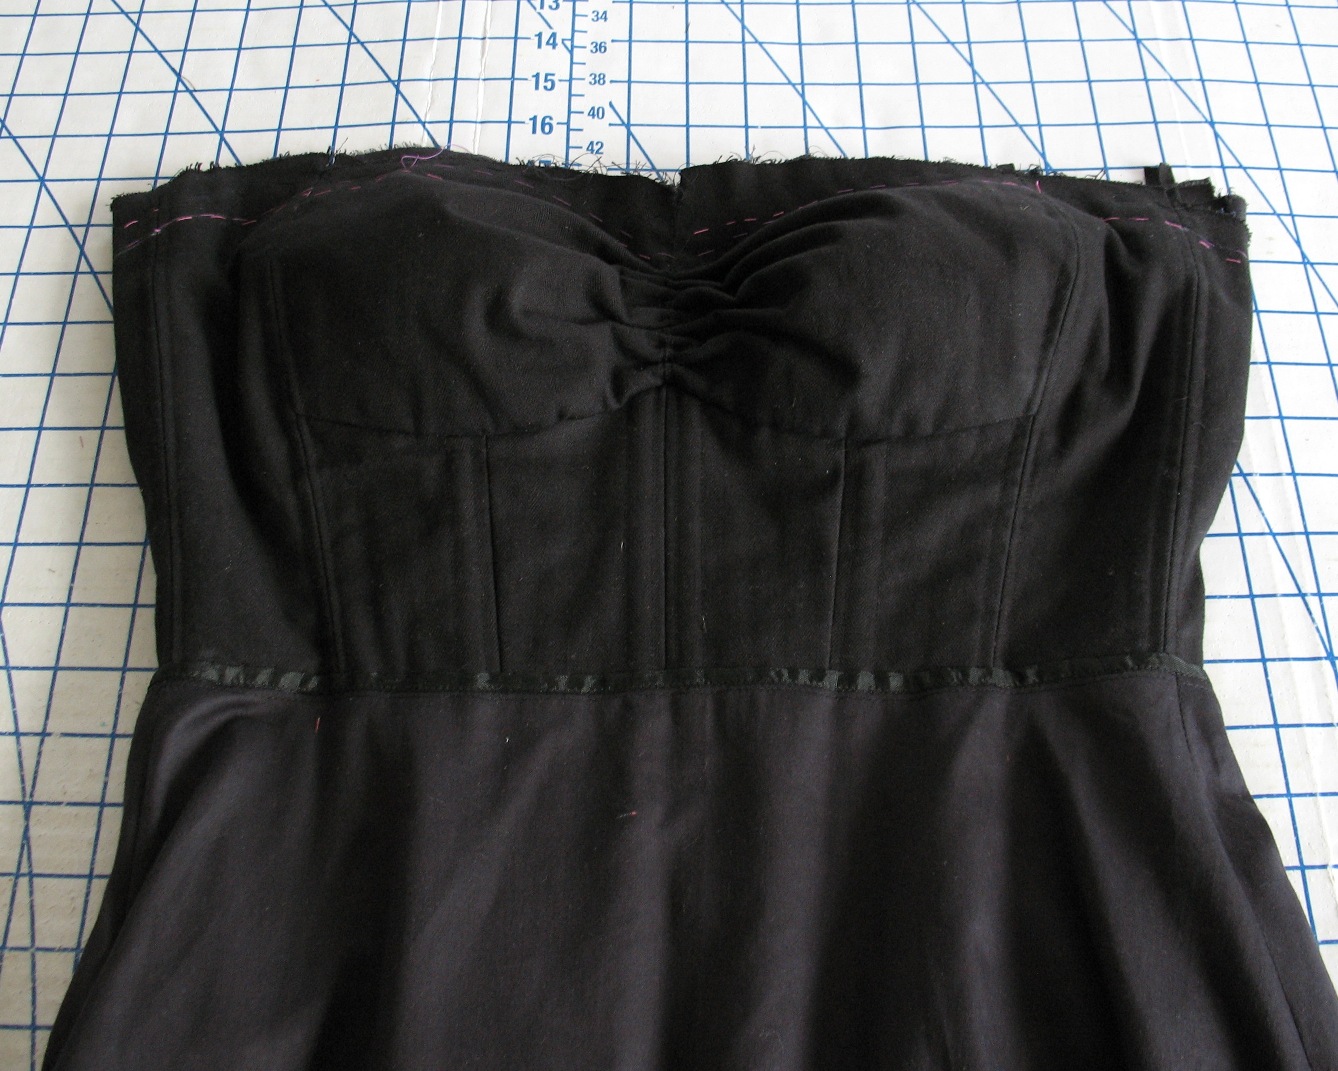
The waistline of the petticoat was finished with rayon seam binding and then
hand stitched to the corselette.
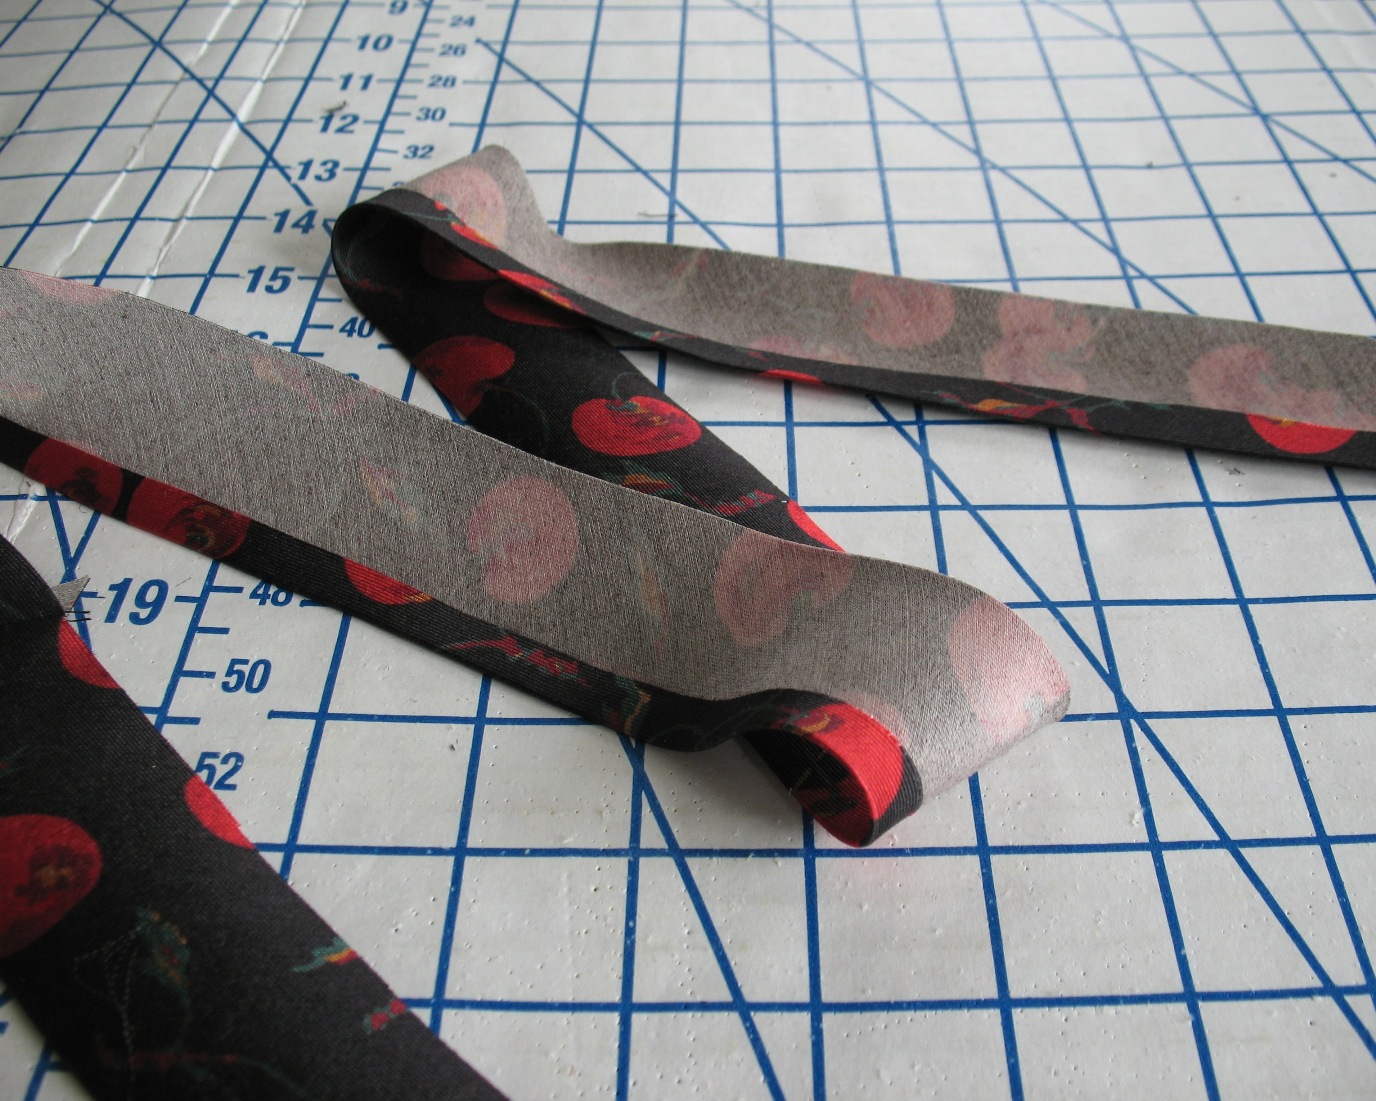
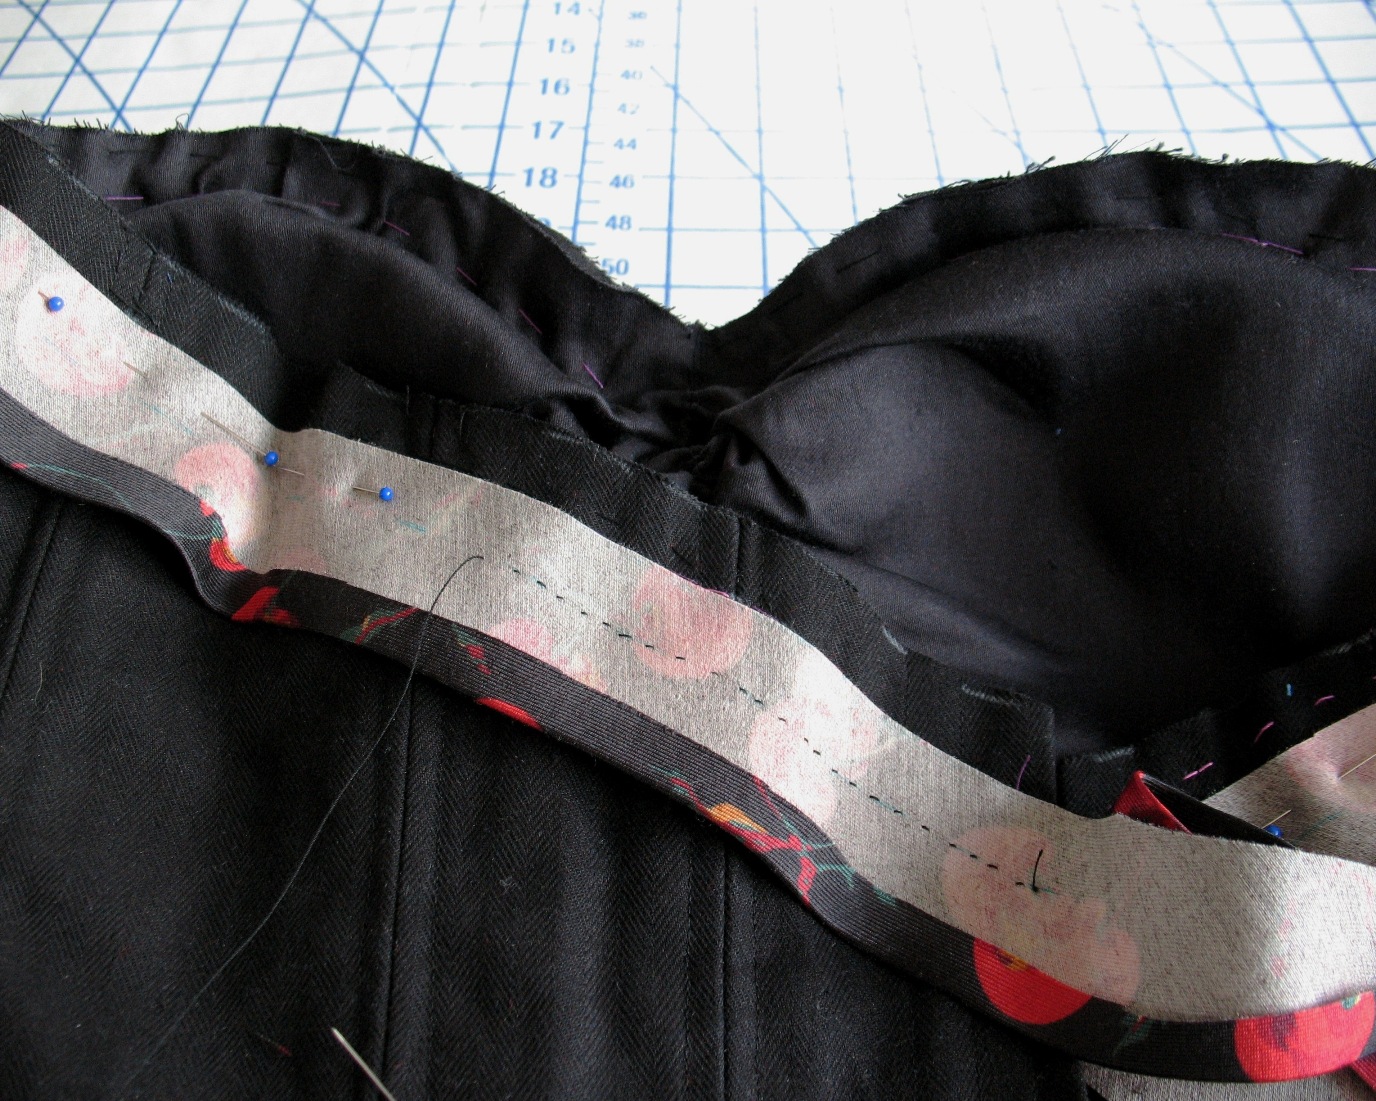
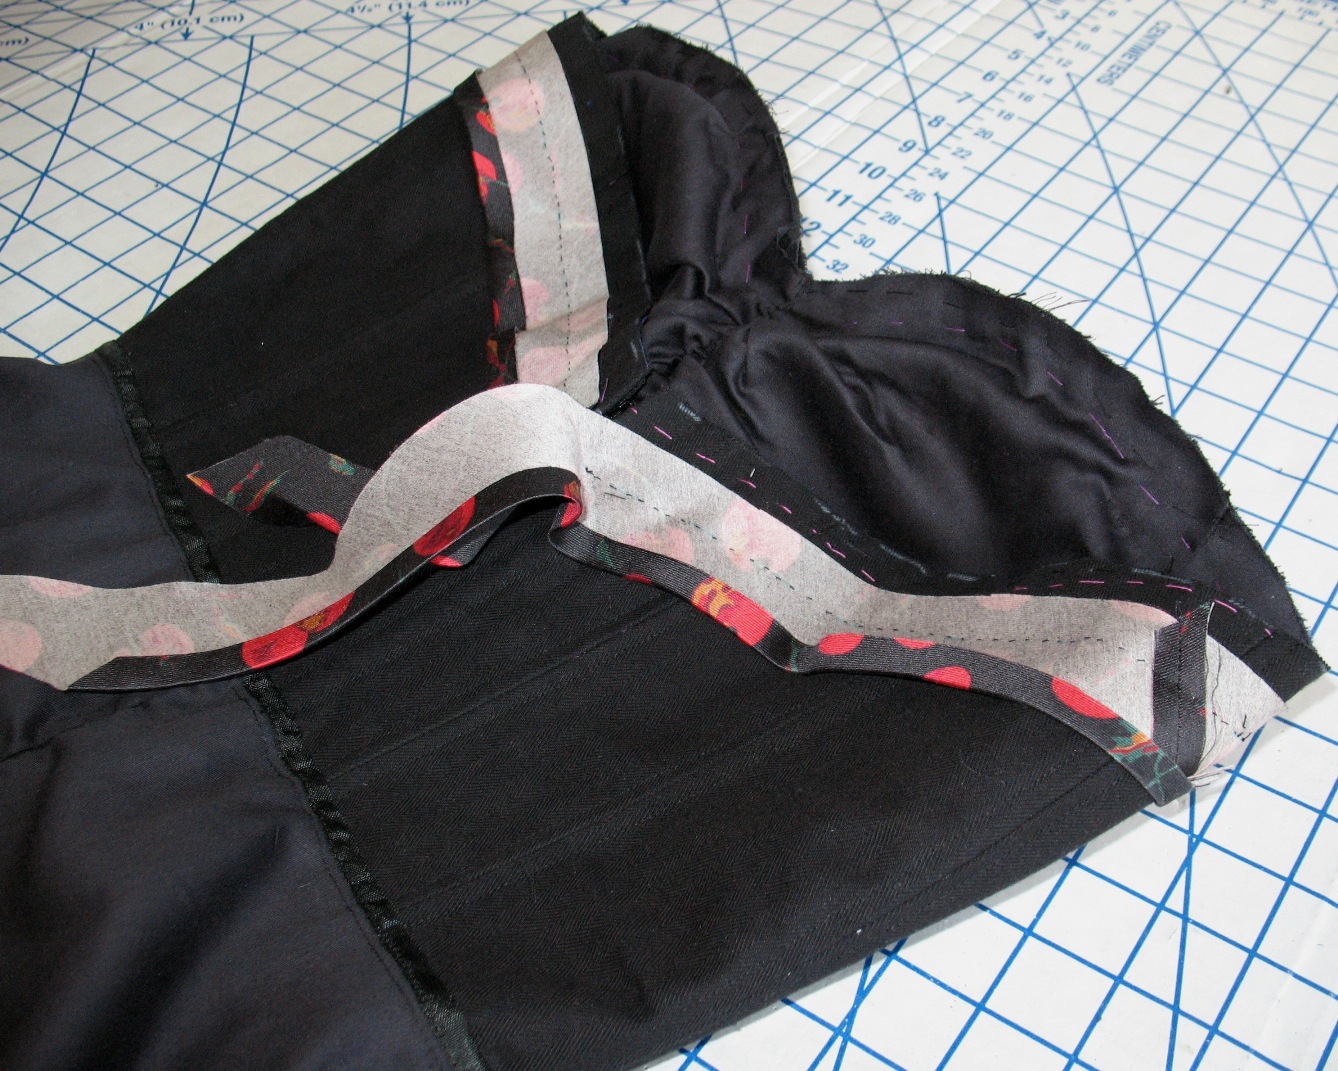
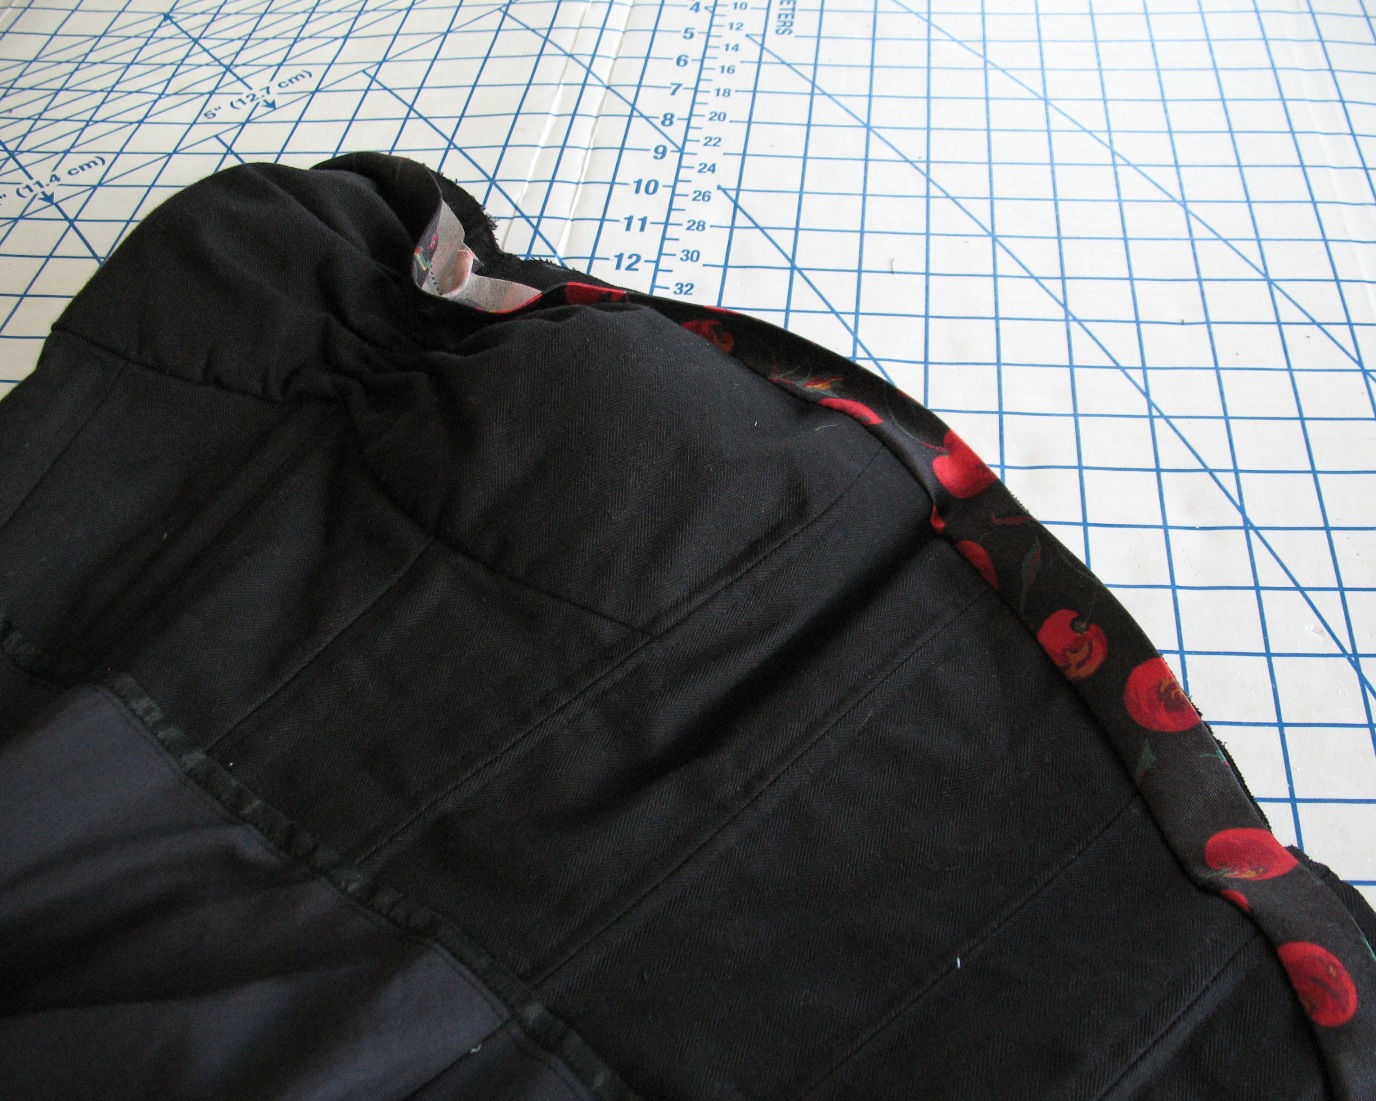
The upper edge of the corselette was finished with the cherry print fabric just in case the top edge ever becomes visible along the neckline.
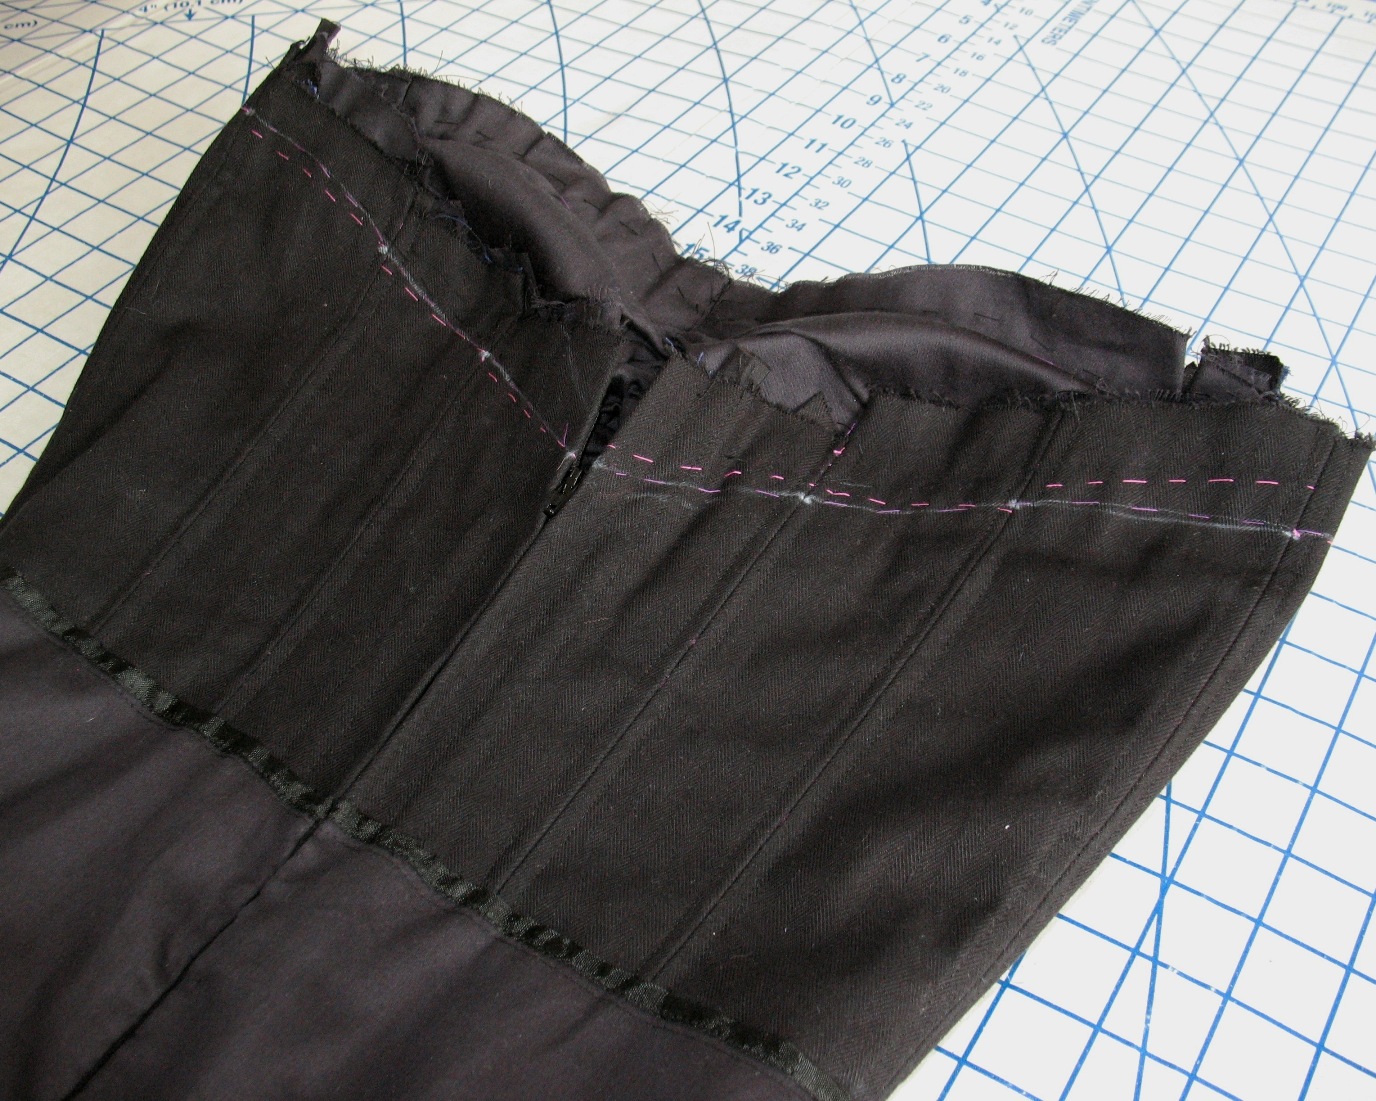
But first, that neckline had to be evened out.
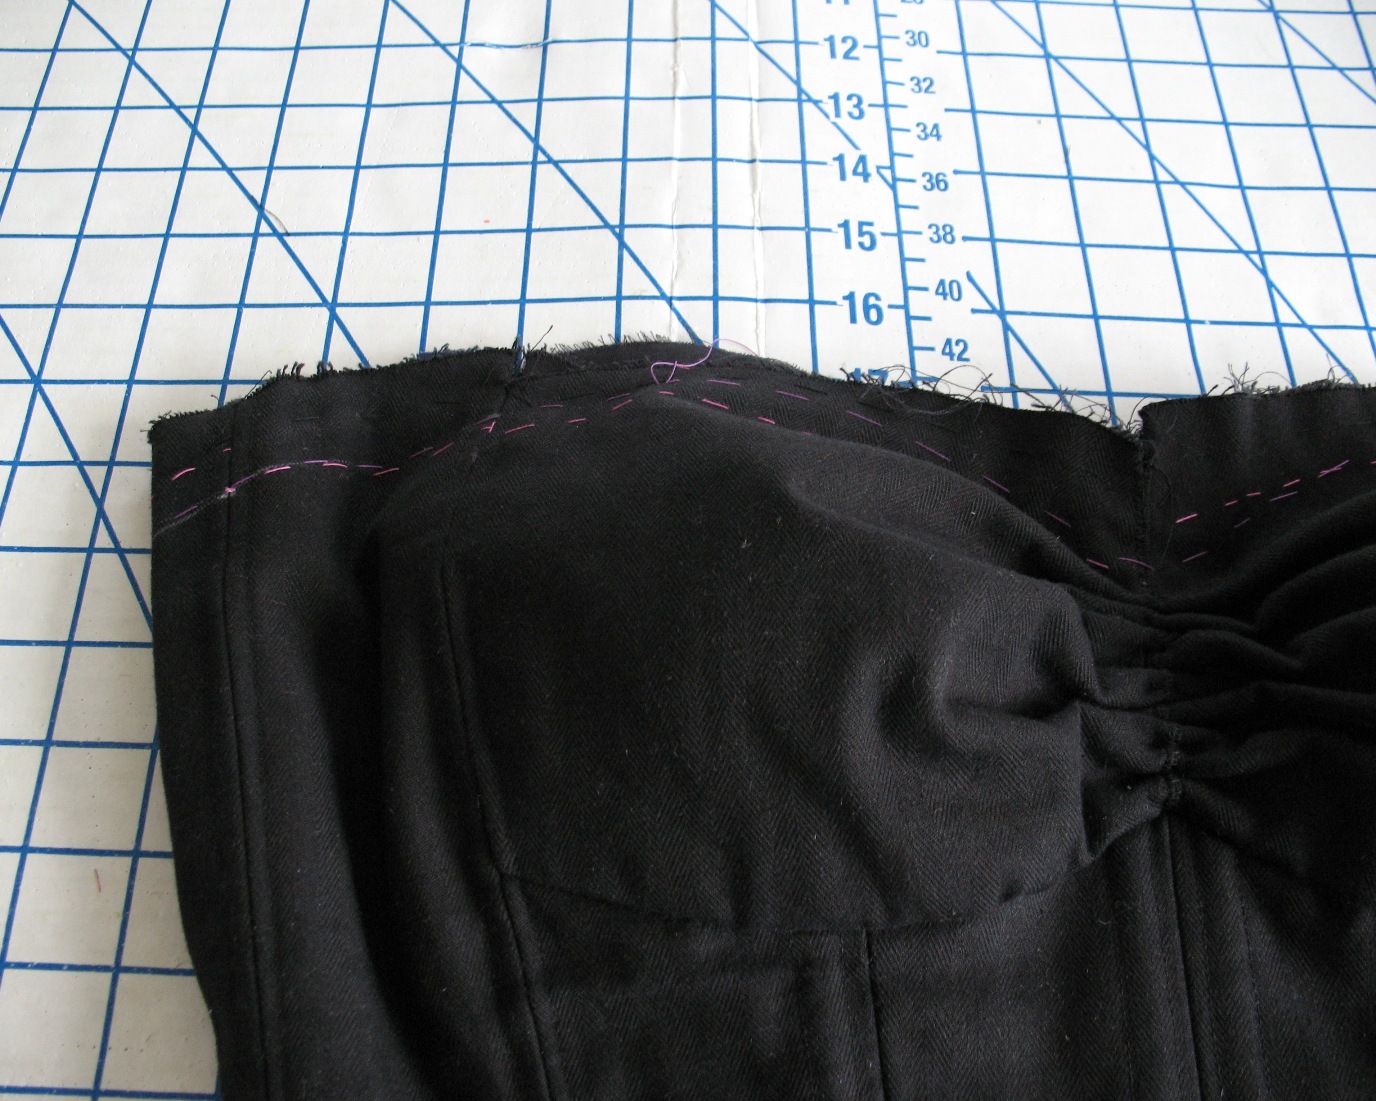
A contrasting color of basting stitches helped keep track of the new upper edge line, which was trimmed.
The bias binding was then stitched on by hand.
Which makes it really easy to control.
And I love handwork!
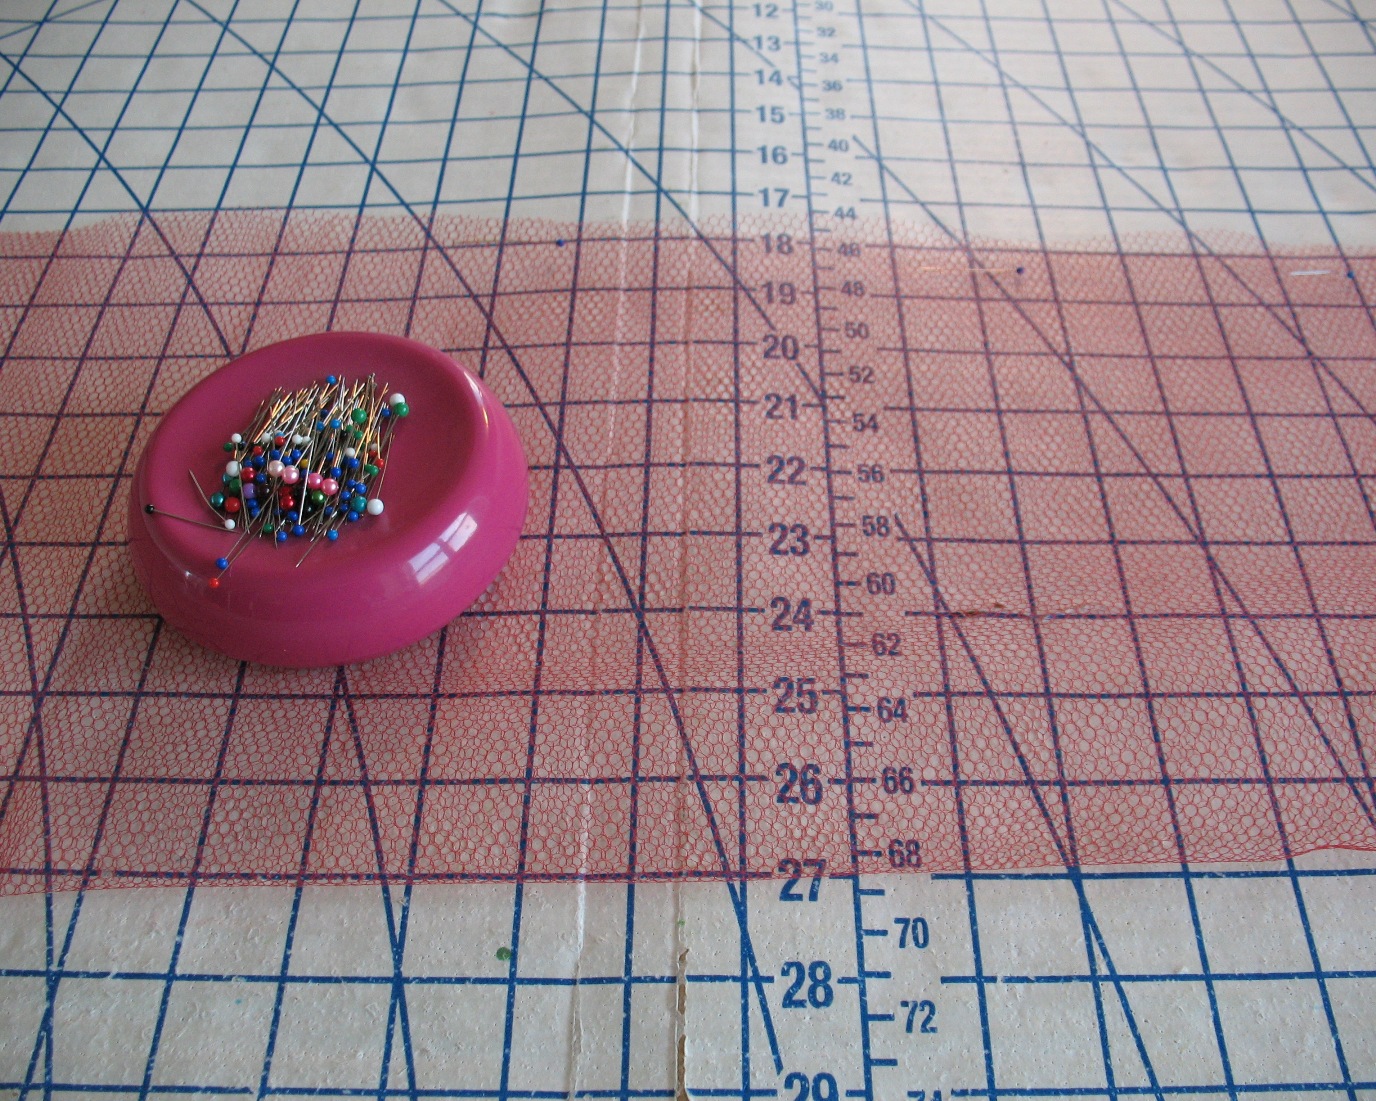
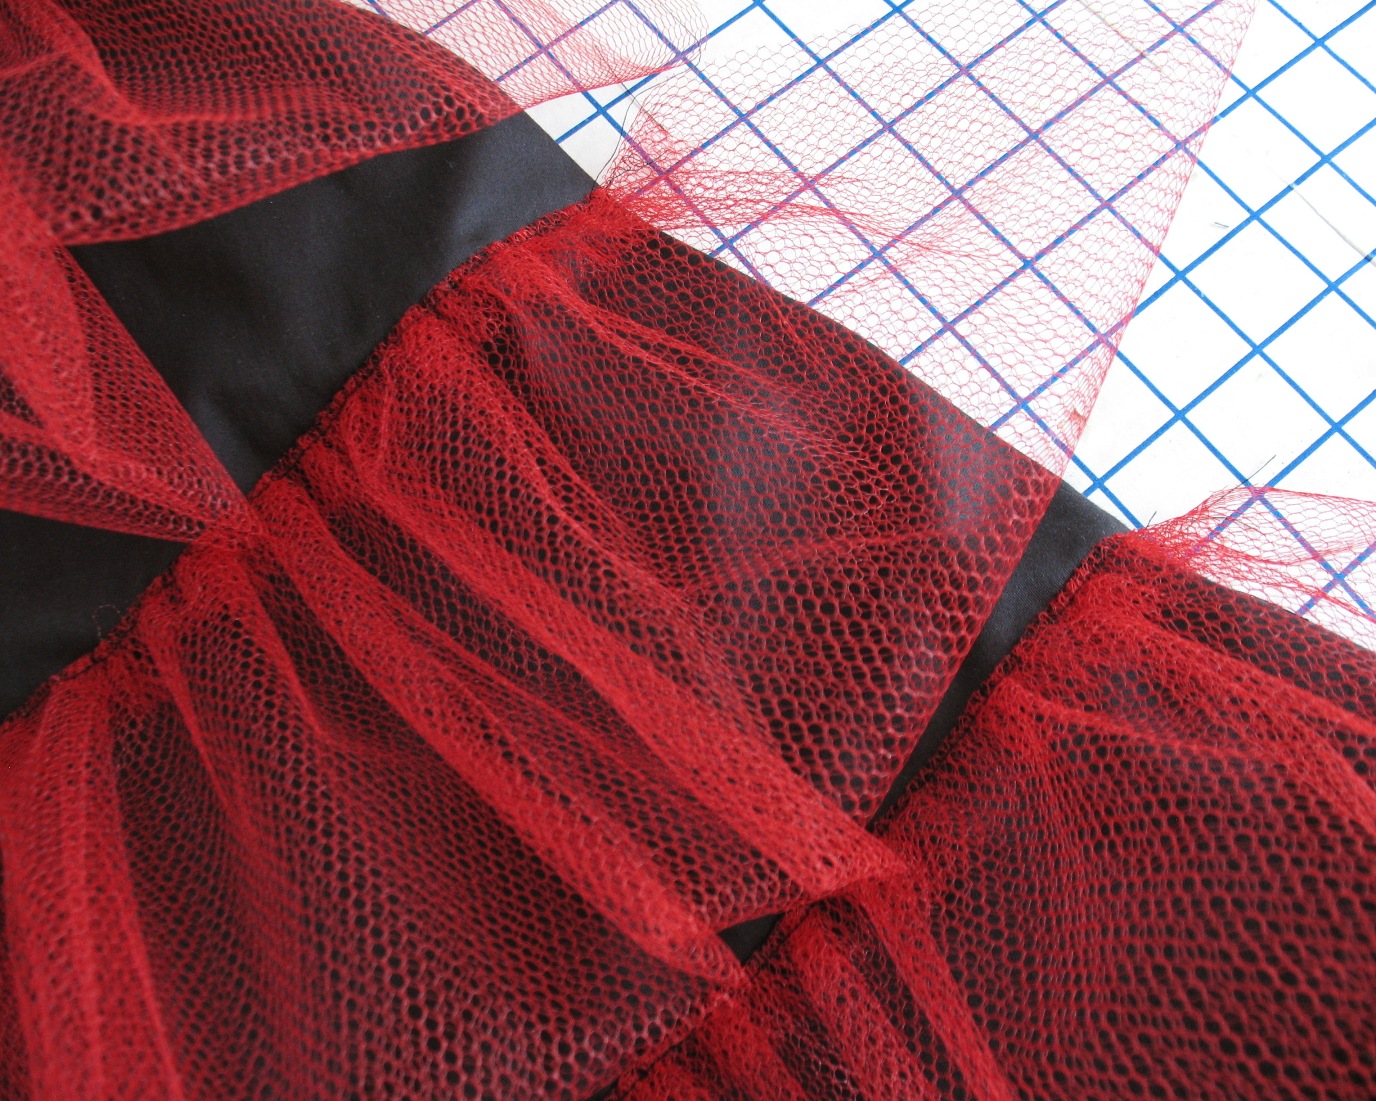
The ruffles for the petticoat were made from netting.

The netting is 72” wide, so I just used that as my
width. Each ruffle was cut twice as deep as needed, plus one or two inches for a seam allowance and to account for
folding all that bulk over on itself.
The netting was folded in half, basted
together, and gathered using that basting stitch (I prefer a folded bottom edge to a raw edge – it looks nicer and poofs more than a single layer).
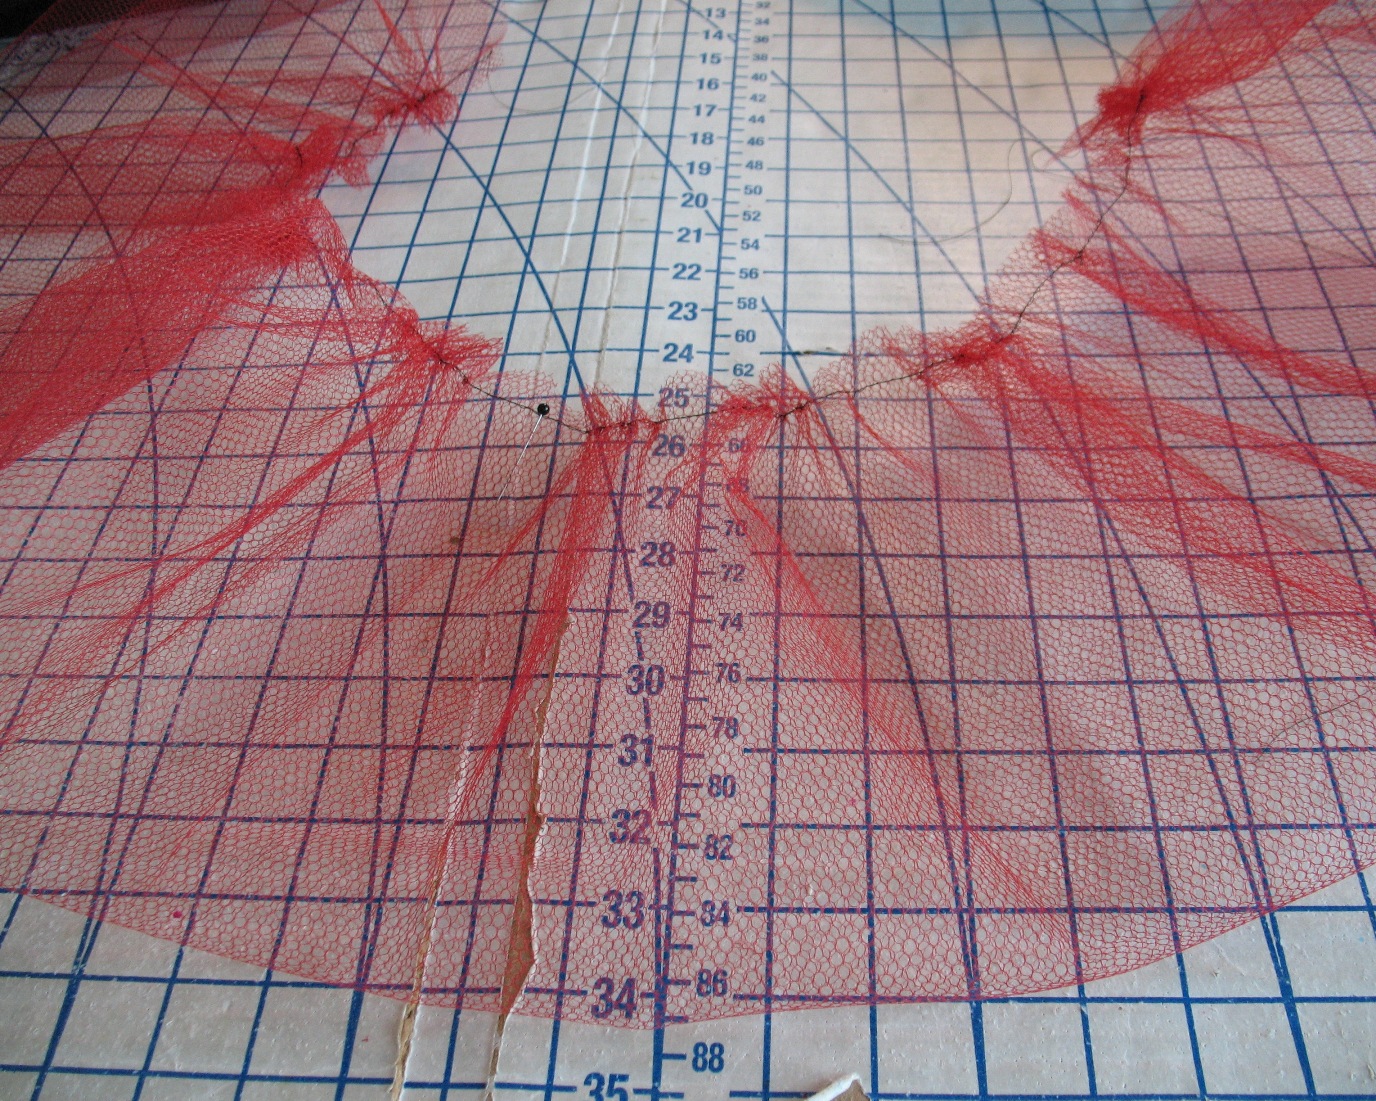
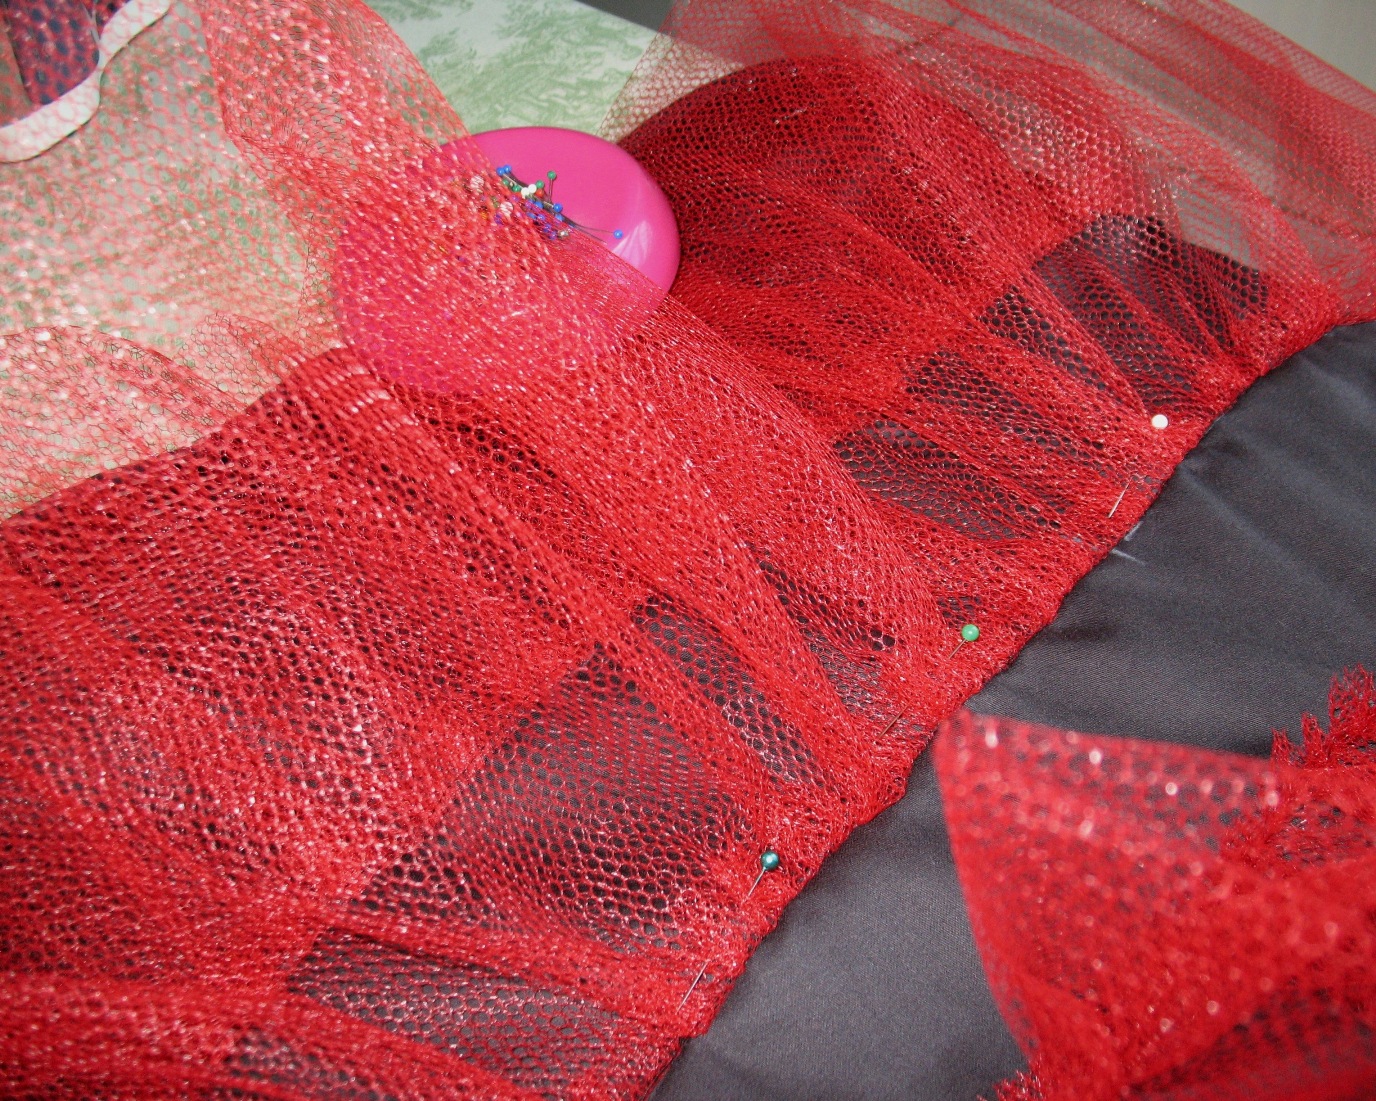
The gathered ruffle was stitched to the cotton petticoat,
facing toward the waistline. I chalked
the stitching line to make it easy to see.
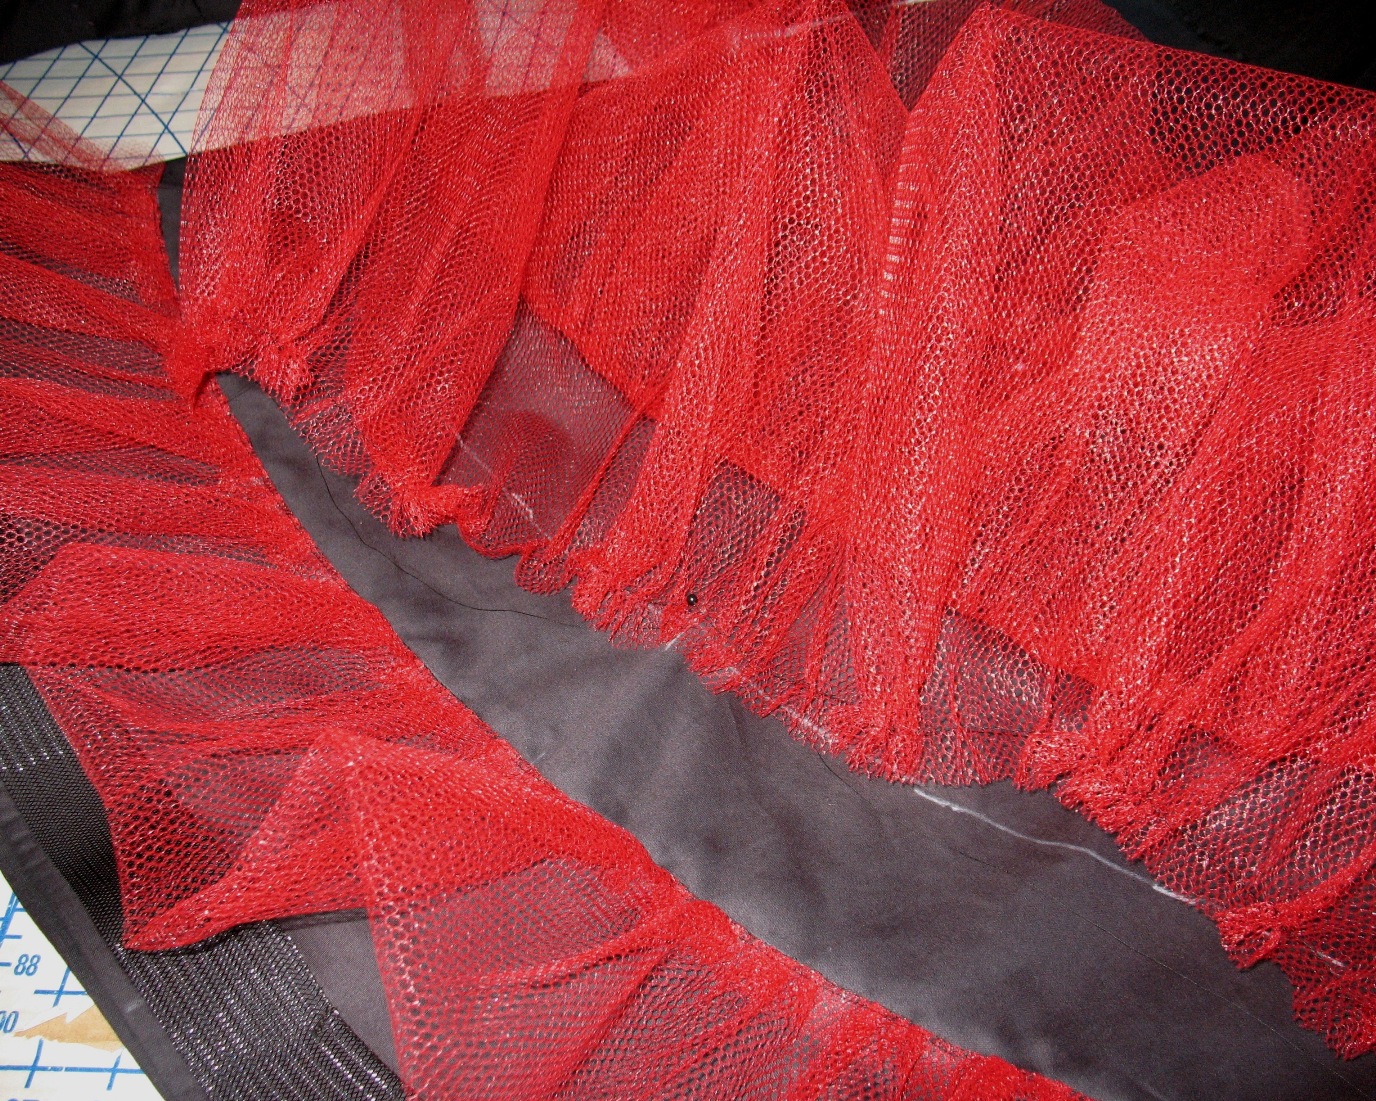

The ruffle then was folded into its proper position,
facing downward toward the hemline.
Normally, that would be it. But
since these ruffles were a bit narrow, they did not want to stay down. To remedy this, I top-stitched right next to the stitching line.
And considering
the actual dress was unwearable three days before the event, it was a concession I was willing to make. Shortcuts had to be made somewhere!
Horsehair braid was added to the hemline of the cotton petticoat for an extra bit of oomph.
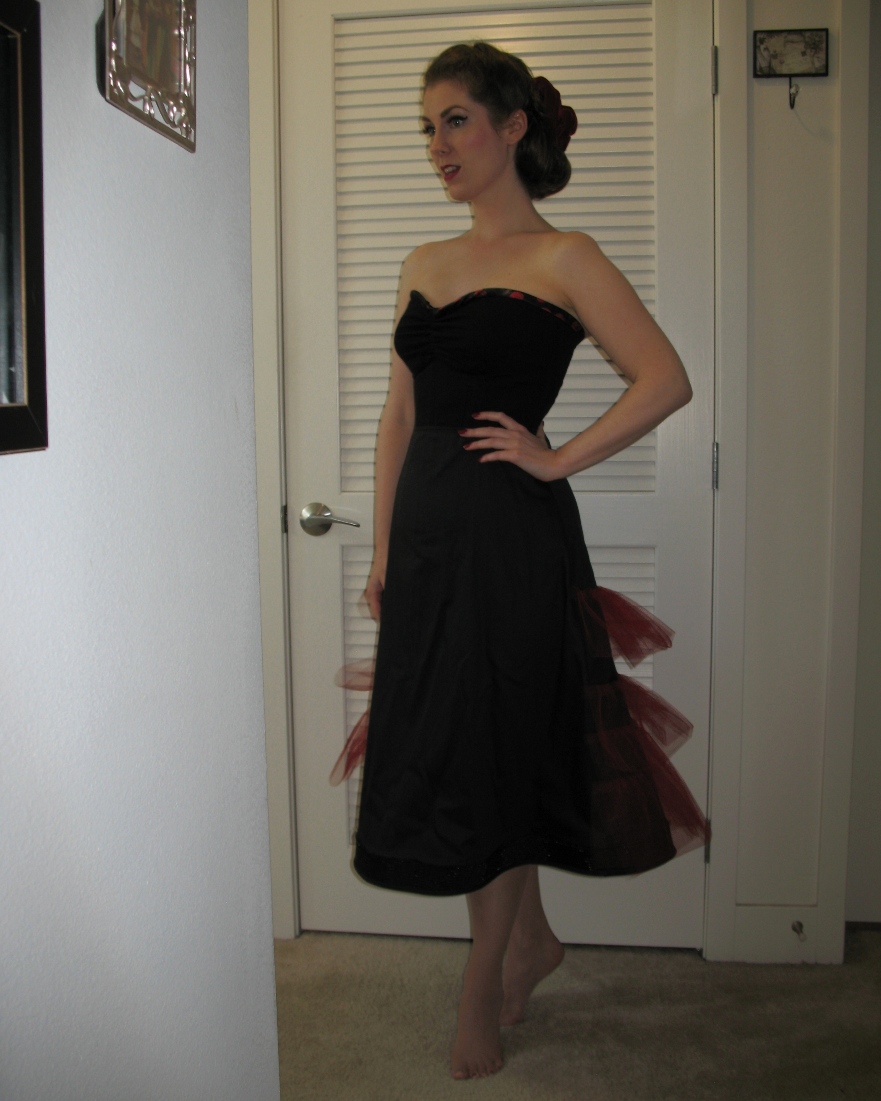
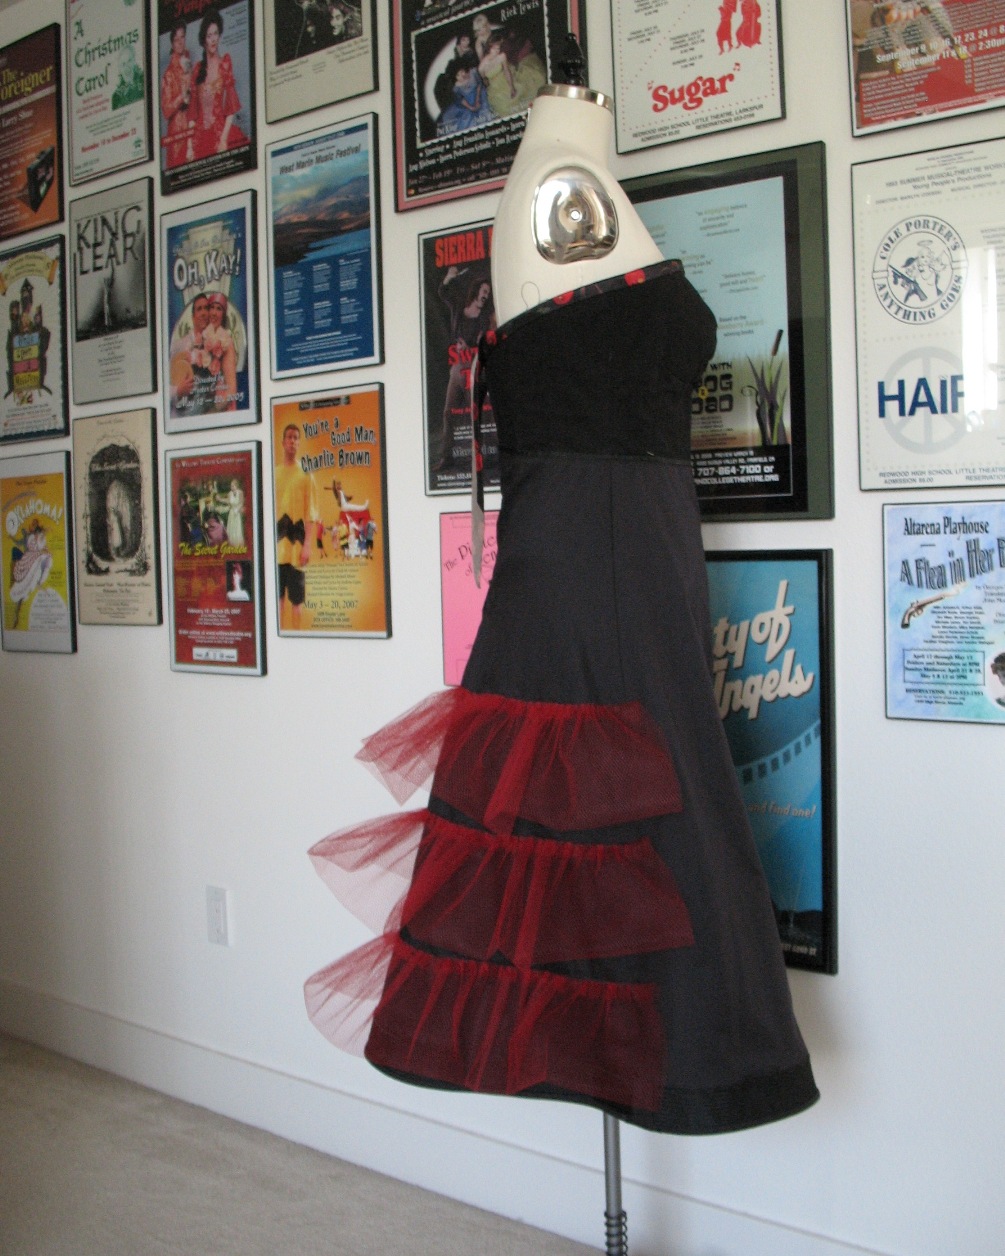
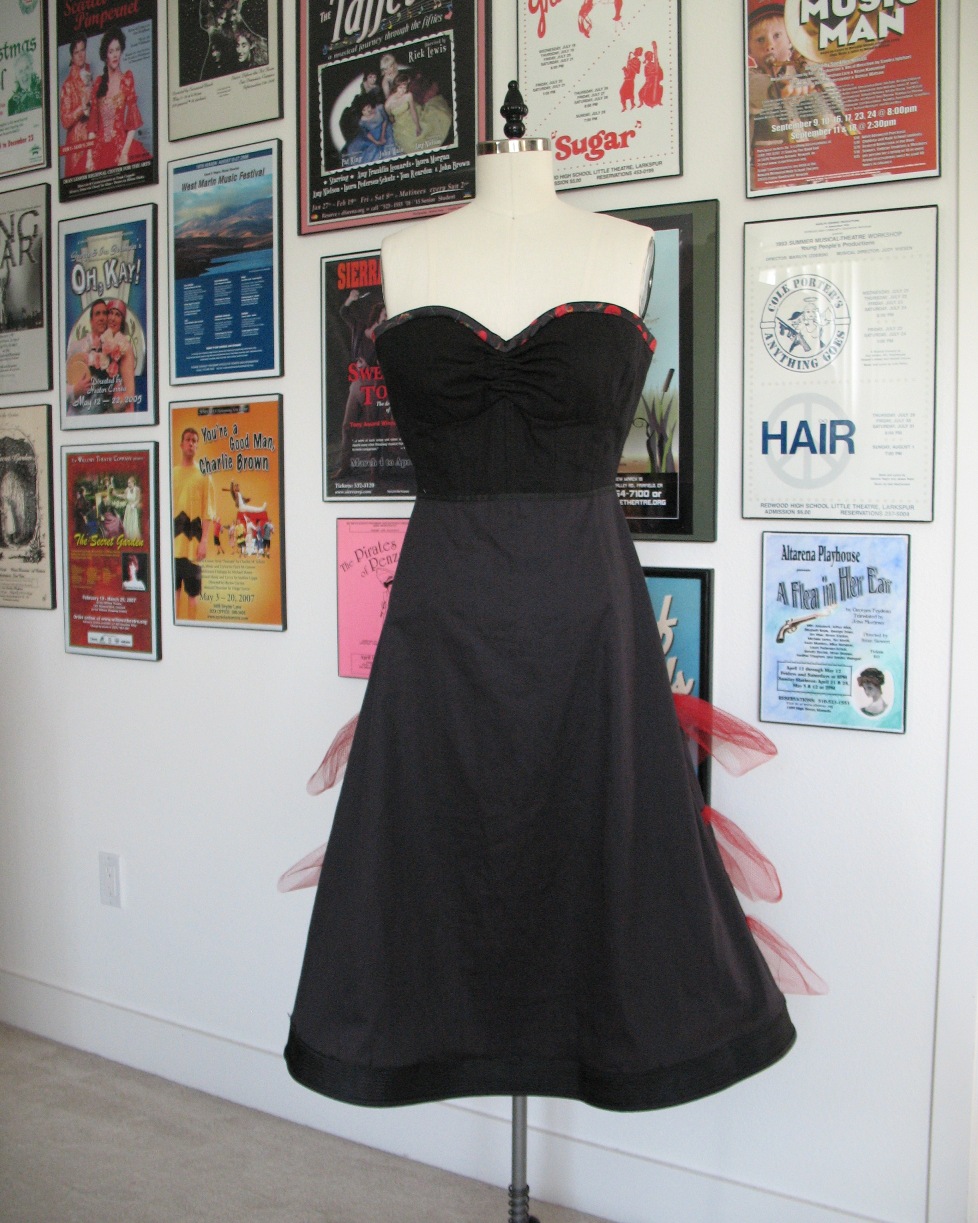
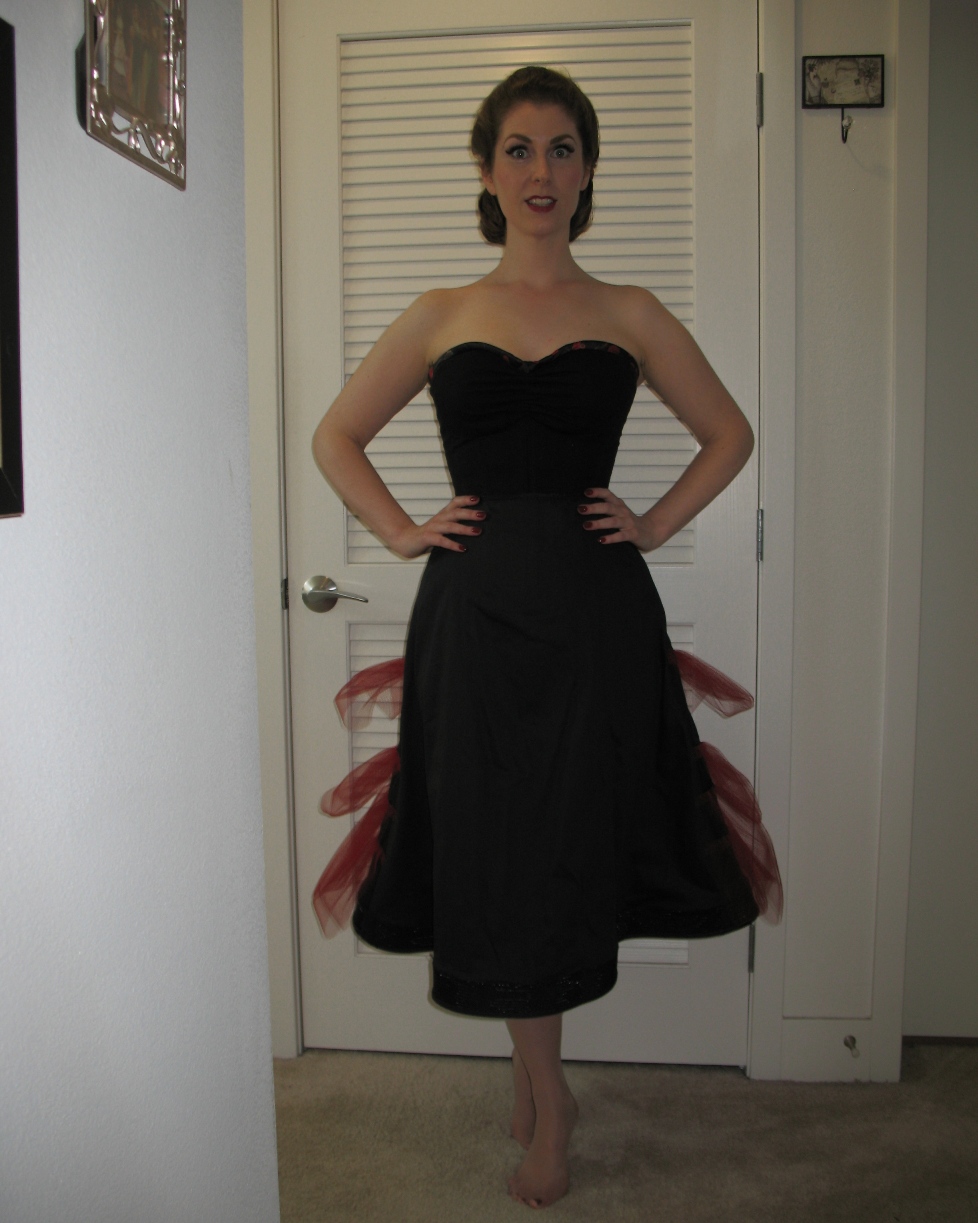
Here is the completed look. It does not fit my dress form since I have squishy bits to displace, and the form is quite solid. So here I am in my underwear.
Best of all, the two pieces (corselette and petticoat)
are easily separated since they are hand-stitched together. This means that I can use them again, together or separate, as the need arises.
Hold on, I'm super gluing a drool cup to my chin.
ReplyDeleteYou are absolutely beautiful, first off. Secondly, you are the personification of grace and the textbook definition of Ladylike.
ReplyDeleteOkay, with that out of the way, I would just like to tell you how much I enjoy reading your posts! They are informative without being too technical, and insightful as well as chock full of your absolutely flawless work. I actually now enjoy the little hand stuff that I used to abhor, because I can now find the appreciation for it mainly through watching your pieces come alive.
As always, amazing work!
Thank you for the lovely compliment, Holly!
DeleteI'm beginning to enjoy handwork in my old age (lol) but I doubt I will ever be as proficient or as fast as you my dear. Lovely stuff! Can't wait to see that beautiful dress up close as well as the construction.
ReplyDeleteI've really loved reading about your corselette process & now this petticoat. If they weren't undergarments, I'd say they look nice enough to wear out as a sleek black dress. heh
ReplyDeleteMy mom actually said the same thing . . . some people would wear this as a dress! But, prude that I am, I would never dream of wearing it in public. I actually had a few misgivings about posting the pictures.
DeleteSo clever and so beautifully executed. Your sewing is inspirational, as always.
ReplyDeleteI really enjoy reading your sewing posts, they are inspirational :) I've actually just bought the Vogue 7698 pattern myself. I have a 1950's dress that could do with a proper foundation, and this motivated me to get on with it. I noticed that the first time you used the pattern you used bust pad. Did you use it this time too? Does it make much of a difference?
ReplyDeleteFor the previous corselette, I used underwires and no bra cups - the bust padding helped to keep the shape. This time around, I had a set of molded bra cups that did away with the need for the bust pads. Also, I am bigger in the bust these days, and did not feel the need to add any padding.
DeleteI really just depends on how much support or shaping you want.
Using a matching fabric band at the top of a custom slip or undergarment would be useful for sweetheart necklines on all dresses. Very clever solution to the problem of undergarments that peek out when you bend or move.
ReplyDeleteAmazing. Your craftsmanship is spectacular.
ReplyDeleteBeautiful work!
ReplyDeleteI can't wait to see this dress! This is the best series ever!
ReplyDeleteThis is so pretty. A shame to wear it underneath and not let it see the light of day!
ReplyDelete