
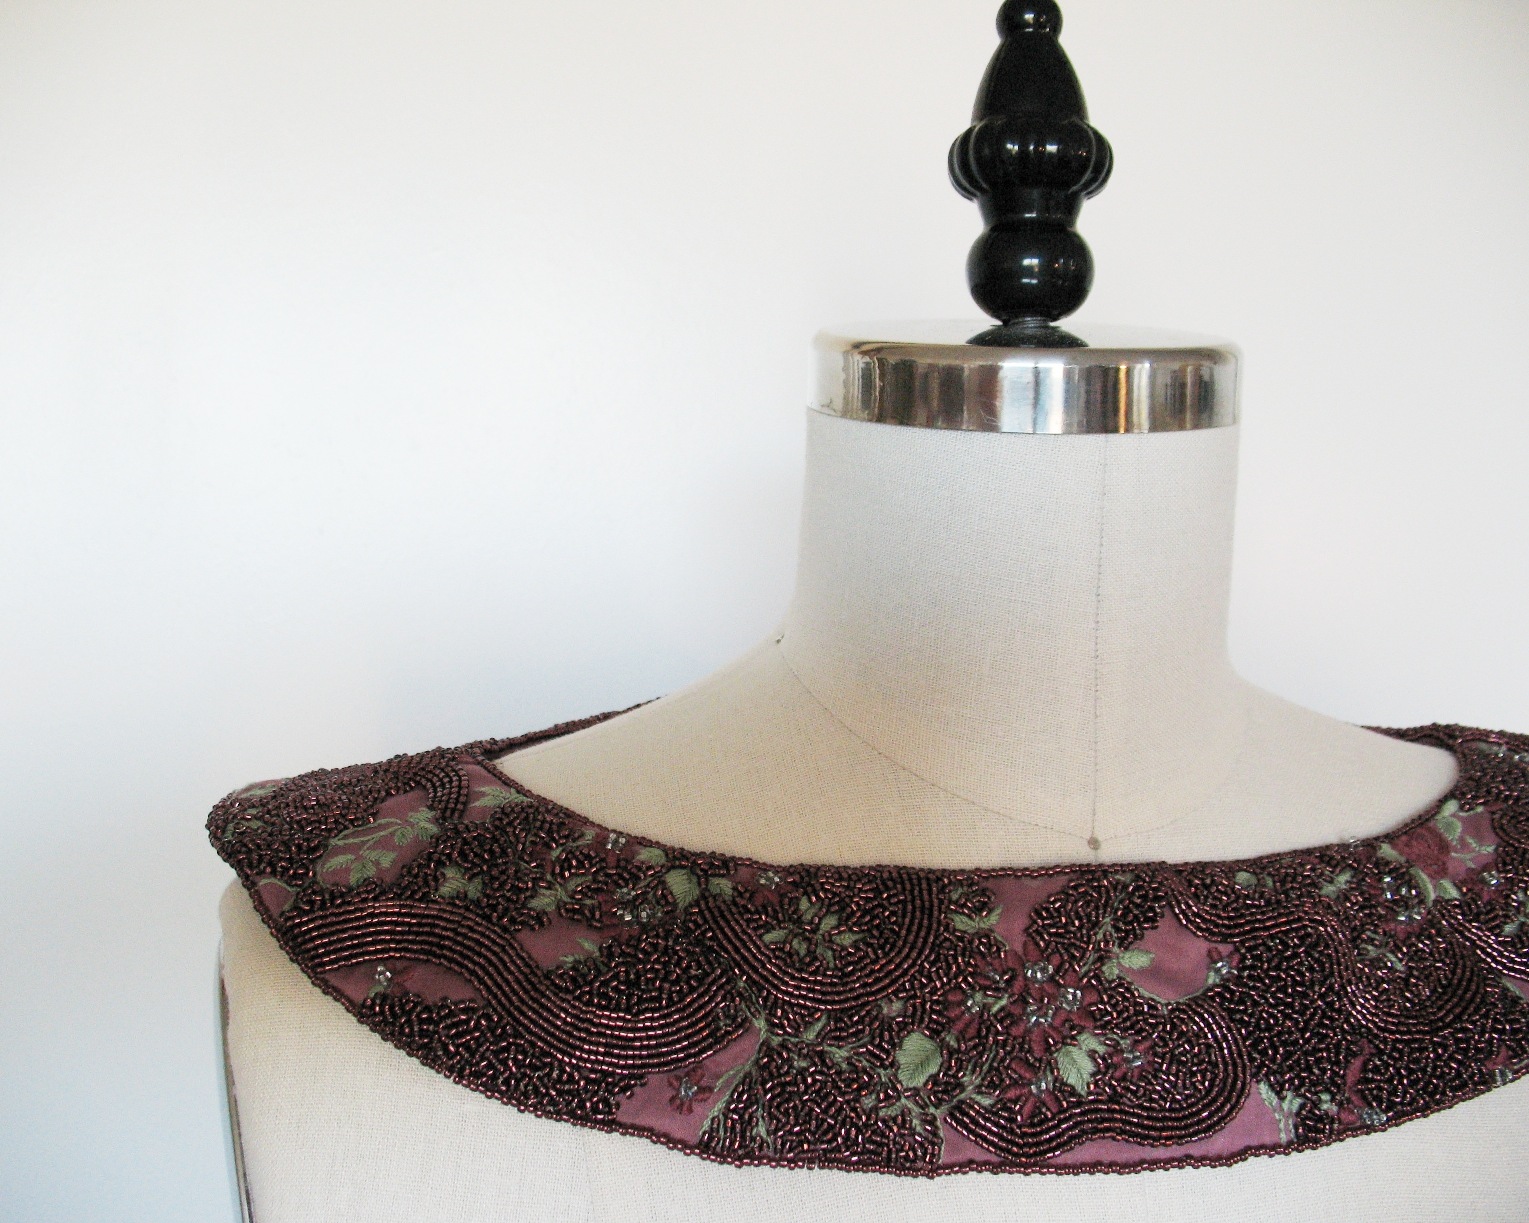
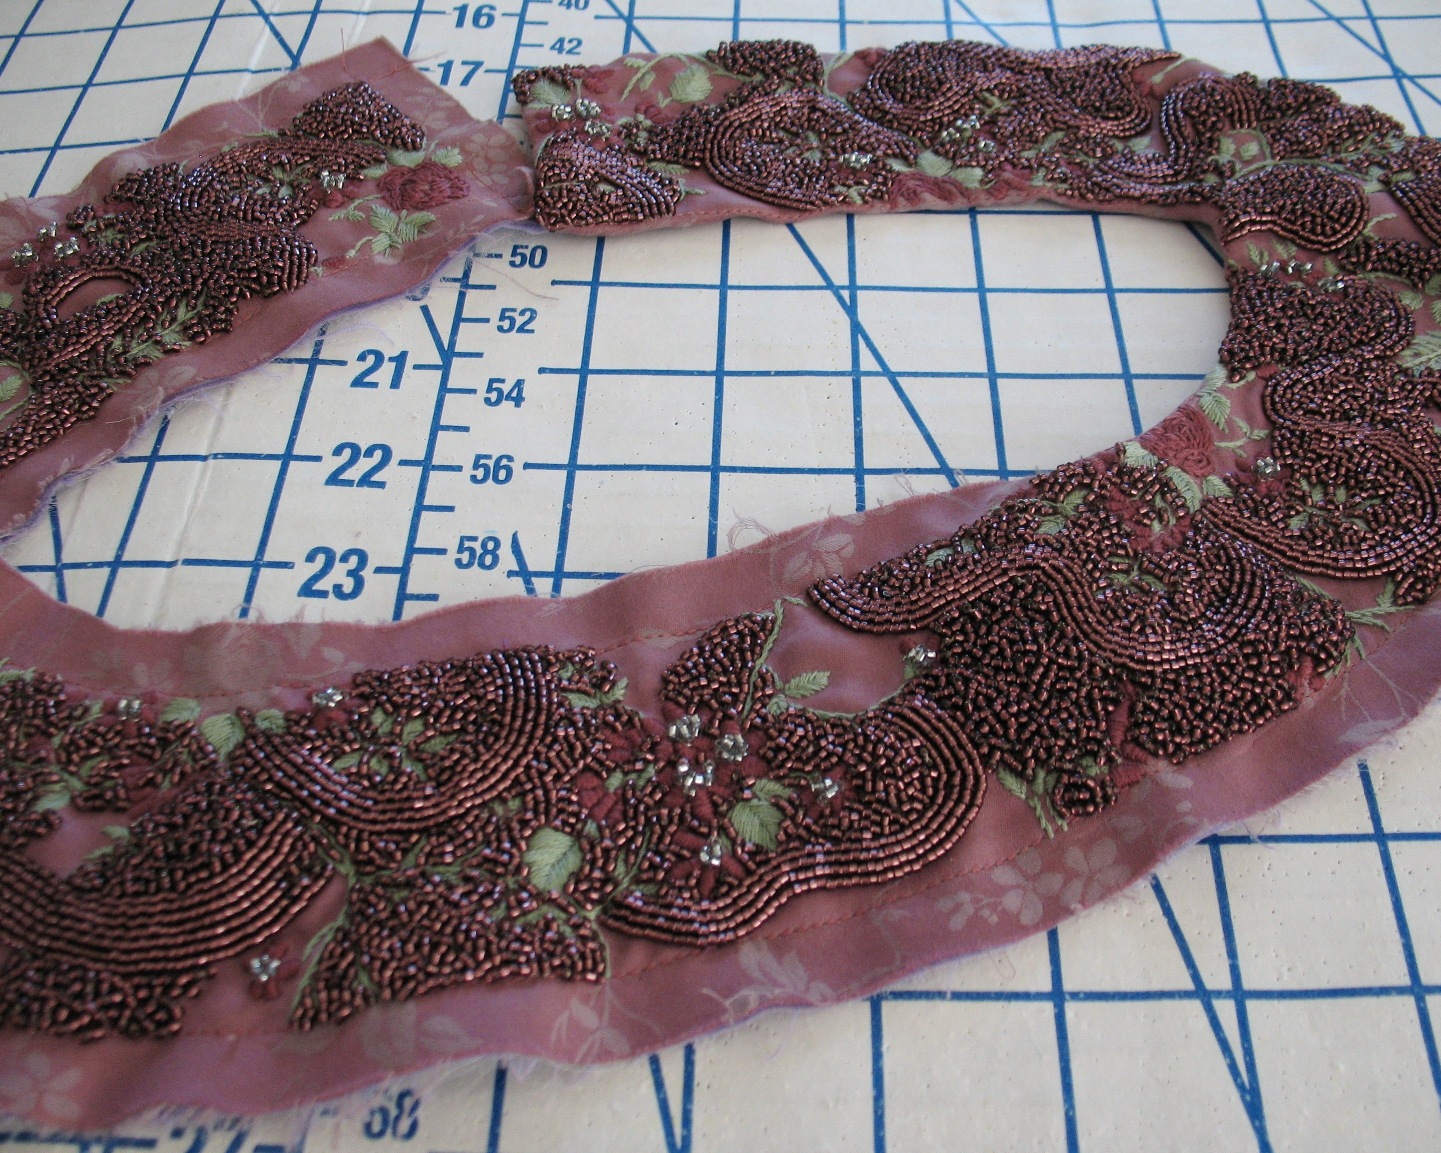
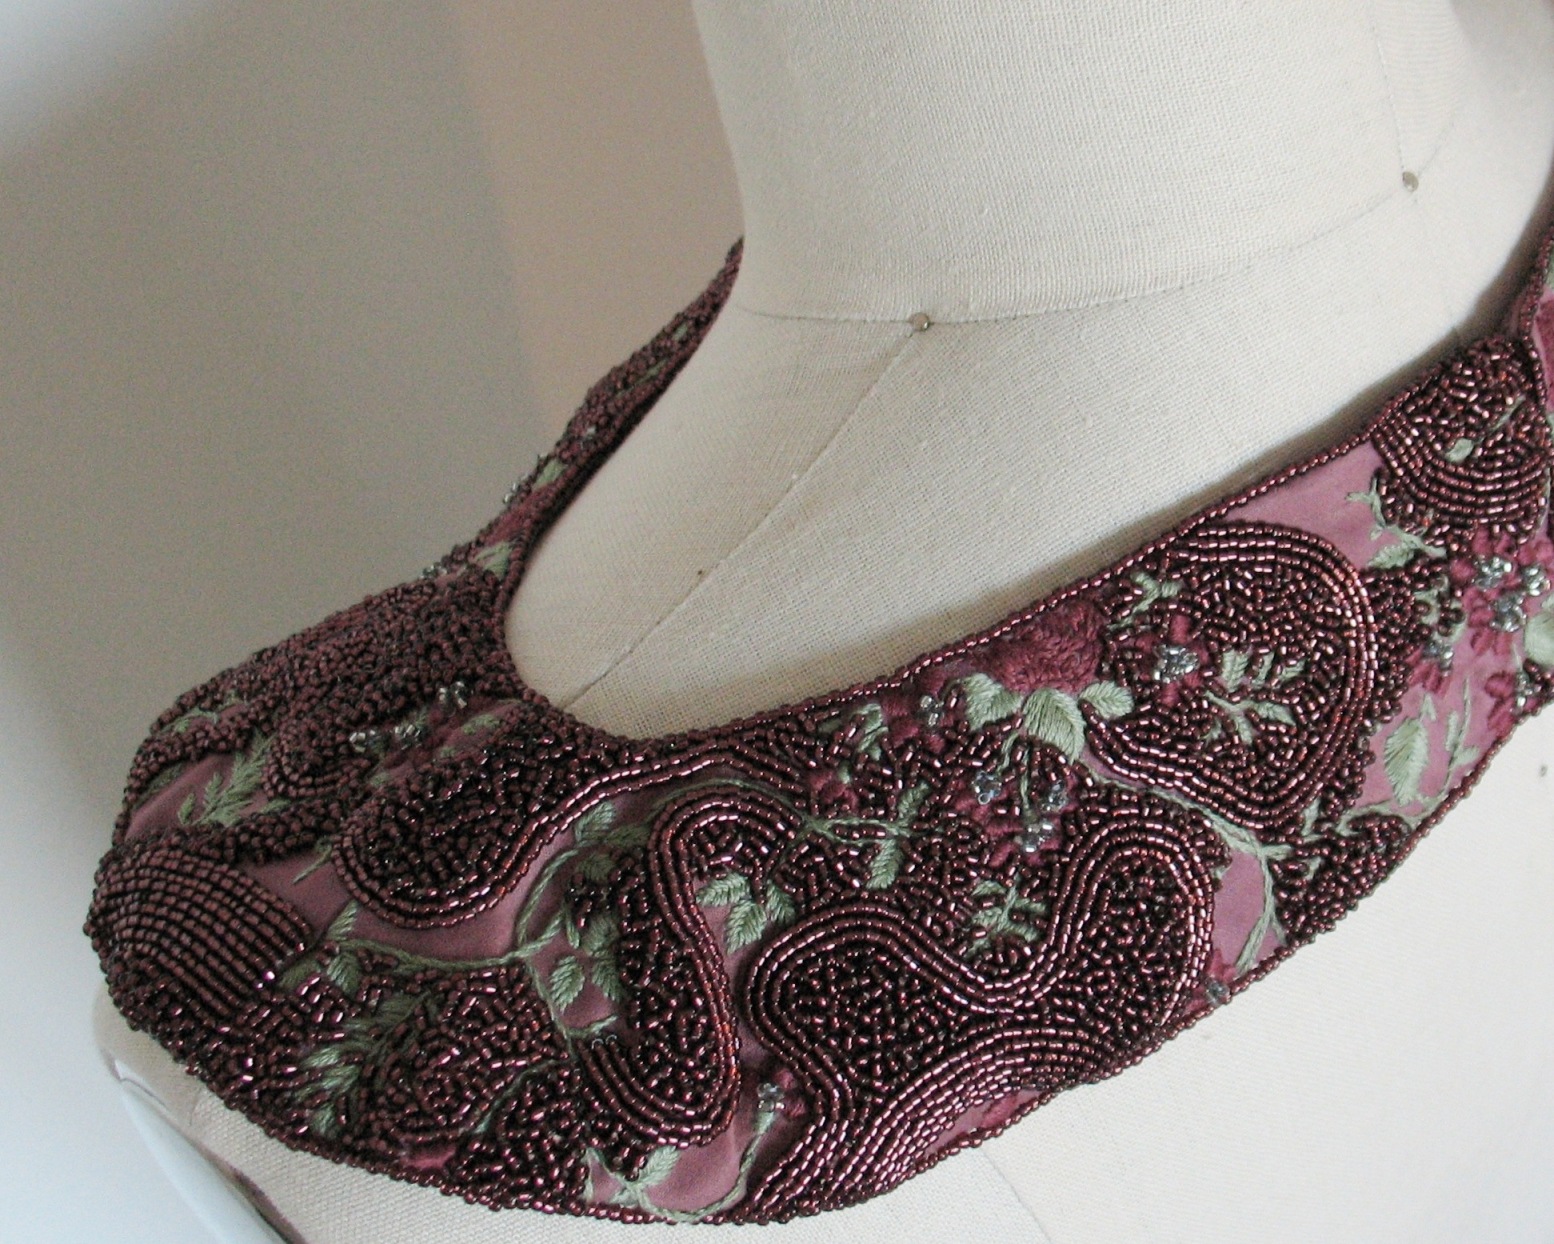
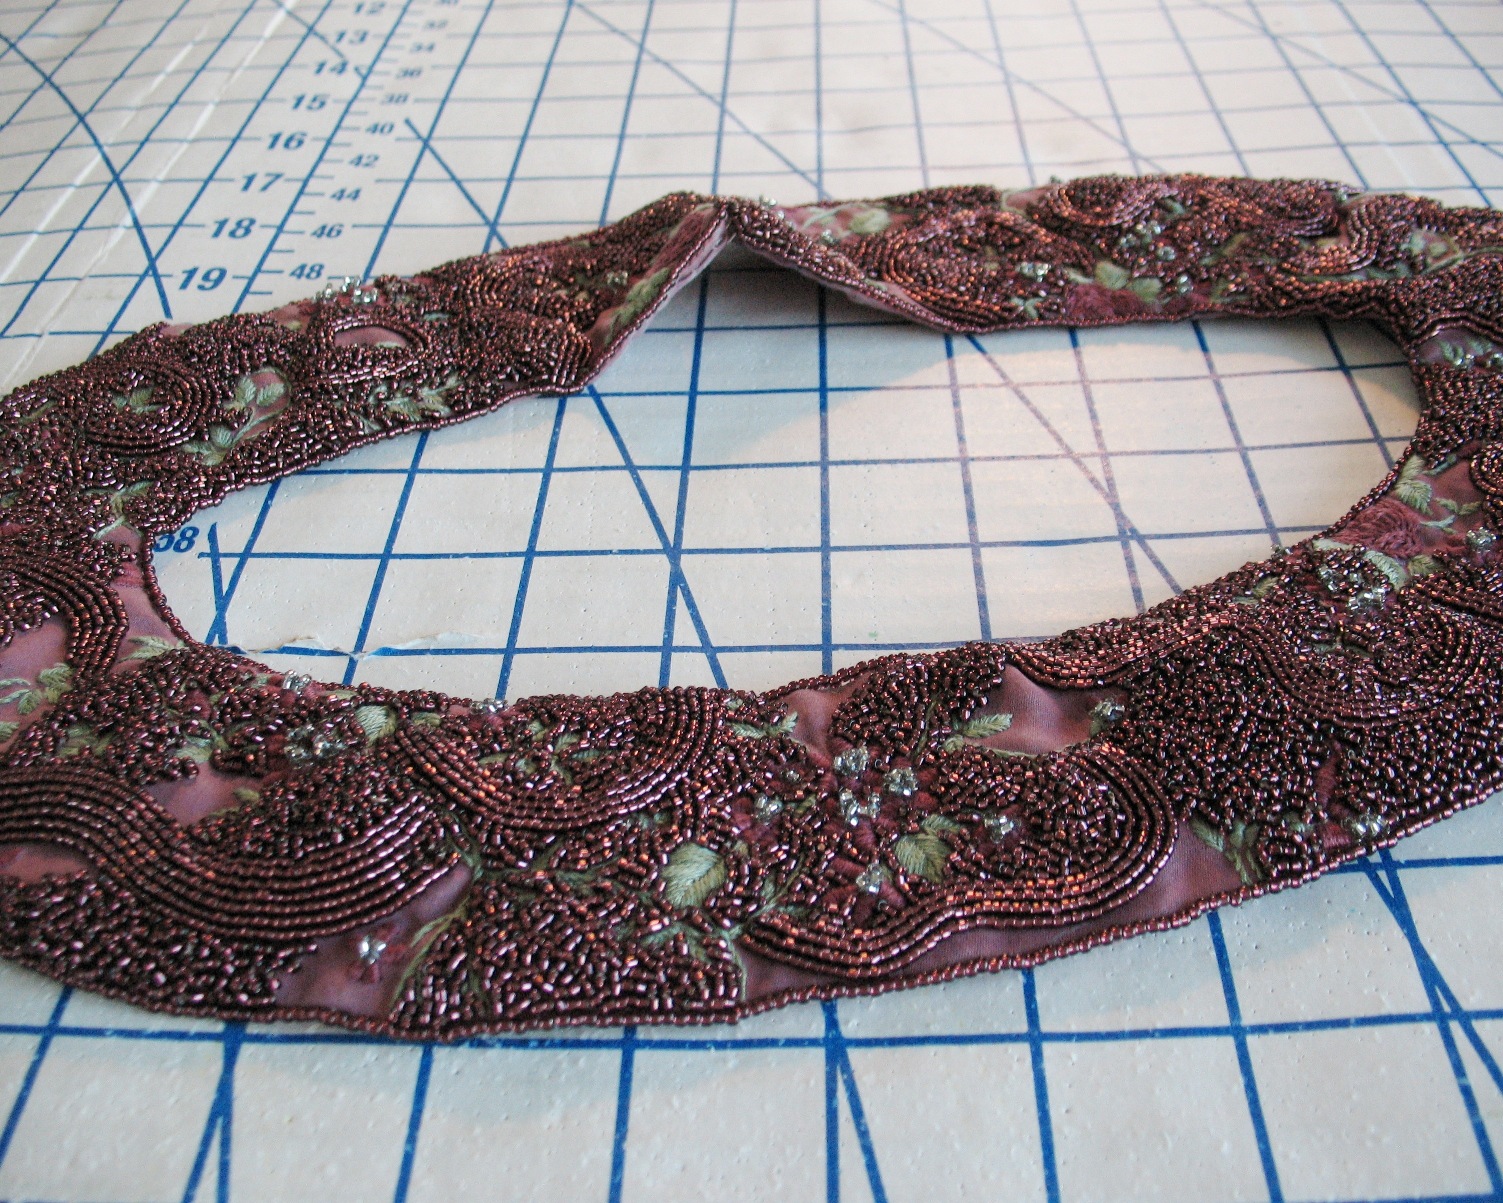
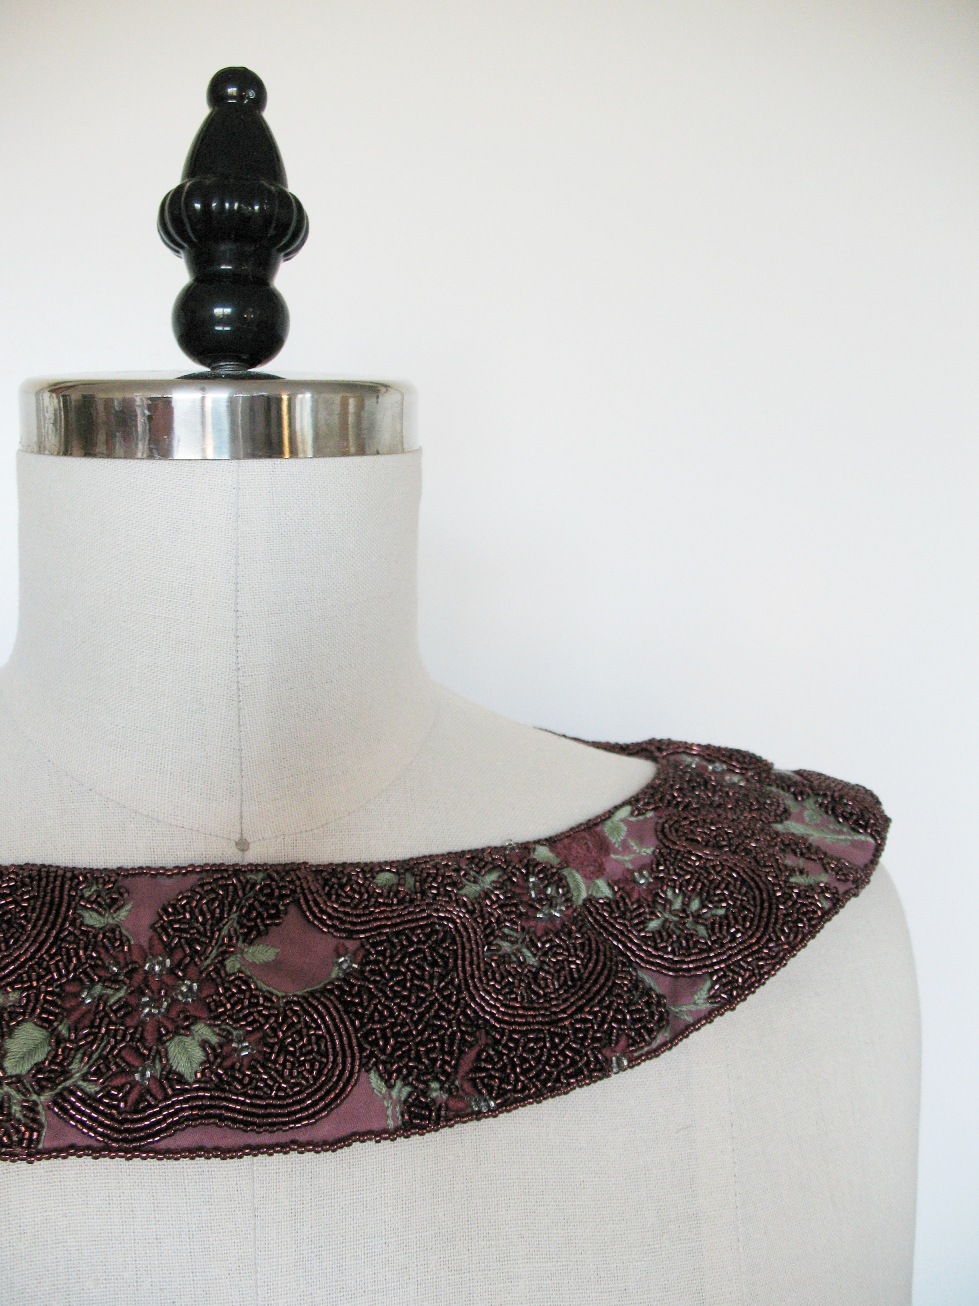
The beading on my Anna collar is complete!
After a lot of hand stitching, a few unpicked sections, and a ton of seed beads, I am tagging this project "finished"!
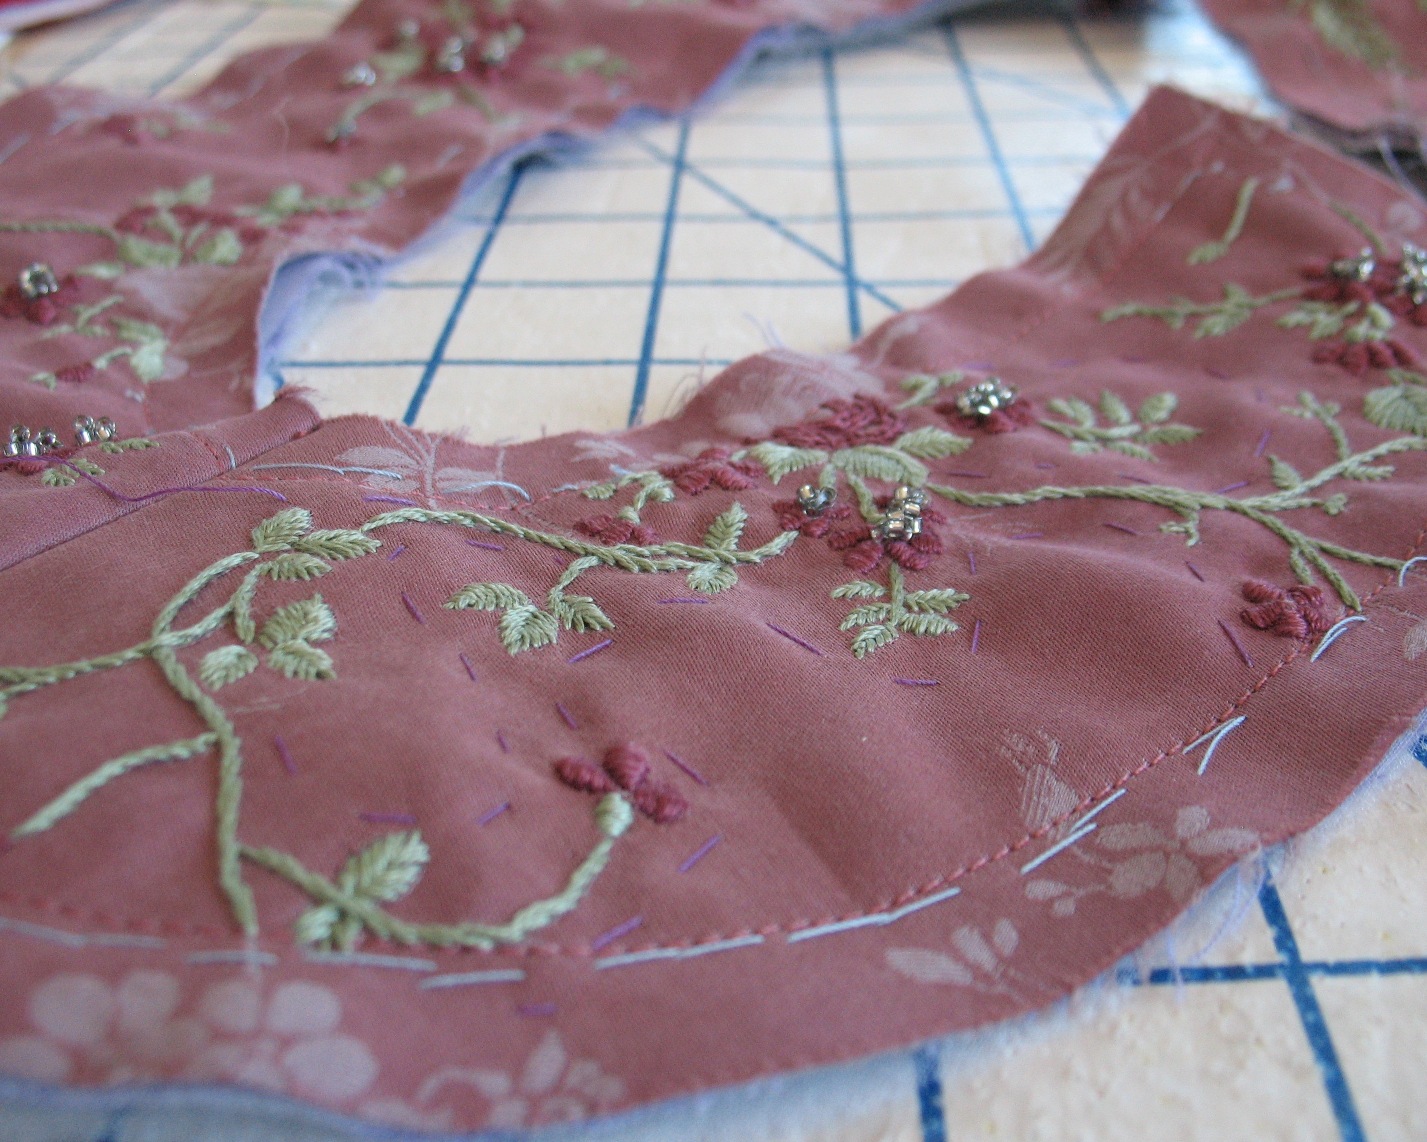
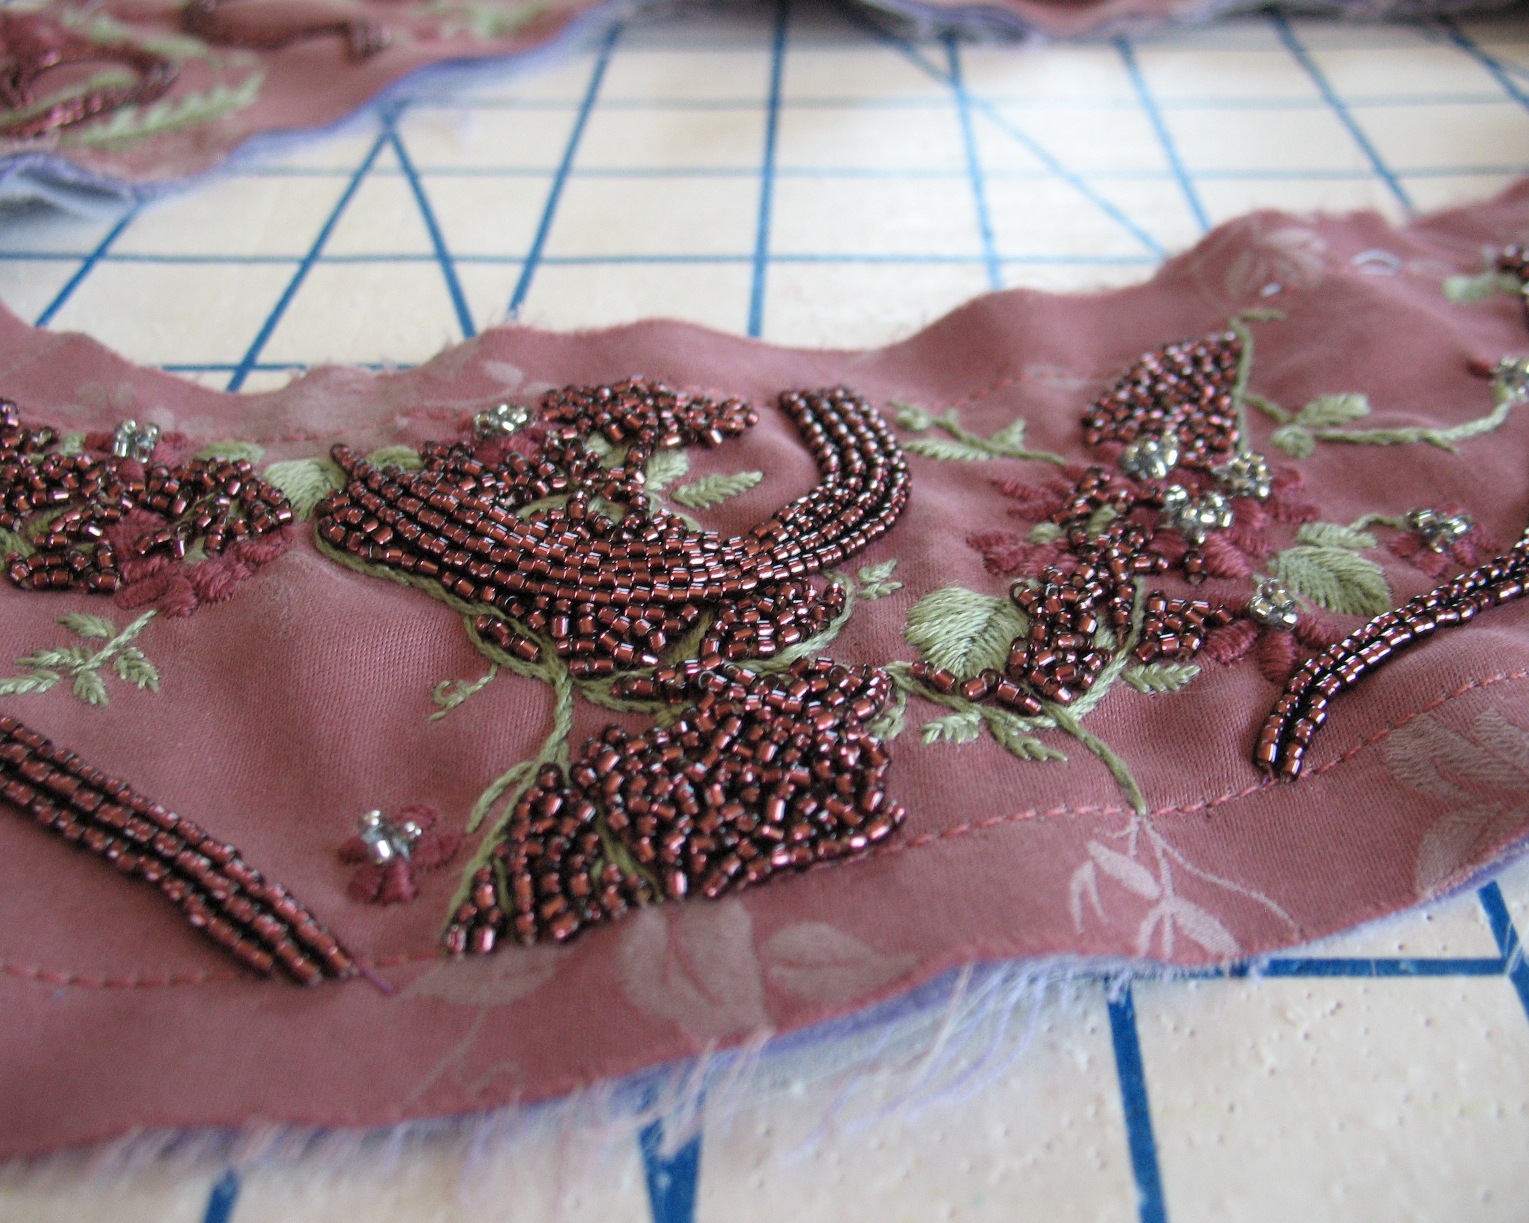
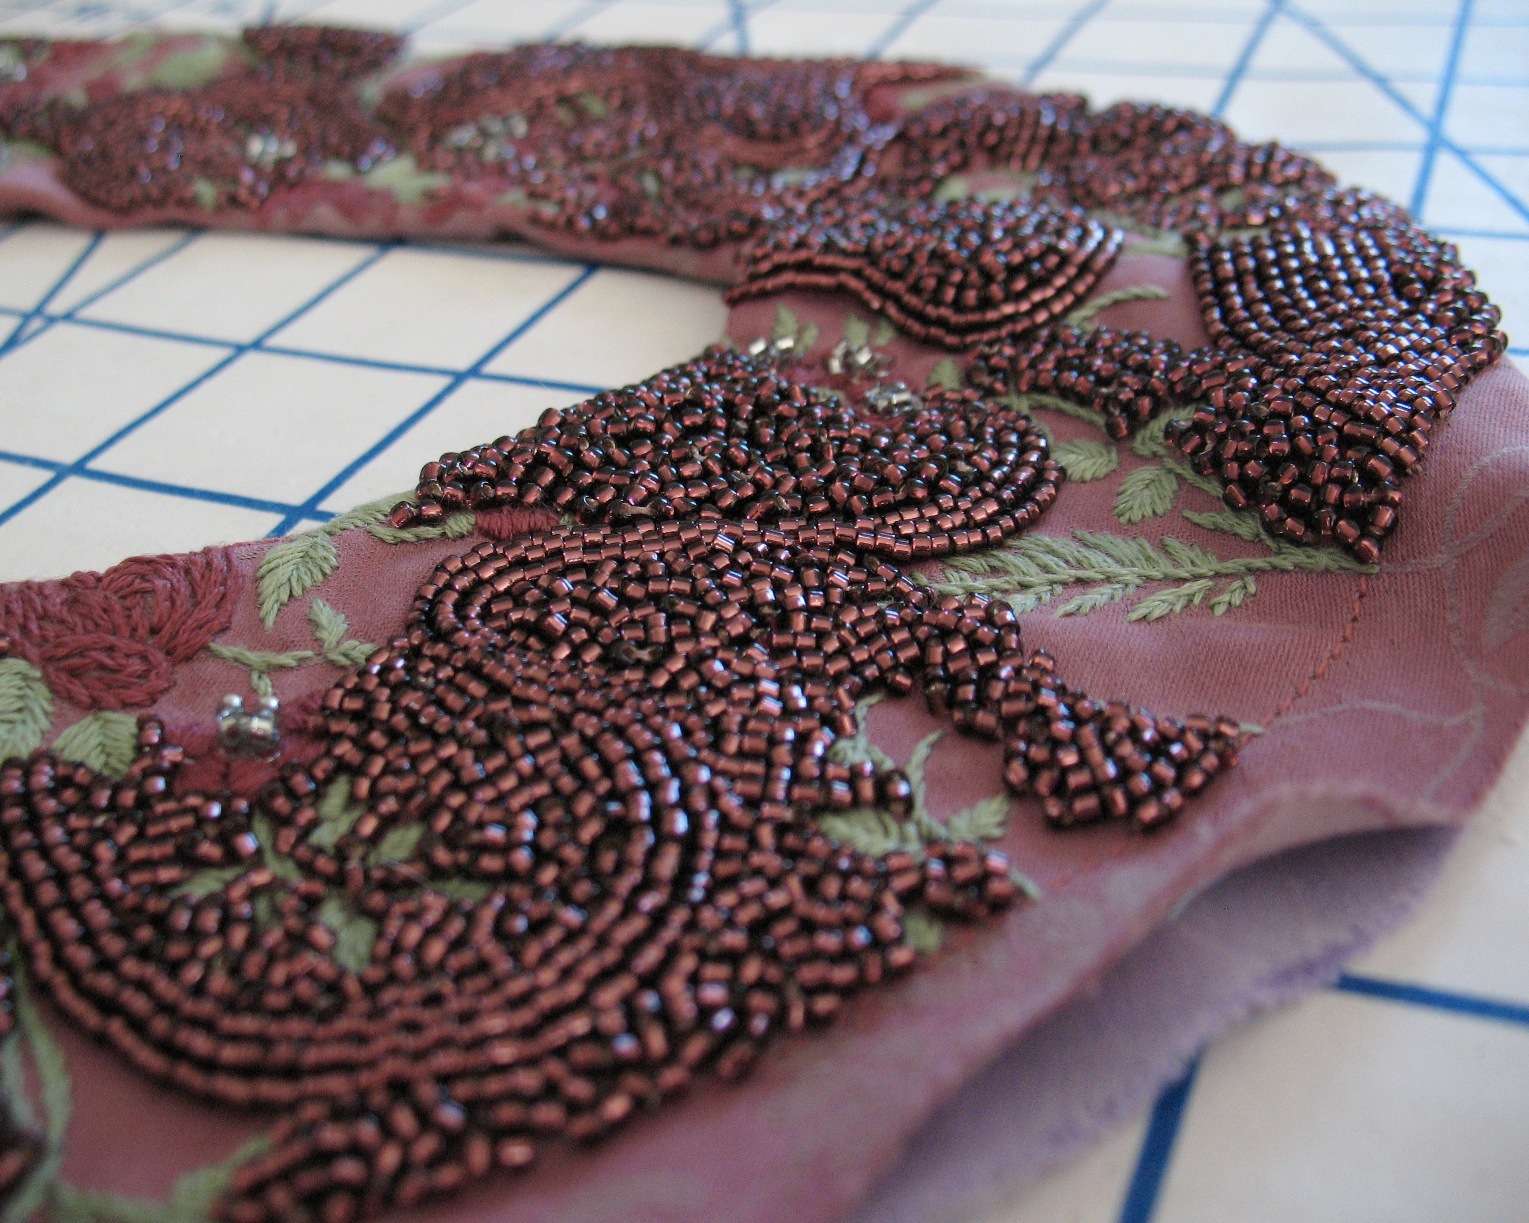
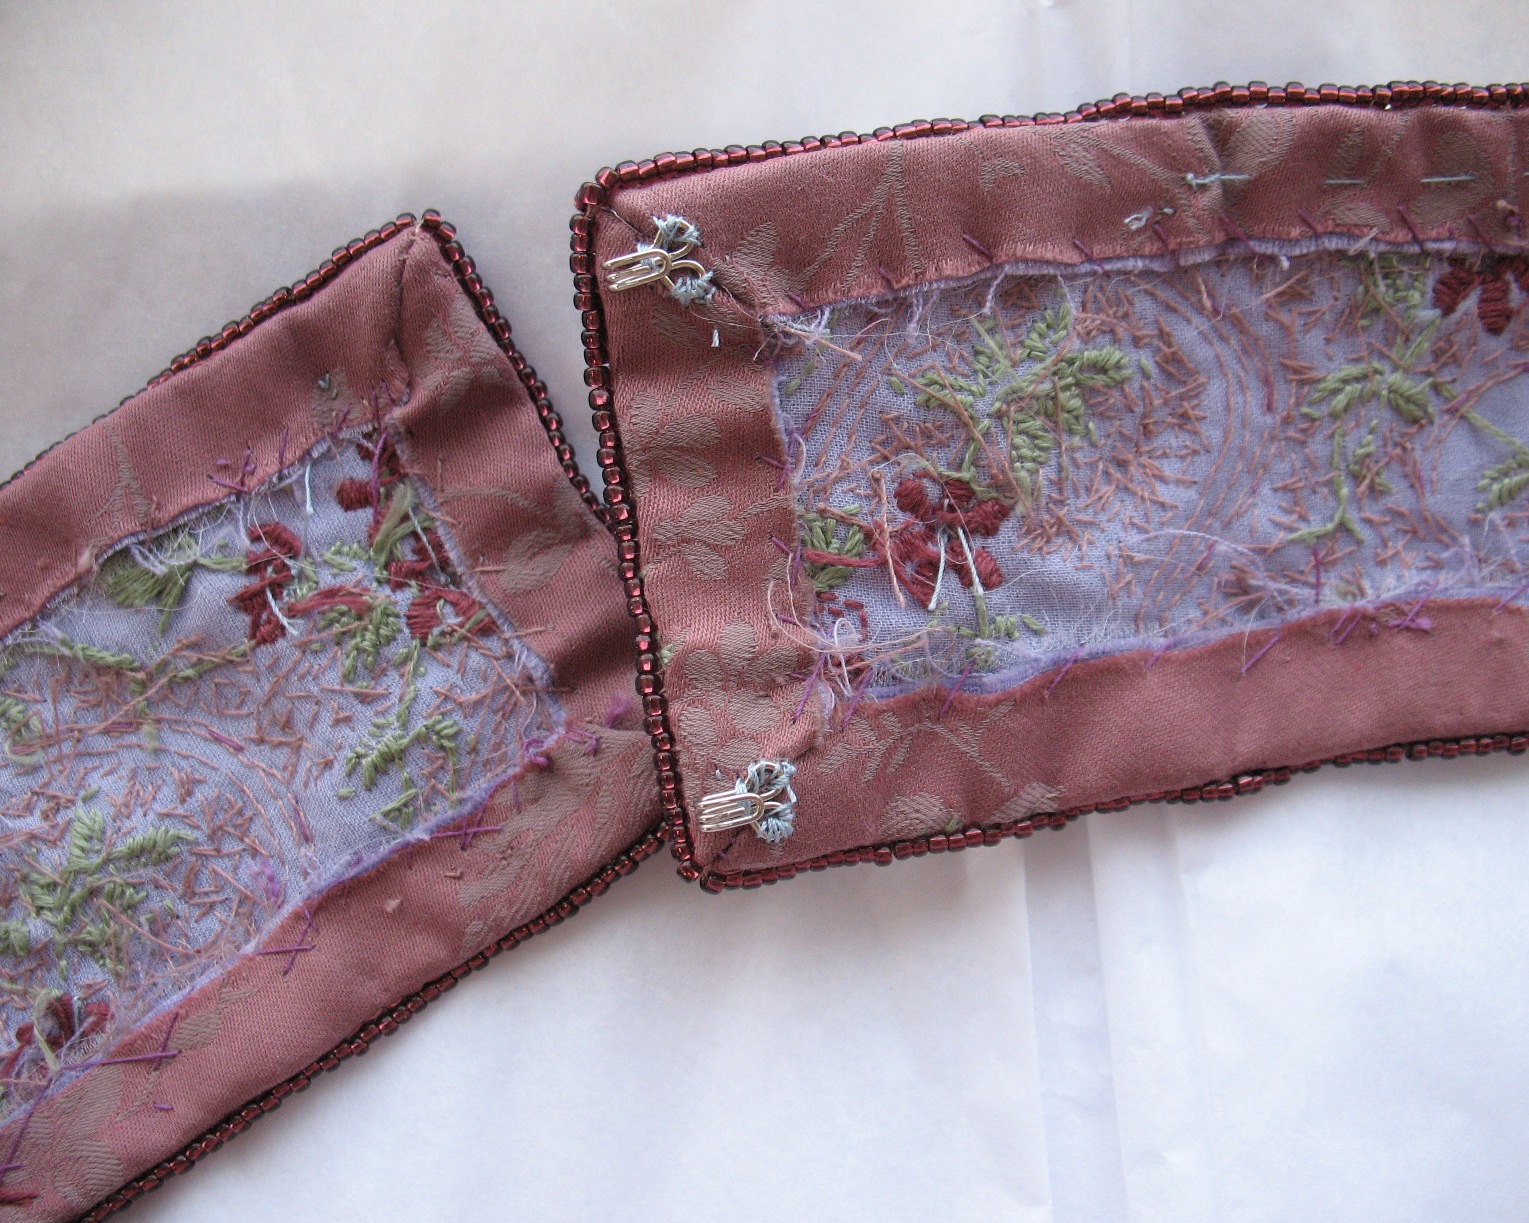
After I was happy with the embroidered bits, I basted a few designs on the collar in silk thread.
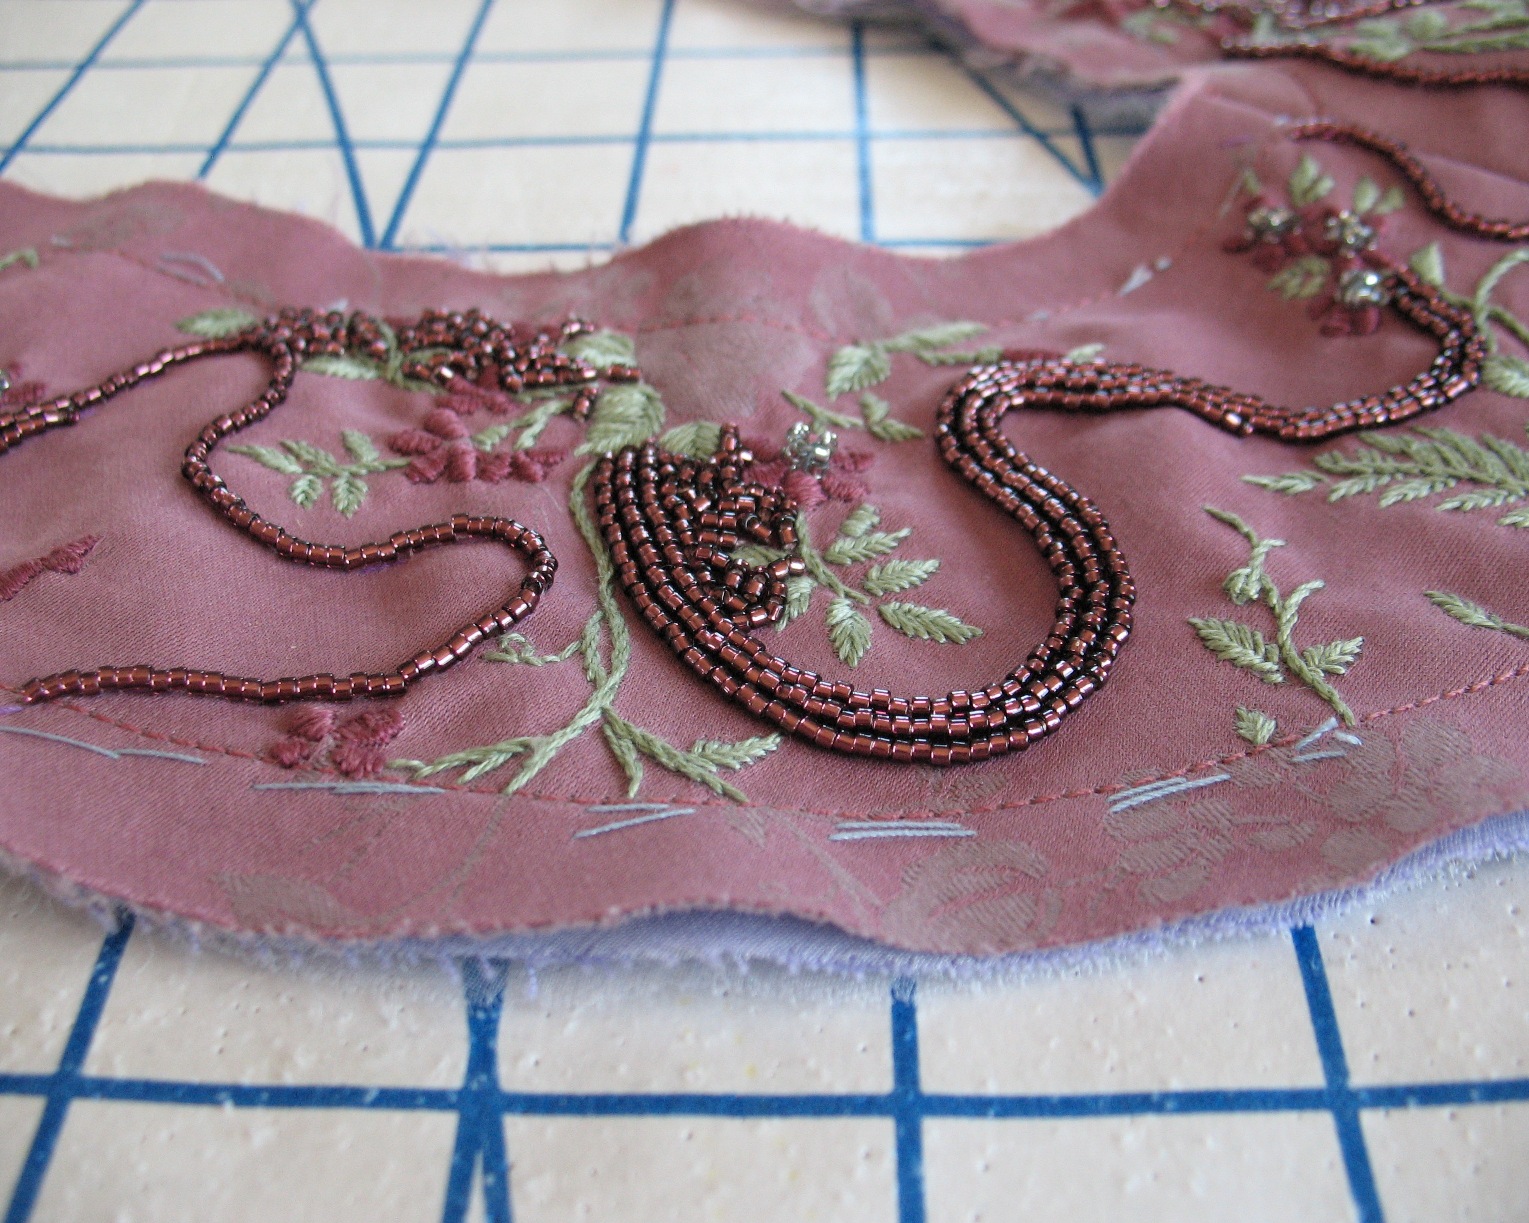
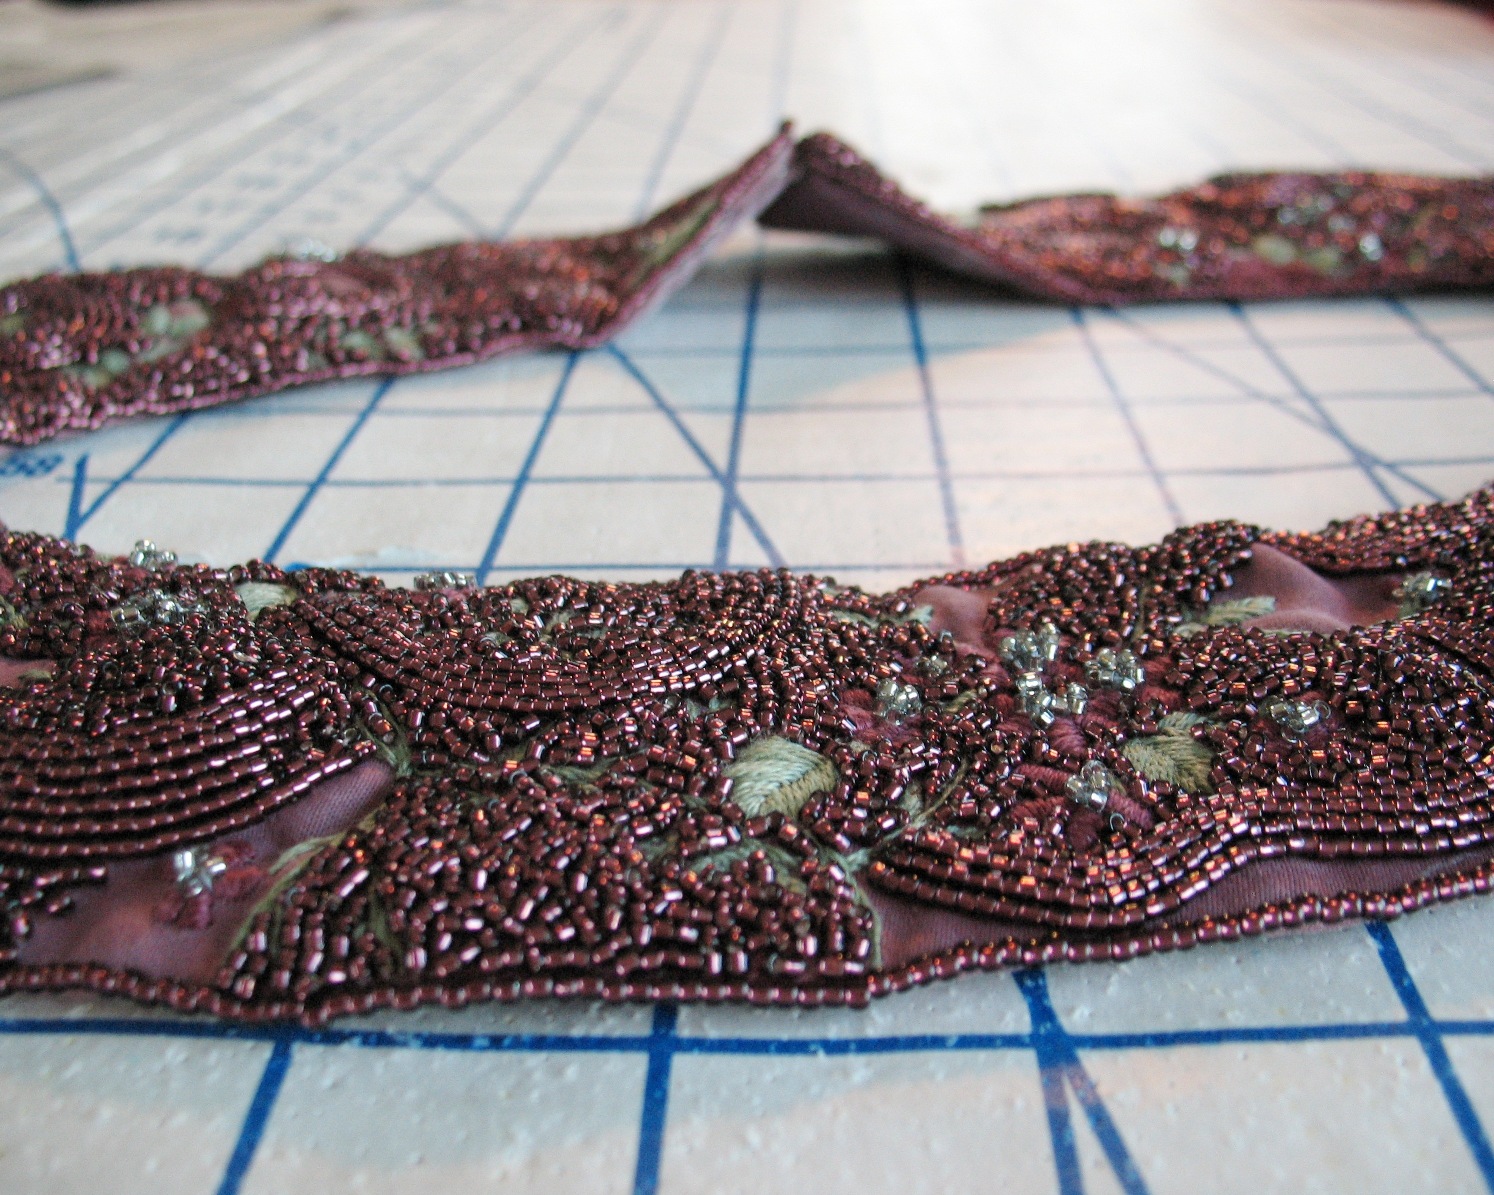
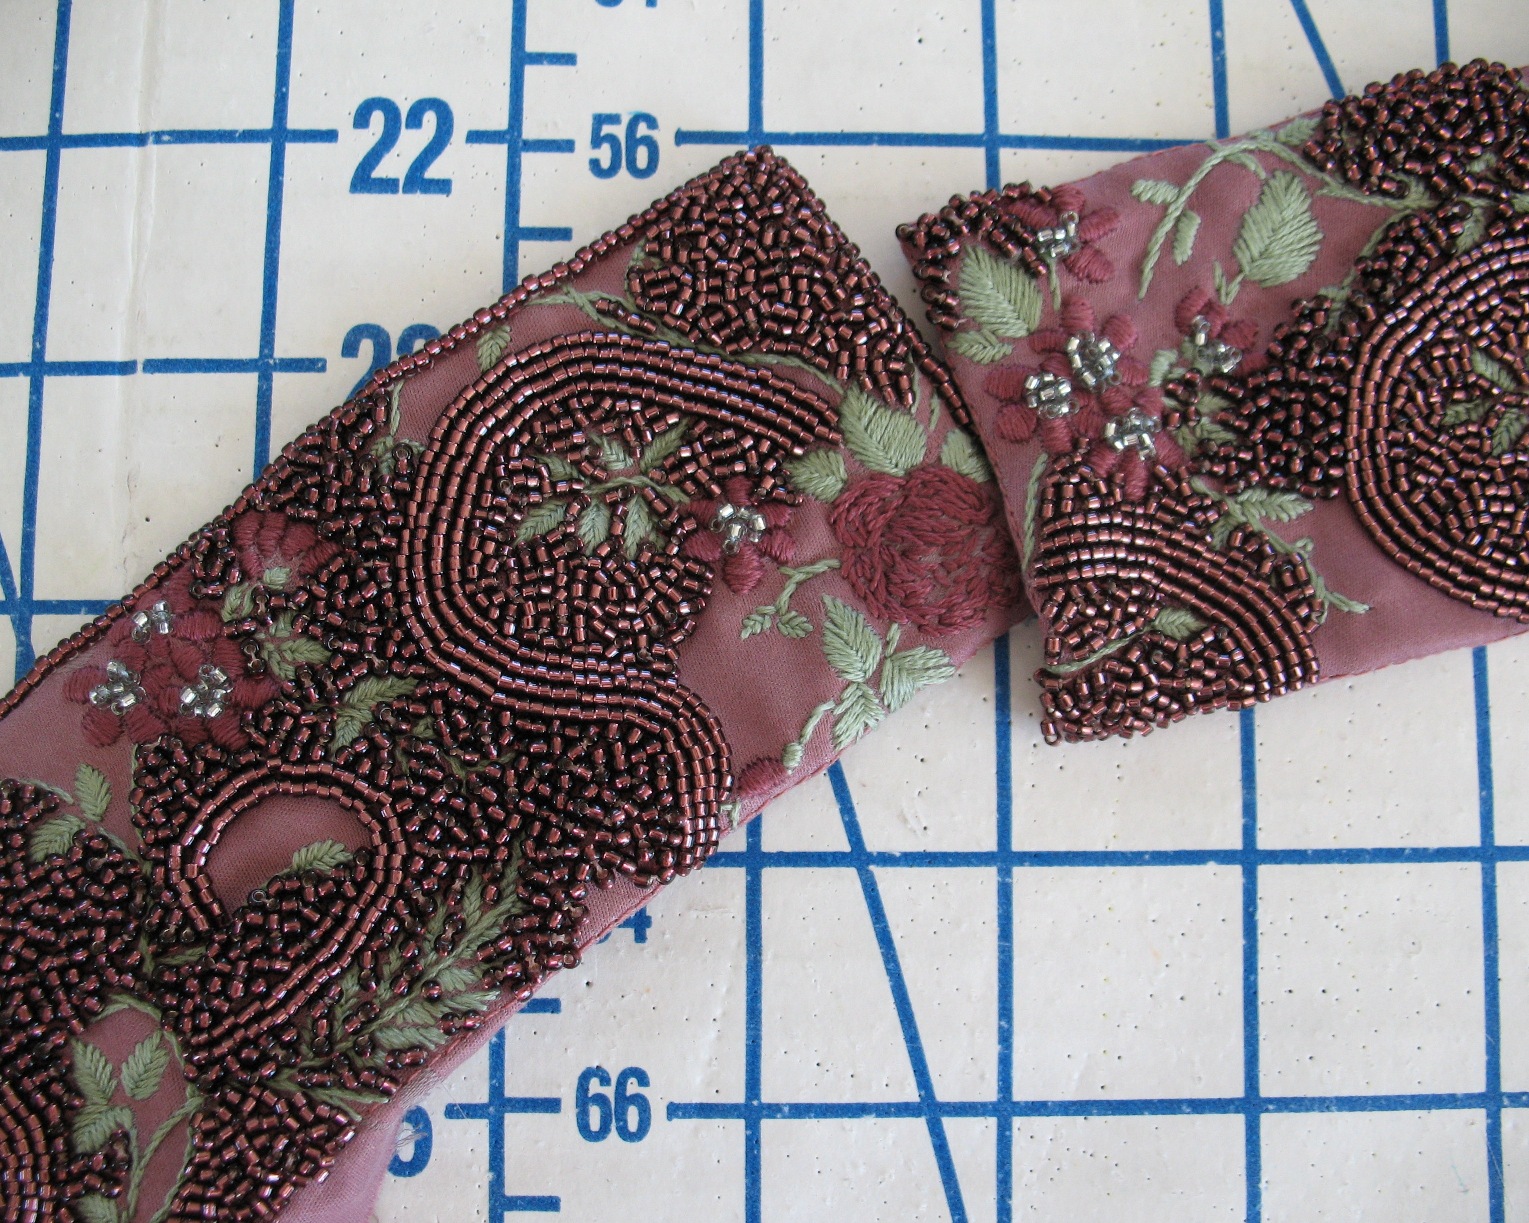
After covering those basted bits with beads, I started filling in the spaces.
And kept going . . .
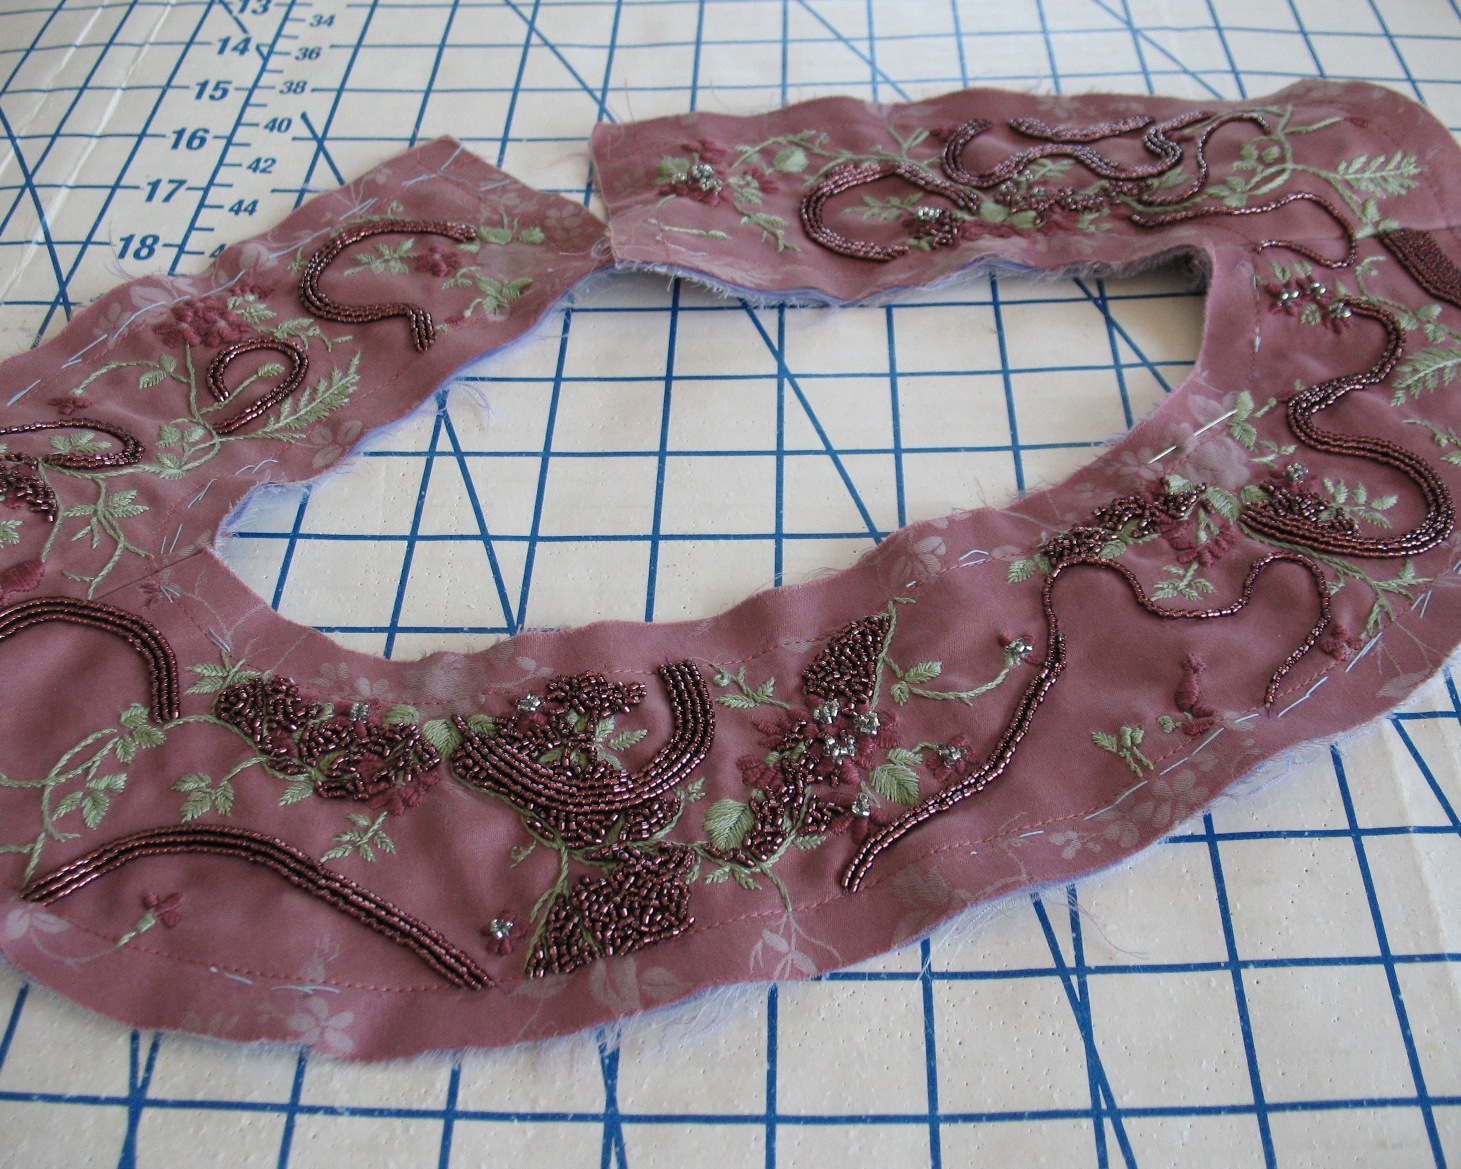
and going . . .
until I was happy with the result.
I wanted some of the fabric to show through, it was just a matter of getting it to look balanced with all the beading.
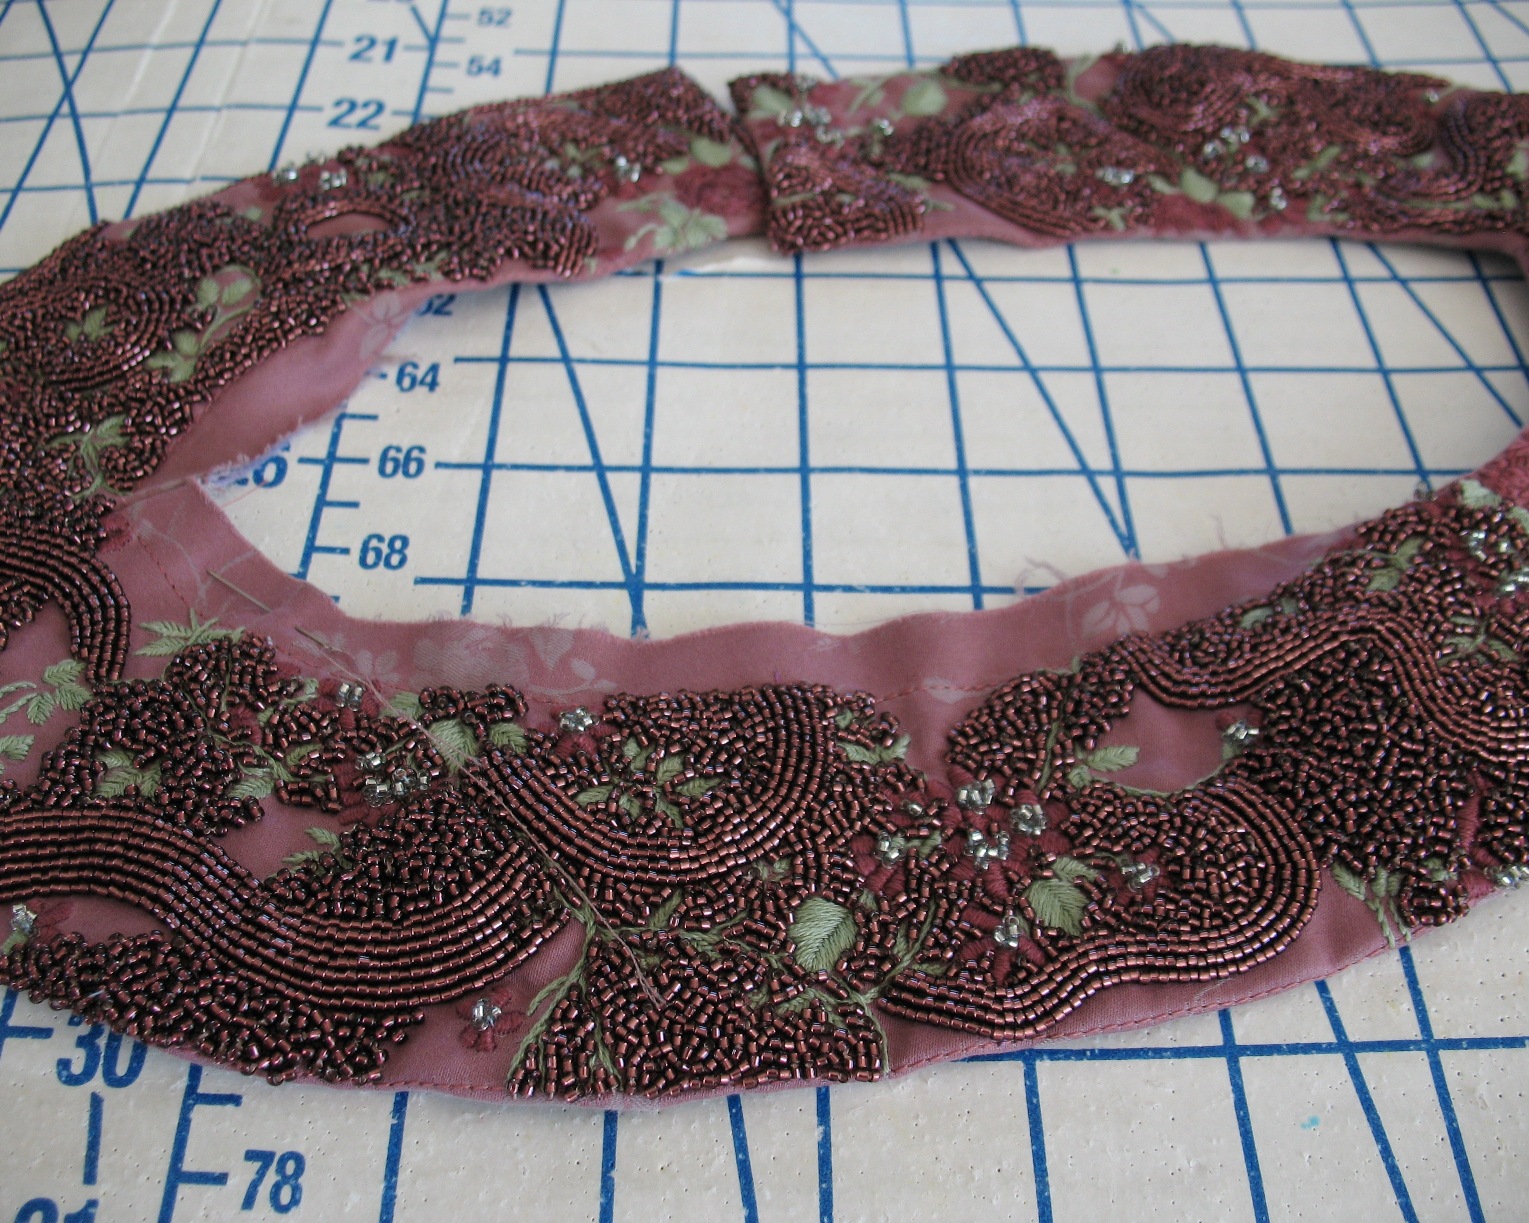
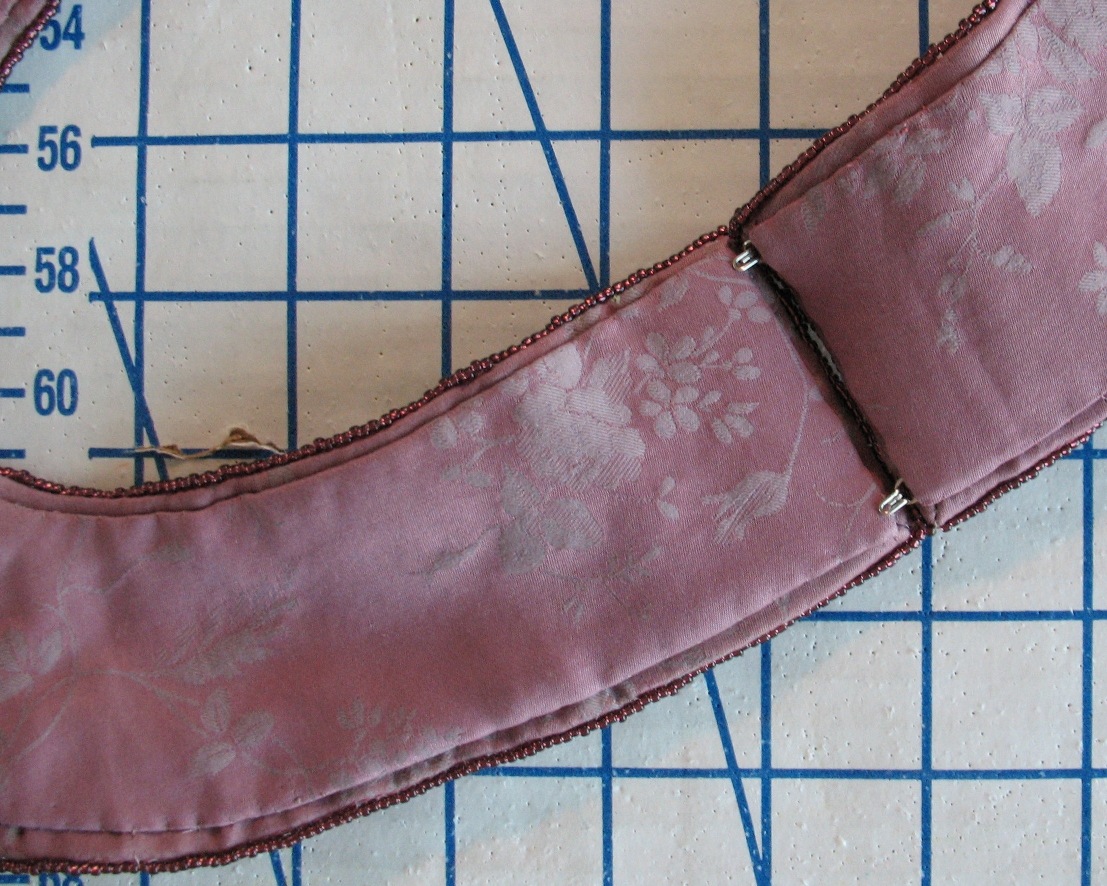
And then the raw edges were turned under.
Which, I have to say, was probably the most exciting part of the project.
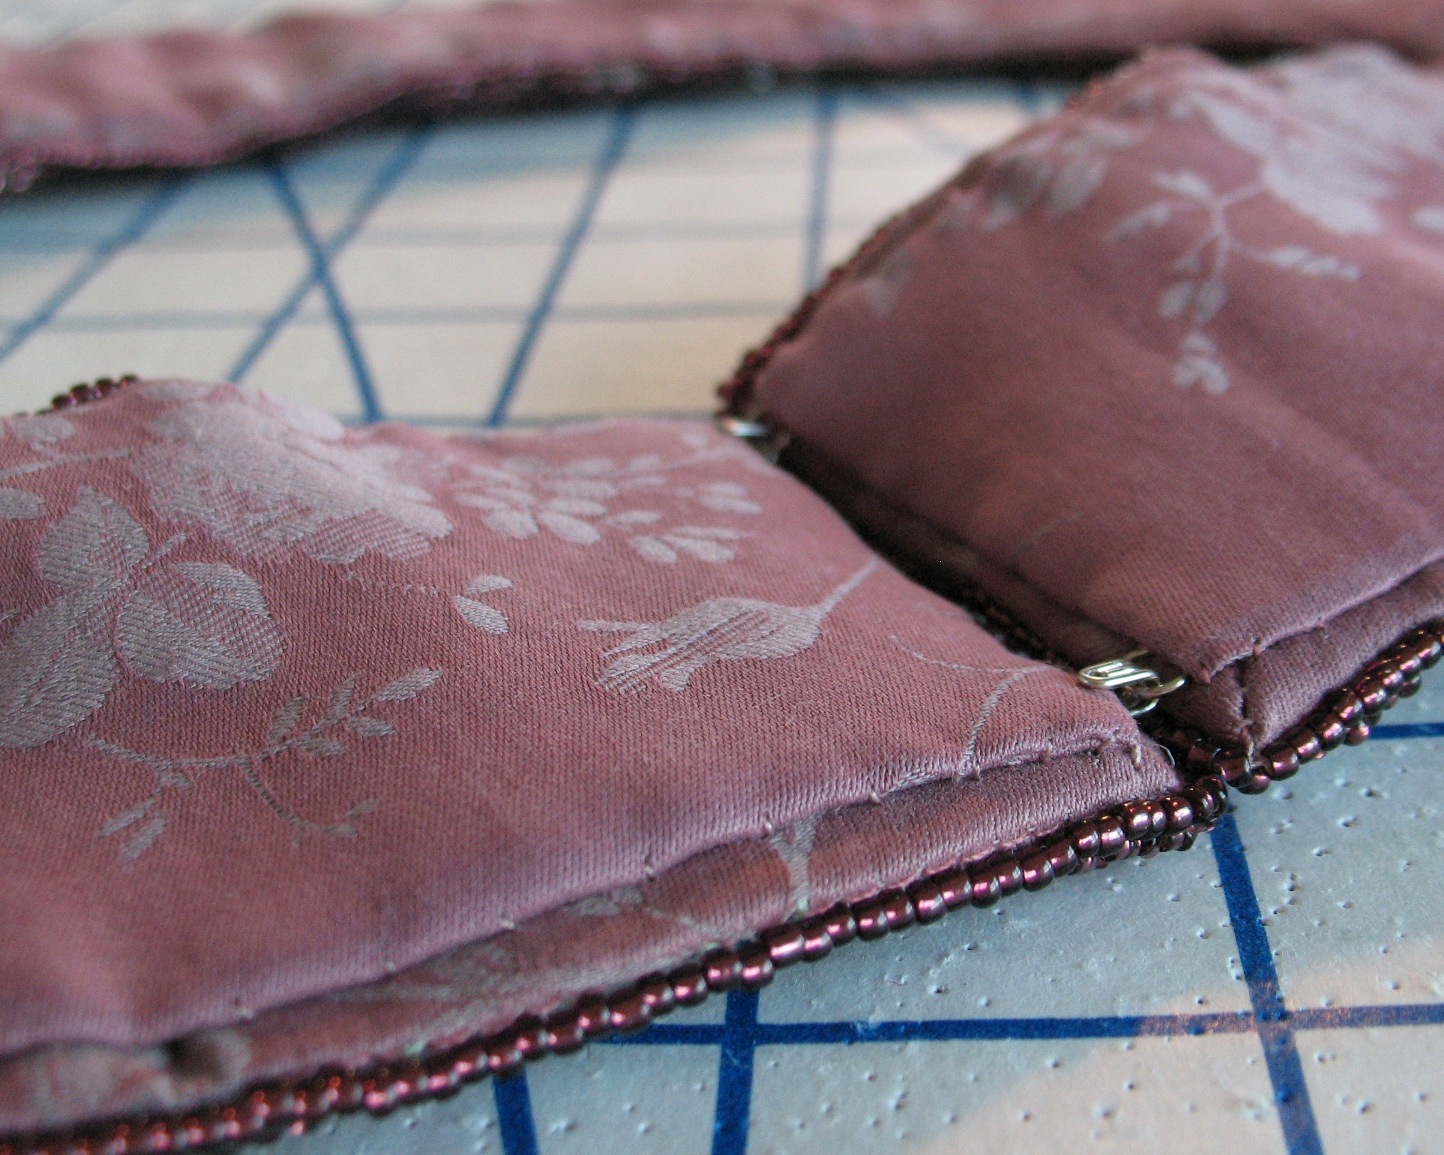
To keep the collar closed, I added two hook & eyes to the center back opening.
Although a thimble still feels foreign to my fingers, I managed to spare my fingertips from major injury this time around. But it would certainly be a useful skill to have with all of the hand sewing I do . . .
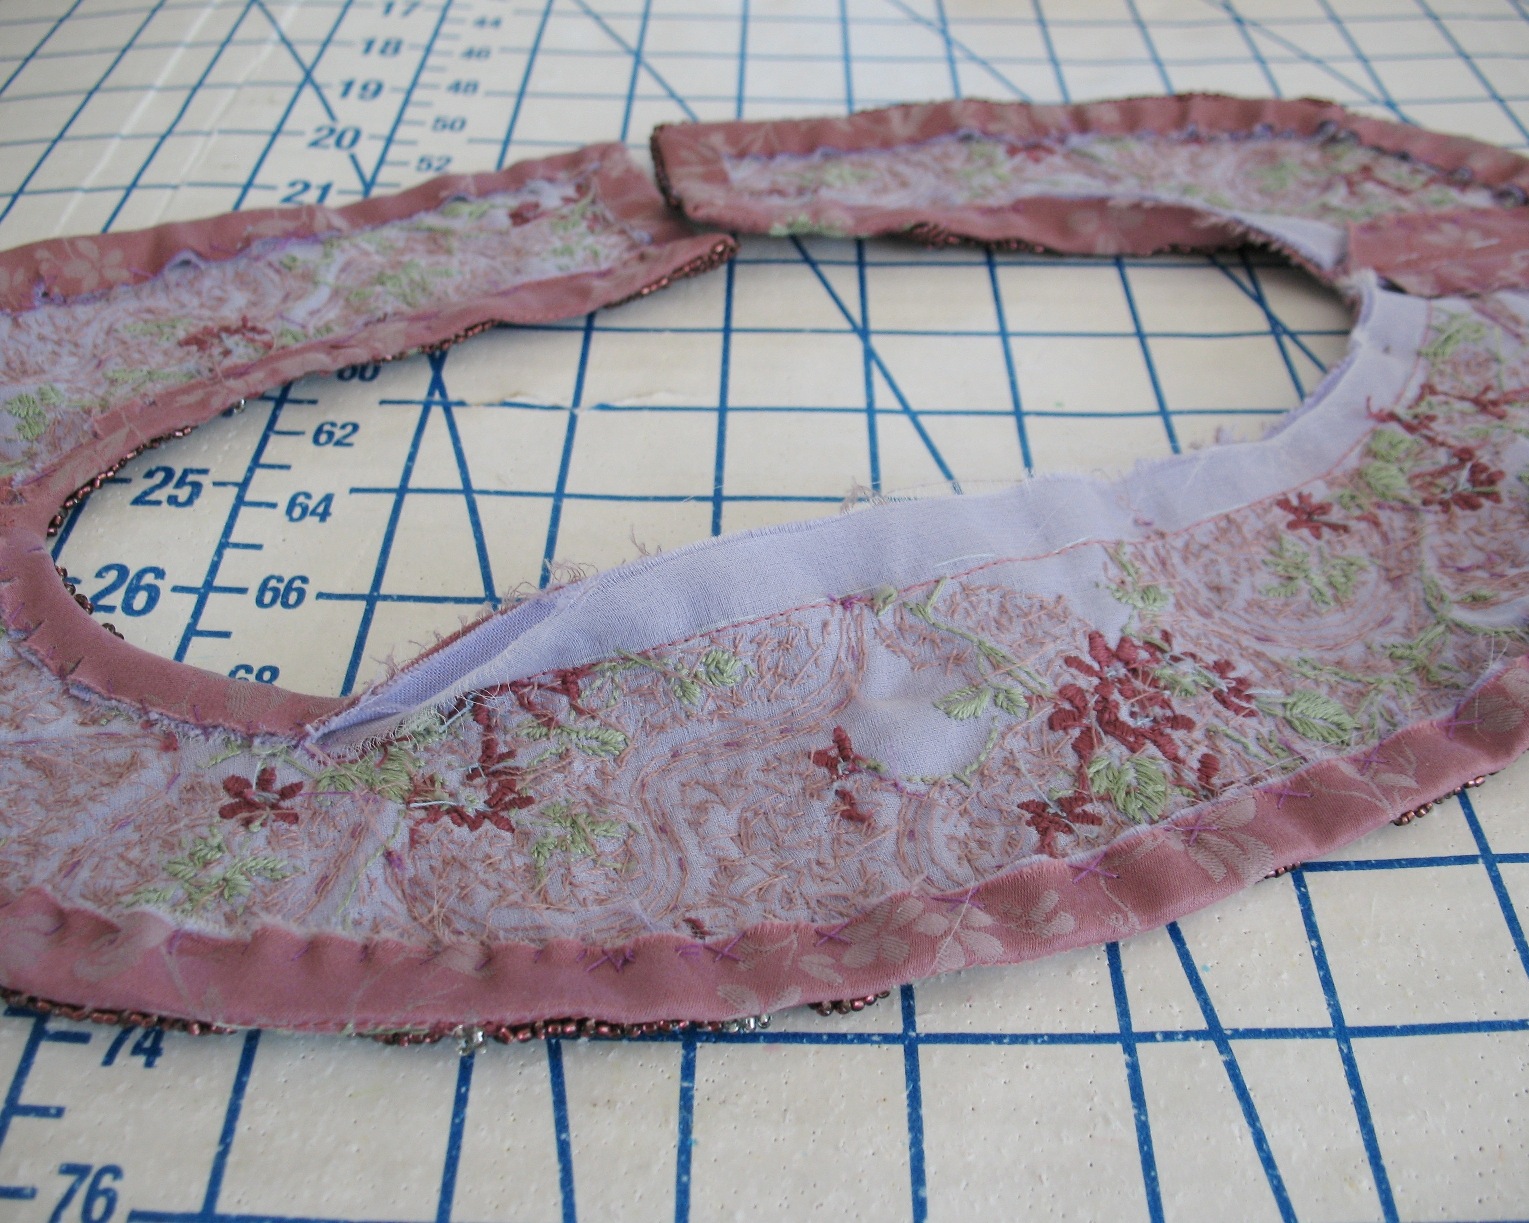
A duplicate collar was cut out to use as a lining. I suppose I could have used an actual lining material, but since I have plenty of scraps leftover of the silk/cotton jacquard, I figured I would use them.
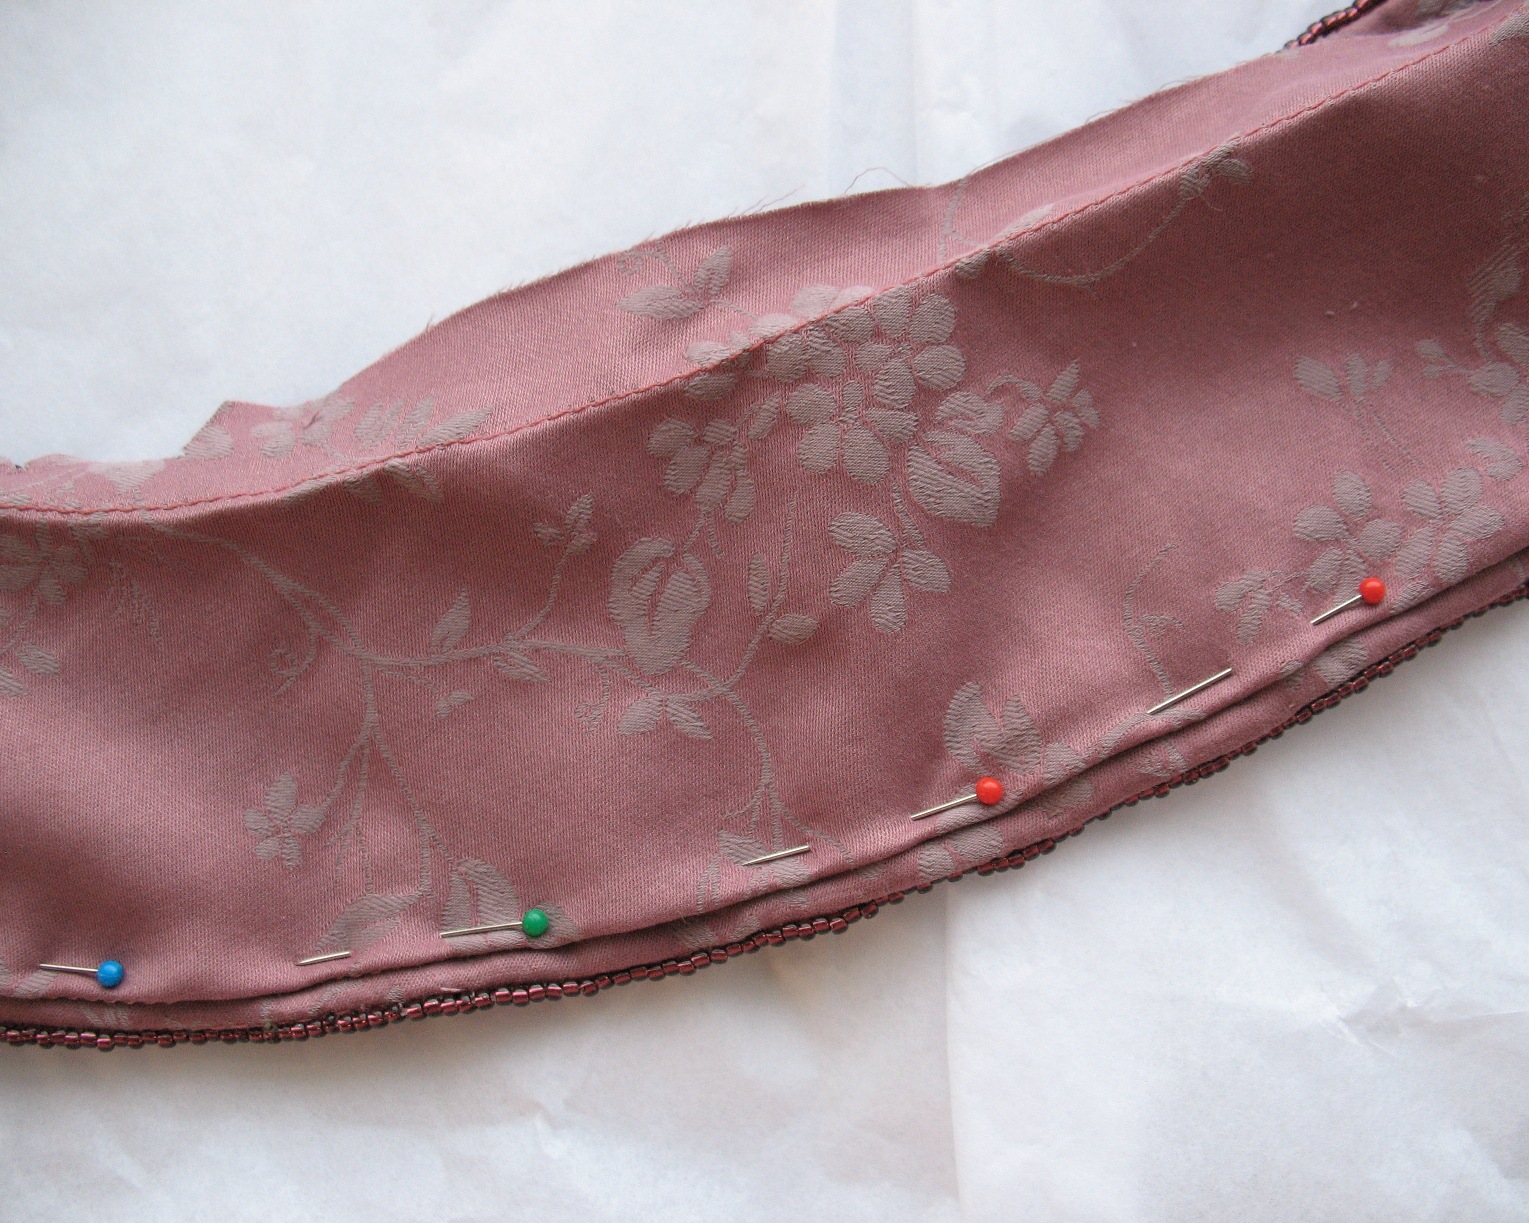
A line of stay-stitching helped to mark the fold-point - this is so much quicker than marking with a pen! It also keeps the clipped curves from migrating too far.
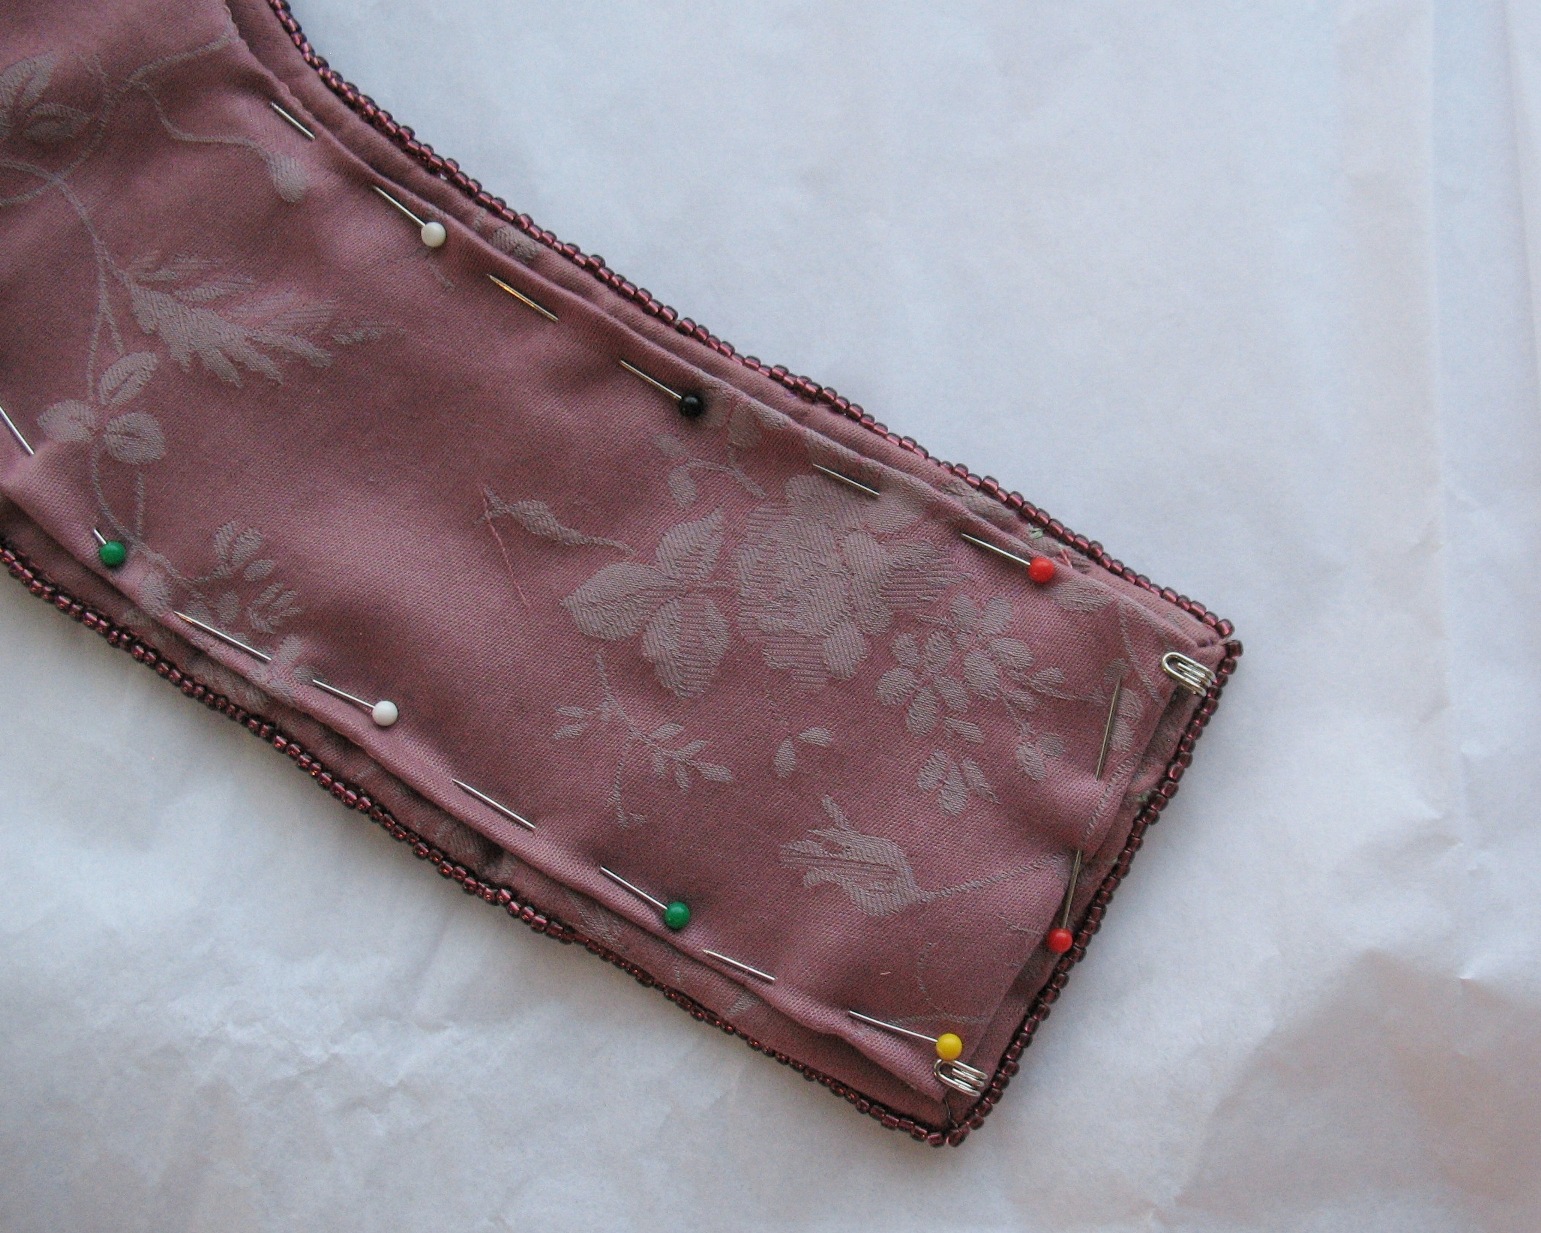
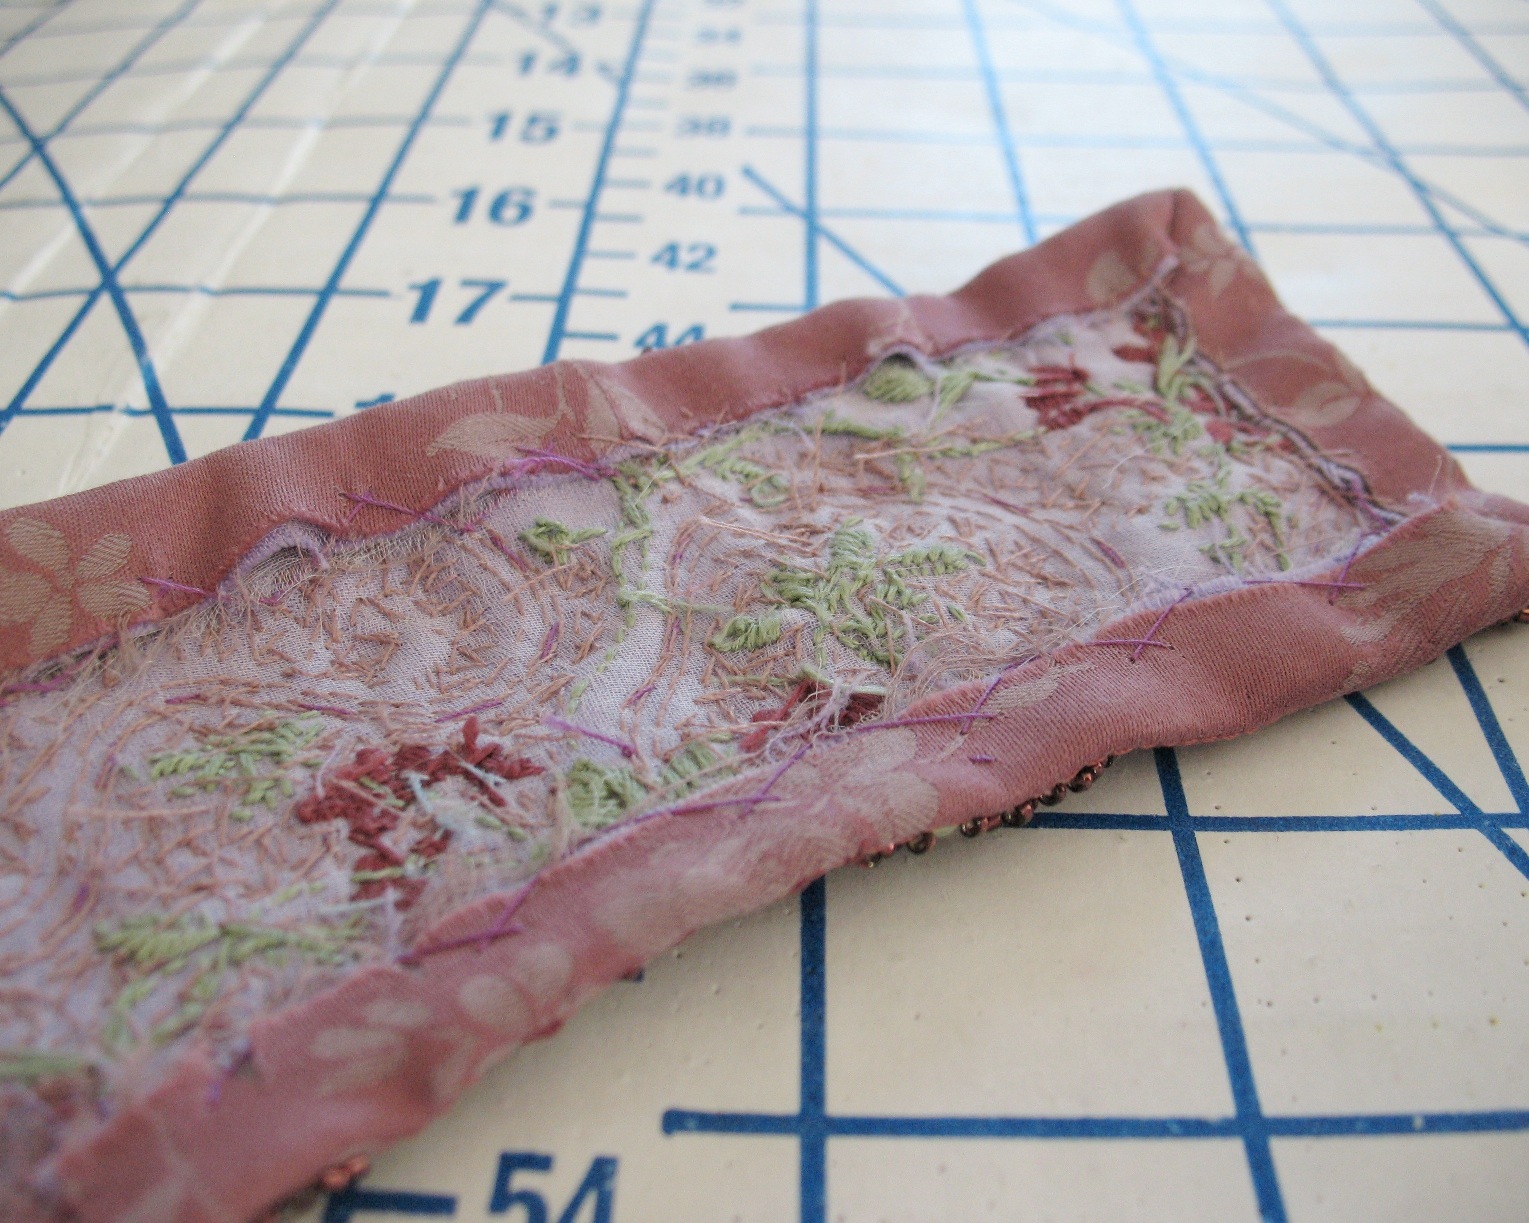
The lining also allowed me to cover most of the hook & eye bits.
Which is so much prettier than all that metal showing.
The lining was hand stitched into place.
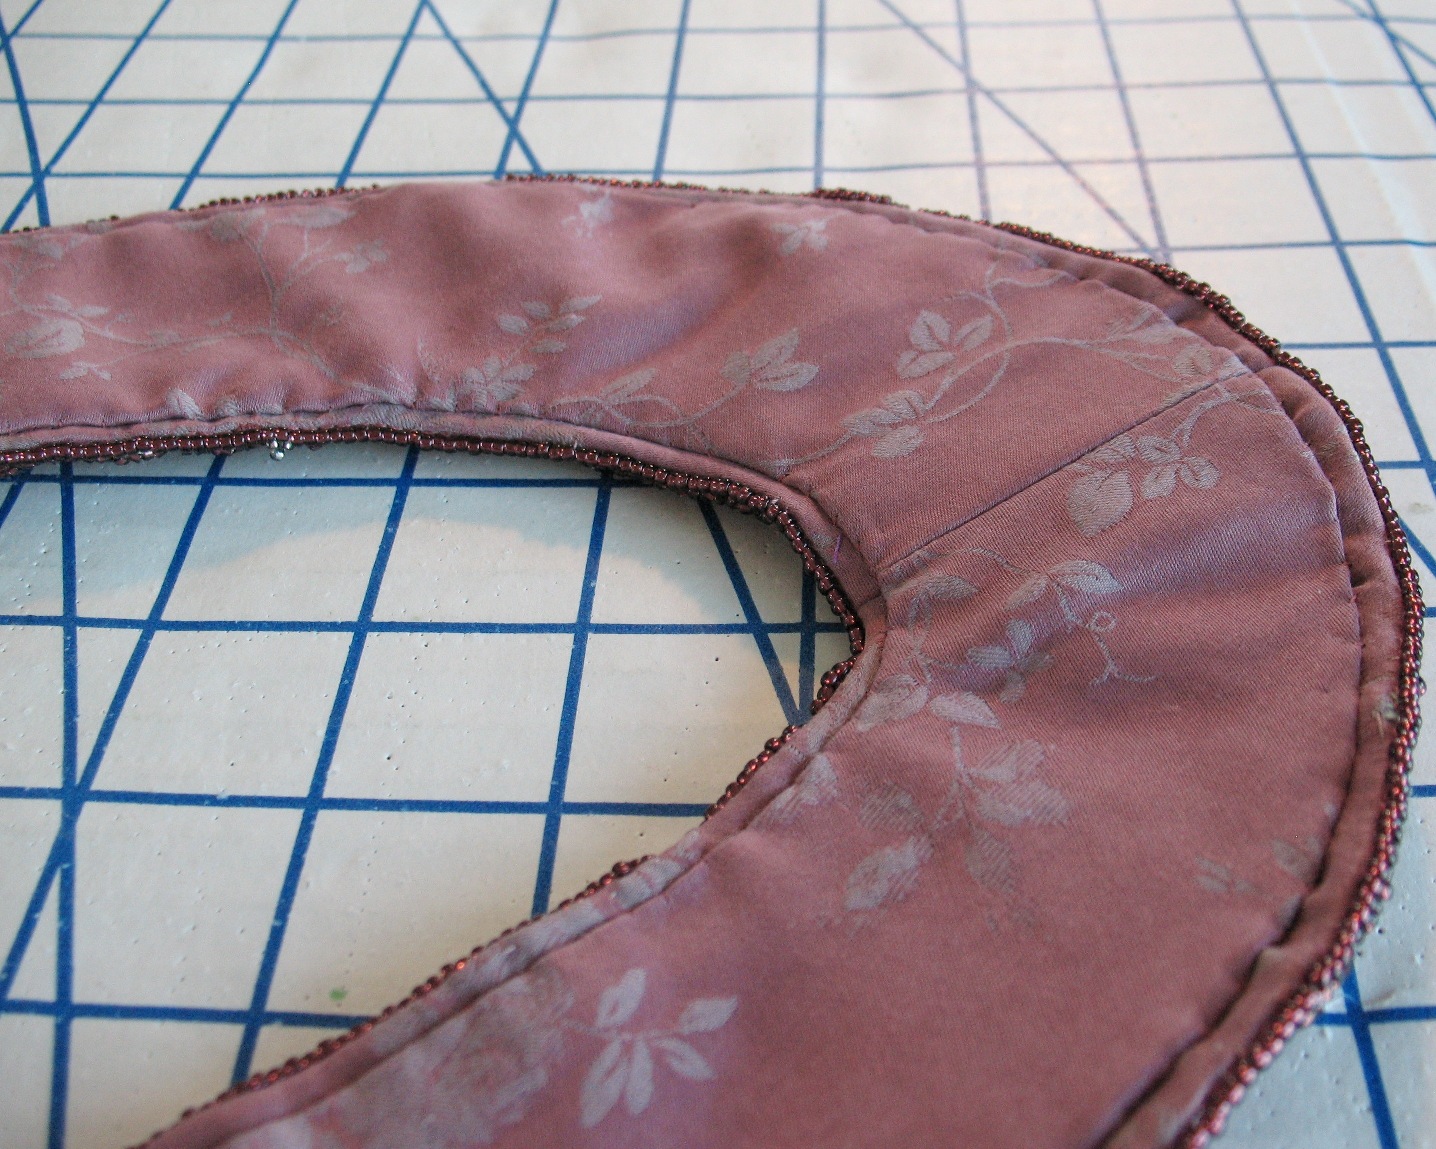
To camouflage the stay-stitching on the collar, a line of beads was stitched along the outer edges.
And that concludes the collar portion of this outfit . . .
Stitching the two hook & eyes on this collar has
reminded me that I have to add one to the dress. And then I am truly done with the outfit!
Absolutely beautiful!
ReplyDeleteThis is a work of art
ReplyDeleteWow, this is amazingly beautiful!
ReplyDeleteThis is so incredibly, skillfully gorgeous. You have created an instant masterpiece and family heirloom with this beguilingly love beaded collar, dear gal. Stunning work!
ReplyDelete♥ Jessica
Stunning! That's the difference between you and me: I would have done all that with a glue gun. ;)
ReplyDeleteCan't wait to see the finished dress and collar together!
Amazing handiwork. Thanks for sharing all the details. I always save your posts in the unlikelihood I suddenly develop the patience and inclination to do more beading!
ReplyDeleteGoodness me, how many hours in a day do you have? This is incredible and very beautiful. And so tidy. What an inspiration you are. Thank you!
ReplyDeleteMonique
Laura Mae,
ReplyDeleteYou really need to become the life coach to the world. Imagine how much more refined, stylish, and productive we'd all become.
Your artistry is boundless.
So beautiful!
ReplyDeleteAbsolutely incredible! I can hardly fathom the work that went into this and I'm stunned that you didn't use a thimble. It feels foreign to my fingers too so I get it, but sheesh, this is crazy!
ReplyDeleteAwesome. You've inspired me to use a vintage beaded collar and cuff pattern I purchased on ebay.
ReplyDeleteThis is stunning! I thought it looked wonderful just with your embroidery, but this takes it far beyond beautiful--maybe i'll try to incorporate some beading (albeit on a smaller scale) for my Christmas dress. That should give me just enough time to get it done haha
ReplyDeleteAbsolutely astonishing! What a beautiful collar.
ReplyDeleteSuch a wonderful project! Fantastic idea. I'm not sure I would have had the patience for all that hand stitching, you've done a beautiful job
ReplyDeleteAbsolutely stunning!!
ReplyDeleteWow, this is stunning! I definitely am in awe of your patience, but I can't wait to see the finished dress - it's going to be absolutely gorgeous.
ReplyDeletePretty!
ReplyDeleteVery interesting and beautiful.
ReplyDeletePerfection!
ReplyDeleteThat's a show-stopper! Beautiful job.
ReplyDeleteThat's beautiful!
ReplyDeleteBeautiful! I'm completely in awe of your skills and patience
ReplyDeleteThat is so incredibly beautiful. Neat to see the beading 'grow' as you added more and more.
ReplyDeleteAmazing!
ReplyDeleteIt's hard to impress my husband, but I showed him these photos and he was blown away. I had to show him what my talented friend made! :)
ReplyDeleteYou are so sweet! But it really is not all that challenging, just time consuming (and where my stubborn streak comes in handy!).
DeleteI love your work very much but am still trying to determine how you see your pattern after transferring it to organza. Do you constantly turn fabrice over and look at the back to add the beading.
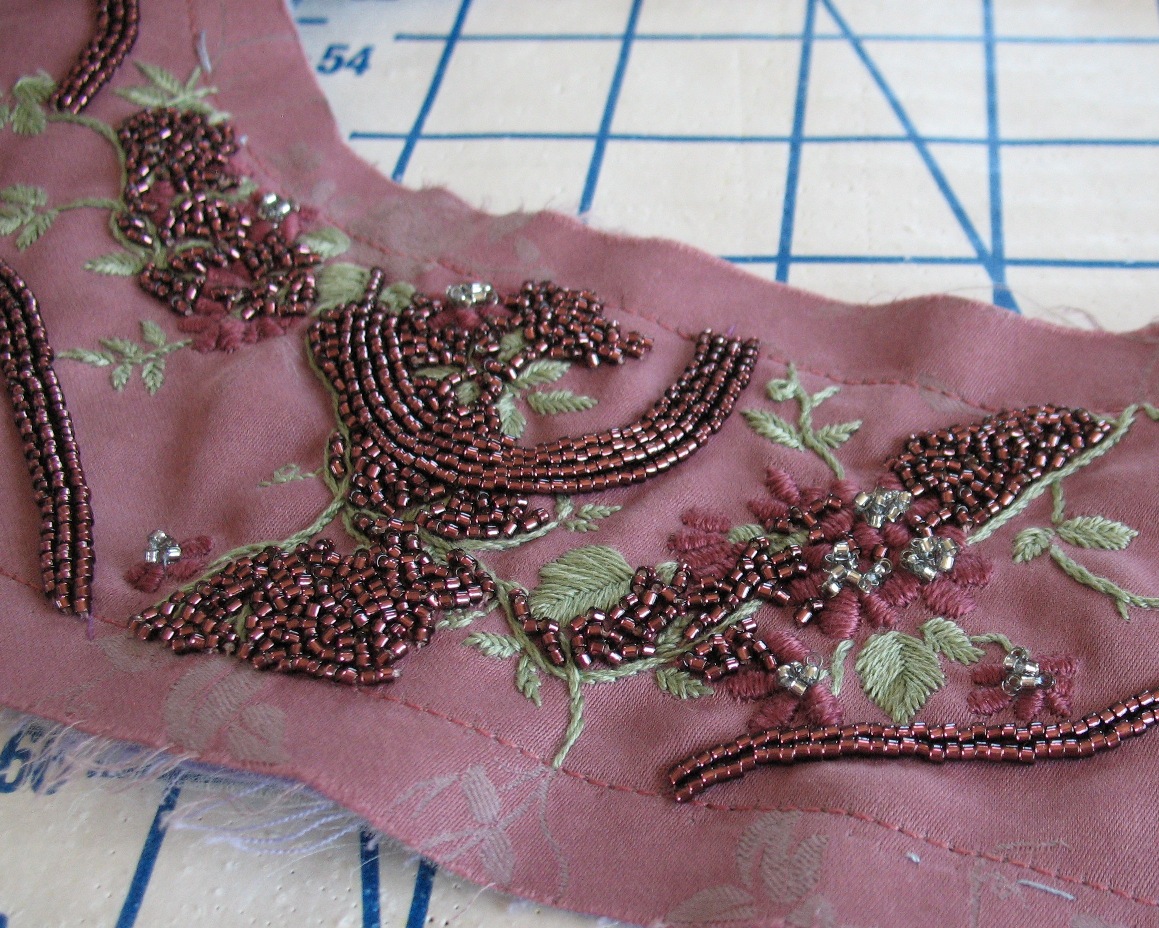
ReplyDeleteFor this project, there was very little marking. To make sure I was happy with a few of the curved lines of beads, I basted a free-hand line of silk thread before applying beads. The rest of the beading was just free form. The embroidery (which covered the jacquard pattern woven into the fabric) also gave me something to work around. The third photo in the post shows the bright purple silk threads that were my initial basting lines.
DeleteFor a more detailed design, I do use marked organza which is hand basted from the wrong side of the fabric so that the silk basting thread shows on the right side of the fabric – more on that technique may be found here: http://www.lauramaedesigns.com/2013/10/transferring-beading-pattern-to-fabric.html
So, no need to turn the work over!