
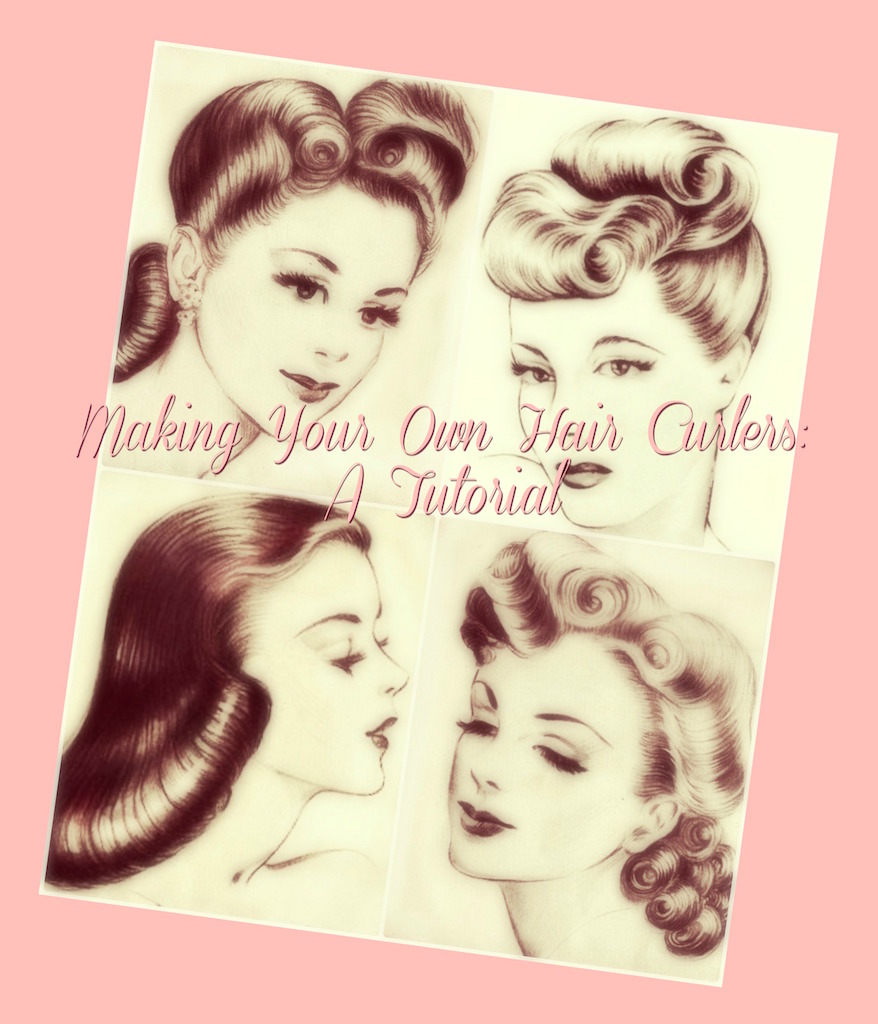
Today I thought I would share a little tutorial about how I make my own hair curlers. I have been meaning to post this for years, but never seem to get around to it. My current set of these babies are beginning to show some signs of wear, which means I will be making more . . . and that reminded me that there was a long forgotten draft of this post sitting around waiting for me to finish. So here we go . . .
These rollers are a cross between an old fashioned rag curl and a foam roller. For me, this pairing is the best of both worlds. My hair is stick straight. And while I like to think we are born with the type of hair that suits us, I like a bit of curl to my locks. So in the eternal fight of the straight-haired girl wishing for curls, and the curly-haired girl a slave to her straight iron, I have found my own way of dealing with my particular "problem." Best of all, no heat is required, so this is a bit more hair friendly than most curling implements.
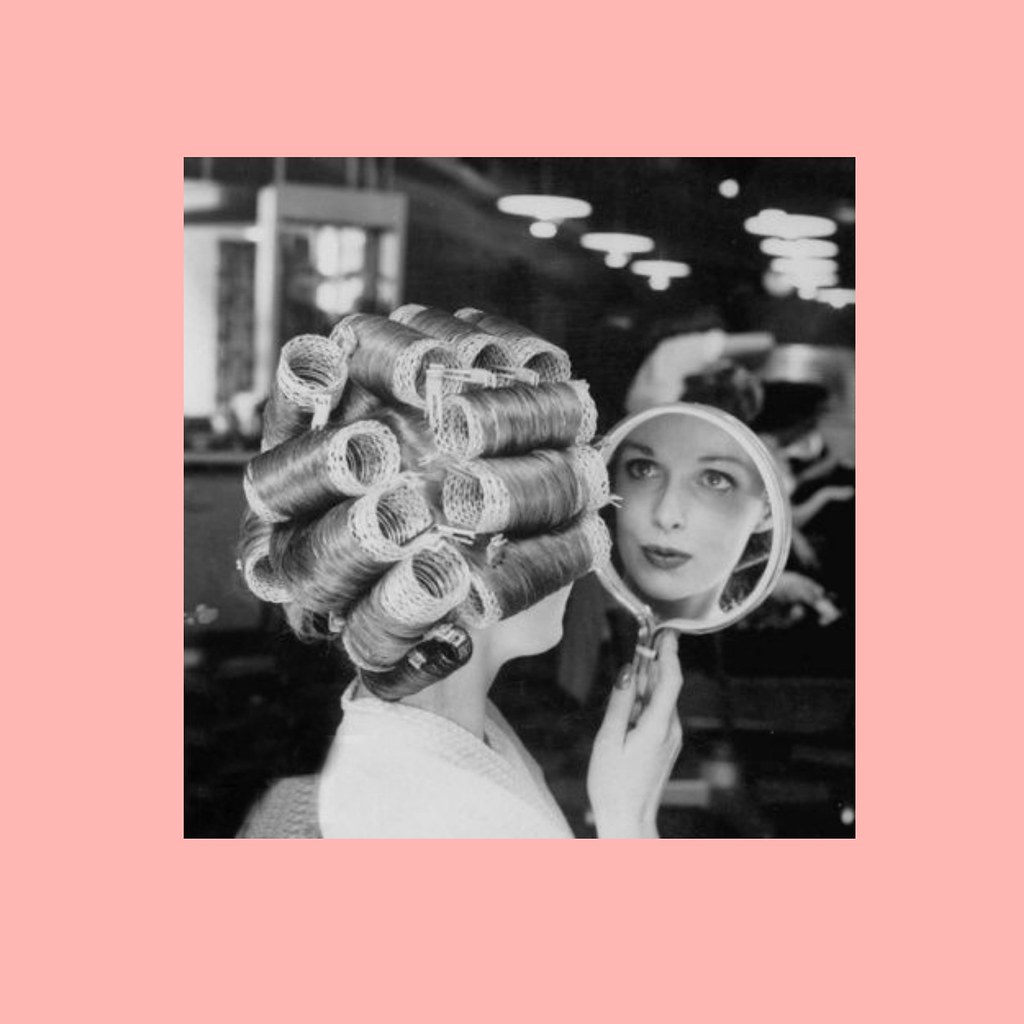
Rag curlers are a bit of an inconvenience for hair that is naturally straight. The ends have a tendency to kink when wrapped around a thin piece of fabric. Foam rollers are wonderful, but the plastic frame leaves a mark on the hair, and that plastic frame is not always the most comfortable thing to sleep in, either!
I found what are commonly referred to as "soft rollers" or "pillow rollers" many years ago at Target and gave them a try. However, the polyester fabric was not especially pleasant to sleep in (especially in hot weather), and the serged ends started to come apart after a few uses. Instead of throwing them out, I decided to improve on them.
Supplies:
Foam
Plastic covered wire
Wire cutter
Cotton fabric remnants
Thread & Needle
Pliers
Knitting Needle (optional)
Electric meat cutter (optional - useful when cutting foam, as the ladies at JoAnn Fabrics can attest!)
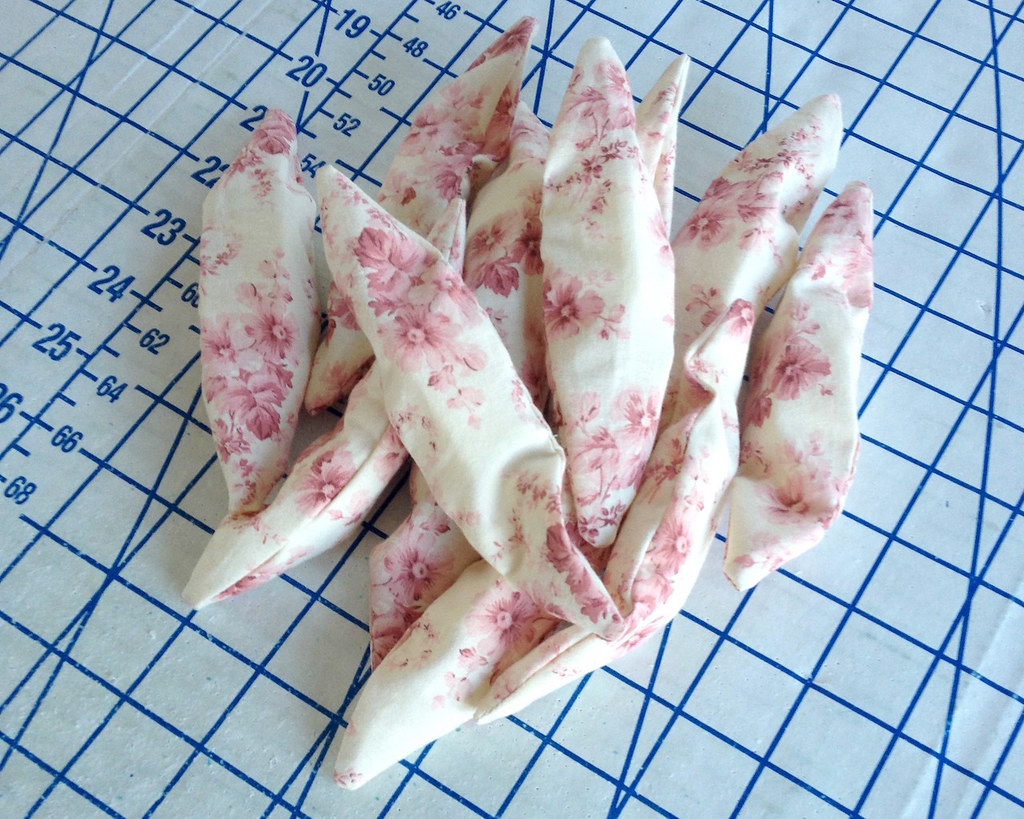
First, you want to cut out your pieces of foam. A piece 2x1x1 inches is a nice size. Craft foam is an option, the denser the better. I am not sure where you can purchase small pieces of memory foam, but that would be ideal so that the rollers do not compress after multiple uses. I have also recycled the original foam from those pillow rollers that I purchased way back when - a little bit of soap and water and these things puff right back into shape.
You will need a piece of plastic covered wire approximately 6 inches in length for each curler.
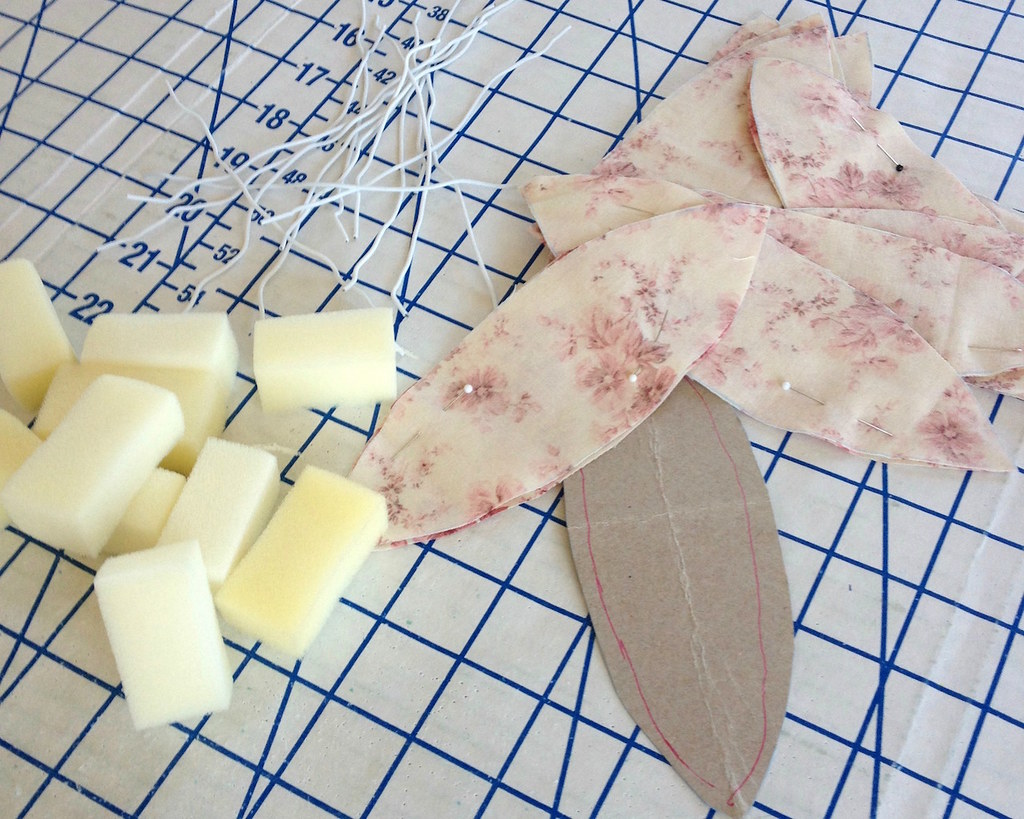
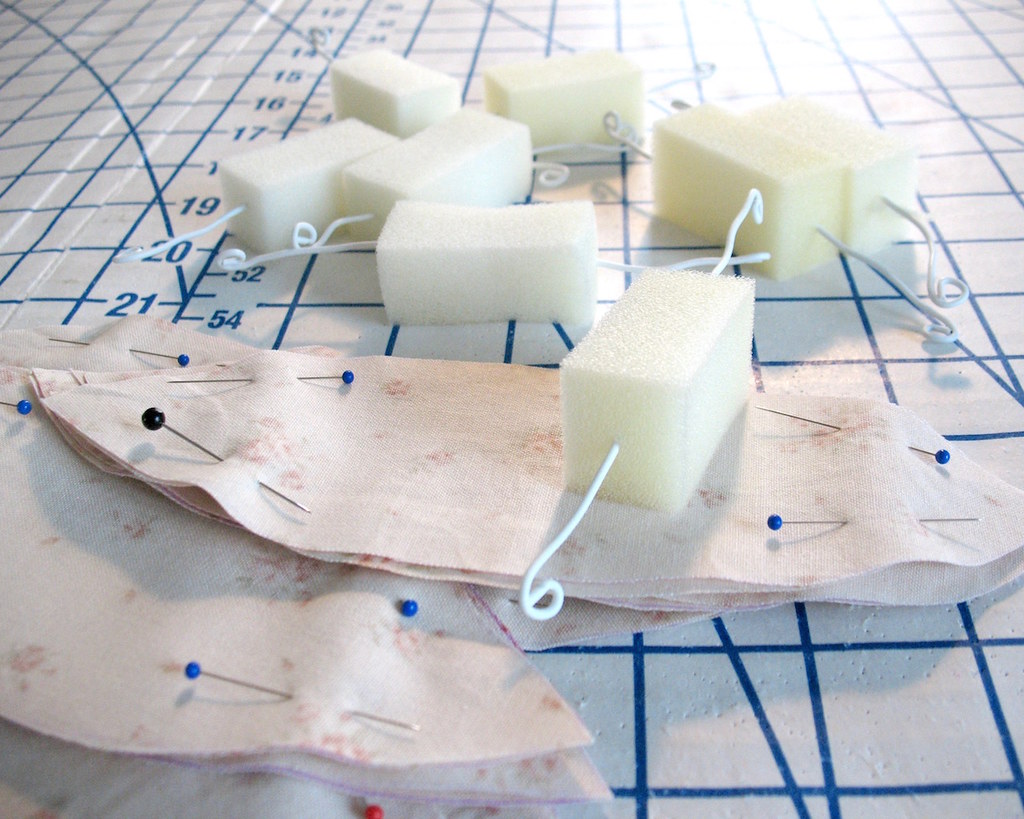
Next, make a template out of cardboard that is wide enough to cover the foam piece and long enough to accommodate the wire, plus a 1/4” seam allowance all around.
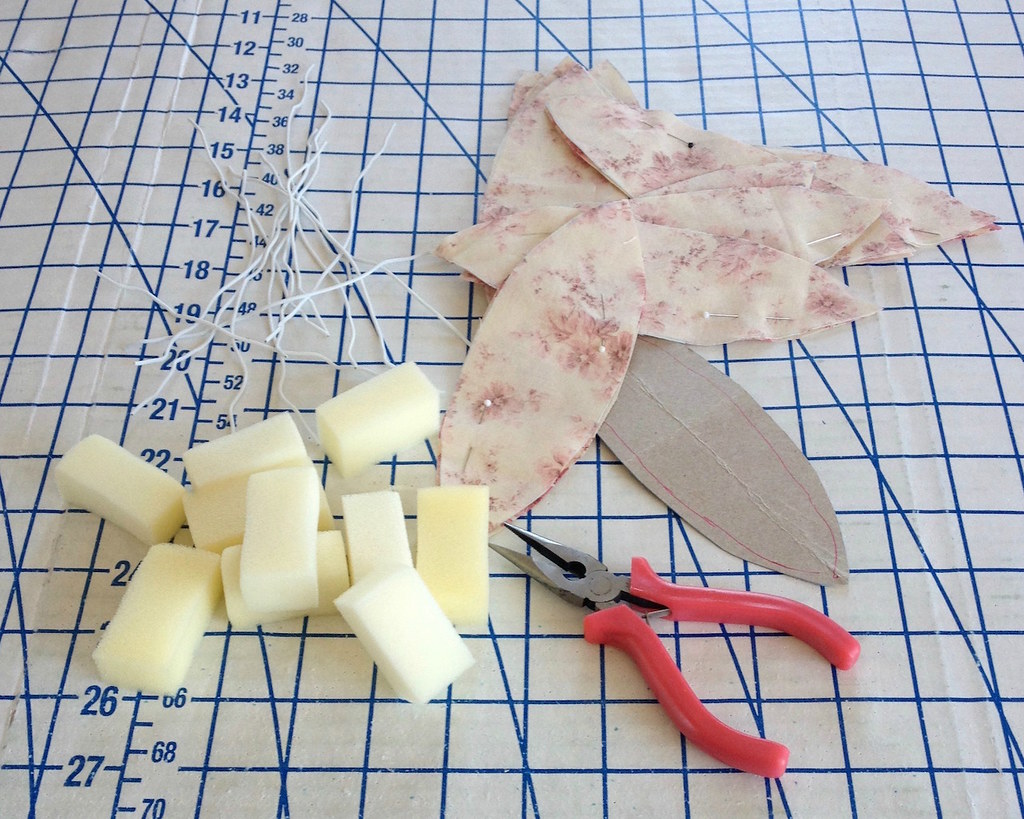
Then cut a whole bunch of fabric pieces from that template. This is where all those cotton remnants I stash come in handy!

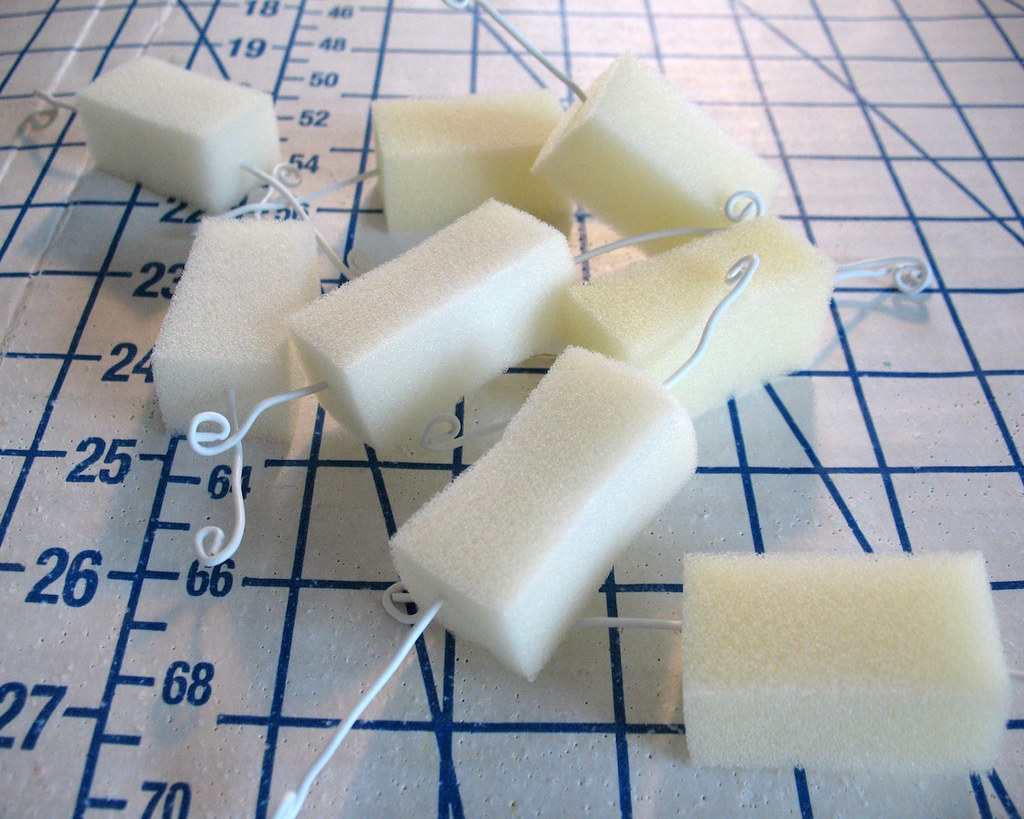
To create a channel for the wire, I use a small metal knitting needle. With the needle in place, insert the wire into the center of the foam piece and then remove the needle. Without the needle, the wire has a tendency to bend halfway through the foam.
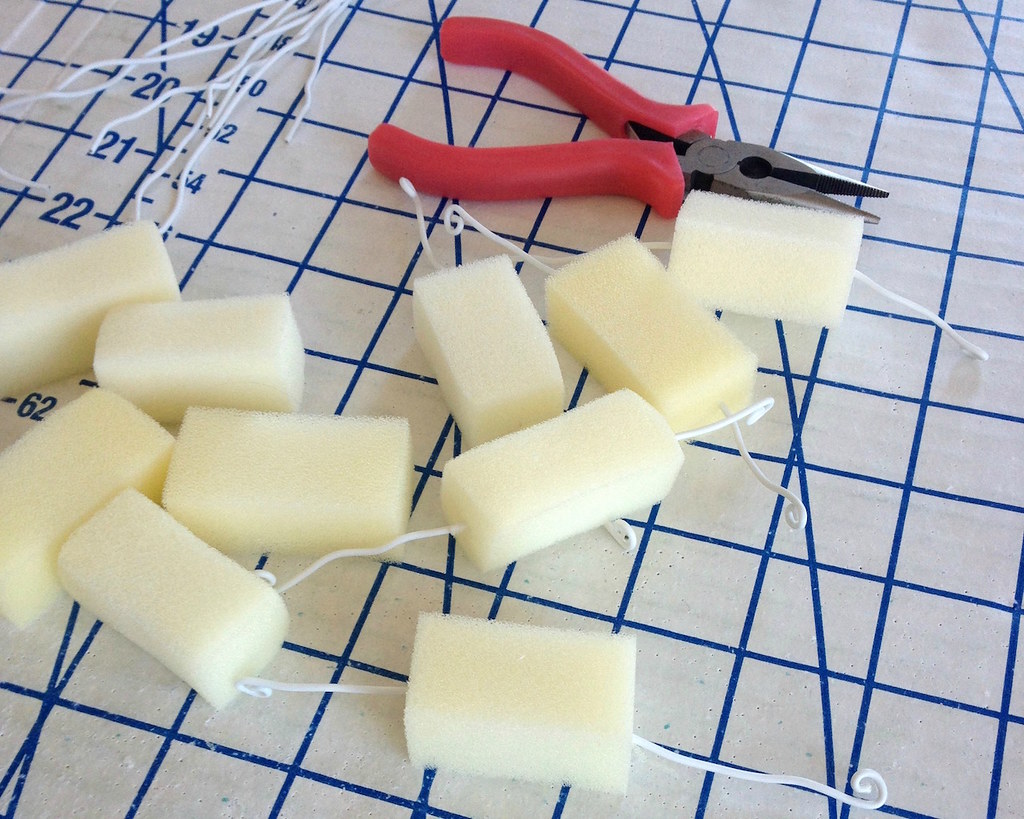
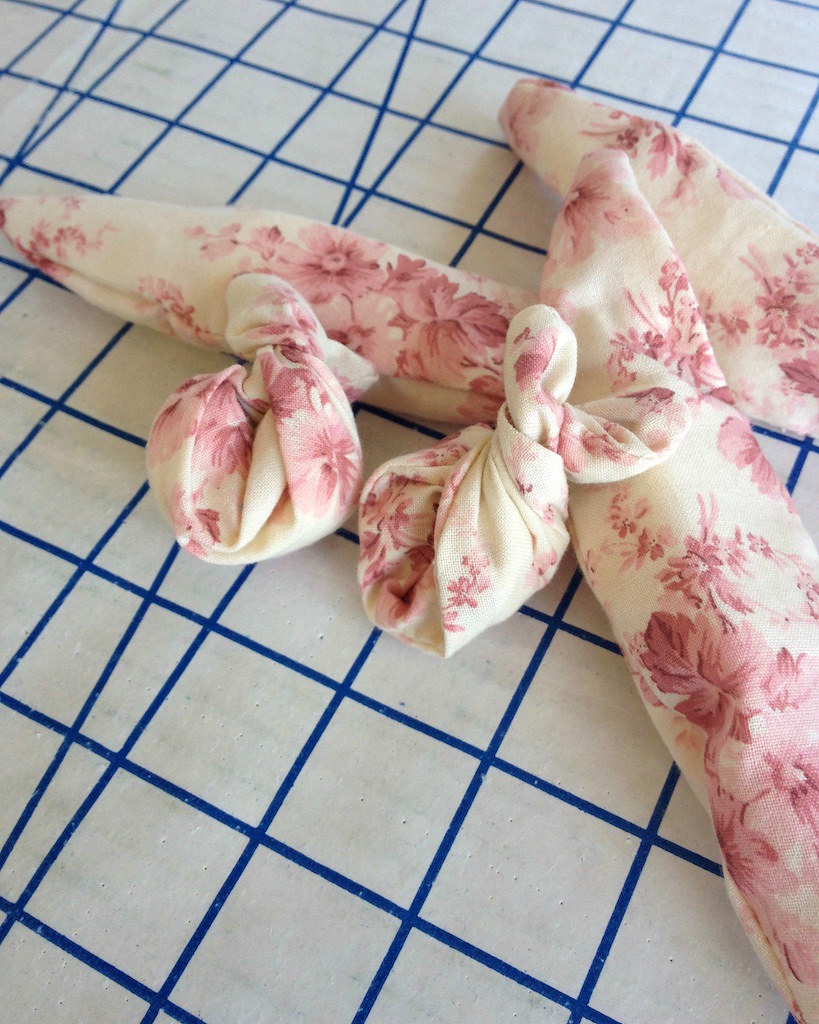
Using a pair of pliers, twist the ends of the wire into a coil. This will keep the sharp ends from poking out of the fabric cover and into you!
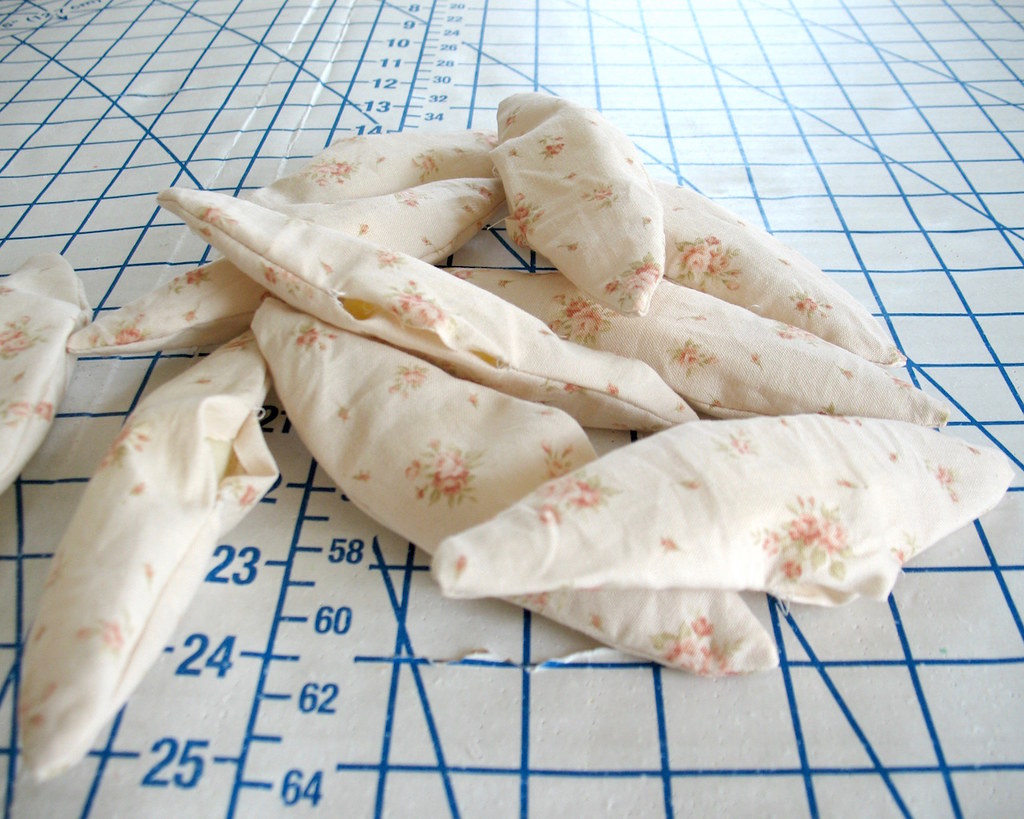
Using a 1/4" seam allowance, stitch two of your fabric pieces together, right sides facing, leaving a small opening along one edge.
Trim the corners, and turn the cover right side out.
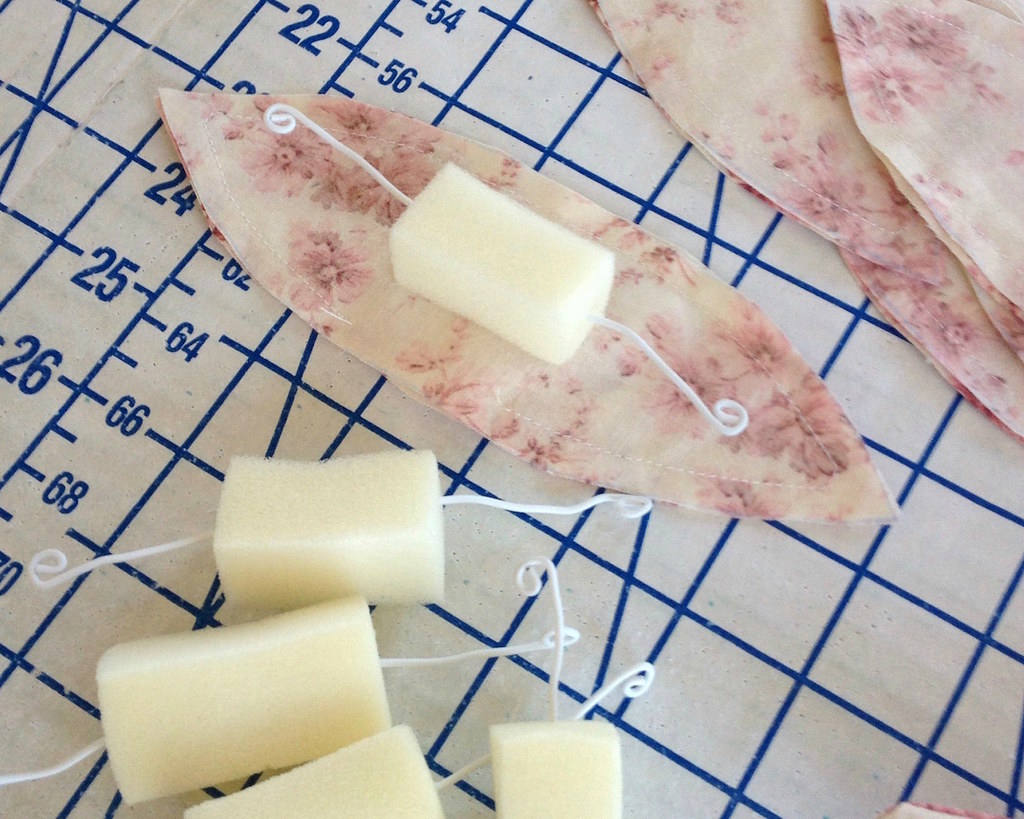
Insert the foam/wire roller into the fabric cover.
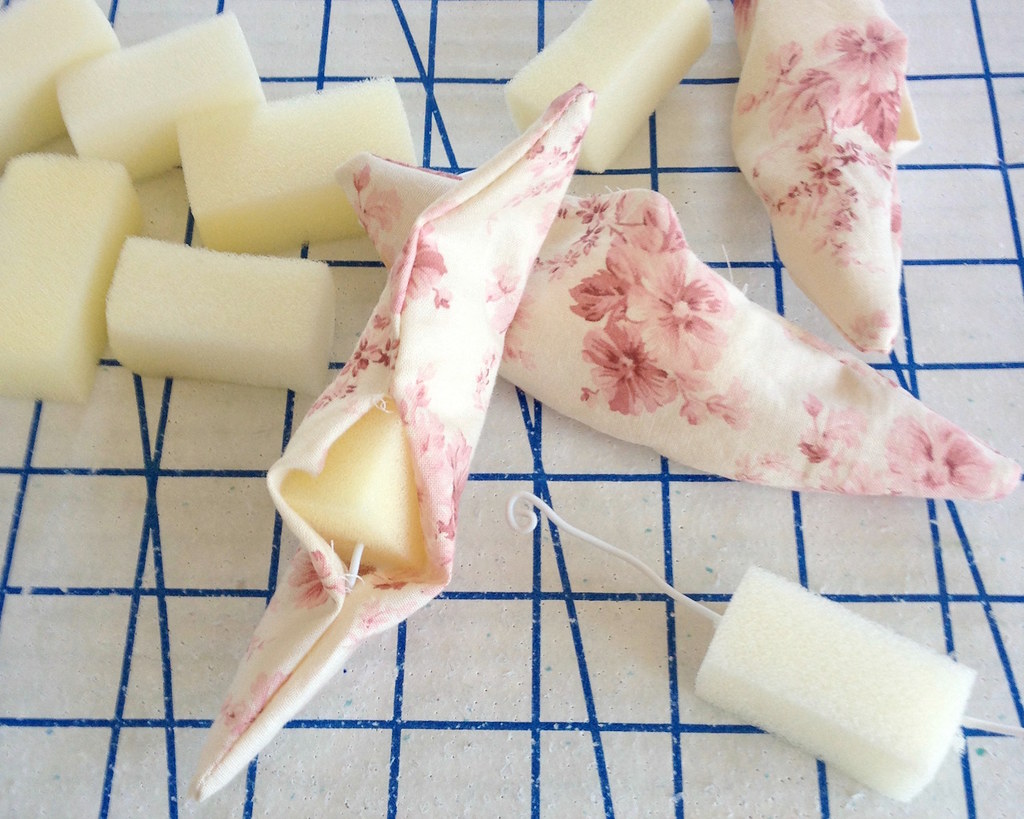
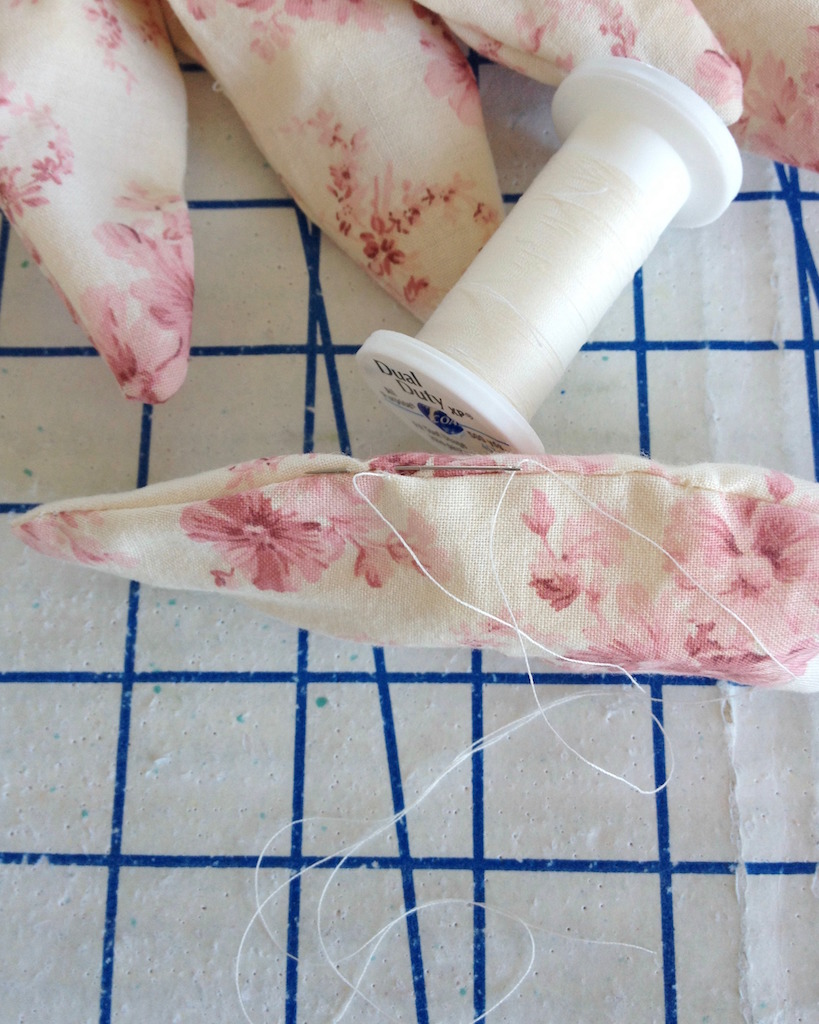
Stitch the opening closed.
I did this by hand, but you can certainly edge stitch that small opening with a machine. [If you want to use the machine for this step, make sure to leave an opening close to one end of the fabric so you can avoid the bulk from the foam.]
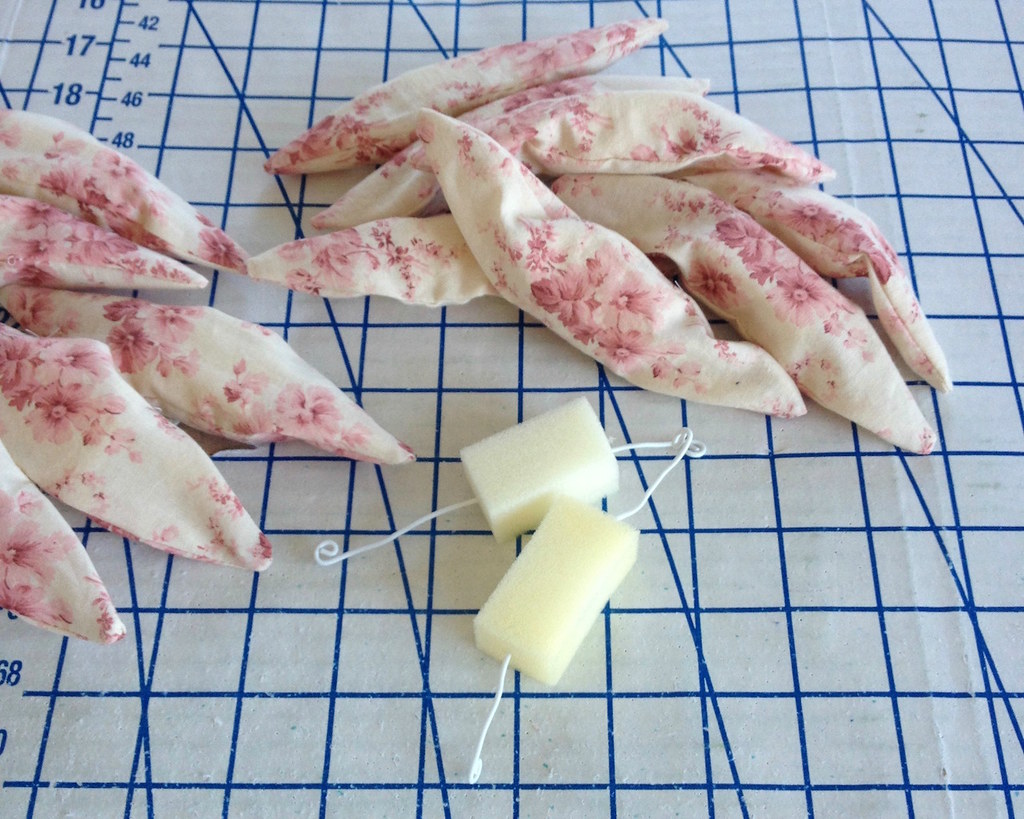
To use, wrap the ends of you hair around the foam piece and roll, securing the roller in place by twisting the two wire ends together.
With repeated use, the foam will compress. But a quick soak in a basin of soapy water will not only clean your rollers, but also expand the foam back to its original shape.
PLEASE NOTE: A true wet set is not a good idea with these rollers. Because the roller is not hollow, the foam + fabric + rolled length of hair is not going to dry properly (as in, 8 hours later they are still really damp!). I do wet the ends of my hair to make rolling the ends under easier, and I have not had a problem with damp hair in the morning.
The curl will not be as tight as a traditional pin curl, but I find this method to be very convenient and much faster! It may work well to set the front sections of hair with pin curls and “cheat” in the back with these foam rollers.
Happy hair setting!
Add "pioneer beautician" to the list. It's a shame Look magazine isn't in print - they'd do a two-page spread on you and your makings.
ReplyDeleteAs always, enamored with your innovation, thrift, and DIY attitude.
Using a #1 or #2 guard on my own hair, curling is out of the question, but what a terrific gift idea.
Love this!
ReplyDeleteI have straight hair too. I used to get perms and use heat rollers or just use a hair pick and scrunch and go (which was my favorite). But now because of health problems, my hair is too fine to risk a perm so I have been wearing it straight. It's O.K. as long as I get a layered cut so it does not get droopy and flat. But it would be nice to have some curls so I will try to find the supplies and make some of these old fashioned curlers. Thank you for sharing.
ReplyDelete