Showing posts with label Advance Import. Show all posts

Sunday, August 2, 2015

The Waistband


For this waistband I tried something a bit different.  


Since I already had hair canvas out for the jacket, I cut a piece the width of the finished waistband and applied it to a strip of organza.


That was then basted to the waistband.


A set of permanent stitches keep the organza in place at the fold line.


The inner edge was then pressed under.


Next, the waistband was pinned to the skirt.


And hand basted into place.


Two lengths of ribbon were stitched to both side seams.  Then the only thing left was to fold and hand stitch the waistband in place.


I am going to leave the hem alone until the jacket is finished and I can figure out proportions.  But this piece is finished for now!

Tuesday, July 21, 2015

Crazy Collars

I love a great collar.  And this suit definitely has one!


The main reason I decided to go all in with the tailoring on this jacket is that very collar.  The mid-weight cotton has quite a bit of drape and not enough structure to keep the proper shape.  Hair canvas seemed like a good bet.


The upper portion of the collar is underlined with silk organza, and the under collar with hair canvas.  I knew the under collar needed to be pad-stitched.  The question was, what to do about all of those darts.


I wanted a lot of body through the collar, but not the bulk that multiple layers of hair canvas would give.


The stitching lines are traced on the hair canvas and organza.  The underlinings are then basted to the cotton along those traced lines.


The darts are removed from the hair canvas, and those cut edges get catch-stitched to the cotton.


Next, the darts are pinned and basted.


And then they are finally stitched!


Once they are pressed, the darts are catch-stitched in place.  (The darts are balanced by pressing the under collar ones in the opposite direction to the upper collar ones.)


The same goes for the silk organza, although none of that gets cut away.


Which leaves me with this . . .


And it looks like the hair canvas is doing a fine job of shaping!


I am going to need to count the number of darts on this project because I think it may be an all time record for me!


Wednesday, July 8, 2015

A Suit Skirt


I decided to start with the skirt for this project.  There is a lot of tailoring to do on the jacket, so I decided to ease myself in.


The skirt is underlined with cotton instead of silk organza.


Because I am using a very textured cotton that easily hides small hand stitches, I decided to stitch the fabric layers together where they might separate just outside the darts.  This is probably overkill, but I thought I would try it out and see if the extra work makes a difference.


Speaking of darts . . . there are ten darts in this skirt - add the lining, and that brings the total to twenty.  And that is just the skirt!


After I cut out my skirt pieces, I suddenly realized the fabric had more give than I was expecting and I was worried about the seat bagging out during wear.  


Instead of cutting a duplicate piece in organza, I cut a shortened version of the skirt back piece that covers the the portion that might stretch out during wear.  I think that should do the trick!


Other than that, the construction is pretty self explanatory.  Straight skirts are pretty straight forward!


The zipper is a hand-picked, lapped application.


I am waiting to cut my jacket pieces out before I deal with the waistband and hemline, so this skirt will be set aside for a bit while I spend some time with my bodice pieces.  But it's a start!


Monday, June 15, 2015

Sewing Friends are the Greatest!


Not too long ago, I pinned this image of a lovely vintage suit pattern (aren't Advance Import Designs awesome!?!).  Soon after, Peter mentioned that he happened to have a copy of the pattern, and would I like to borrow it?


Why yes, I certainly would!!


So not only is the pattern here via New York City, so is my fabric.  Last summer I picked up this textured cotton at Paron Fabrics during Male Pattern Boldness Day with no real idea of what I would do with it.  Who could have known that it was destined to be this 1960s suit - all thanks to Mr. Male Pattern Boldness himself!


This is going to be my next big project.  I am ready to jump into something involved, and this is it.  "Mushroom collar" here I come!

Wednesday, October 30, 2013

Gala 2013: The Reveal


This project has been quite the adventure!  There were days when I was convinced it would never end.  And while everything did not go exactly according to plan, I am so, so pleased with the final result!


The gala was fabulous.  


And the concert (which I attended on Sunday) was magnificent.  Rachmaninoff’s Piano Concerto No. 2 is one of my favorite symphonic pieces, and hearing it in person again was so very special.  Bravo, Marin Symphony!


The sewing room and living room have not quite recovered, but things are slowly getting put away, and happily, my fingertips are on the mend.  But I am sure that I will be finding amethyst colored beads here and there for months to come!


 Thank you for sharing this journey with me, and for all of your incredibly supportive comments!


I did attempt to keep track of my hours on this project, so I will have to add everything up – but that is for another day . . .


And a huge thank you to Britex for supplying the fabric - because my vision of this dress certainly would not have been possible without it!  Fabulous fabric is oh so important for a successful project!


Dress:  Made by me, Advance Import Reproduction
Belt:  Made by me
Hat:  Made by me
Purse:  Made by me
Gloves:  Thrifted, dyed by me
Brooch:  Made by me
Ring:  Thrifted
Earrings & Bracelet:  Macys
Shoes:  Vince Camuto
Shoe Clips:  Made by me


[Britex has generously provided the fabric and sewing supplies for a dress I will be wearing to a formal event in October. I will be sharing some of the steps and construction techniques with you as I work on this project over the next couple of months.]


Tuesday, October 29, 2013

A Sneak Peek

There are just too many pictures to get through this evening, but I thought I would leave you with a little sneak peek of the finished dress!


(I suppose having a plethora of pictures is preferable to having nothing decent to post, right!?)


Monday, October 28, 2013

Finishing Touches


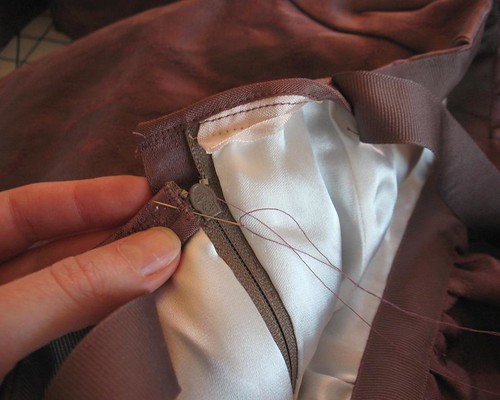
True to form, I was stitching hook & eyes on just hours before the event!  Why is it never possible to finish things like this ahead of schedule?


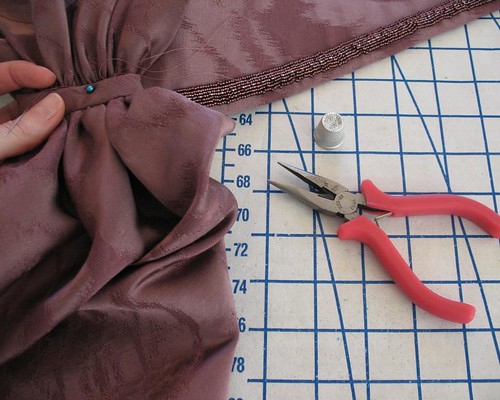
I managed to get through most of the hand sewing on this piece (which was rather extensive) without doing too much damage to my finger tips.  But this past week, I got myself good.  The eye end of a needle punched through the pad of one of my fingers, and the spot was really hard to avoid re-puncturing.  (I really must learn how to use a thimble.) A pair of beading pliers really came in handy to avoid aggravating the injury.


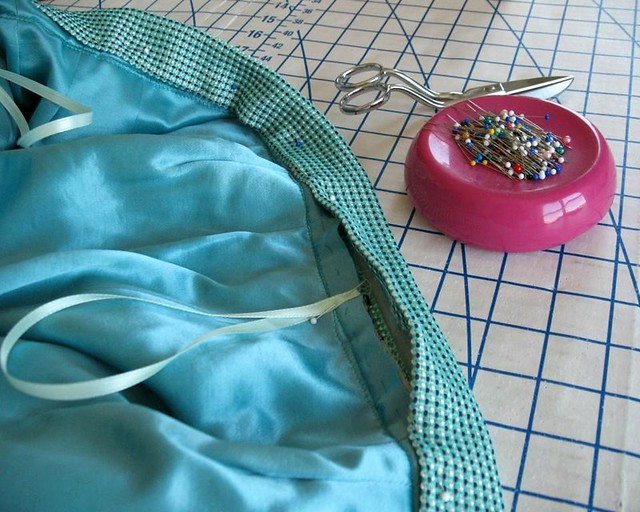
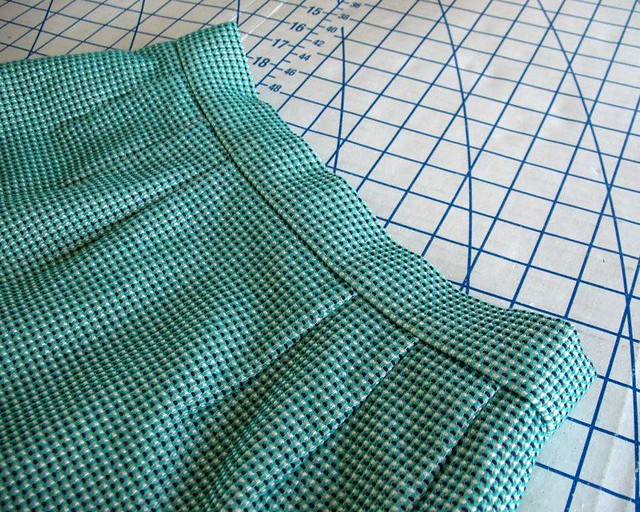
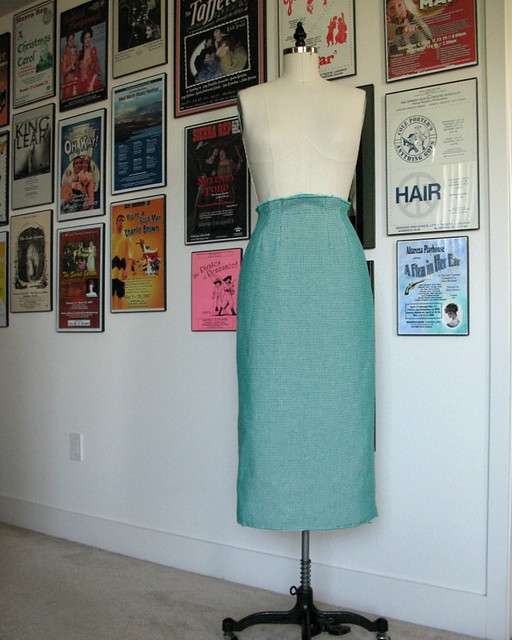
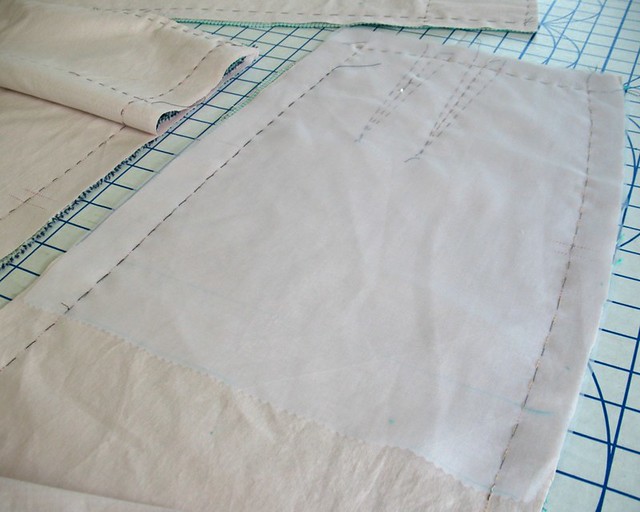
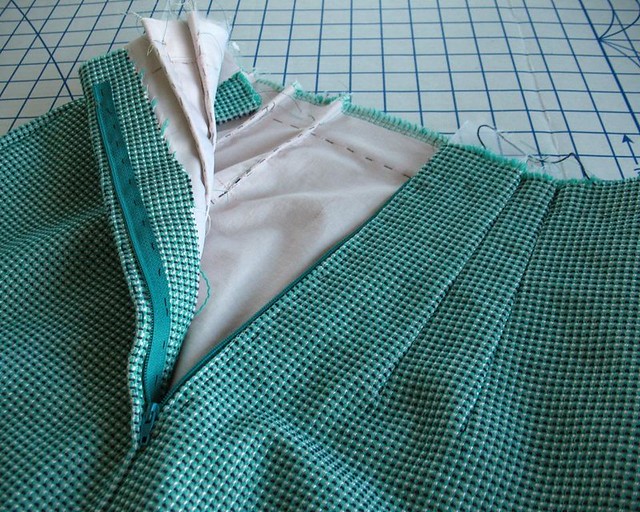
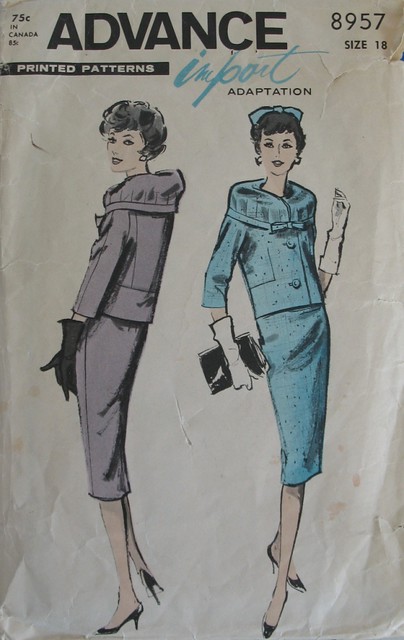
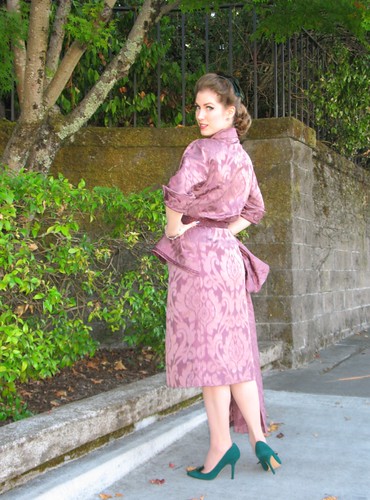
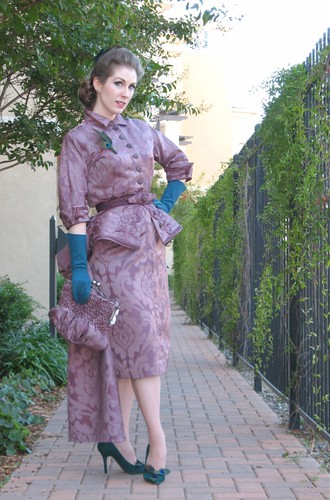
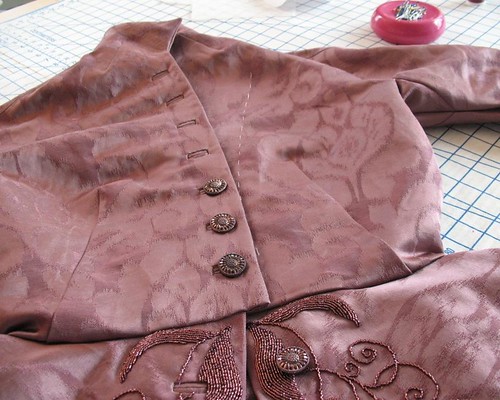
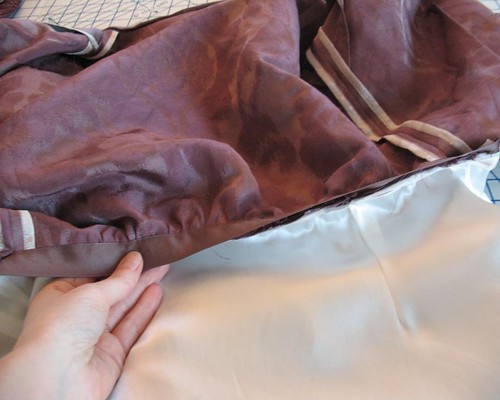
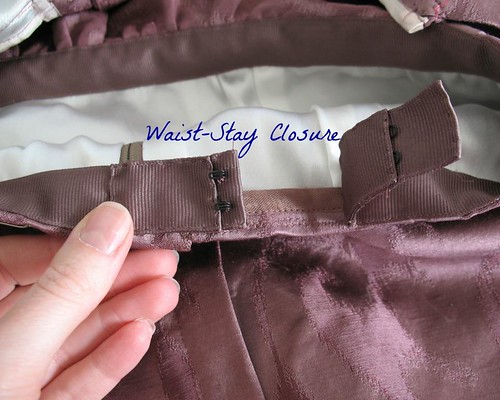
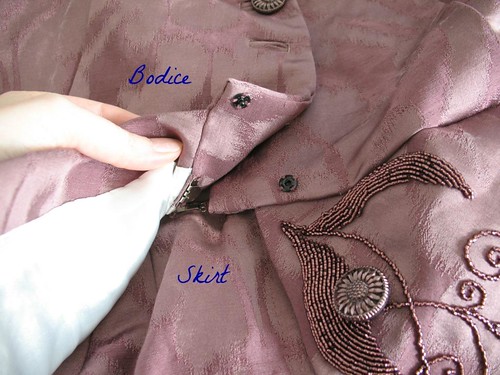
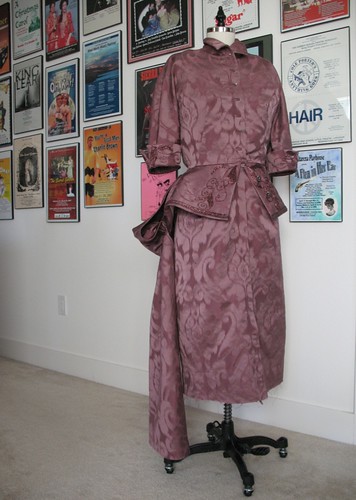
The skirt zips up the front, and obviously, the bodice buttons up the front.  What I did not initially realize from looking at the cover illustration is that the garment is one-piece.


The back bodice and skirt are attached at the waist seam. 


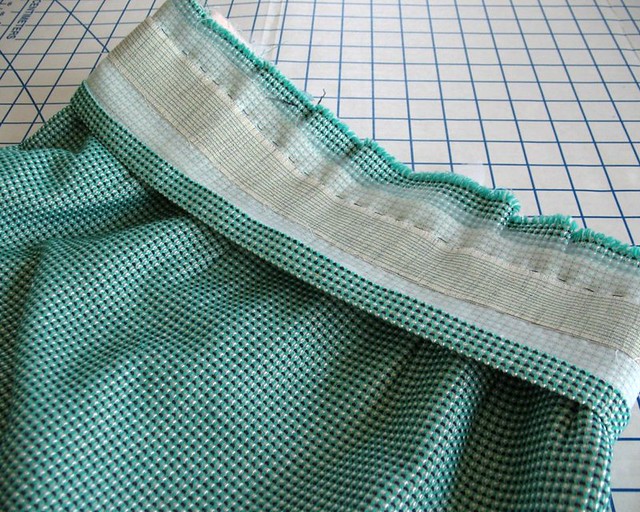
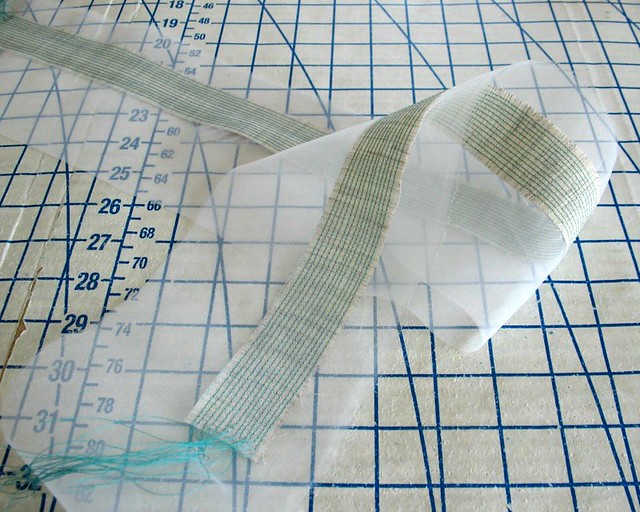
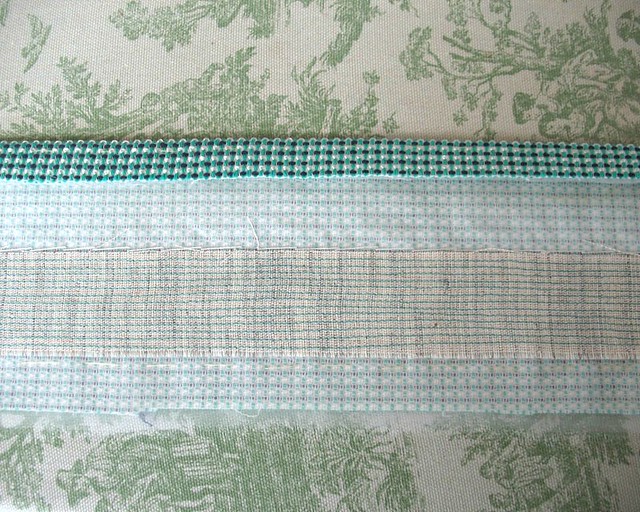
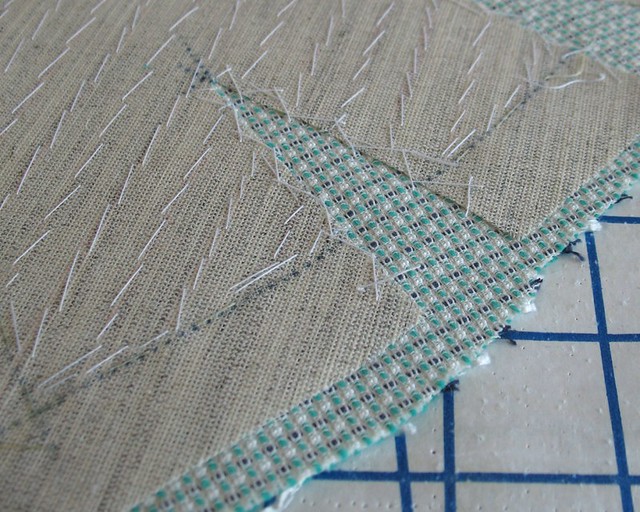
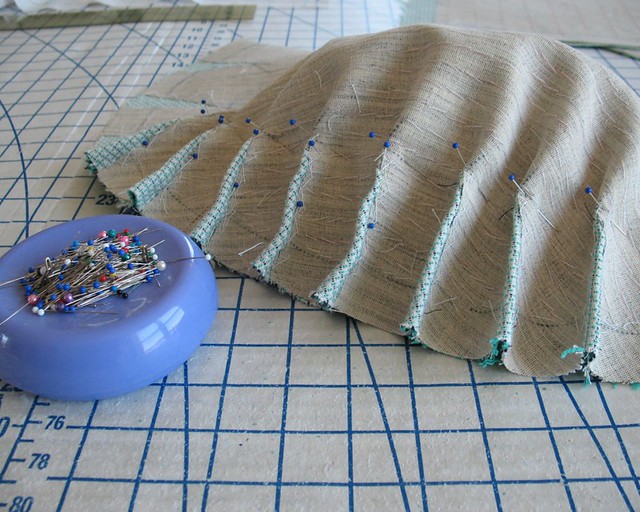
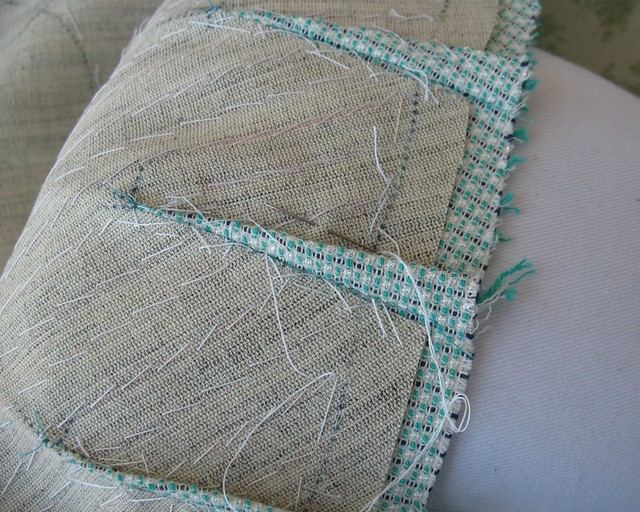
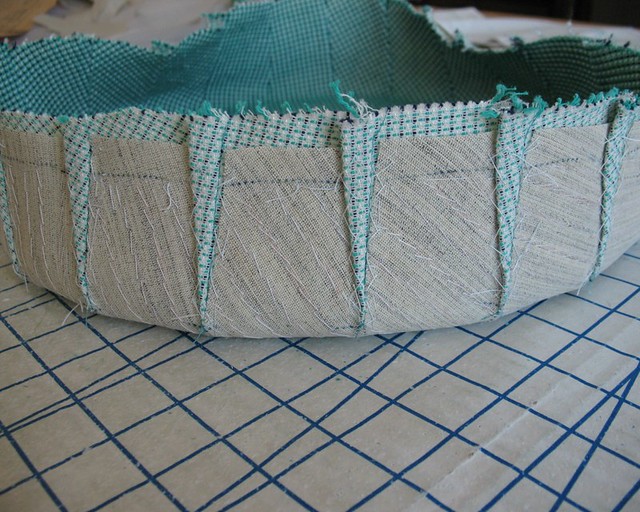
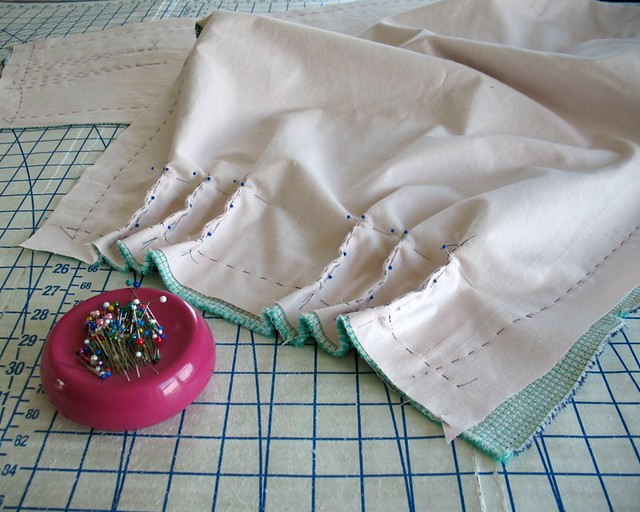
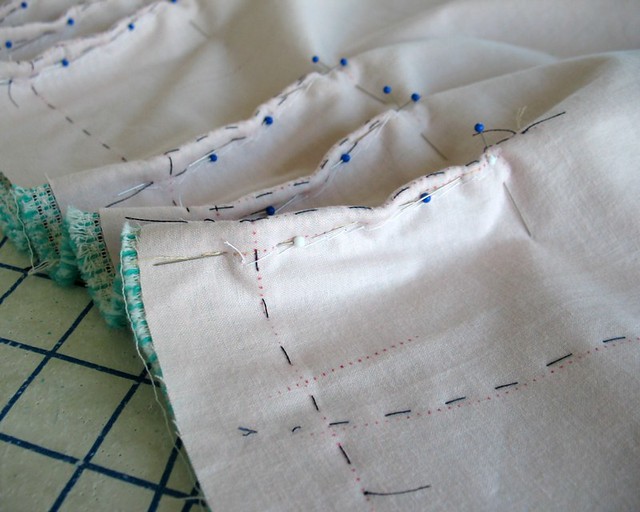
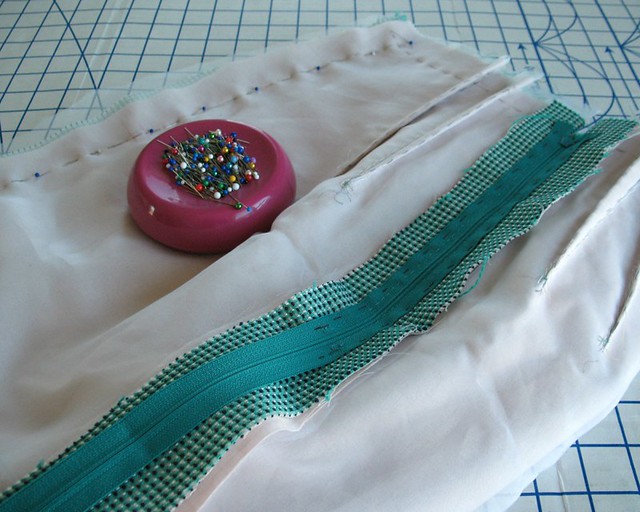
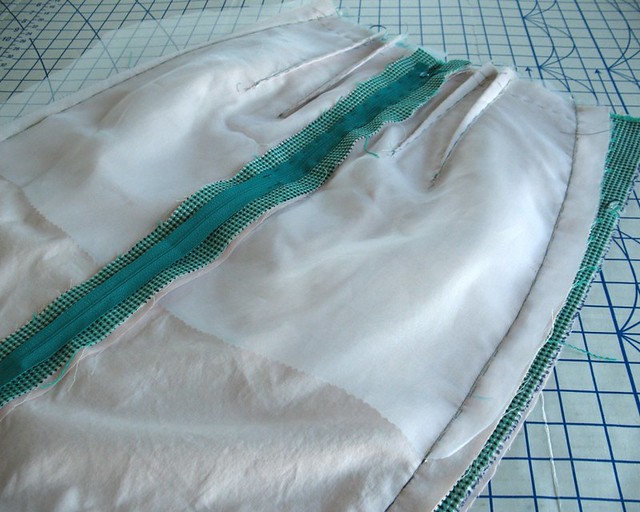
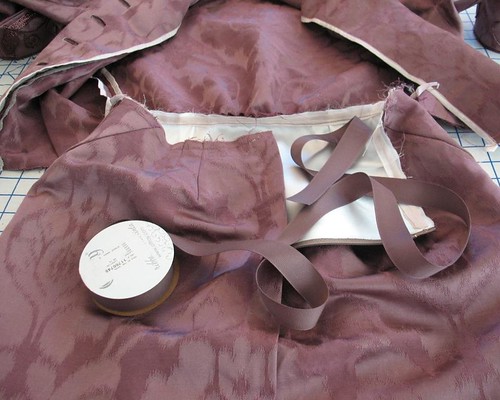
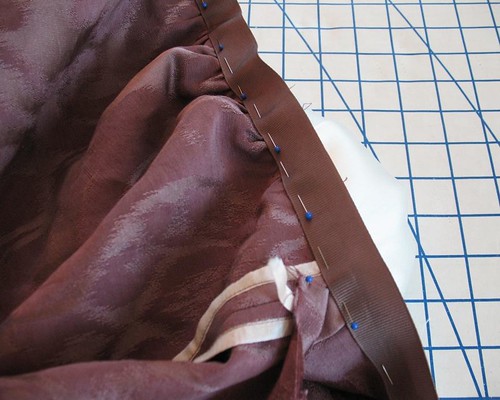
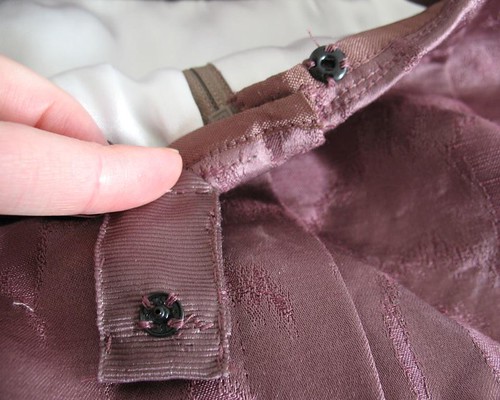
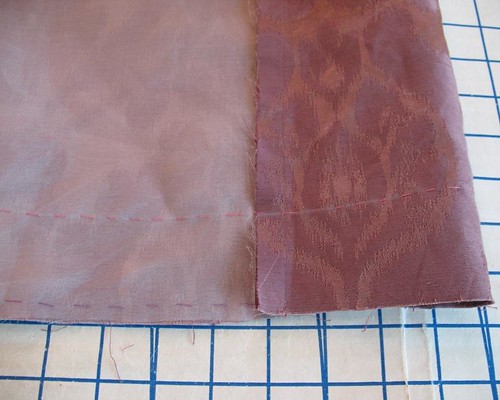
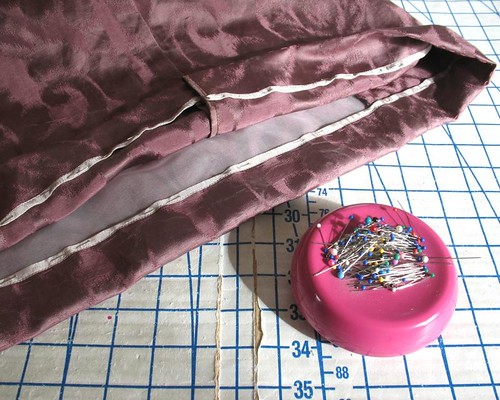
The skirt edges are finished with a length of grosgrain ribbon.


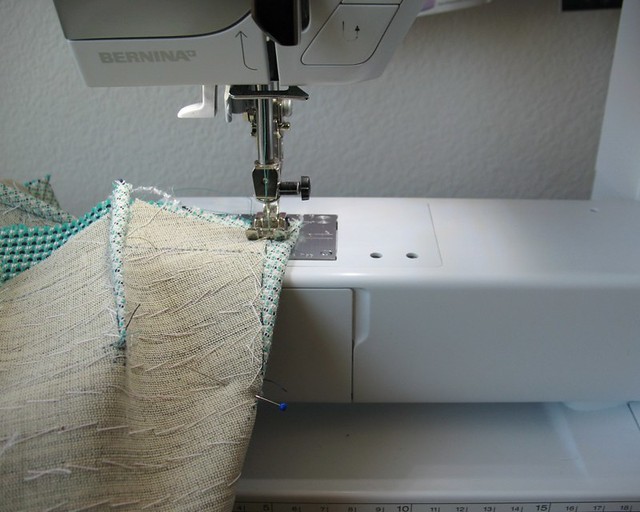
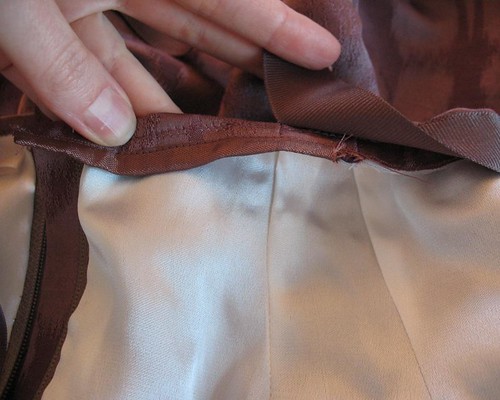
The ribbon is stitched to the seam allowance and after pressing it down, hand-stitched to the skirt lining.


The ribbon is left free for a few inches at the center front


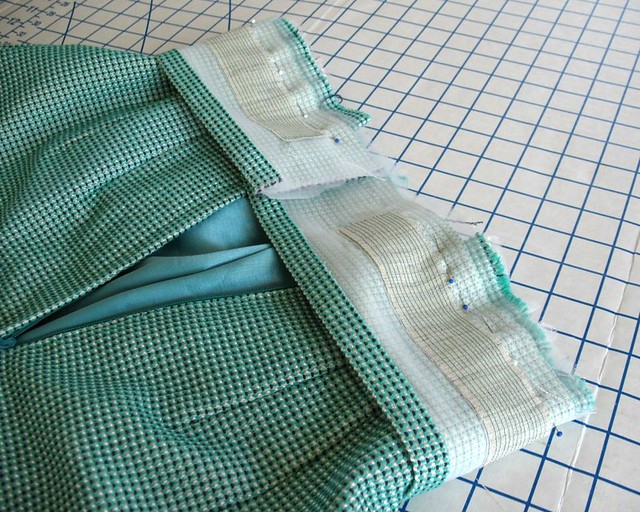
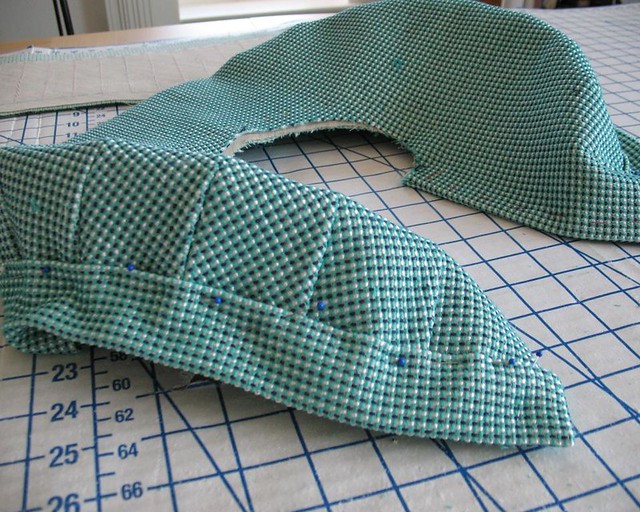
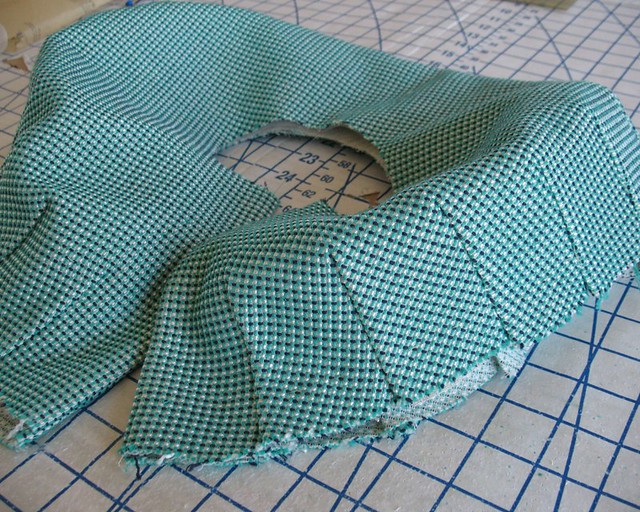
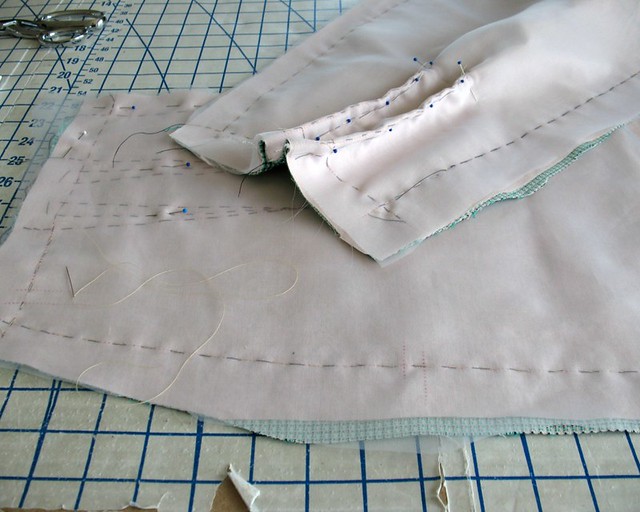
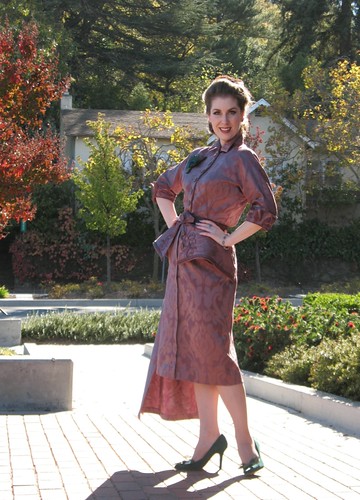
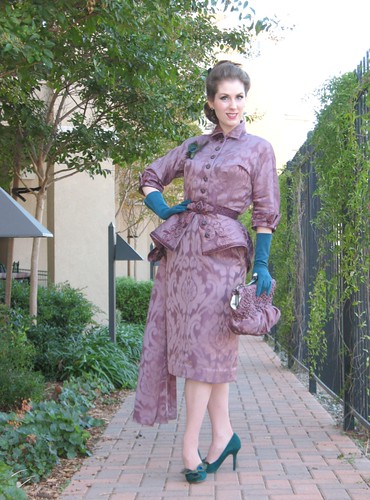
The peplums are attached to the bodice pieces, which are are finished, top and bottom, and get zipped and buttoned after hook and eyes secure the skirt at the waist.


Actually, the directions are rather iffy on this part.  I was lucky enough to wear a fantastic Victorian ball gown costume in high school that was two pieces - large hook & eyes were used to secure bodice to skirt, so my memory of that piece is where I started.


After that I just kept adding snaps and hook & eyes to keep everything in place.  (In the end, the closures are probably more Edwardian than mid-century/1950s with all of that folding and hooking and snapping, but it works!)


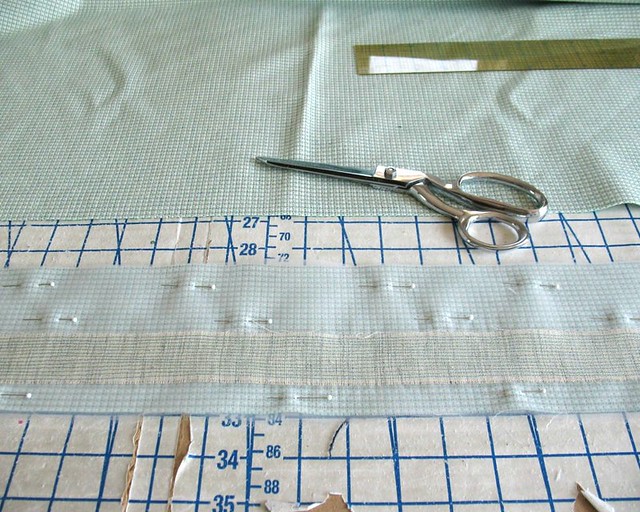
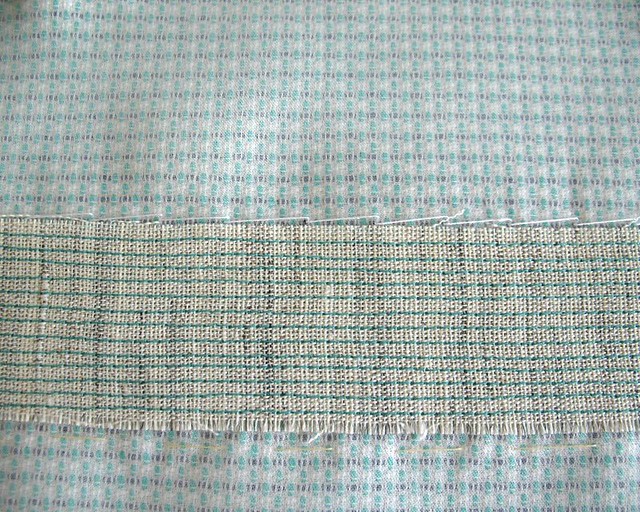
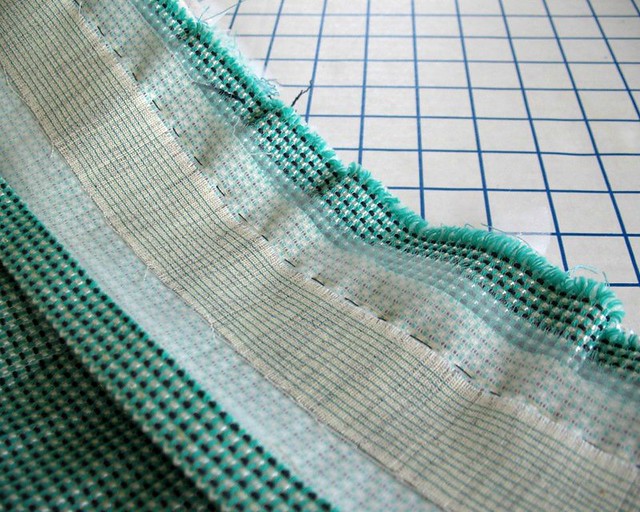
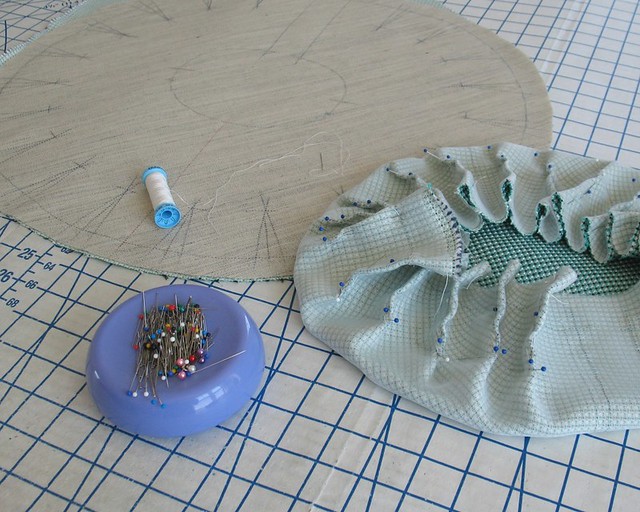
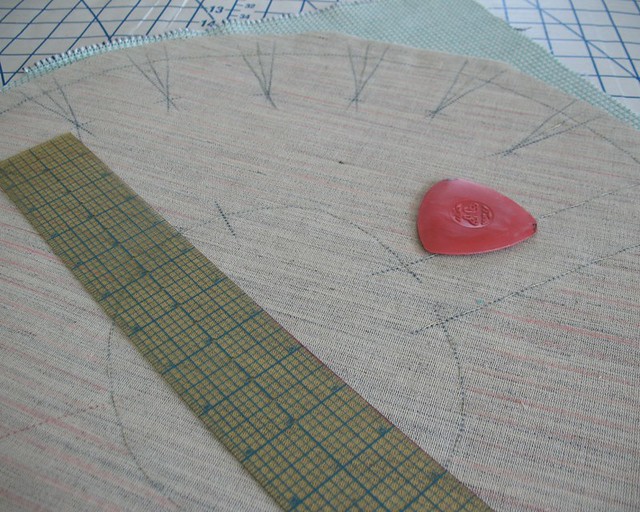
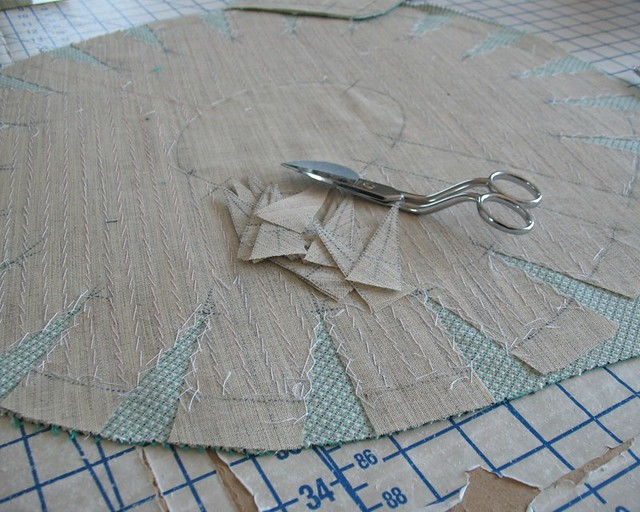
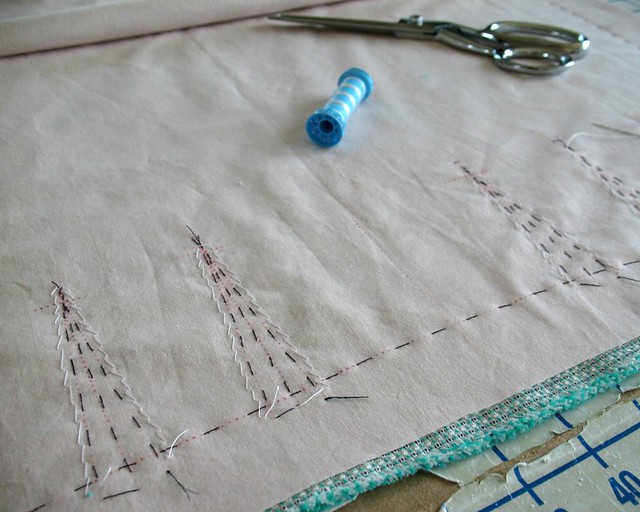
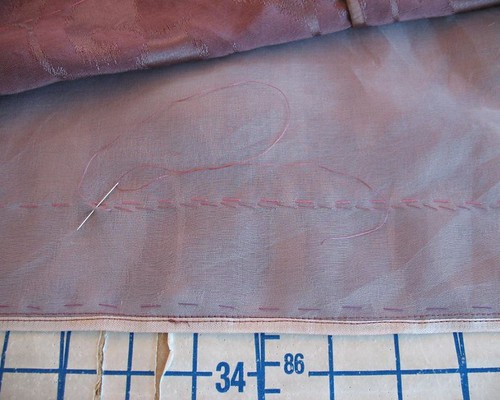
The hem was marked with a contrasting thread, and to ensure that the silk organza underlining did not shift, I stitched just inside the fold (those stitches stay in permanently).


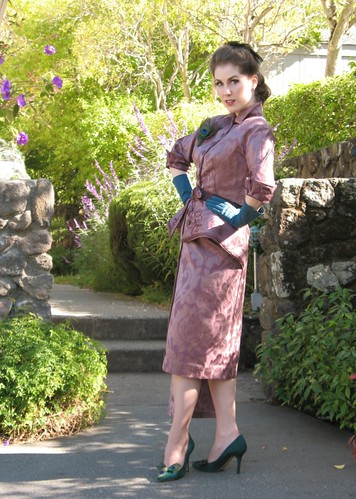
One of my favorite things about this garment is how easy it is to get on and off.  I can also step into it, which means hair and makeup can be done prior to getting dressed.

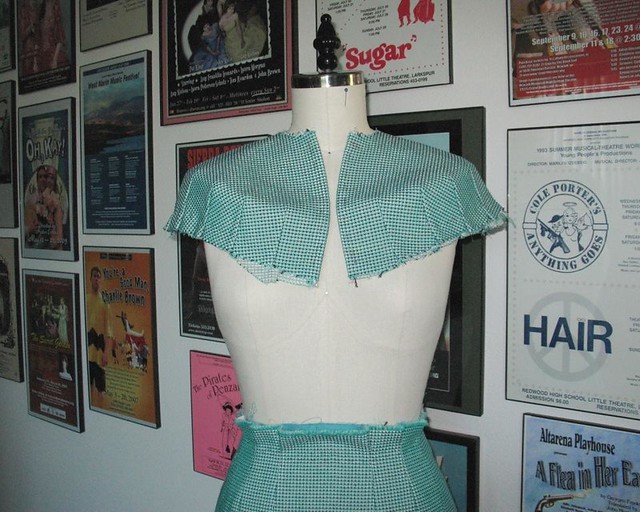
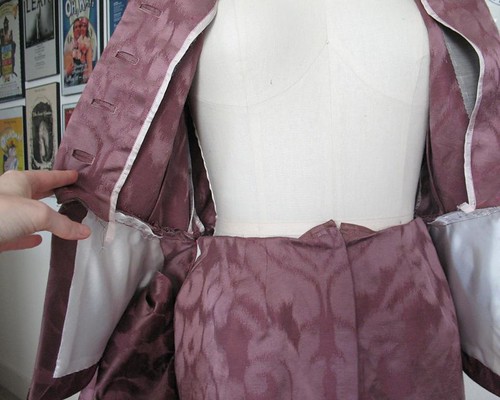
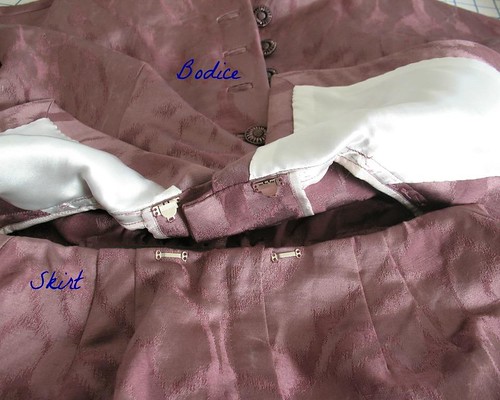
I have a ton of pictures to go through, but I promise that I 
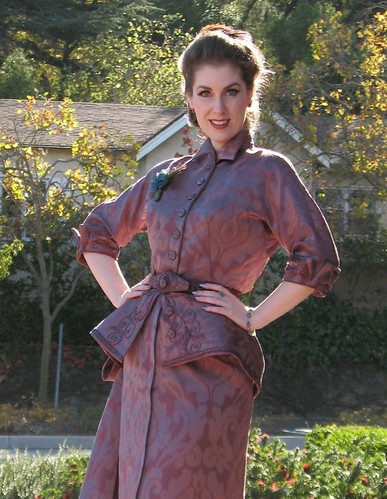
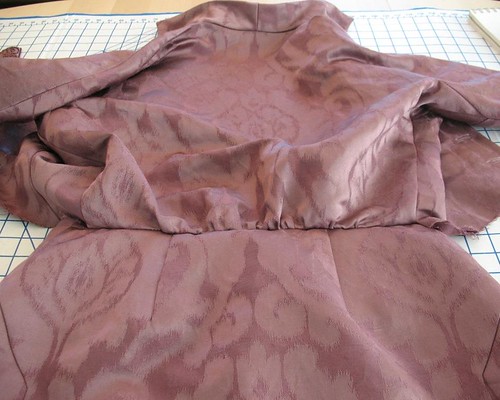
will have a finished dress to show you very soon!  Here is what it looks like without buttons, hip pads, shoulder pads, the belt, or a hem. 


[Britex has generously provided the fabric and sewing supplies for a dress I will be wearing to a formal event in October. I will be sharing some of the steps and construction techniques with you as I work on this project over the next couple of months.]