Showing posts with label Gala 2013. Show all posts

Sunday, November 17, 2013

Putting the Gala Gown to Bed

I have finally put this year's Gala Gown away! 


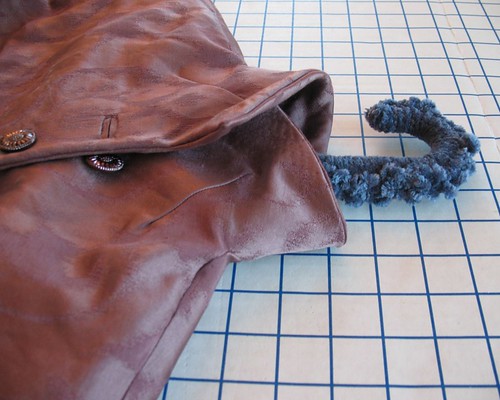
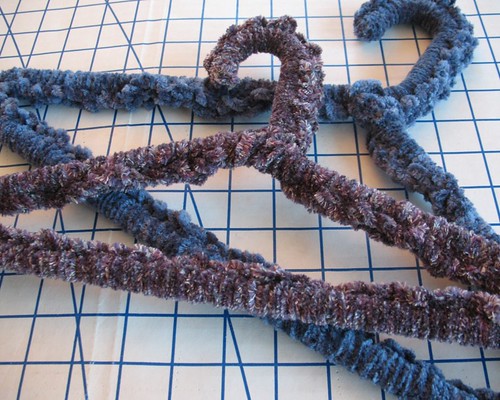
First off, I had to find a hanger that is strong enough, but plain plastic just seemed sacrilegious.  Once upon a time, I made myself a covered hanger for every hand-stitched dress.  Somewhere along the line I stopped – probably because I wanted to start sewing the next project and not worry about a silly hanger.  But it does look nice, and prevents things from slipping around.  There was a bit of chenille yarn left in a drawer, so out it came, along with a sturdy plastic tube hanger.


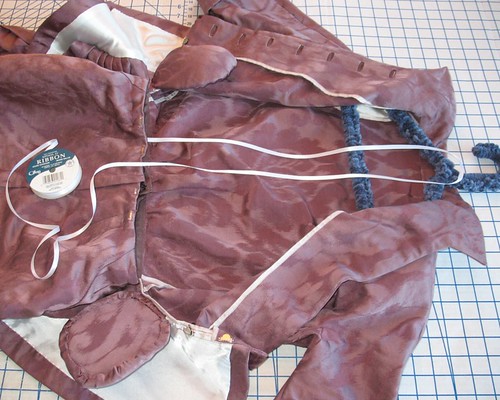
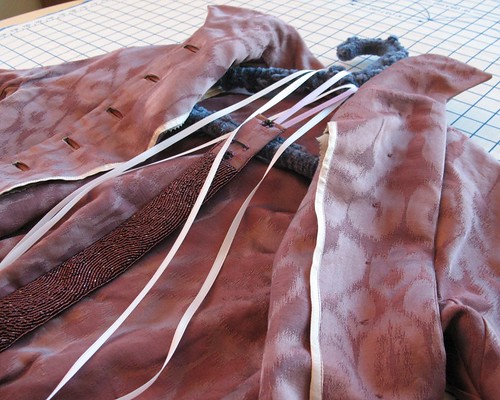
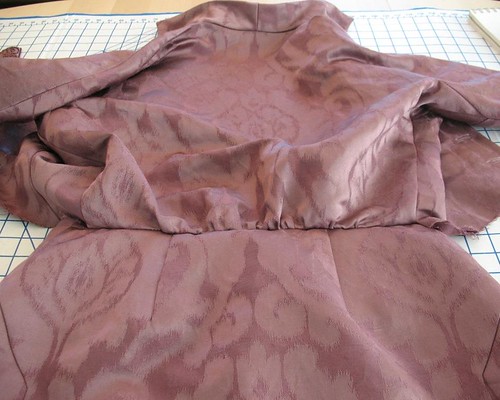
Because the front section of the skirt waist is not attached to the bodice, I needed to figure out how to hang the garment without creating unnecessary strain at the side seams.  


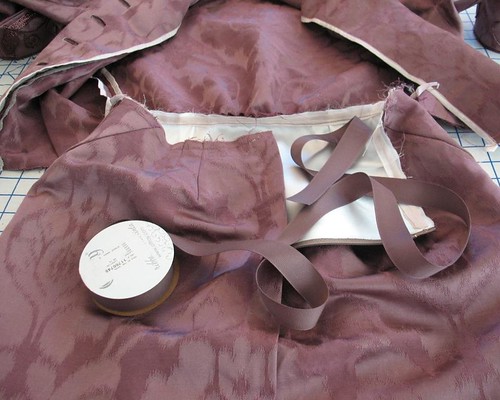
I ended up adding two ribbon loops to the skirt waist that loop over the hanger.  This helps to re-distribute the weight.  


Most beaded items are not supposed to hang, but since this fabric is upholstery weight, very sturdy, interfaced with hair canvas, and the beads are not completely covering the dress, I think it will do just fine on a hanger.


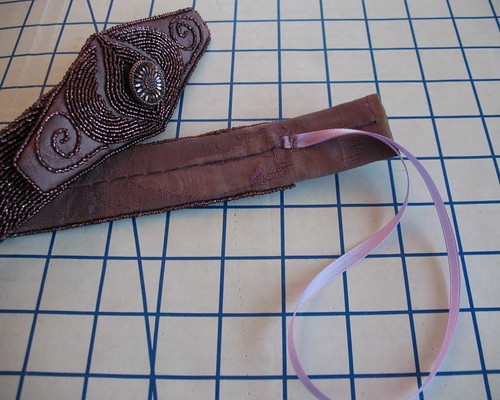
The belt also needed a ribbon loop so I could tuck it inside the dress.


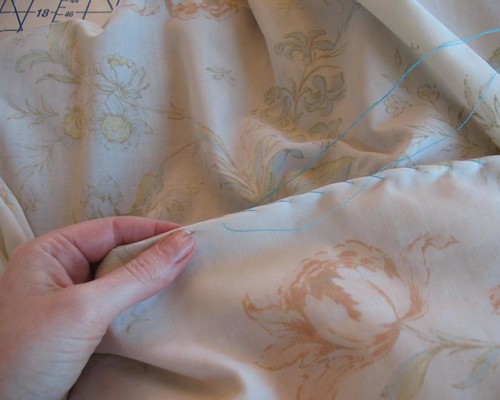
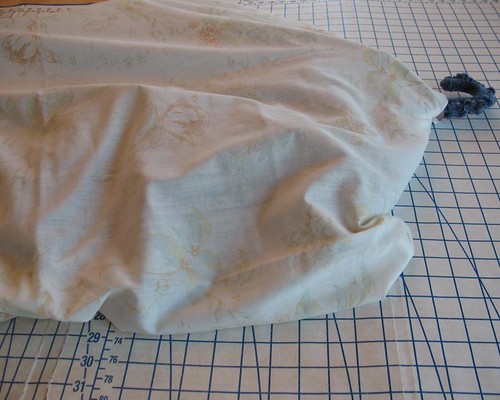
And, of course, I needed to make a cover to prevent snags, dust, and who know what else from marring my lovely lady.  My Ceil Chapman Gown from a couple of years ago was hanging on the back of the sewing room door waiting to be put away and narrowly missed being leaked on during the first big rainstorm of that season.  That will teach me to leave things unprotected (although, to be fair, having water come through a smoke detector was not something I could have foreseen).


Here are a few stats:
~ 6 yards of fabric (between the fashion fabric, lining, and hair canvas)
10 Buttons
~ 300 yards of silk thread (I went through at least 3 spools with all the beading and hand basting!)
~ 19,500 seed beads
Too many stab wounds to the fingertips to count
A whole bunch of Pad Stitching
~ 10 yards of Hug Snug
1 yard of horsehair braid for the peplums
1 yard grosgrain ribbon
1 yard belting
5 hook & eyes
3 snaps
1 zipper
Plastic Canvas (for belt "buckle")
Cotton Batting (for shoulder pads)
And that is just the dress!  There were also feathers, buckram, felt, purses and shoe clips to contend with.

Although I stopped keeping track of my time during that last week (and I know I missed some of the early tracing/fitting hours) my total time spent on this project over 2.5 months is . . . ~ 156 hours!! 

Actually, I am not sure I wanted to know that.  But the next time someone asks how long my projects take, I guess I know the answer!  Only taking into account my time, and paying myself minimum wage, would price the dress over $1,200.  Next time I hear of a red carpet gown that costs more than I make in an entire year, I will think twice about rolling my eyes.

I have to admit that this weekend was the first time I have used my sewing machine since the end of October, and now that I have done the math, I understand why.  But it feels good to be back!


Tuesday, November 5, 2013

Essential Accessories


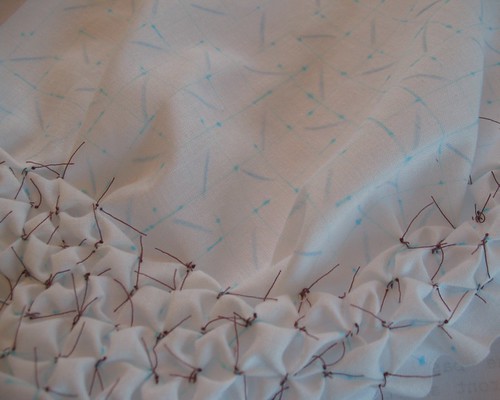
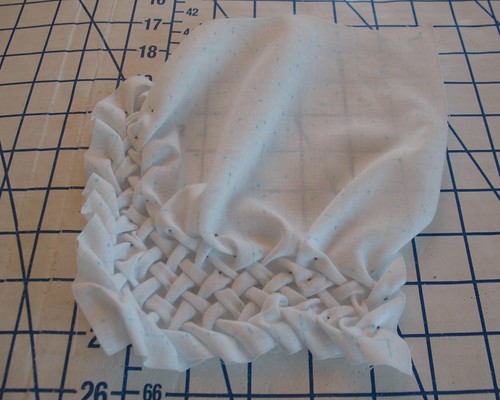
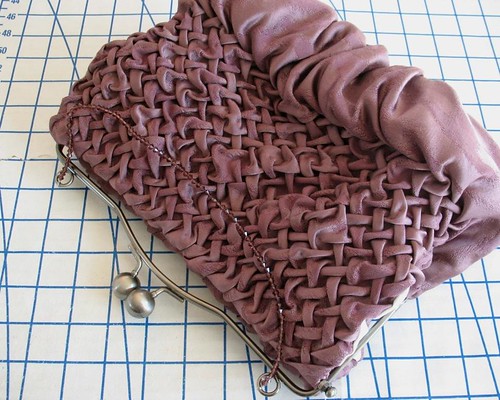
There have been quite a few questions/comments on my gala purse, so here are some specifics.  I came across an online tutorial on Pinterest a while back, and thanks to the website, I could find it again when I needed it.  Who thinks of these fabric manipulations? – genius, I tell you!  I would never have figured it out on my own, that is for certain!

First I needed to figure out how many inches would be lost to the folding and stitching.  There is probably a scientific or mathematical way of doing this, but I do not have the patience for that.  Besides, I wanted to see what it was going to look like!


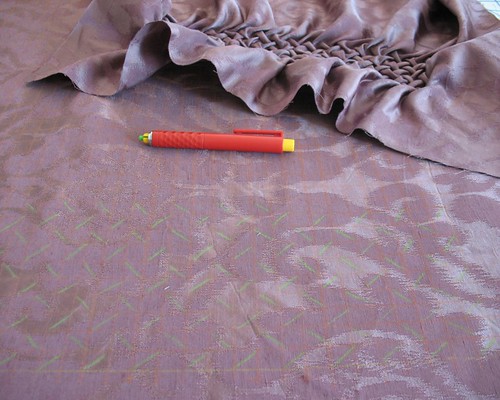
With my leftover yardage, I cut a piece and started the rather tedious task of chalking in a grid, making sure to leave a few inches on the sides so it could be sewn into a purse.


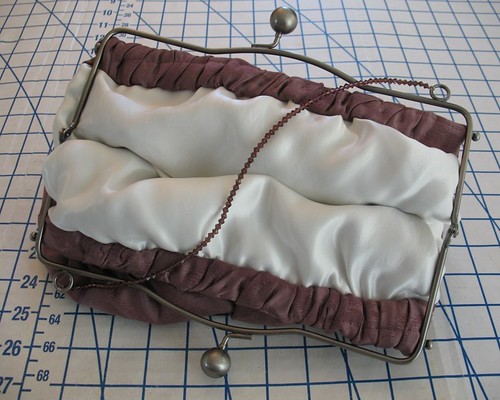
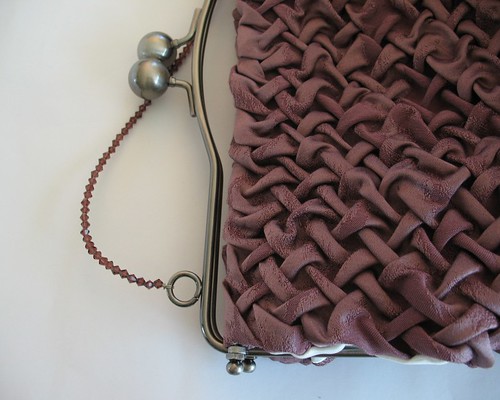
The frame is from Lacis.  Best of all, if I want to use it again, all I have to do is unscrew the end caps, and slide off the fabric without damaging either.


Since the frame had a place for adding a strap, I strung a few beads on some wire.  It lasted all evening, but the next morning when I opened it to pull things out, the wire broke (I guess it had been twisted one too many times).  Next time I will use thread or a better quality wire or perhaps a jump ring would work best.


In a perfect world, I would have had an extra week to spend on the piece, but it certainly served its purpose! 


Purse:  Made by me

Saturday, November 2, 2013

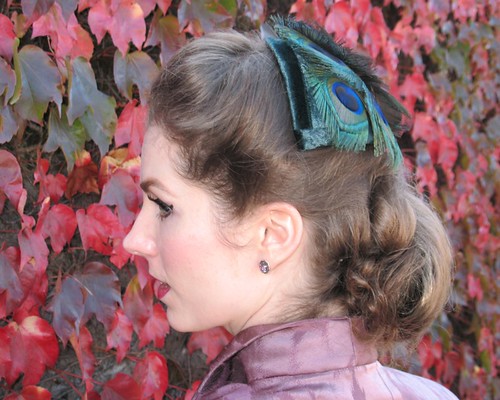
Fascinating Fascinator


Of course, this outfit NEEDED a hat of some kind.


I knew I was going to want something that said "1950s," so I started with a buckram hat form from Britex since I am too lazy to make my own.


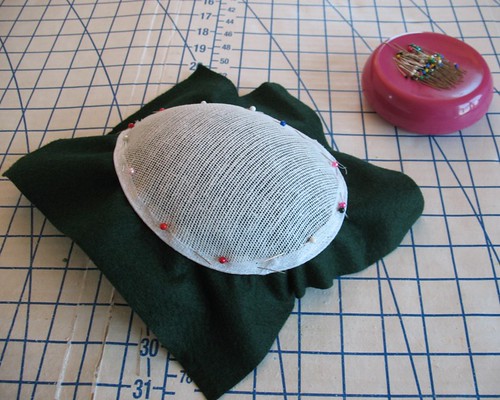
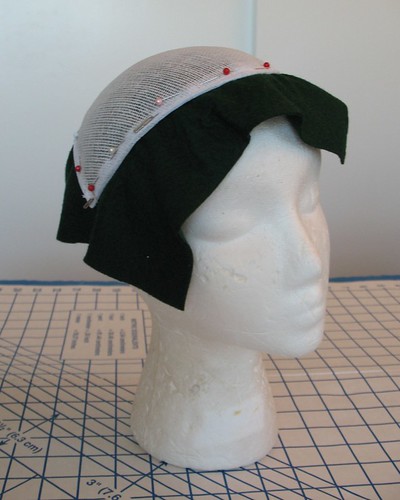
The form is meant to be worn with the point facing forward or back, but I wanted it on the side of the head.  This made the form a bit too large, so I pinned it to a styrofoam wig head I have using t-pins, and carefully steamed it.  Thankfully, the buckram did not stick to the styrofoam!


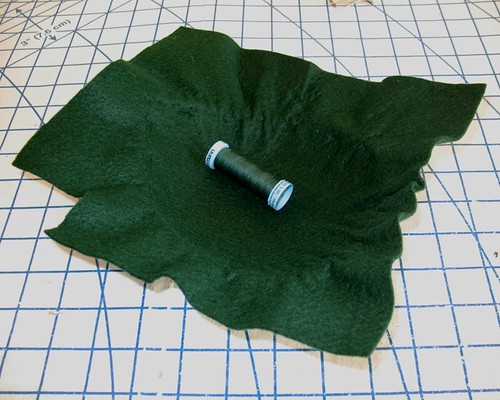
My hair is rather slick, so I like to use felt on the interior of a hat instead of silky lining material (I find that it is also much easier to add elastic holders to a thicker fabric like felt).


A square of felt was cut out and pinned to the inside of the form.  To help the felt adjust to the concave surface, I pinned it back on the wig form and gave it a good steam.


After letting everything cool, the form was removed from the head and hand basted along the edges.


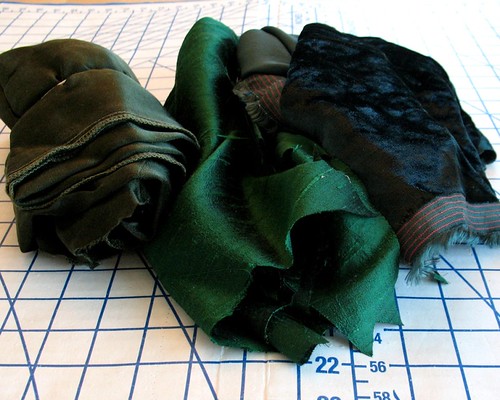
There were a few options for fabric, but in the end, the velvet  I found tucked away in a drawer seemed like the best match.


A piece of the velvet was draped over the top, hand basted around the edges, and a bias strip of velvet was used to bind the edges.  (Most of this work was done in the evening, so I have no photos - but the idea is to sandwich the buckram form with fabric and then hide the raw edges.)


As I have mentioned before, I am not a fan of glue for apparel and accessory projects.  Sometimes it cannot be avoided, but whenever possible, I stick with my needle and thread.


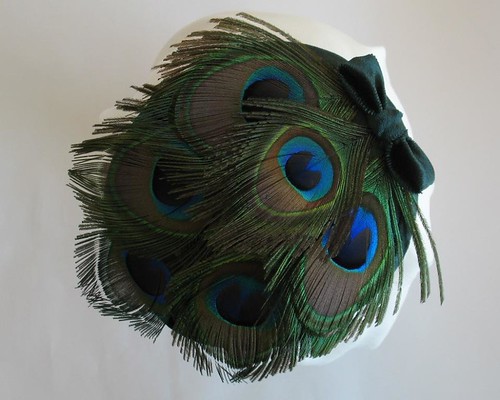
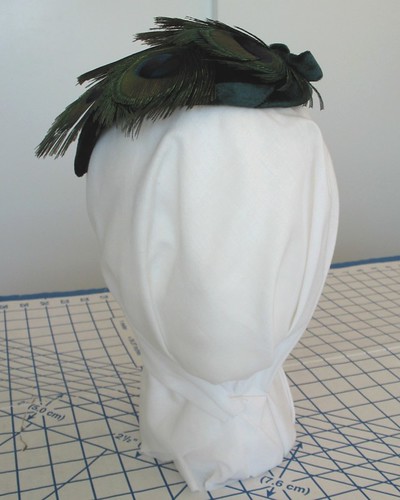
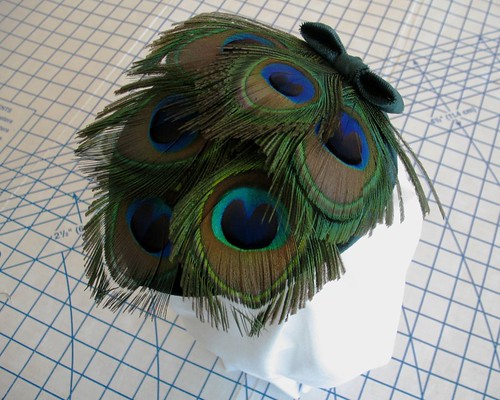
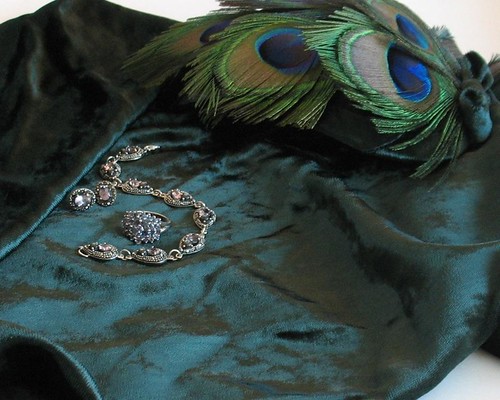
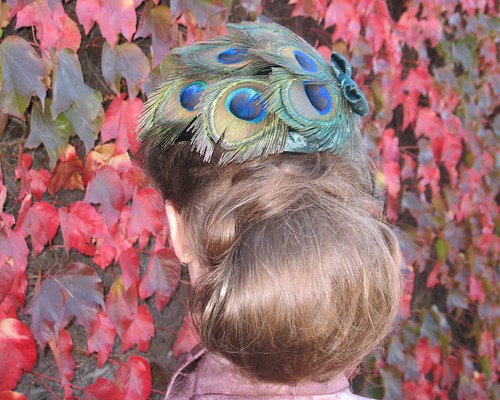
The feathers were a bit of a bother to deal with.  I found that the best way of attaching them was to hold the hat up-side-down so the thread would not tangle and “unzip” all of the peacock feathers.  Once they were applied, the feathers were sticking up and not following the curve of the hat.  I had a bit of a panic, and then decided to throw a piece of muslin over the entire thing and steam the feathers.  It worked!  They still have enough loft that creates a fun and feathery texture, but they also fit the shape of the hat much better!


I was originally going to add beads to disguise the ends of the feathers, however, I had reached my beading limit!  Instead, I used the leftover bias velvet pieces to make a little bow.  One of the white ends of the feather was peaking out when viewed from certain angles, so I used a green colored Sharpie pen to dab the white away.


And, of course, it matches back to my brooch!


There are still quite a few peacock feathers left, so I may have to come up with another feathered project at some point!


Wednesday, October 30, 2013

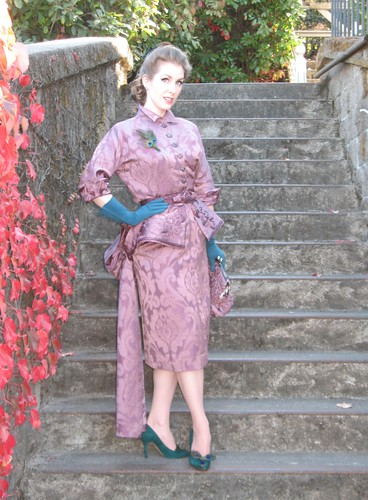
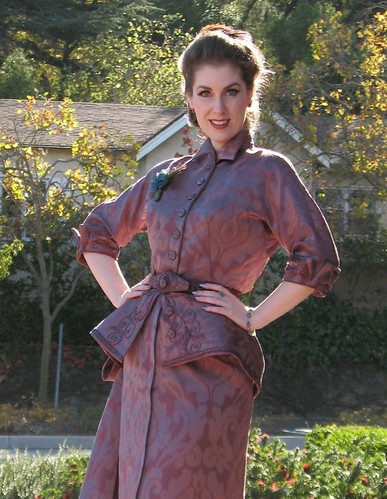
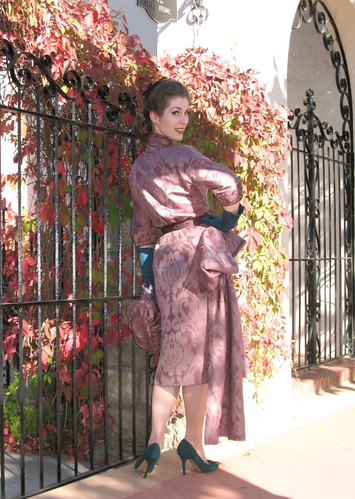
Gala 2013: The Reveal


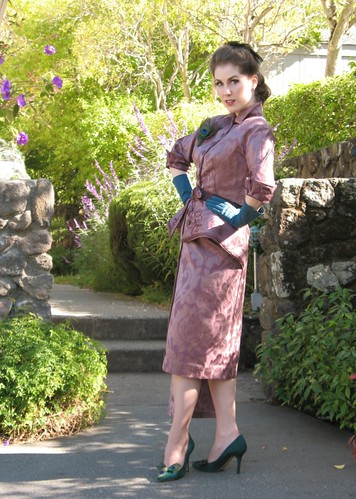
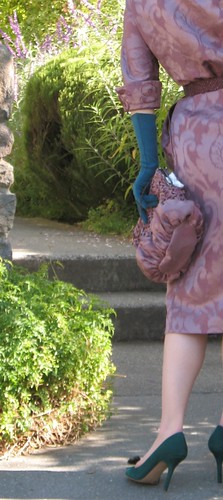
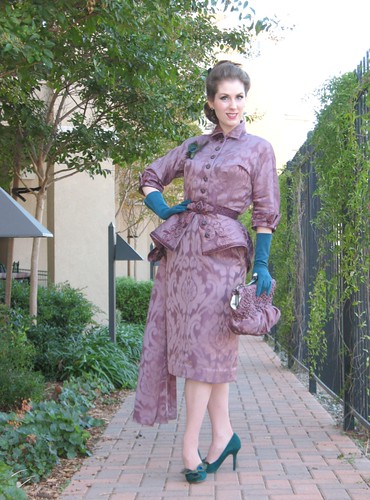
This project has been quite the adventure!  There were days when I was convinced it would never end.  And while everything did not go exactly according to plan, I am so, so pleased with the final result!


The gala was fabulous.  


And the concert (which I attended on Sunday) was magnificent.  Rachmaninoff’s Piano Concerto No. 2 is one of my favorite symphonic pieces, and hearing it in person again was so very special.  Bravo, Marin Symphony!


The sewing room and living room have not quite recovered, but things are slowly getting put away, and happily, my fingertips are on the mend.  But I am sure that I will be finding amethyst colored beads here and there for months to come!


 Thank you for sharing this journey with me, and for all of your incredibly supportive comments!


I did attempt to keep track of my hours on this project, so I will have to add everything up – but that is for another day . . .


And a huge thank you to Britex for supplying the fabric - because my vision of this dress certainly would not have been possible without it!  Fabulous fabric is oh so important for a successful project!


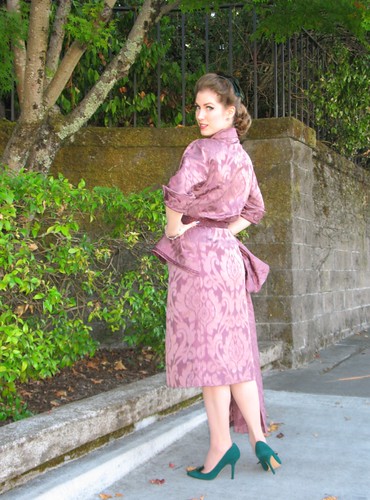
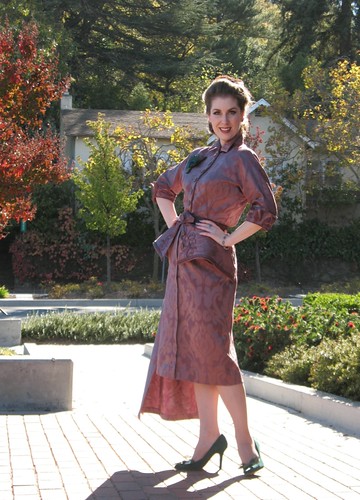
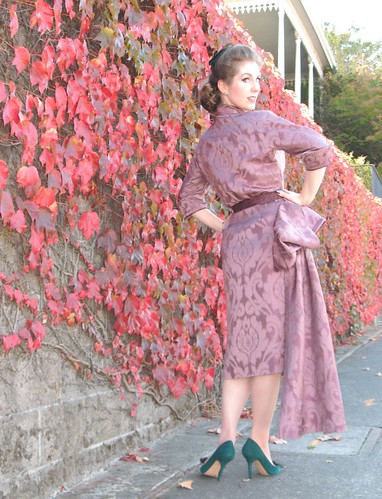
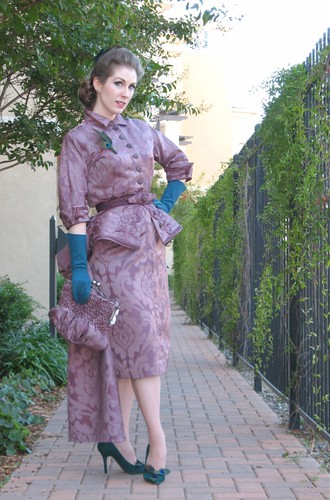
Dress:  Made by me, Advance Import Reproduction
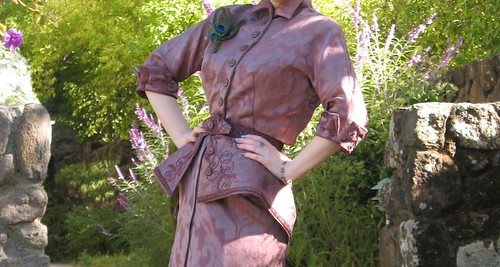
Belt:  Made by me
Hat:  Made by me
Purse:  Made by me
Gloves:  Thrifted, dyed by me
Brooch:  Made by me
Ring:  Thrifted
Earrings & Bracelet:  Macys
Shoes:  Vince Camuto
Shoe Clips:  Made by me


[Britex has generously provided the fabric and sewing supplies for a dress I will be wearing to a formal event in October. I will be sharing some of the steps and construction techniques with you as I work on this project over the next couple of months.]


Tuesday, October 29, 2013

A Sneak Peek

There are just too many pictures to get through this evening, but I thought I would leave you with a little sneak peek of the finished dress!


(I suppose having a plethora of pictures is preferable to having nothing decent to post, right!?)


Monday, October 28, 2013

Finishing Touches


True to form, I was stitching hook & eyes on just hours before the event!  Why is it never possible to finish things like this ahead of schedule?


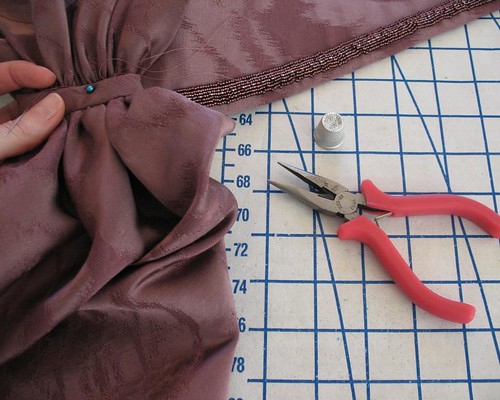
I managed to get through most of the hand sewing on this piece (which was rather extensive) without doing too much damage to my finger tips.  But this past week, I got myself good.  The eye end of a needle punched through the pad of one of my fingers, and the spot was really hard to avoid re-puncturing.  (I really must learn how to use a thimble.) A pair of beading pliers really came in handy to avoid aggravating the injury.


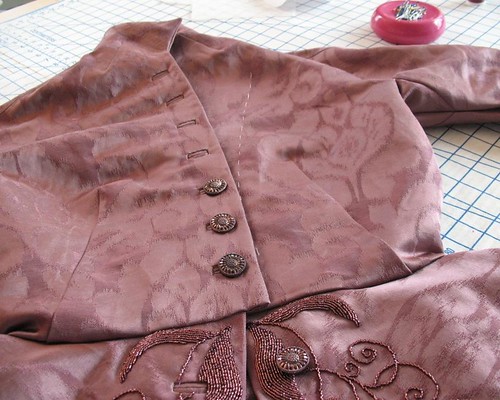
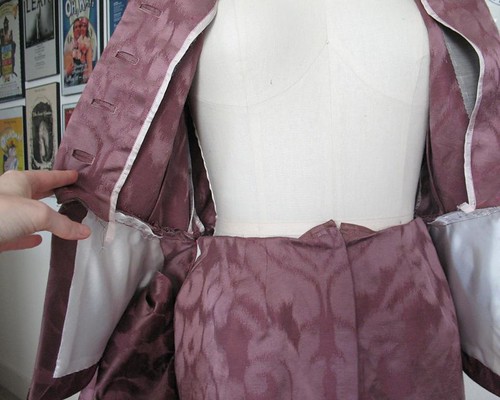
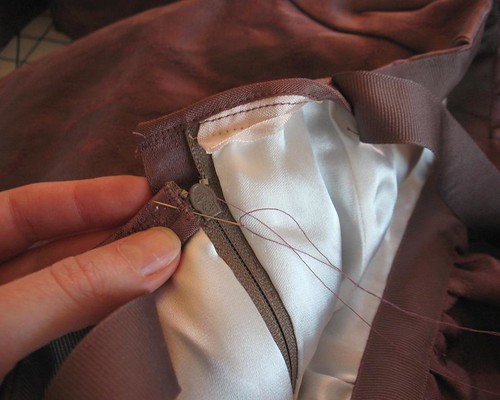
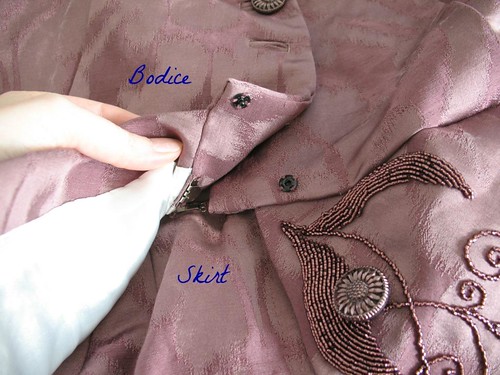
The skirt zips up the front, and obviously, the bodice buttons up the front.  What I did not initially realize from looking at the cover illustration is that the garment is one-piece.


The back bodice and skirt are attached at the waist seam. 


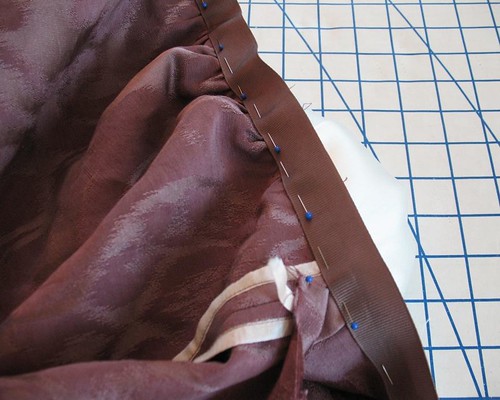
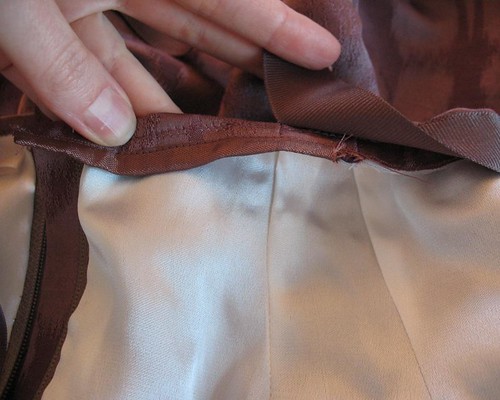
The skirt edges are finished with a length of grosgrain ribbon.


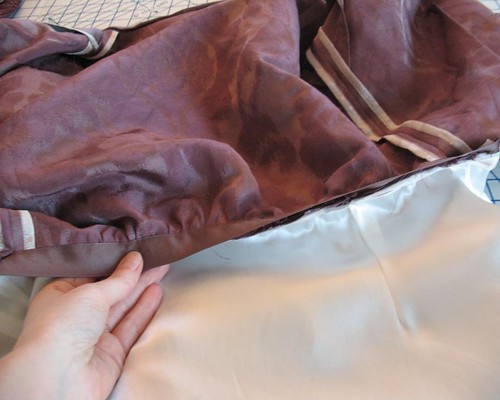
The ribbon is stitched to the seam allowance and after pressing it down, hand-stitched to the skirt lining.


The ribbon is left free for a few inches at the center front


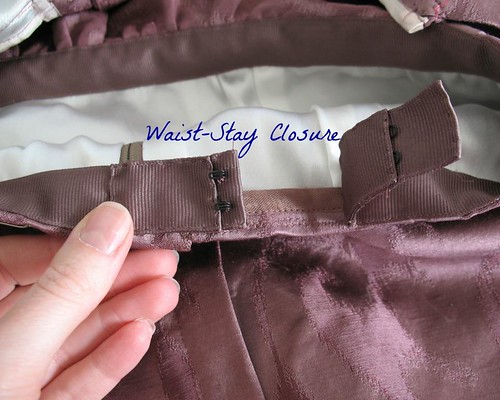
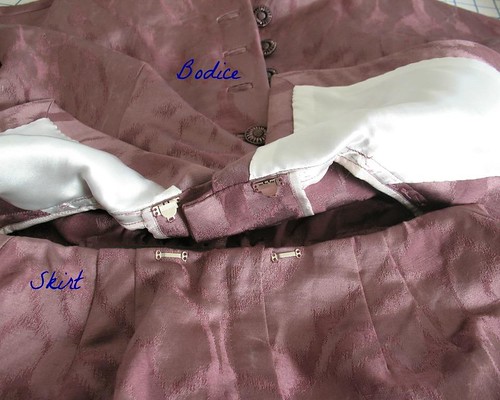
The peplums are attached to the bodice pieces, which are are finished, top and bottom, and get zipped and buttoned after hook and eyes secure the skirt at the waist.


Actually, the directions are rather iffy on this part.  I was lucky enough to wear a fantastic Victorian ball gown costume in high school that was two pieces - large hook & eyes were used to secure bodice to skirt, so my memory of that piece is where I started.


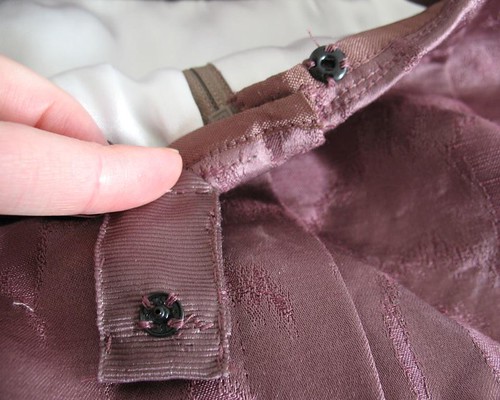
After that I just kept adding snaps and hook & eyes to keep everything in place.  (In the end, the closures are probably more Edwardian than mid-century/1950s with all of that folding and hooking and snapping, but it works!)


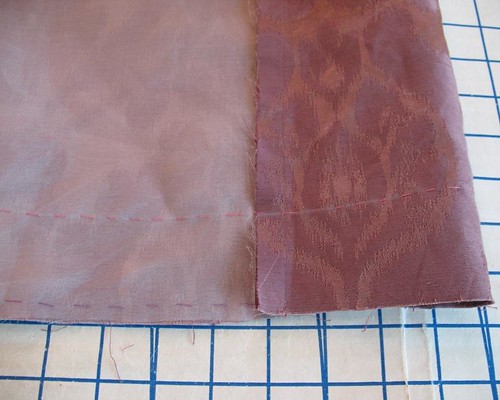
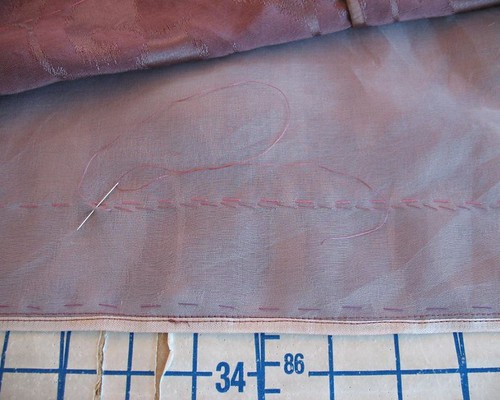
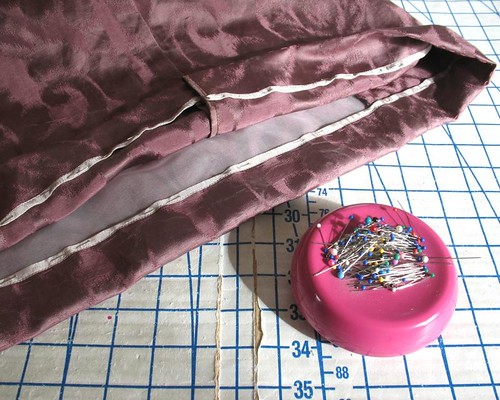
The hem was marked with a contrasting thread, and to ensure that the silk organza underlining did not shift, I stitched just inside the fold (those stitches stay in permanently).


One of my favorite things about this garment is how easy it is to get on and off.  I can also step into it, which means hair and makeup can be done prior to getting dressed.

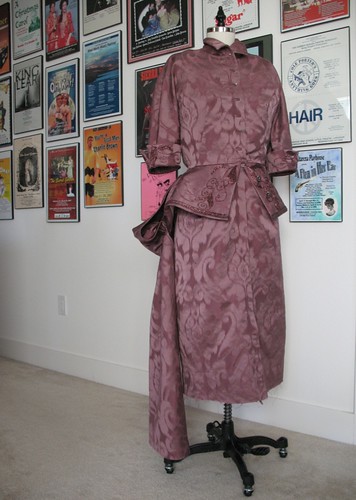
I have a ton of pictures to go through, but I promise that I will have a finished dress to show you very soon!  Here is what it looks like without buttons, hip pads, shoulder pads, the belt, or a hem. 


[Britex has generously provided the fabric and sewing supplies for a dress I will be wearing to a formal event in October. I will be sharing some of the steps and construction techniques with you as I work on this project over the next couple of months.]