Showing posts with label BurdaStyle. Show all posts

Friday, December 30, 2016

Ginkgo Biloba


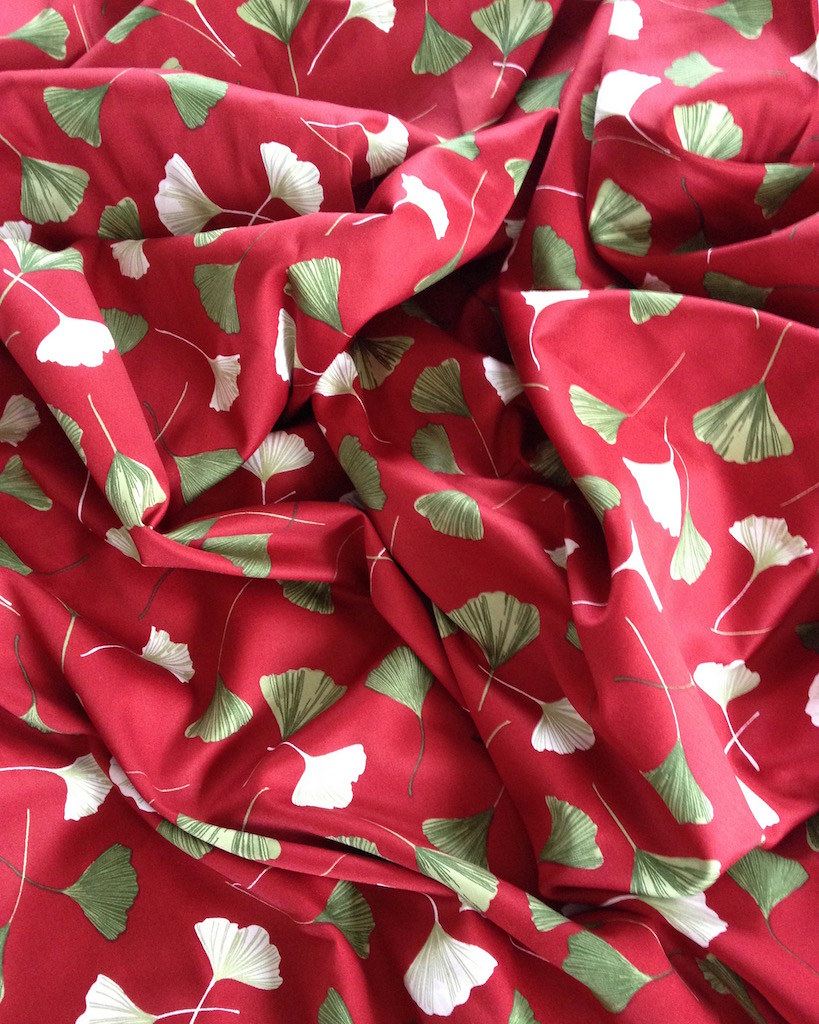
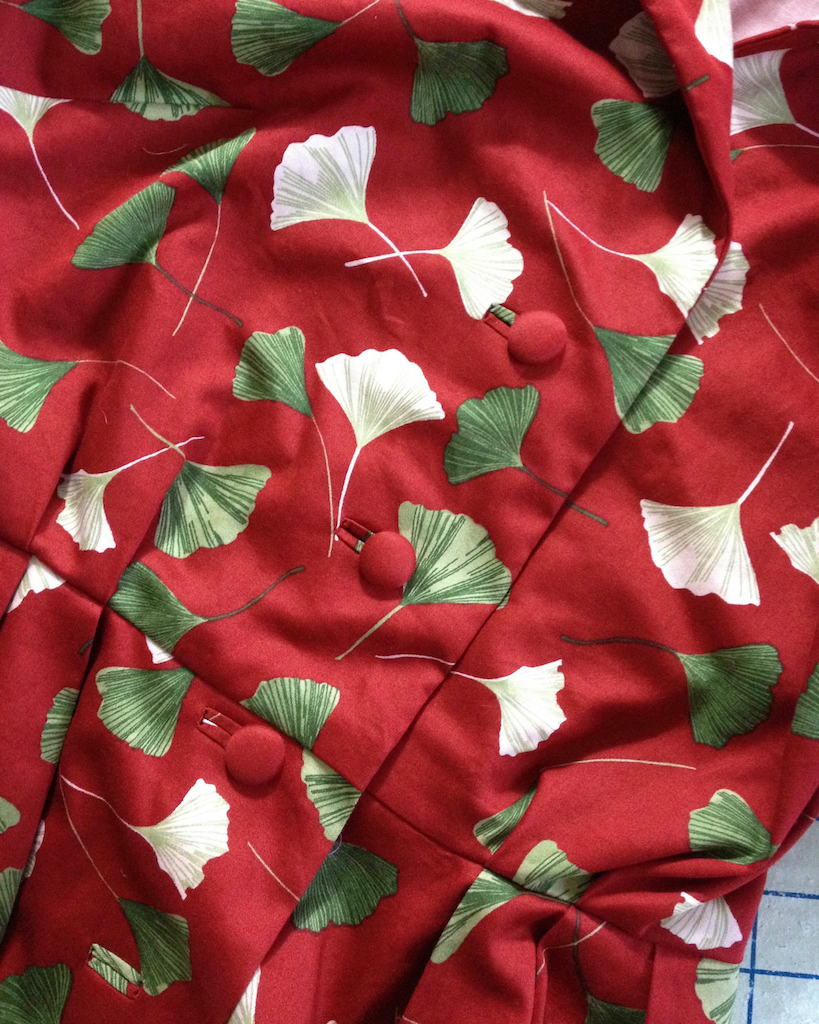
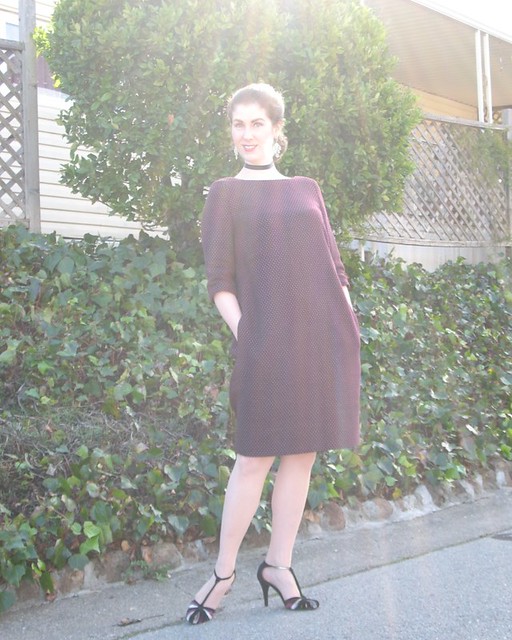
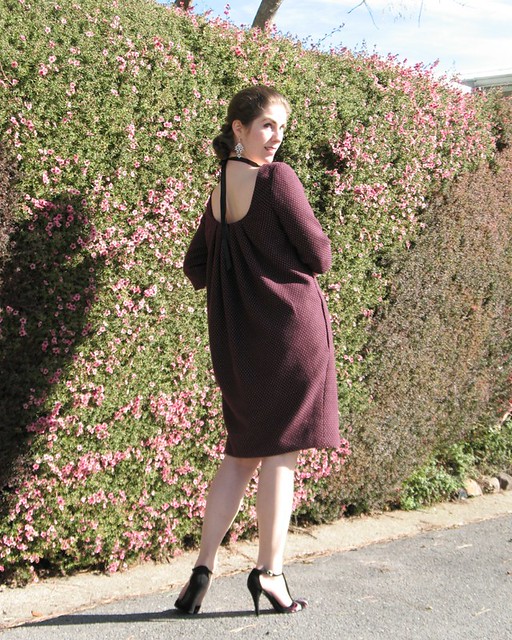
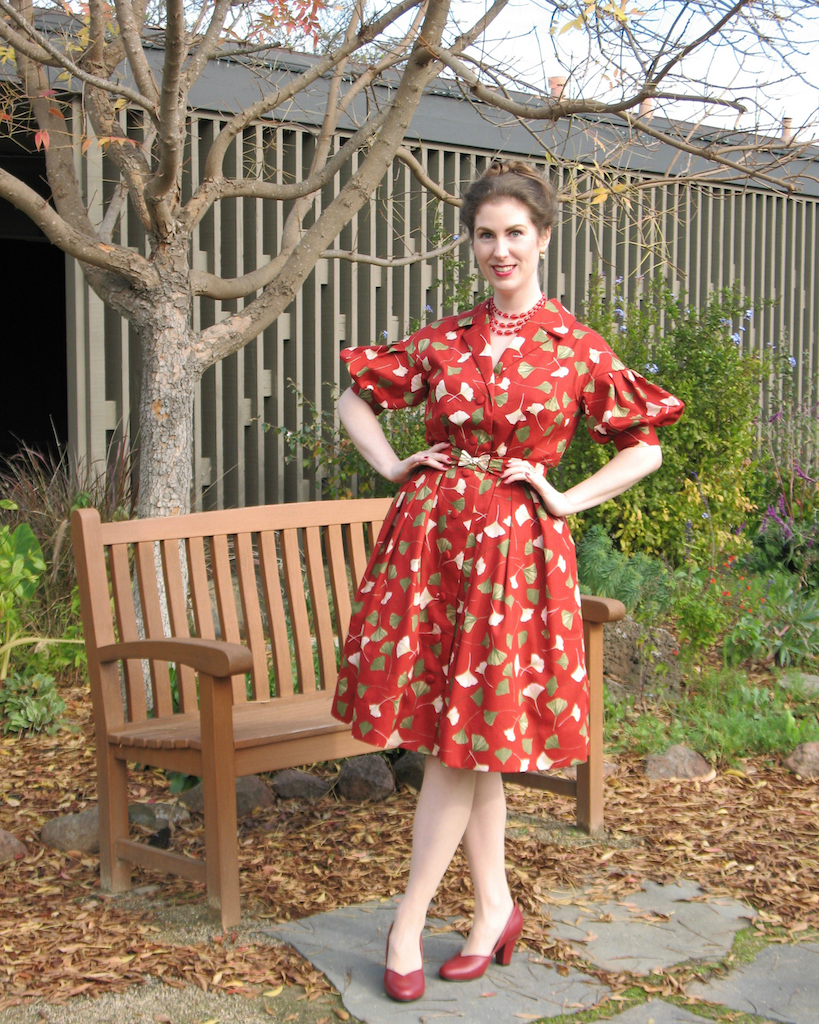
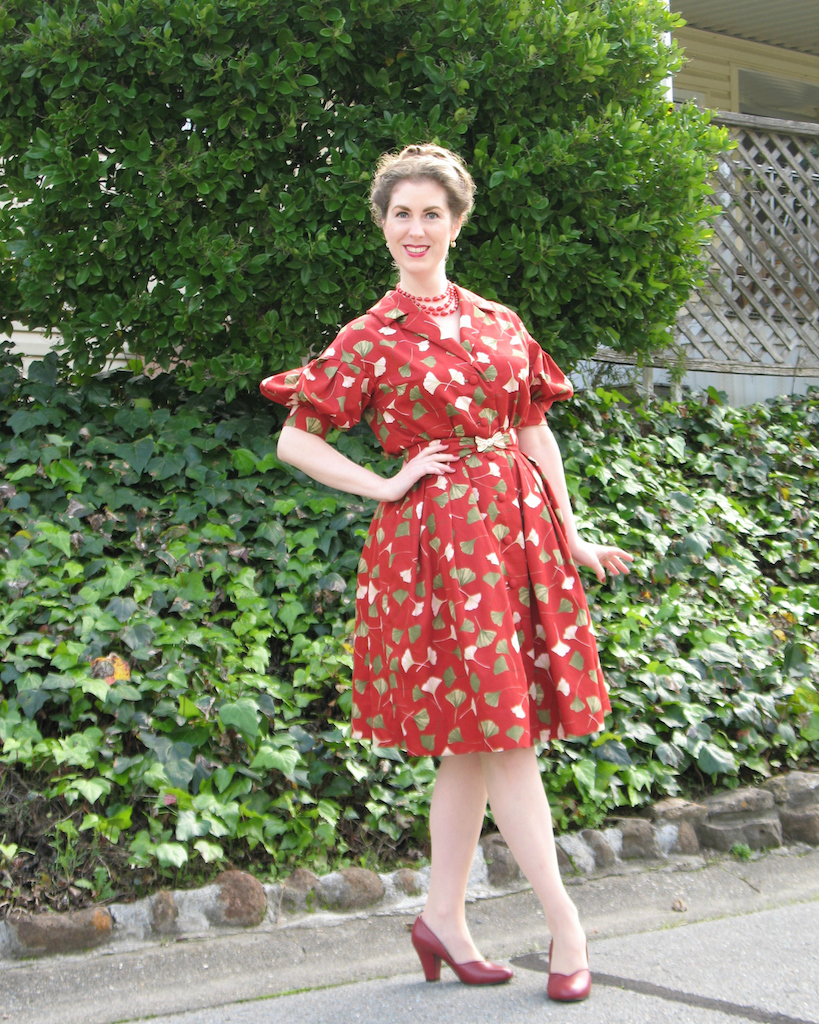
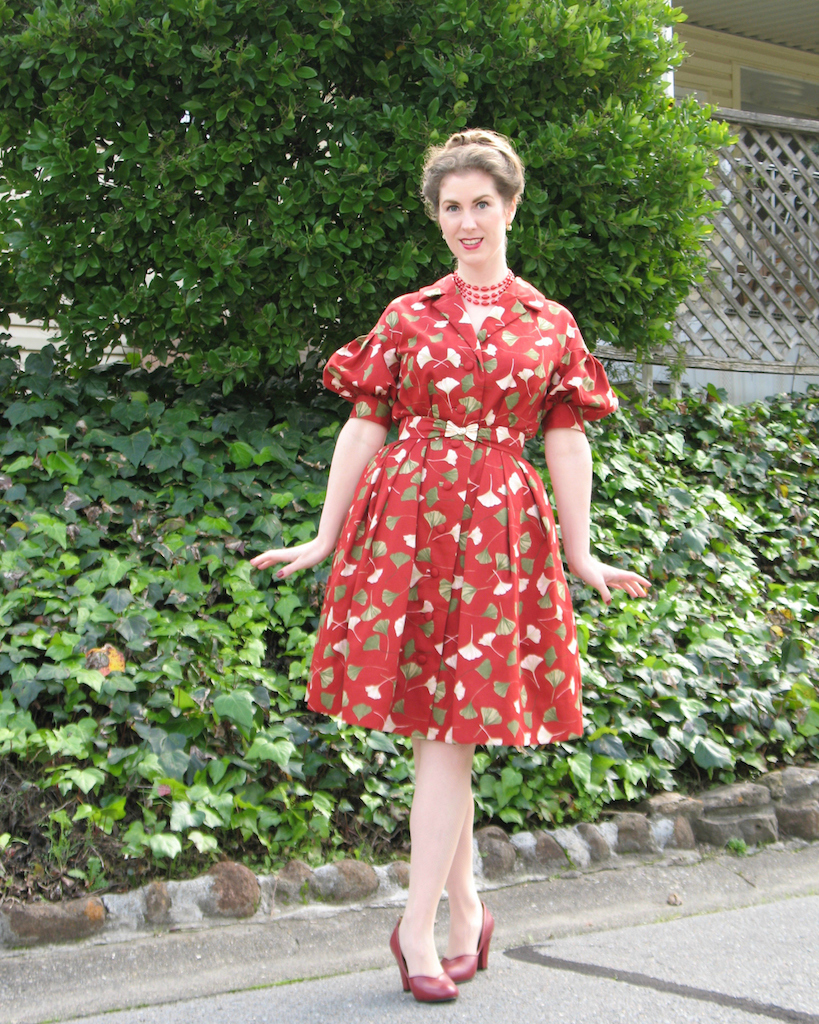
Ginkgo leaves are not a traditional Christmas choice, but this dress turned out to be the perfect holiday frock.  I rather like the unexpected print in a traditional color scheme on this beautiful cotton sateen.


Since finishing the dress on December 12th, I have already worn it three times.  That is almost unheard of for me as I tend to go for a bit more variety in my outfit choices in any given month.  I guess you could say I am quite pleased with the way this project turned out!


The dress is also incredibly easy to wear!


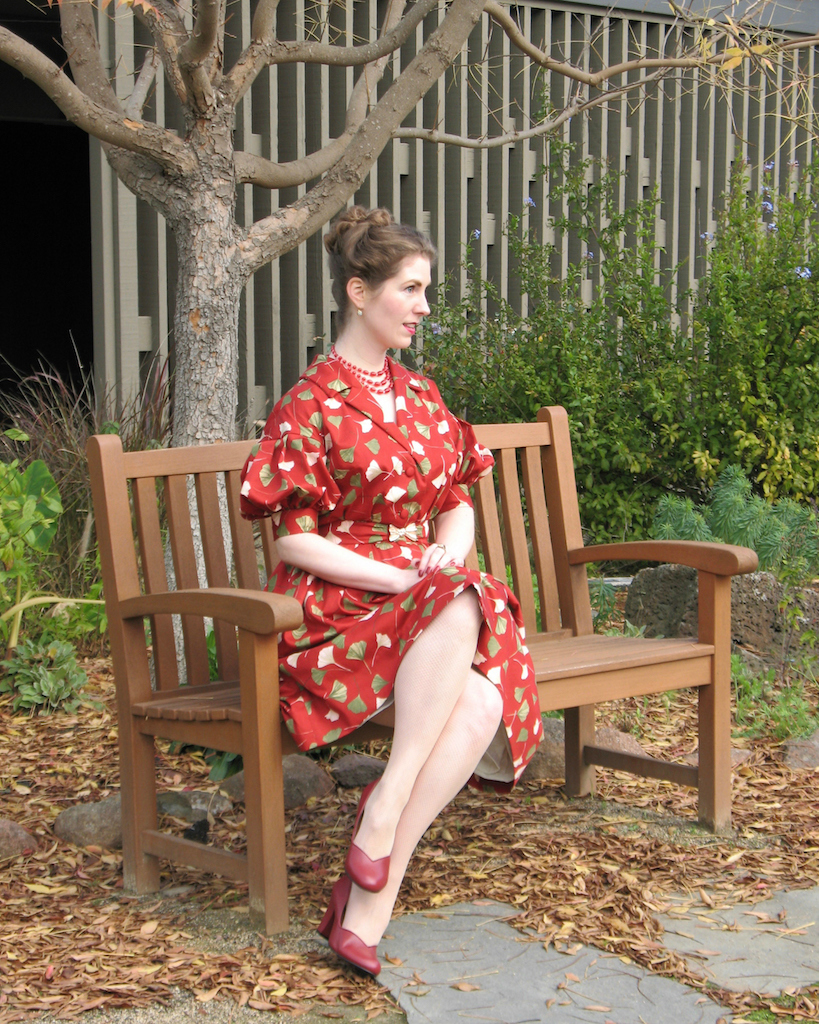
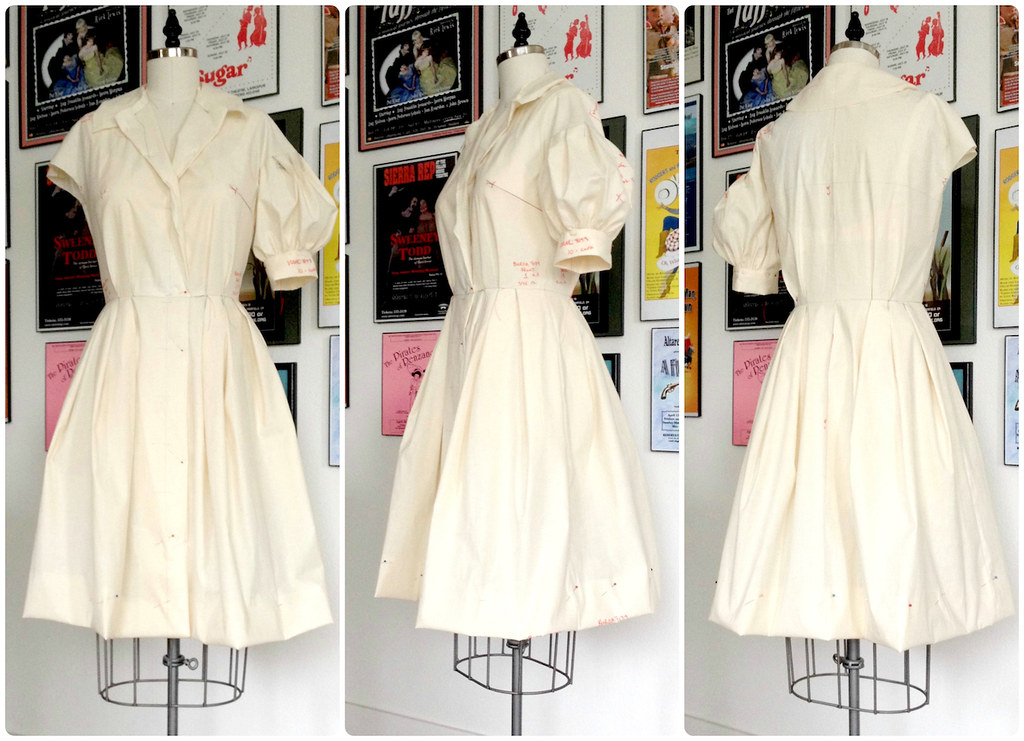
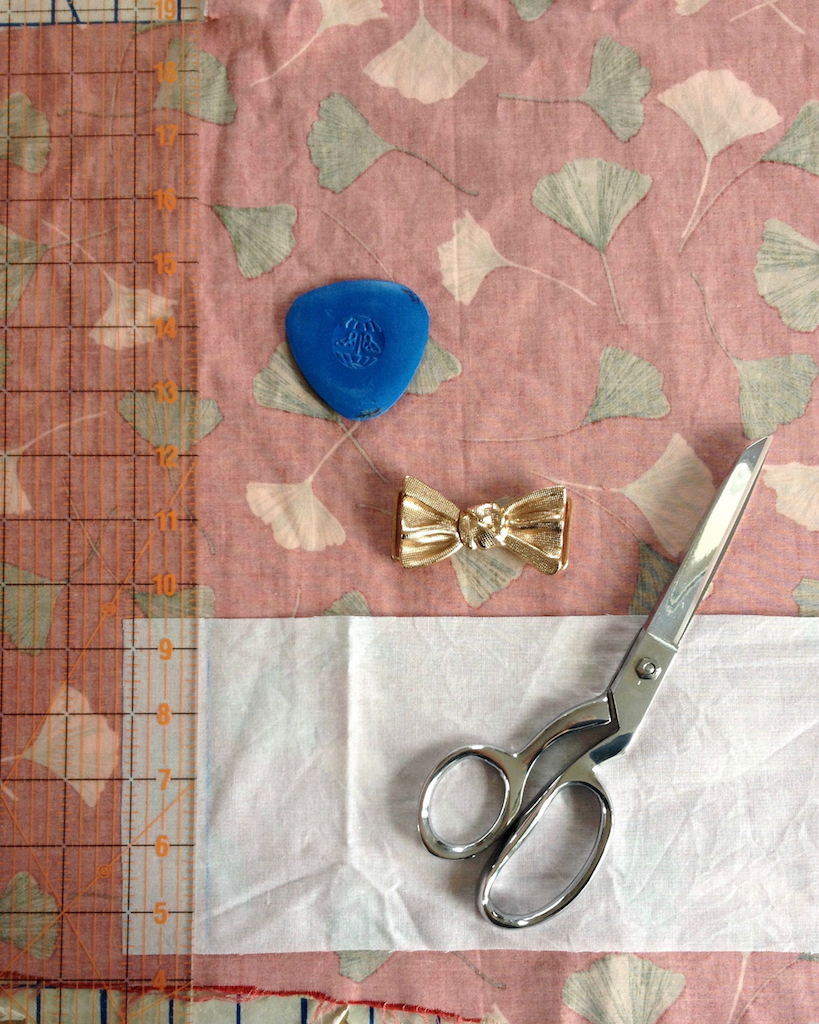
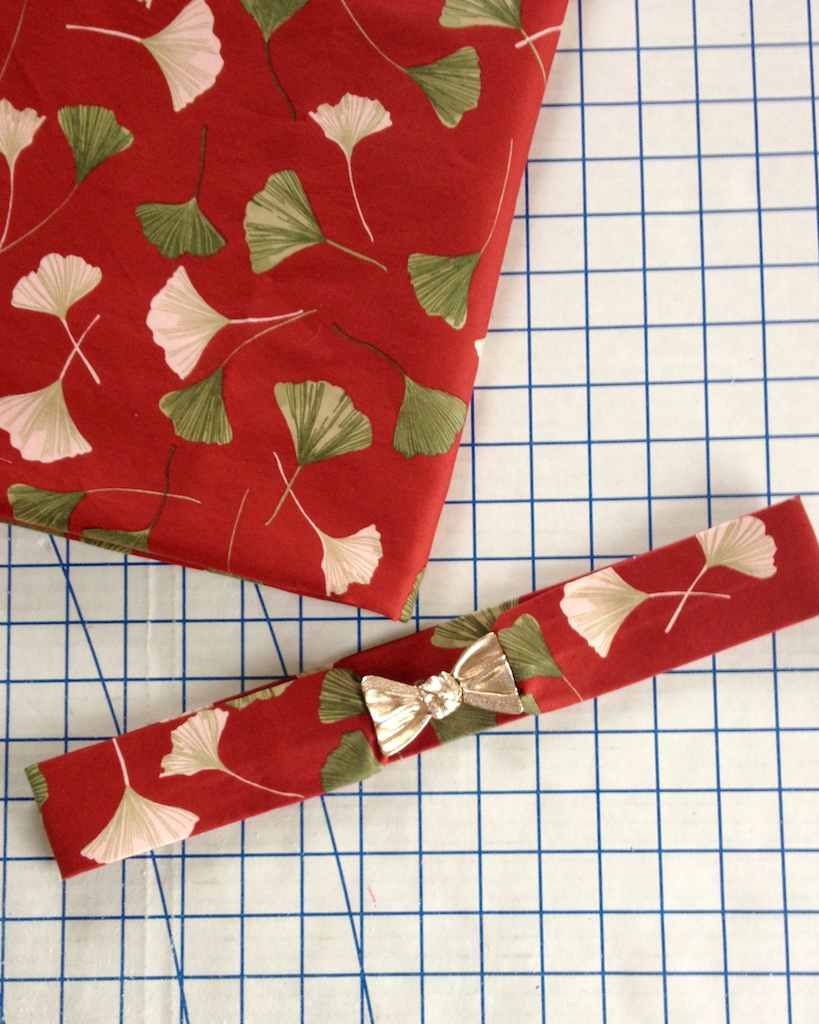
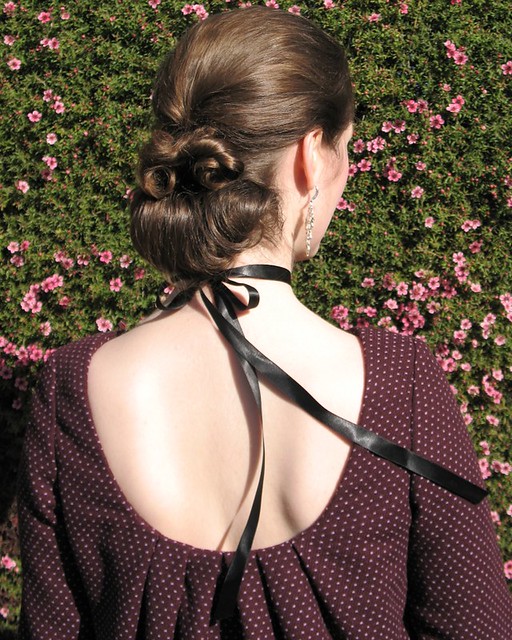
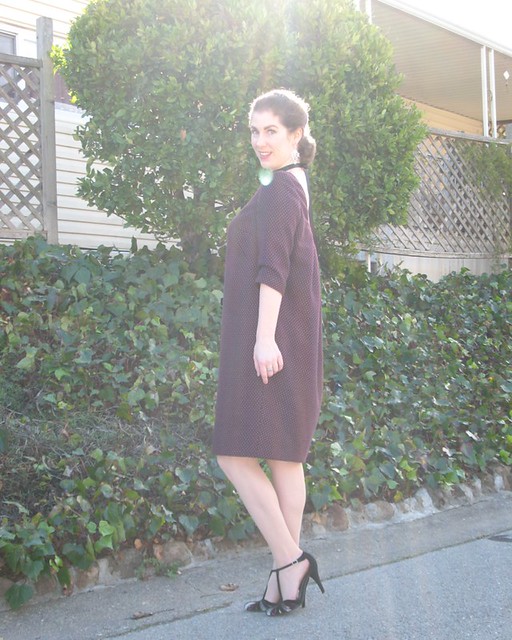
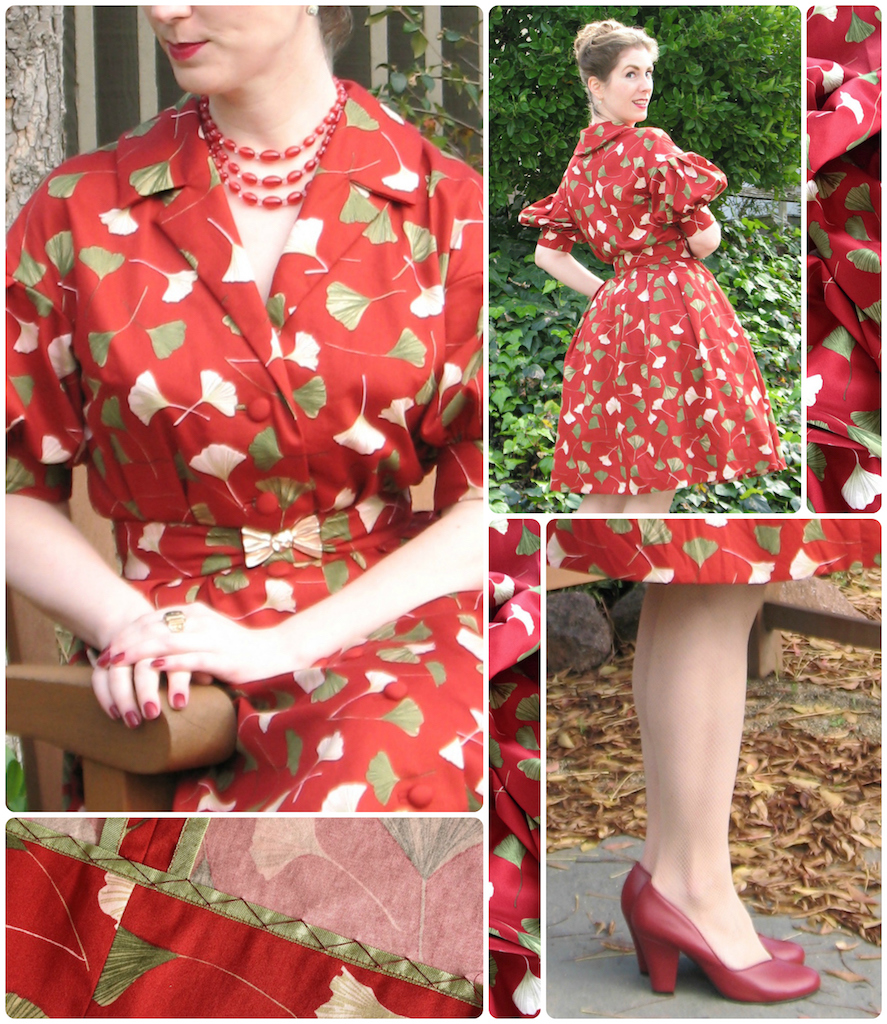
I was not entirely sure that the bloused bodice was going to work for me, but with the help of a wide belt, I really like the look.


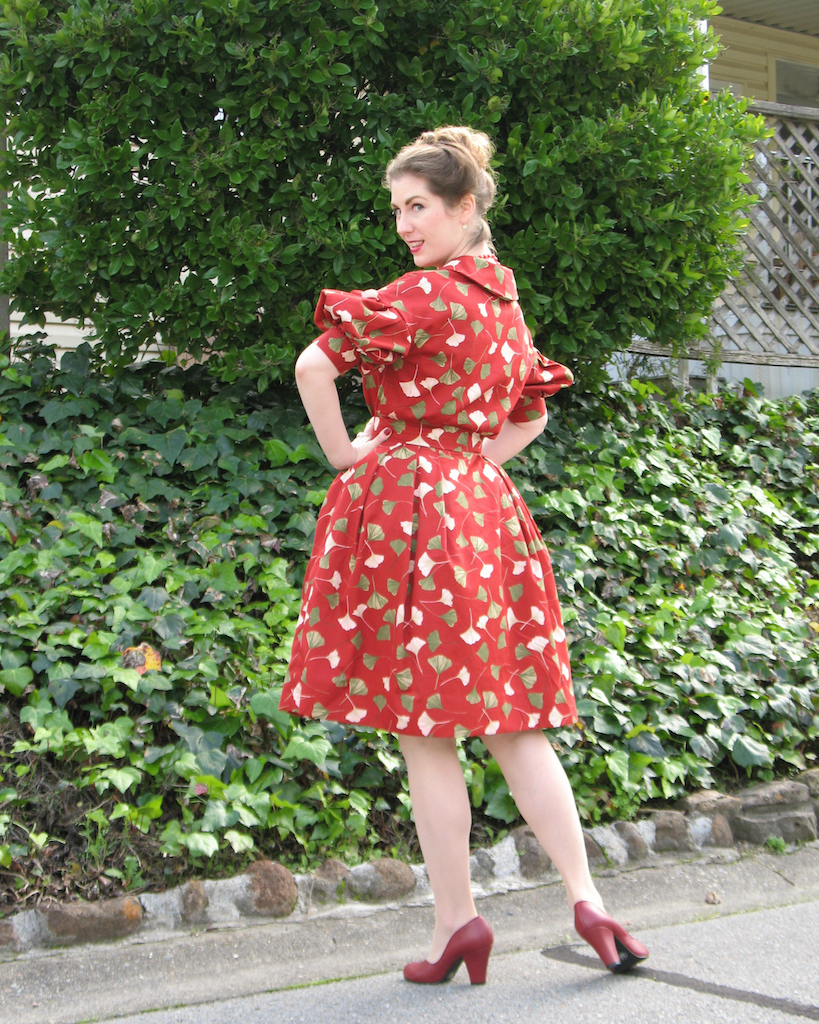
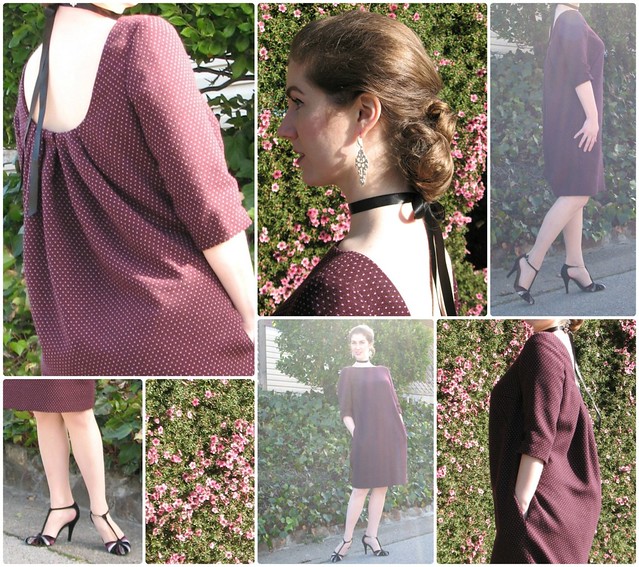
The bell shaped skirt is also becoming one of my favorite silhouettes. 


When I stitched up this petticoat a couple of years back, I had no idea how much wear I would get out of it.  It was made specifically for this dress, and at the time, really did not work with anything else in my closet.  Two years later, I have added two other dress designs to my wardrobe that work perfectly with this petticoat.   


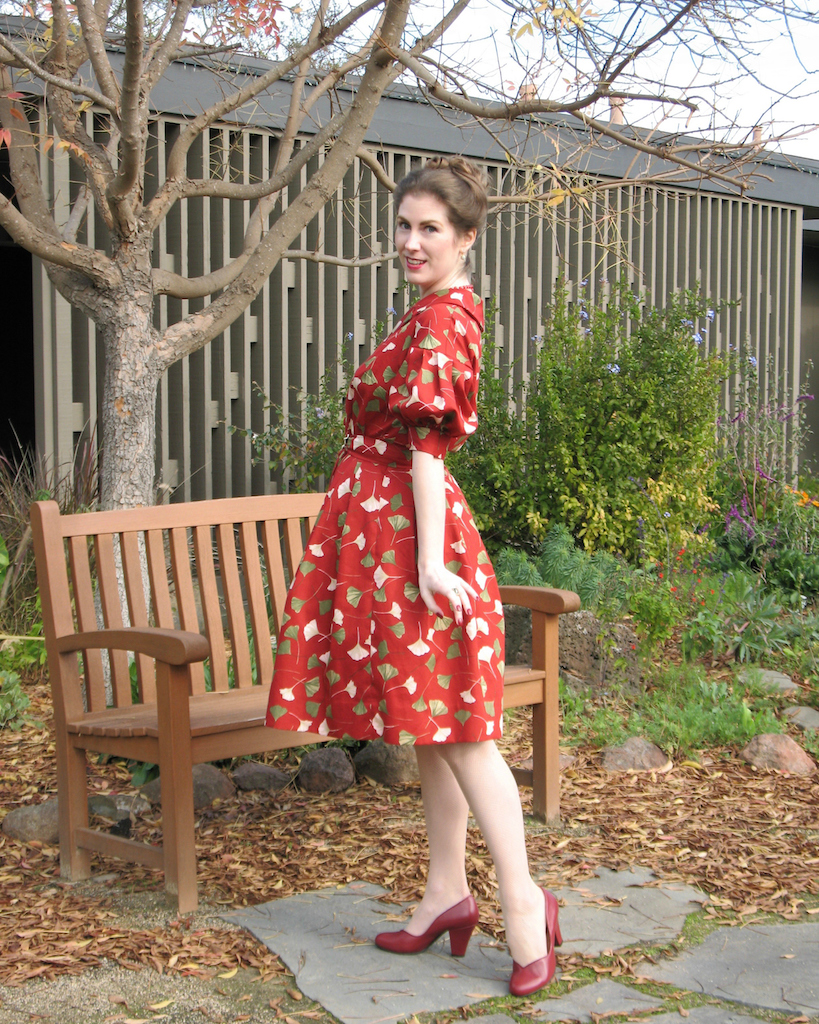
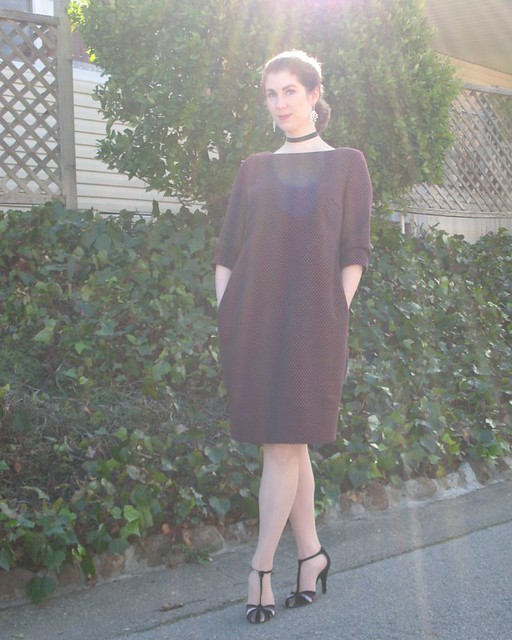
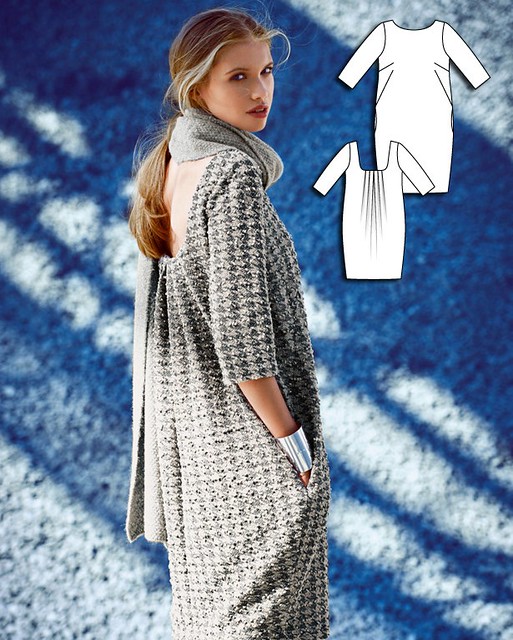
And there is a good chance that there will be more 1960s style dresses in my future!  I think I  would even love a solid colored version of this design, provided I can find the right fabric.  What is it about solid colors that I find so off putting when it comes to textiles!?!


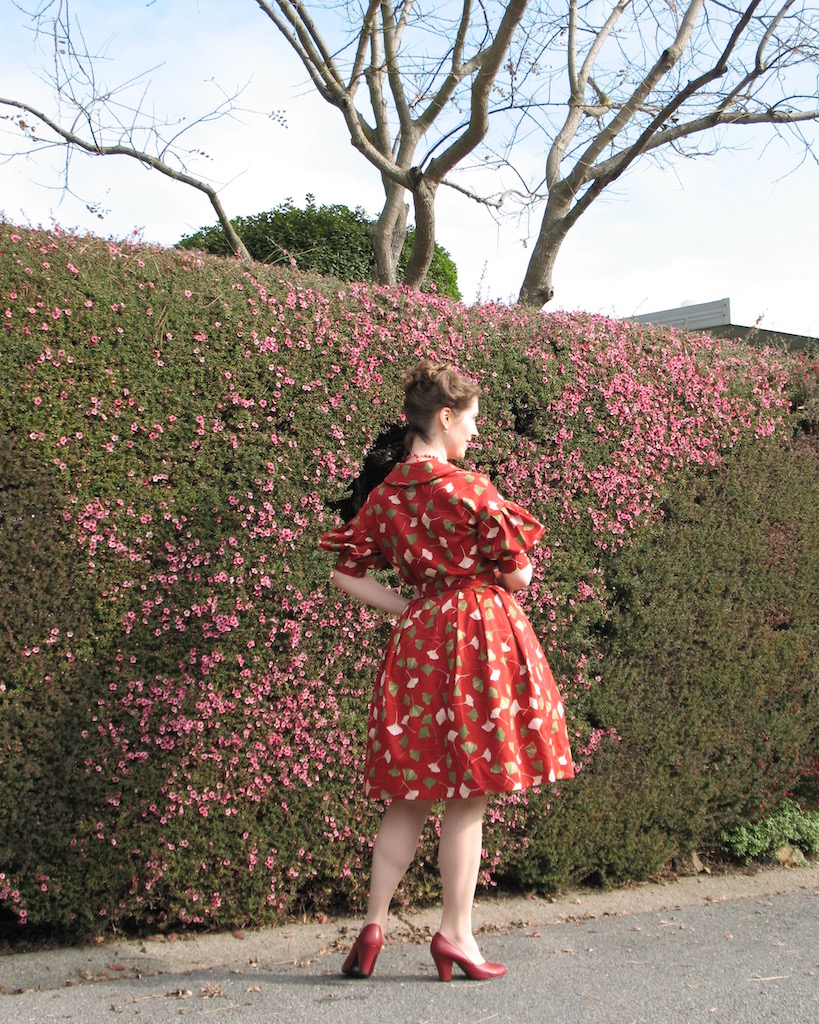
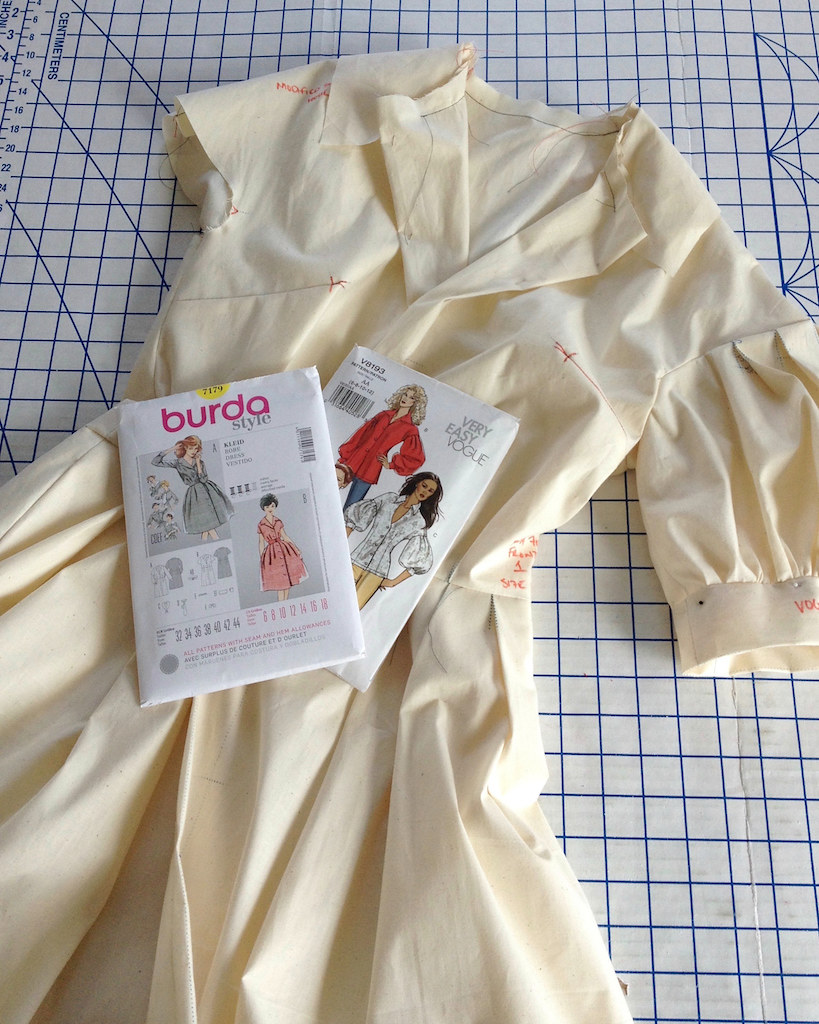
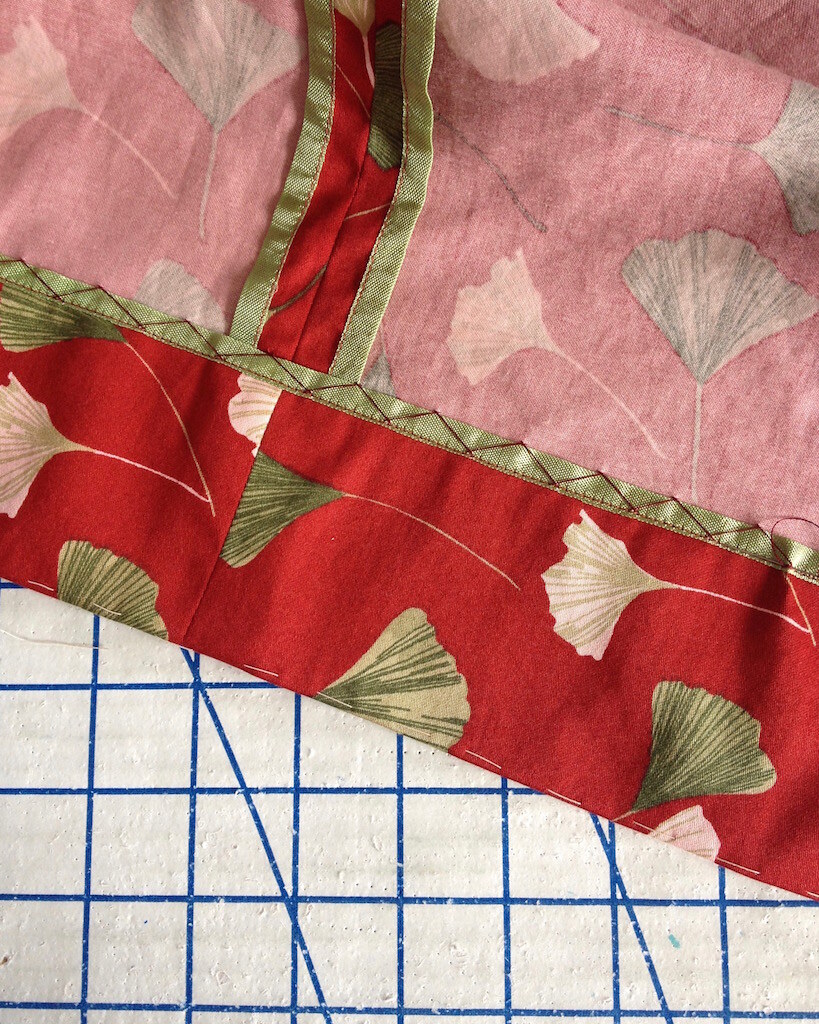
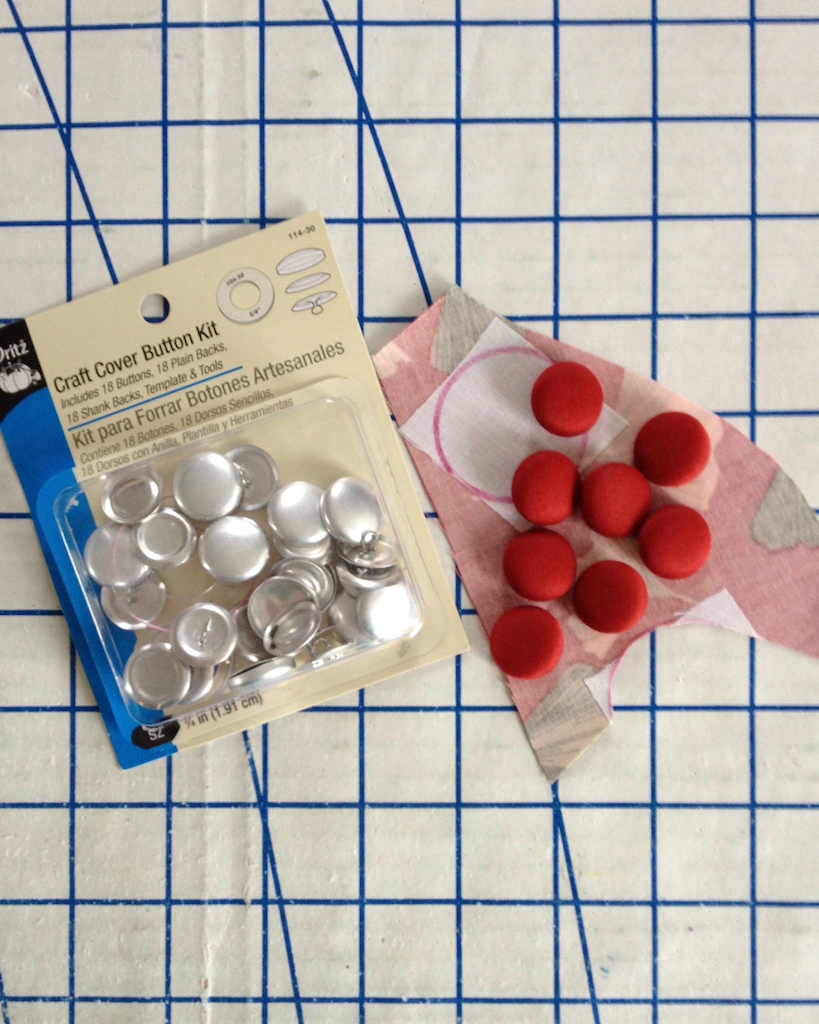
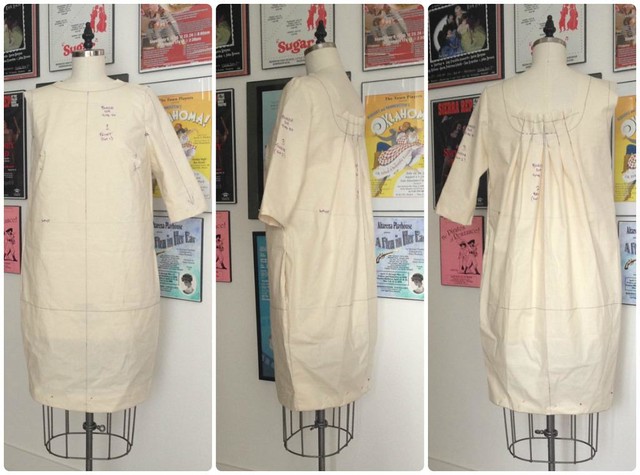
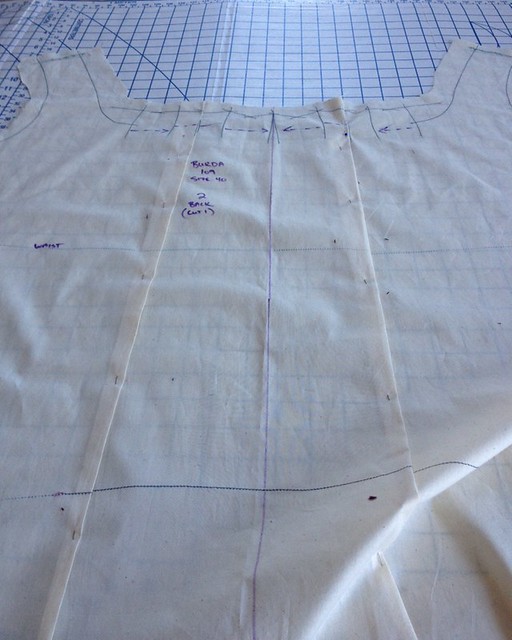
Dress & Belt:  Made by me, BurdaStyle 7179 & Vogue 8193
Petticoat:  Made by me, Vogue 4203
Shoes:  Royal Vintage “Marilyn
Necklace:  Mom’s
Ring: Grandfather's class ring


[Disclosure:  The fabric for this project was received in exchange for two yards of fabric from Organic Cotton Plus, but the opinions written here are my own.]

Thursday, December 15, 2016

Red and Green, Cotton Sateen


A couple of months ago, I was contacted by Organic Cotton Plus with an offer to try two yards of one of their fabrics.  What I was expecting to find on their site was a lot of solid colored fabrics.


Well, it turns out, there are also a lot of really lovely prints to be found there.  After perusing the website, I had it narrowed down to four choices.  My final decision had a lot to do with the fact that this ginkgo print cotton sateen is 110” wide!  I figured I could squeeze a dress out of two yards of fabric with that much width to help me along.


Once I had chosen the fabric, I decided that I wanted to make a shirtwaist dress, so I pulled out BurdaStyle 7179.  I have been wanting to try this design for some time, and I thought it would work nicely in a cotton sateen, provided that I could fit all the pieces on two yards of fabric.


To give myself another challenge, I decided that I wanted to graft the sleeves of Vogue 8193 on the BurdaStyle bodice - sleeves that eat up a massive amount of fabric.


Since I was not exactly sure how the combo would turn out, a muslin was in order.


That went quite well, so I cut into my cotton sateen.  This fabric is really, really lovely.  The red dye did bleed quite a bit on the first wash, and the silvery white ginkgo leaves picked up a bit of a rose hue from the water, but I actually like the way it turned out.


I used leftover cotton scraps as a sew-in interfacing.


And I even used up a few fusible interfacing scraps while working on my bound buttonholes.


I really never get tired of making these!


I have tried making friends with machine made buttonholes, but so far, we just don't trust one another.


So for now, I am going to stick with the old fashioned technique.  It has served me well, and I don't plan on abandoning it anytime soon.


And, of course, I had to sneak a bit of rayon seam binding in there for good measure.


About half way through this dress, I had a terrible feeling that I made a mistake pairing the fabric to the silhouette.  I stepped away from the project for a while, and spent my creative hours working on my knitting.


At some point, I got sick of looking at the partially completed pieces on my sewing table, and finally finished the darn thing.


Turns out, I love it!


I am also beginning to like these covered button kits with the mold.  In the past, I have had some bad luck - particularly with the tiny sizes.  This time around, I added a drop of glue (gasp!) to the back piece before sticking the two pieces together which seems to have worked very well.  I think that these buttons have a slightly smoother edge than the version with the teeth that snap into place.


I am not a complete convert yet, but I will be giving these another try at some point.


And as luck would have it, the perfect buckle was stashed away, which was the perfect finishing touch for this dress!


[Disclosure:  The fabric for this project was sent to me by Organic Cotton Plus, but the opinions written here are my own.]

Thursday, December 31, 2015

And now for something completely different . . .


So this was fun!


And surprisingly enough, I really like wearing this dress.  Is it the most flattering garment in my closet?  Probably not.  Will I be abandoning all of my dresses with fitted waists?  No way. 


And I have to admit that it feels bizarre to have a bunch of loose fabric around my waist, but the experience was not unpleasant.  It was actually quite fun to make and wear something so far out of my comfort zone.


The pleats are what initially drew me to the pattern, and they are, without a doubt, my favorite design element.


I did add 3/4" to the torso length so this slightly longer than the original, but if it was much longer, I think the dress would be quite difficult to wear.


The pegged hem also helps to keep the shape interesting.


So will I make another?  I am probably finished with this particular pattern, but I am definitely going to take a second look at garments with little to no waist definition.  And I would call that a successful experiment!


Dress:  Made by me, BurdaStyle 109b

Monday, December 21, 2015

Back in the Sewing Room


I decided to try something a bit different for my latest sewing project.  I noticed this pattern on Burda's website a few weeks back - not something I would normally be drawn to, but the design stuck in my mind for days.


The problem was, I could not find the pattern on the site when I went to purchase the pattern.   I searched "pleated back dress" to no avail.


Well, silly me, this is a “Gathered Back Dress.”


Say what?!  Is this some weird translation issue?  Because there is no gathering in this entire garment.  Well, I suppose I used an ease stitch to set my sleeve in place . . . but other than than, no gathering whatsoever.  I think they need some help naming their patterns over at BurdaStyle!


For my underlining, I used black organza.  Because of the dark wool fabric, I thought it might be easier to see white chalk lines when the two were layered together.  It worked great!


Next came a lot of hand basting.


I have had some back luck with printed designs being slightly off grain, so this woven pattern was a nice change.  It is really nice having a constant reminder of the grainline built right into the fabric!


Having worked with a similar fabric for this project, I can say that the underlining was useful for more than just marking my stitching lines.  The back of the wool is easily pulled by my standard presser foot when two layers of fabric are run through the machine.  With the organza covering the loose threads, that problem was resolved.


The only real construction challenge was what to do about those pleats.  The arrows on the pattern suggest that they be folded toward center back.  This is not possible with the way the two center pleats are drafted, so I looked at the online version (the directions are no help).  Turns out, they should be folded towards the side seam – which works so much better!


I debated removing the pockets because this dress is rather sack-like, and I did not want added bulk in the front half of the dress.


But since I was catch-stitching seam allowances in place, I figured I could just as easily catch-stitch the pockets to stay nice and flat.


Although not called for in the directions, I added a lining.  Two of the pleats were removed by folding out the excess ease at the neckline, being careful to leave enough room through the hips as the silhouette narrows.


I suppose I could have redrafted the top to remove those pleats completely, but the bemberg rayon is lightweight, so any added bulk is really not that much of an issue.


I added some width to the neck facing and finished the raw edge with rayon seam binding.


The facing was under-stitched by hand, and the sleeve lining stitched into place.


And because of the extreme pegged hem, I made a facing for the skirt hem.


The only thing left to do is to make a couple of thread chains to anchor the lining to the hem facing and check for any stray basting threads!