
The next step on my Alabama Chanin journey is the stencil. Mylar stencils are available for purchase,
but they are quite expensive, and I did not want to wait for the thing
to show up in the mail. Thankfully, PDF
versions of the stencils are available for download on the Alabama Chanin website.
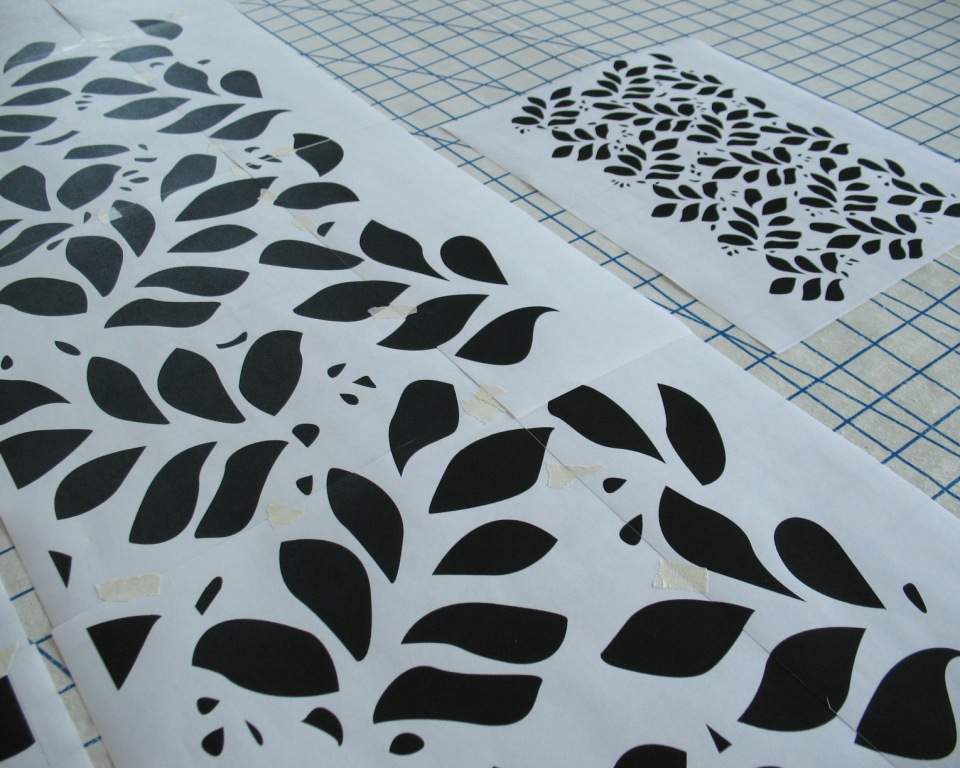
My computer/printer had a bit of a fit trying to print the
stencil PDFs. I was able to print a single page of the full size image, or the whole design on a single page that was clearly too small. I ended up saving the PDF
as an image, opening it in Paint, and printing it at full scale from there.
Natalie Chanin recommends using pennant felt as a stencil
medium in her Craftsy class. I did find
a supplier, but once again, did not want to wait for the stuff to arrive.

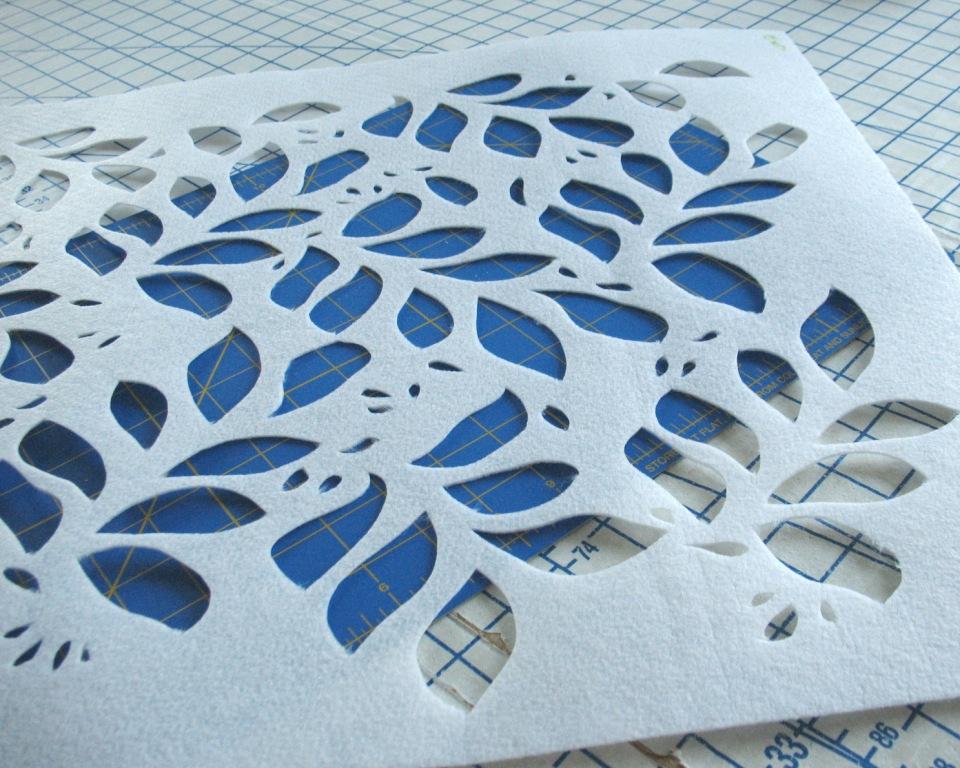
Instead, I purchased some non-fusible heavy
weight interfacing (Pellon Peltex Sew-In Ultra Firm for anyone who is interested). It is about 1/16" thick, has a
similar feel to pennant felt, and is able to be cut with an x-acto knife. It seems to have worked quite well. I sprayed the Pellon with some spray glue, left it to set for a few minutes, and then applied the printed image. After all of the pieces were removed, it was easy to pull the remaining paper from the interfacing.

I have a bit of fear about x-acto knives (I blame a 6th
grade science project accident) but I decided it was going to be the easiest way to get this thing done. My technique is less than stellar because of my paranoia about slicing through a finger, and some
of the smaller bits are far from perfect, but I think my hand sewing should be
able to work around the stencil imperfections.
And now I have a whole lot of plain cotton jersey to dye!
Thanks so much for the tip about the Pellon. I am determined to finally work on one of these projects this year, especially since I've owned the three books (soon to be a 4th) and Craftsy class forever. Great start!
ReplyDeleteEager to see your dyeing technique. I find a double dye process yields a better outcome, though extending the time in the dye bath is another way to go. As always, one seeks to learn, "The Laura Mae Way"; do tell!
ReplyDeleteThis is such a helpful tip! I've not even considered stencilling just yet due to the difficulty of sourcing materials and making a stencil, but this seems a bit more doable!
ReplyDeleteI have plans to make a robot stencil to put on a black t-shirt for my 8 year old nephew. I may test the supplies you used instead of going to Hobby Lobby or Michael's and buying Mylar and a stencil brush. I have heard the Mylar plus adhesive gives a sharp image. Are you going to apply the dye with a stencil brush or use a sponge? I have not attempted stenciling for fear of ruining the fabric.
ReplyDeleteI am using a Sharpie pen and have decided to skip the paint. I think this will be easier for me and I feel like it will give me a bit more control. I will be cutting the markings off, so I am not that concerned about how they look.
DeleteGood luck with your project!
Excellent tips, Laura Mae! I also want to do one of these projects 'one of these days' so this will be most helpful.
ReplyDelete