
After quite a few years sewing, I am quite comfortable working with a pattern, but draping is a whole other story. While the idea of creating my own designs by manipulating fabric on a dress form is appealing, it just seems like so much work. Another issue is the fact that my body is not shaped exactly like my dress form - but a full skirt seemed like a good place to start.
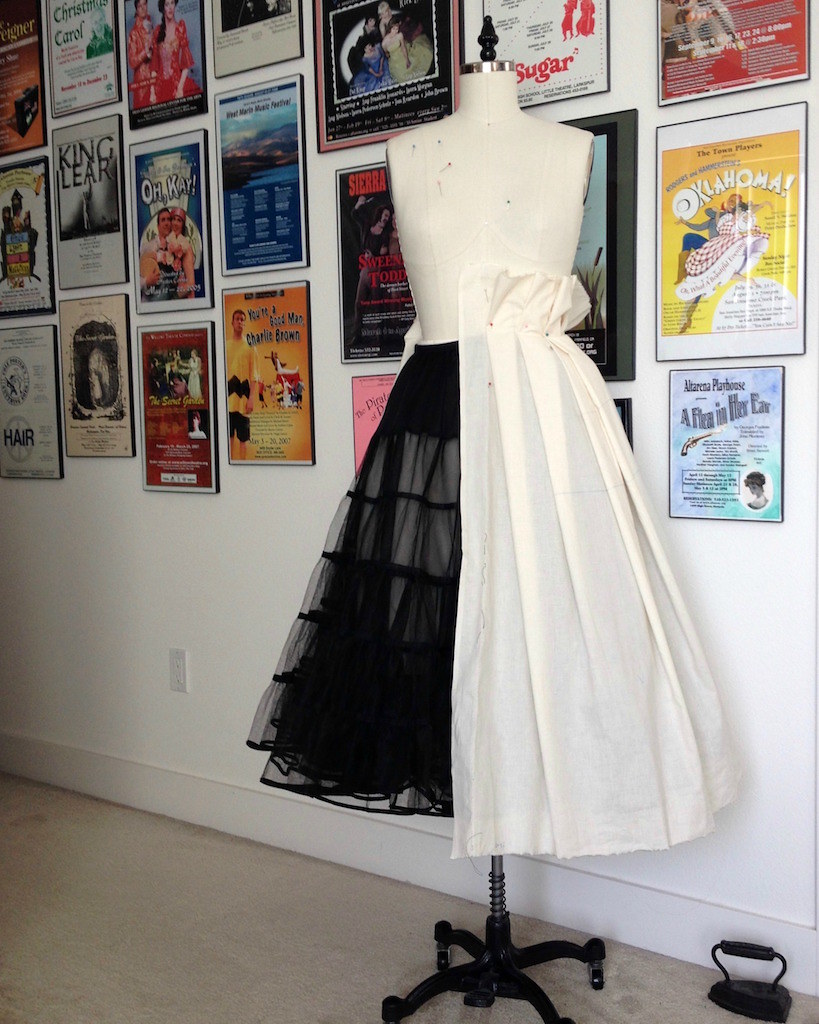
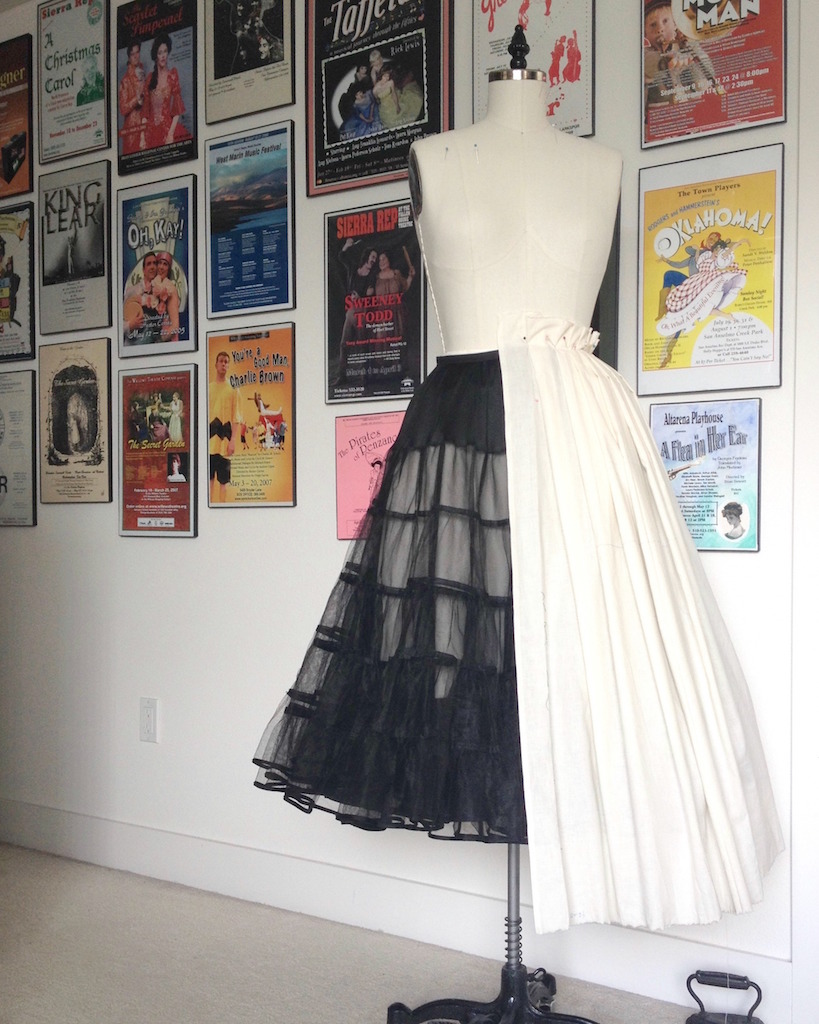
My first thought was to get an idea of how far three yards of fabric would stretch. Would I be happy with the hem circumference from that amount of yardage? I dressed my form with a full petticoat, pinned a couple of shoulder pads in place to fill out the hips, and jumped right in.
From looking at the images of the Dior dress, it is clear to me that the skirt is not a circle skirt. Instead, the hemline looks relatively level with the cross grain of the fabric. I also think I spy a seamline a few inches in from the left side where the rose repeat is slightly off.

Working with all that fabric proved to be rather frustrating. There is a reason draping books tell you to work with half of a pattern piece! And some attempts looked better than others.
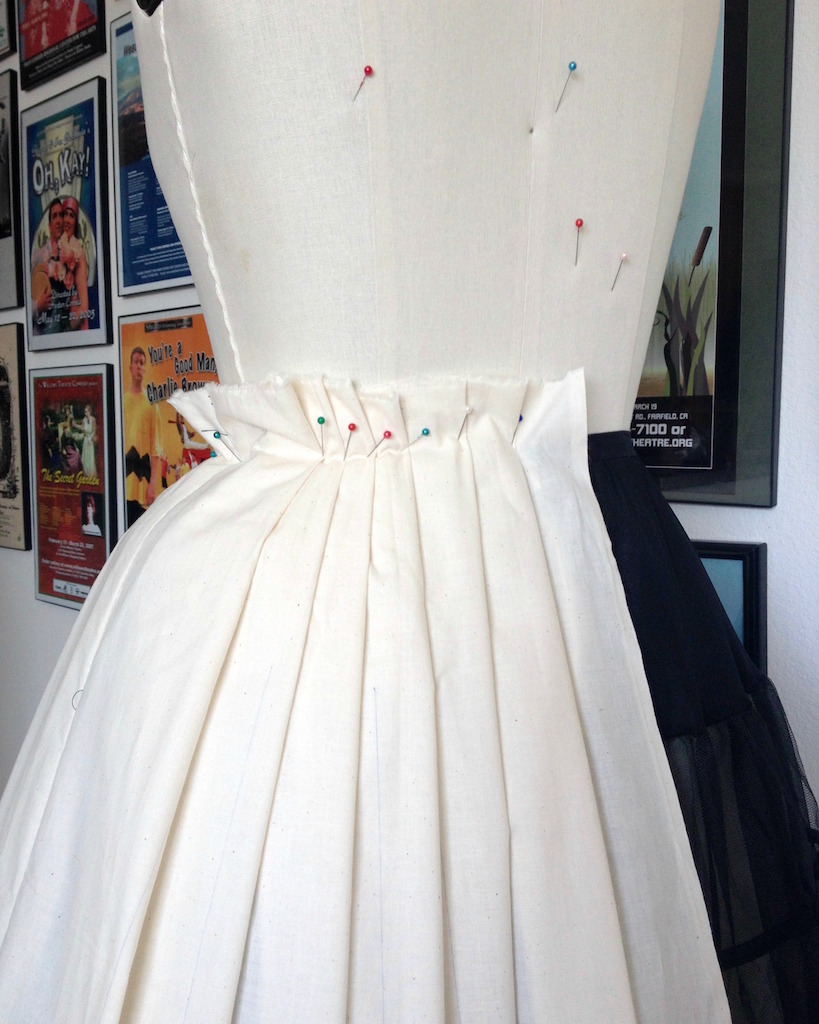
What I discovered was that I was not happy with the fullness created by a mere three yards of fabric, and that even with only 126” to contend with, pleating that much fabric down to a waistband measurement was a real challenge. Given my choice to work with four yards, that means I have to take 168” and pleat it down to match the bodice waist. (And no, cartridge pleats are not an option here, though I certainly can see how that would be a very efficient way to work!)
This dress will have a center back opening, so I ended up with one 42” wide piece at center front, two on either side, and a third which is cut in half to create a center back seam.
Then it was back to the dress form.
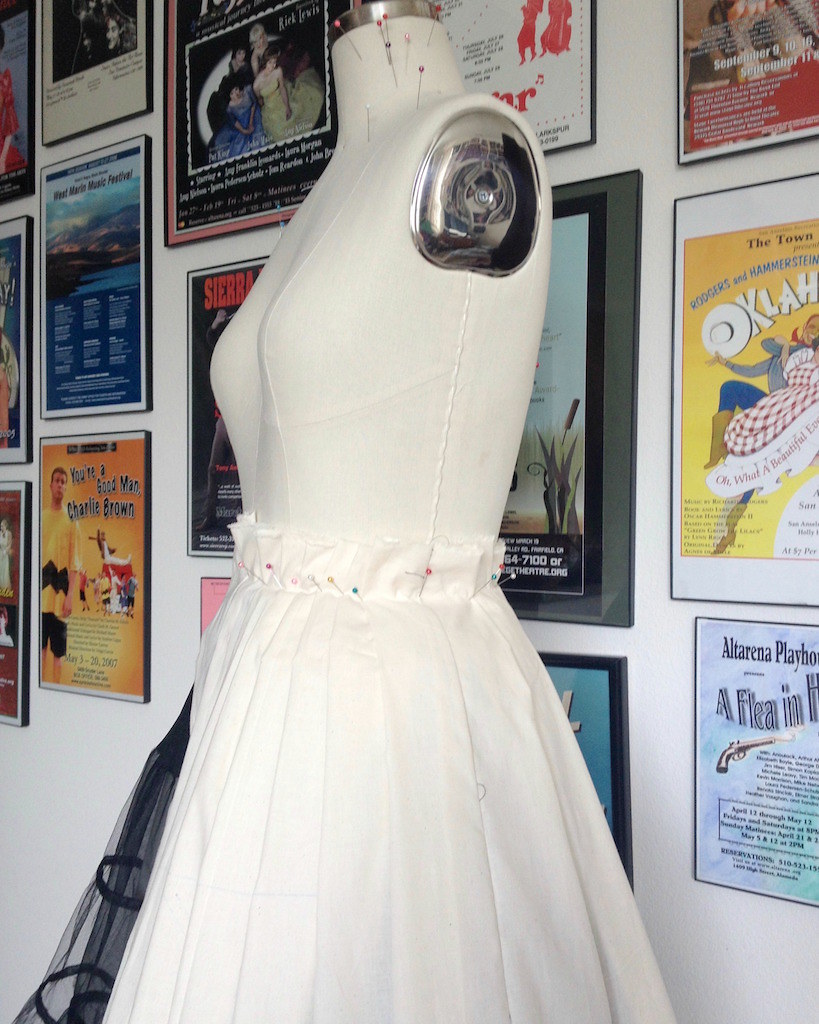
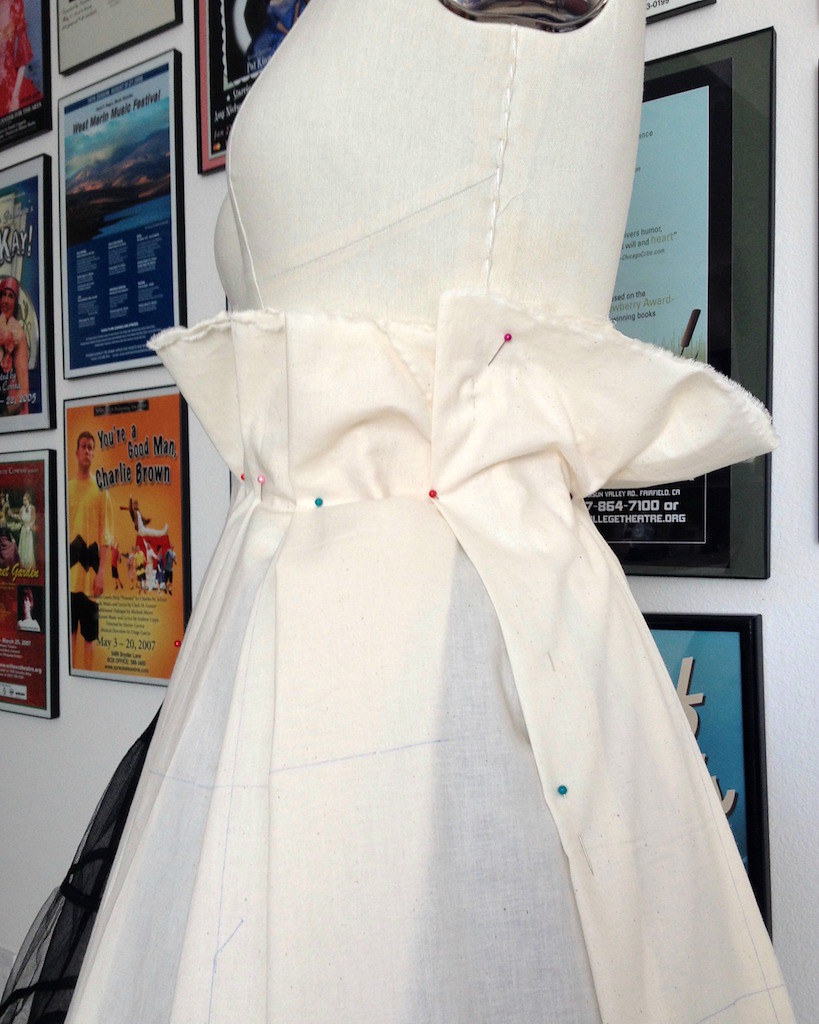
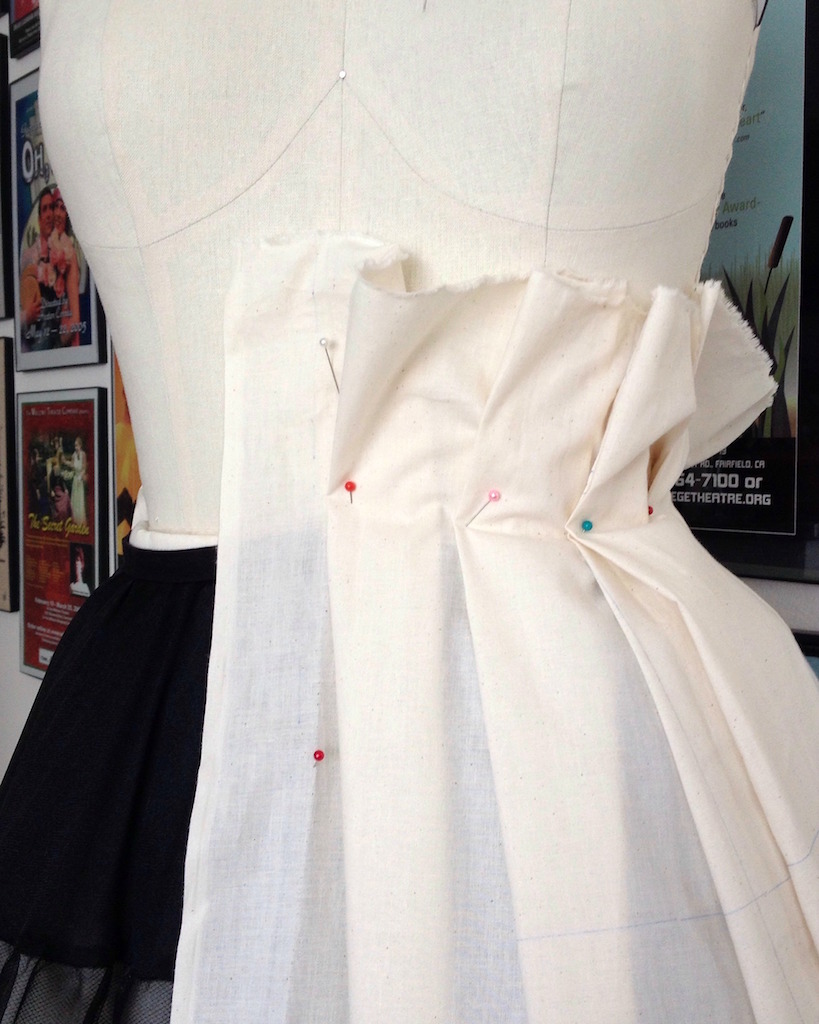
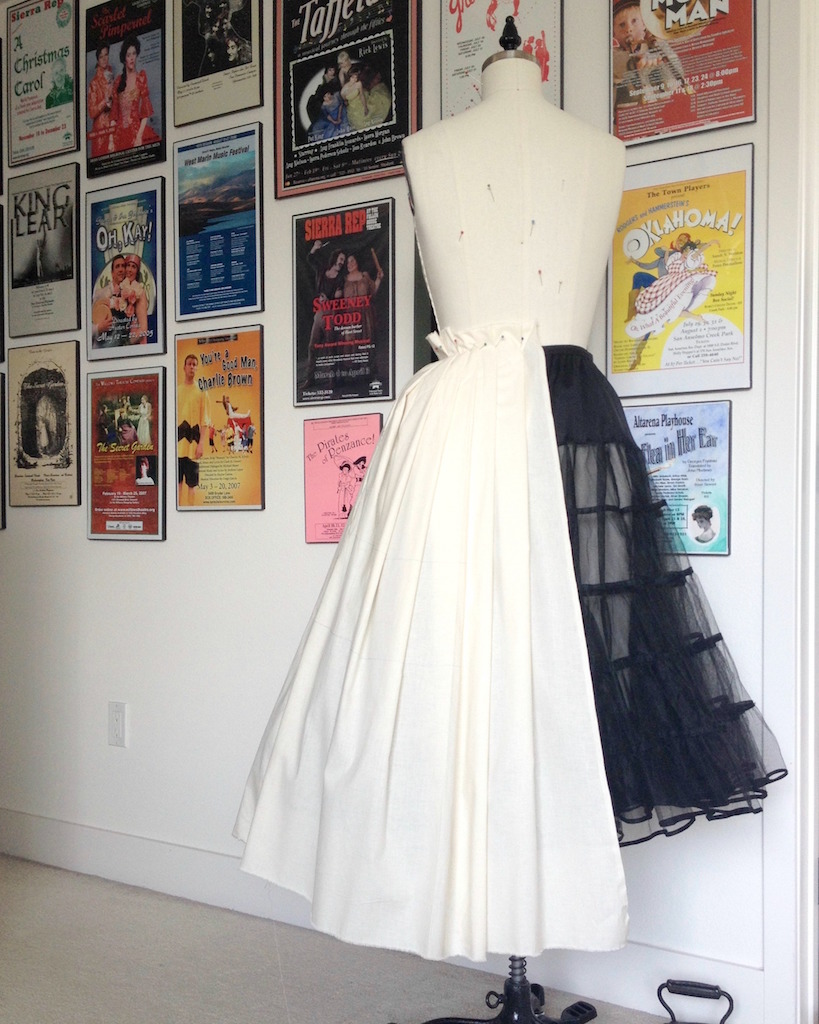
I ended up shaping the fabric pieces, maintaining the full width at the hem, and cutting away from the waistline slightly. Okay, now that I think about it, it is rather obvious that a straight rectangle was going to be problematic, but mistakes are how you learn, right?
And eventually I came up with a version that I think will work.
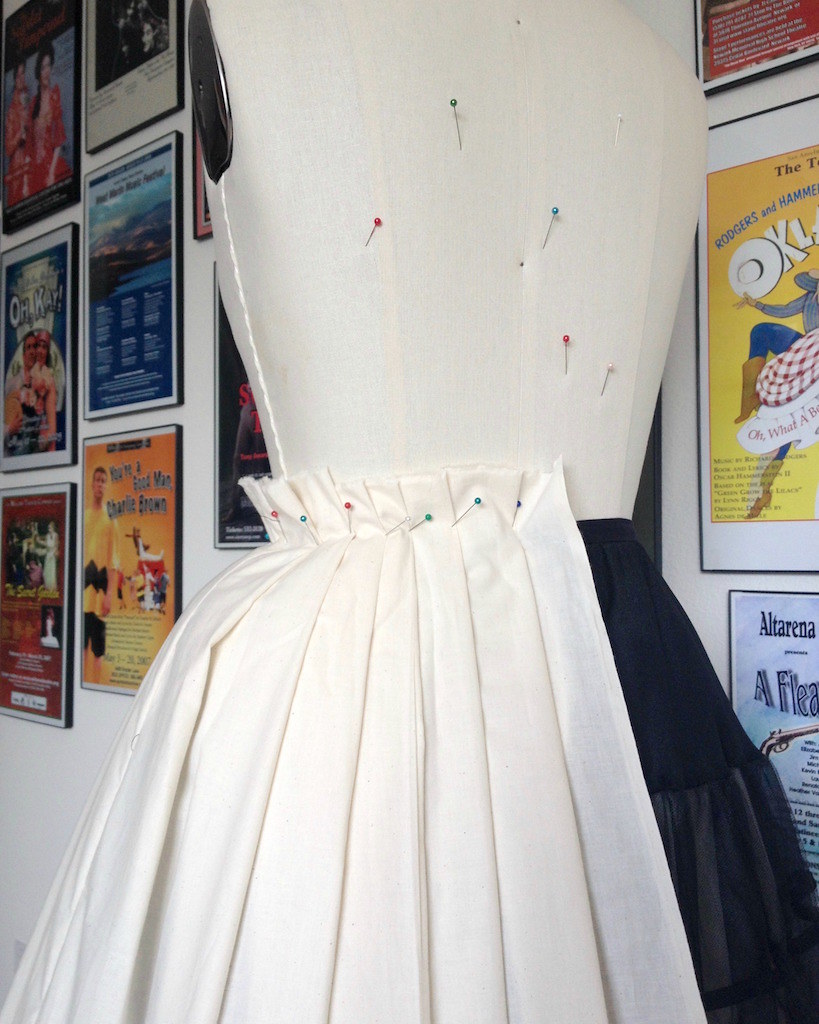
I made a few marks at the waistline and along the edges of each pleat and removed the fabric from the dress form.

A few more notes were scribbled on the fabric to help me remember how to sew this all back together. And then it was time for the bodice!

I believe most of Dior 'dresses'were in fact separates--skirt and separate bodice. The bodice was boned and the skirt had a mini pannier to hold out the upper hip for that bell shape. How authentic are you going??? Nice project! And best wishes. Renita
ReplyDeleteOoh. The minipannier has a hypnotic effect on my thinking.
DeleteI have made a number of fully gathered skirts for folk dancers, and I have cheated and taken 'darts' out of the waist because there is a physical limit to how much can be sewn at the waist with a home machine. It's gather and sew, then gather again. They do look amazing when they spin, though.
I am guessing your dancing needs will be different!
You are so very talented and I love reading about you sewing/designing projects. I have learned much, thank-you.
ReplyDeleteLaura Mae, you continue to astound with your skills and fortitude.
ReplyDeleteYou mentioned wearing a double crinoline in the past, will, or should, that happen for this gown?
Some patterns for very full skirts have excess fabric cut out from the pleats – crenellated – so there's less fabric at the waist. It might work for you.
ReplyDeleteVancouver Barbara
Watching your creative process is always so fascinating. This dress is going to look incredible.
ReplyDelete