
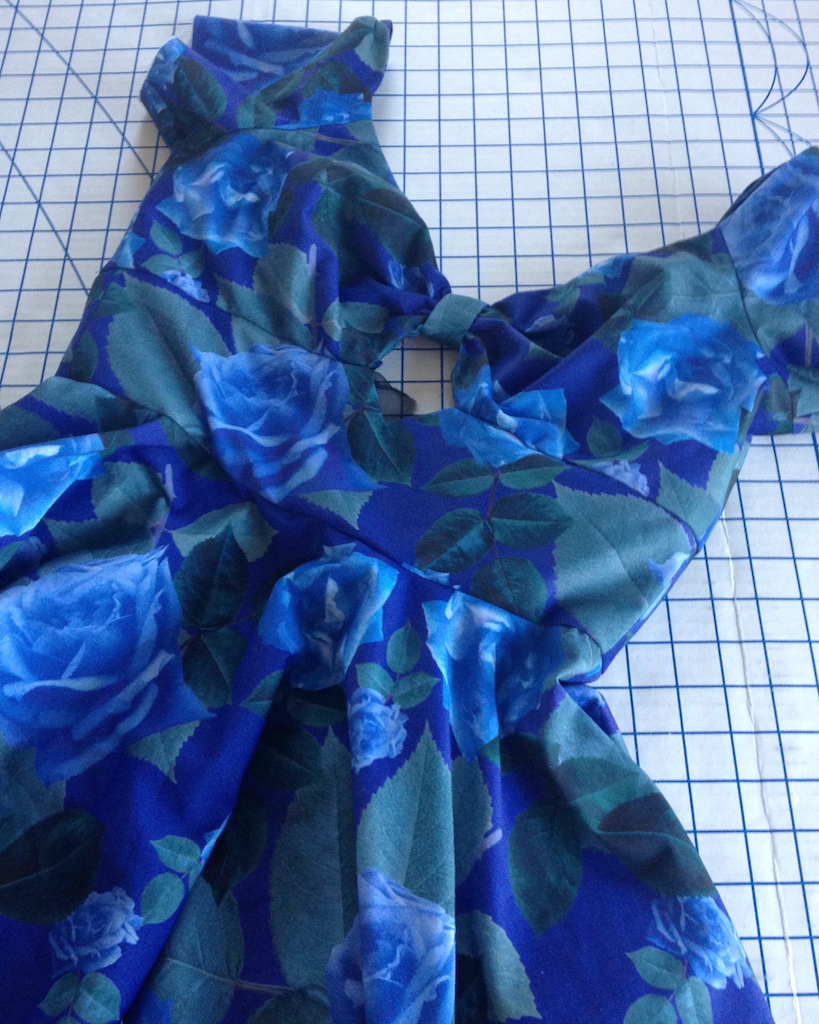
My original plan for this fabric was to attach a circle skirt to the bodice pieces of Butterick 6413.
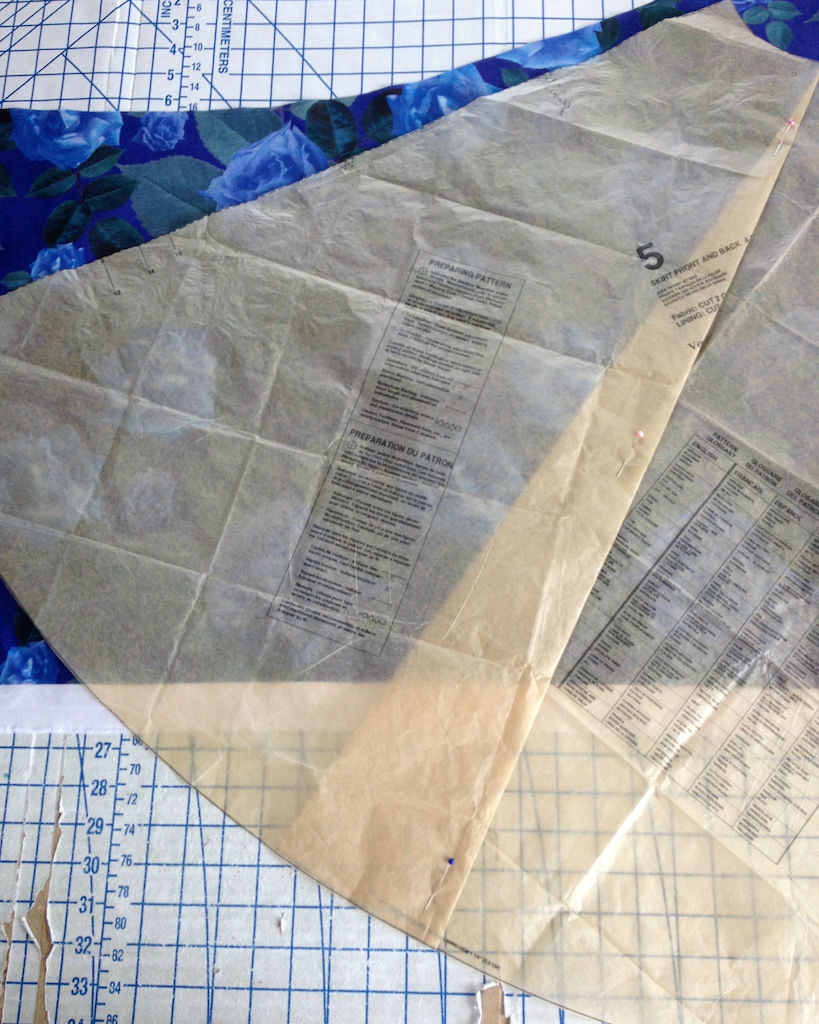
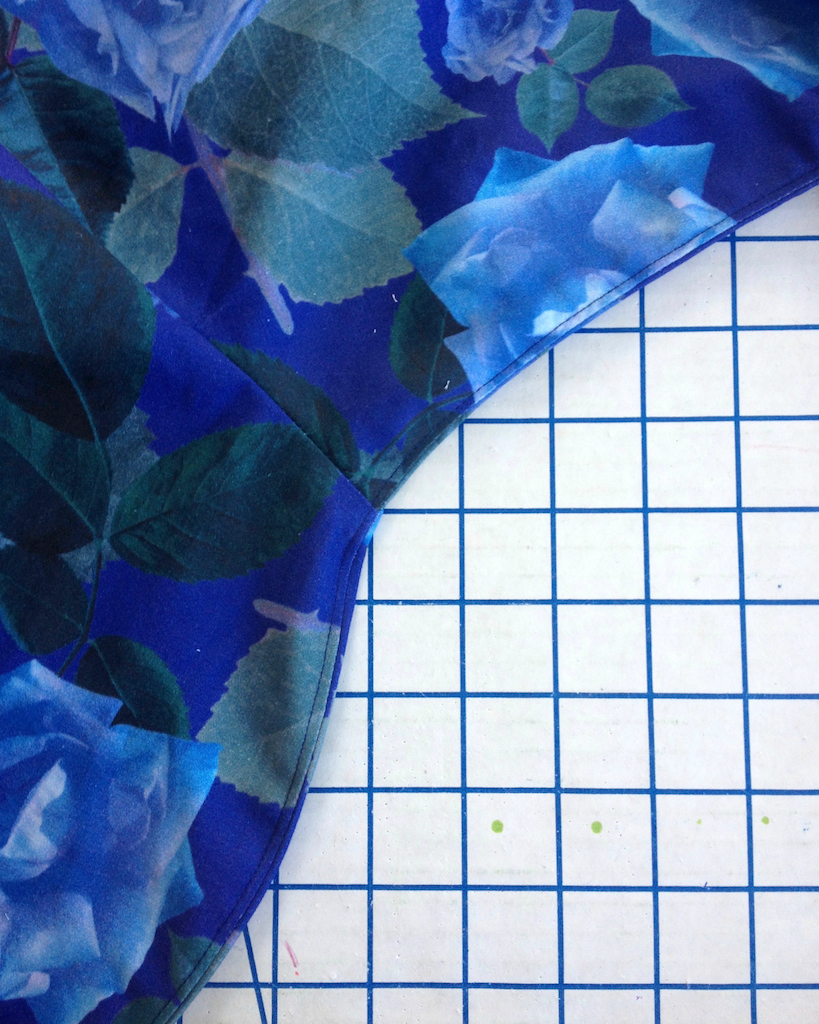
Unfortunately, I just could not make the circle skirt fit on my yardage without cutting one of the skirt pieces upside-down, which I really did not want to do. This print is directional and I know I would regret cutting one of the skirt sections wrong side up. I cut the back skirt pieces, taking a slight wedge out of the circle to narrow the piece. This means that the center back is no longer cut on grain, but I would rather have that issue than have the print upside down!
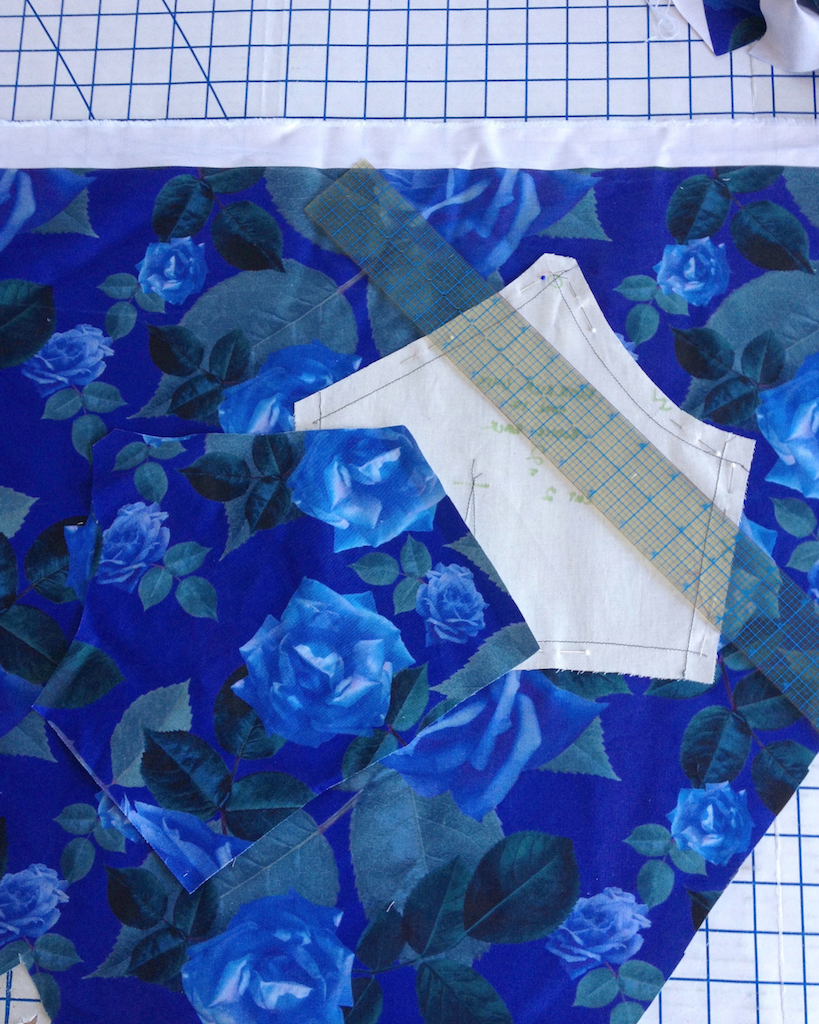
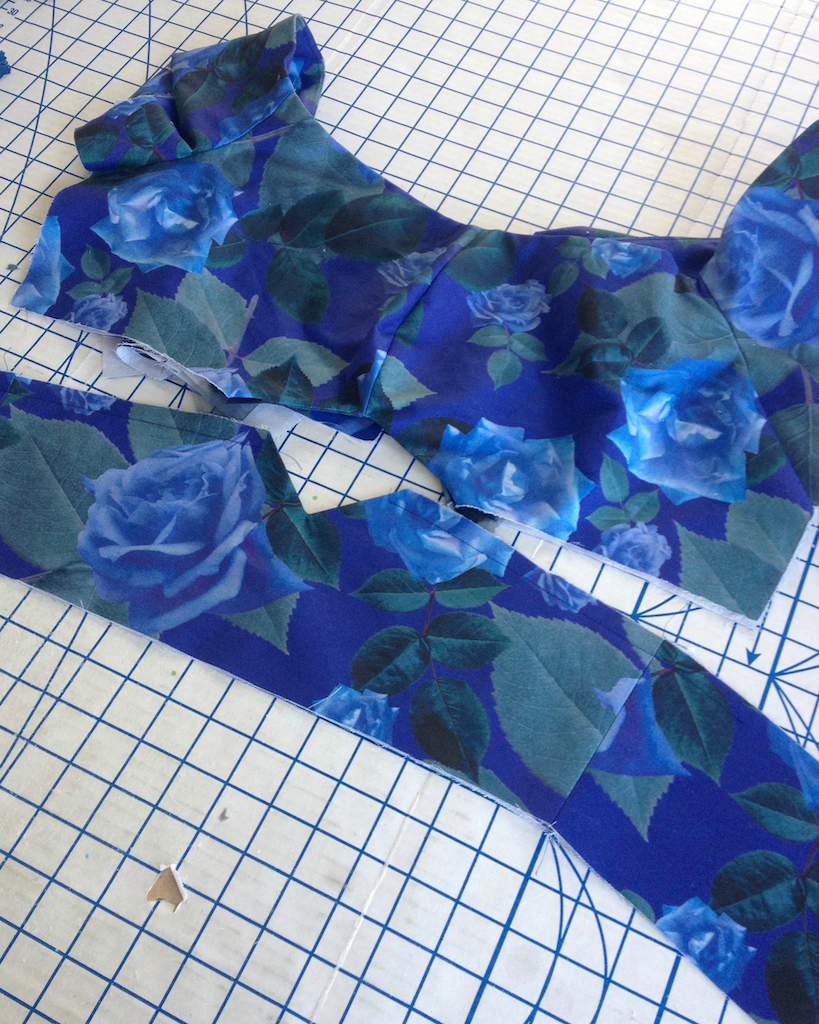
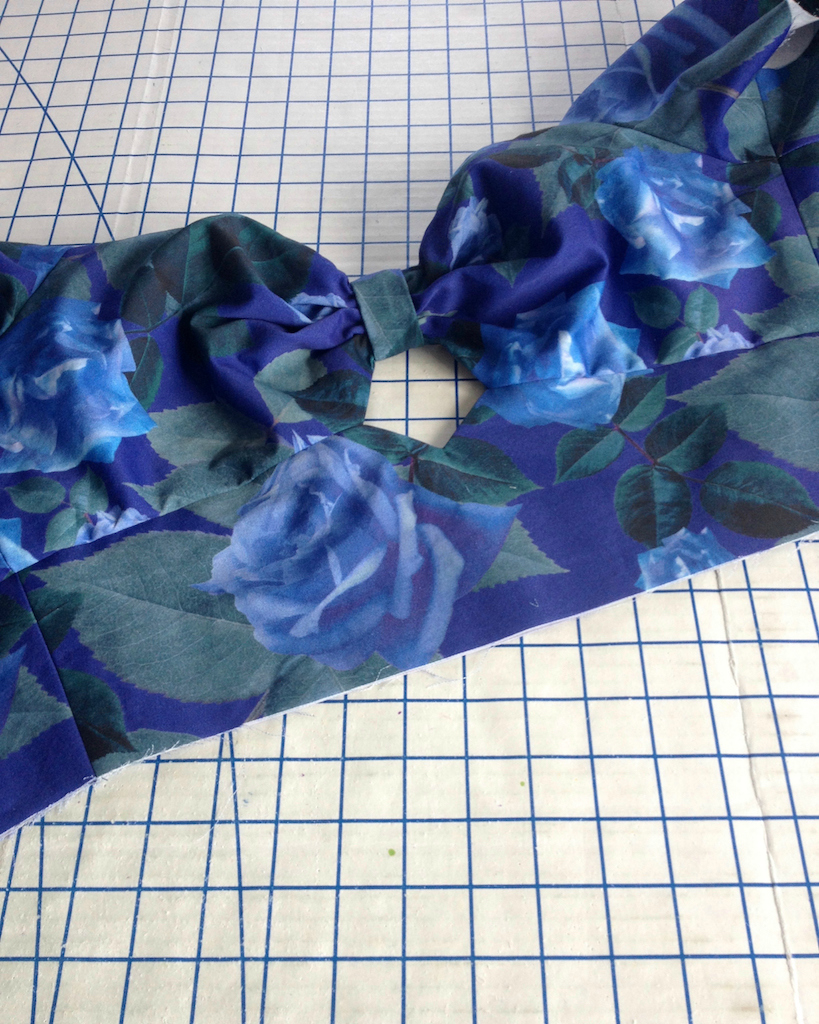
With the "scraps" leftover from cutting the skirt, I was easy to cut all of the bodice pieces. I was even able to do a pretty good job matching the roses.
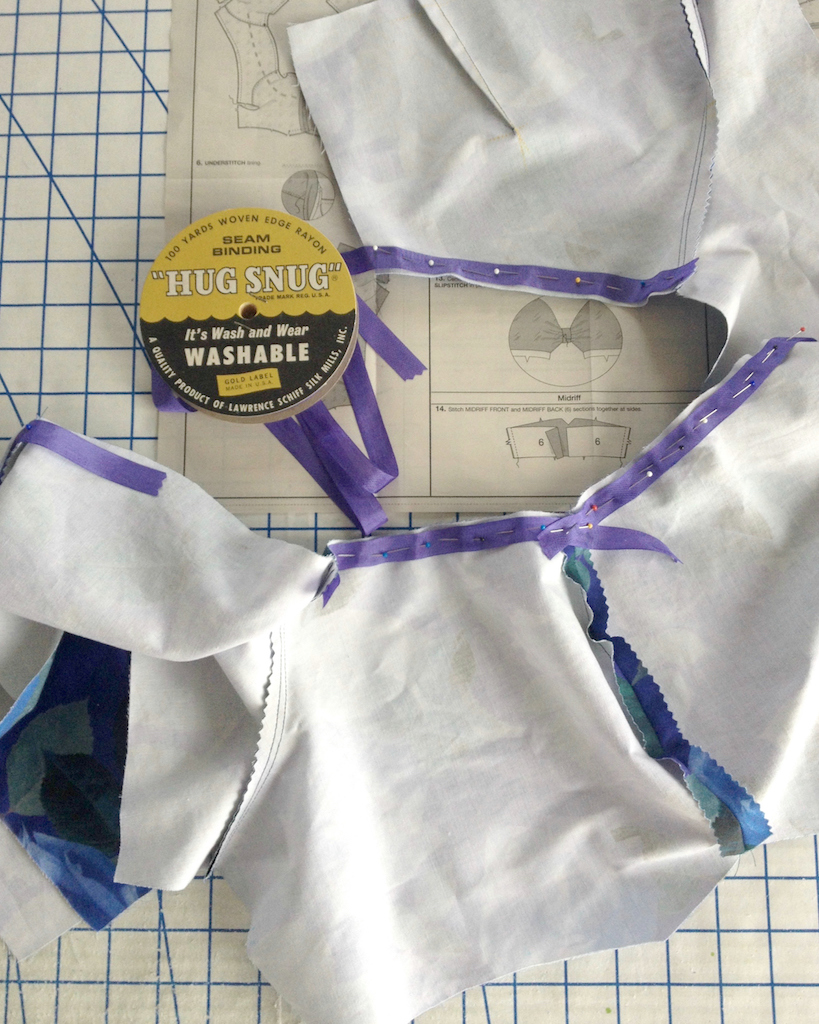
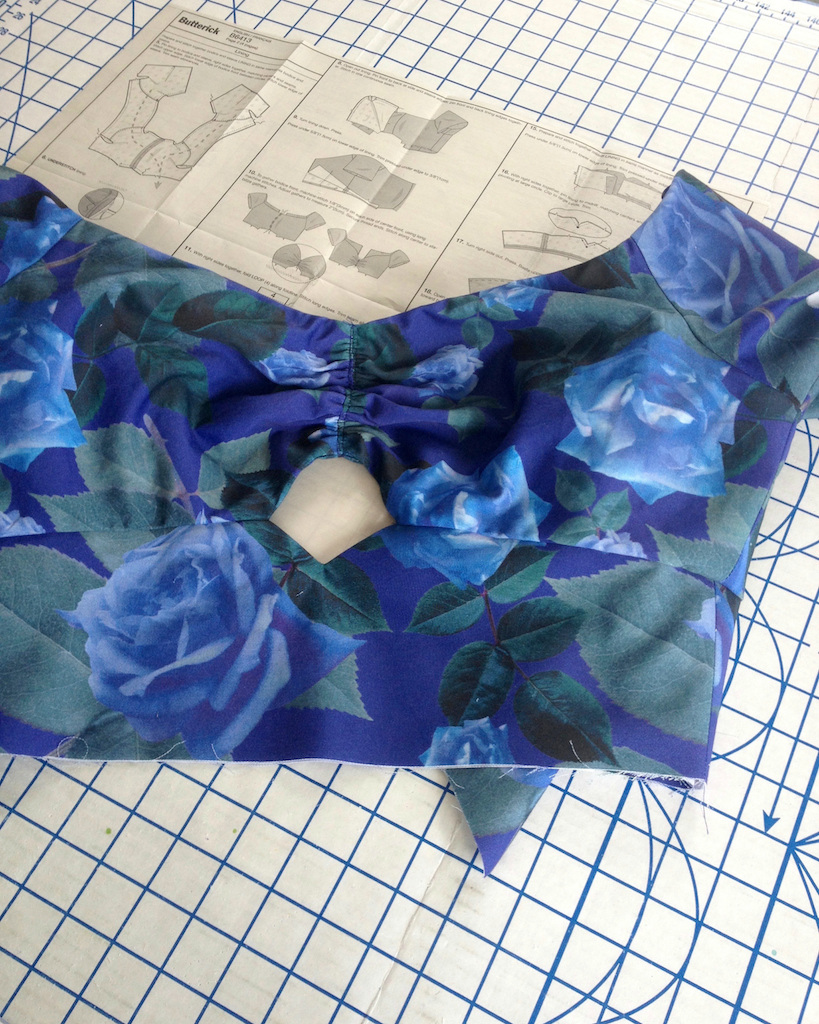
To stabilize the neckline I used rayon seam binding.

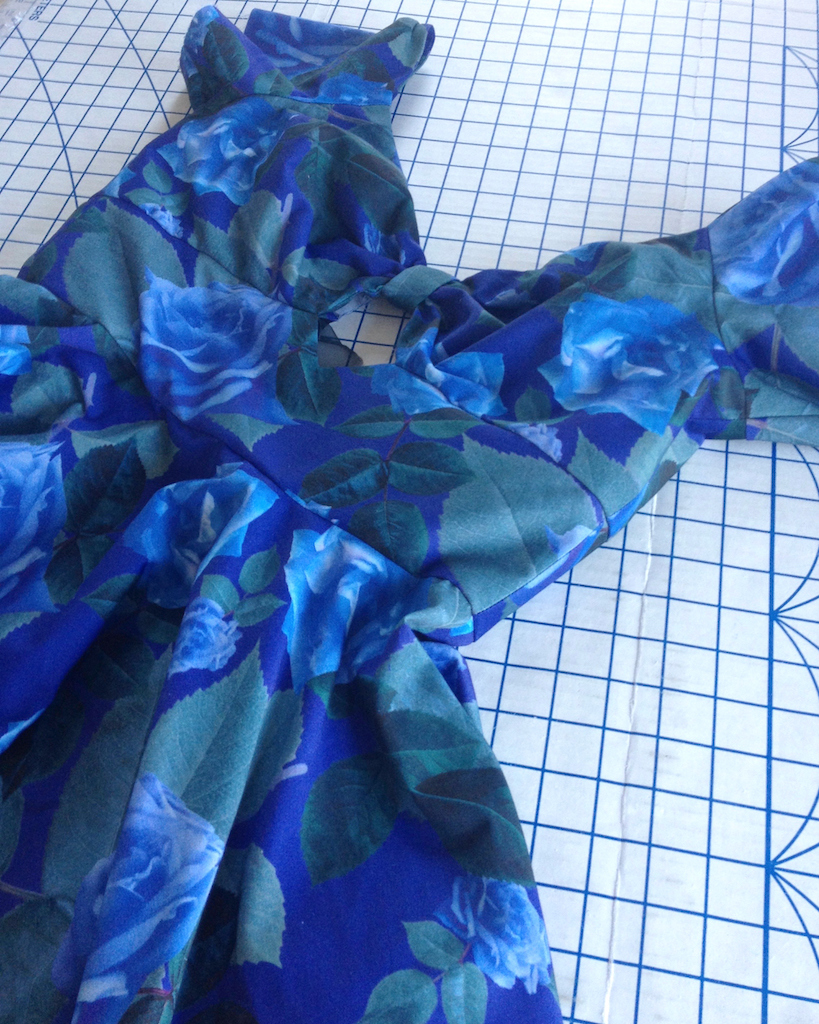
For the lining, I had just enough fabric to cut a duplicate bodice out of my fabric. I did not have enough blue bemberg on hand, and there was really not enough of the rose print for another project, so I went with the roses.
I deviated from the given instructions slightly because I do not like to have both the fashion fabric and lining stitched together before inserting a zipper. That application has always seemed sloppy to me - if I am using a lining, why not enclose everything? And I certainly don't mind the hand sewing.
Perhaps I should have used a lighter weight fabric for the lining, because when it came time to gather the upper bodice, gathering everything down to two inches was challenging.
I attempted to bend the fabric to my will with the help of a zig-zag stitch.
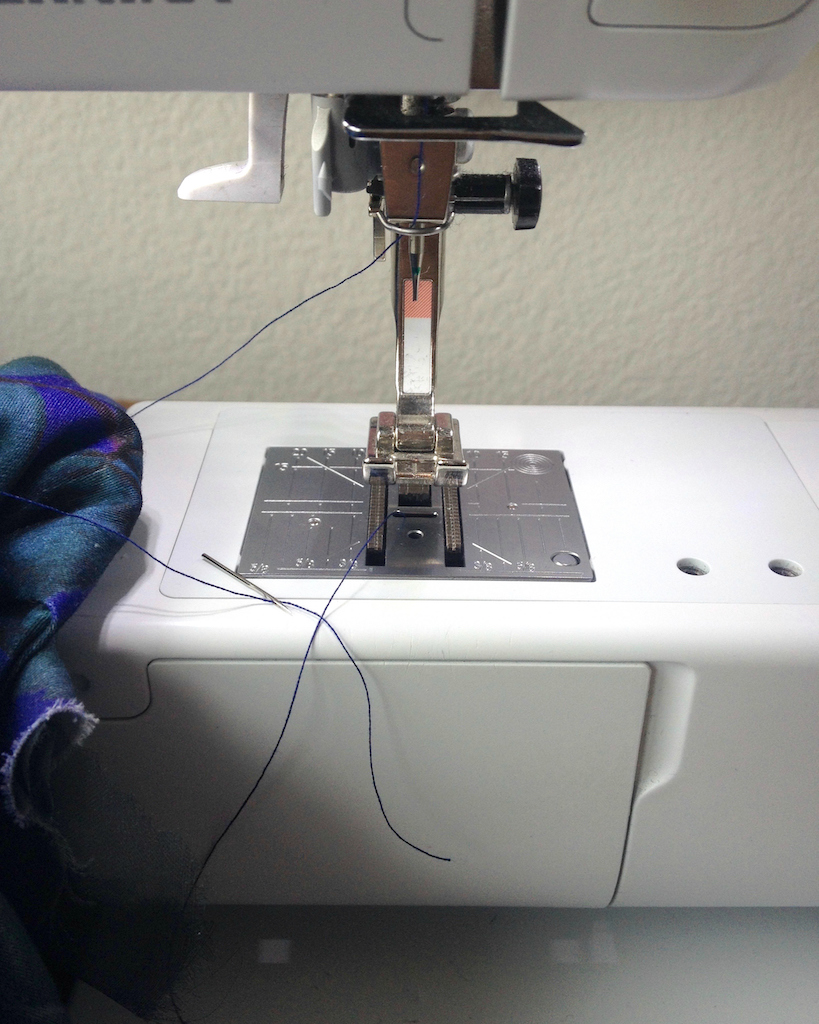
But my machine had other plans. I can count on one hand the number of times a needle has broken on me, and each time it scares me half to death. The sound my machine made was horrible, which does not help.
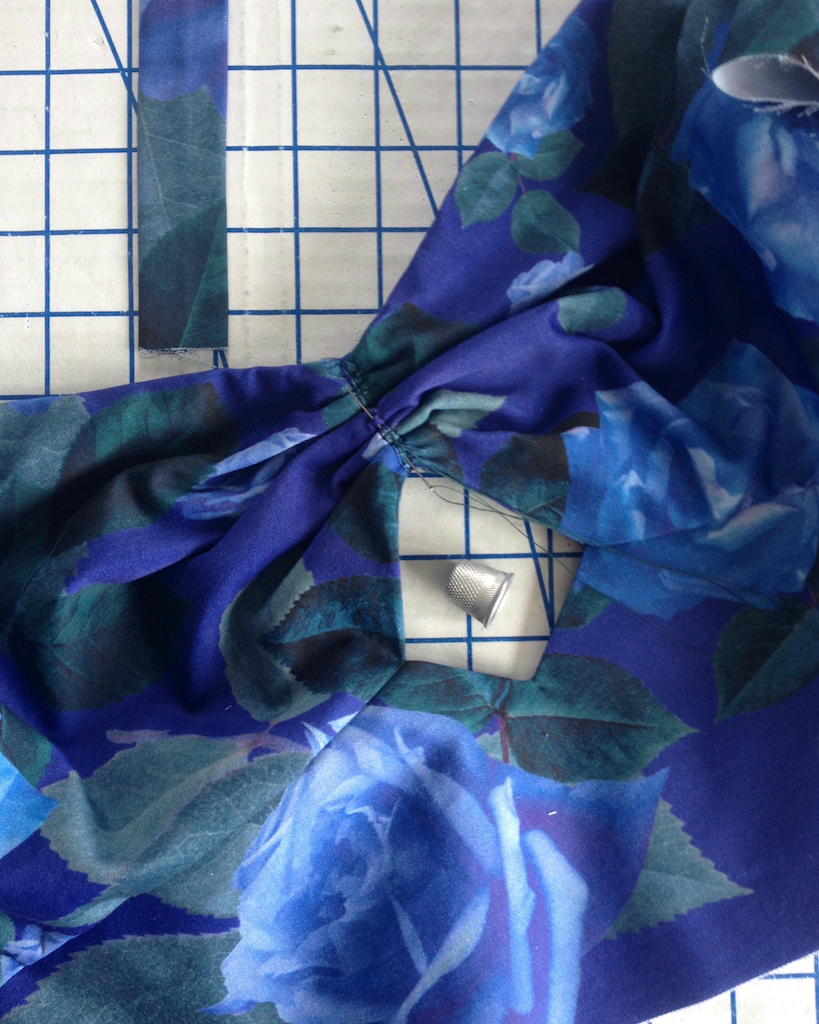
Everything turned out okay for the dress and the machine, in the end. I did have to use a thimble and a very thick needle to get everything gathered, but I won the battle.
There is still a bunch of finishing work to be done, including the dreaded evening out of the skirt hem, but this is definitely beginning to look like a dress!
Can I ask you how you tackle the evening of your hems on your own projects? I can do it on dresses for other people with no problems, of course, but the best I've been able to manage for myself is to do it with the dress/skirt on the dressform, which is never as accurate, because it never hangs exactly the way it would on my body. How do you address that?
ReplyDeleteKathryn, I usually use the dressform and then try on the garment to make sure I like how it looks. For a really special garment that I want to get just right, I make my mom come over while I stand on a chair and she pins an even level on the skirt. There really is no substitute for having the garment on the actual body that will be wearing it.
DeleteThere are hemming guides that you can buy (I believe Dritz currently makes a plastic one, and there are vintage wooden versions I have seen) that come with a powdered chalk that shoots out at the desired height while you rotate around the guide. I have never tried one, and I would imagine that the success would vary depending on your fabric choice and how much of a mess you are willing to make!
This is going to be gorgeous! I've been watching it's construction on IG and am enamoured of the print. Looking forward to seeing the finished garment on you!
ReplyDeleteI love the colors you chose for the fabric. Can't wait to see the finished dress!
ReplyDeleteProtect those peepers, please.
ReplyDeleteI want to ask the same as Kathryn. The only other person in my house is my blind elderly mother so no hope on the hem front!
ReplyDelete