
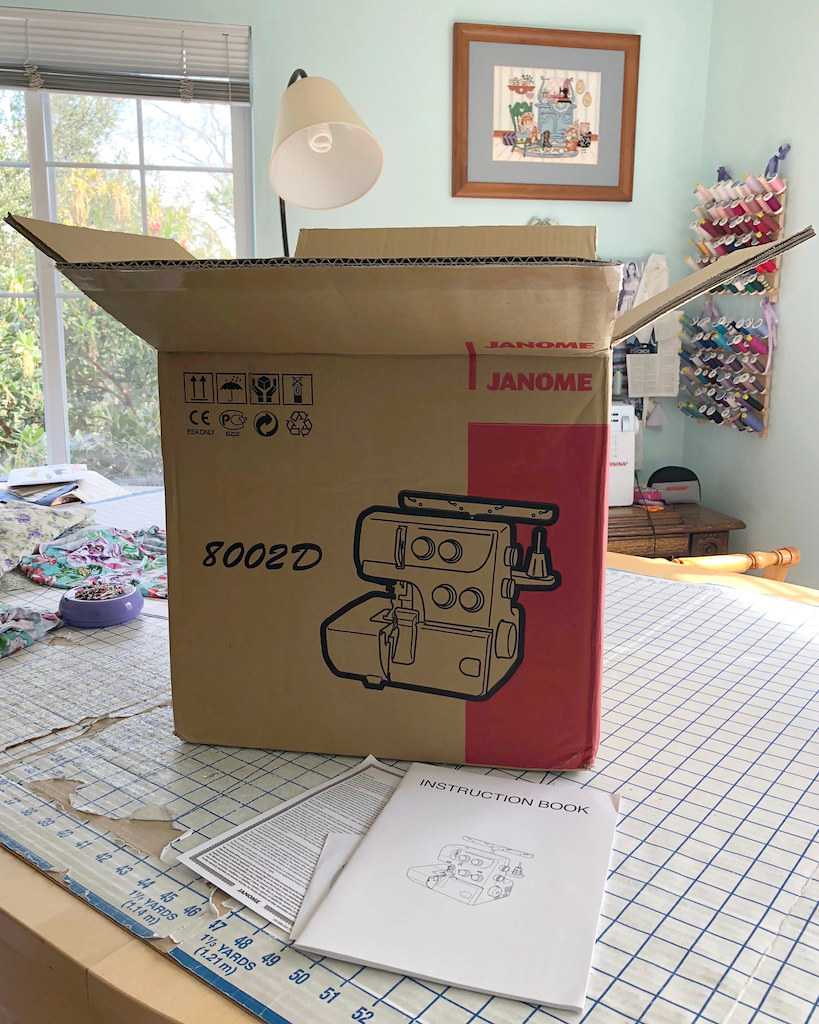
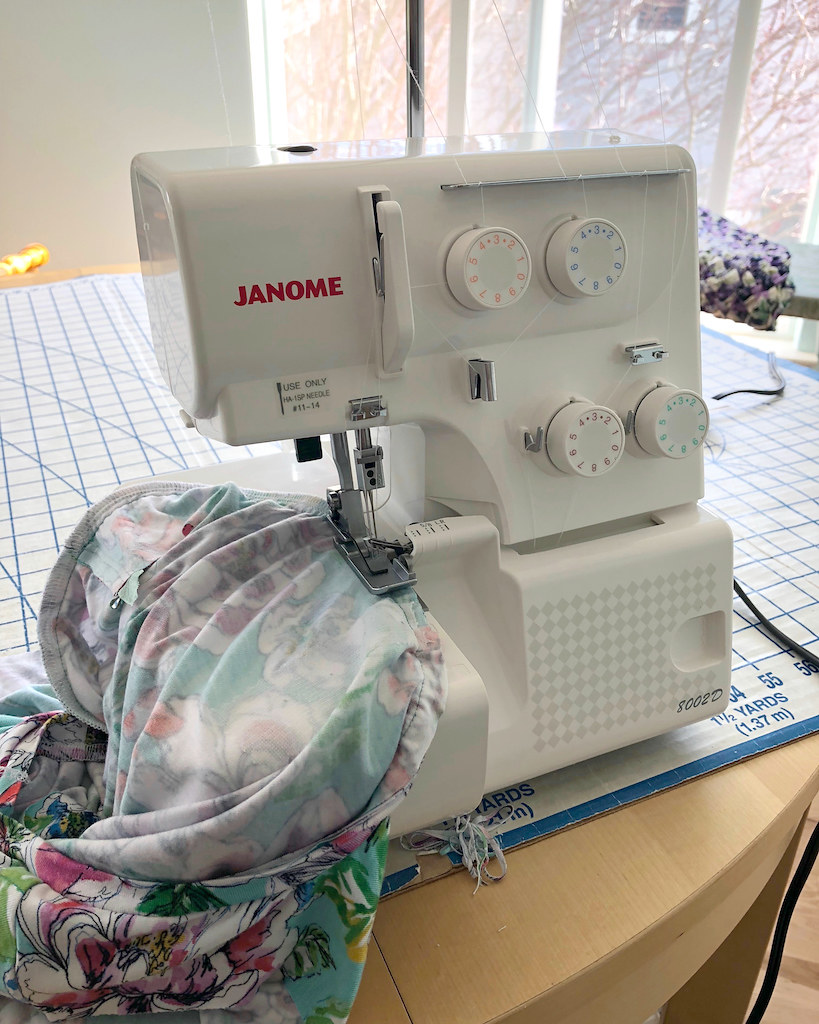
It has been months since I received my Janome serger. And, as many sewing friends have mentioned, these items often stay tucked away in their box for months, and sometimes years. What is it about these sewing accoutrements that some of us find so intimidating?
Well, the time finally came for me to slice into the packing tape and meet my new sewing friend. I have yet to name her, but we only have spent an hour or two together, so I am going to wait for inspiration on that front.
I did use a serger in college in the theatre costume department, but all I had to do was walk up and press the foot petal to make it go. If any problem occurred, there was always someone to help.
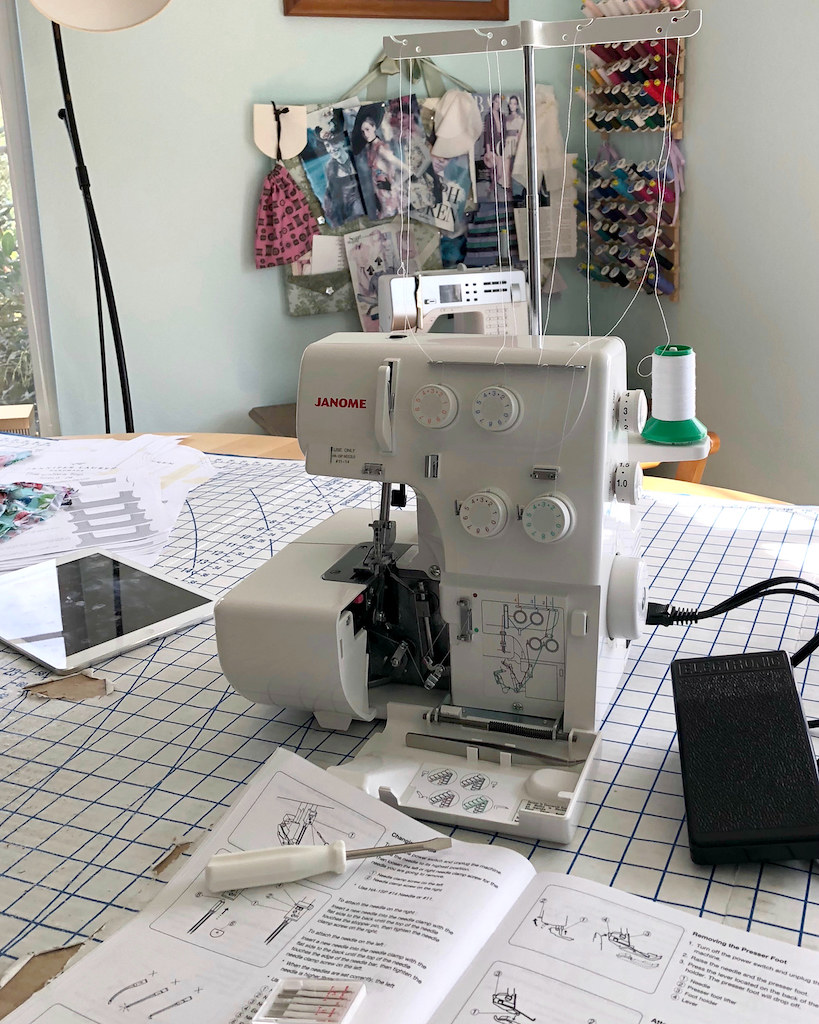
With this machine I am going to have to figure it out for myself. It was necessary to adjust the cutting width right off the bat, which was easily accomplished.
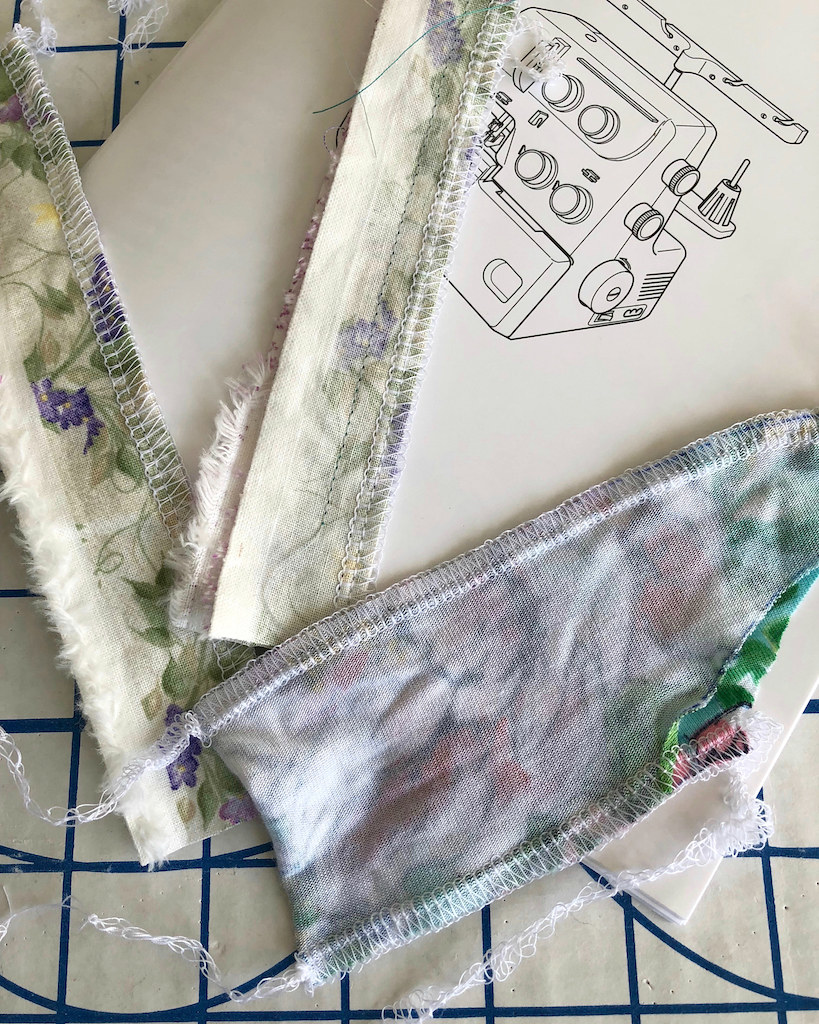
I also adjusted the differential feed for my rayon knit. The quilting cotton went through without any distortion, but the lightweight stretchy stuff needed a bit of help. That was also fairly straight forward.
But then, the lower looper somehow came out of one of its loops, so it was necessary to rethread . . . the dreaded rethread. The instruction booklet was worthless. The numbers and letters referred to have no place in the diagrams referenced, and one arrow appears to be pointing in the wrong direction. So it was necessary to ask the internet for help. The first YouTube video was not very useful for the step I was needing a bit of help with, but the second confirmed that the diagram in the instructions is either incorrect, or I am not reading it properly.
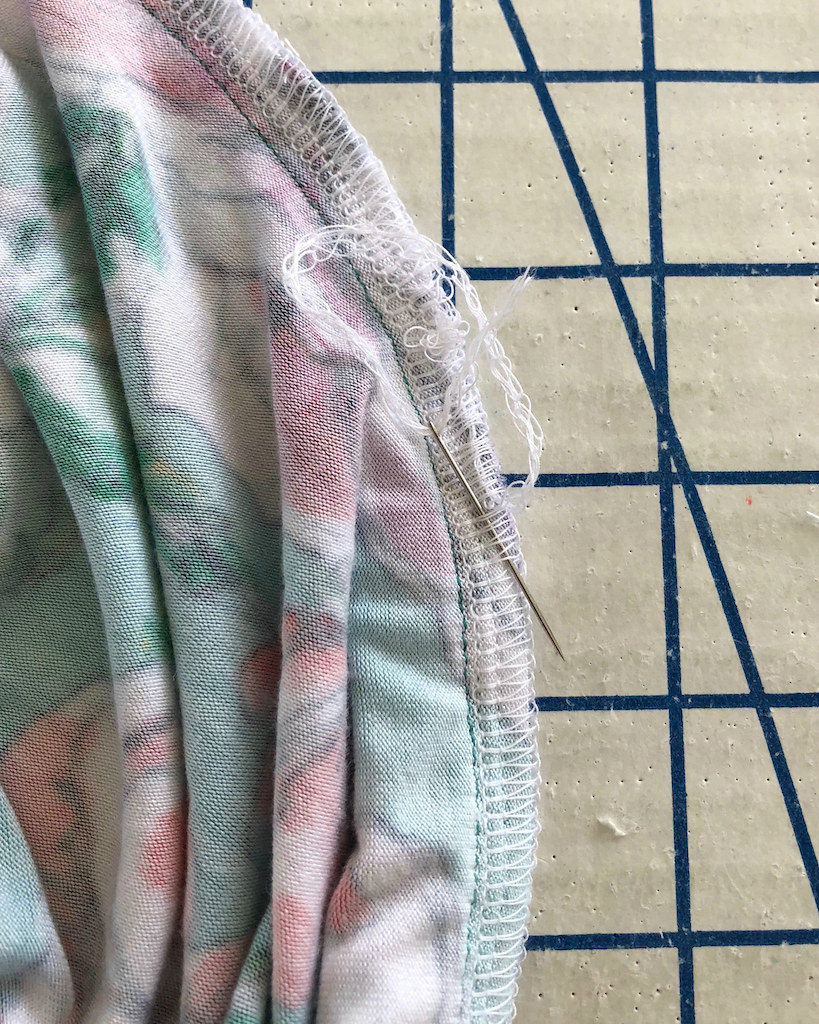
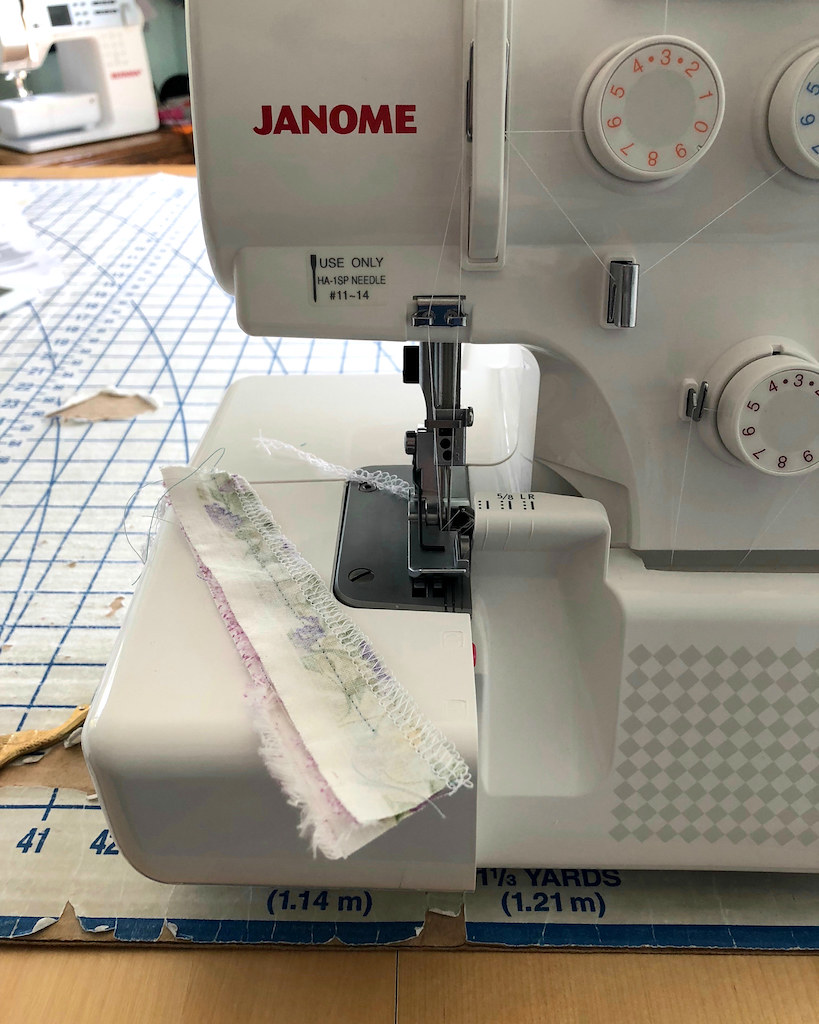
Well, whatever the case may be, I figured it out!
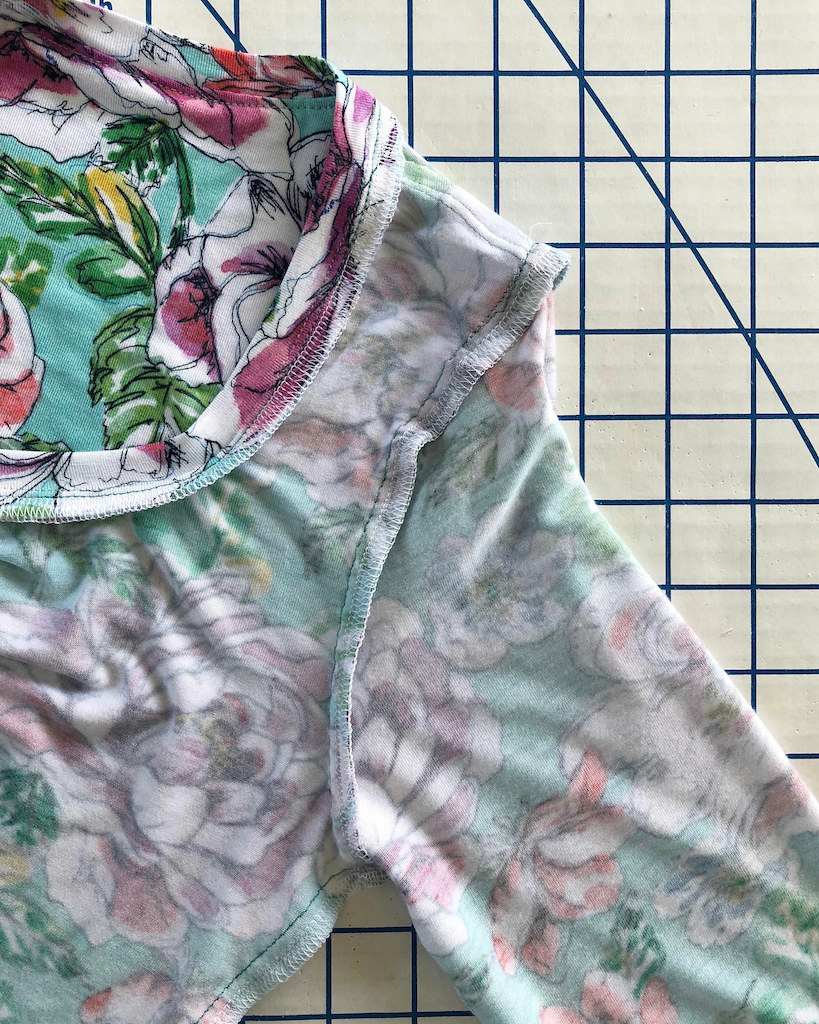
I have yet to rethread the other three spools, but I believe I will tame this beast, yet!
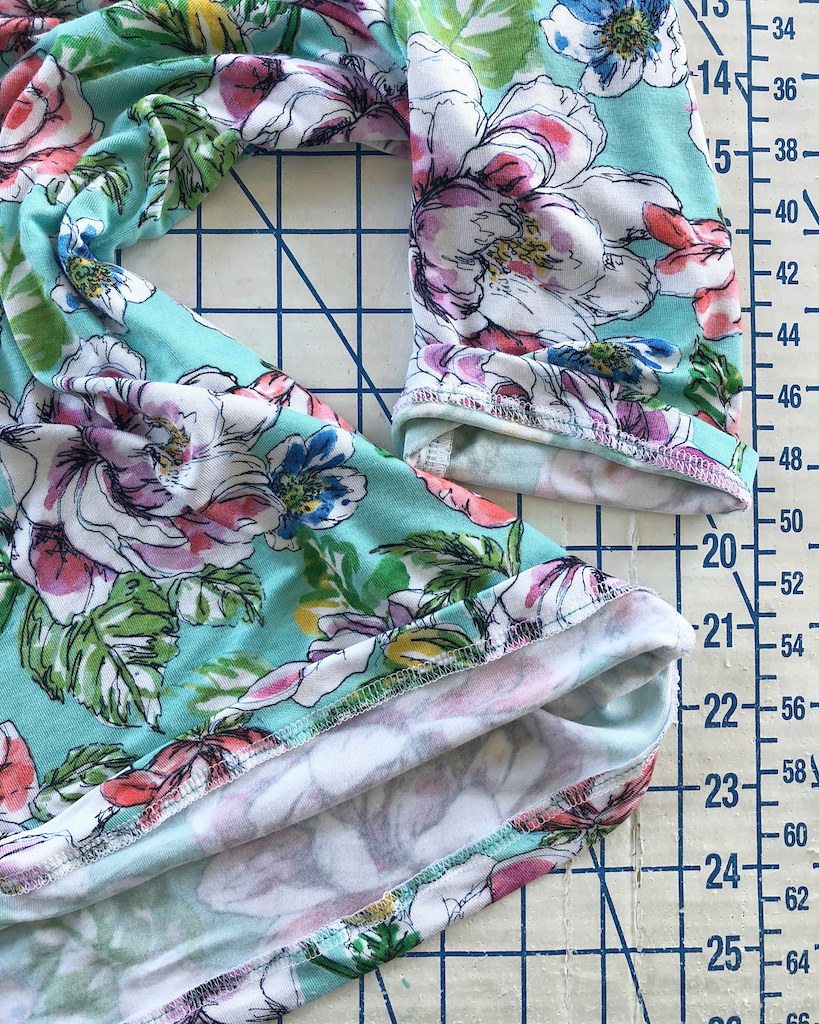
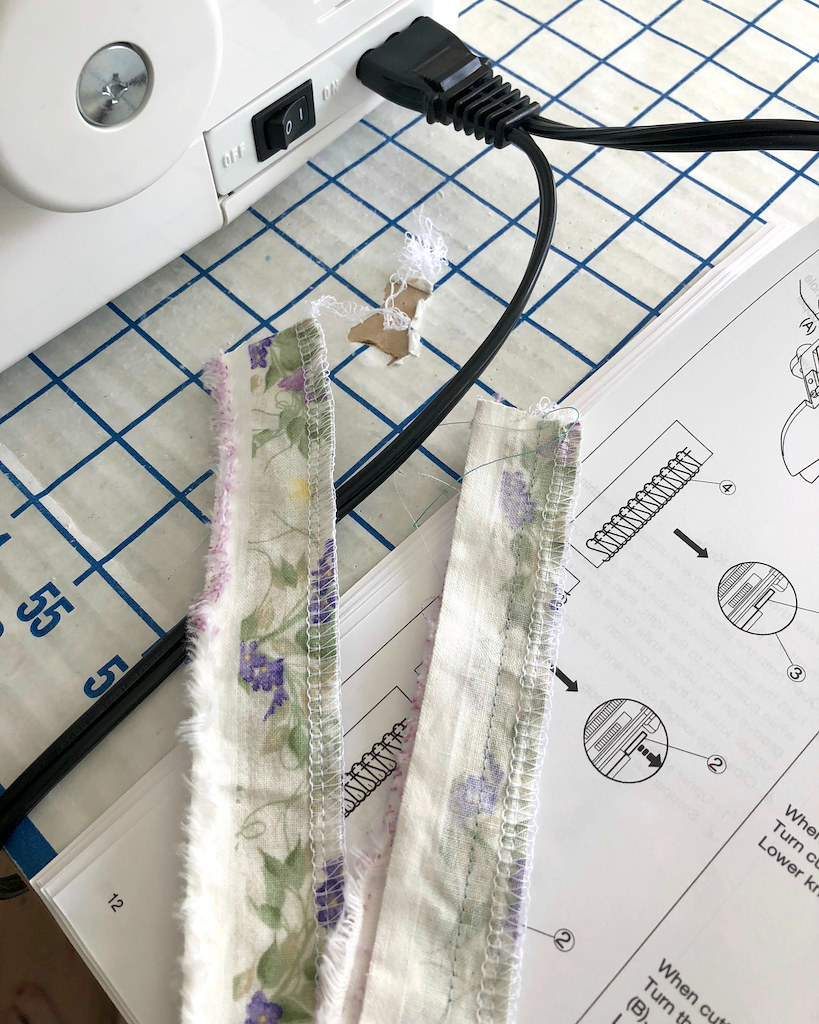
And so far, I am very pleased with my results!
Laura Mae,
ReplyDeleteYour results are impressive, and one can only speculate as to whether we'll see you distancing yourself from HugSnug, and sidling up to a 3 or 4-thread finish by summer's end. Perhaps surprising no one more than yourself by working with swimsuit material - for a dress!! Or suddenly seeking out a multi-tiered patterns which yowl and screech for a sergers quick containment.
What's next on your "to win" list? A steam iron? A vacuum board? Or are you busy Craigslisting for a vintage mangle?
The dreaded rethread proves that you can figure anything out - save for naming your serger ([stage whisper] that's where I come in, dear).
Why don't you call her, "Angenlina", or better yet, "Cathy L."?
"Helpful" is my middle name!
The Helpful Other
I have an elna that looks exactly like this, even down to the diagram that is behind the front door. The most annoying thing is that one of those looper threads needs to be going over the other and it's not clear in that diagram. If you get it wrong, yes it undoes itself - somehow unthreading from the looper like some sort of voodoo black magic......
ReplyDeleteI have exactly the same model as you and I let it lie for a year after an initial flurry of activity. The instructions are muddled because some of the diagrams are with a threader and some are not. It is very unclear which is which. Still I triumphed in the end as you did.
ReplyDeleteJust be aware that most sergers require you to thread the threads in a specific order.
ReplyDeleteAbsolutley, and not the order you would think! I find the Singer Overlock books priceless with their large clear photos and instructions. I still pull mine out a fair bit even though I have been serging for 20 years.
DeleteI'm excited for you, as it can make your work a lot faster. I have this serger, too, or one that looks suspiciously like it. I have the same problem with the lower looper thread. I also have a hard time getting it to start sewing - I push on the pedal and it just hums at me. I recently learned you should always thread it in upper looper, lower looper, right needle, left needle order. if the lower looper comes undone, you should unthread the needles before rethreading the lower looper. And it could be a problem with threading in any of the threads that causes looper to come undone, so check that all are correctly threaded.
ReplyDeleteOne more thing: Always turn the knob on the side of the machine towards you. if you turn it backwards it might cause issues and stop working altogether. (guess how I found this out? I fixed it by turning it towards me until there was a loud 'thunk' inside and it starte working again.)
Your seams are always so beautiful! Stick with the hugsnug! I know ZERO about sewing... lol. Don't listen to me, I'm certain sergers meet a specific need not readily met by hugsnug. I just like to see those wrongsides of yours as much as the rightsides! Erin J.
ReplyDeleteCongratulations on getting the new machine out. I have a coverstitch machine that I need to get out and play with. When I got my serger a looong time ago, the instructor at the dealer (free lessons included in purchase) said the best thing I could do was cut strips of my most used fabrics, get out a permanent marker and play with the settings and write them on the fabric strips so I'd have a sample library of sorts. My serger is old (White 534d(?)), and has a couple tricky spots to thread, but does have clear illustrations on threading right on the machine.
ReplyDeleteSo happy for you! I had an old Bernette which looked exactly like this. The best present you could give yourself right now is to sit down with that video and thread the thing over and over until you wonder why you ever thought it was hard. You’ll rock it!
ReplyDeleteMy serger sat in a box for a year until I finally woke up, took a class, and just.did.it. And then I kicked myself for waiting so long. I LOVE my serger. My regular machine just could not handle knits at all and with my post-pregnancy figure, knitwear is what I really needed at the time. You'll love yours too!
ReplyDelete