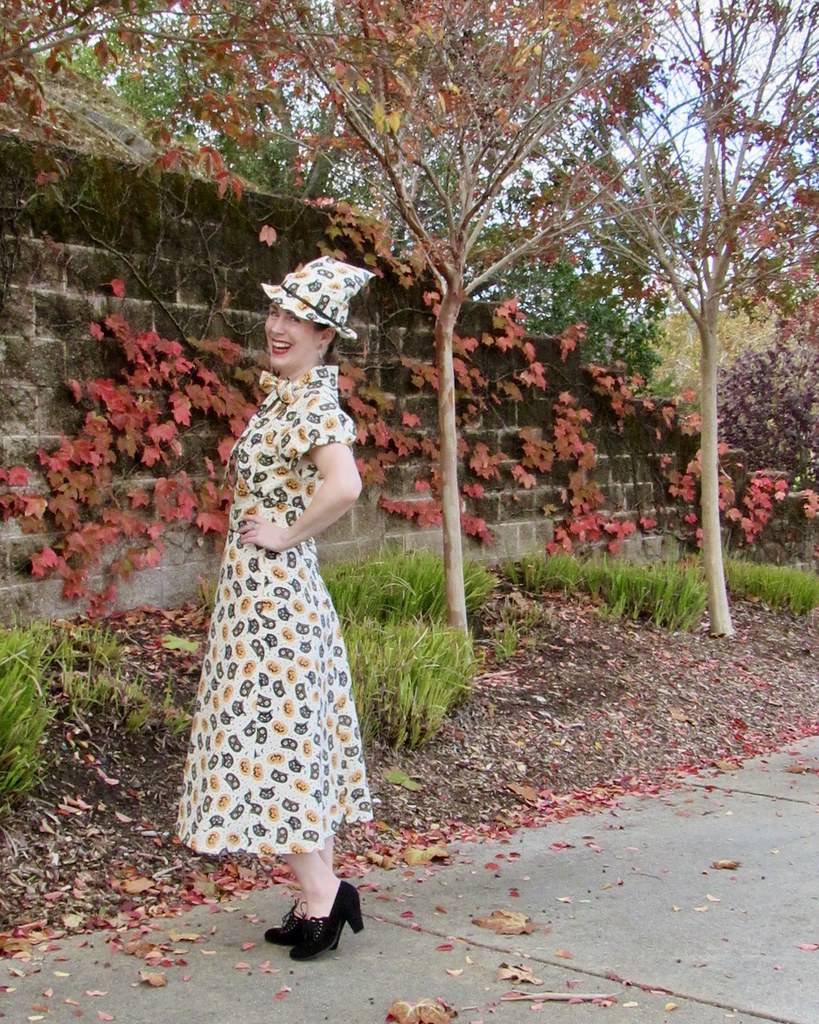
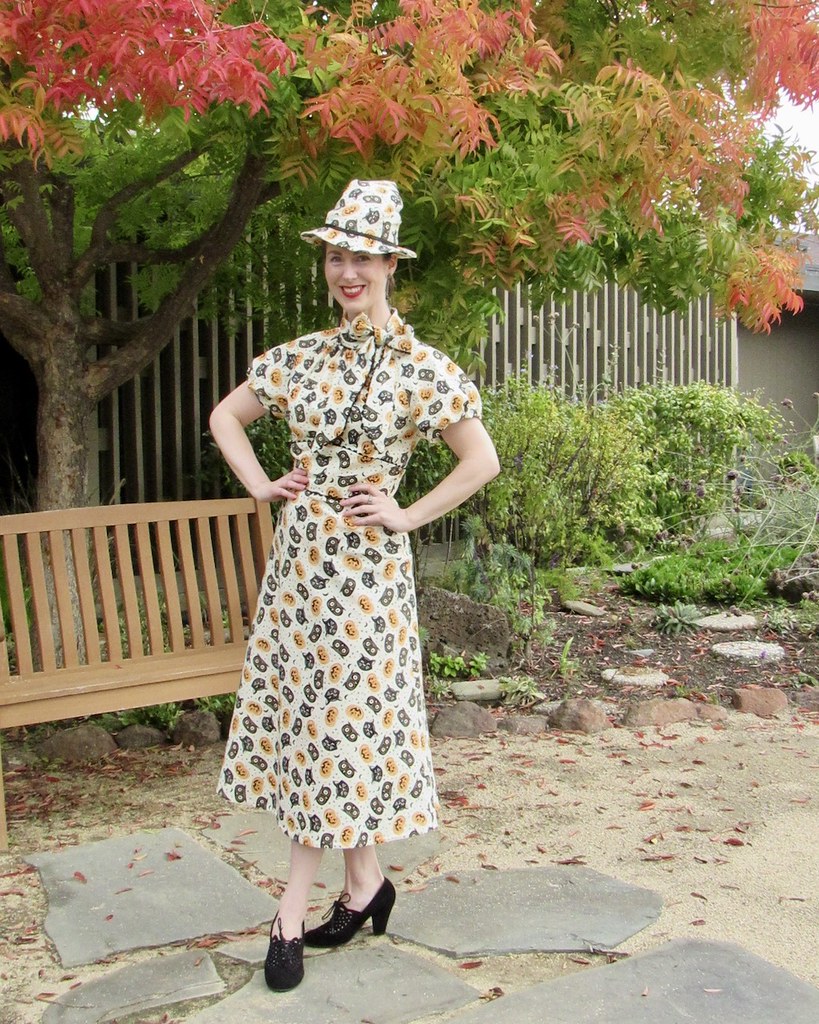
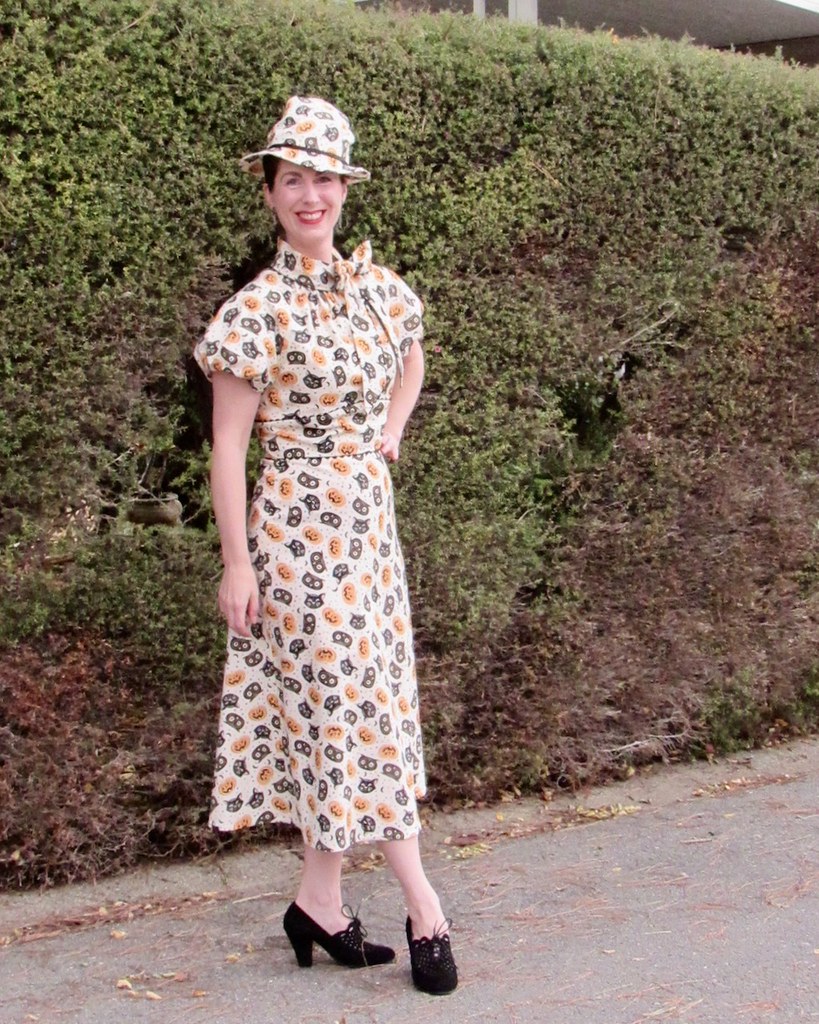
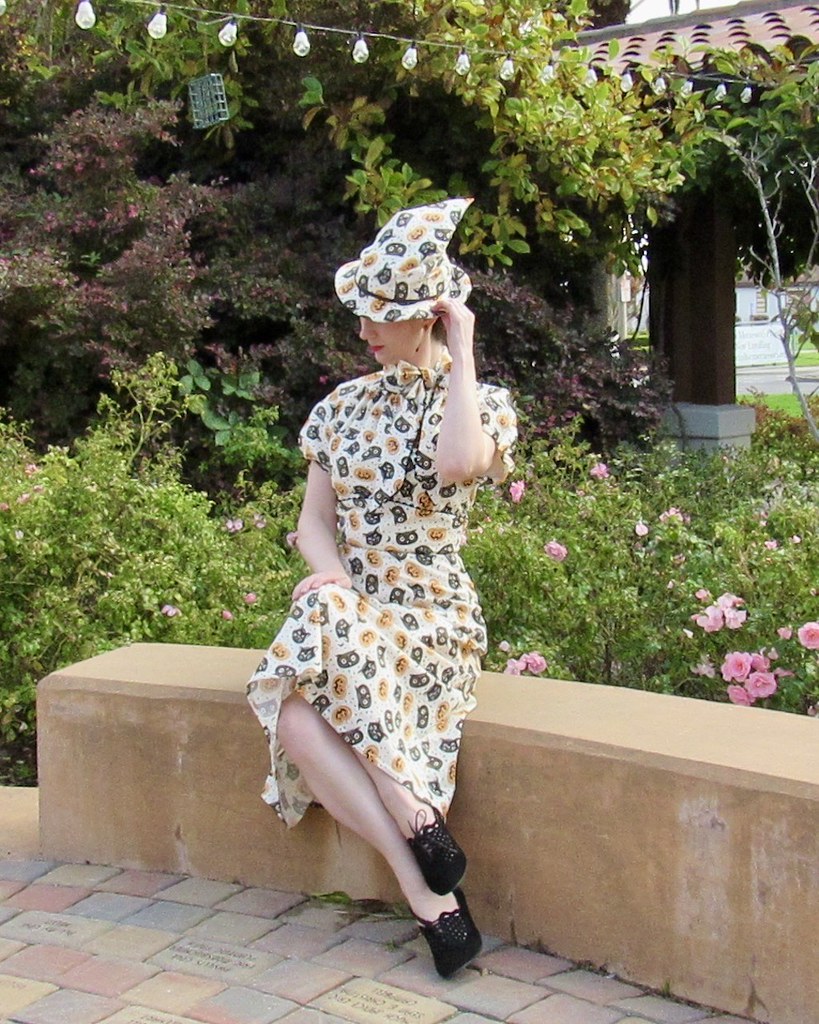
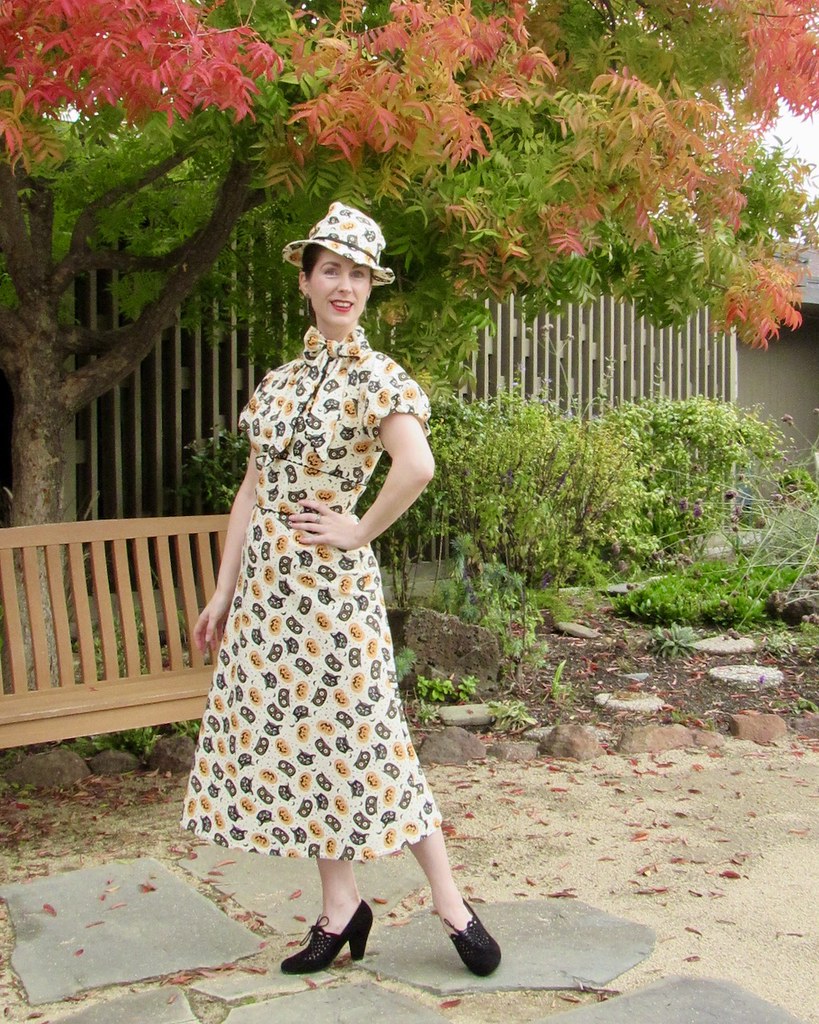
While I have already posted the finished photographs of this project, I thought that I would go ahead and write down a few of my thoughts on the process of making it, as well as the pattern itself.

I had McCalls 8141 set aside as a pattern that I wanted to try before I was distracted by the 237 other ideas currently running through my mind. So when I was deciding what to do with this wonderful holiday novelty print, and I saw the pattern sitting on the sewing table, it struck me that the two would make a great match. I was a bit short on yardage, but after shortening the sleeves and the hemline slightly, I managed to make everything fit.

Before cutting, I knew that pattern matching this fabric was not going to be possible. The print is rather random, so I was hoping that it would not be too obvious, but the waist and underbust seamlines were a bit of a concern. And then I had the idea that a bit of trim of some kind would make the unmatched print look a little more purposeful.

I do love rickrack, but I always have trouble using it thinking that it isn't really the look I am going for with a project. But a scalloped edge is something that I can't get enough of. And if you insert rickrack into a seam, you get a scalloped edge!
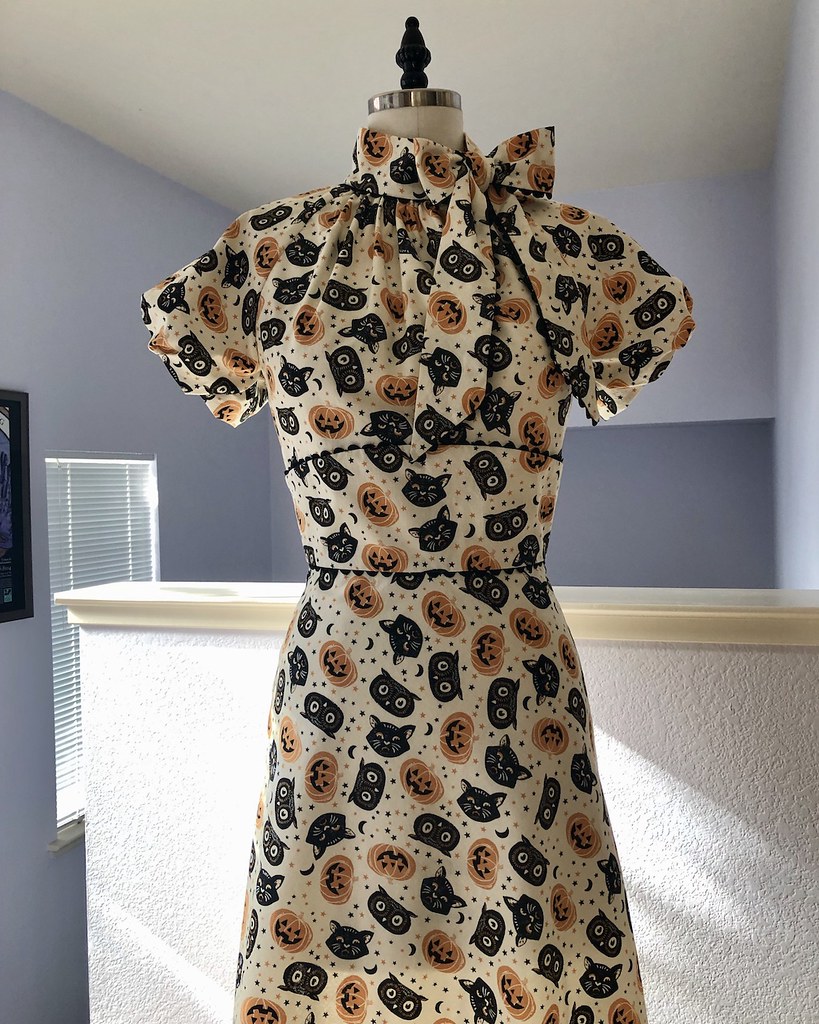
I really do need to remember this trick for all of that vintage rickrack I have stashed away.

The zipper is hand picked with a lapped application, which is definitely my favorite way to go. And that's the dress.

Now a few words about the pattern. I bought this design for those View A sleeves paired with that bow at the neckline. And as far as those things go, I am very pleased. But take a look at the illustration. The technical sketch on the back of the pattern envelope is very similar. It shows a lot of folds at the hemline, right? That looks to me like a skirt that wants to twirl, falling from the lower hip into a full hemline. Now look at the mocked up version that the model is wearing. Initially I had thought that there were three skirts included with the pattern: one fairly straight, as seen in View C; a flared version for A; and somewhere in between for View B.

But wait a second . . . there are only two skirts included, which is evident from the technicals and the pattern itself, obviously. Do those line drawings look anything like the skirt made out of green satin? Not to me! The pattern as drafted is extremely fitted through the hips, although I don't get that sense from the illustrations below. I knew this dress was going to turn out slightly different than imagined as I was cutting out my fabric, but with an extremely limited amount of yardage, there was no way I could cut a fuller skirt out. Obviously, one should always take a very close look at the version on the model as it often gives a better indication of how the dress will turn out than a sketch (technical, or otherwise!). In this instance, I was seduced by an illustration. Shame on me, because I should really know better.

As it stands, the dress has a very 1930s vibe. And I actually love it! So that was a happy coincidence. But it's just another reminder to look very carefully at all of the information included with a pattern. I may just have to make myself another version and swap the skirt for something with a little more flare so my original vision of the pattern can come to life.

And now for the hat. Throughout the construction of the dress, I thought a little hat or fascinator would make an excellent addition to the outfit. After messing around with paper versions of different witch-like hats, nothing was really working. Since the dress already had decided it wanted to look 1930s inspired, I pulled out a few hat patterns that reference that style. Simplicity 8486 seemed like the best choice that was on hand.

I started by making the pattern as-is, and added a small piece of quilt batting folded in half at the crown of the hat to alter the silhouette.

With the scraps of fabric that I had remaining, I draped over that new shape.

I am extremely pleased with how it all came together, especially since I only used items that were on hand. And the hat definitely adds to the final look! So all's well that ends well, I suppose.