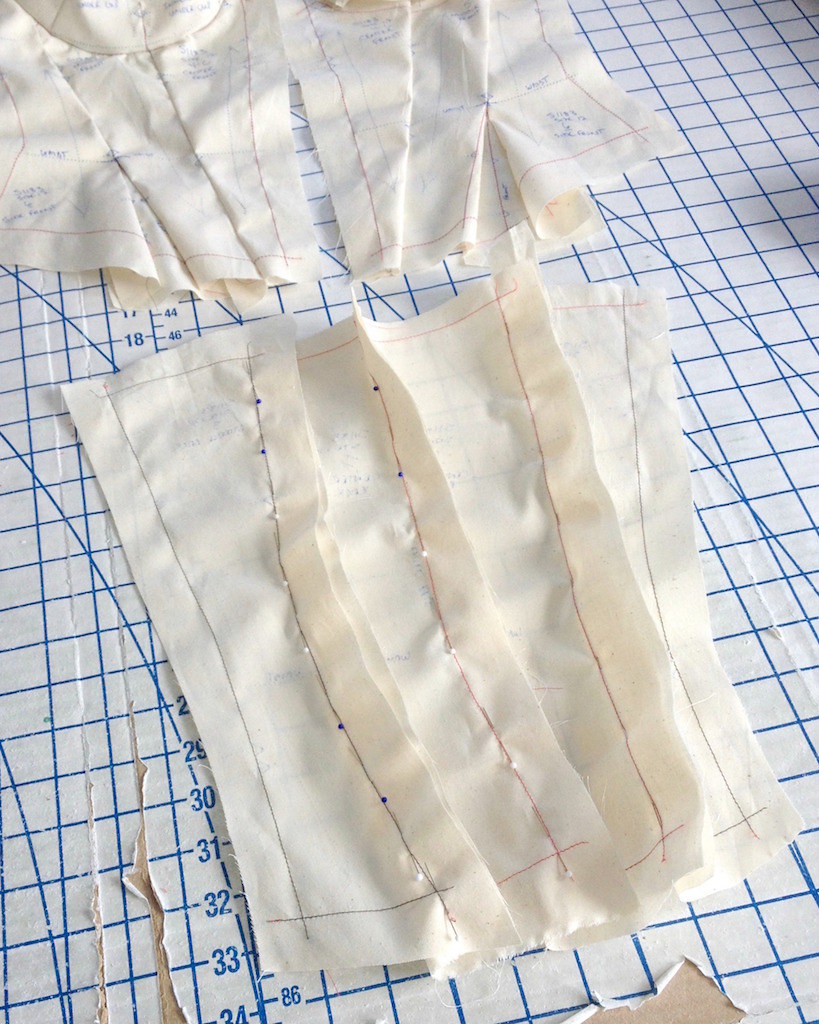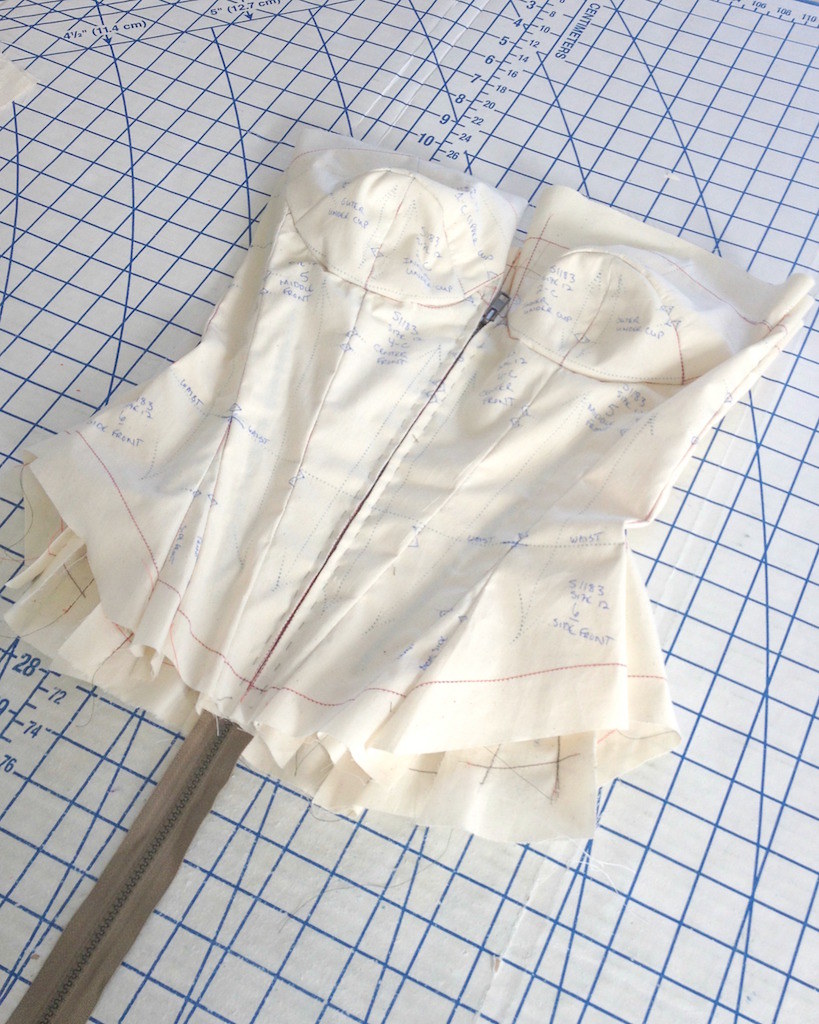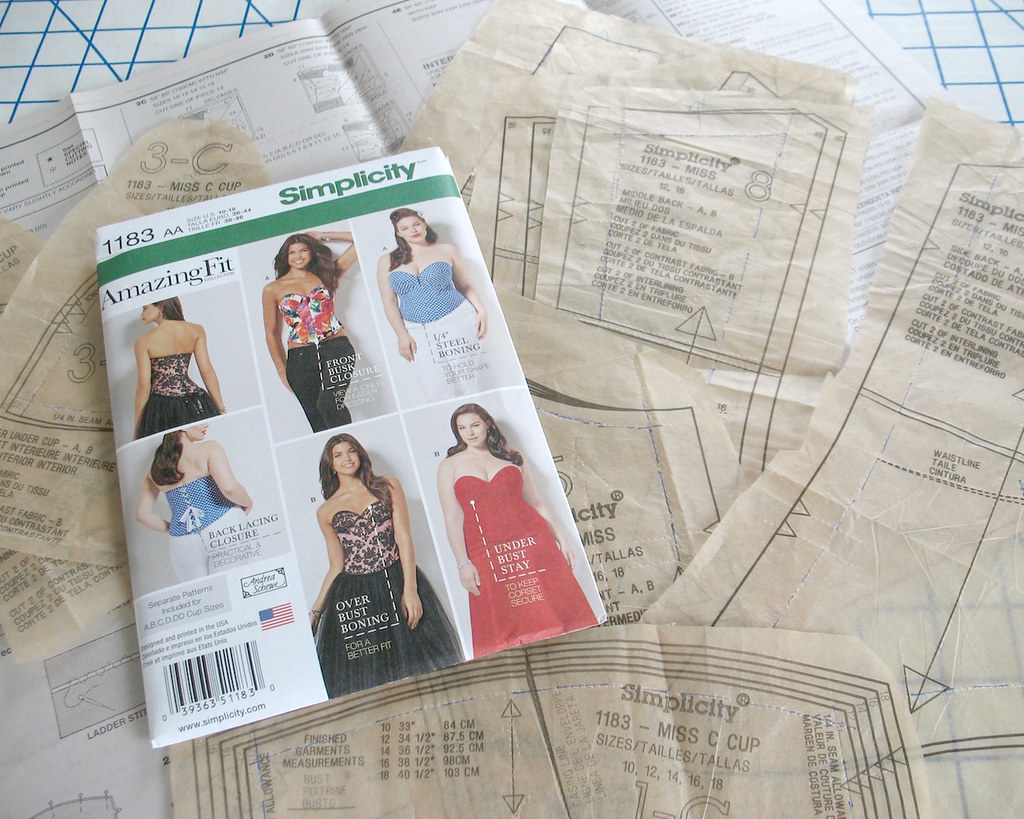
I got as far as marking the seam allowances on the tissue pattern . . .
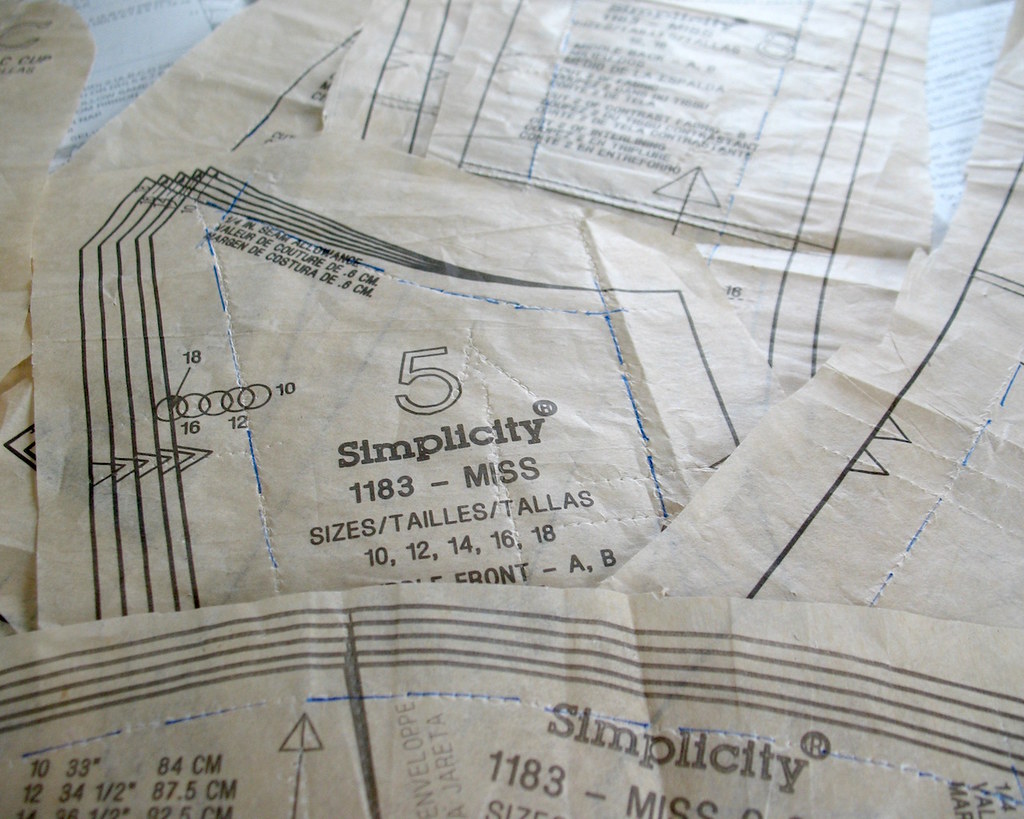
thread tracing my muslin pieces . . .
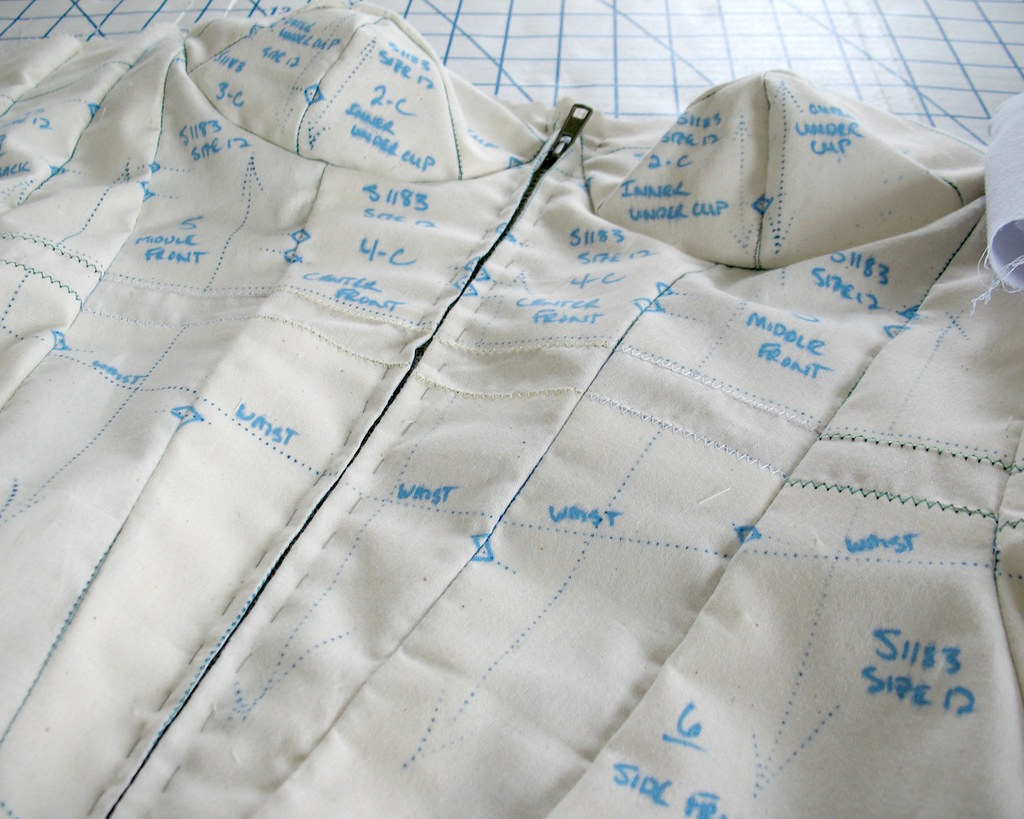
and stitching them together.
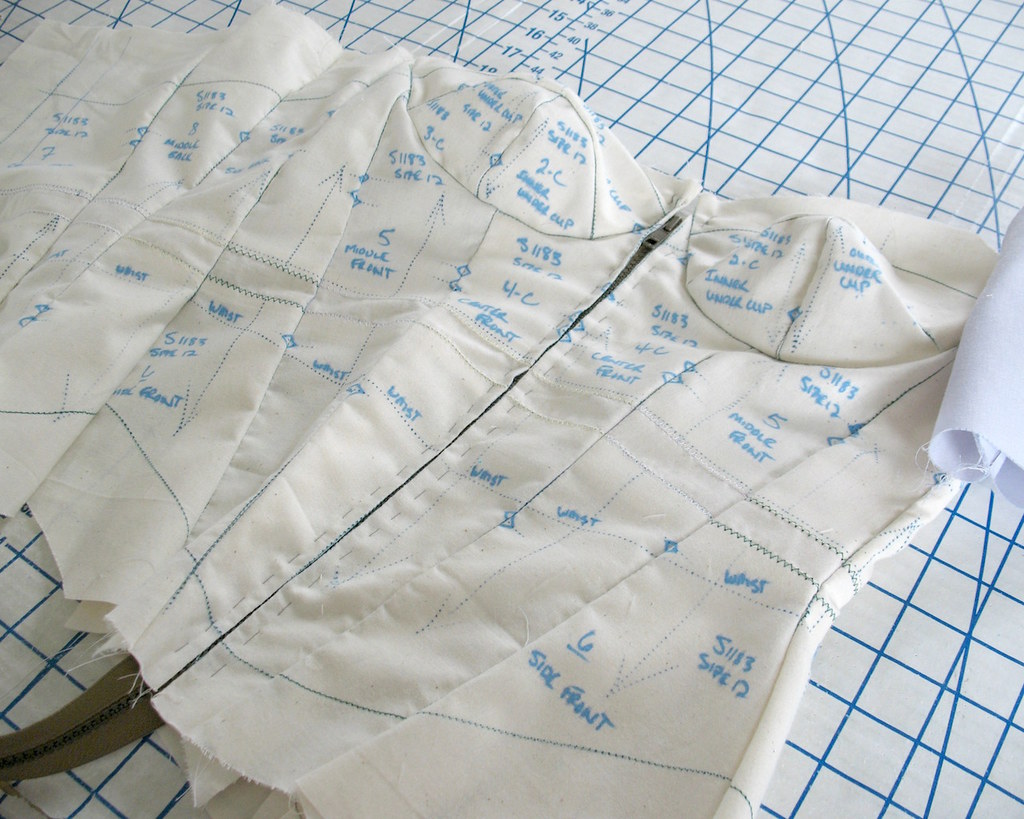
Of course, time got away from me, and after the warm weather disappeared, the muslin was put into a bag and set aside. This project got lucky and did not get forgotten for very long. Because I thought it might work well for a corselette, I pulled that muslin out. It needed a long-waist adjustment, as well as a bit of a sway back adjustment.
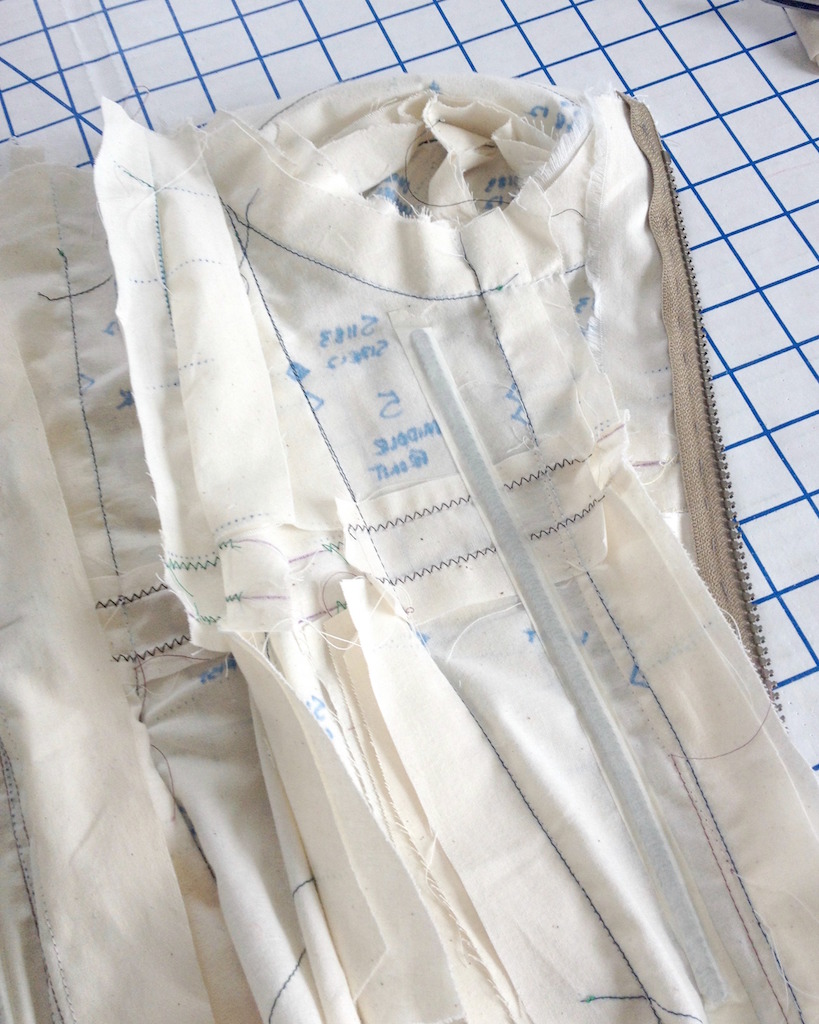
In order to make fitting easier, I used a few pieces of boning, temporarily held in place with the help of some masking tape. This makes a real difference when working with such a close fitting garment without straps.
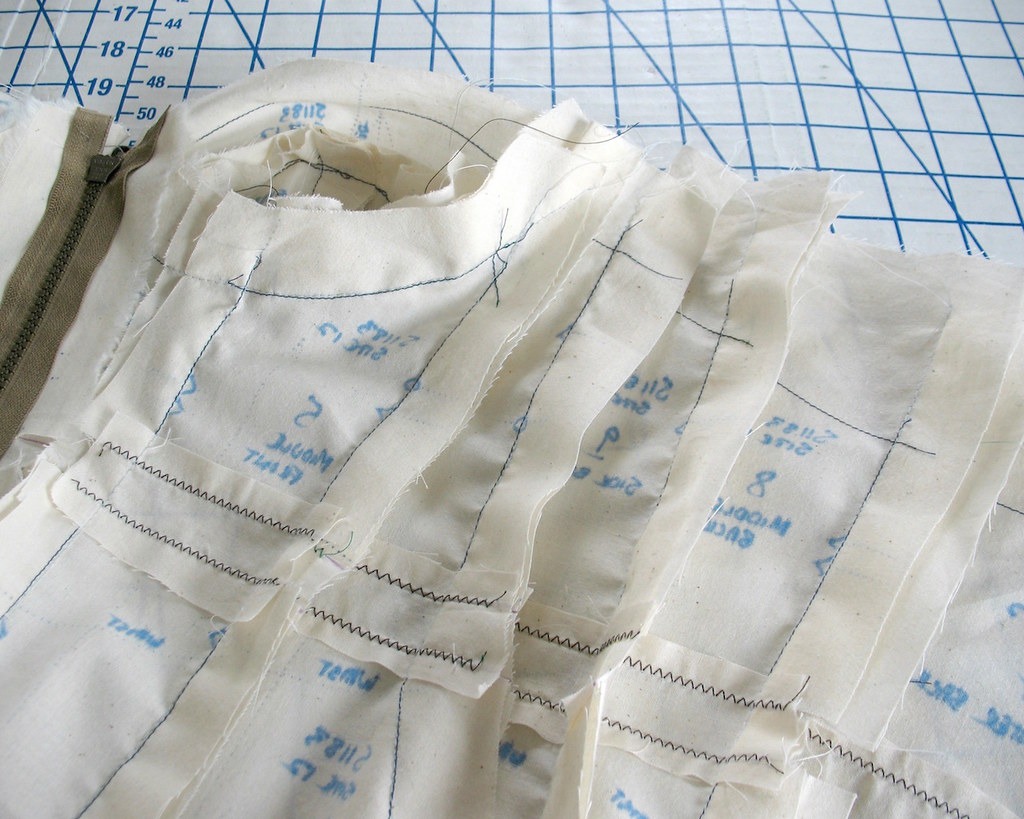
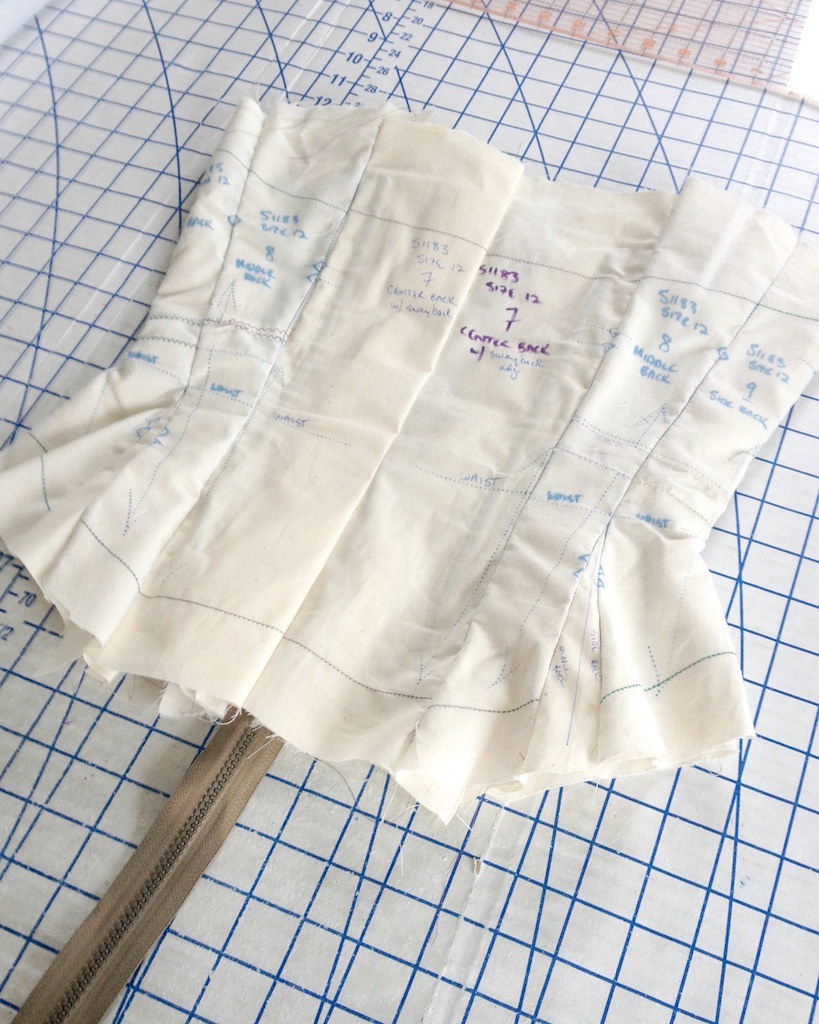
Not surprisingly, this corset is not very curvy as drafted. It is what I would call a fashion corset - its looks cute, but does not function as a real body shaper. So the first thing I did was take in the waist portion of all the pieces slightly. Of course, if you constrict the waist, the extra fluff has to go somewhere, so I added gussets to increase the hip measurement.
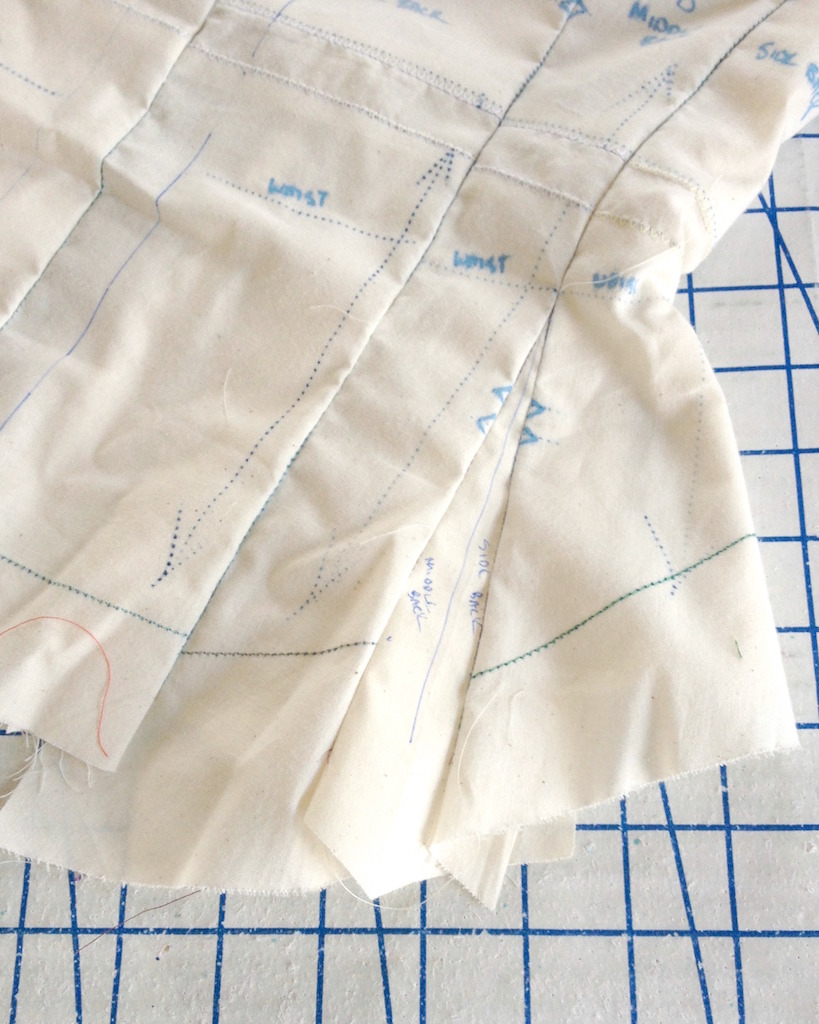
I also have extended the back pieces above the shoulder blades (when I know exactly where the dress neckline is going to sit, that may have to be adjusted.
I started with the C-cup pattern pieces, but as drafted, they are very low-cut. I also extended that line for more coverage. But again, when I finalize the dress design, some of that excess may come back off.
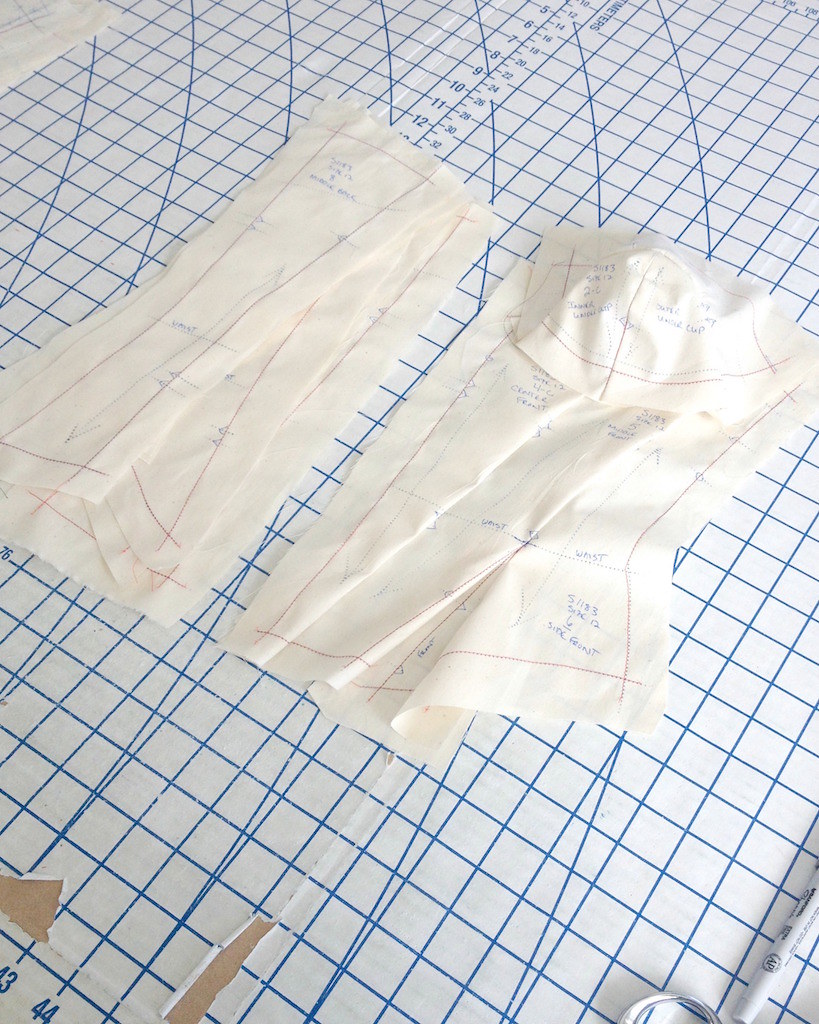
For this project, I made a significant number of changes that were somewhat challenging to keep track of on my muslin, so I made a second version to make sure I was happy with the fit and so I have a clean pattern to work from.
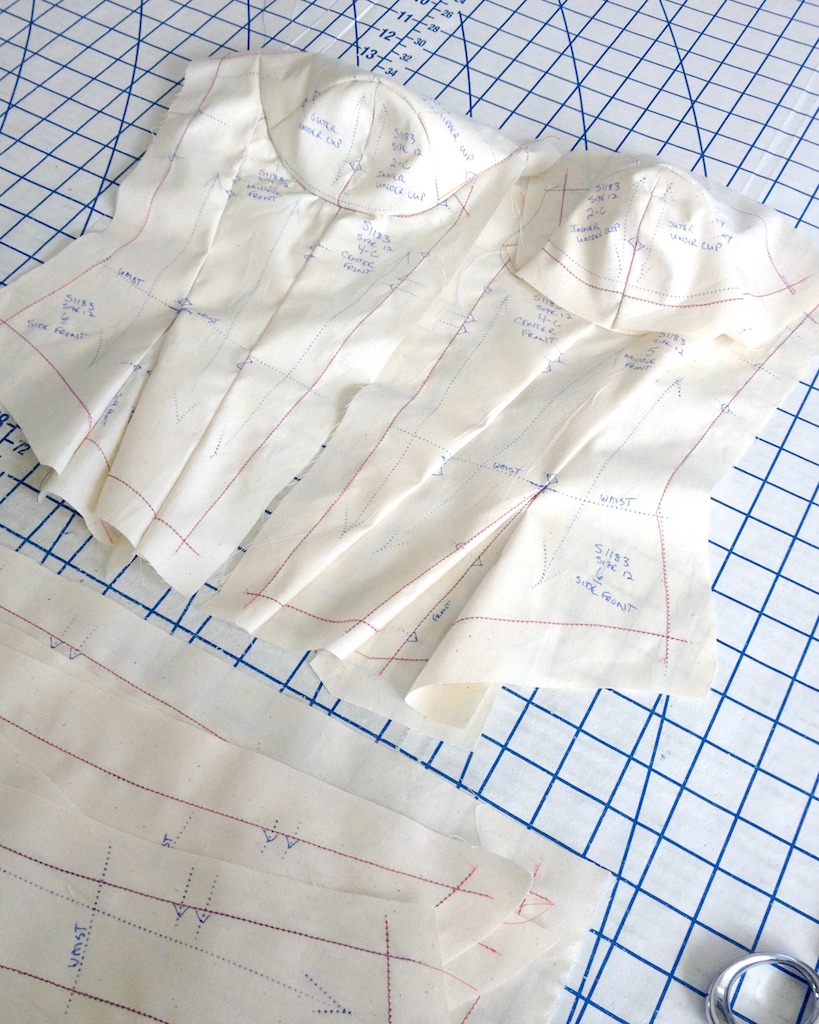
For this corselette, I am going to try something a bit different, and have it open at the front. I am anticipating that I will use hook & eyes as a closure.