Saturday, April 16, 2016

One dress form, some muslin yardage, and a whole lot of pins . . .

After quite a few years sewing, I am quite comfortable working with a pattern, but draping is a whole other story.  While the idea of creating my own designs by manipulating fabric on a dress form is appealing, it just seems like so much work.  Another issue is the fact that my body is not shaped exactly like my dress form - but a full skirt seemed like a good place to start.

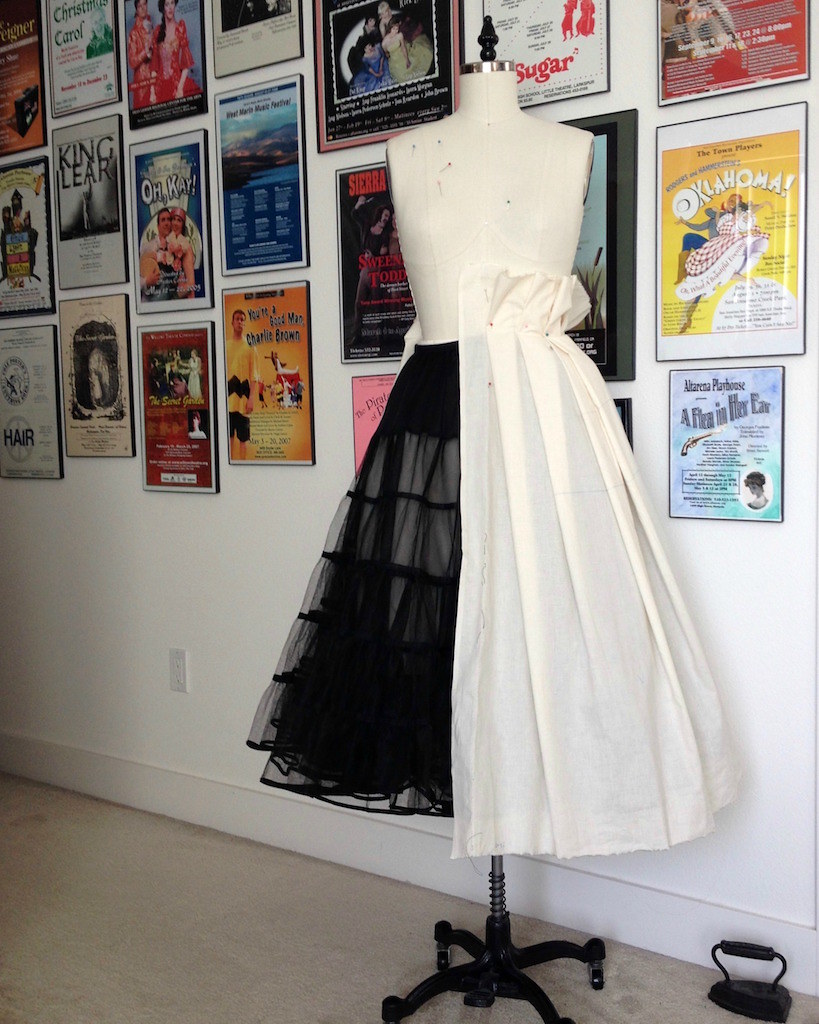
My first thought was to get an idea of how far three yards of fabric would stretch.  Would I be happy with the hem circumference from that amount of yardage?  I dressed my form with a full petticoat, pinned a couple of shoulder pads in place to fill out the hips, and jumped right in.

From looking at the images of the Dior dress, it is clear to me that the skirt is not a circle skirt.  Instead, the hemline looks relatively level with the cross grain of the fabric.  I also think I spy a seamline a few inches in from the left side where the rose repeat is slightly off.


Working with all that fabric proved to be rather frustrating.  There is a reason draping books tell you to work with half of a pattern piece!  And some attempts looked better than others. 
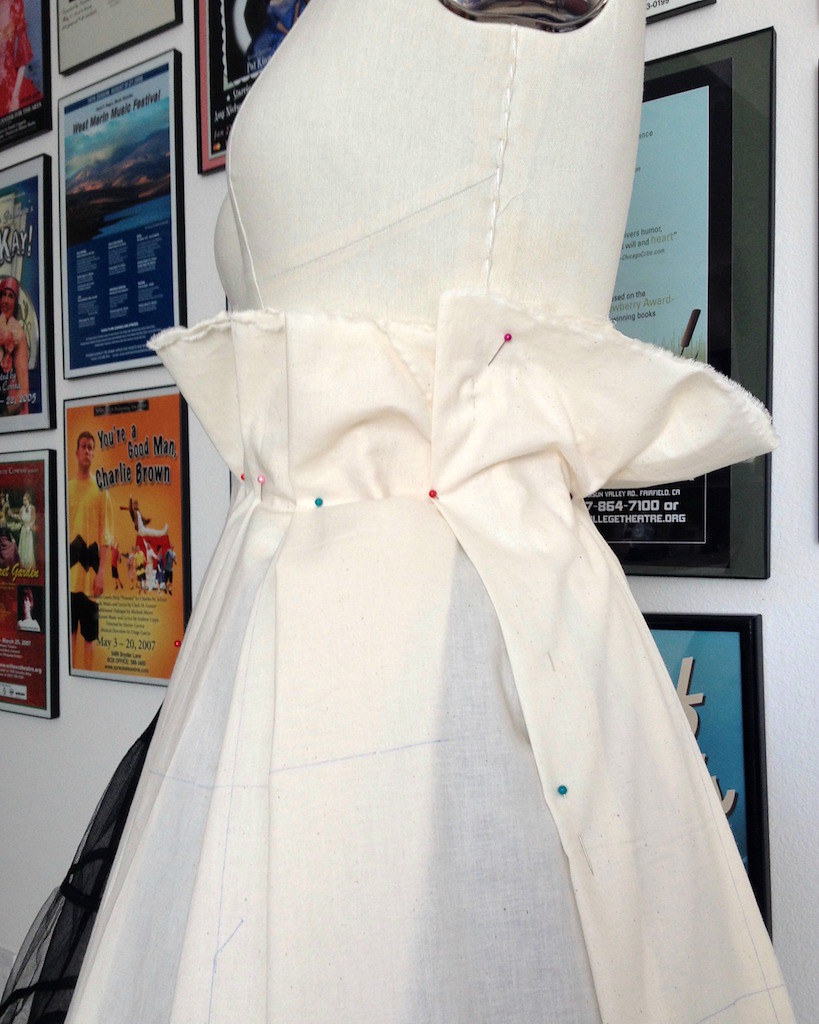


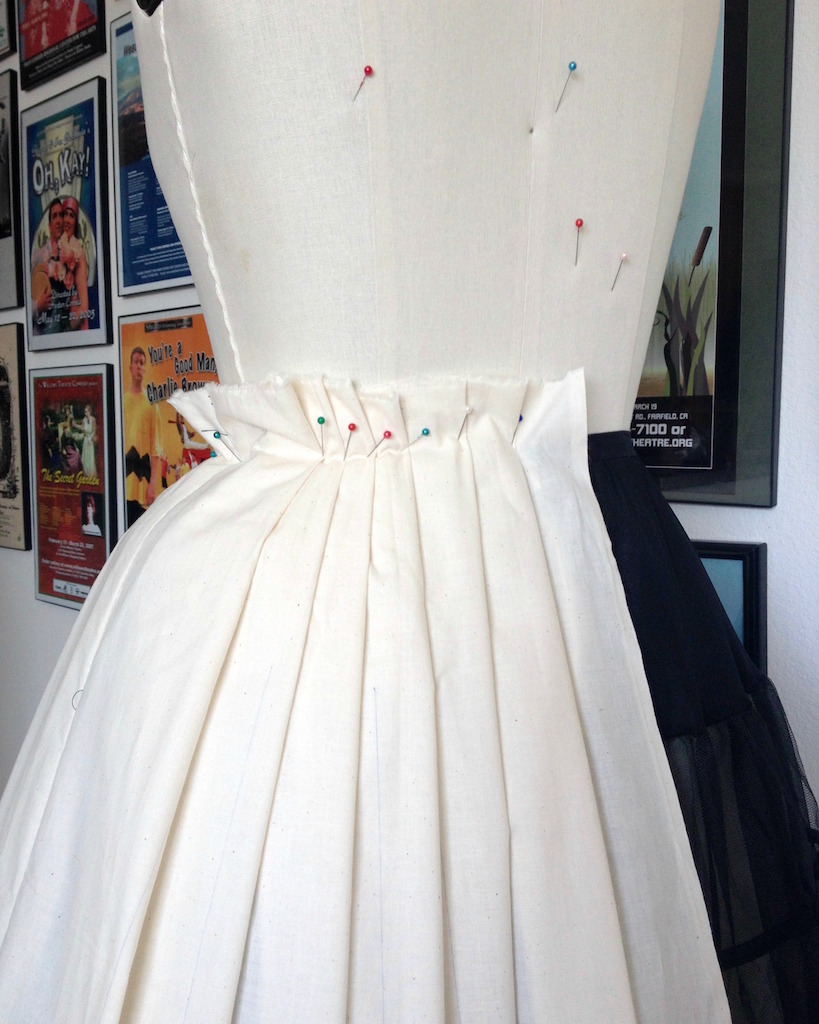
What I discovered was that I was not happy with the fullness created by a mere three yards of fabric, and that even with only 126” to contend with, pleating that much fabric down to a waistband measurement was a real challenge.  Given my choice to work with four yards, that means I have to take 168” and pleat it down to match the bodice waist.  (And no, cartridge pleats are not an option here, though I certainly can see how that would be a very efficient way to work!)
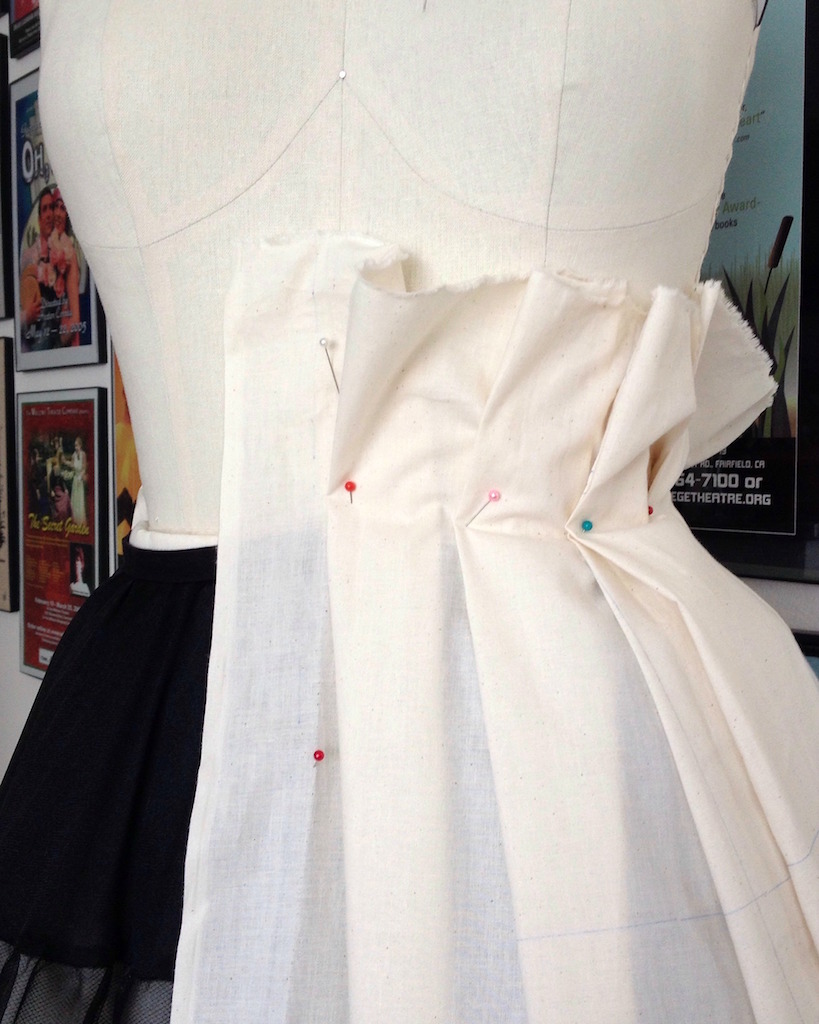


This dress will have a center back opening, so I ended up with one 42” wide piece at center front, two on either side, and a third which is cut in half to create a center back seam.
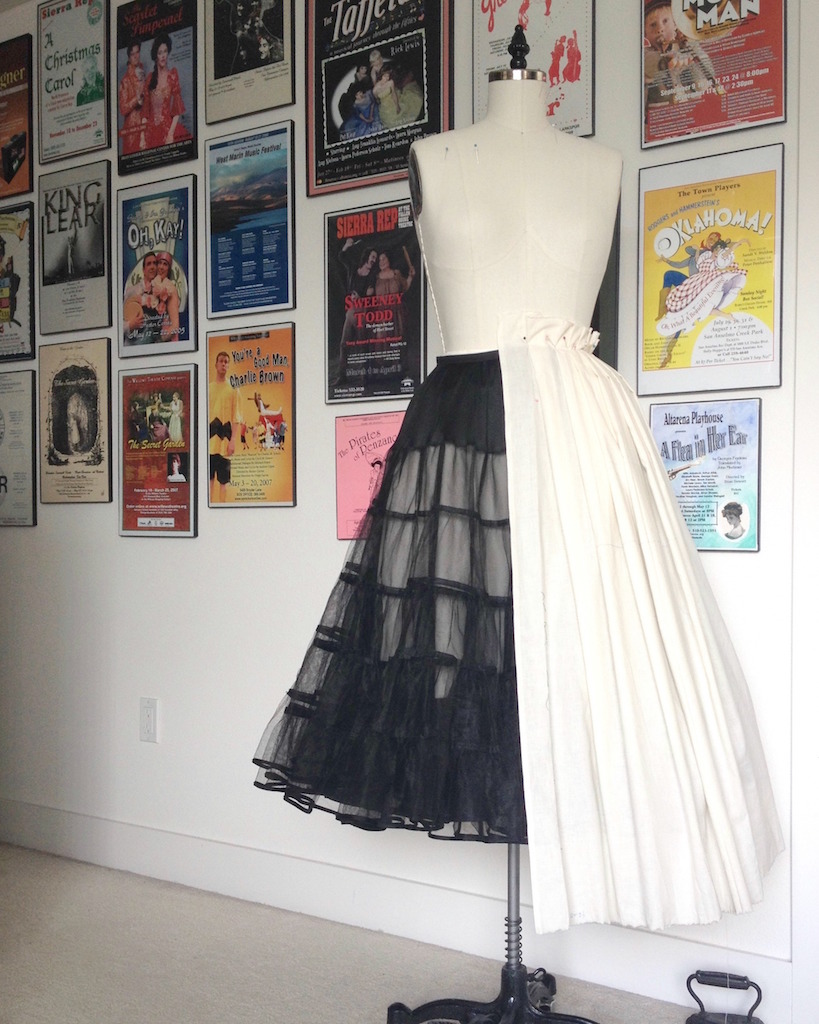


Then it was back to the dress form.
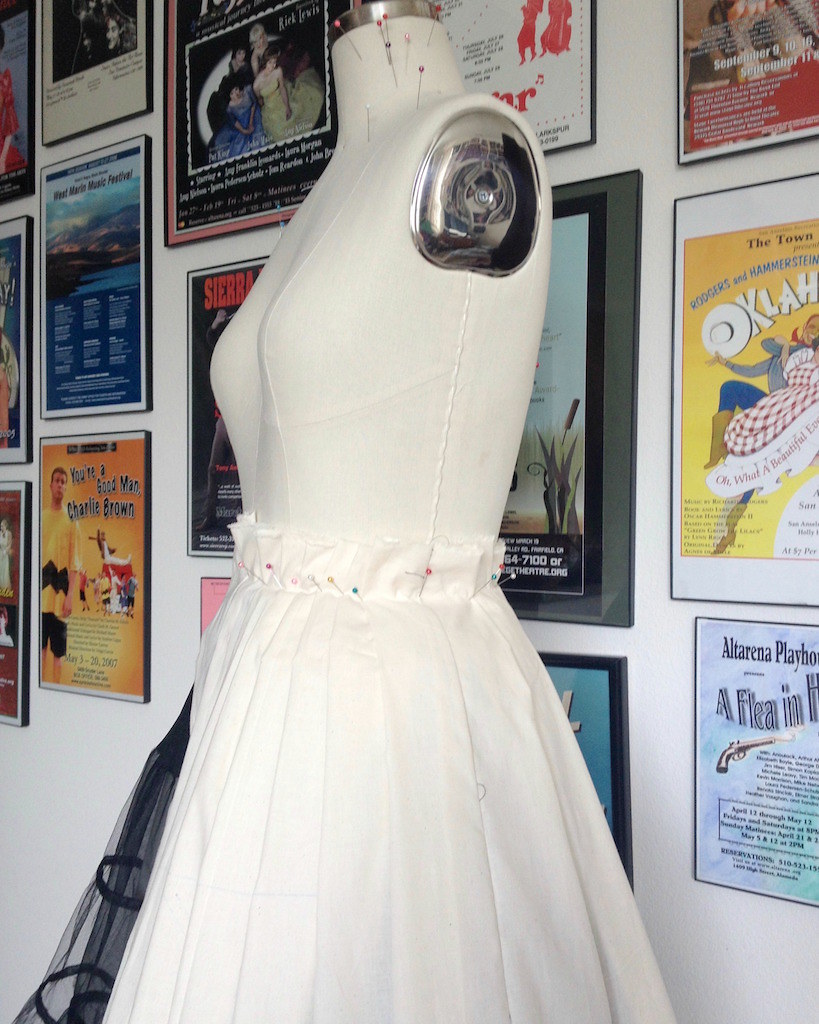

I ended up shaping the fabric pieces, maintaining the full width at the hem, and cutting away from the waistline slightly.  Okay, now that I think about it, it is rather obvious that a straight rectangle was going to be problematic, but mistakes are how you learn, right?
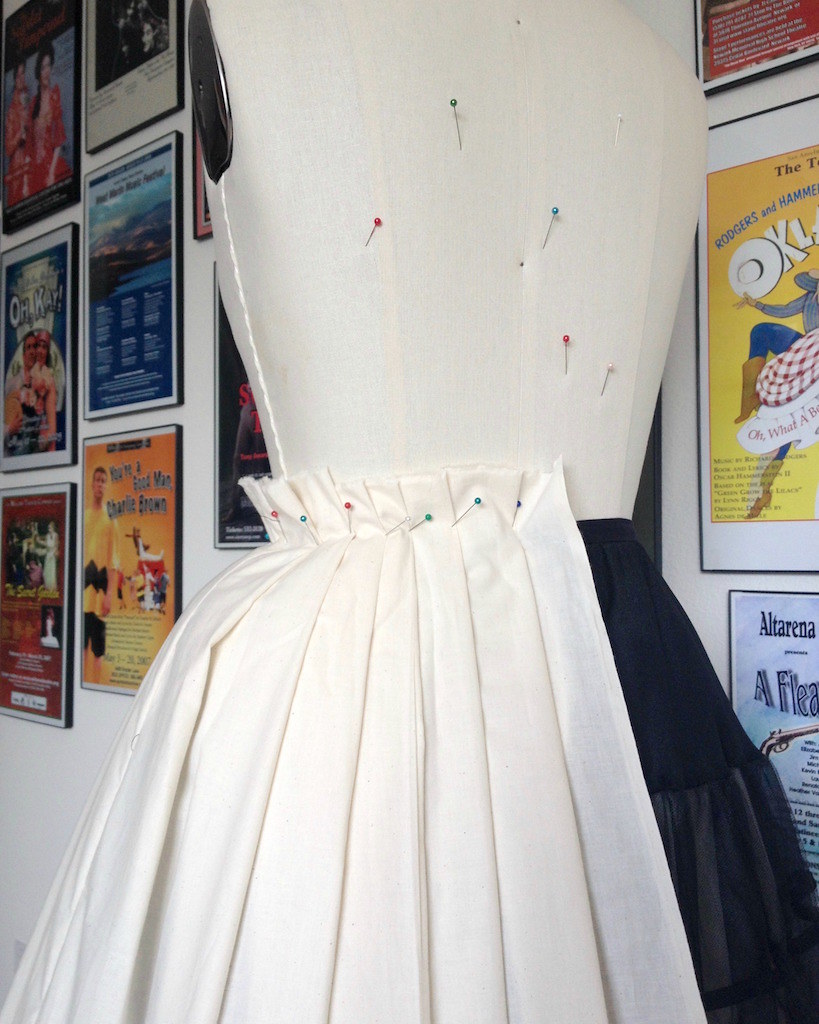

And eventually I came up with a version that I think will work.
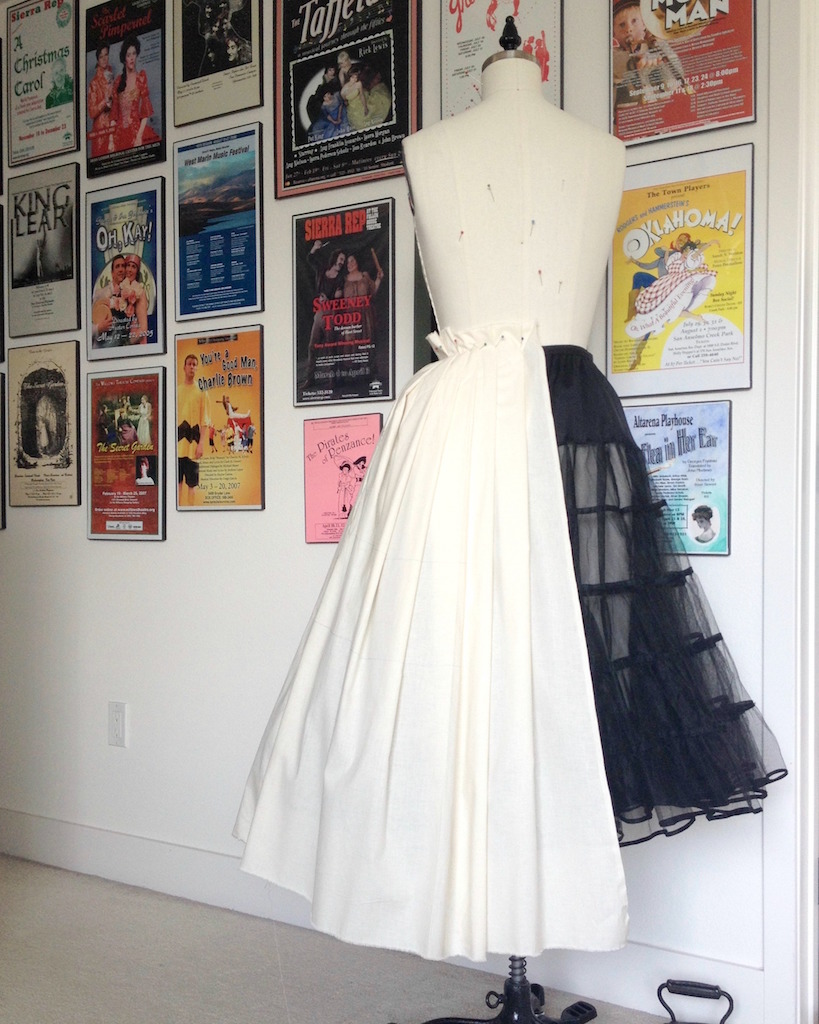


I made a few marks at the waistline and along the edges of each pleat and removed the fabric from the dress form.
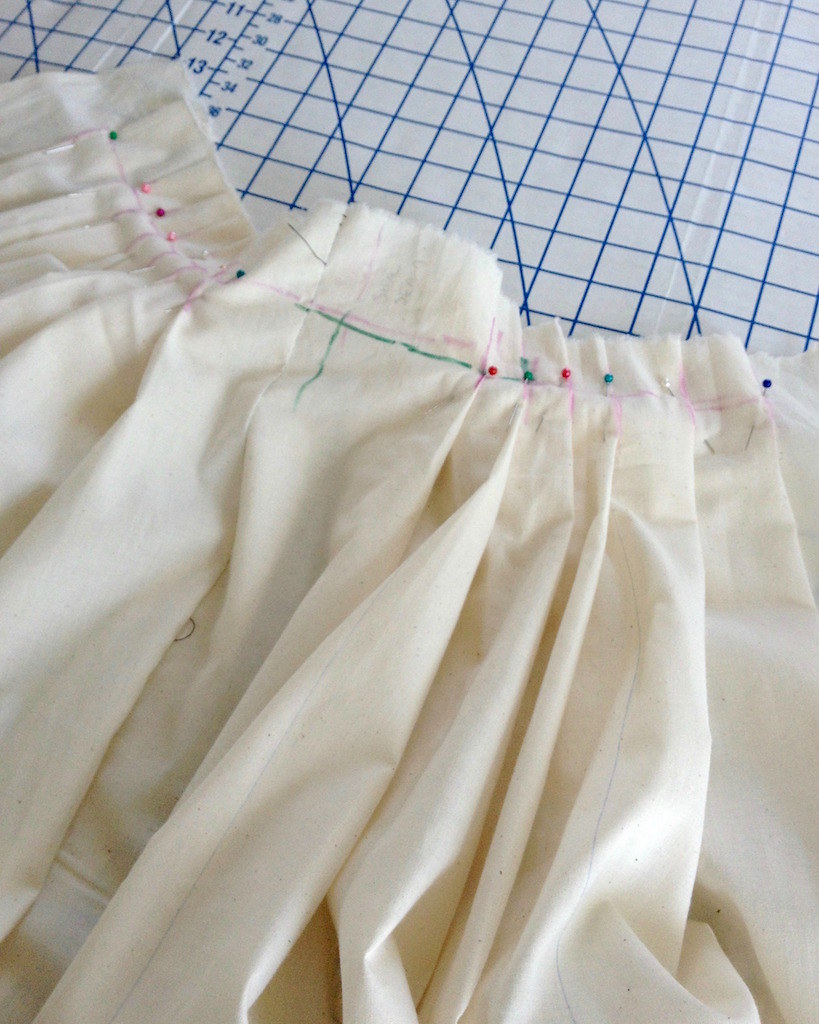


A few more notes were scribbled on the fabric to help me remember how to sew this all back together.  And then it was time for the bodice!


Sunday, April 10, 2016

Poofy Petticoats


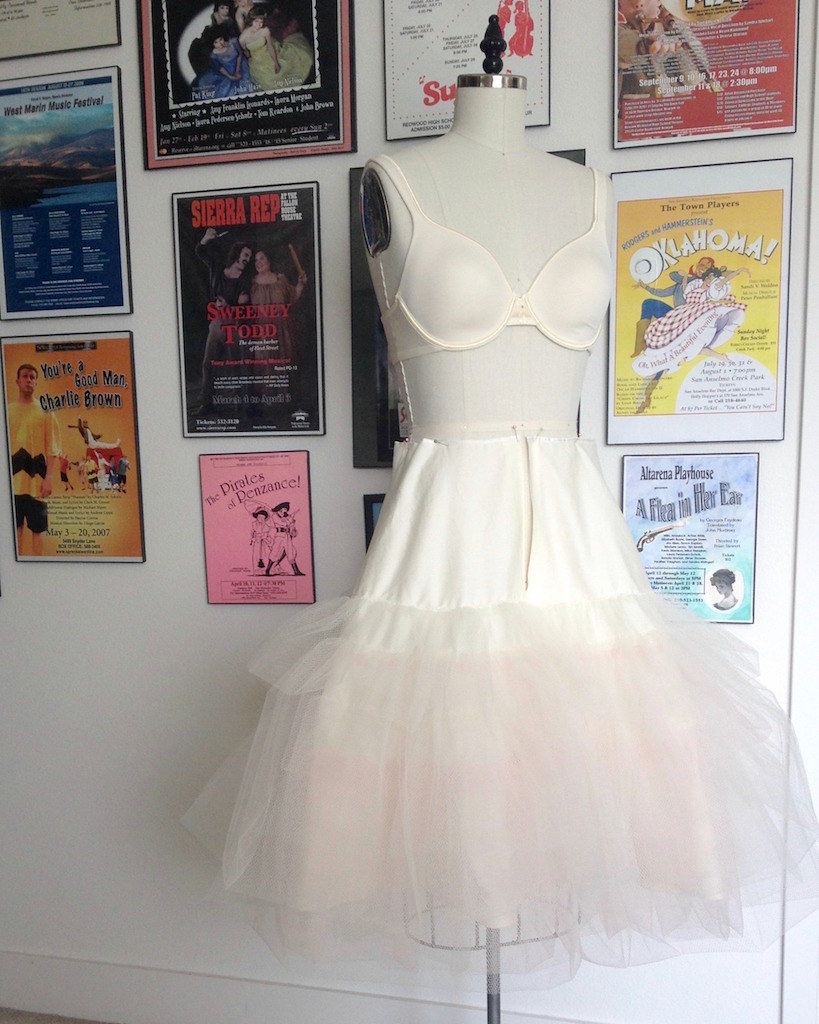
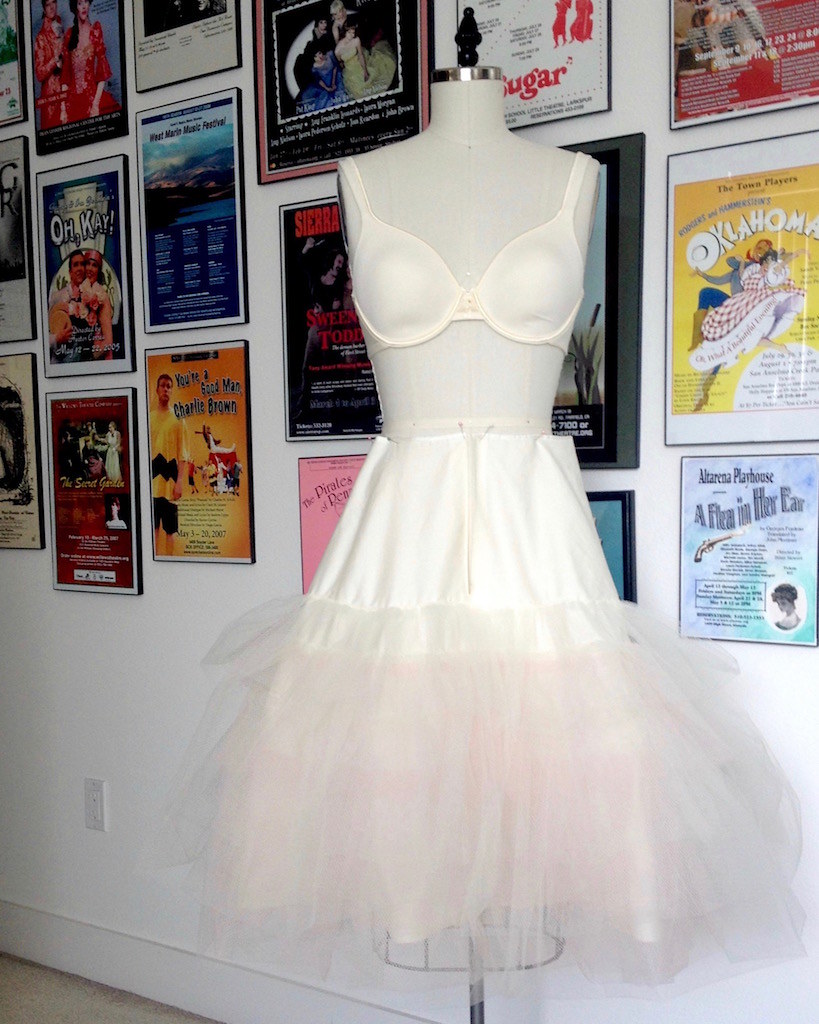
Now that I have a good bit of work completed on my corselette, it is time to get started on the other undergarment portion of this dress . . . the petticoat.  I have a few different petticoats on hand, but none of them are going to work for this dress.  One is the right shape, but it is black, and I have a feeling that it would show through my fabric, even with the layer of underlining I am planning on using.  So I am making my own!


For the foundation of the petticoat, I like to use cotton.  Some are made almost entirely of netting or tulle, but I prefer something more comfortable.  


I find netting and tulle to be too itchy next to the skin, and any kind of polyester is out because I avoid it whenever possible.


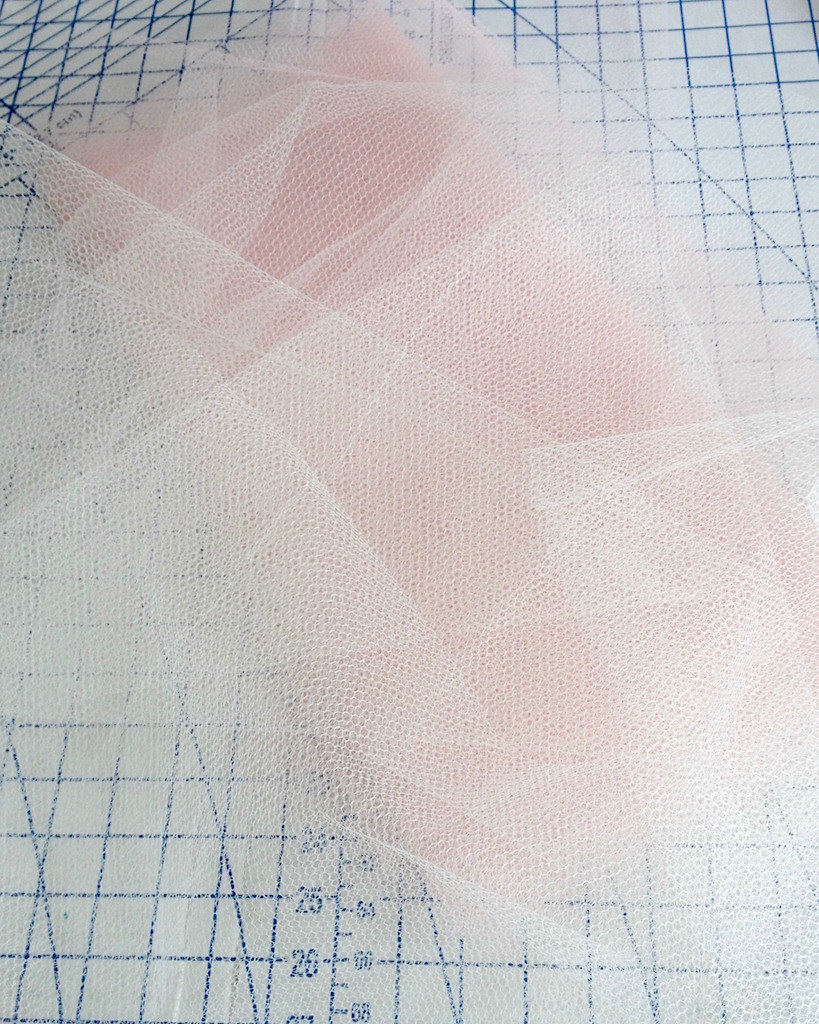
One of these days I will figure out a good source of cotton crinoline, but on a time crunch, netting is a great substitute to make a petticoat.  While tulle is a lot softer to wear, it just does not create the bulk that netting does.  Another bonus is that netting comes 72 inches wide and it is really inexpensive!

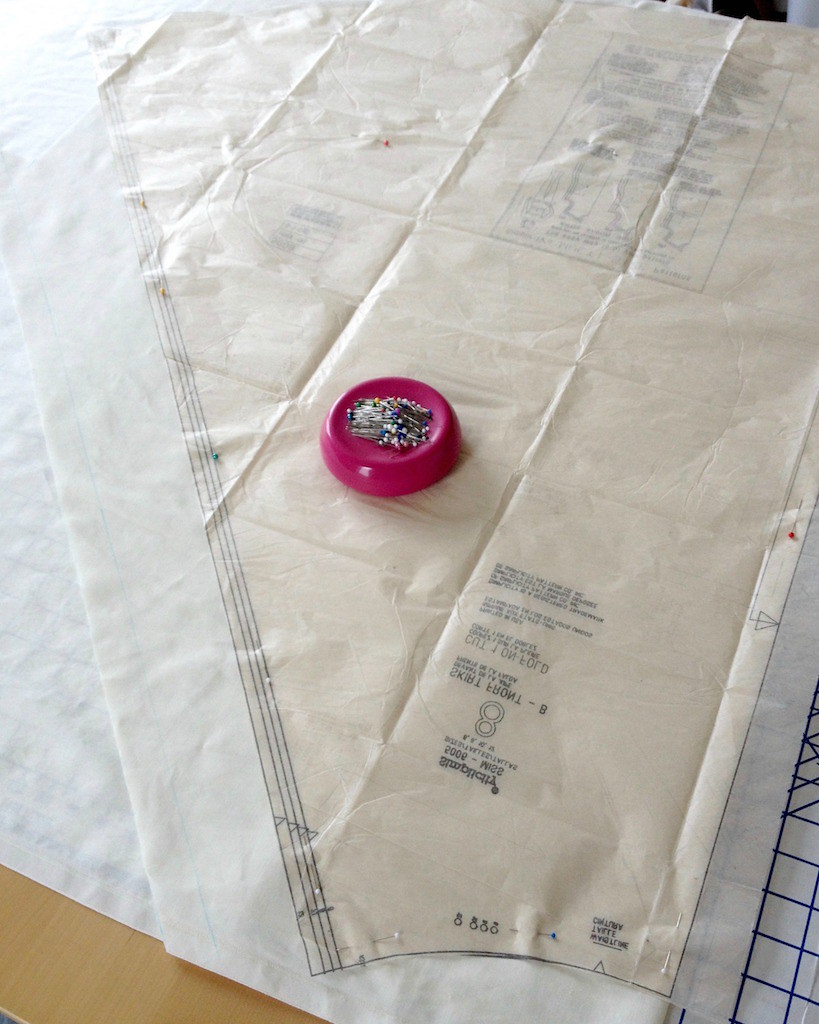
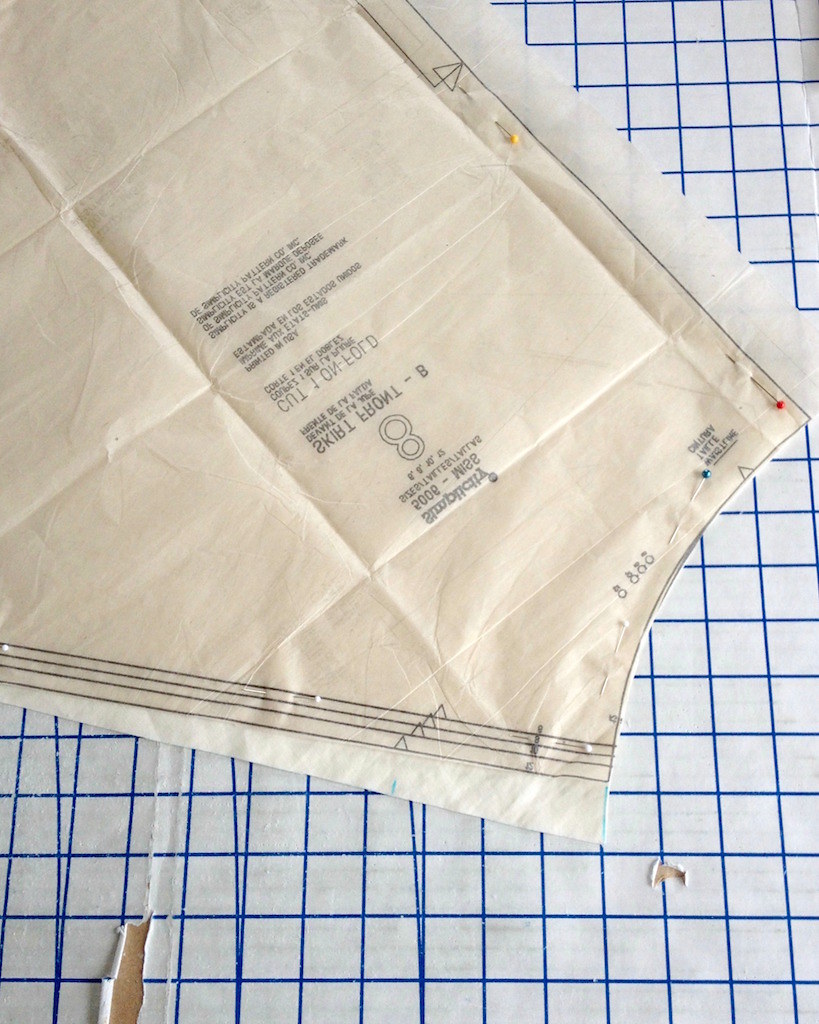
For the cotton foundation layer, I pulled out Simplicity 5006 and cut two skirt fronts.  For my Cherries Jubilee gown, I used a much narrower cotton skirt as the foundation for my net ruffles.  This time around, I am curious to see how starting with a full skirt as a base will work.


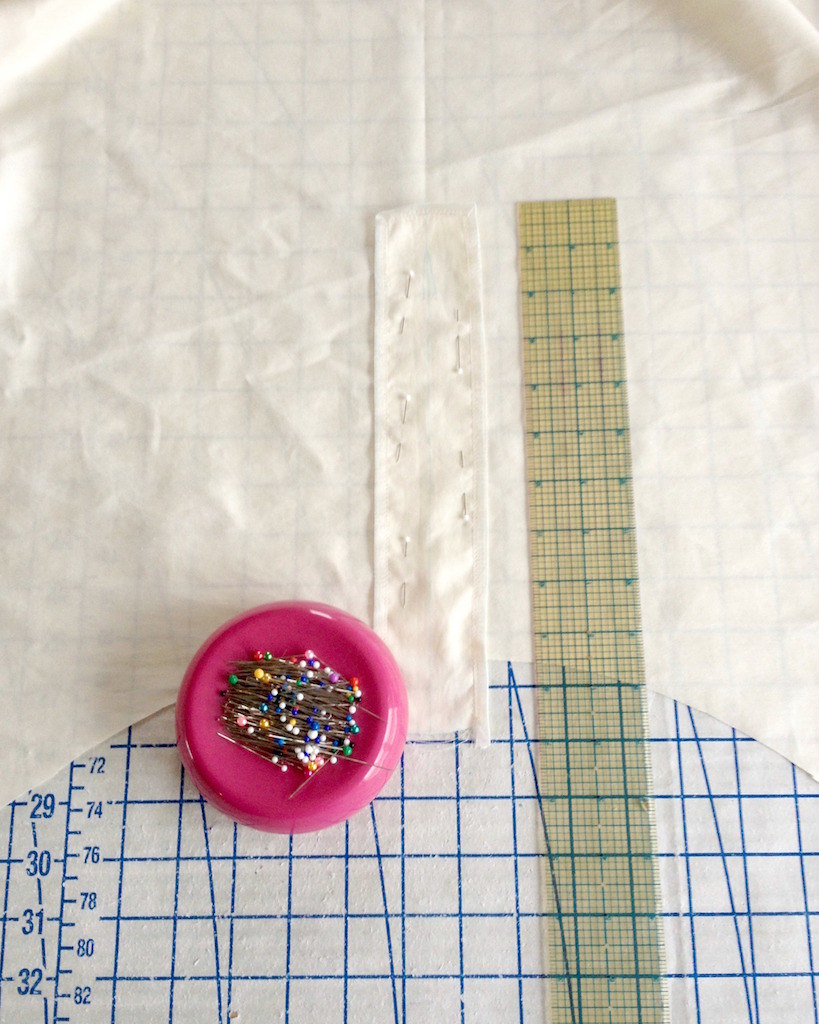
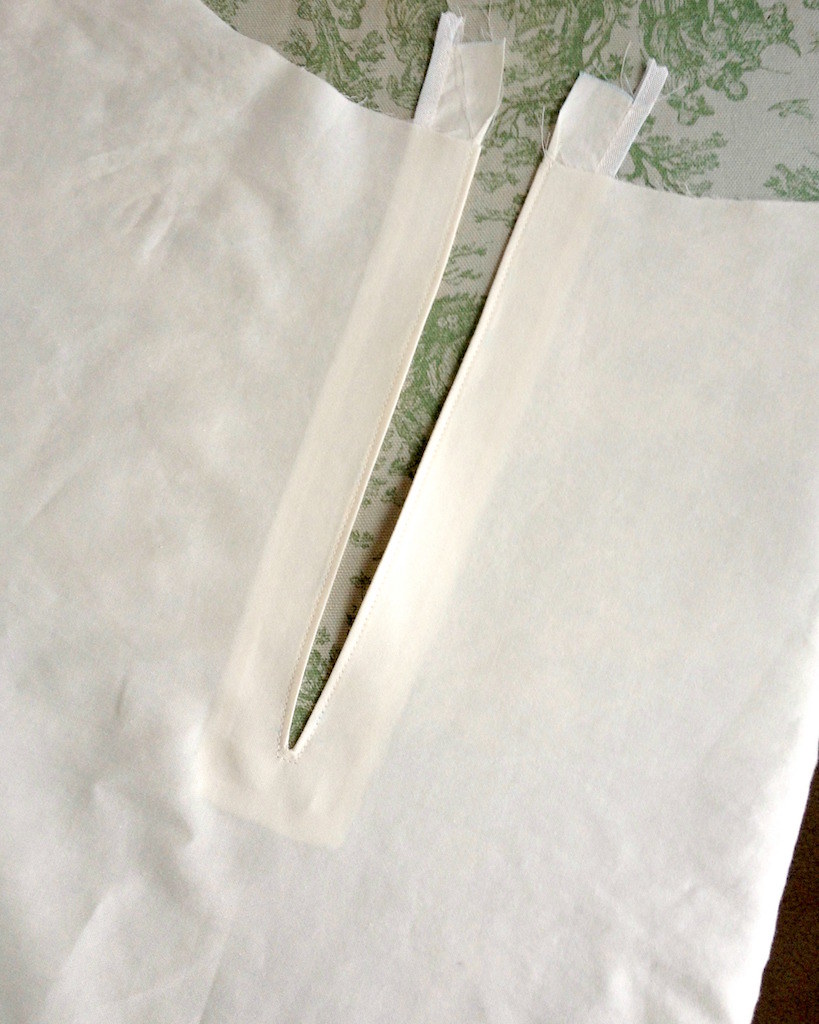
A placket was added to the center of one of the cotton pieces before stitching them together at both sides.  I will be attaching this an inch or two below the waistline of my corselette when both items are finished.


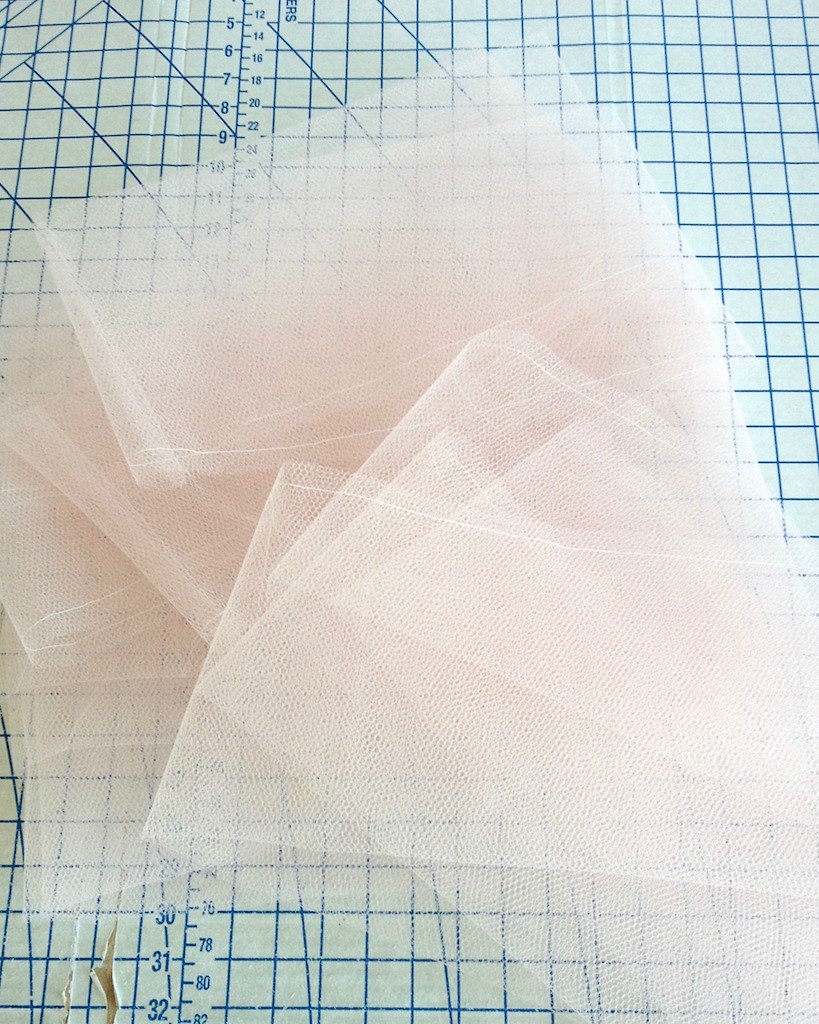
To make the ruffles, I cut two pieces of netting of equal size, stitch the ends together, and then fold that newly formed circle in half, joining the two raw edges.  I did a similar thing for this petticoat, but this time I am using the netting around the entire skirt circumference.


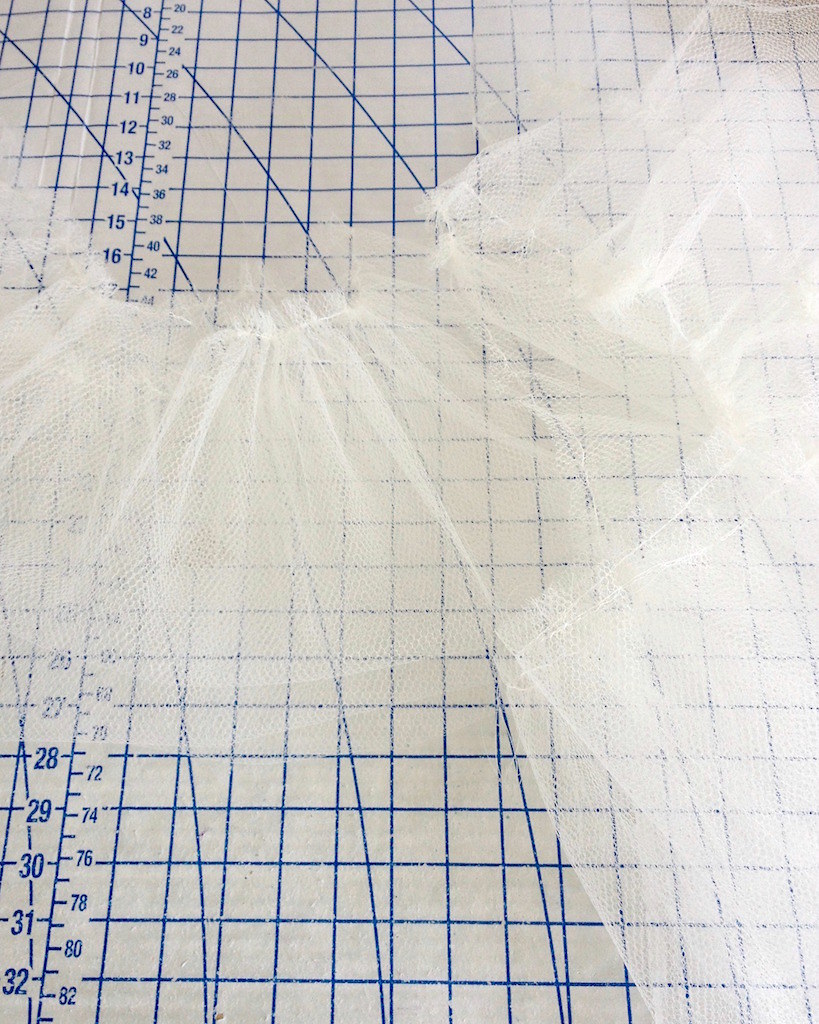
Those raw edges are then gathered to create a ruffle.


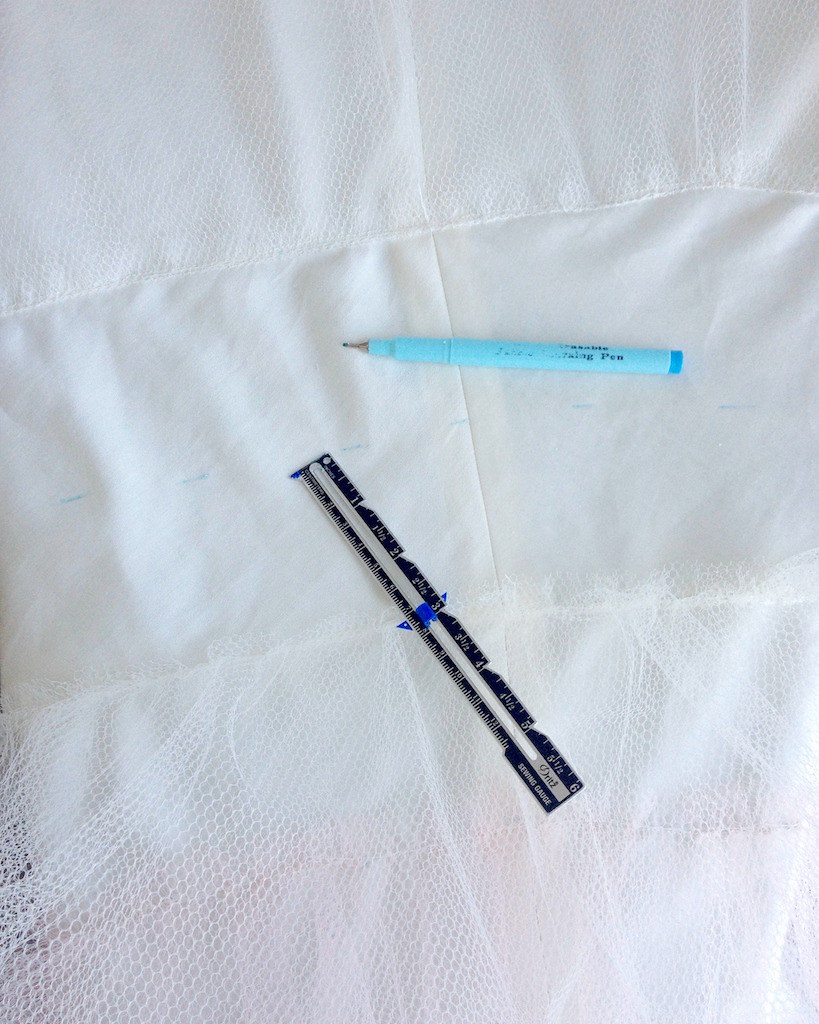
To make it easier to apply the ruffle evenly, I mark placement lines on the cotton.


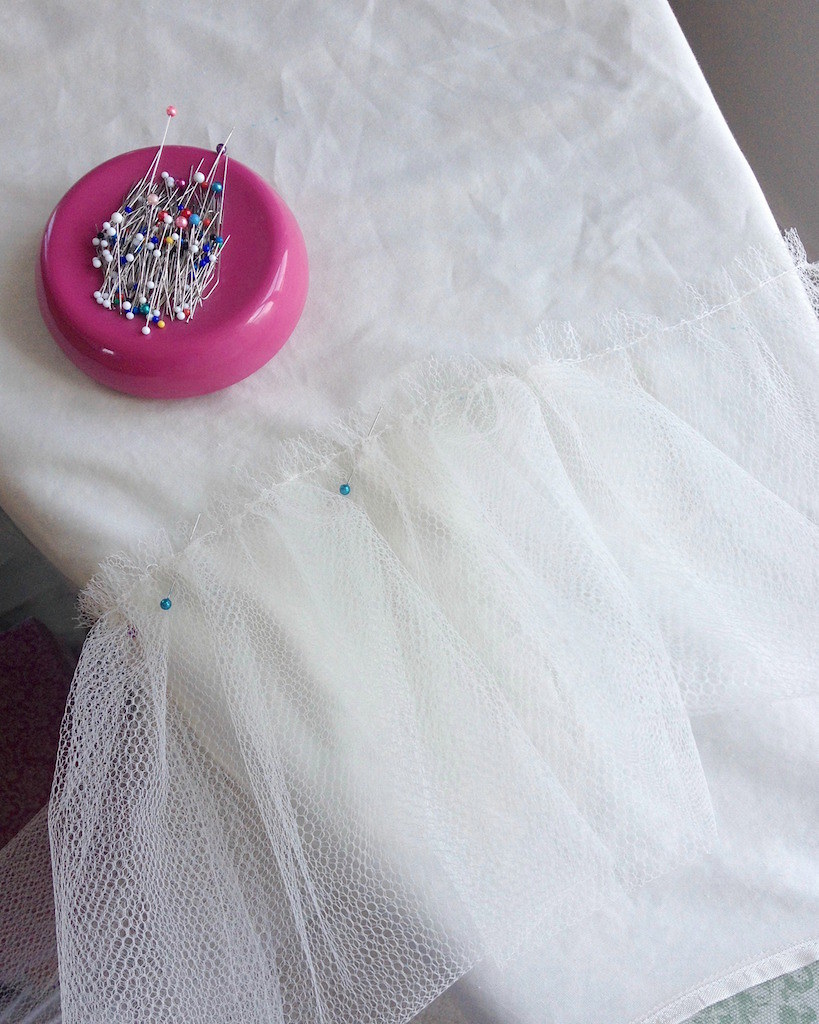
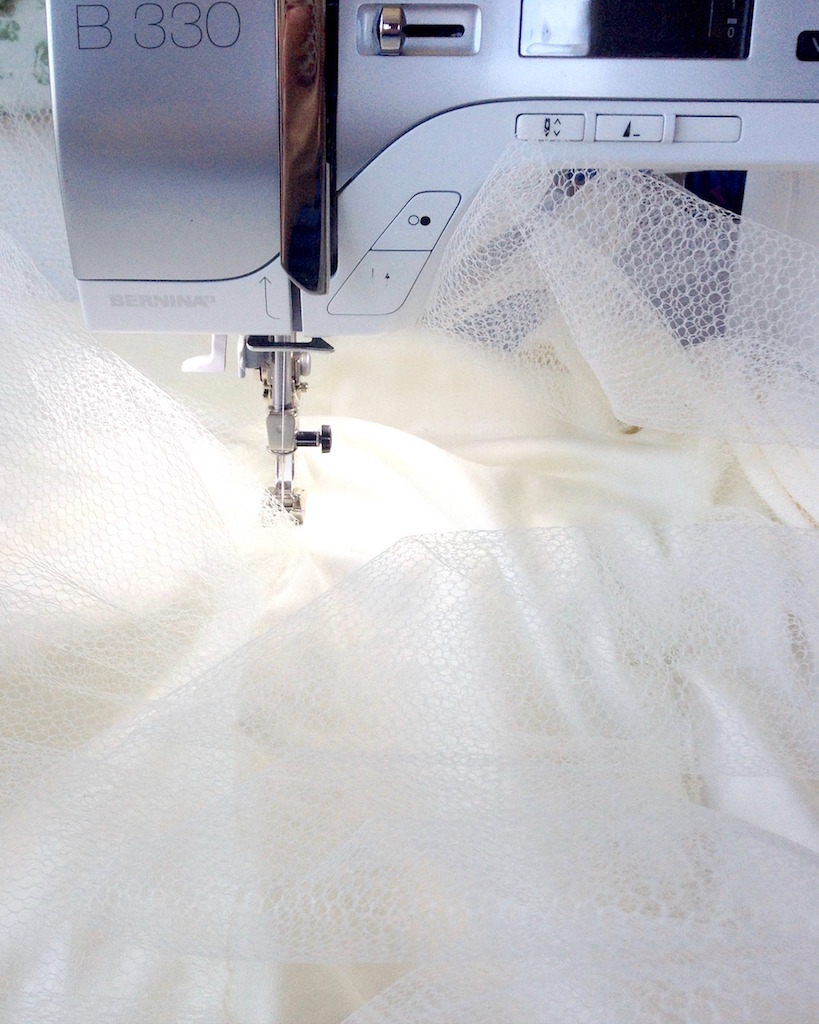
To apply the ruffle to the cotton foundation, I stitch along the gathered stitching line with the folded ruffle edge facing the waistband.  After stitching it in place, that ruffle is then reoriented with the folded ruffle edge facing the hemline of the cotton foundation and edge stitched over the gathered edge.  


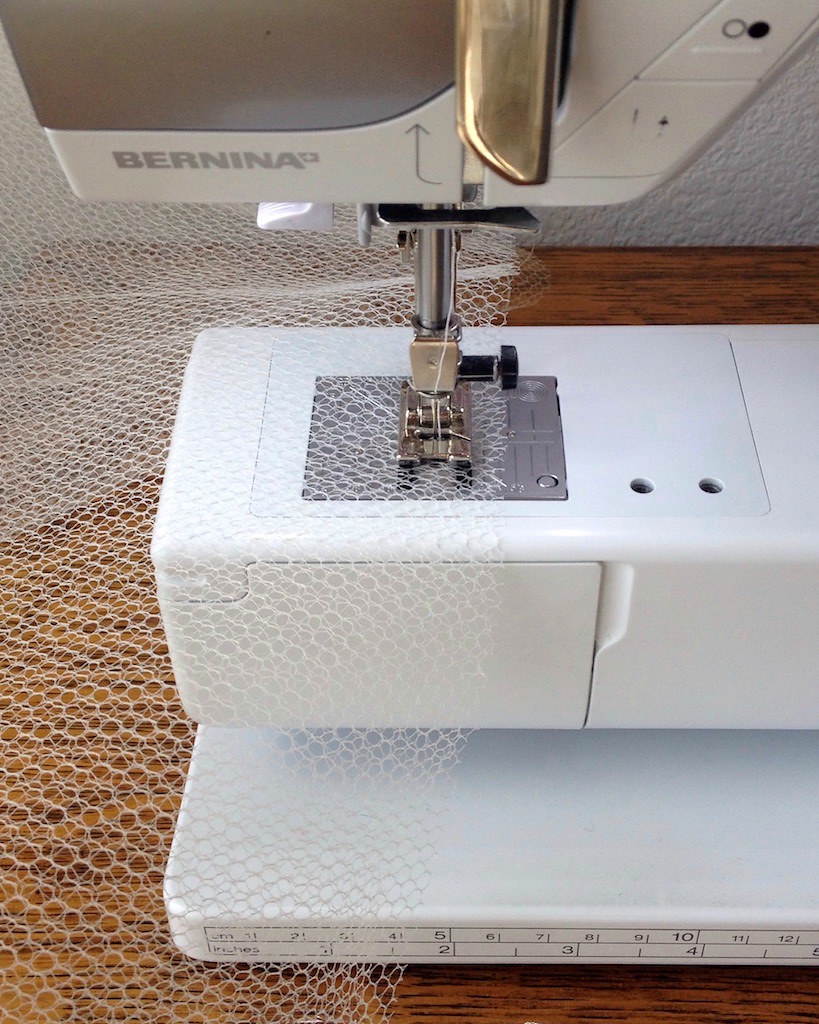
If I don’t run that line of edge stitching, the netting tends to have a mind of its own and the multiple layers like to bunch up.


And that process get repeated over and over . . .


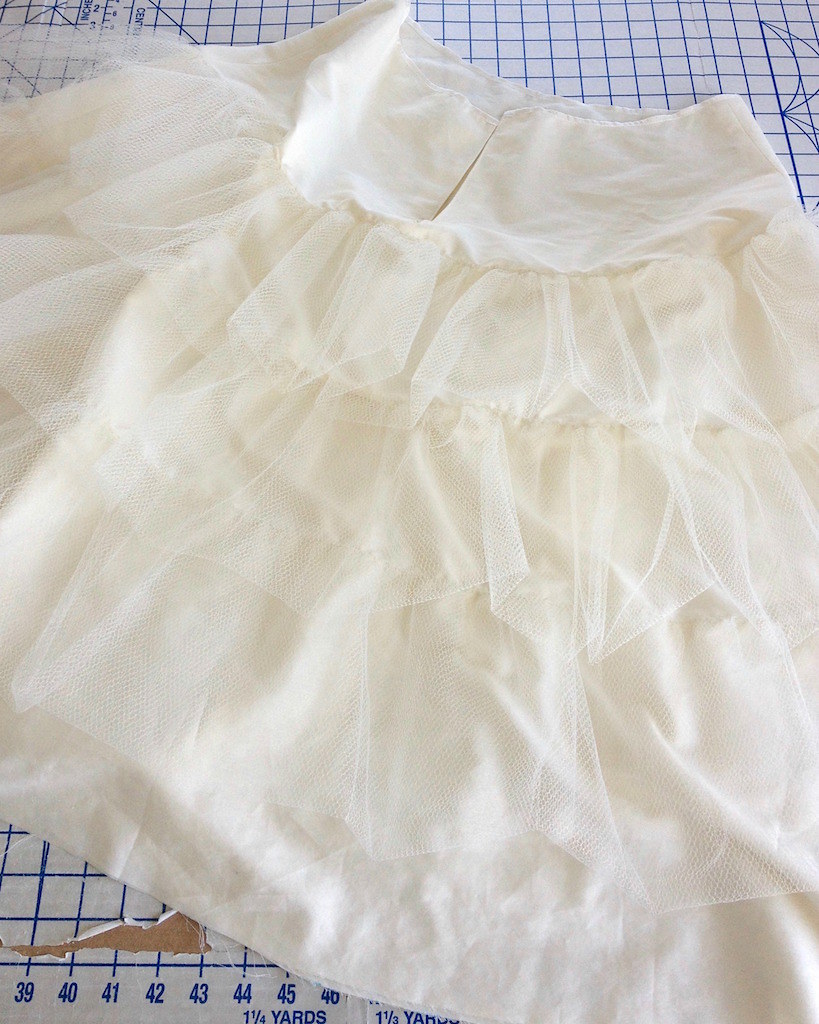
. . .  until it looks something like this.  I will need to add a few more yards of netting to this petticoat, but it is beginning to take shape.


Saturday, April 9, 2016

Cotton Bobbinet Corselette

Instead of using a coutil or tightly woven cotton like ticking, I decided to use cotton netting for my corselette.


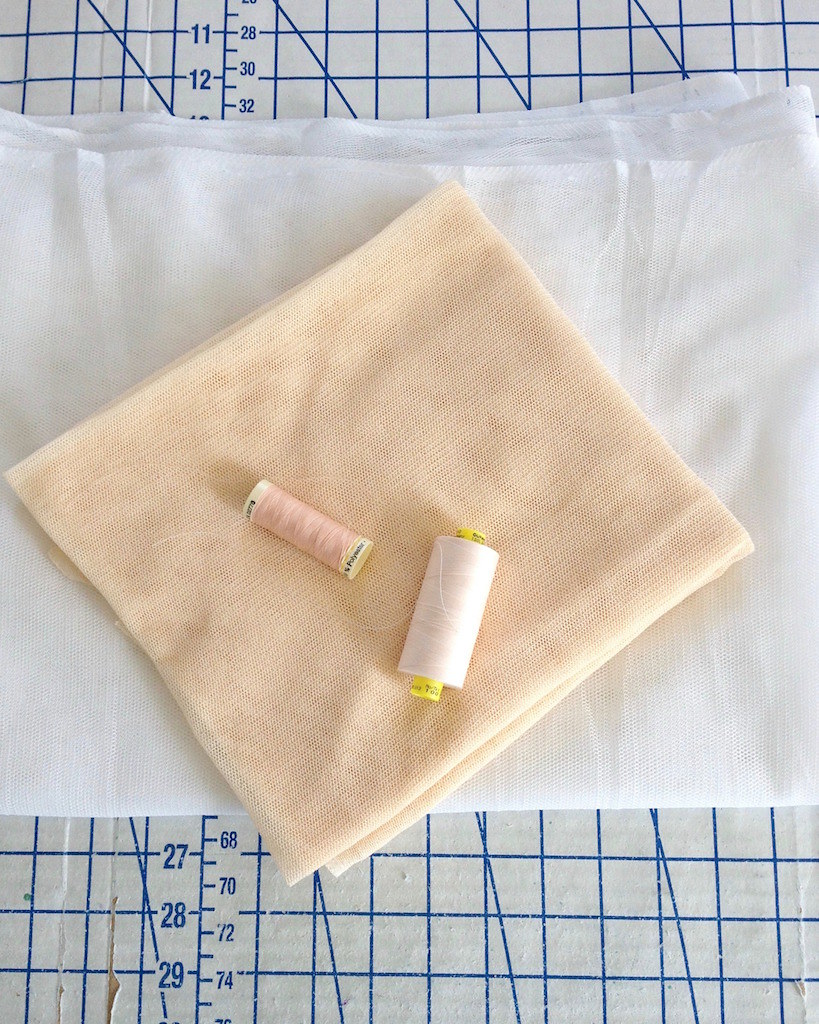
I found a source of cotton bobbinet at Dharma Trading Co. a couple of years ago.  The first length I purchased in store was rather stiff before laundering.  


The item was out of stock for a while, and when it reappeared on the website, I ordered more.  This time around, the netting was quite soft and had a lot more drape, even without the benefit of washing.


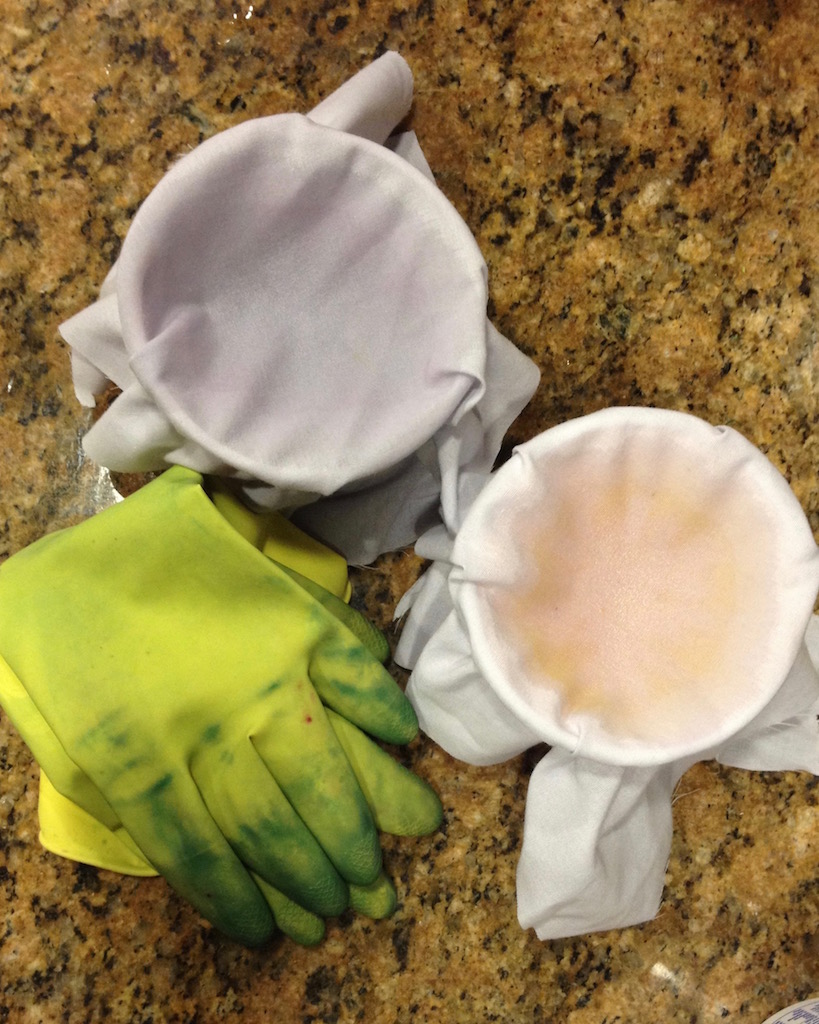
Like so many textiles from Dharma, the color choice is limited to white.  So my first item of business was to dye a portion of my yardage.  I chose two different fiber reactive dyes, hoping that a combination of Ivory and Powder Pink would do a decent job of matching my skin tone.  It is not perfect, but I got pretty lucky, and am very pleased with how the color came out.


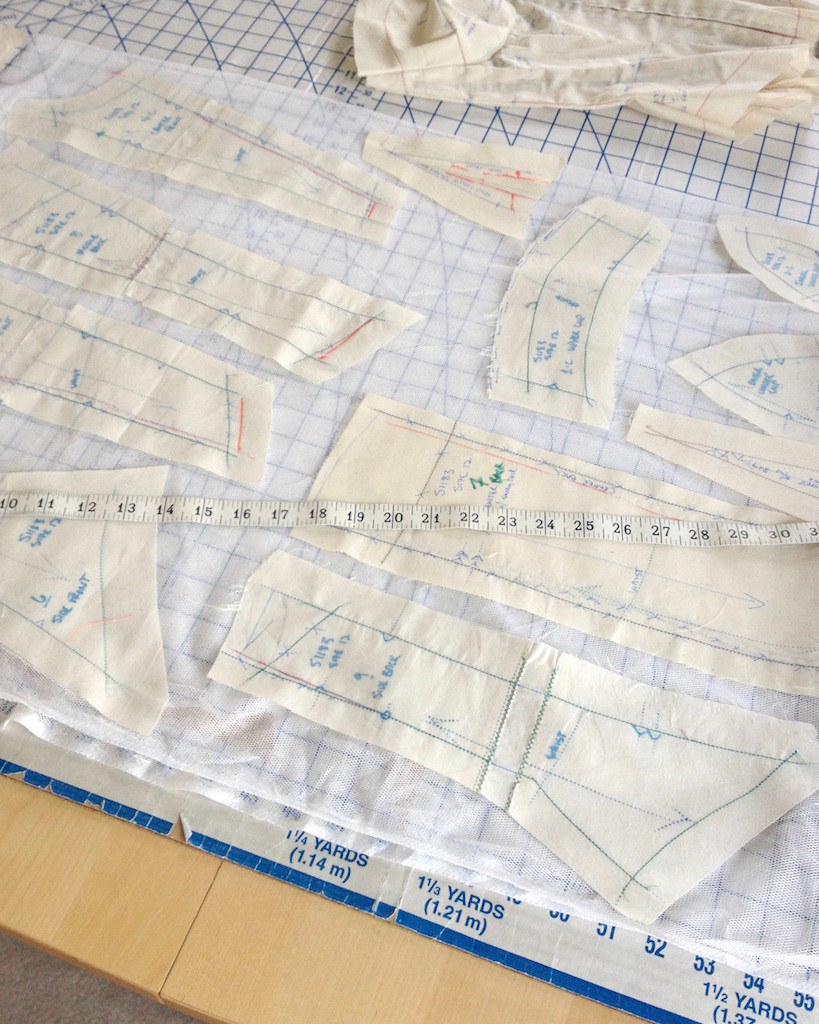
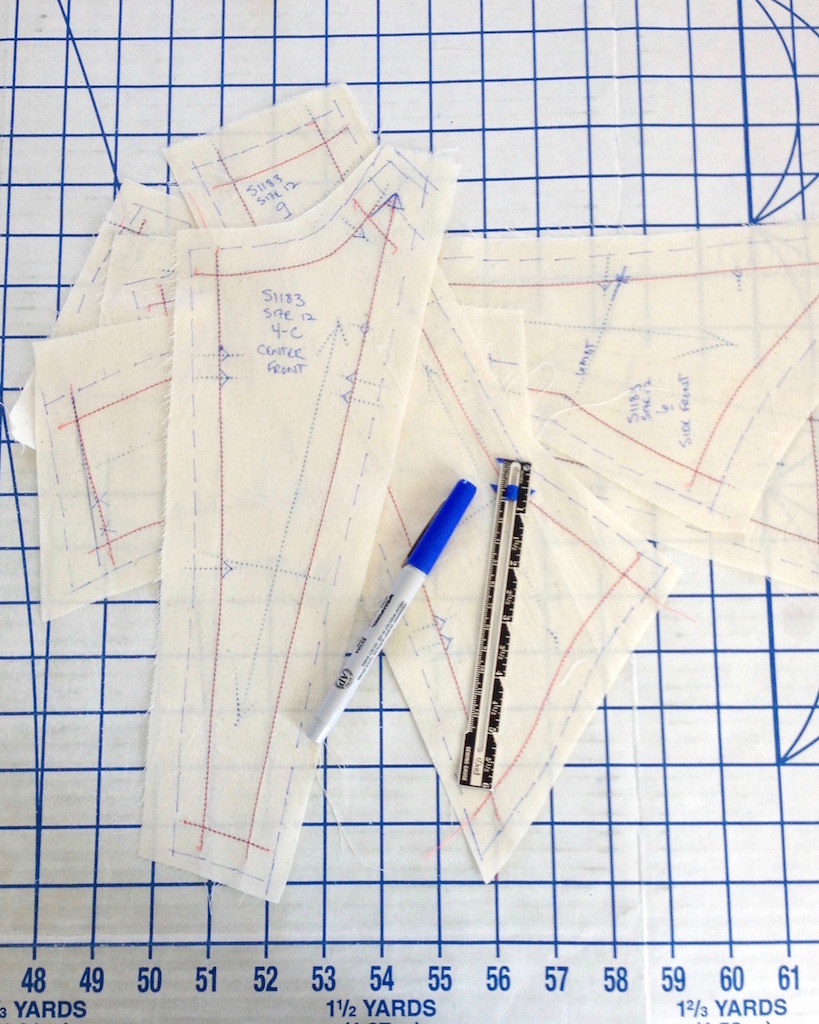
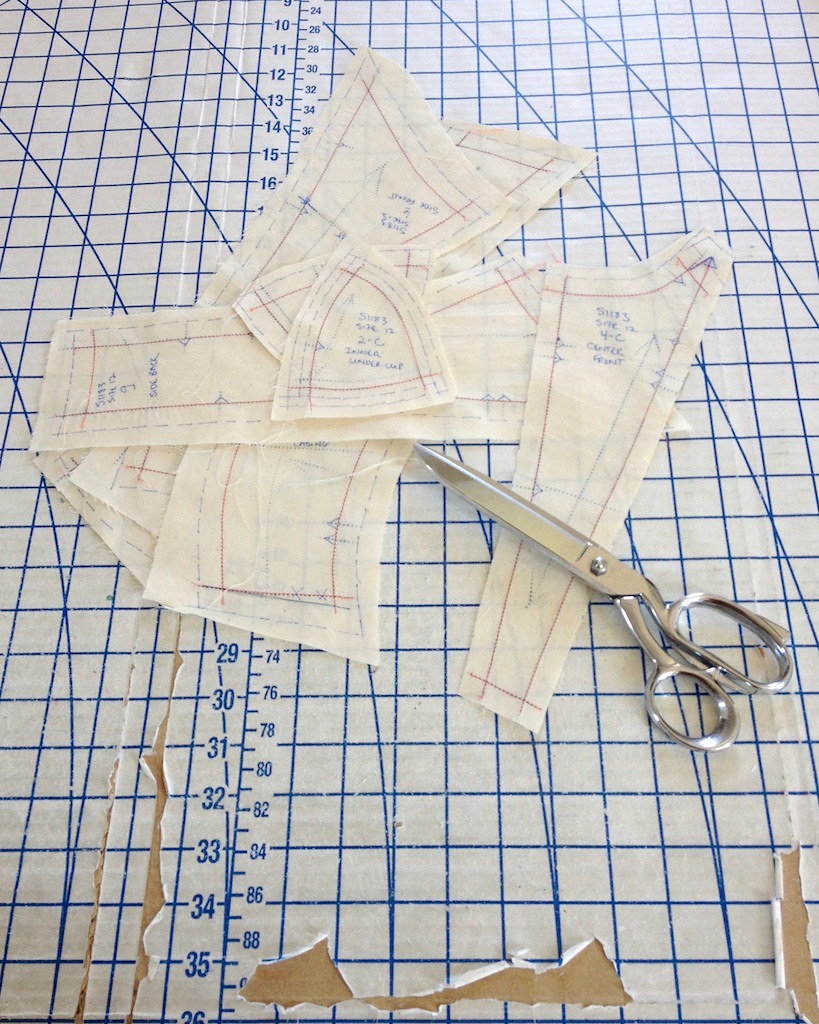
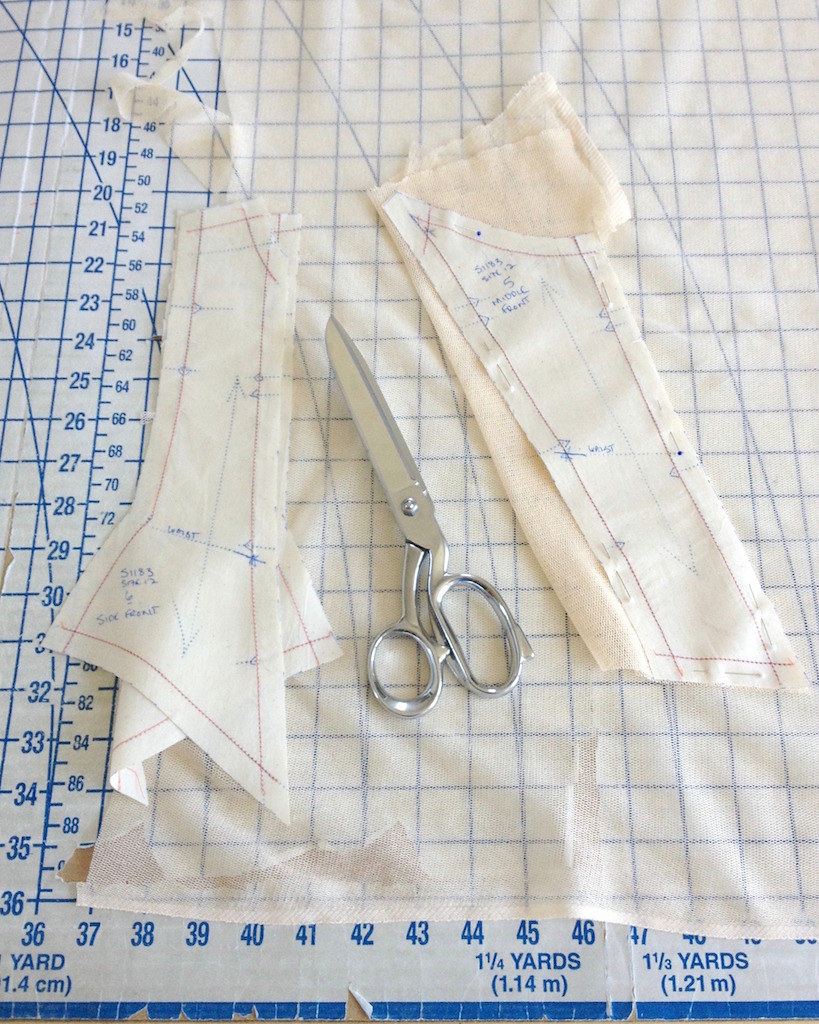
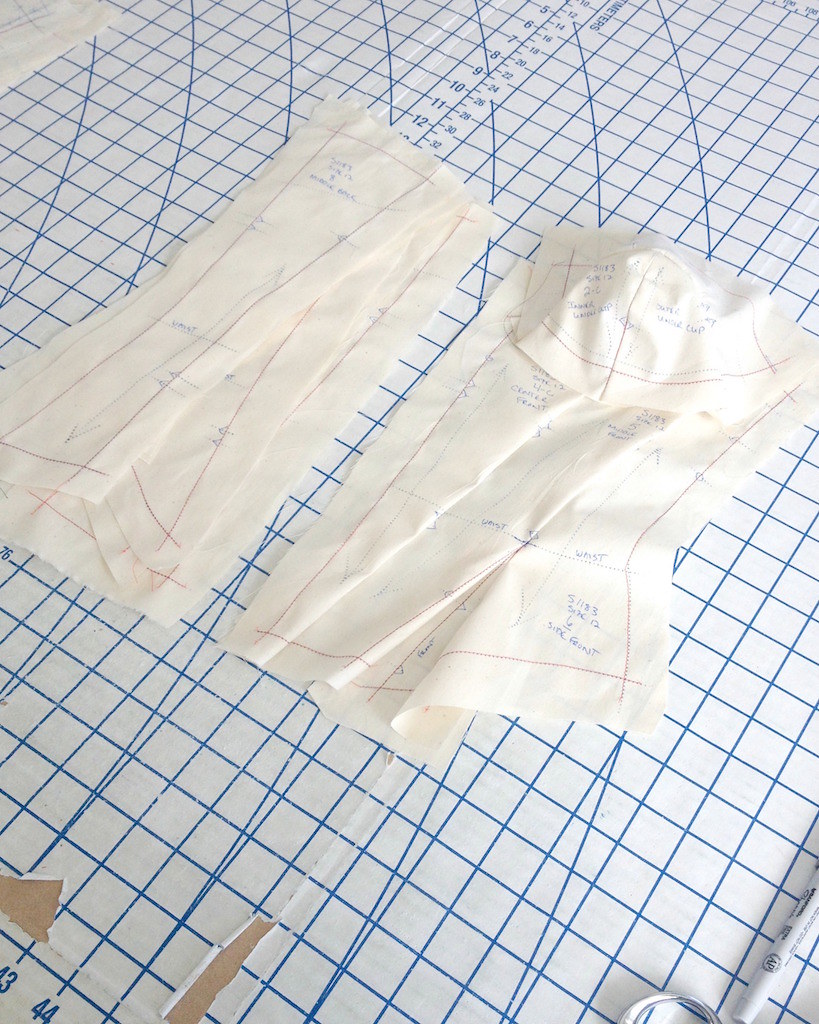
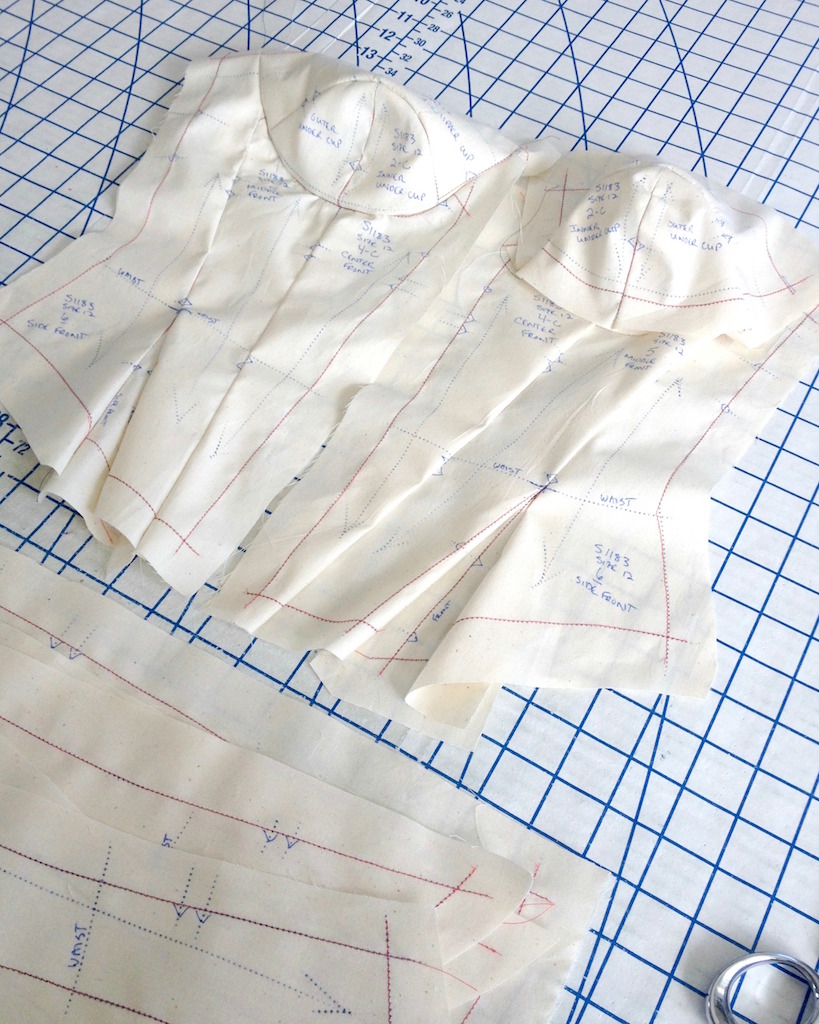
And then it was time to rip apart one half of my muslin for the pattern pieces.


To make cutting easier, I decided to trim my muslin pieces down, leaving an even 1/2” margin outside of the marked stitching line.


For the bust cups, I used a 1/4” seam allowance.


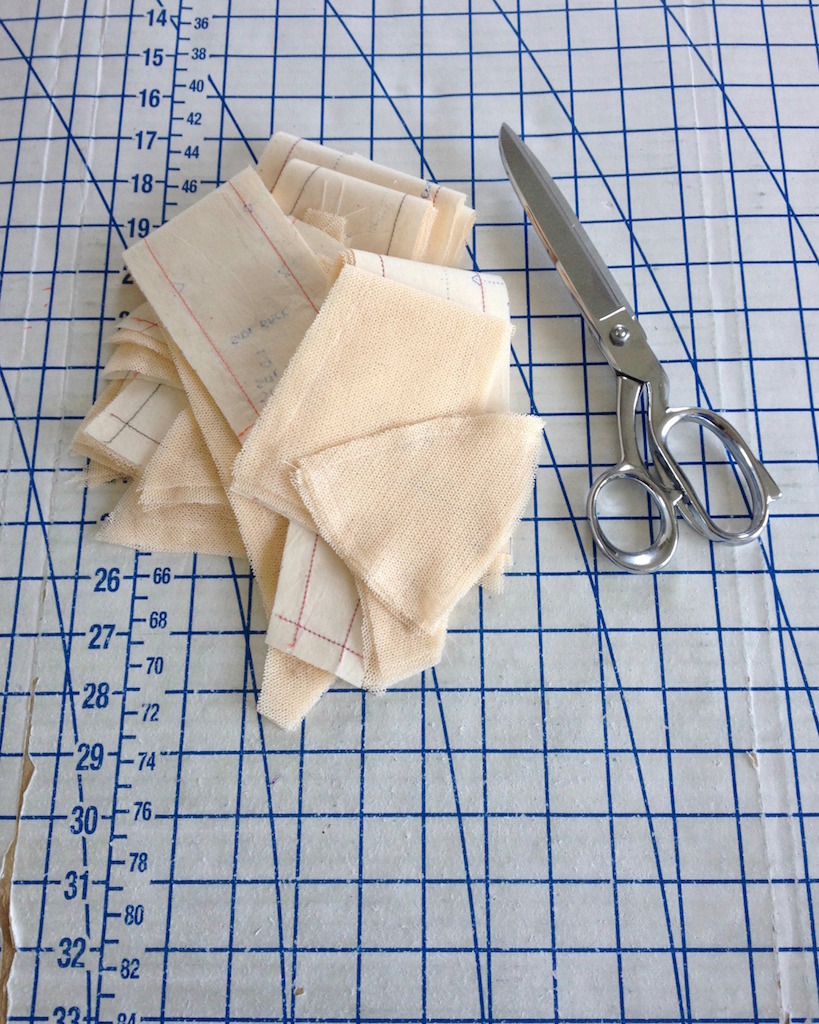
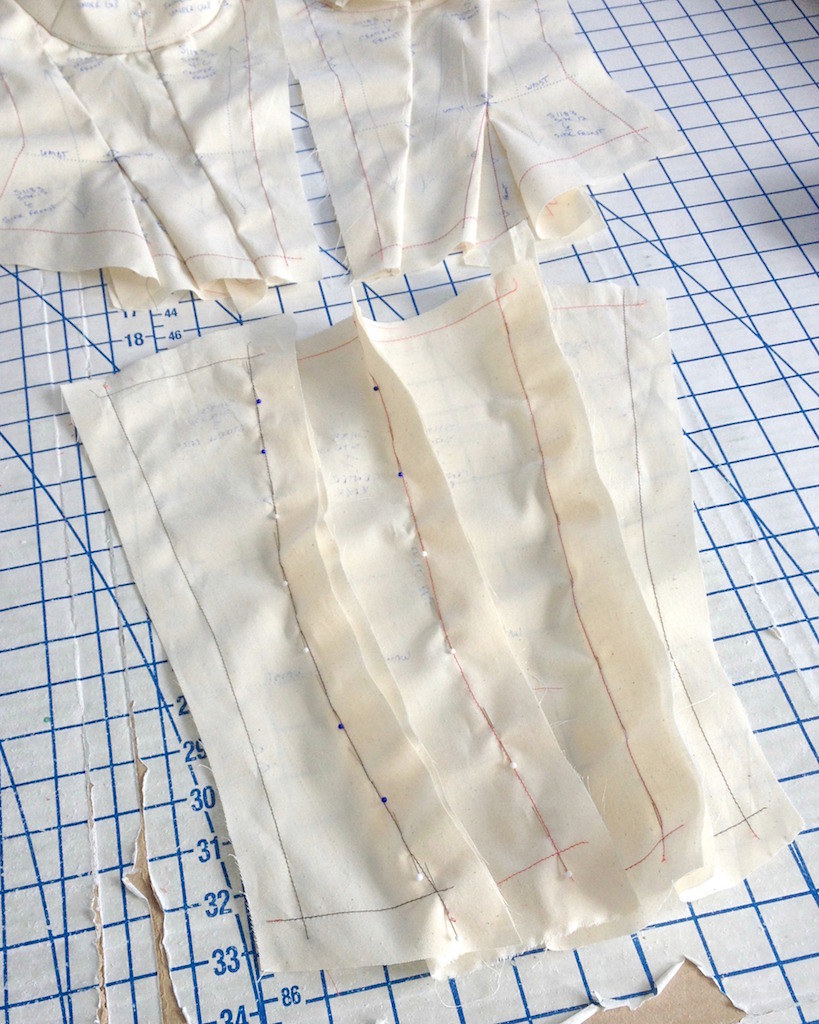
Two sets of pieces were cut, one on grain, and one on the cross grain, which were then layered together.  


This was a rather tedious process, as many of the pieces are similar in shape and the netting has no obvious right or wrong side.


The two layers were then basted together (by machine - I decided hand basting was probably not the best choice for this textile!) and finally stitched together.


Next was the actual garment construction.


The 1/2" seams were trimmed slightly before being pressed flat.


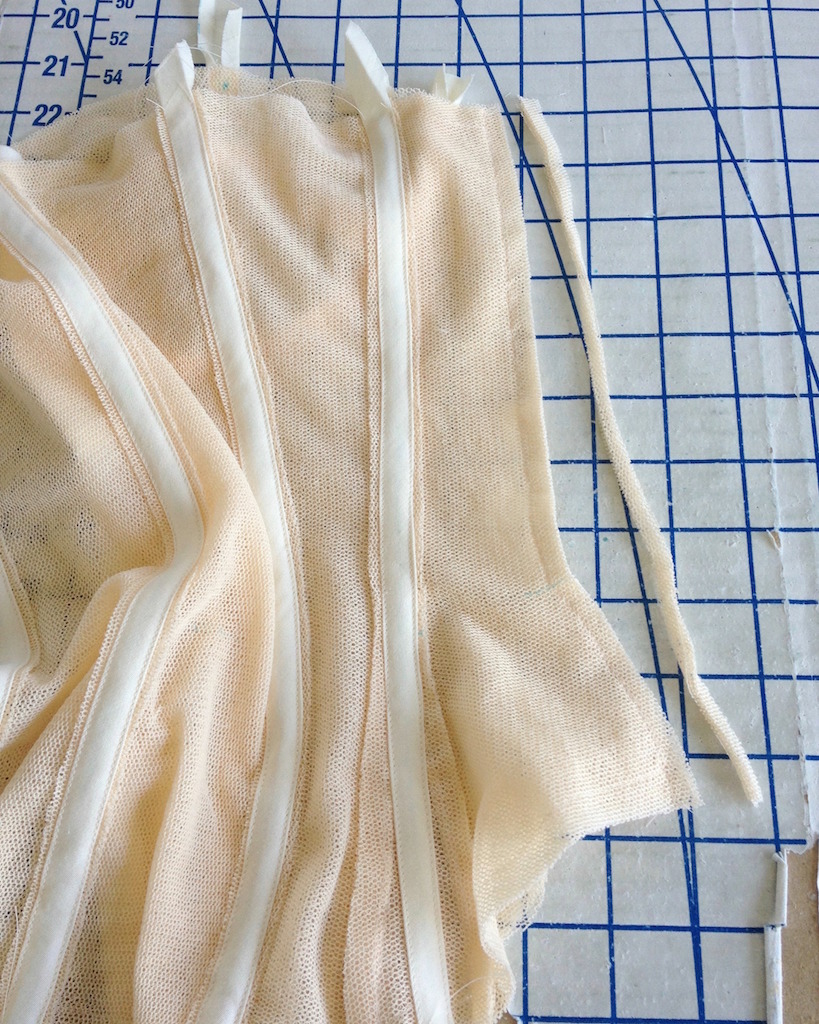
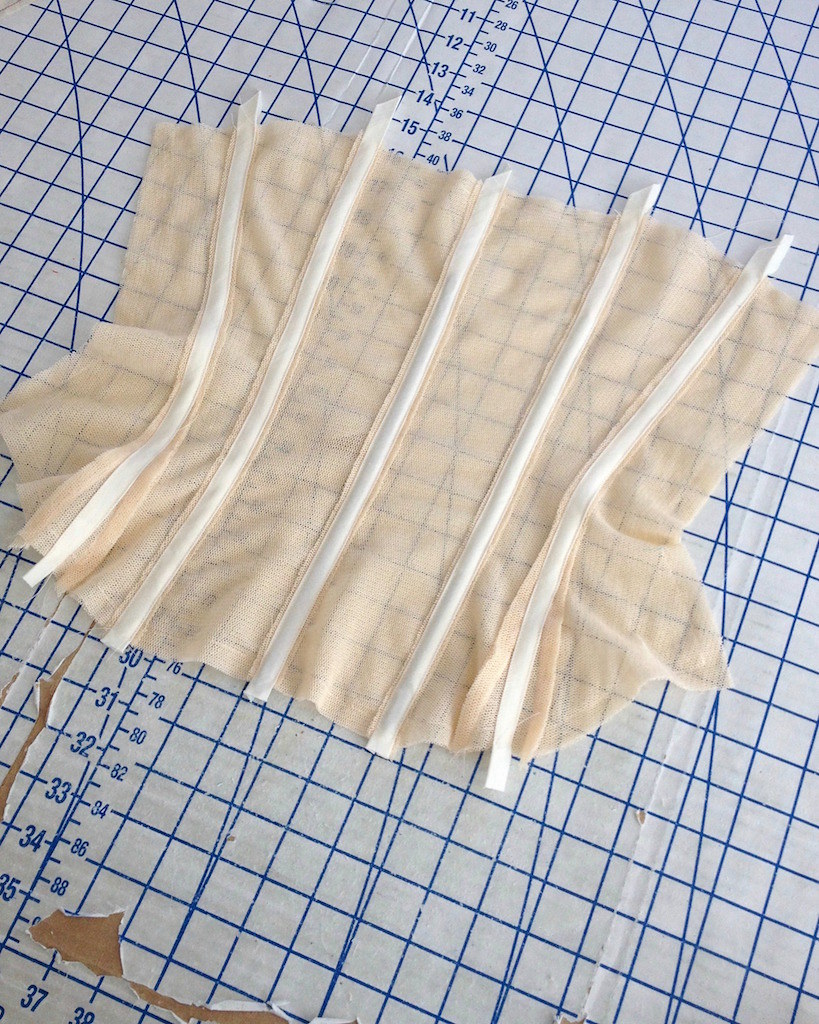
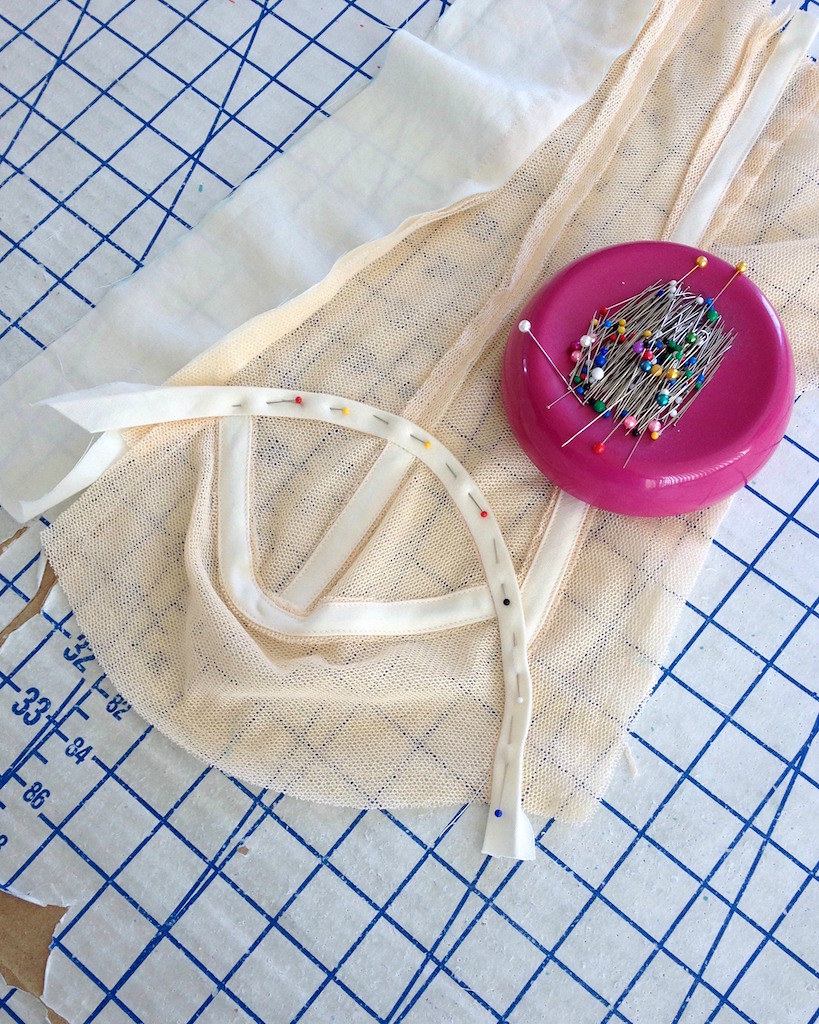
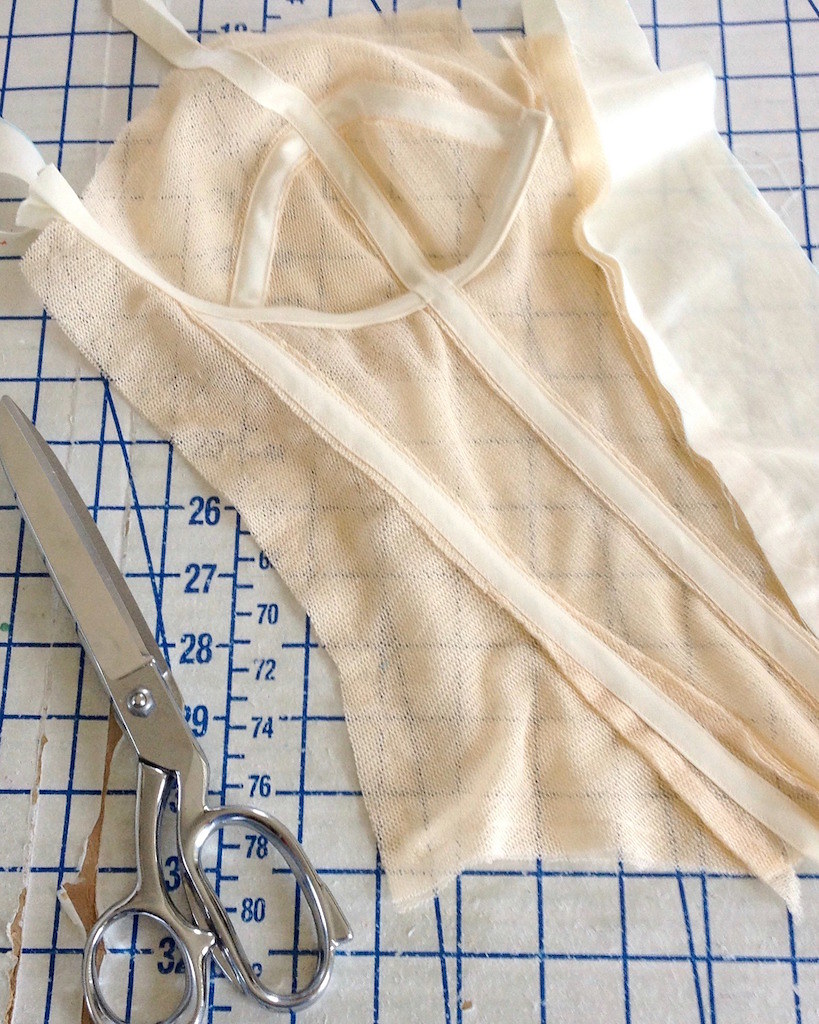
For boning channels, I cut bias strips of cotton and applied one to each seamline.


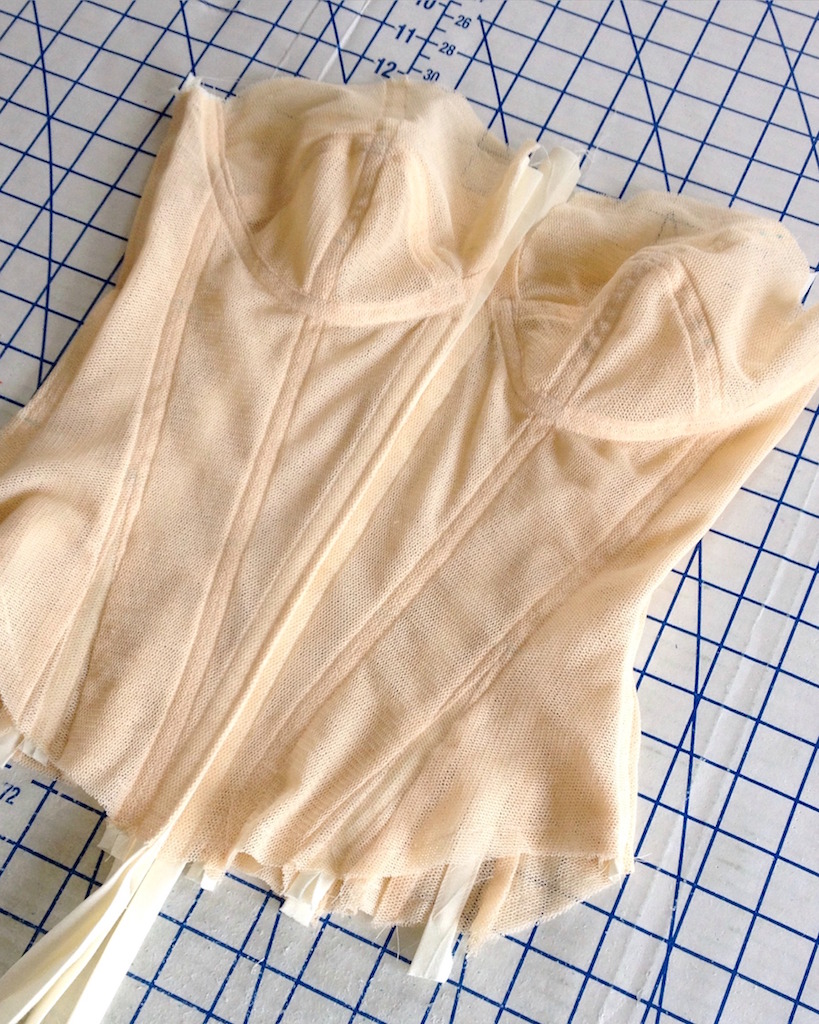
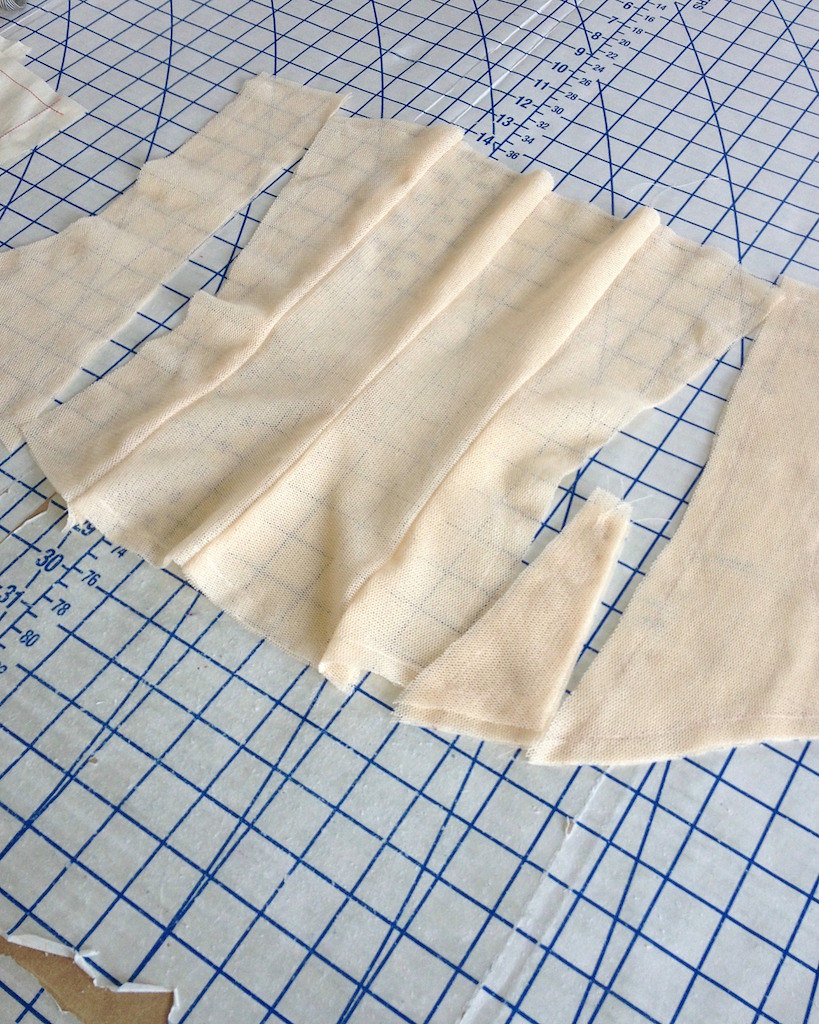
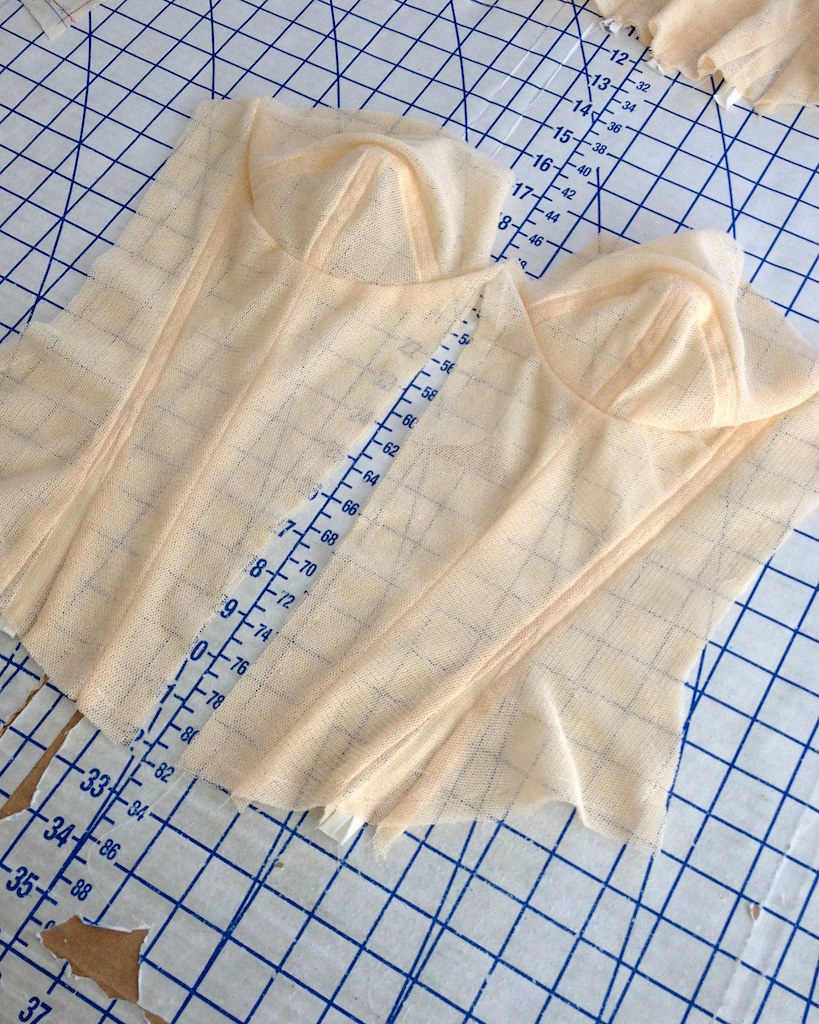
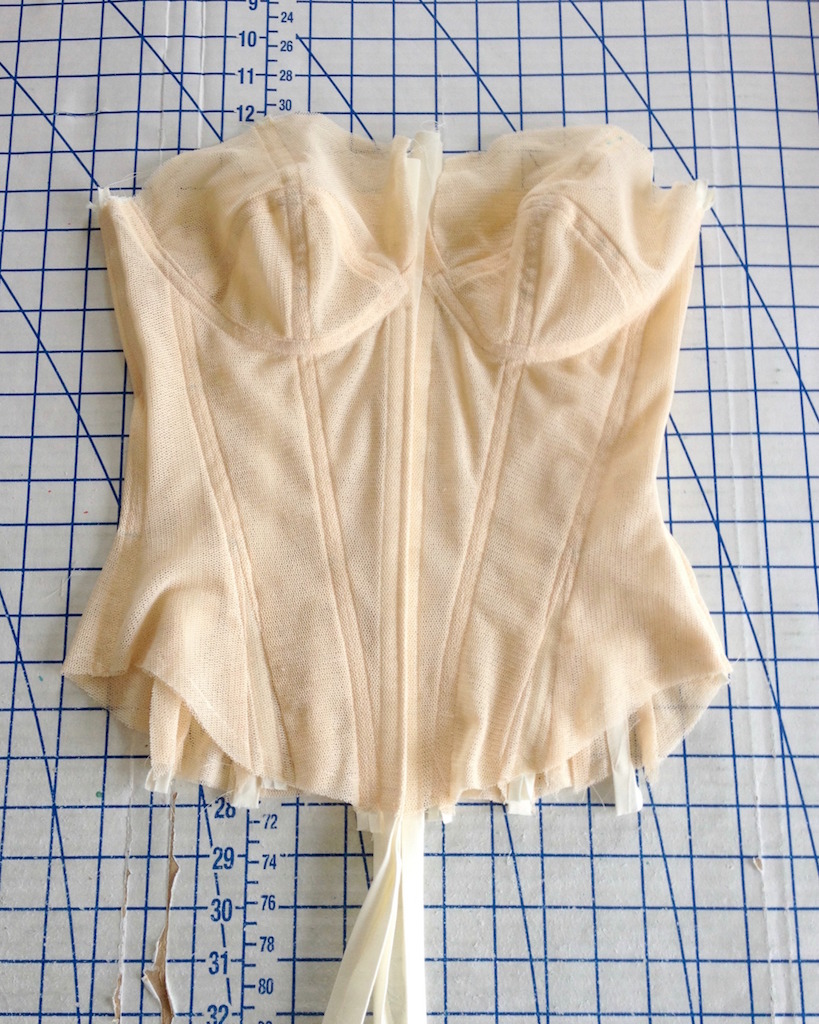
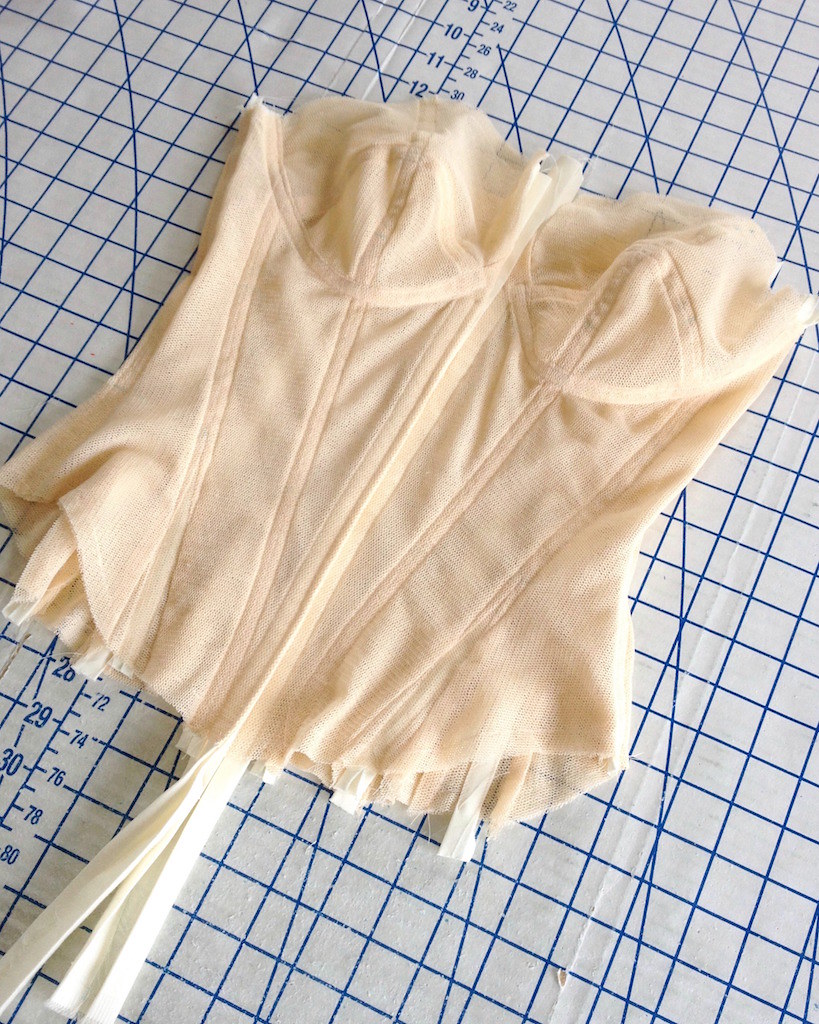
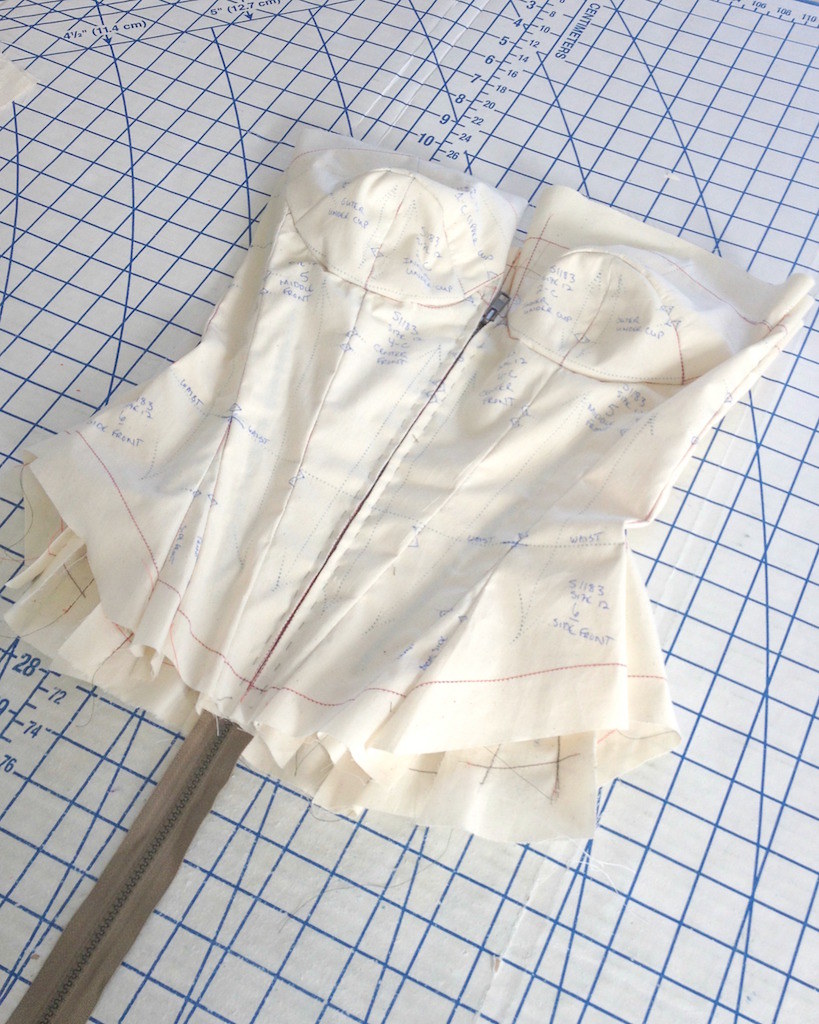
And it finally started looking like a corselette!
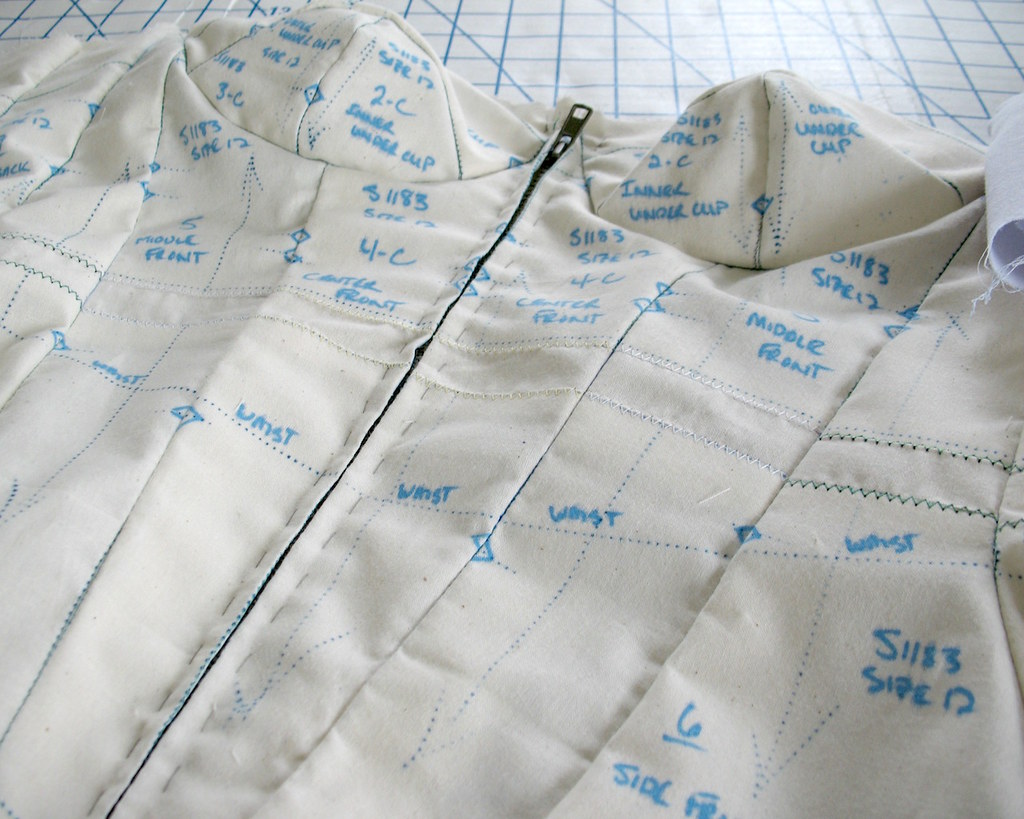

I am not sure if I will be using an underwire, but I added a casing to that seamline just in case.


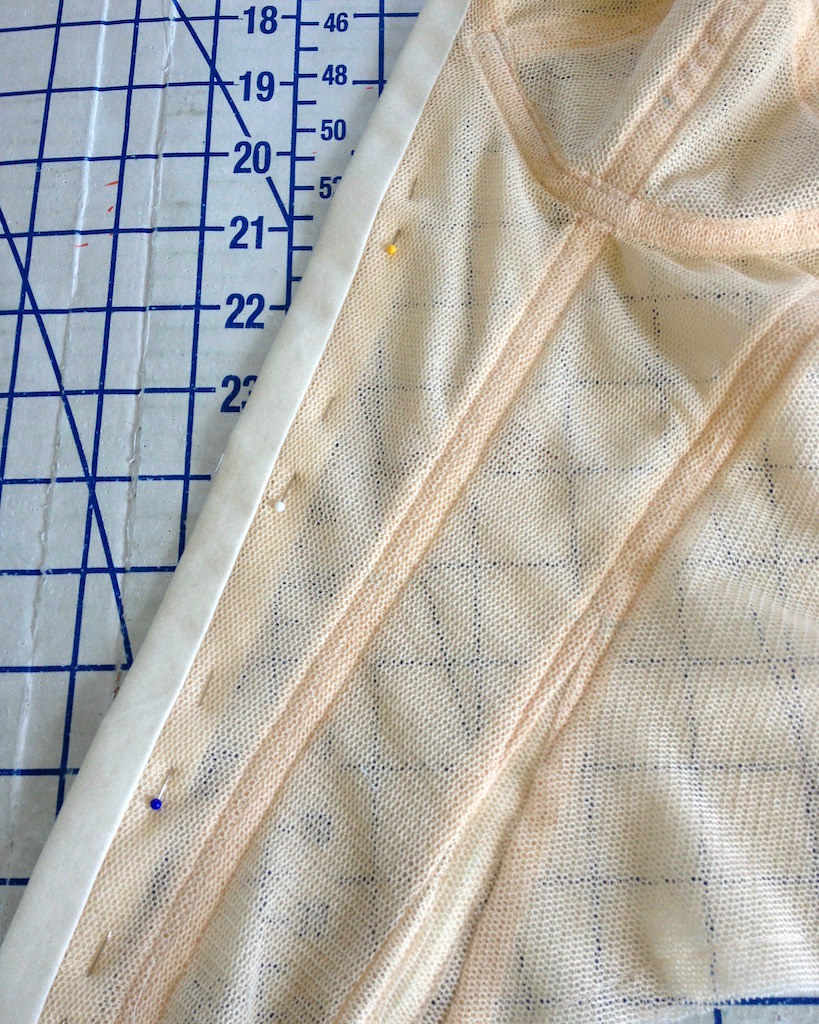
I did not think that stitching a bunch of hook & eyes to netting was going to be much fun, so I used the cotton to bind the front edges and do double duty as a boning channel.


From this point on, the construction is a bit of an experiment.


I feel like I am headed in the right direction, but only time will tell!


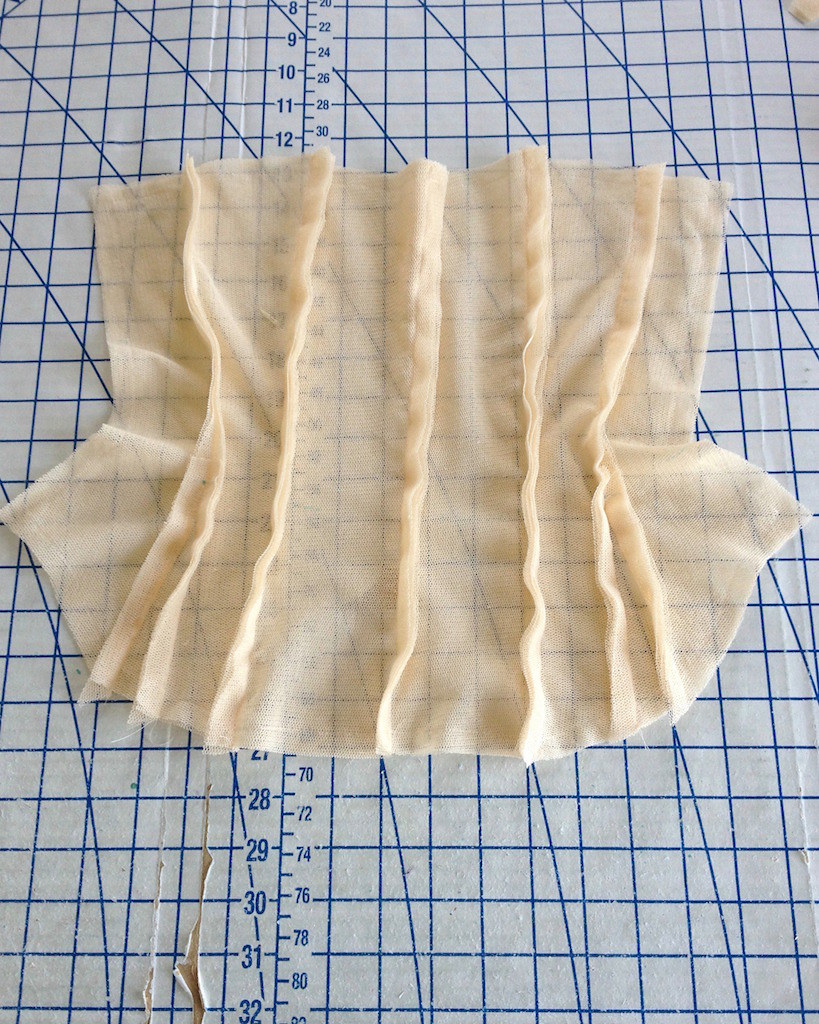
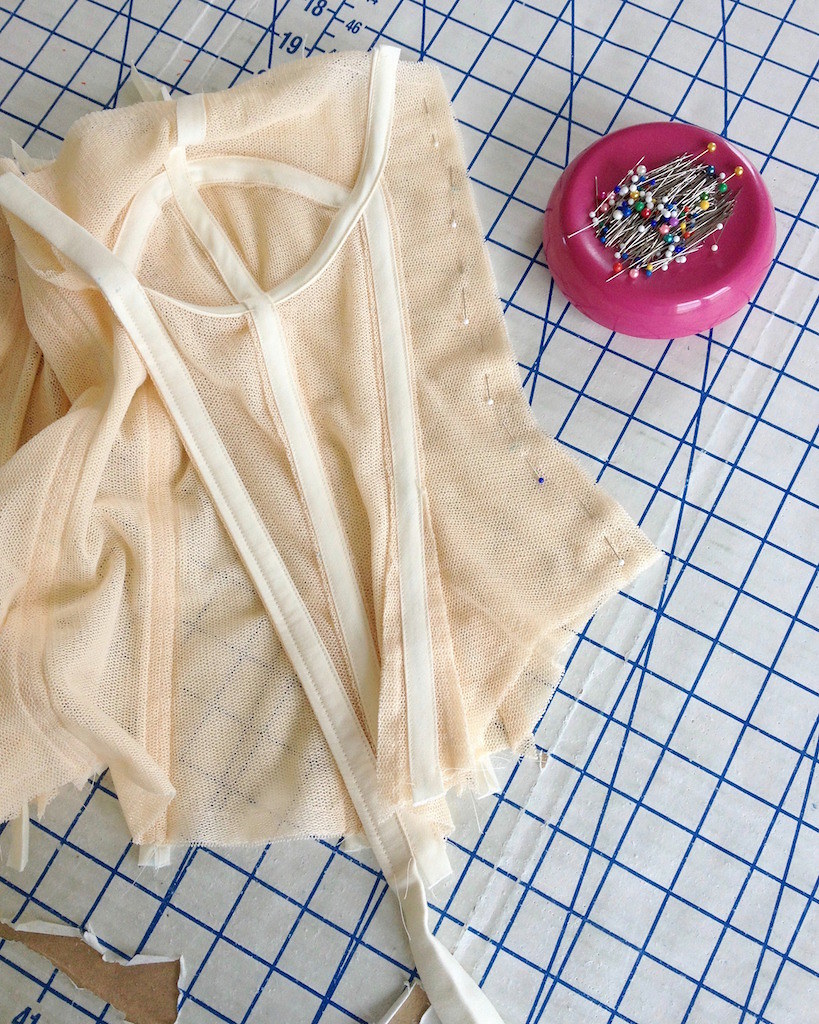
And so far, this is what I have come up with.


Not too shabby for a weekend's worth of sewing!


Thursday, April 7, 2016

An Old Muslin Comes in Handy


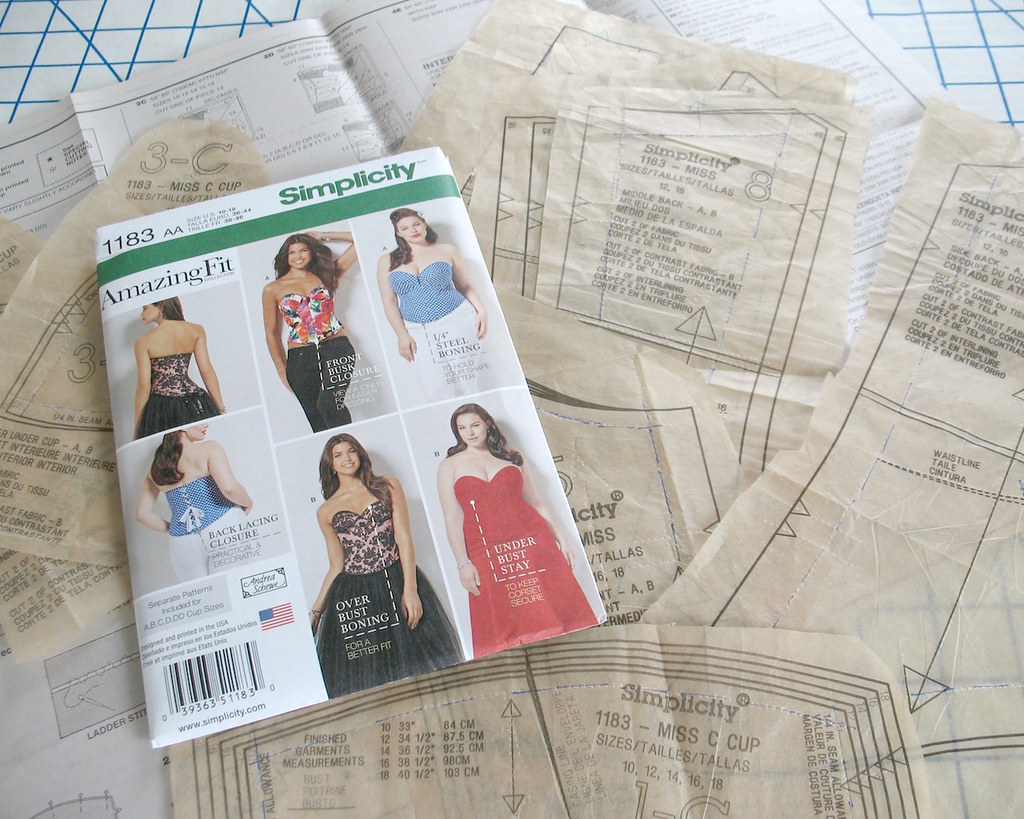
Last year I decided to make up Simplicity 1183 in a printed cotton. 


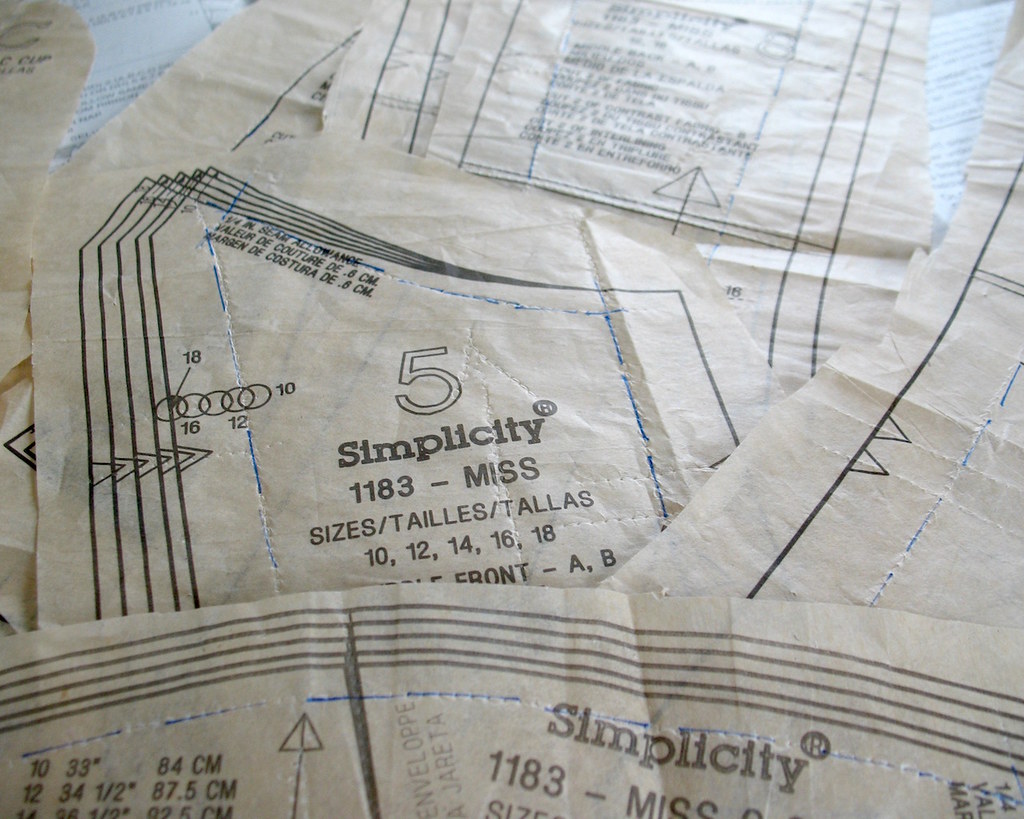
I got as far as marking the seam allowances on the tissue pattern . . .


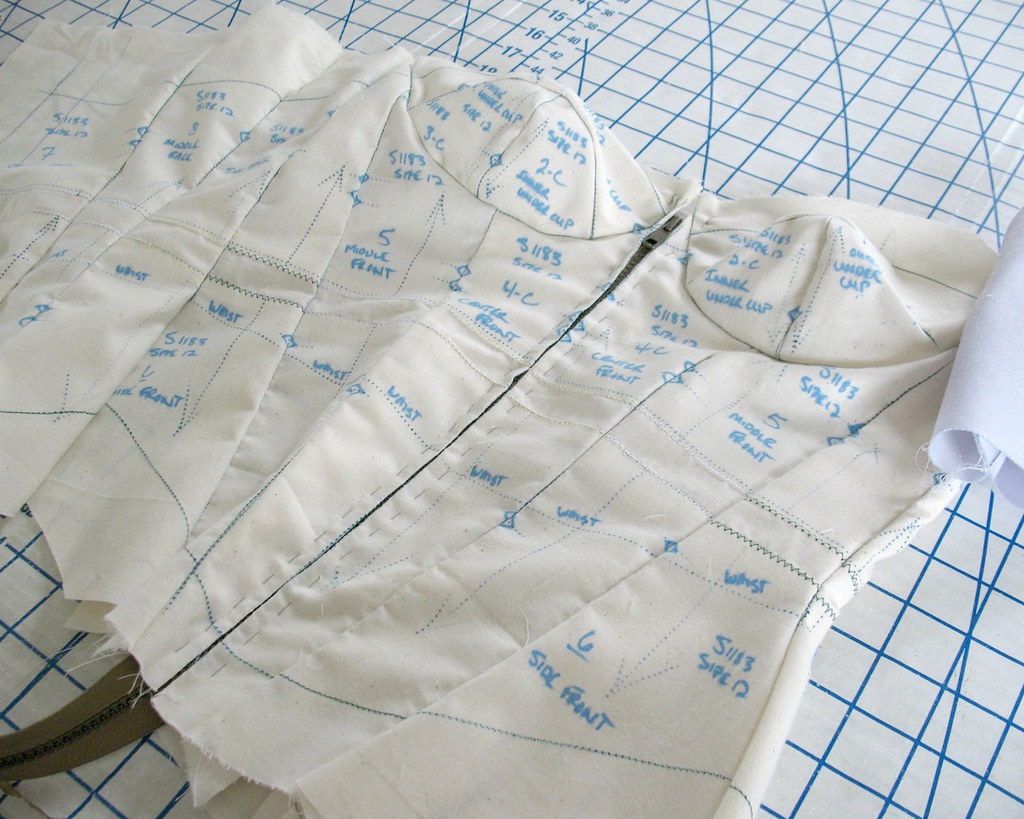
thread tracing my muslin pieces . . .


and stitching them together.


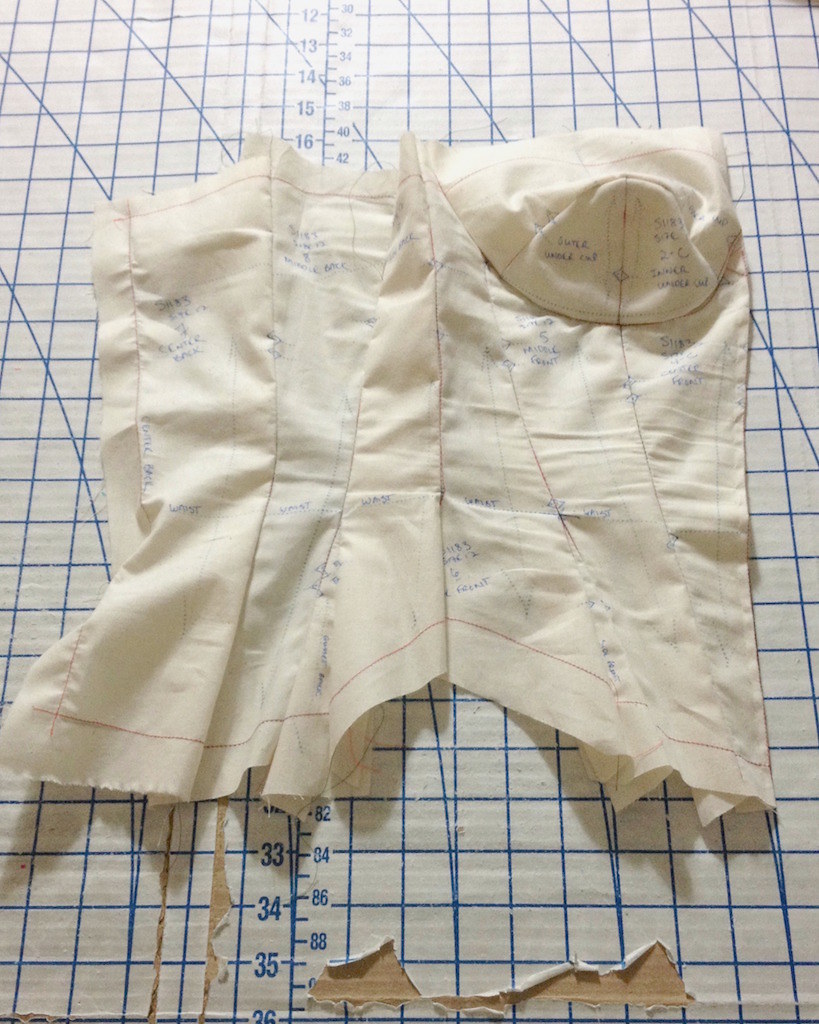
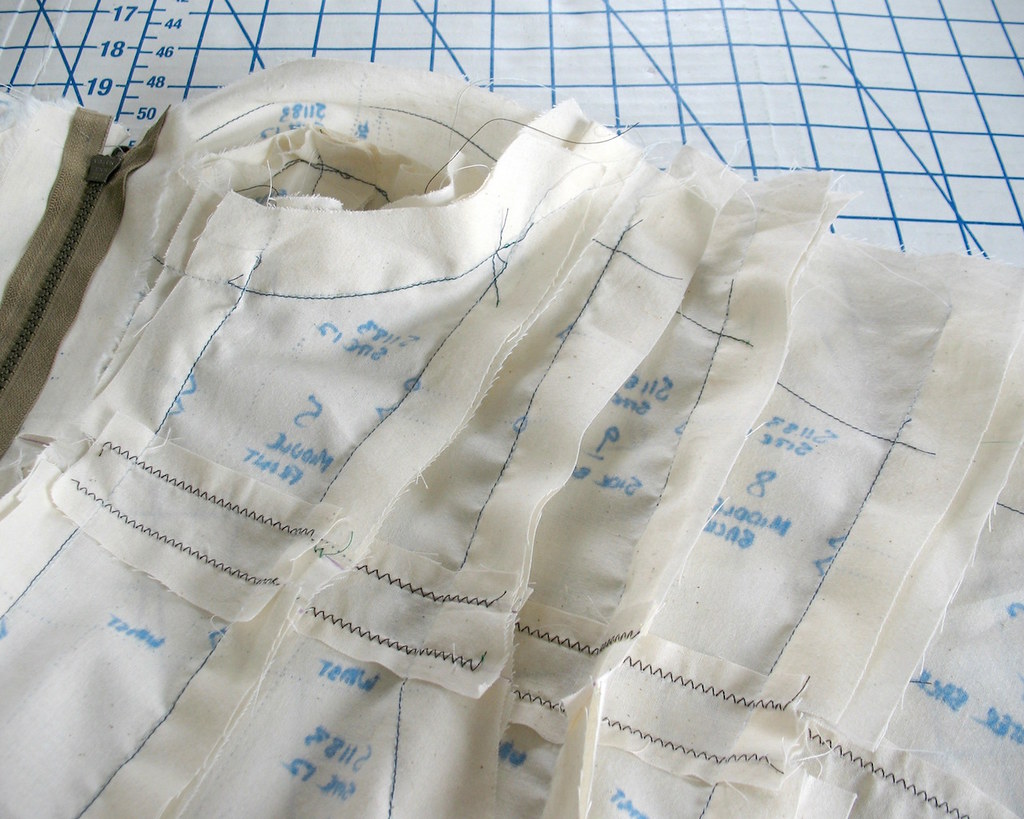
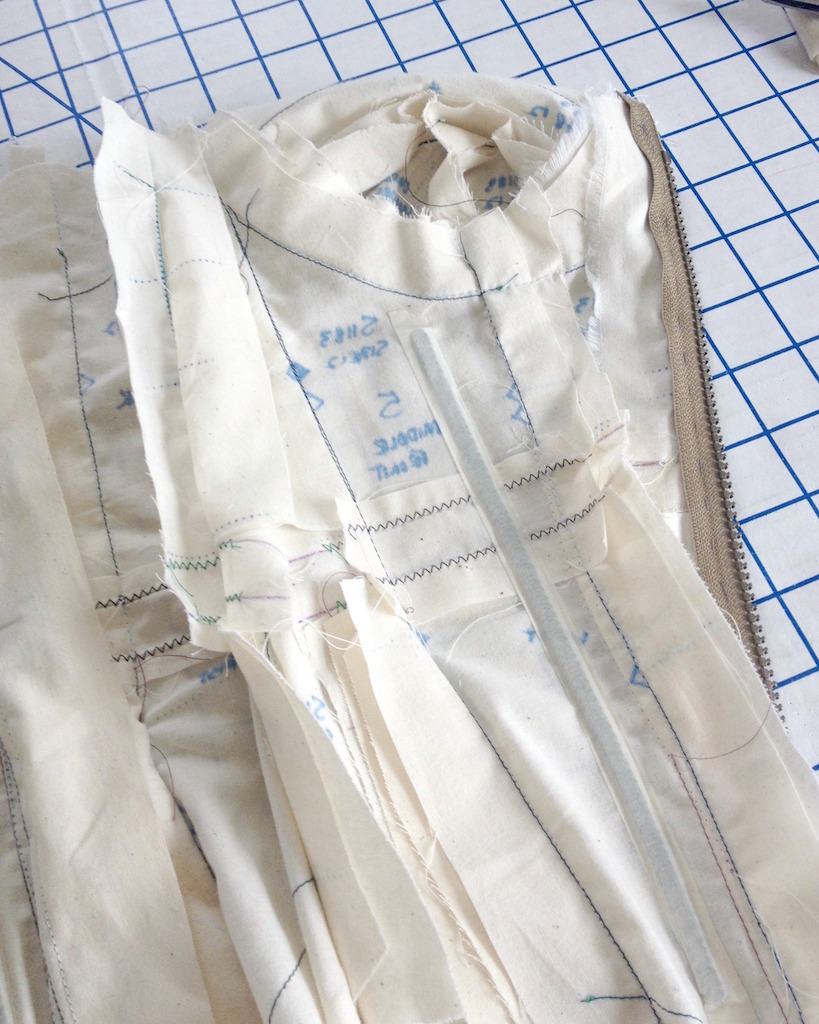
Of course, time got away from me, and after the warm weather disappeared, the muslin was put into a bag and set aside.  This project got lucky and did not get forgotten for very long.  Because I thought it might work well for a corselette, I pulled that muslin out.  It needed a long-waist adjustment, as well as a bit of a sway back adjustment.


In order to make fitting easier, I used a few pieces of boning, temporarily held in place with the help of some masking tape.  This makes a real difference when working with such a close fitting garment without straps.


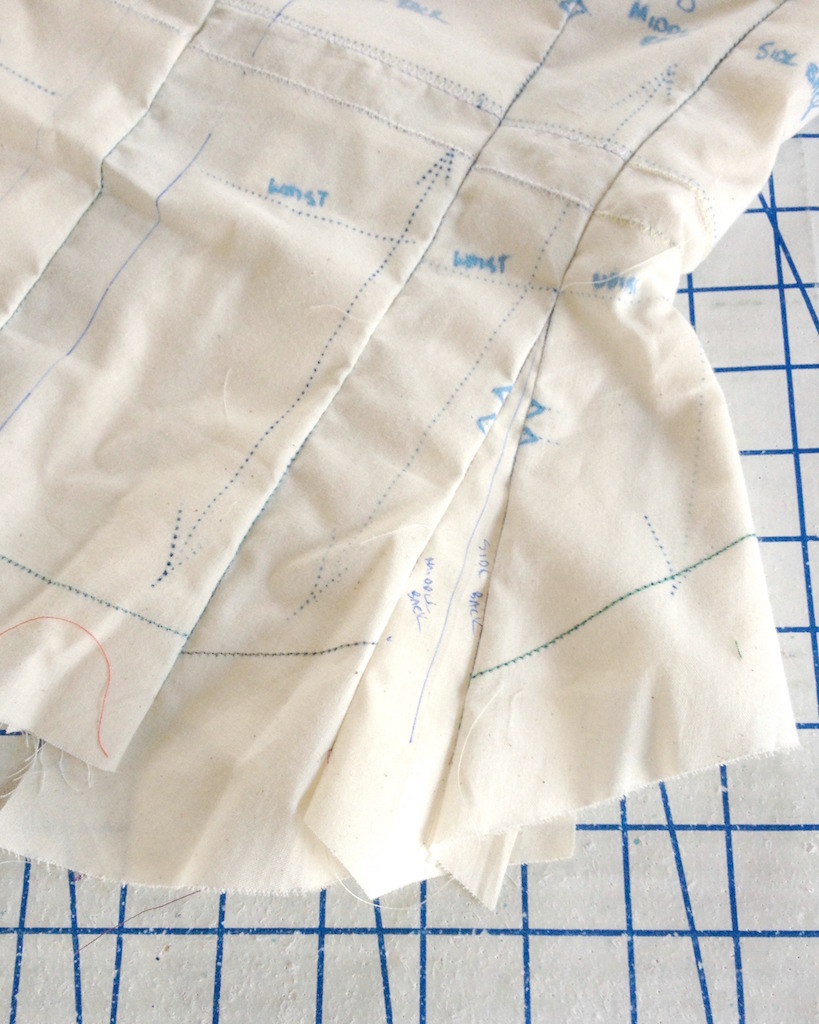
Not surprisingly, this corset is not very curvy as drafted.  It is what I would call a fashion corset - its looks cute, but does not function as a real body shaper.  So the first thing I did was take in the waist portion of all the pieces slightly.  Of course, if you constrict the waist, the extra fluff has to go somewhere, so I added gussets to increase the hip measurement.  


I also have extended the back pieces above the shoulder blades (when I know exactly where the dress neckline is going to sit, that may have to be adjusted.


I started with the C-cup pattern pieces, but as drafted, they are very low-cut.  I also extended that line for more coverage.  But again, when I finalize the dress design, some of that excess may come back off.


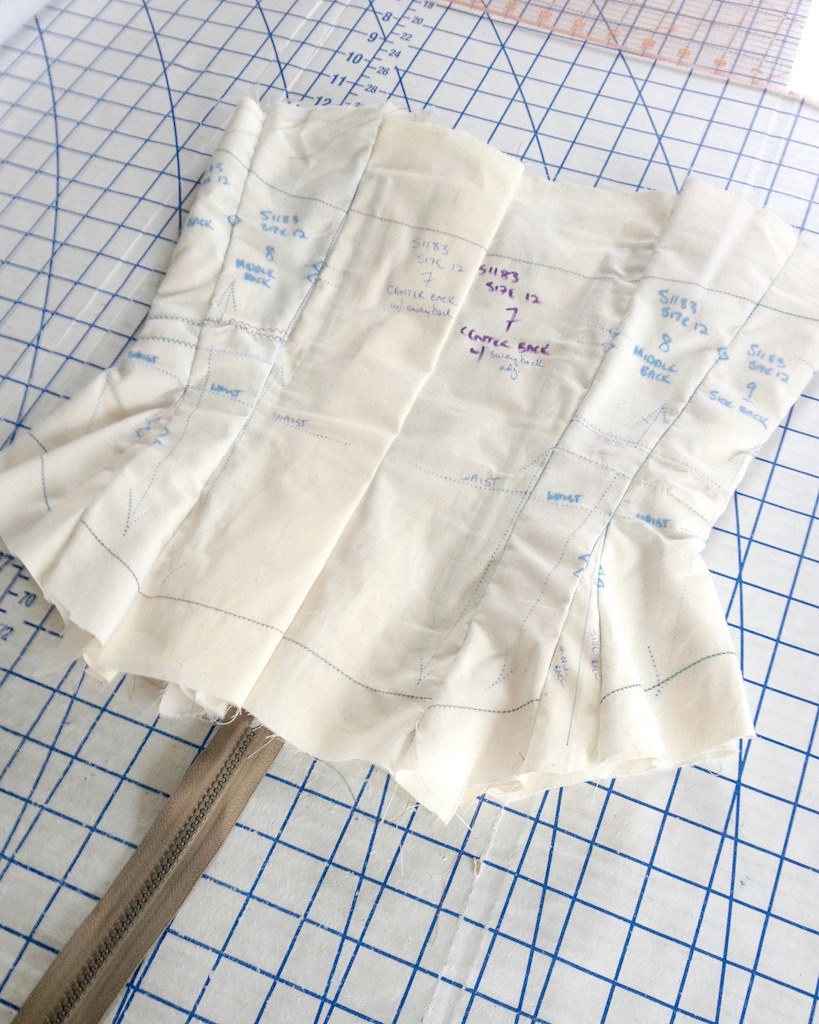
For this project, I made a significant number of changes that were somewhat challenging to keep track of on my muslin, so I made a second version to make sure I was happy with the fit and so I have a clean pattern to work from.


For this corselette, I am going to try something a bit different, and have it open at the front.  I am anticipating that I will use hook & eyes as a closure.


And that is the beginning of the foundation for my Rose de France dress