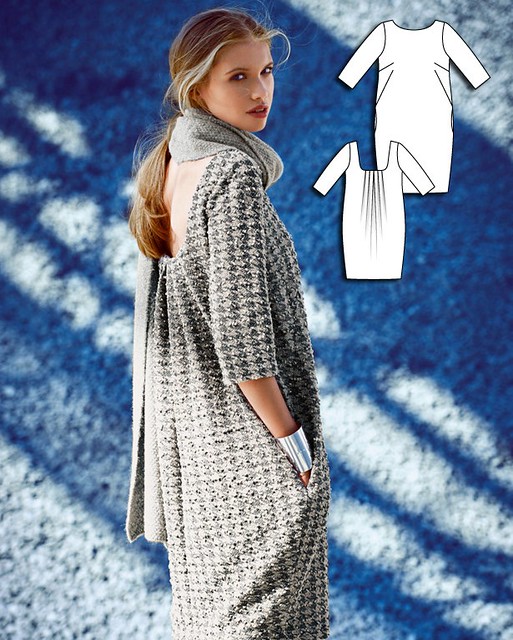
I decided to try something a bit different for my latest sewing project. I noticed this pattern on Burda's website a few weeks back - not something I would normally be drawn to, but the design stuck in my mind for days.
Well, silly me, this is a “Gathered Back Dress.”
Say what?!
Is this some weird translation issue? Because there is no gathering in this entire
garment. Well, I suppose I used an ease
stitch to set my sleeve in place . . . but other than than, no gathering whatsoever. I think they need some help naming their patterns over at BurdaStyle!
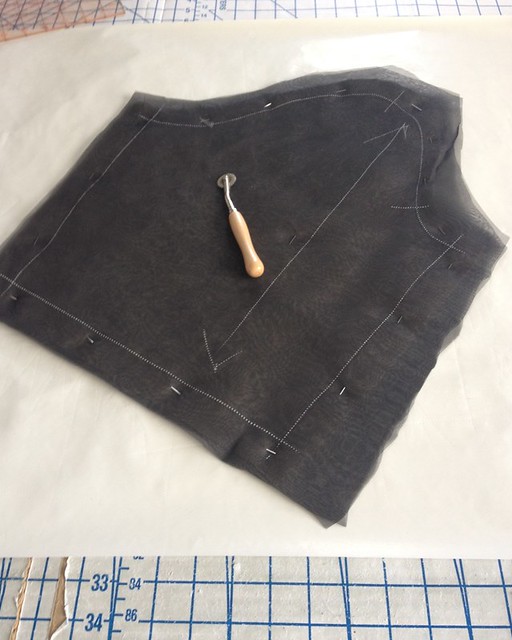
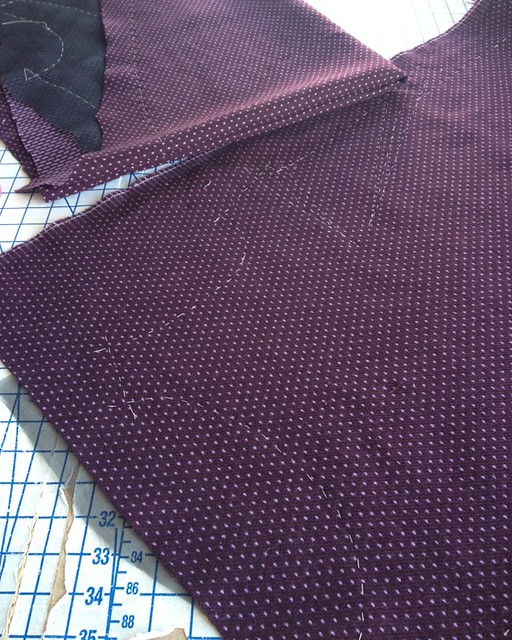
For my underlining, I used black organza. Because of the dark wool fabric, I thought it might be easier to see white chalk lines when the two were layered together. It worked great!
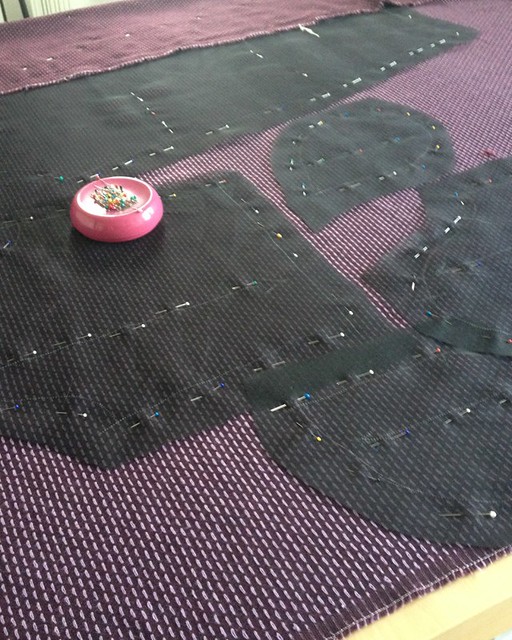
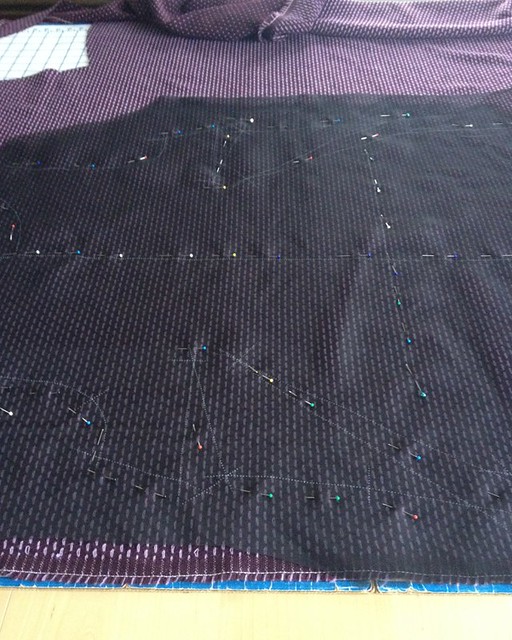
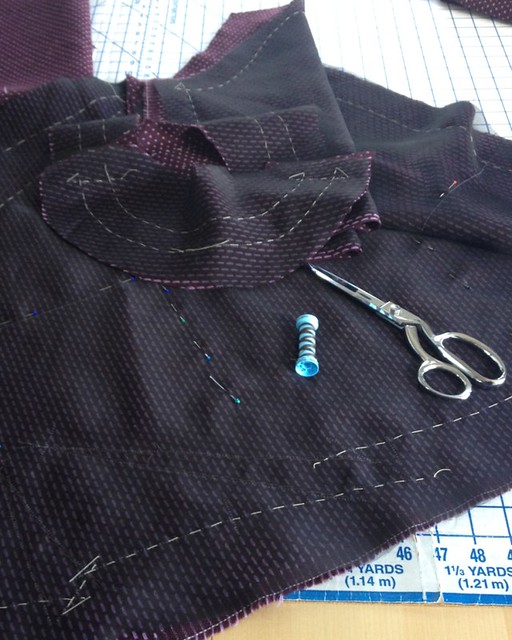
Next came a lot of hand basting.
I have had some back luck with printed designs being slightly off grain, so this woven pattern was a nice change. It is really nice having a constant reminder of the grainline built right into the fabric!
Having worked with a similar fabric for this project, I can say that the underlining was useful for more than just marking my stitching lines. The back of the wool is easily pulled by my standard presser foot when two layers of fabric are run through the machine. With the organza covering the loose threads, that problem was resolved.
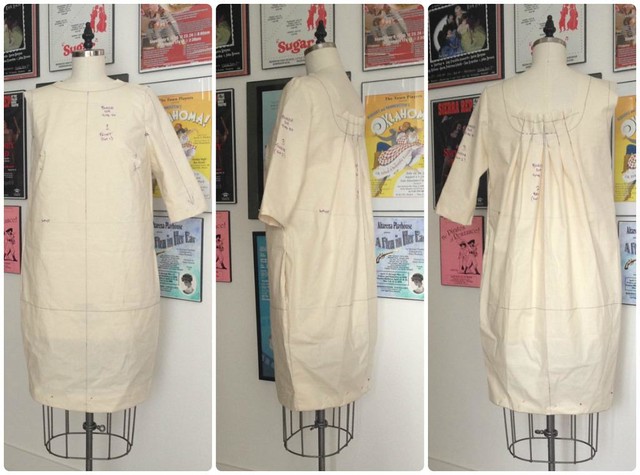
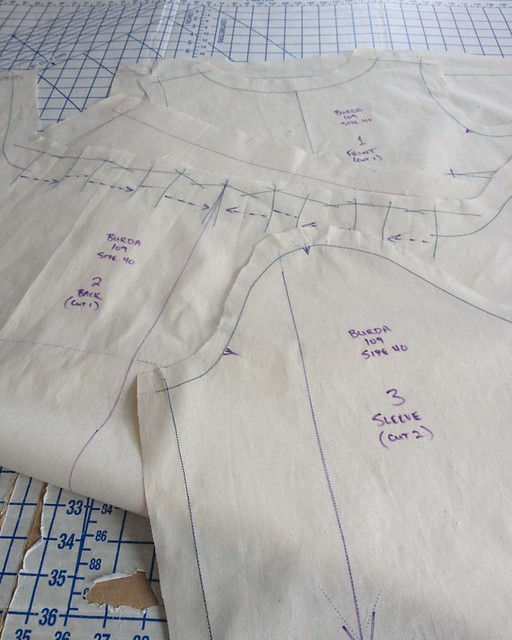
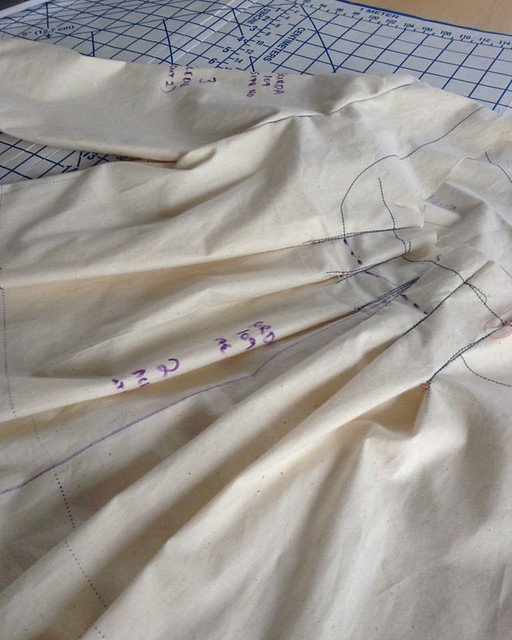
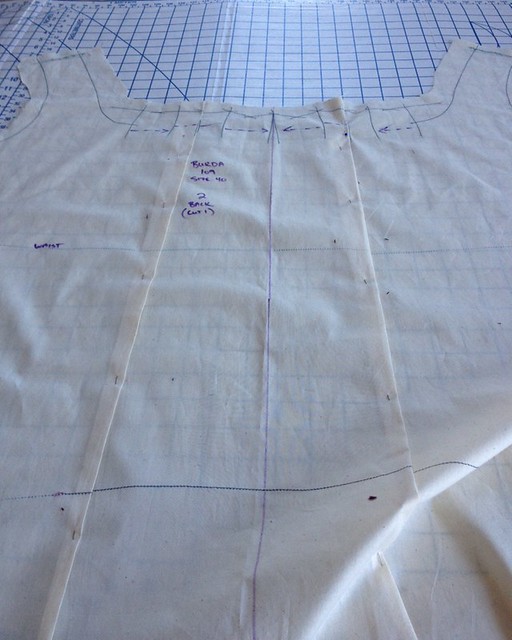
The only real construction challenge was what to do about those pleats. The arrows on the pattern suggest that they be folded toward center back. This is not possible with the way the two center pleats are drafted, so I looked at the online version (the directions are no help). Turns out, they should be folded towards the side seam – which works so much better!
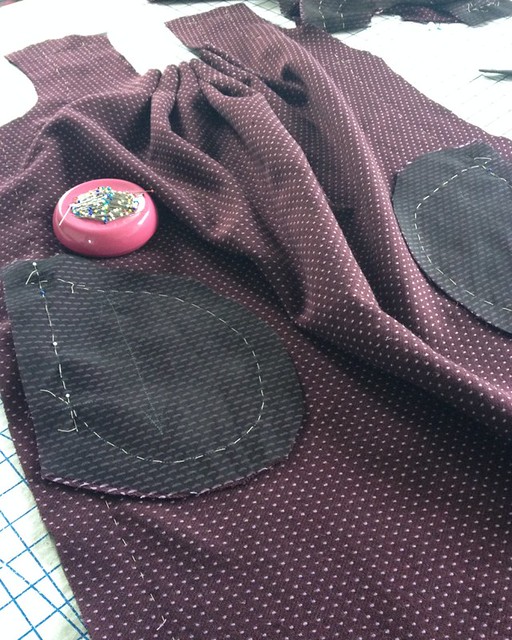
I debated removing the pockets because this dress is rather sack-like, and I did not want added bulk in the front half of the dress.
But since I was catch-stitching seam allowances in place, I figured I could just as easily catch-stitch the pockets to stay nice and flat.
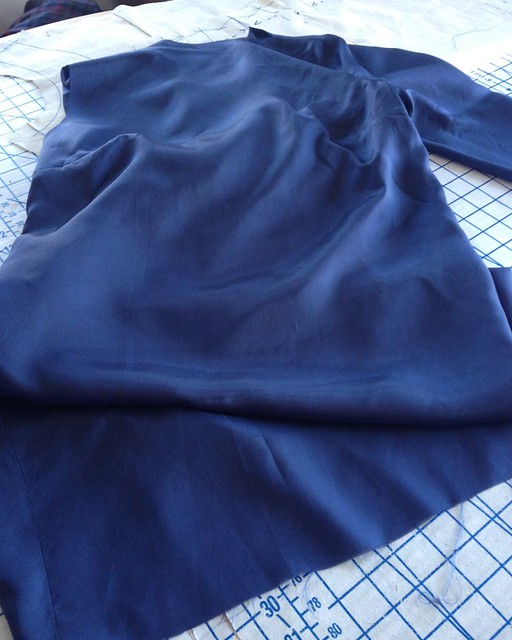
Although not called for in the directions, I added a lining. Two of the pleats were removed by folding out the excess ease at the neckline, being careful to leave enough room through the hips as the silhouette narrows.
I suppose I could have redrafted the top to remove those pleats completely, but the bemberg rayon is lightweight, so any added bulk is really not that much of an issue.
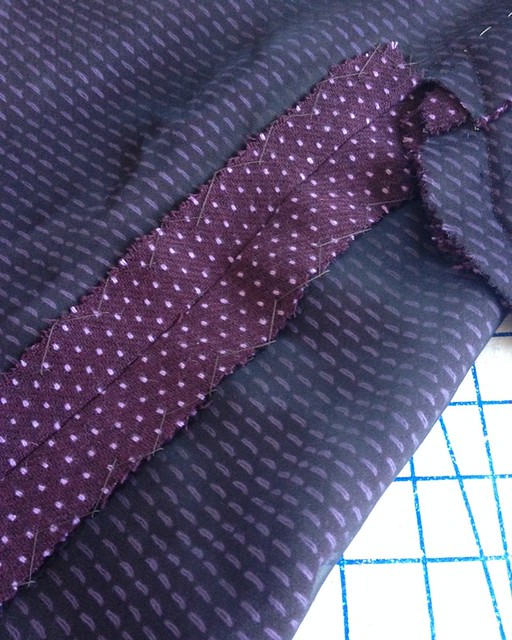
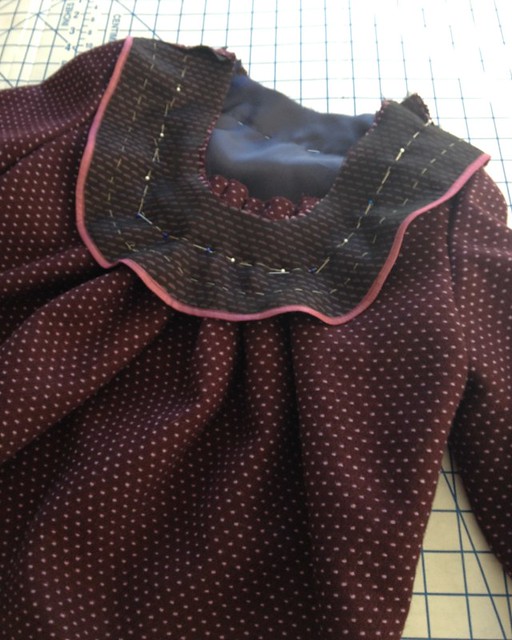
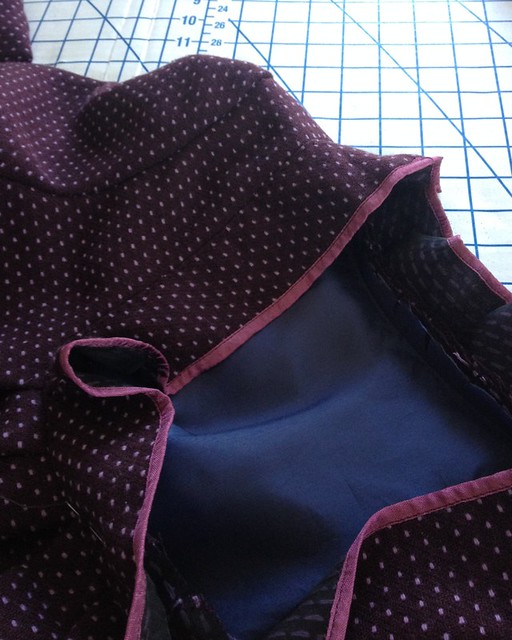
I added some width to the neck facing and finished the raw edge with rayon seam binding.
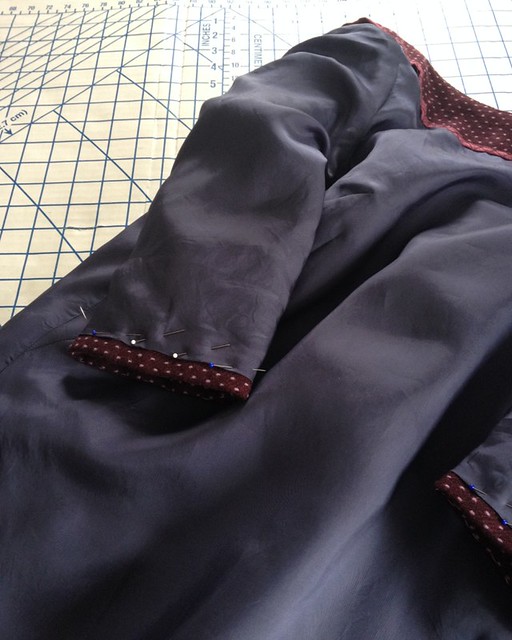
The facing was under-stitched by hand, and the sleeve lining stitched into place.
And because of the extreme pegged hem, I made a facing for the skirt hem.
The only thing left to do is to make a couple of thread chains to anchor the lining to the hem facing and check for any stray basting threads!


Oh man, I scrolled through hoping to see a model photo--hurry and show us! (Looks great!)
ReplyDeleteDefinitely a translation issue. The original german makes much more sense. And I also think maybe that precision with which language is used in sewing is more precise that general usage :)
ReplyDeleteCan't wait to see the finished thing!
Can't wait to see the
Aha! Thought that might be the problem. They really should think about proof reading their translations, though!
DeleteBurda doesn't worry about the translations or detailed directions. Most of their buyers are very experienced sewists (esp. Those in eastern Europe). Unfortunately it is a bit of a ripoff to buy a single printable pattern from their site when you can get a 3month Burda style subscription for about $25-30 and out of the 100+ patterns there will be a few that are what you desire.
Deletelooking forward to seeing it complete. i love your fabric choice
ReplyDeleteI am also looking forward to seeing you model it!
ReplyDeleteAnd although this is quite a different silhouette for you, it is not without vintage references: I kept thinking of Balenciaga's sack dresses from the 1950's
I definitely see Balenciaga - which is probably one of the main reasons I was drawn to the design in the first place!
DeleteCan't wait to see this on you! It is such a different look than what we usually see but I am sure will be gorgeous.
ReplyDeleteHi! I was just reading the directions for this last night (I plan to make the top), did you do the facing "like normal"? Or did you follow their convoluted instruction?? IF so would you mind translating what they mean? :)
ReplyDeleteThanks!
It's lovely work and can't wait to see it modeled!
Like you, I have no clue as to the facing directions included with this pattern. I applied the facing like any other garment . . . right sides together, stitch in place, understitch, clip, and turn. That worked fine for me.
DeleteFrankly, I am at a loss with Burda directions. Perhaps they just translate from the original German and never check if they make sense? Some diagrams would be extremely helpful.
I think you're right!
DeleteThanks for the response! I'll just face it like normal
Lined AND underlined!
ReplyDeleteYou've caused another on-line commotion.
I'm at the back of a long line waiting to see the big reveal.
Wow this looks very different for you and can't wait to see it. I love the construction info you give us and as always an immaculate finish.
ReplyDeleteAmazing. Thanks for showing the full construction. Can't wait for the big reveal!
ReplyDeleteLooks great! Can't wait to see the finished product!
ReplyDeletewww.alittletalent.com
Awesome sewing! You take every pattern from ordinary to couture.
ReplyDelete